
![[Grasshopper]シェルピンスキーのカーペットの作成方法[データも配布]](https://iarchway.com/wp-content/uploads/2025/02/eyecatch_web-20.jpg)
In this article, we will learn how to create a model using Sierpinski Carpet in Grasshopper.
Video
Model Images
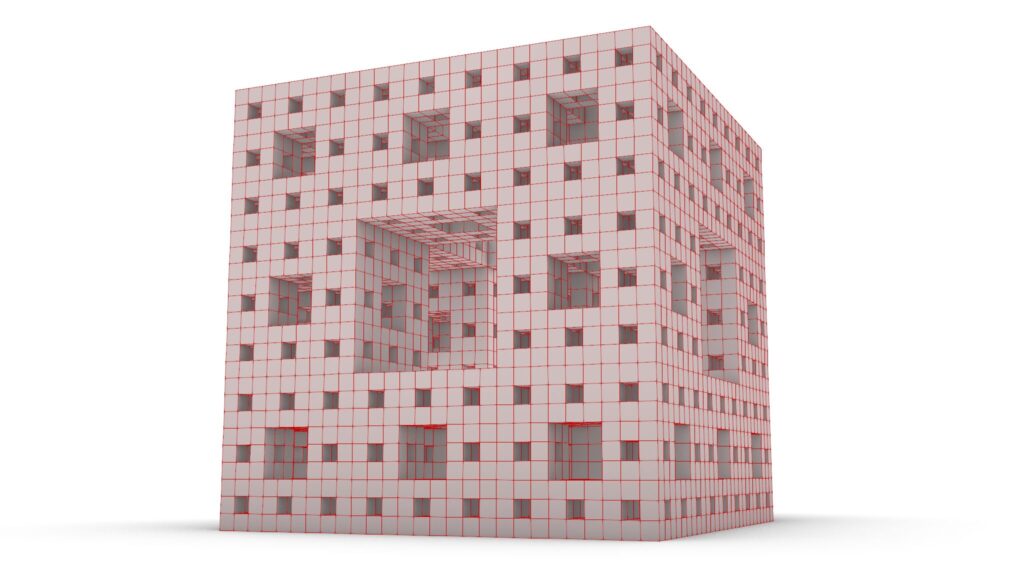
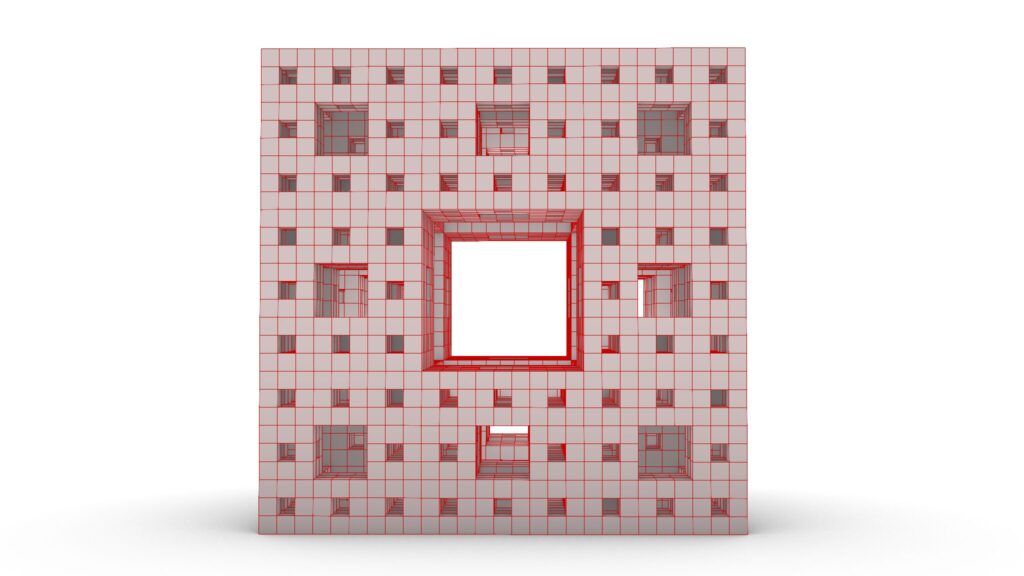
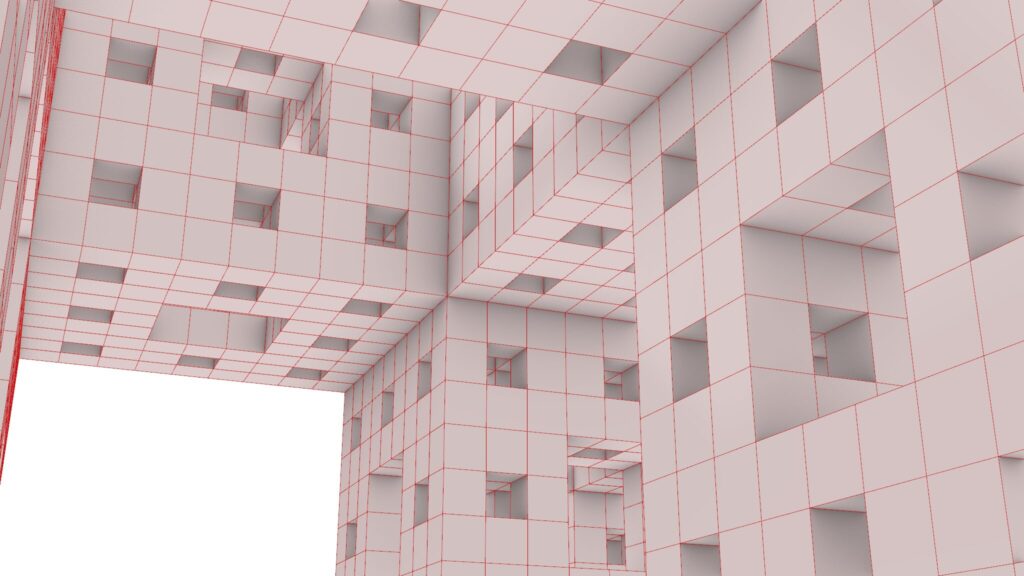
The top three images are from Grasshopper.
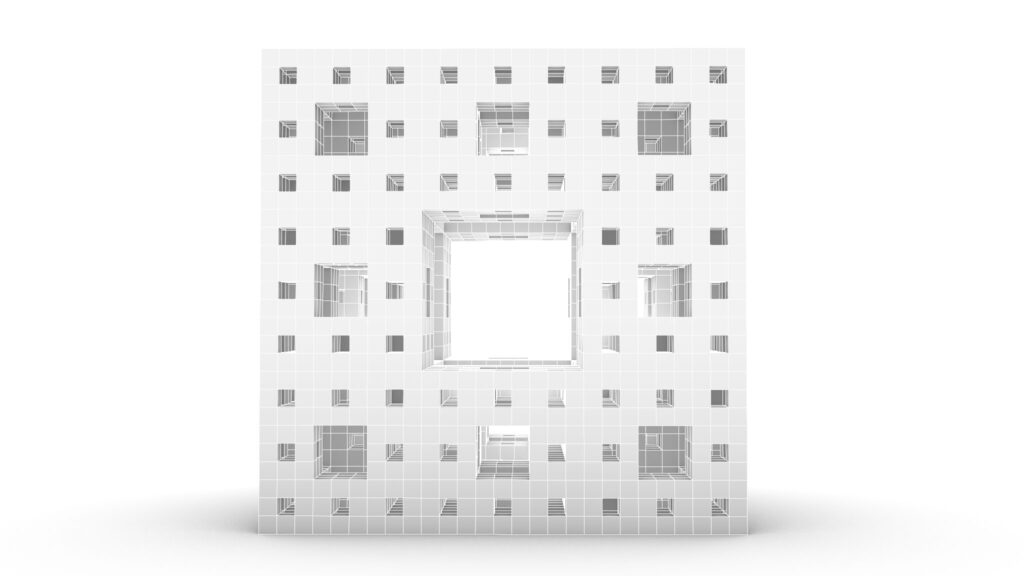
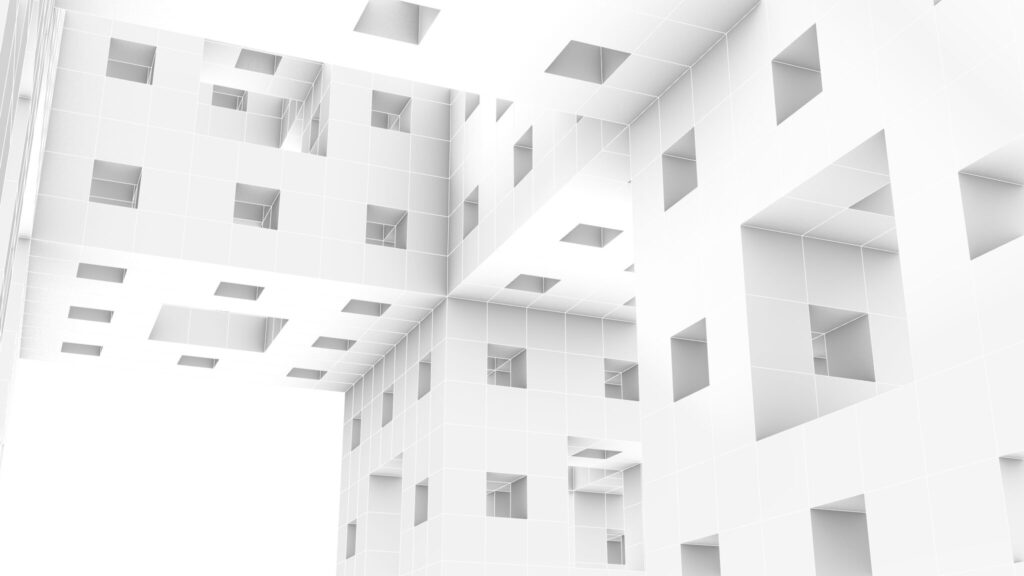
The top three images show the model exported on Rhinoceros.
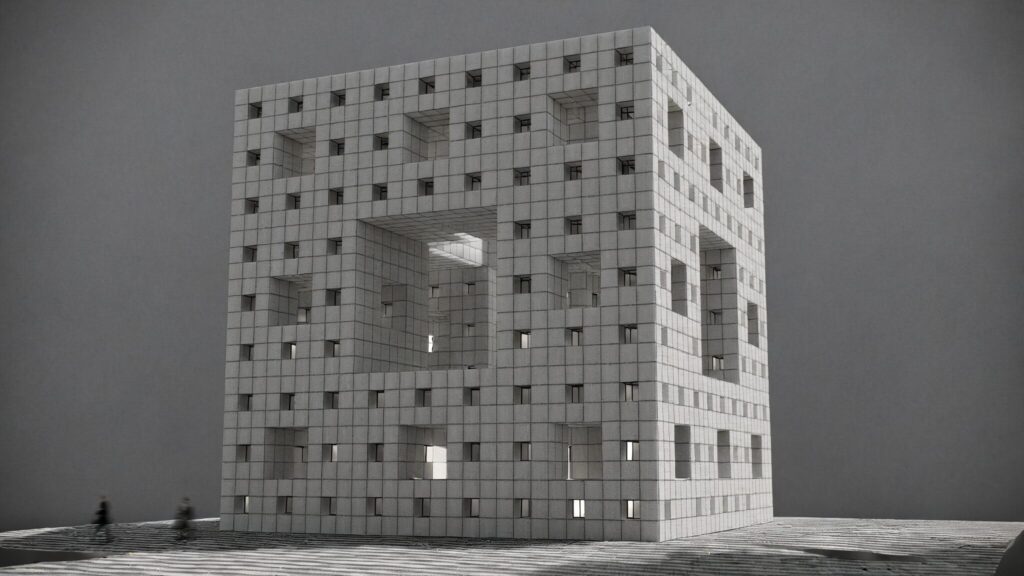
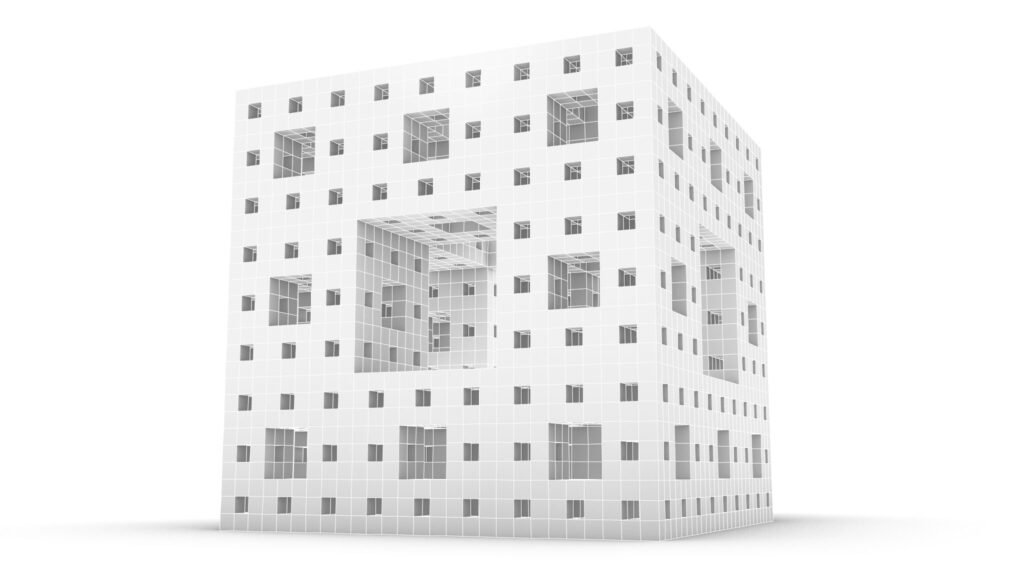
The image above shows the final rendering.
Due to the amount of programming, we will not provide a detailed explanation at this time.
Therefore, we recommend that you look at the video, the Grasshopper recipe images placed below or download the data to check it out.
Click here to download the Grasshopper file
Please refer to the Terms of Use regarding the use of downloadable data.
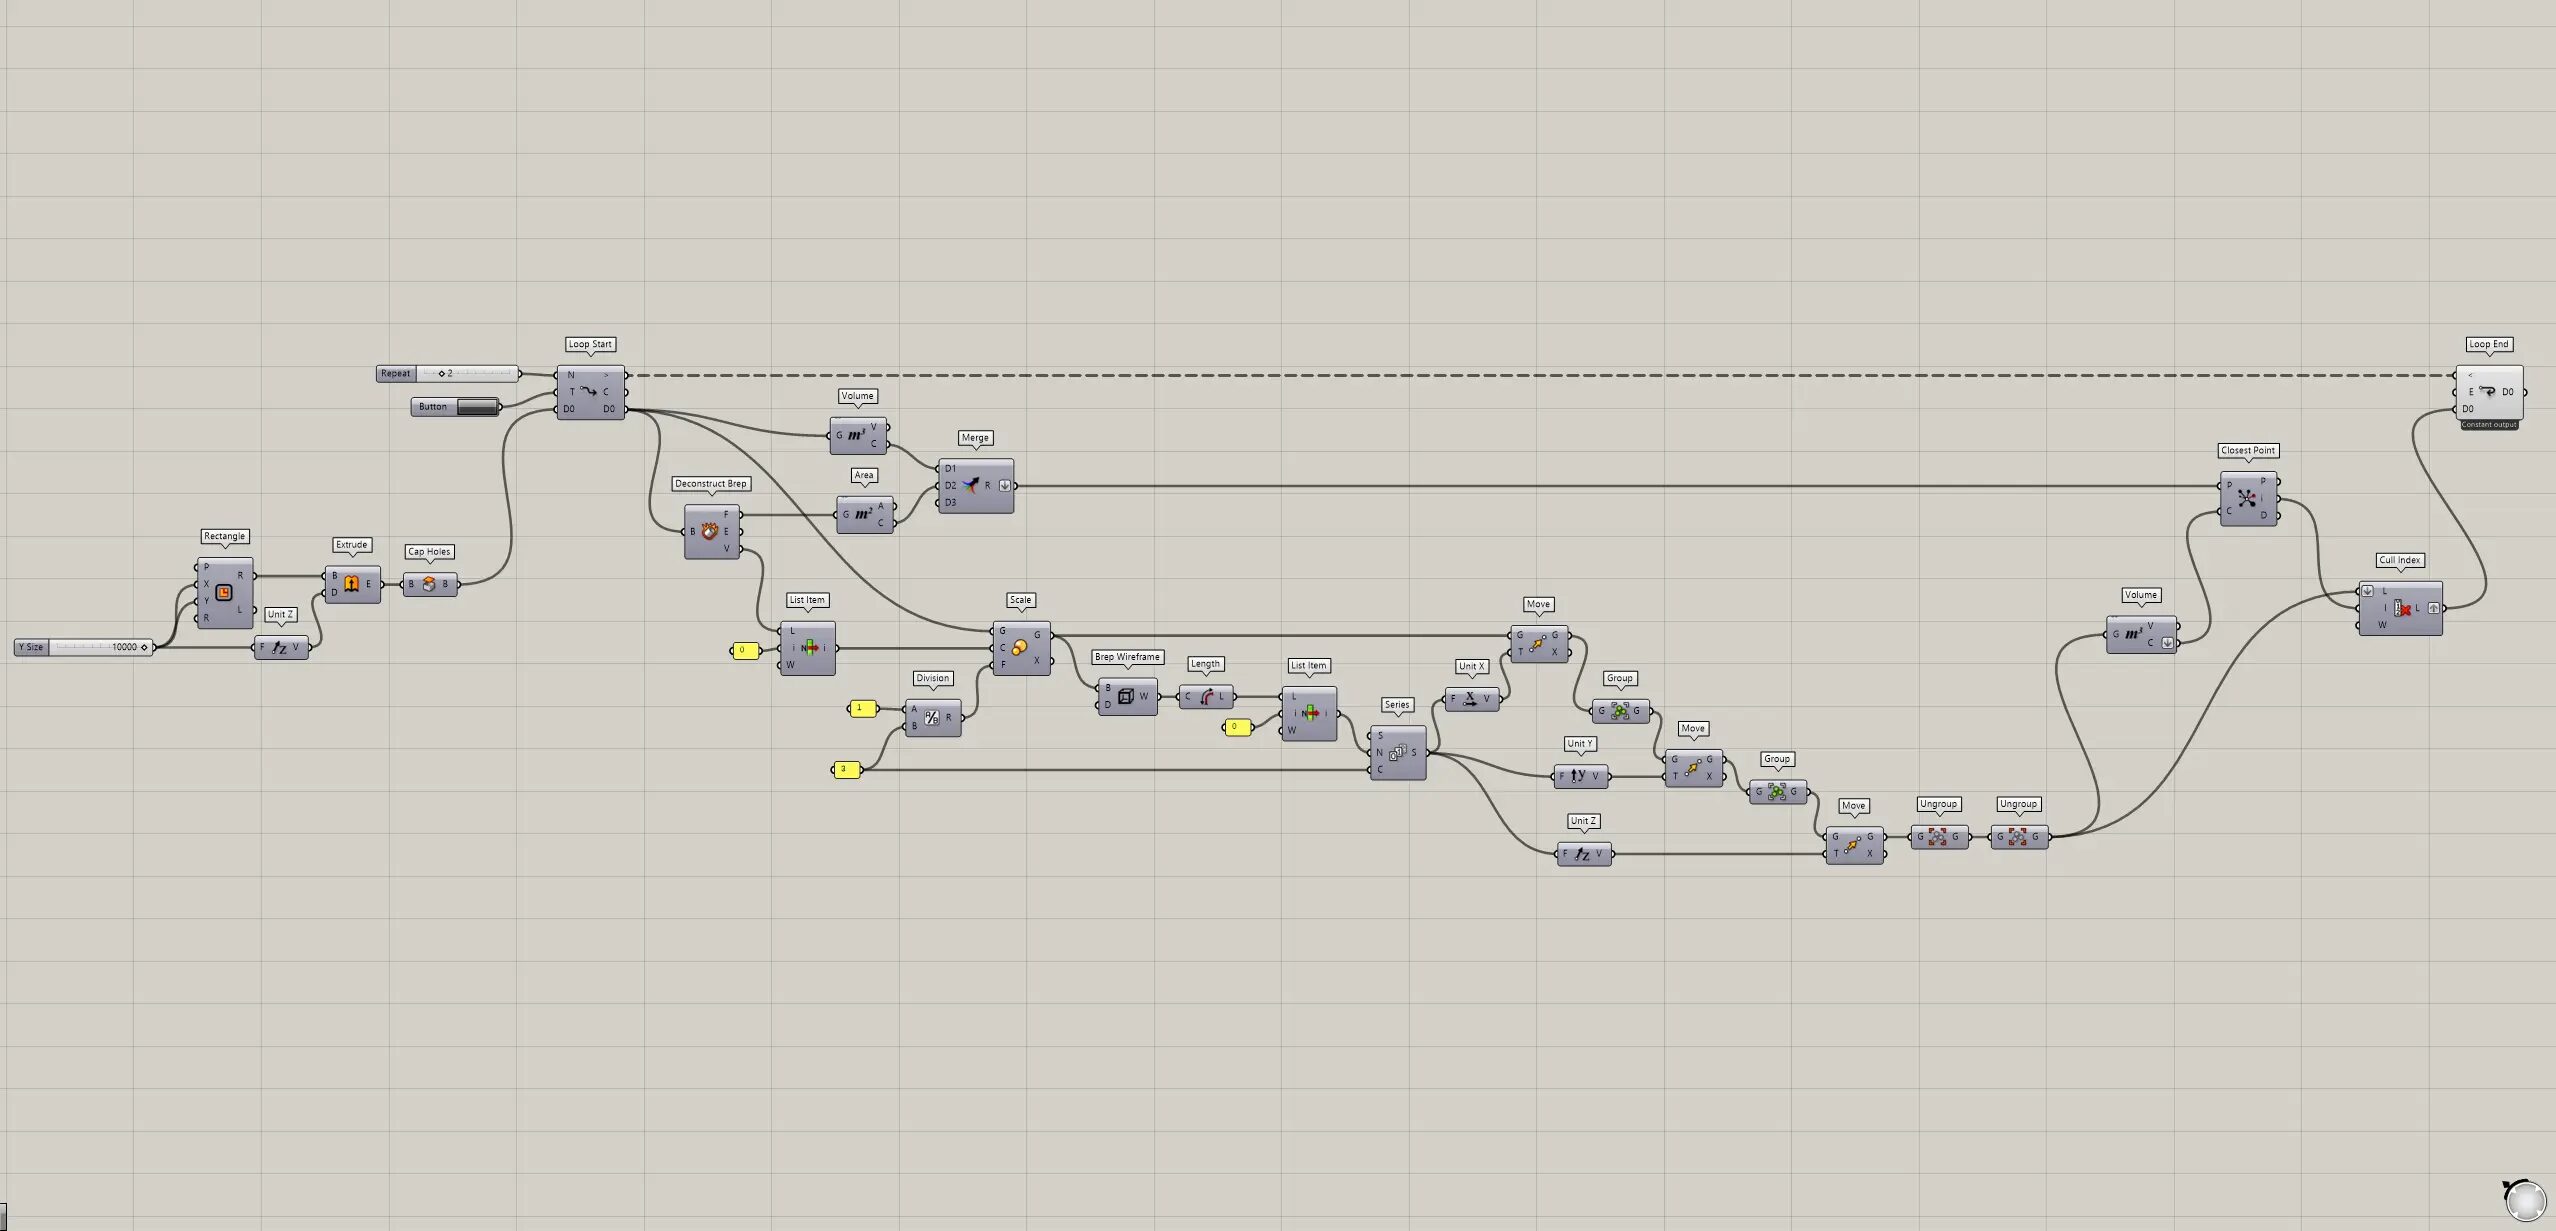
Grasshopper recipe
This one part of the programming uses a plugin called Anemone.
Therefore, to use the two components Loop Start and LoopEnd, Anemone must be installed.
Click here for the Anemone download page.
①Rectangle ②Unit Z ③Extrude ④Cap Holes ⑤Button ⑥Loop Start ⑦Deconstruct Brep ⑧Volume ⑨Area ⑩Merge ⑪List Item ⑫Division ⑬Scale ⑭Brep Wireframe ⑮Length ⑯Series ⑰Unit X ⑱Move ⑲Group ⑳Unit Y ㉑Ungroup ㉒Closest Point ㉓Cull Index ㉔Loop End

How to use the Programming
We will explain how to use the Programming.
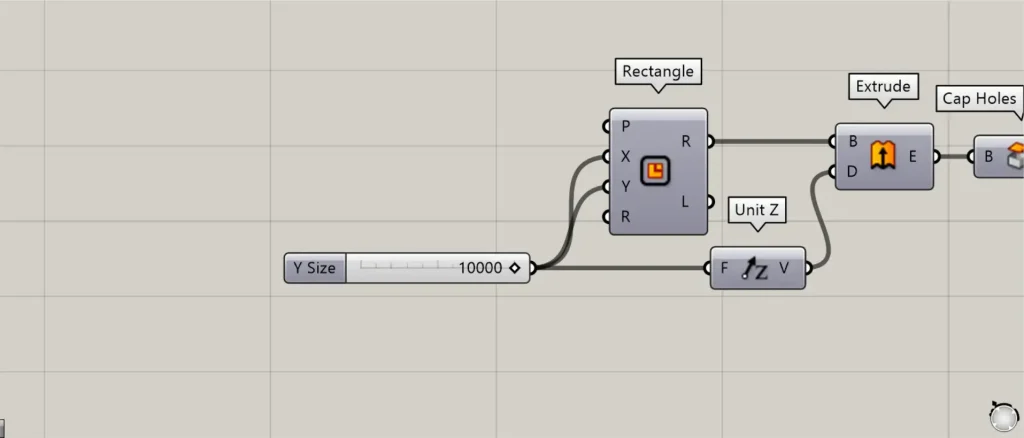
By changing the numerical value connected to Rectangle, you can change the length of the sides of the original cube.
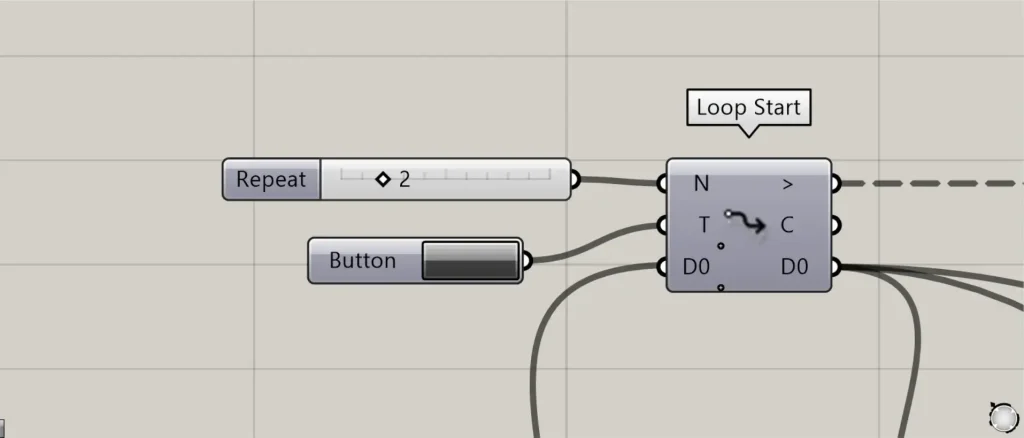
By changing the value of Loop Start(N), you can change the number of attempts to make holes.
By pressing Butten, you can execute the process.


Comment