
![[Grasshopper]AIチャットと参照画像で自動プログラミングをするRavenプラグインの使い方](https://iarchway.com/wp-content/uploads/2025/03/eyecatch_web.jpg)
In this article, we will learn how to use Raven plugin for automatic programming via AI chat and reference image in Grasshopper.

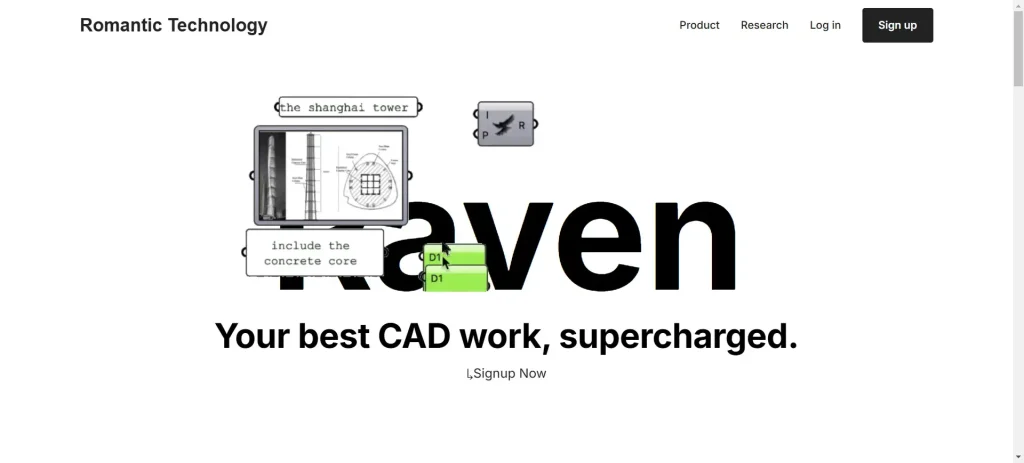
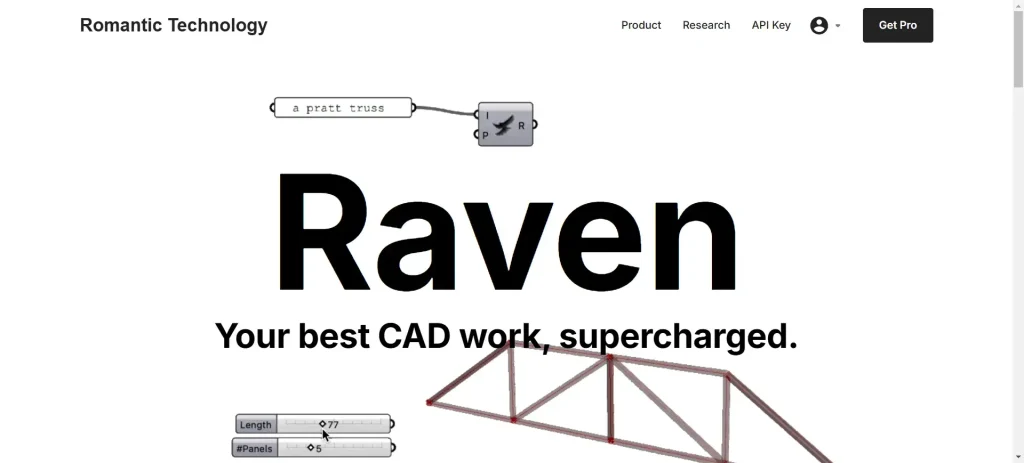
As shown in the images above, Raven will automatically generate programming by chats or a reference image.

In this article, we will use Ai to create a model like the two images above.
Video
How to Install Raven
First, we will explain how to install Raven.
First, go to the official Raven page.
Click here for the official Raven page.
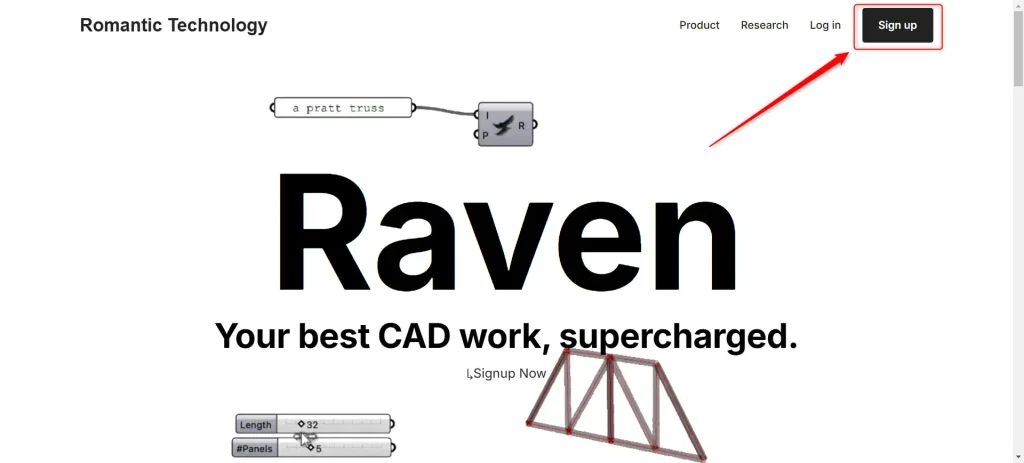
Click “Sign up” in the upper right corner.
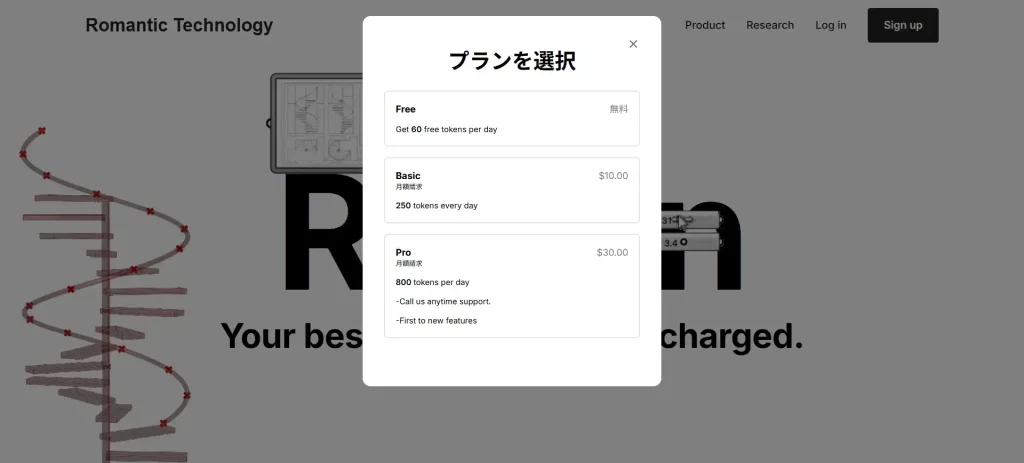
Select a plan.
There are currently three types of plans.
| Plan name | Free | Basic | Pro |
| Monthly Fee | Free | $10.00 | $30.00 |
| Tokens per day | 60 | 250 | 800 |
| Privileges | – | – | Call us anytime support. First to new features |
In this case, we will proceed with the Free plan.
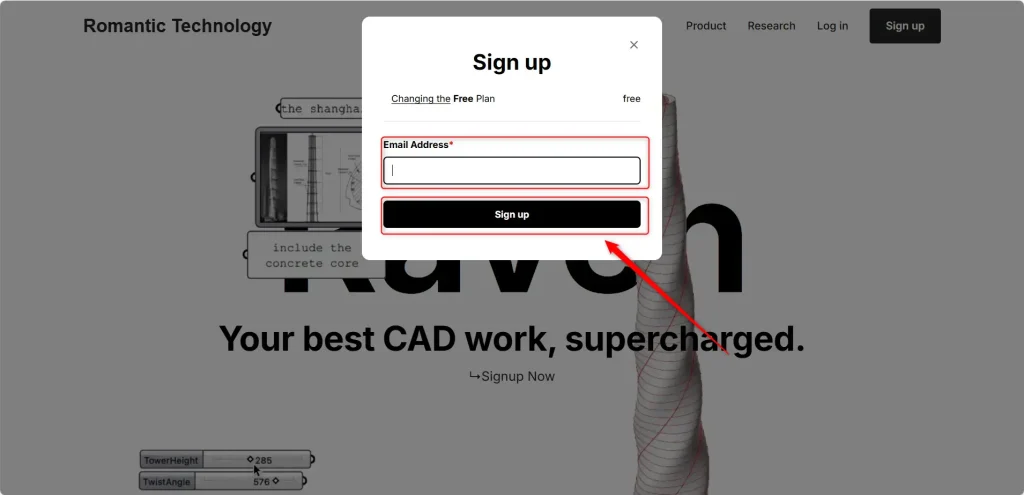
Enter your email address to register and click “Sign Up”.
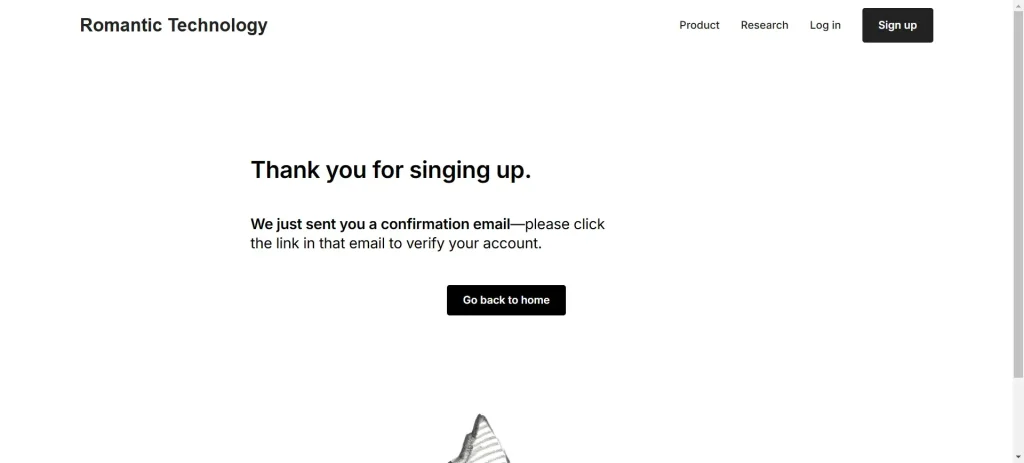
Then you will see a screen like the image above and receive an email to your registered email address.
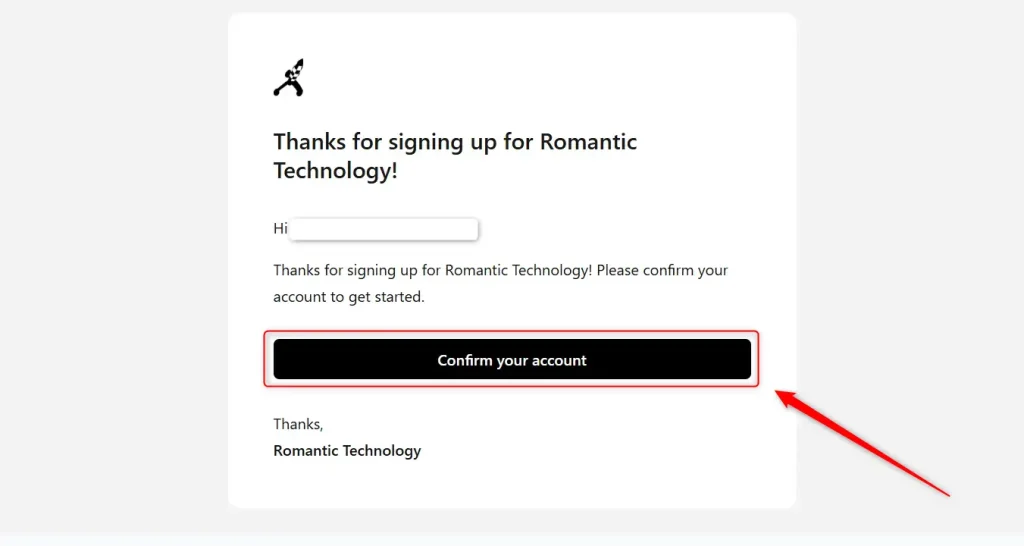
You will receive an email like the image above.
Click “Confirm your account” on the email.
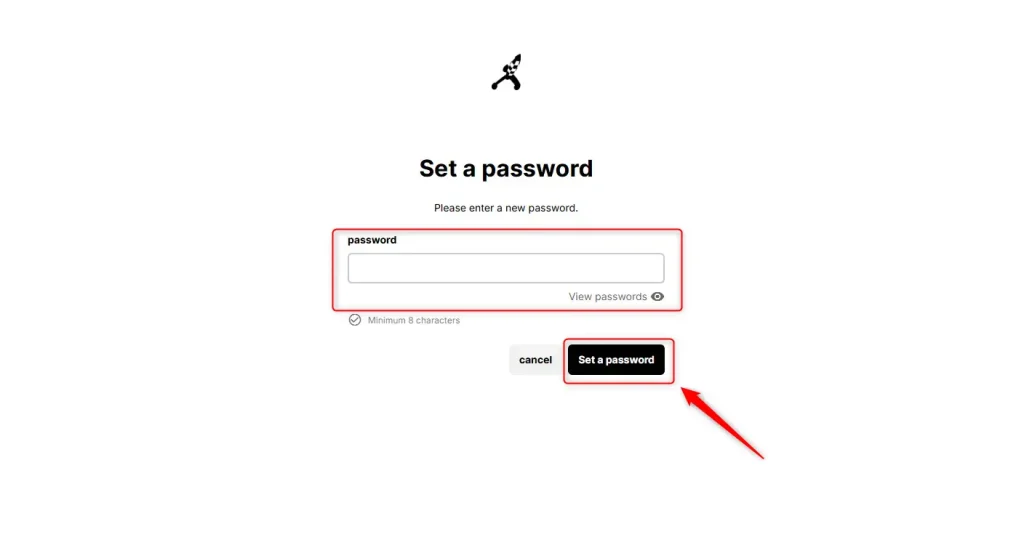
Then set the password.
Setting a password will complete your account registration.
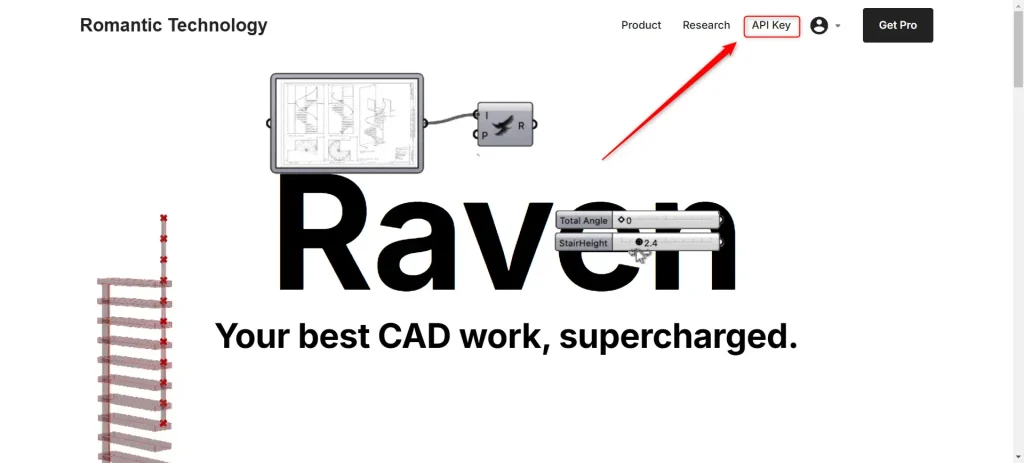
Then click on “API Key” in the upper right corner.
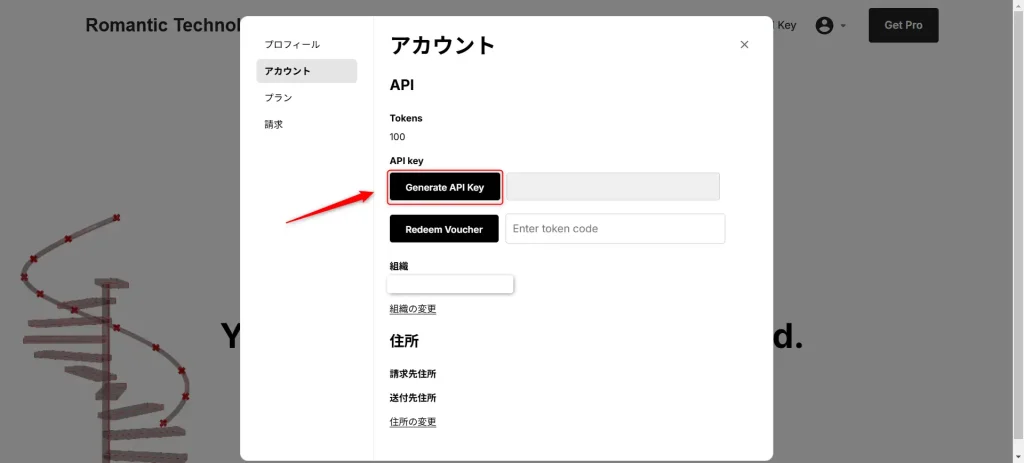
Then click “Generate API Key”.
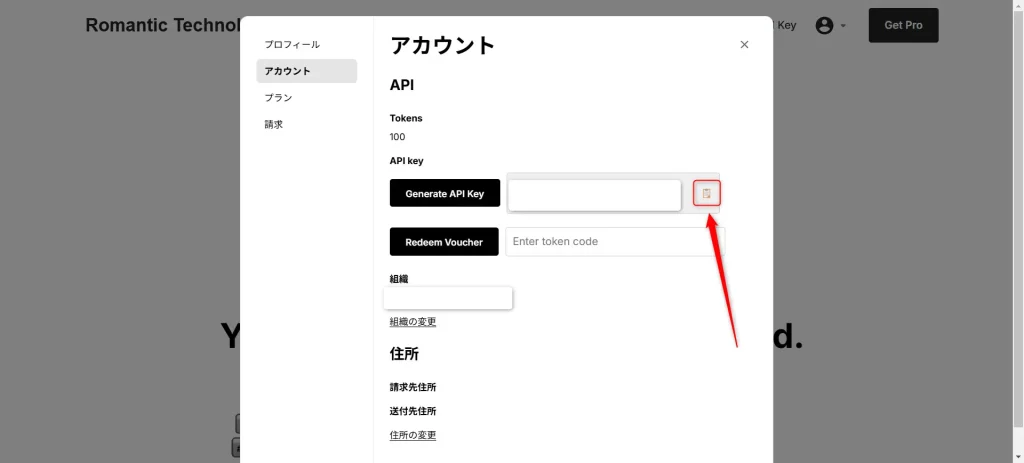
Then an authentication code will be generated.
Click the button on the right to copy the authentication code.
This authentication code will be used later.
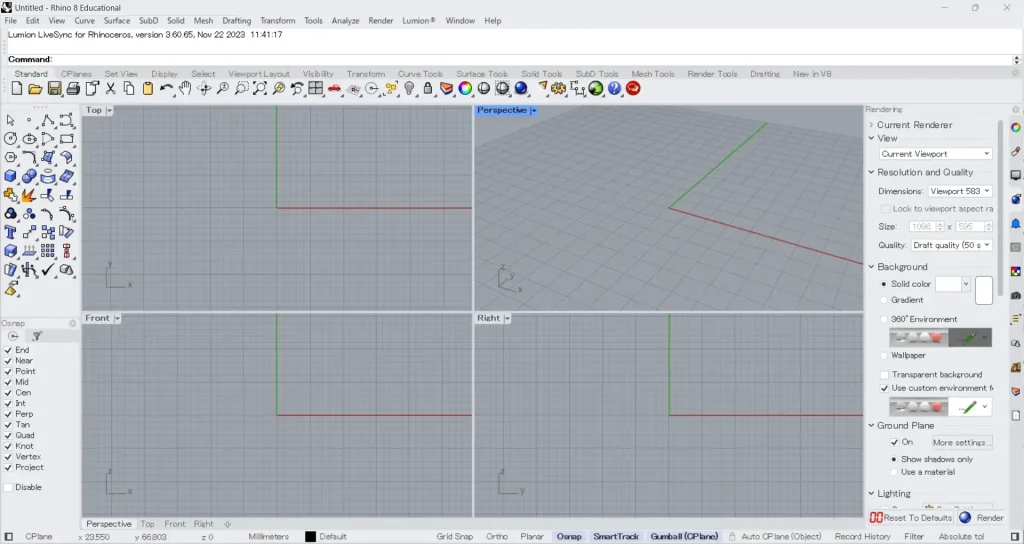
Then open Rhino.
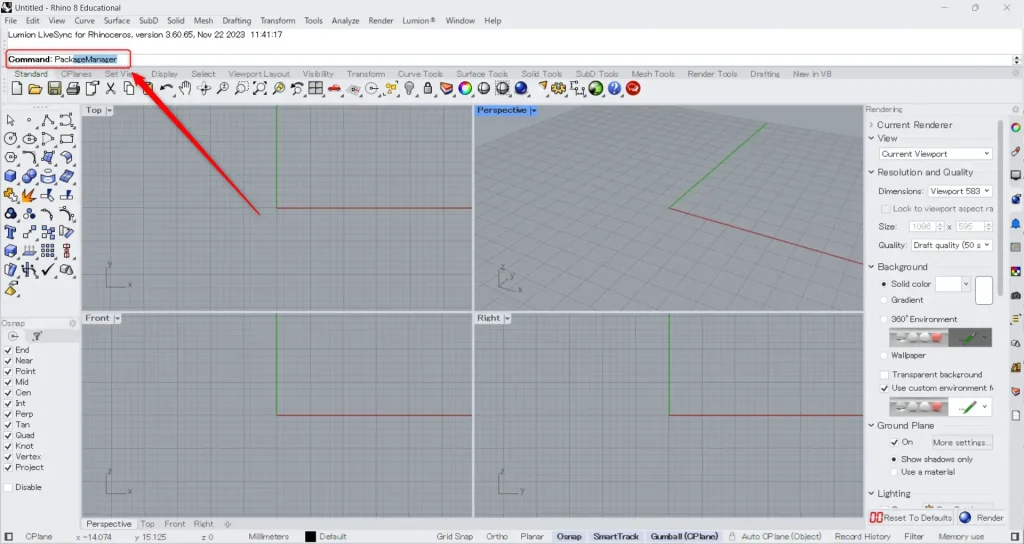
Then type “PackageManager” in the command.
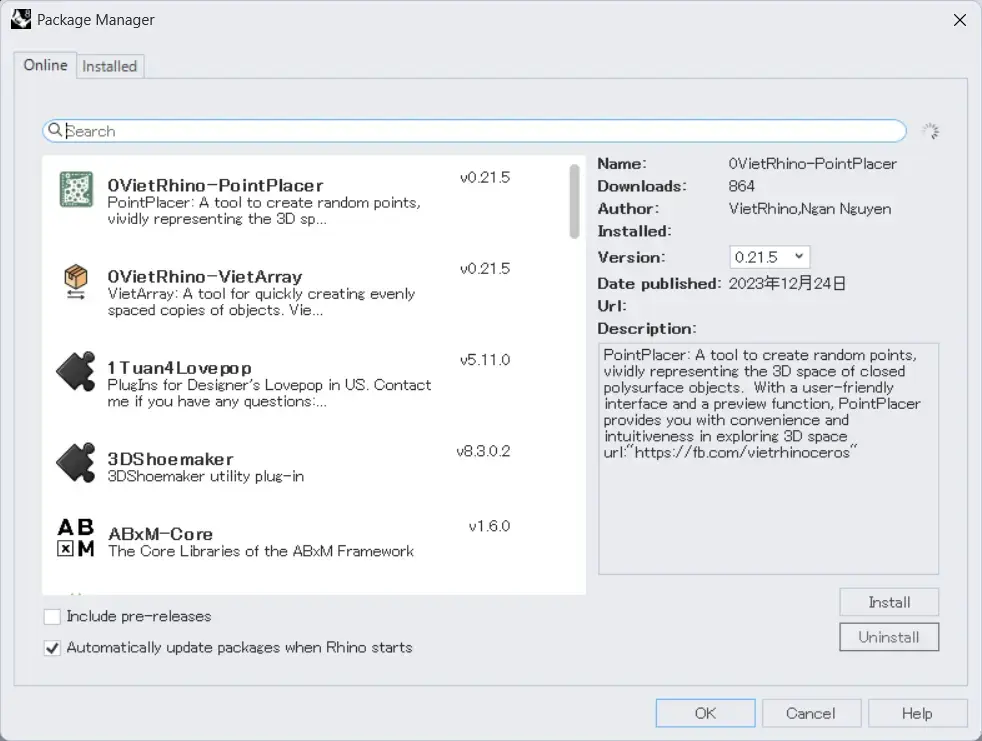
The Package Manager window will then appear, as shown in the image above.
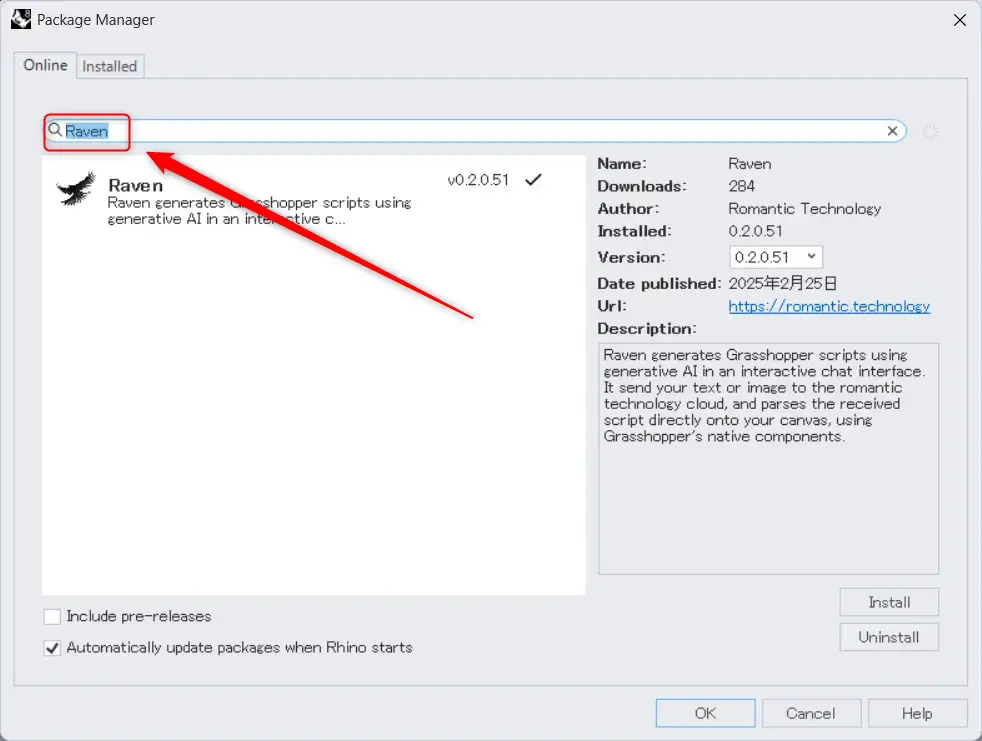
Then search for Raven.
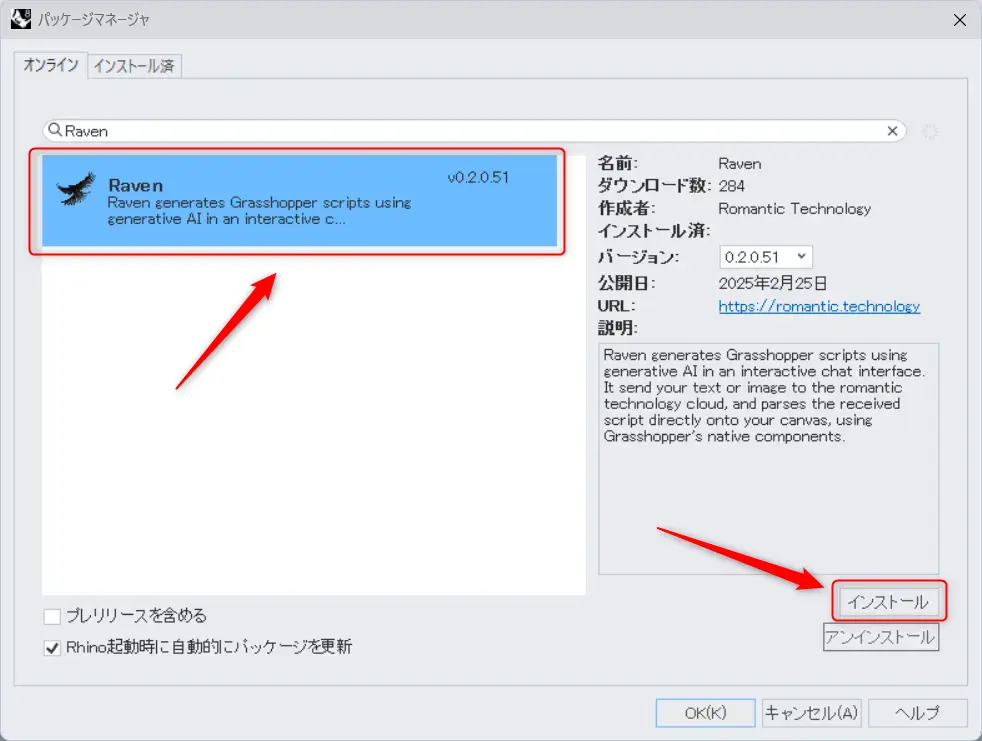
Then select Raven and click Install.
After installation, restart Rhino.
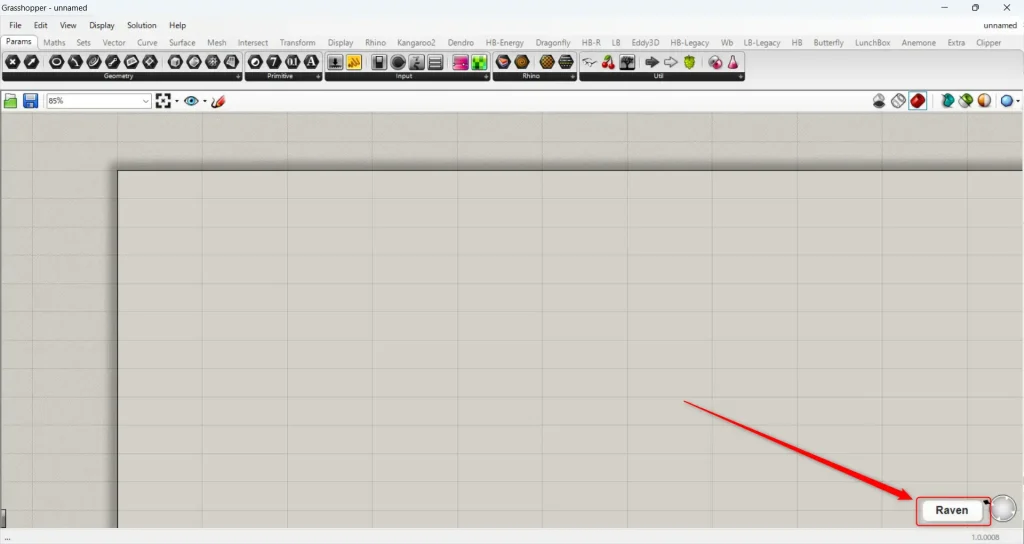
After restarting, open Glasshopper.
Then you will see that a button named “Raven” has been added to the bottom right of the screen.
Click on “Raven”.
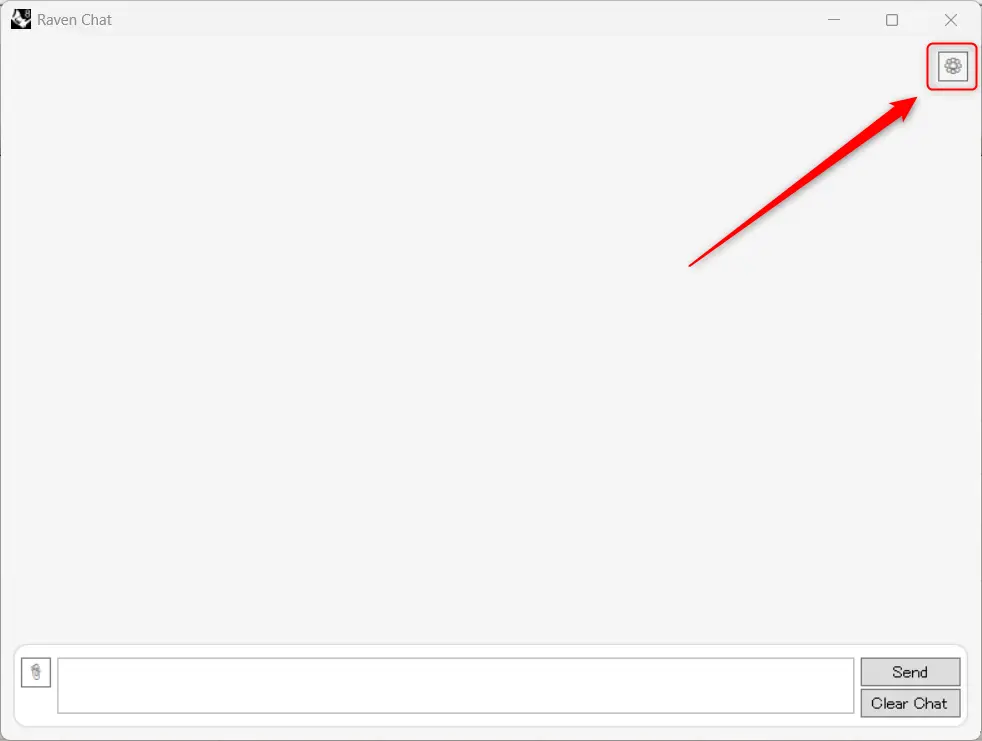
Then a chat box will open.
Then click the top right button.
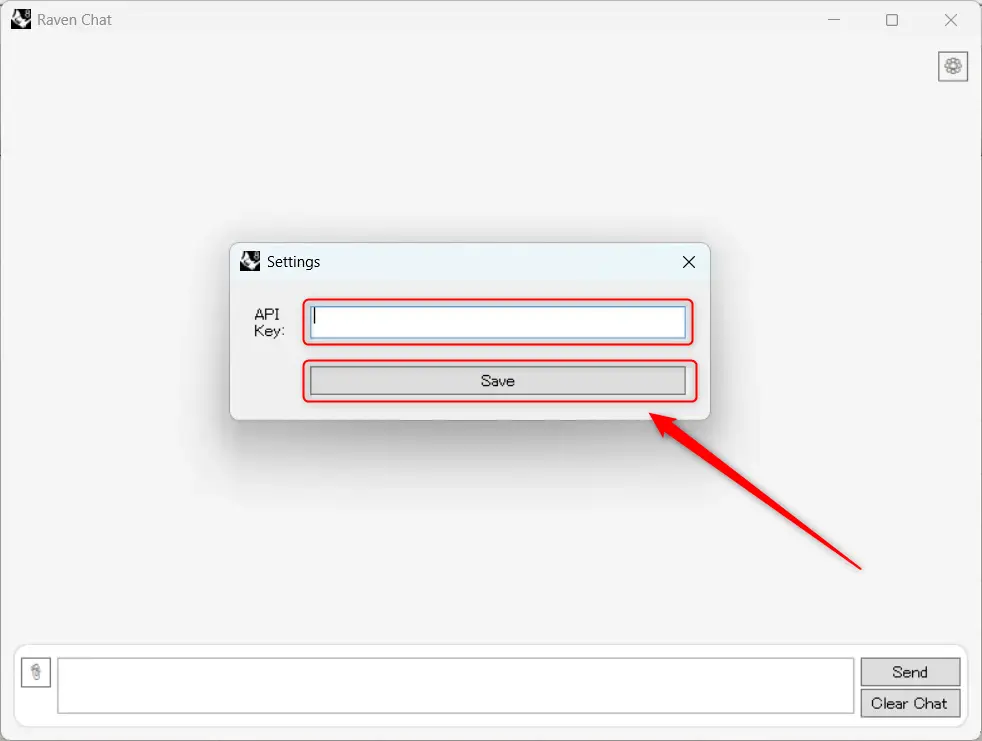
Then enter the authentication code you just obtained and click Save.
You have now installed and configured Raven.
generate automatically with AI chat
As a first example, let’s try to generate automatically with AI chat.
In this case, we will create a spiral slope.
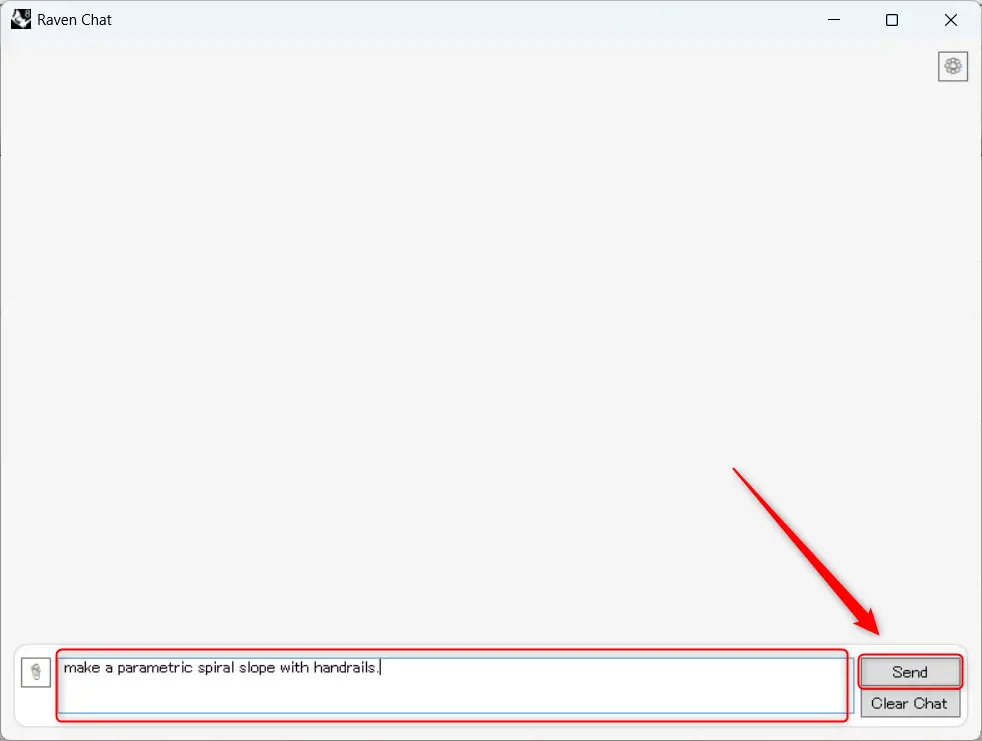
Enter the instruction.
After entering the instruction, click “Send”.
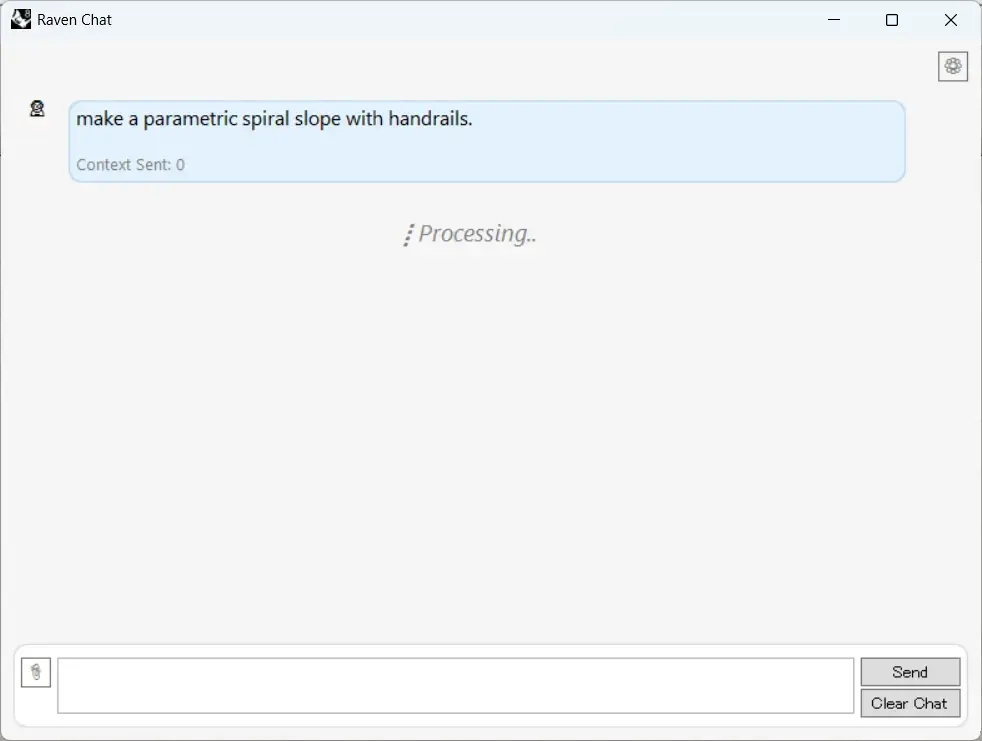
The process then begins, as shown in the image above.
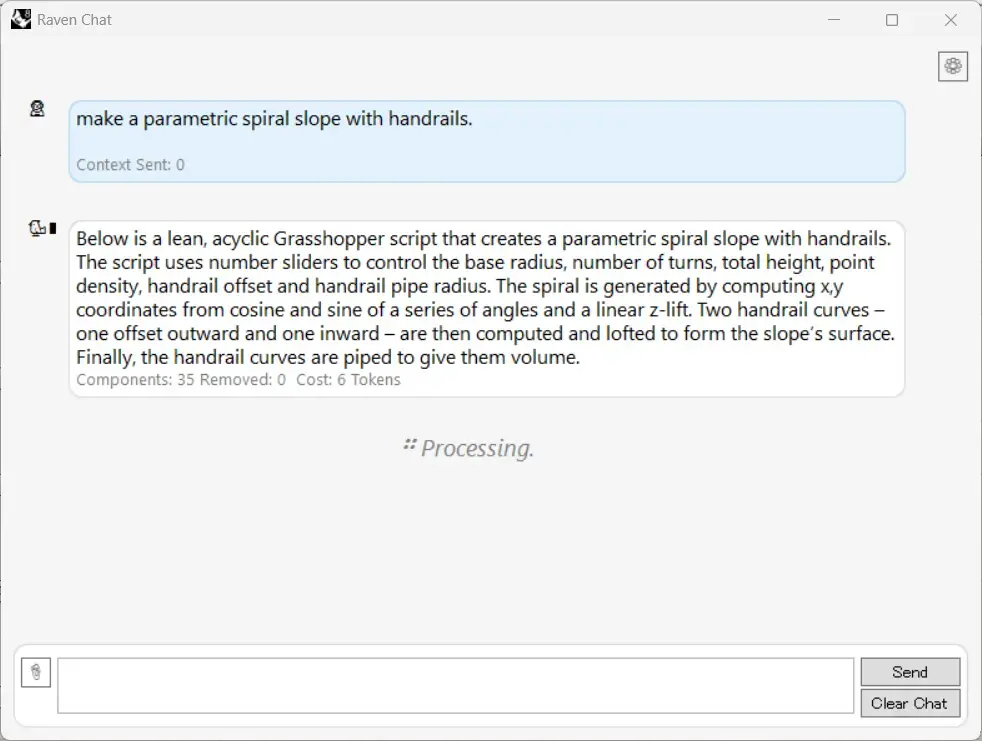
The process has been completed.
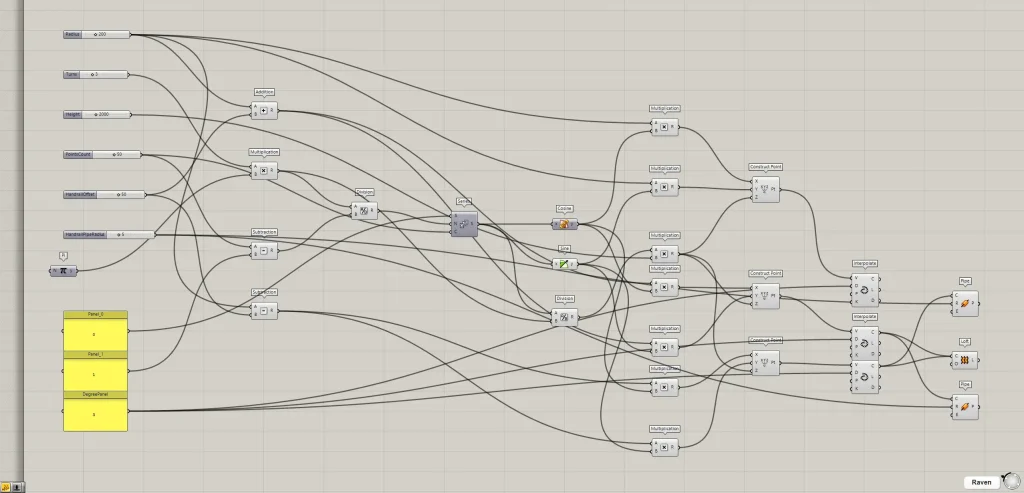
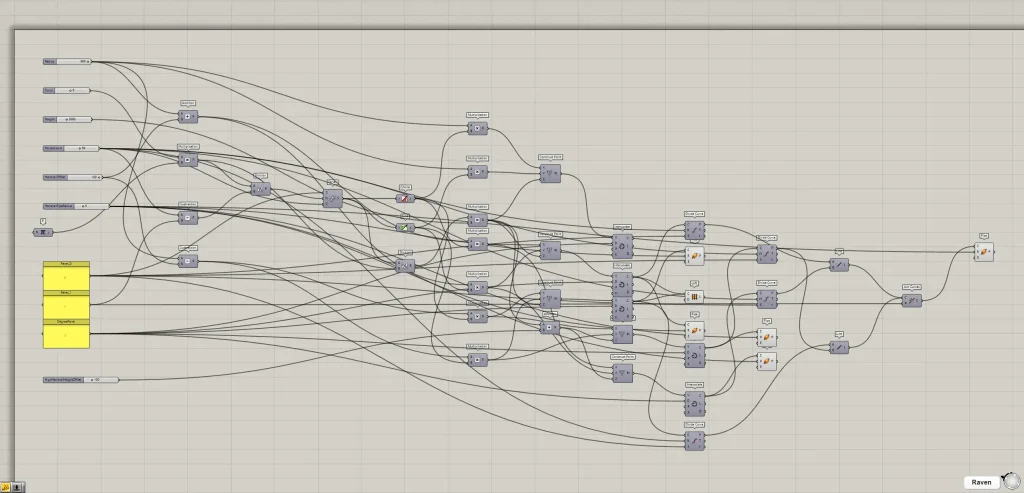
Then the programming is automatically done on the Grasshopper, as shown in the image above.
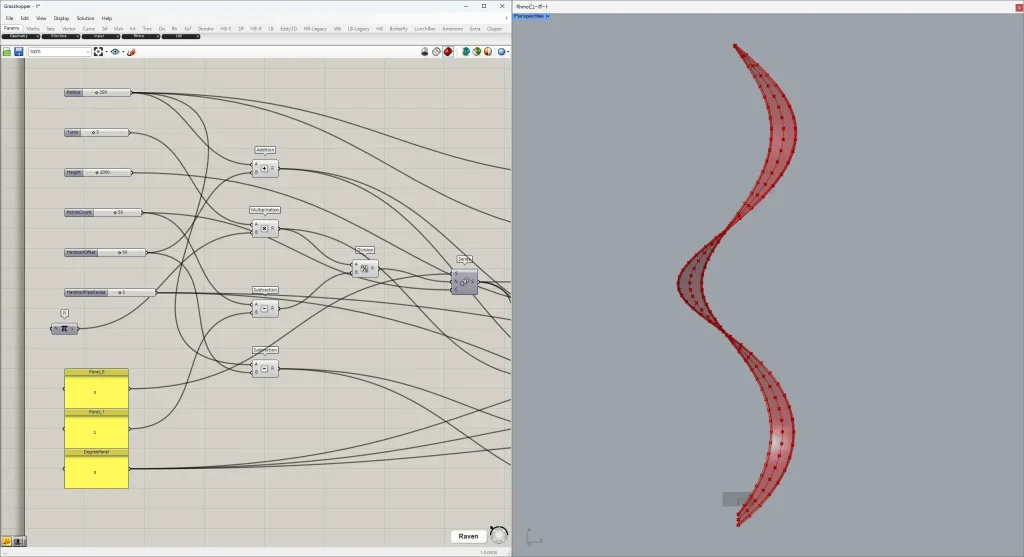
Looking on the Rhino, the model is generated as shown in the image above.
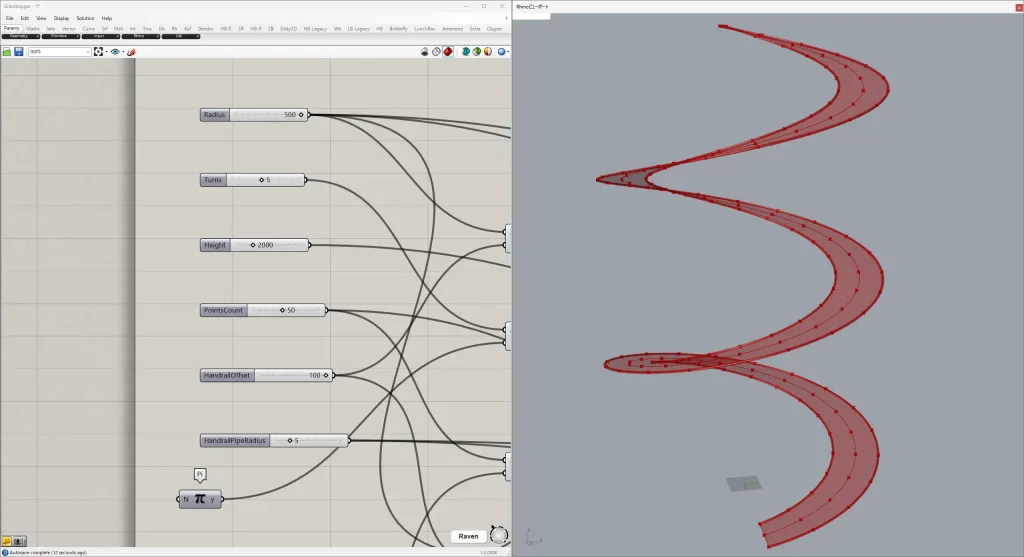
There are numeric parameters on the left side of the program that you can adjust.
After adjustment, the slope looks like the image above.
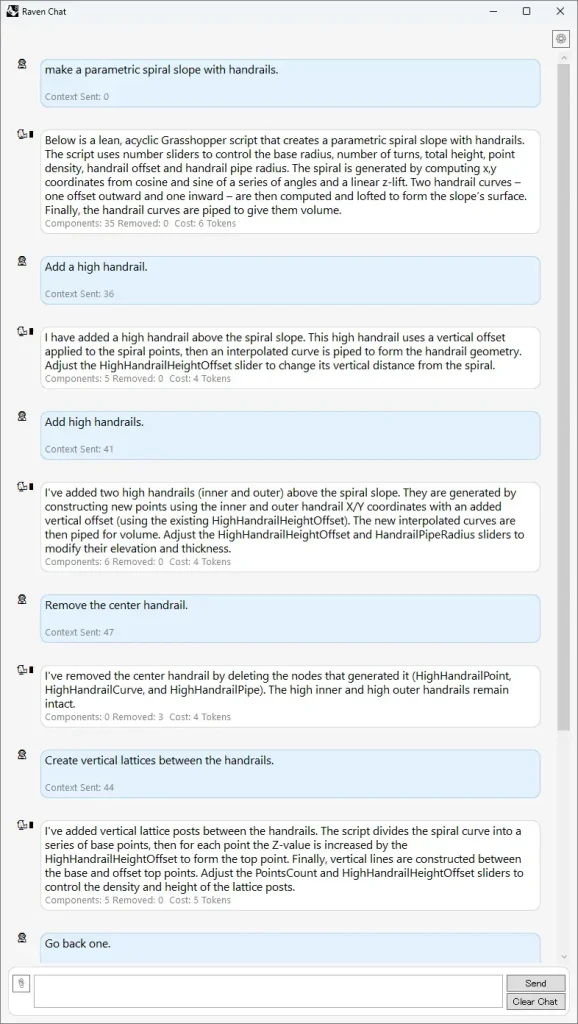
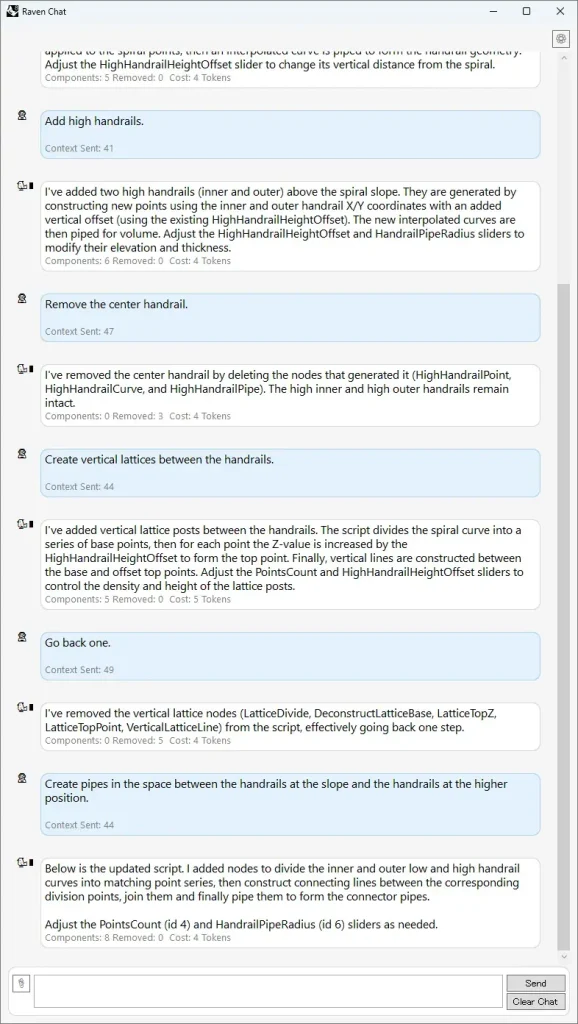
Then we had an additional chat, as shown in the two images above.
As for the content of the chat, I am asking to add handrails.
Final component.
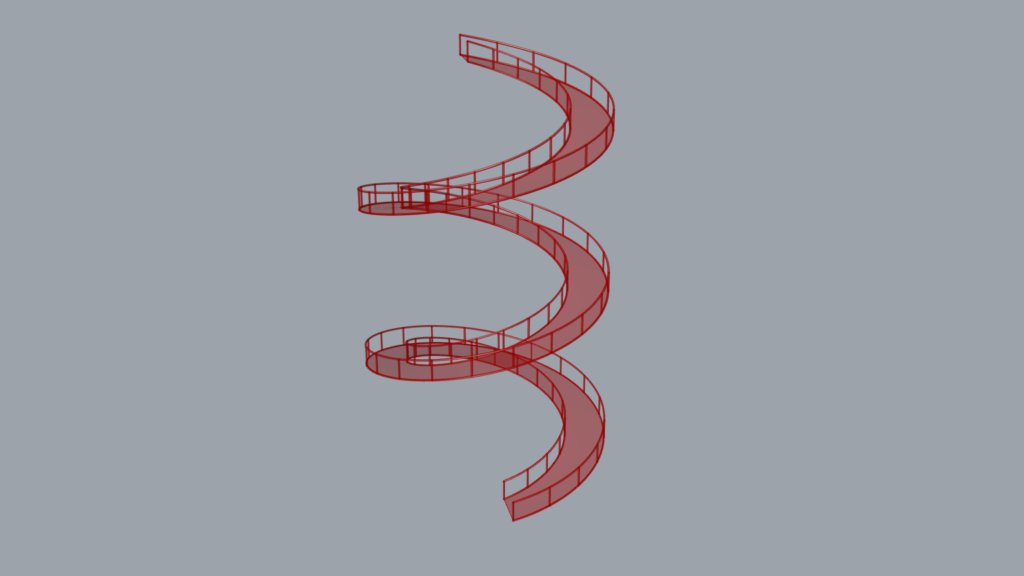
Finally, we were able to add the handrails, as shown in the image above.
Additional modifications can be made to the chats in this way.
Automatically generate using AI chat and a reference image
Next, the AI chat and a reference image will be used to automatically generate.
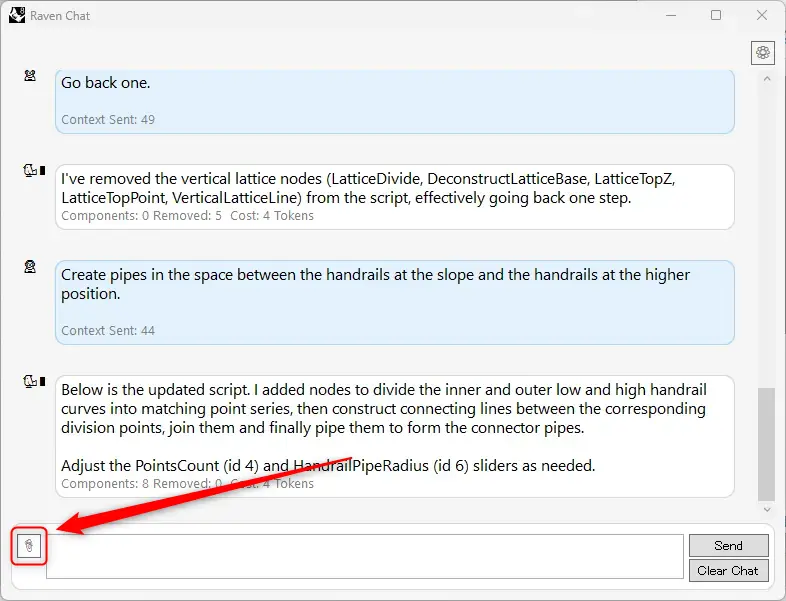
To use an image, click the button at the bottom left.
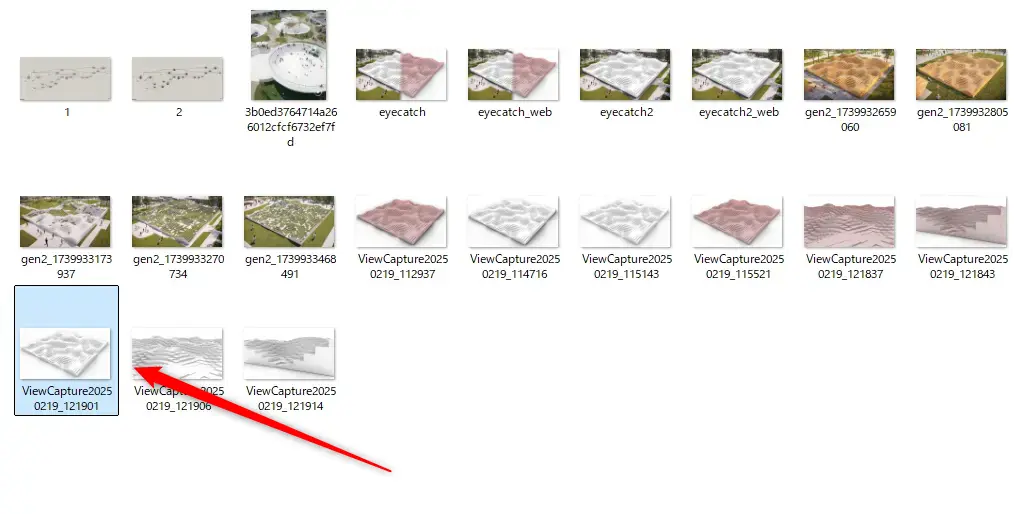
Then select any image you want to use as a reference.
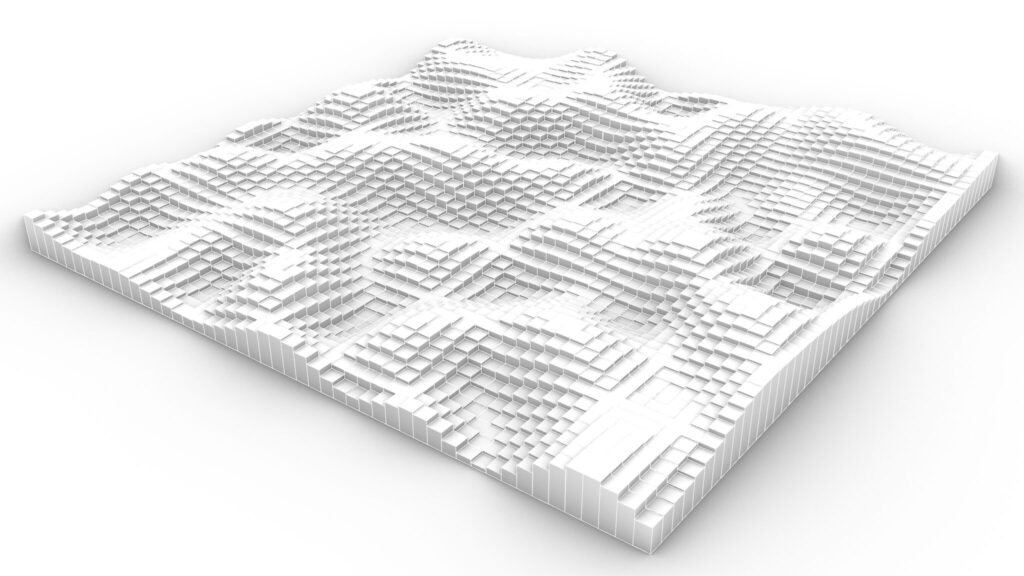
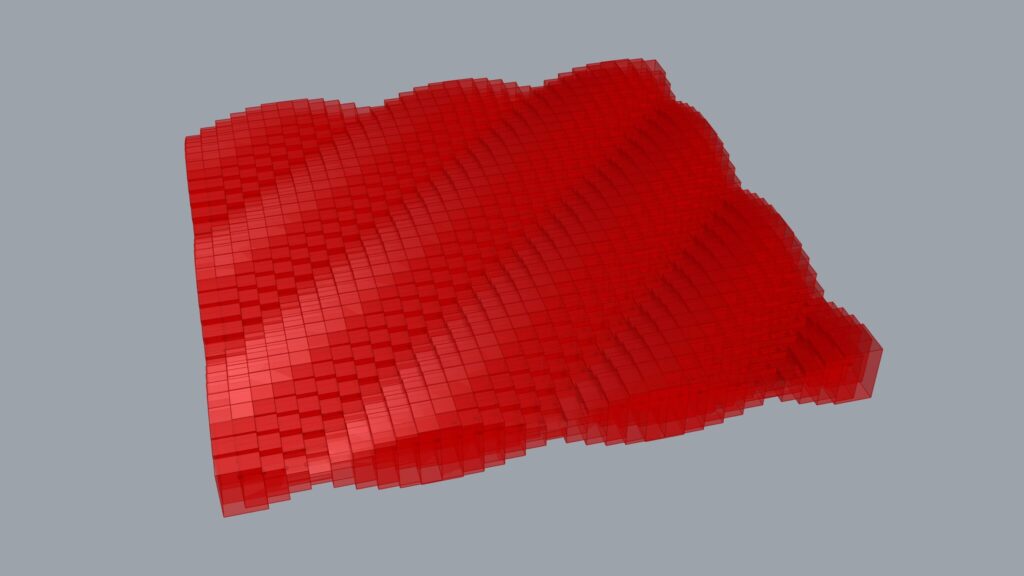
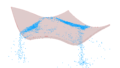
In this case, the image above is used as a reference image.
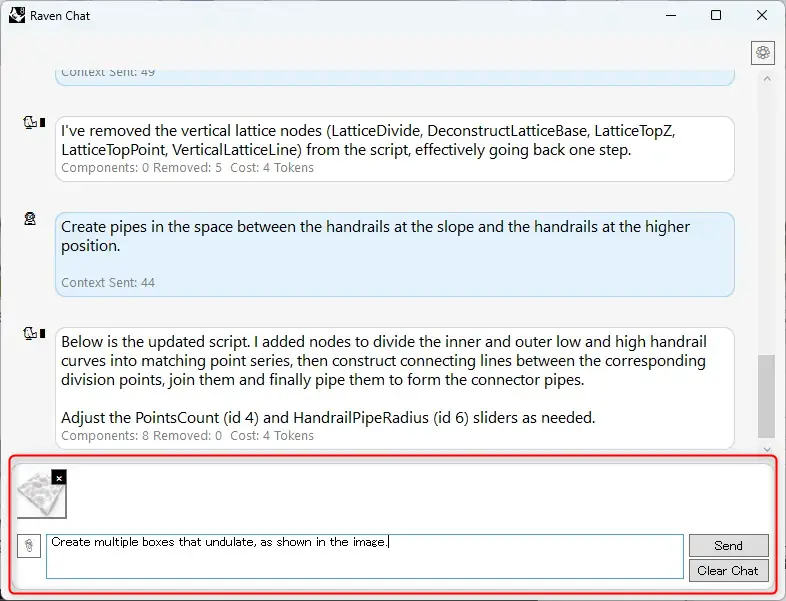
Then the instruction is also entered into the chat.
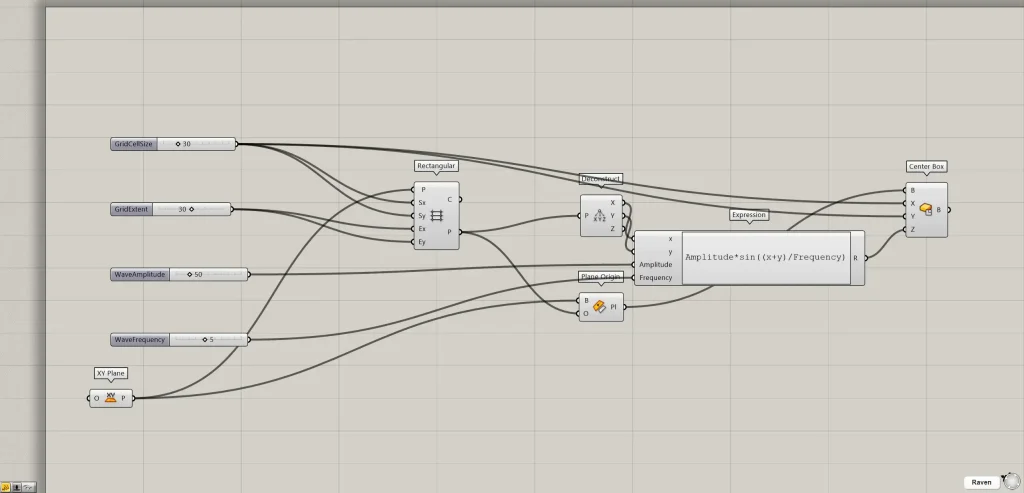
Finally, programming like the image above was created.

Finally, the model shown in the image above was automatically generated.
In this way, it can also be generated automatically using images.
That’s all this time.


Comment