
![[Grasshopper] How to use Offset Surface to offset a surface](https://iarchway.com/wp-content/uploads/2025/06/Offset-Surface.png)
This article explains how to use Offset Surface to offset a surface.
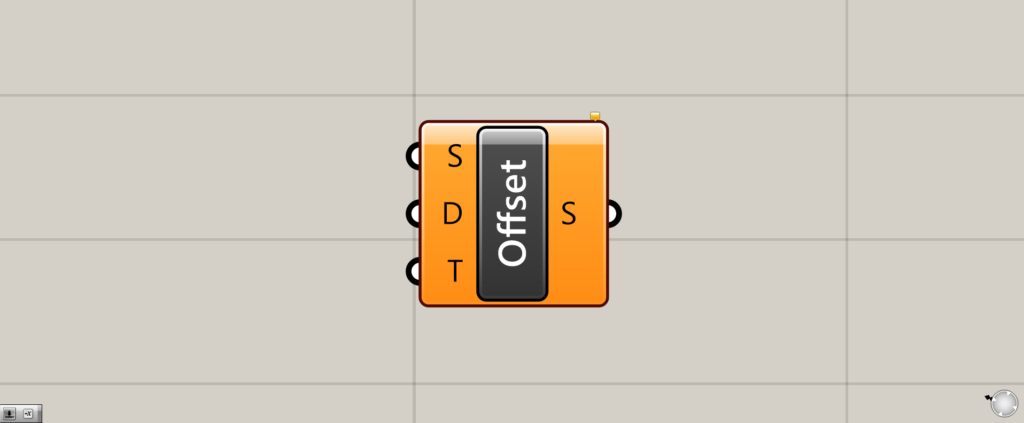
On the Grasshopper, it is displayed as either an icon or text.
Offset Surface Basics
Offset Surface allows you to offset a surface (simply put, scale it up or down while maintaining its shape).
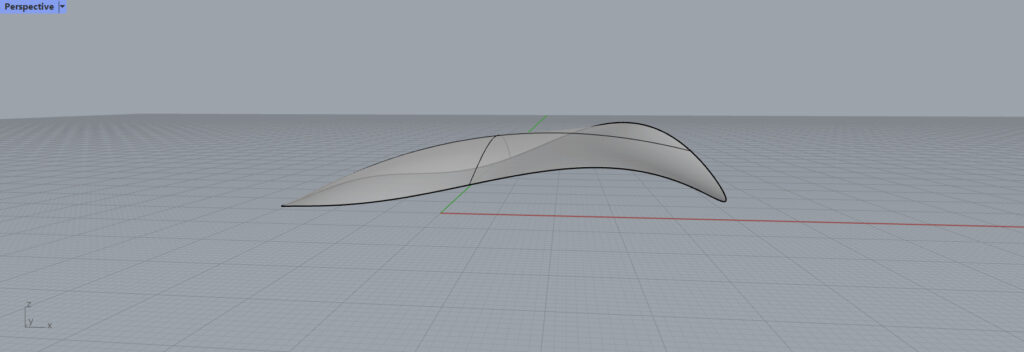
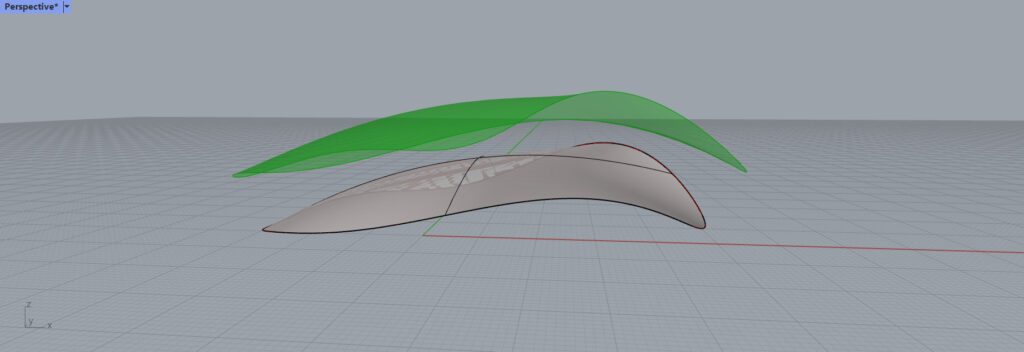
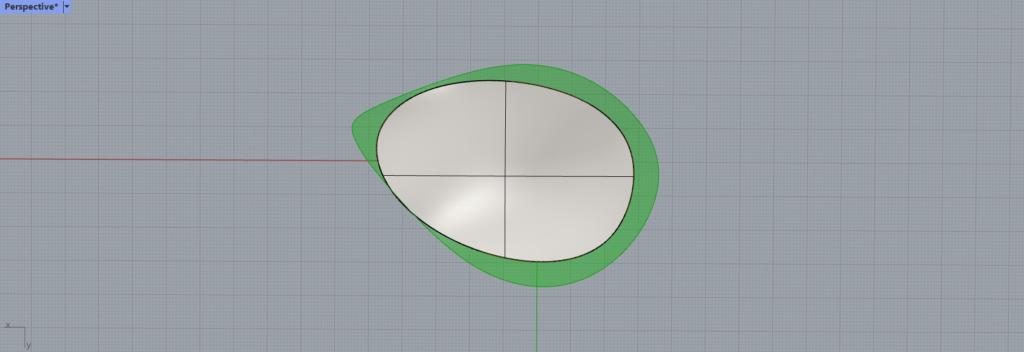
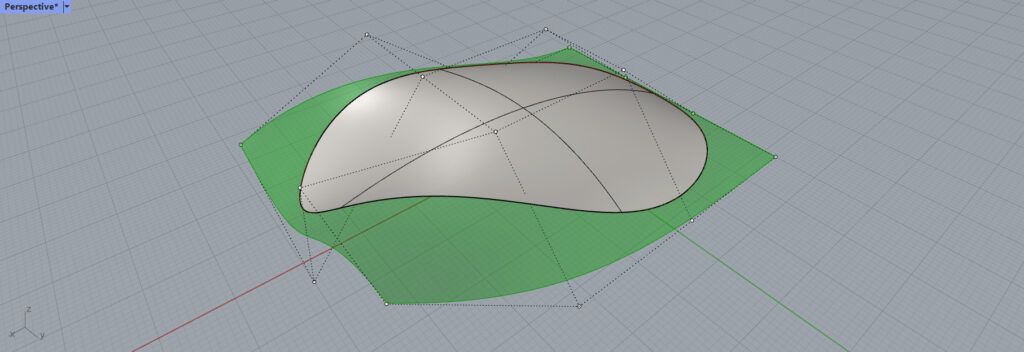
The surface to be used this time is shown above.
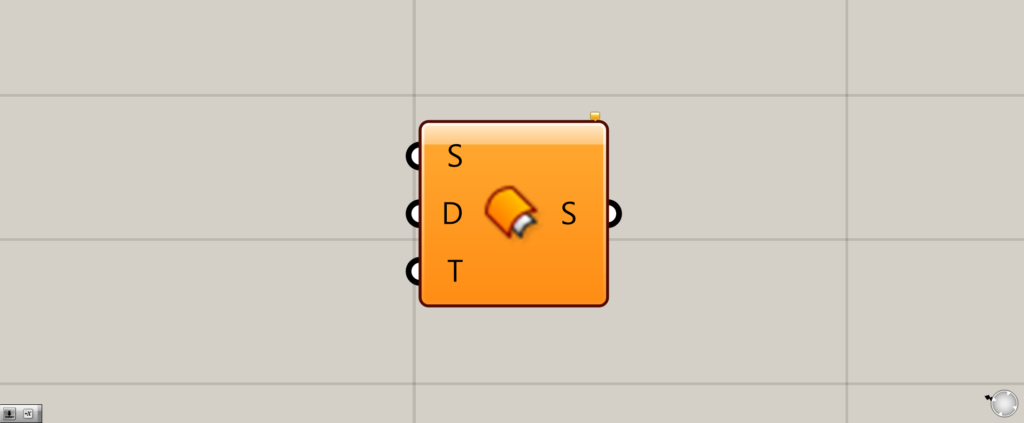
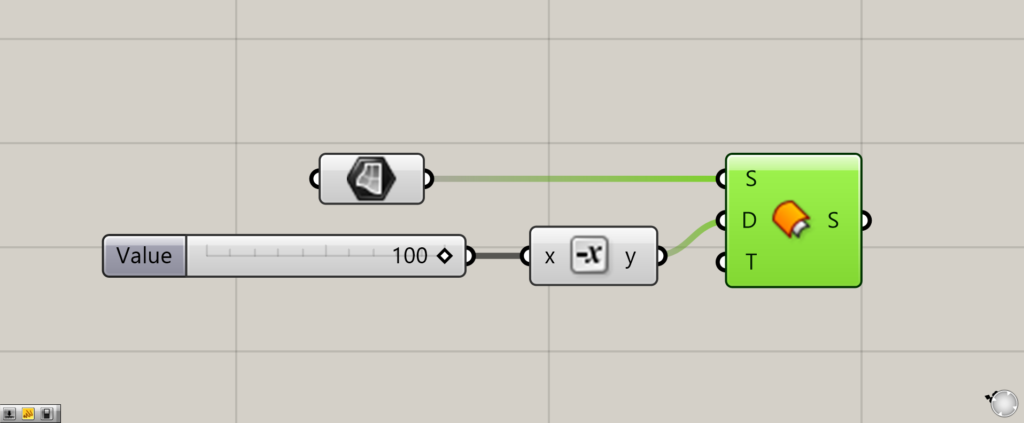
Components used:①Surface ②Offset Surface
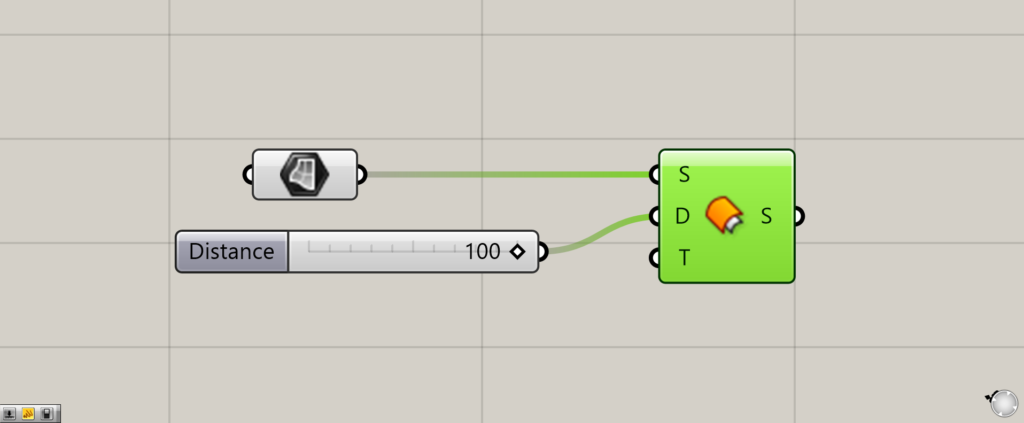
Offset Surface is basically to input the surface to be offset to the Offset Surface(S) and the numerical value of the distance to the Surface(D).
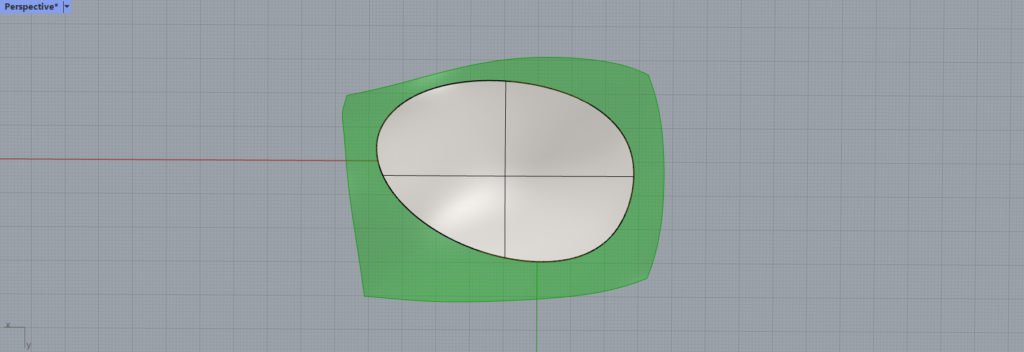
In this case, the value to be offset is set to 100.

The surface is now offset by the specified distance of 100.
Offset in the opposite direction
Additional component:①Negative
You can also offset a surface in the opposite direction.
You can reverse the offset by setting the value of the distance to a negative value.
In this case, Negative is used to make the number negative.
Then it was offset in the opposite direction from the previous one.
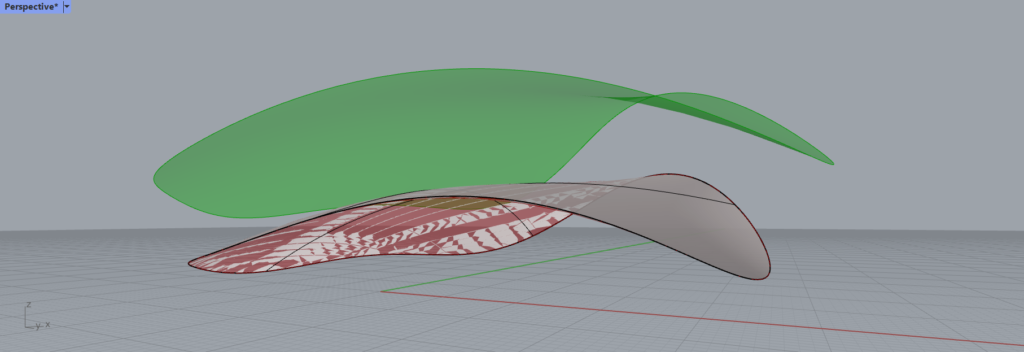
From another angle, it looks like this
Create a Surface with control Points by Manipulating Offset Surface(T)
By manipulating the Offset Surface(T), you can create a surface with control points.
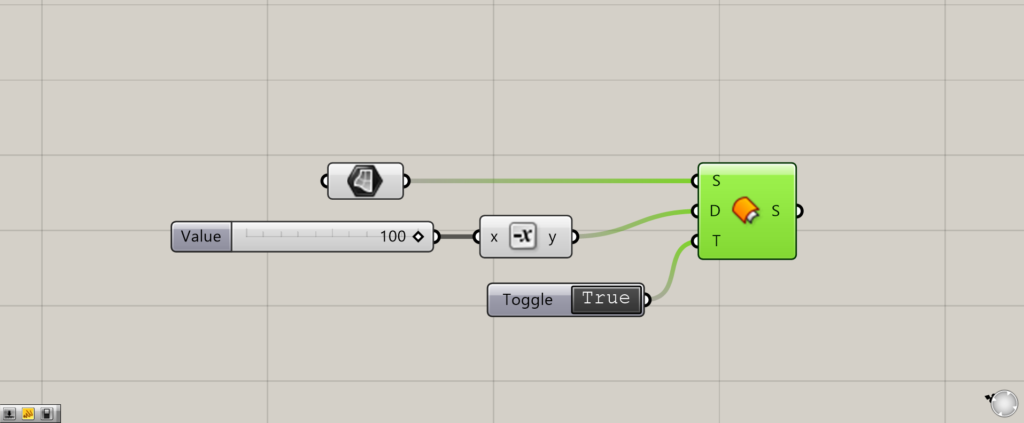
Additional component:①Boolean Toggle
On the Offset Surface(T), a Boolean Toggle can be used to switch between True and False.
Initially, it is set to True.
Here is the initial True state.

Now we will try to convert it to False.
The surface is now a little more square-like, as shown here.

Let’s look at why this happens.
On Rhinoceros, select the original surface and select PointsOn.
This will allow you to see the control points on the surface.
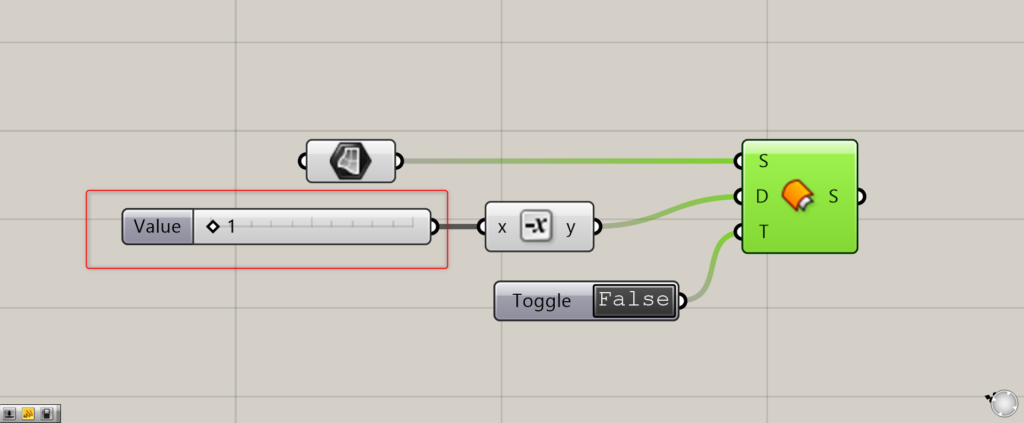
Then, on Grasshopper, set the distance to be offset as close to 0 as possible.
In this case, we set it to 1.
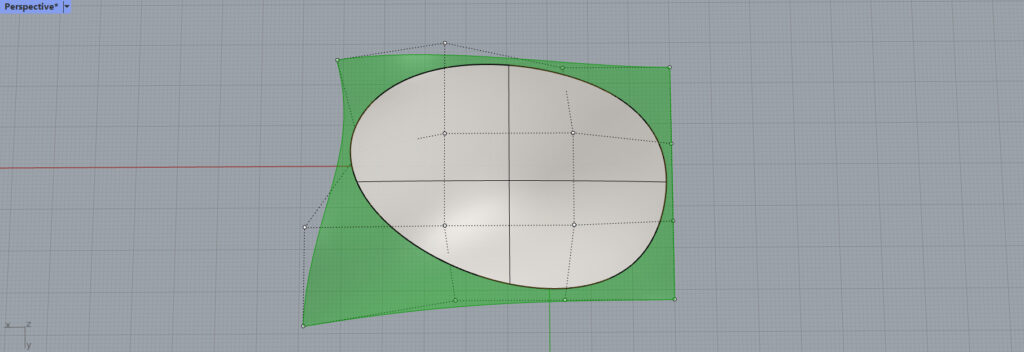
Then you can see that the surface is completely based on the control points.
By setting it to False, it means that the surface is completely based on the control points.
From another angle, it looks like this.
List of Grasshopper articles using Offset Surface component↓


Comment