
![[Grasshopper] How to use Custom Preview to reflect and view colors and materials](https://iarchway.com/wp-content/uploads/2025/09/Custom-Preview.png)
This article explains how to use Custom Preview to reflect and view colors and materials.
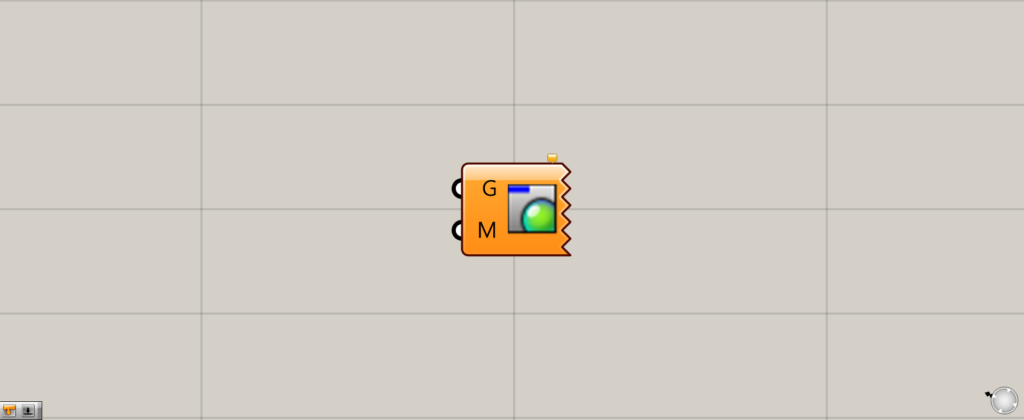
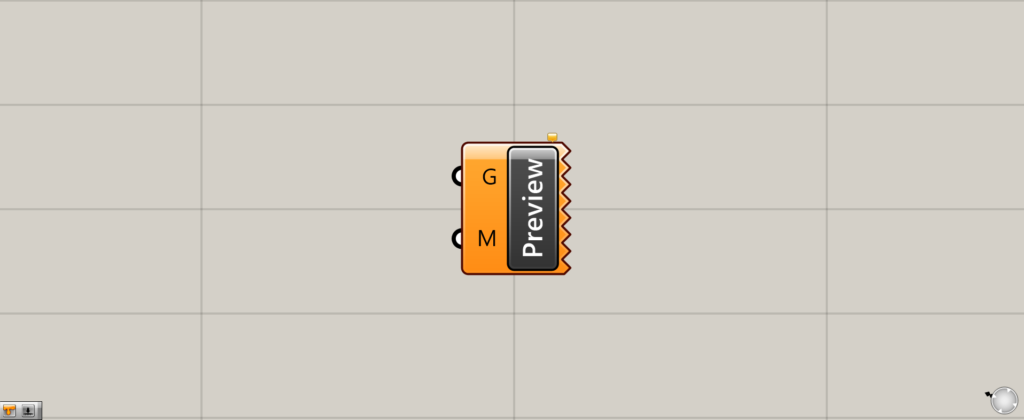
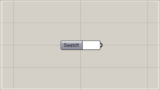
On the Grasshopper, it is represented by either of the two above.
Reflecting a specified color or material on an object
Custom Preview allows you to reflect a specified color or material on an object.
In this example, we will use a sphere object.
Reflecting a color on an object
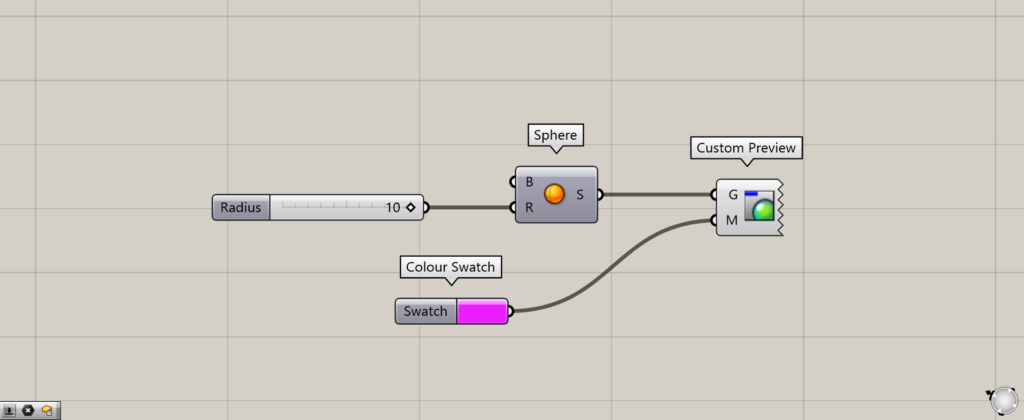
Components used: (1) Sphere (2) Colour Swatch (3) Custom Preview
First, let’s specify a color for the object.
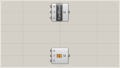
Connect the sphere object created with Sphere to the Custom Preview(G).
Then, connect the color information to the Custom Preview(M).
This time, we created a color in Colour Swatch and connected it to the Custom Preview(M).
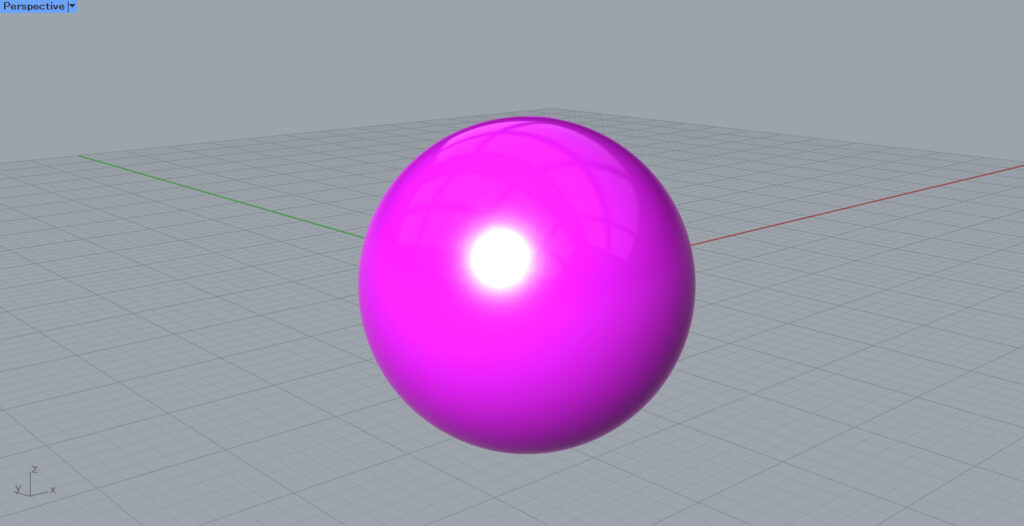
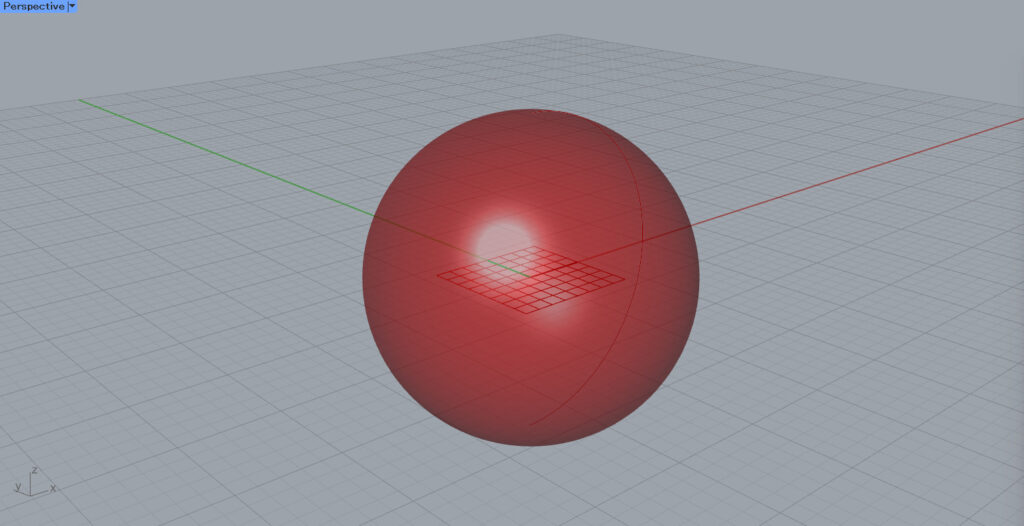
As you can see, the specified color is reflected in the object.
In this way, the color can be reflected in the object.
Reflecting a material to an object
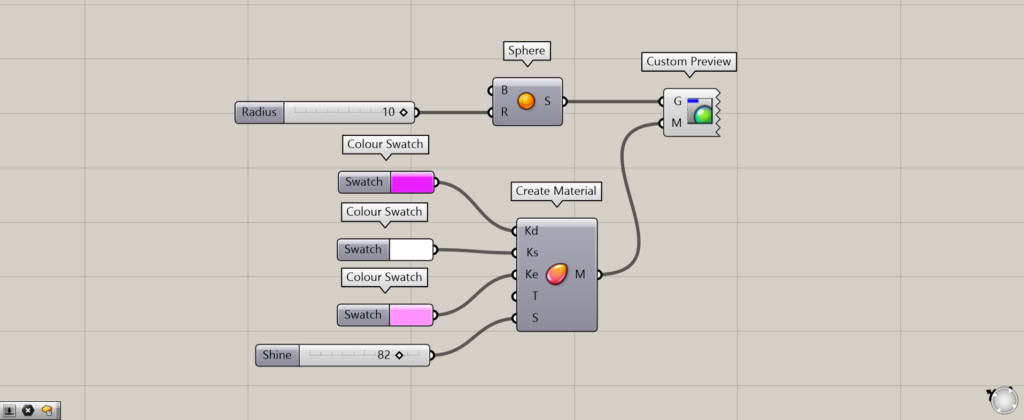
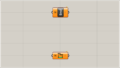
Components used: (1) Sphere (2) Colour Swatch (3) Create Material (4) Custom Preview
Next, let’s reflect the material on the object.
This time, the material created with Create Material is reflected in the sphere object.
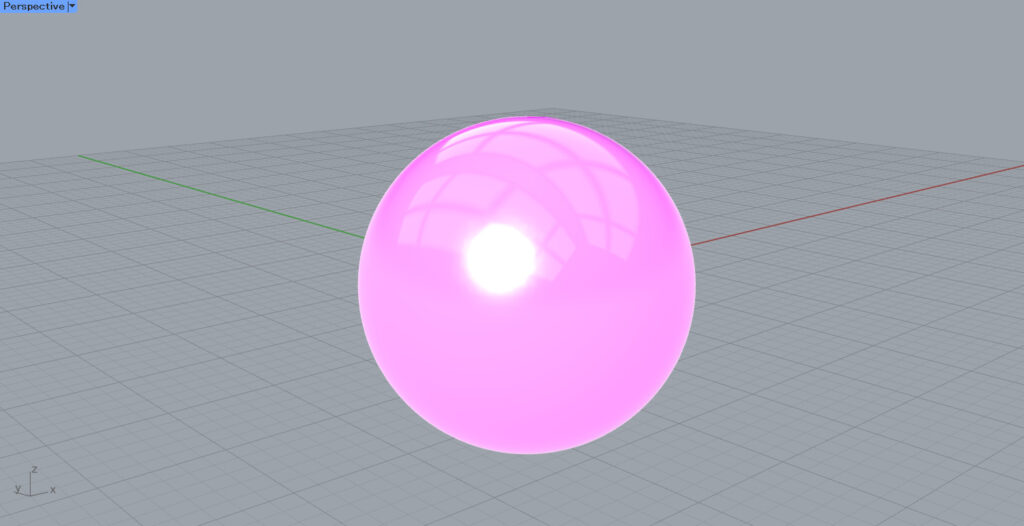
As you can see, the material was also reflected in the object.
Reflecting a material created in Rhino
Materials created in Rhino can also be reflected.
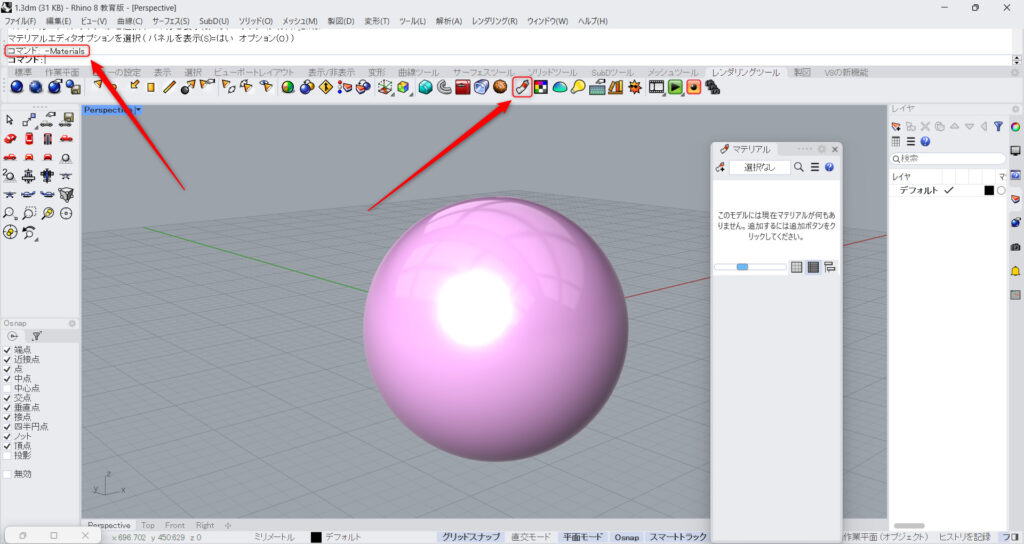
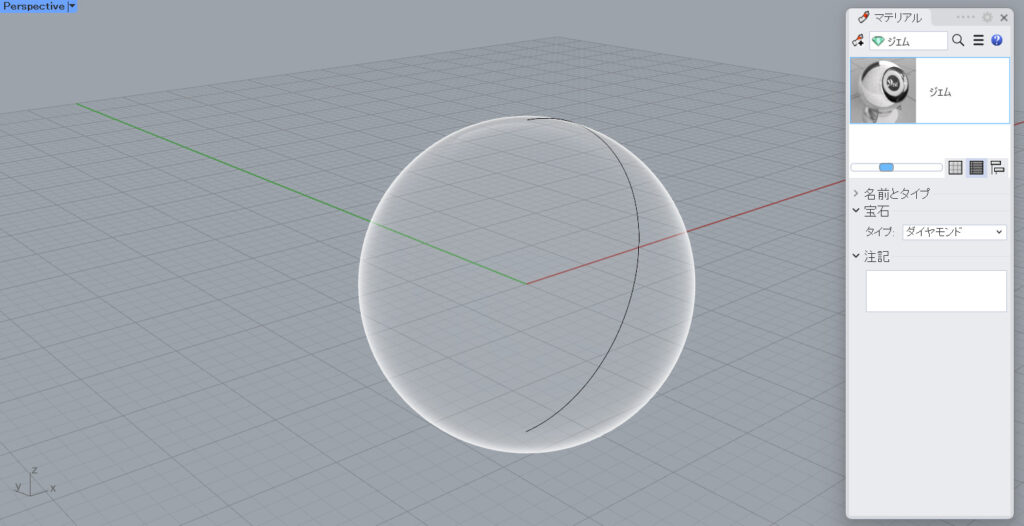
First, create a material in Rhino.
Enter the command Materials or click on the icon in the red frame in the render tool in the image above.
The Material window will then appear.
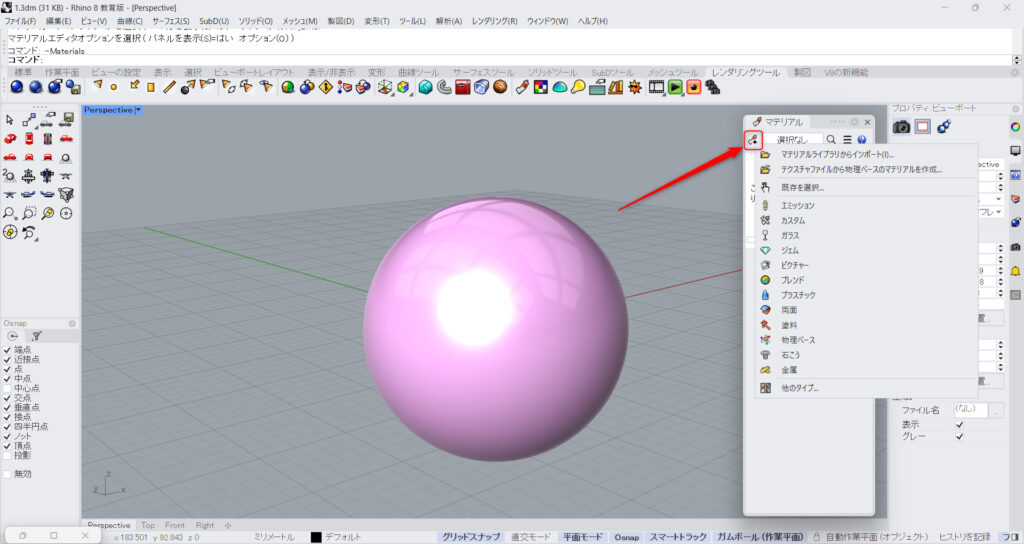
Clicking on the icon in the upper left corner allows you to choose from a variety of material types.
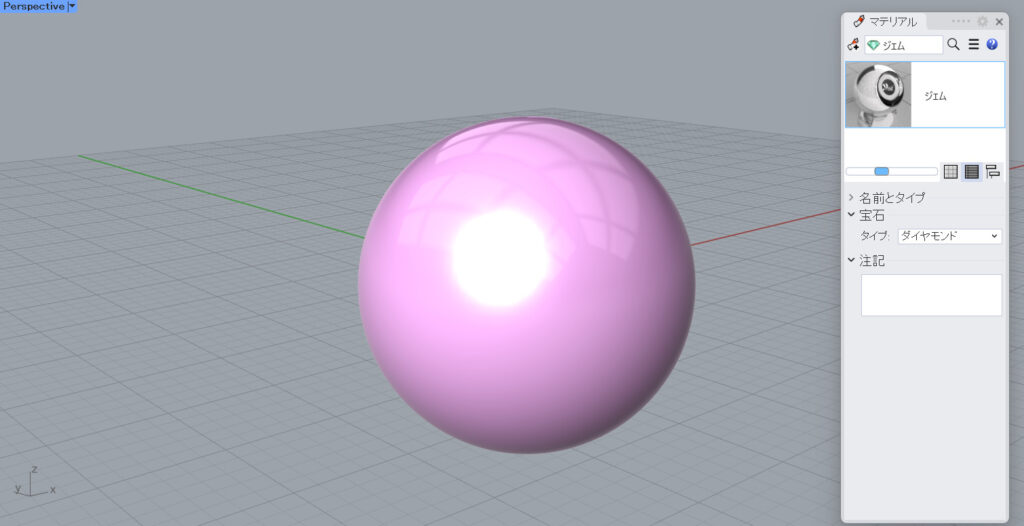
In this case, we selected and created a material gem.
This completes the preparation on the rhino.
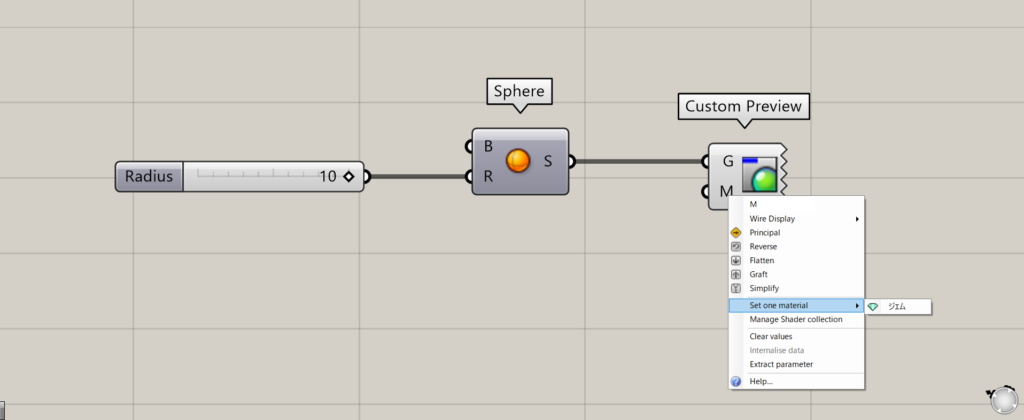
Then, right click on the the Custom Preview(M) on the Grasshopper and move the cursor to Set one material.
The material created on the Rhino can then be selected.
In this case, we have created a Gem material, so we can select a Gem.
As a result, the material on the Rhino is reflected.
List of Grasshopper articles using Custom Preview component↓

Comment