
![[Grasshopper] How to use Gradient to create color gradients](https://iarchway.com/wp-content/uploads/2025/09/Gradient.png)
This section explains how to use the Gradient component to create color gradients.
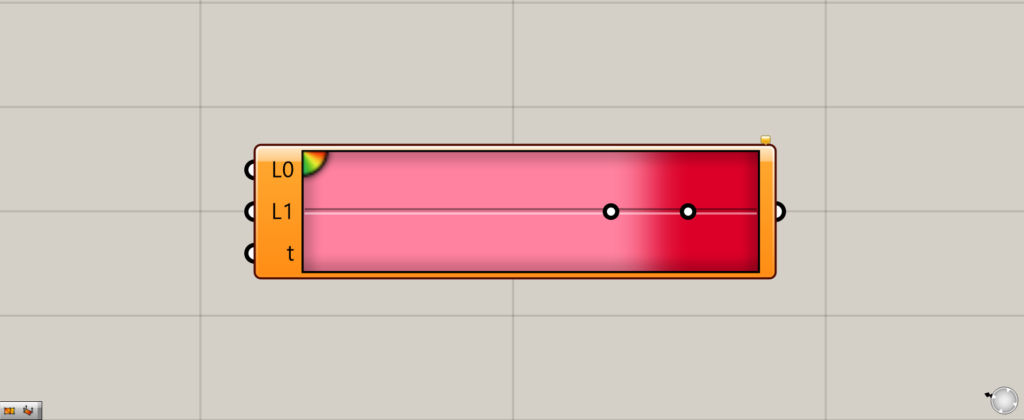
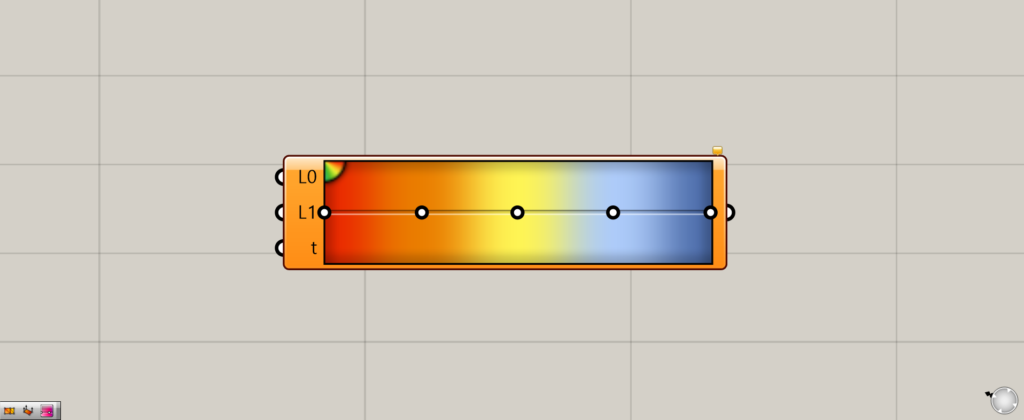
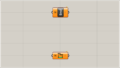
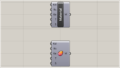
On the Grasshopper, it is represented by either of the two above.
Creating a color gradient
Gradient allows you to create color gradients.
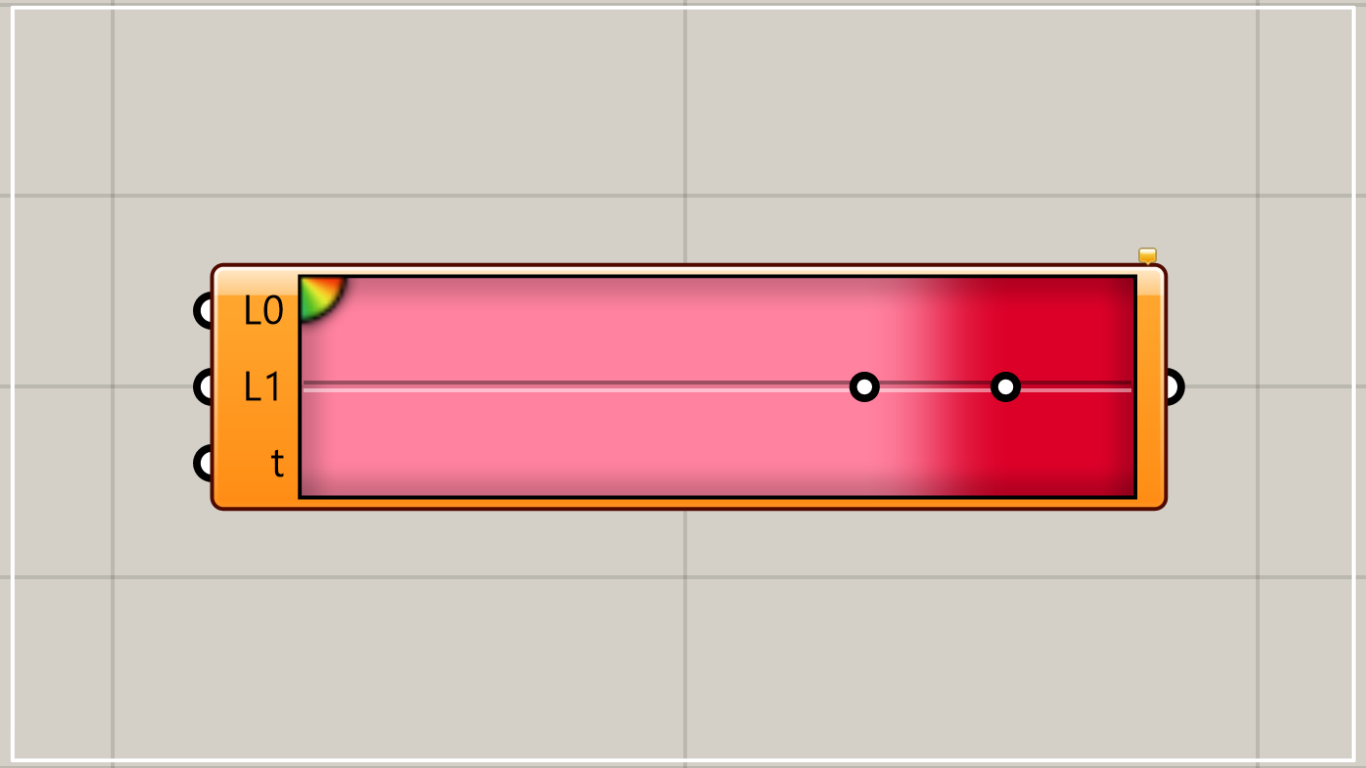
Editing a color gradient
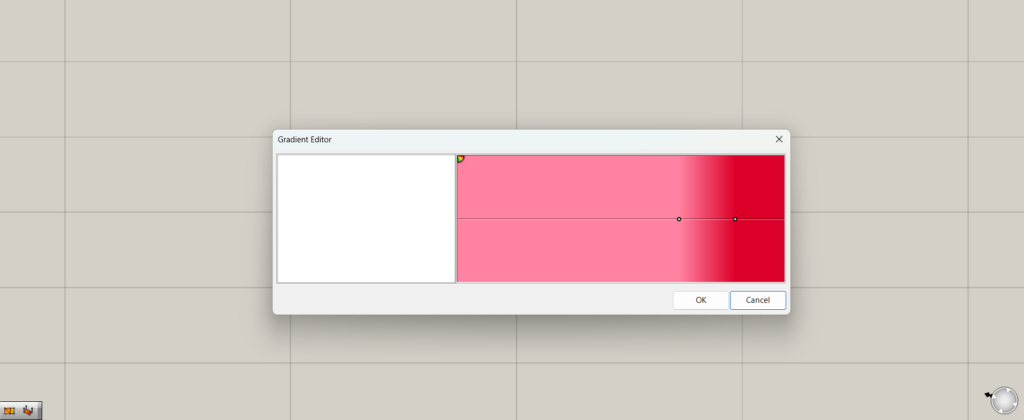
By double-clicking on Gradient, a window for editing colors and gradients will appear.
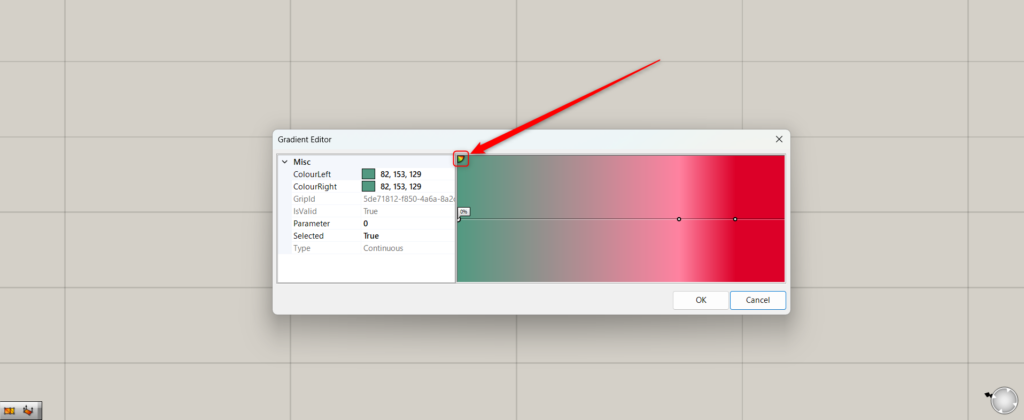
Click the icon in the upper left corner of the screen where the color is displayed to add a new color.
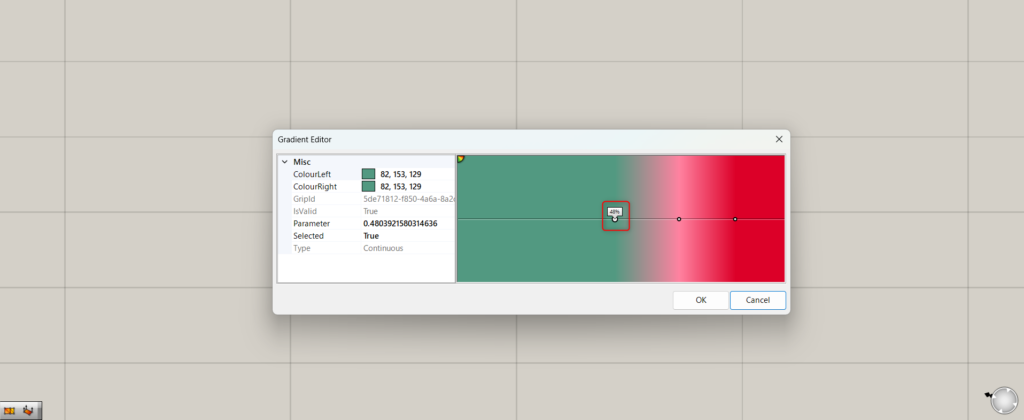
By moving the white circle on the screen, you can change the position of that color.

By editing Colour Left and Colour Right, you can change the color.
First, let’s edit Colour Left.
Clicking on either one will display a down arrow, and selecting it will allow you to choose a color.
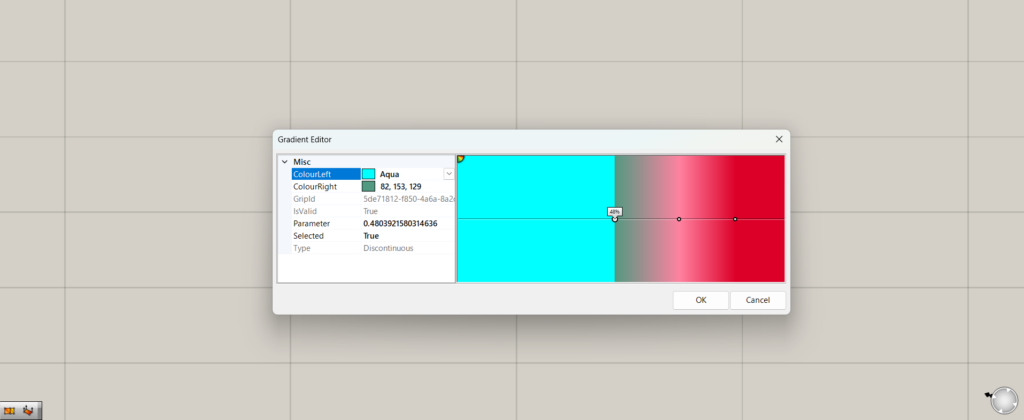
In this case, I chose a color close to light blue.
If you are editing only one of Colour Left or Colour Right, only one of the colors will change.
In this case, since only Colour Left is edited, only the left side is changed.
In this case, there is no gradient, but a single color.
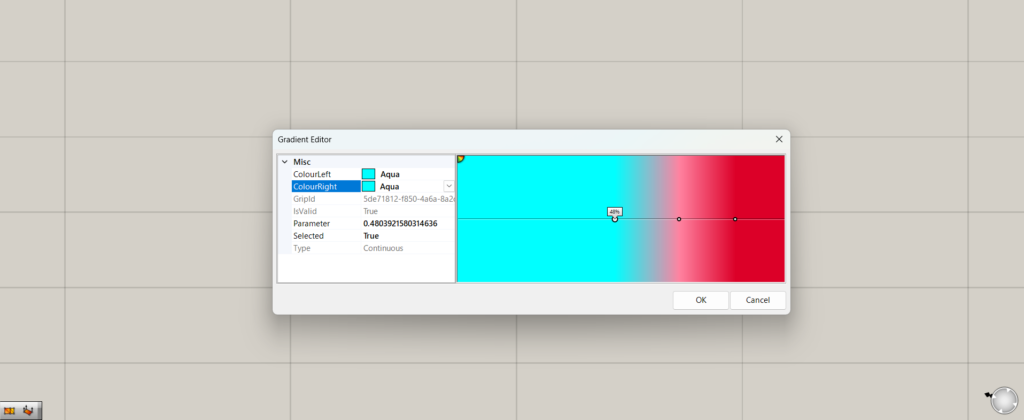
If we change Colour Right to the same color, the color on the other side also becomes the same.
In this case, if both sides are the same color, a gradient is created.
Using Prepared Gradients
You can also use a variety of pre-made gradients.
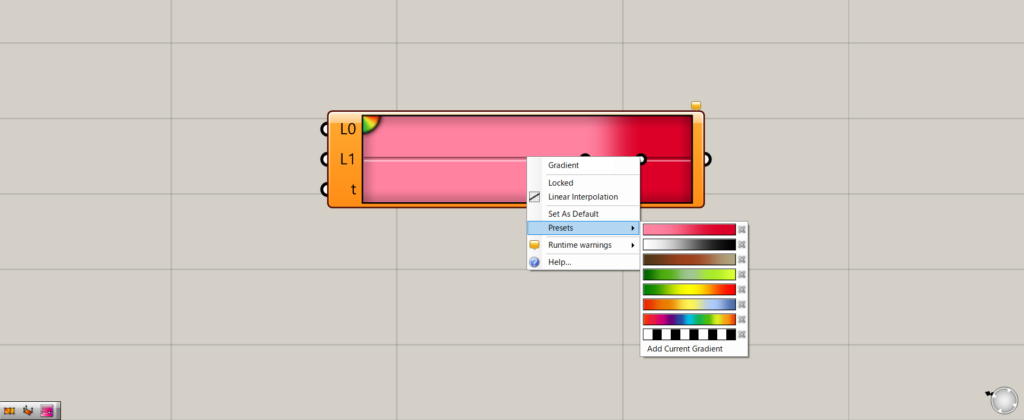
Right-click on a gradient and select Presets to see the available gradients.
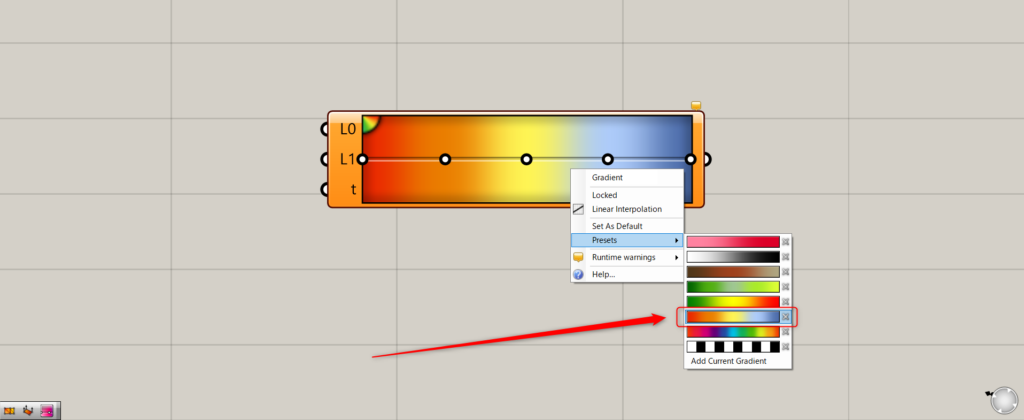
For this example, we chose the third gradient from the bottom.
As you can see, we can now use the pre-prepared gradient of the third from the bottom.
Of course, you can also edit this gradient.
.Reflecting a gradient on an object
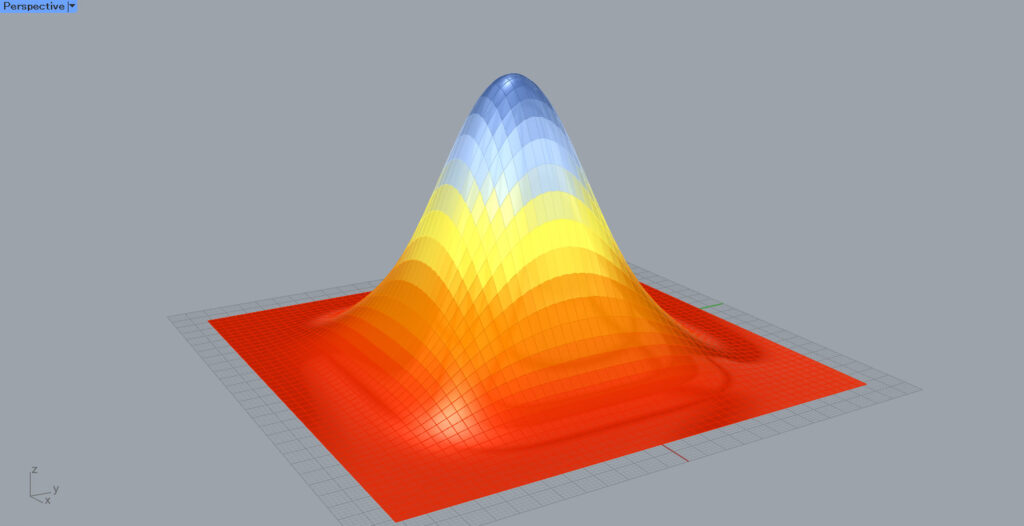
Let’s try to apply the gradient to an object.

In this case, as shown in the image above, we will try to make the surface change color gradient by gradient, depending on the height of the surface.

Components used: (1) Surface (2) Divide Domain² (3) Isotrim (4) Area (5) Deconstruct (6) Bounds (7) Deconstruct Domain (8) Gradient (9) Custom Preview
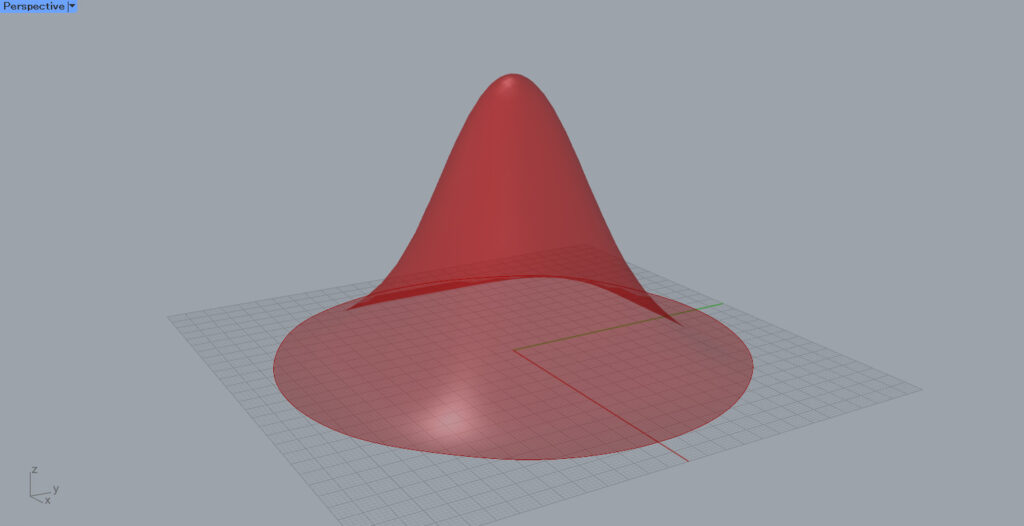
This surface is used to set the Surface.
Connect the Surface to the Divide Domain²(I) and input a numerical value to the Divide Domain²(U and V) to divide it in the U and V directions.
In this case, input 50 to both.
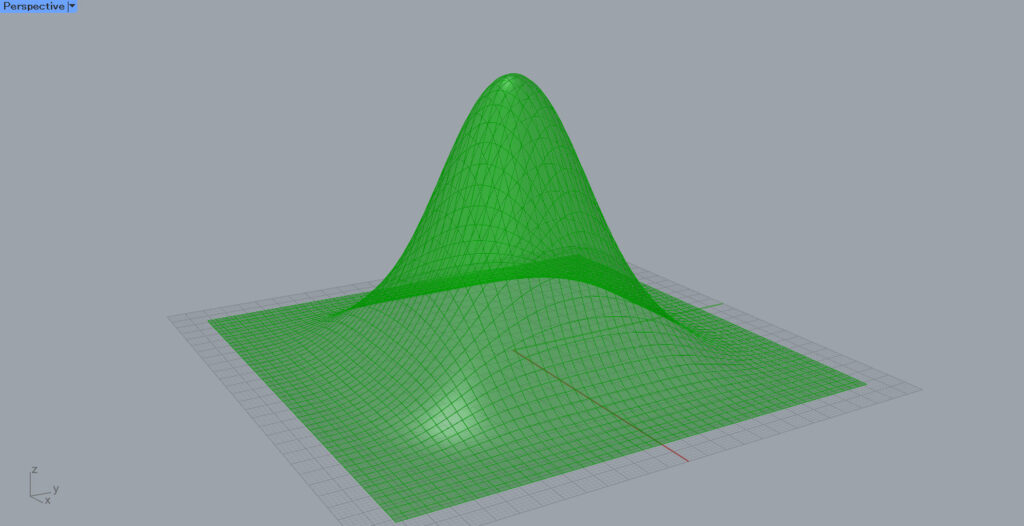
After that, connect Surface to the Isotirm(S) and Divide Domain² to the Isotirm(D).
The surface is now divided as shown in the image above.
By connecting Isotirm to Area, the center point of each divided surface can be extracted.
Then, connecting the Area(C) to Deconstruct, only the Z height value of the center point in the Z direction is output from the Deconstruct(Z) on the right side.
Then, connecting the Deconstruct(Z) to Bounds will create a domain range created from the minimum and maximum height values.
In this case, a domain range of 2.2223e-7 To 69.896548 is created, indicating that there are height values between 2.2223e-7 and 69.896548.
Furthermore, by connecting Bounds to Deconstruct Domain, we can extract the minimum height value from the Deconstruct Domain(S) and the maximum value from the Deconstruct Domain(E).
In this case, 2.2223e-7 is extracted from the Deconstruct Domain(S) for the minimum value and 69.896548 from the Deconstruct Domain(E) for the maximum value.
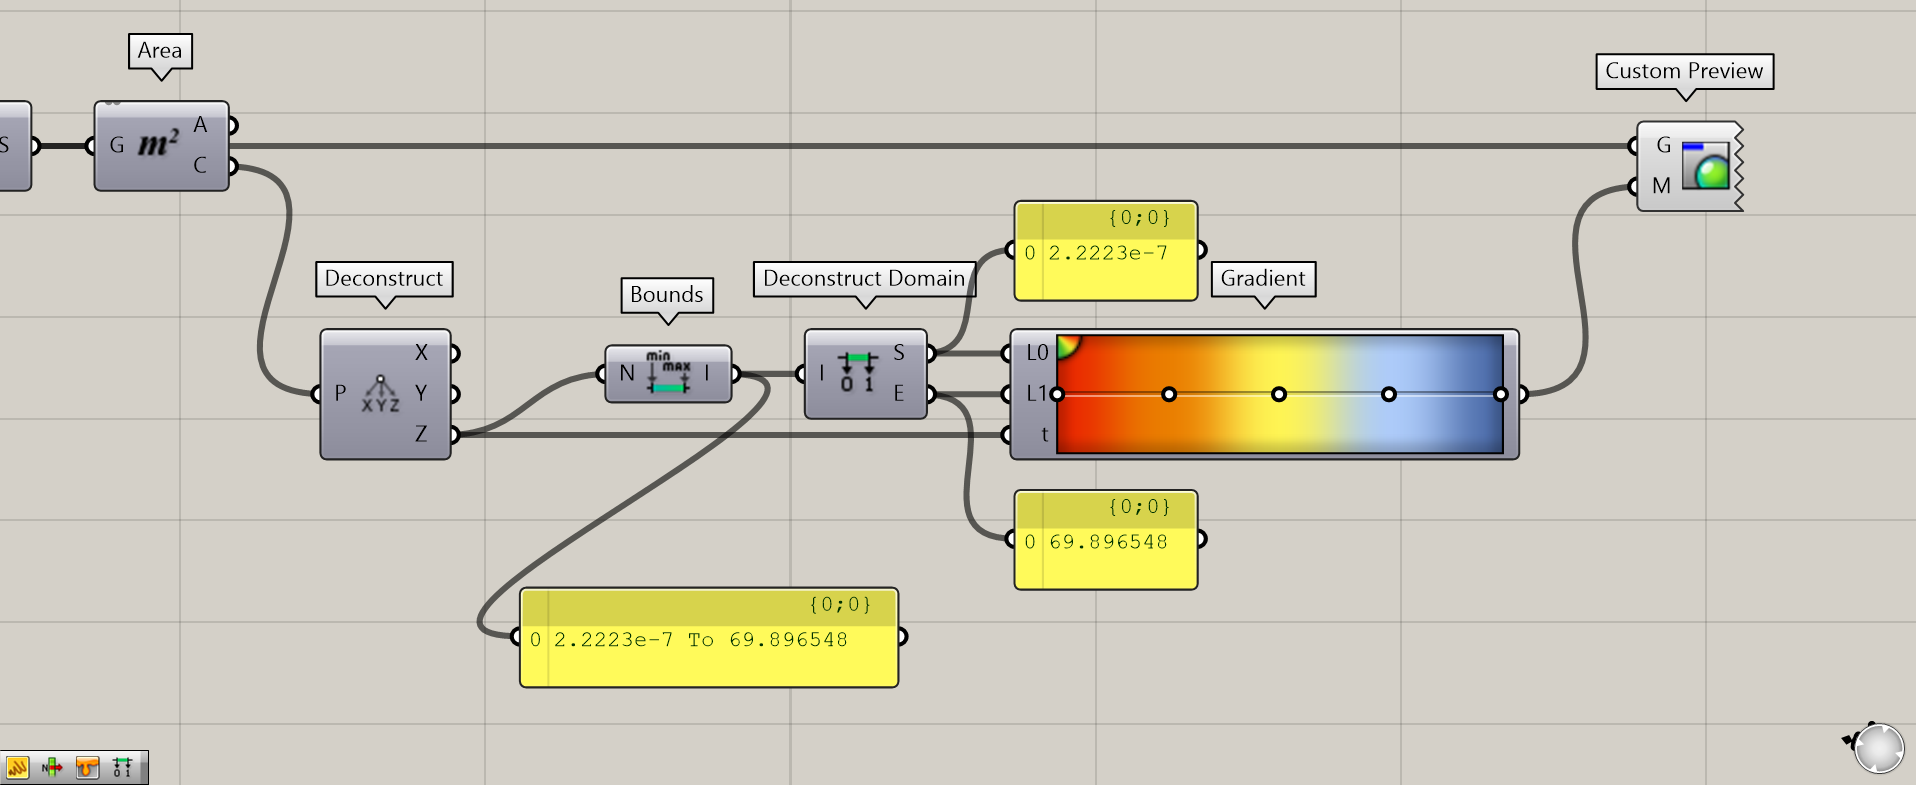
Then, the minimum value from the Deconstruct Domain(S) is connected to L0 of Gradient, and the maximum value from the Deconstruct Domain(E) is connected to L1.
The Deconstruct(Z) is connected to the Gradient(t).
This creates a gradient that changes color according to height from a range of minimum and maximum values.
Finally, connect Gradient to the Custom Preview(M) and Isotrim to the Custom Preview(G).
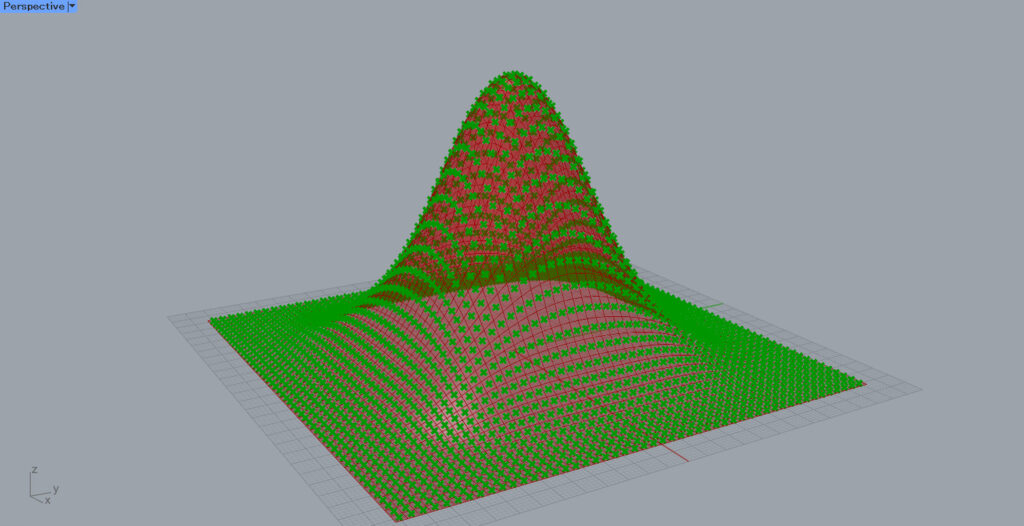
This will cause the gradient to be reflected on the surface.
As you can see in the image above, the color of the gradient changes depending on the height of the surface.
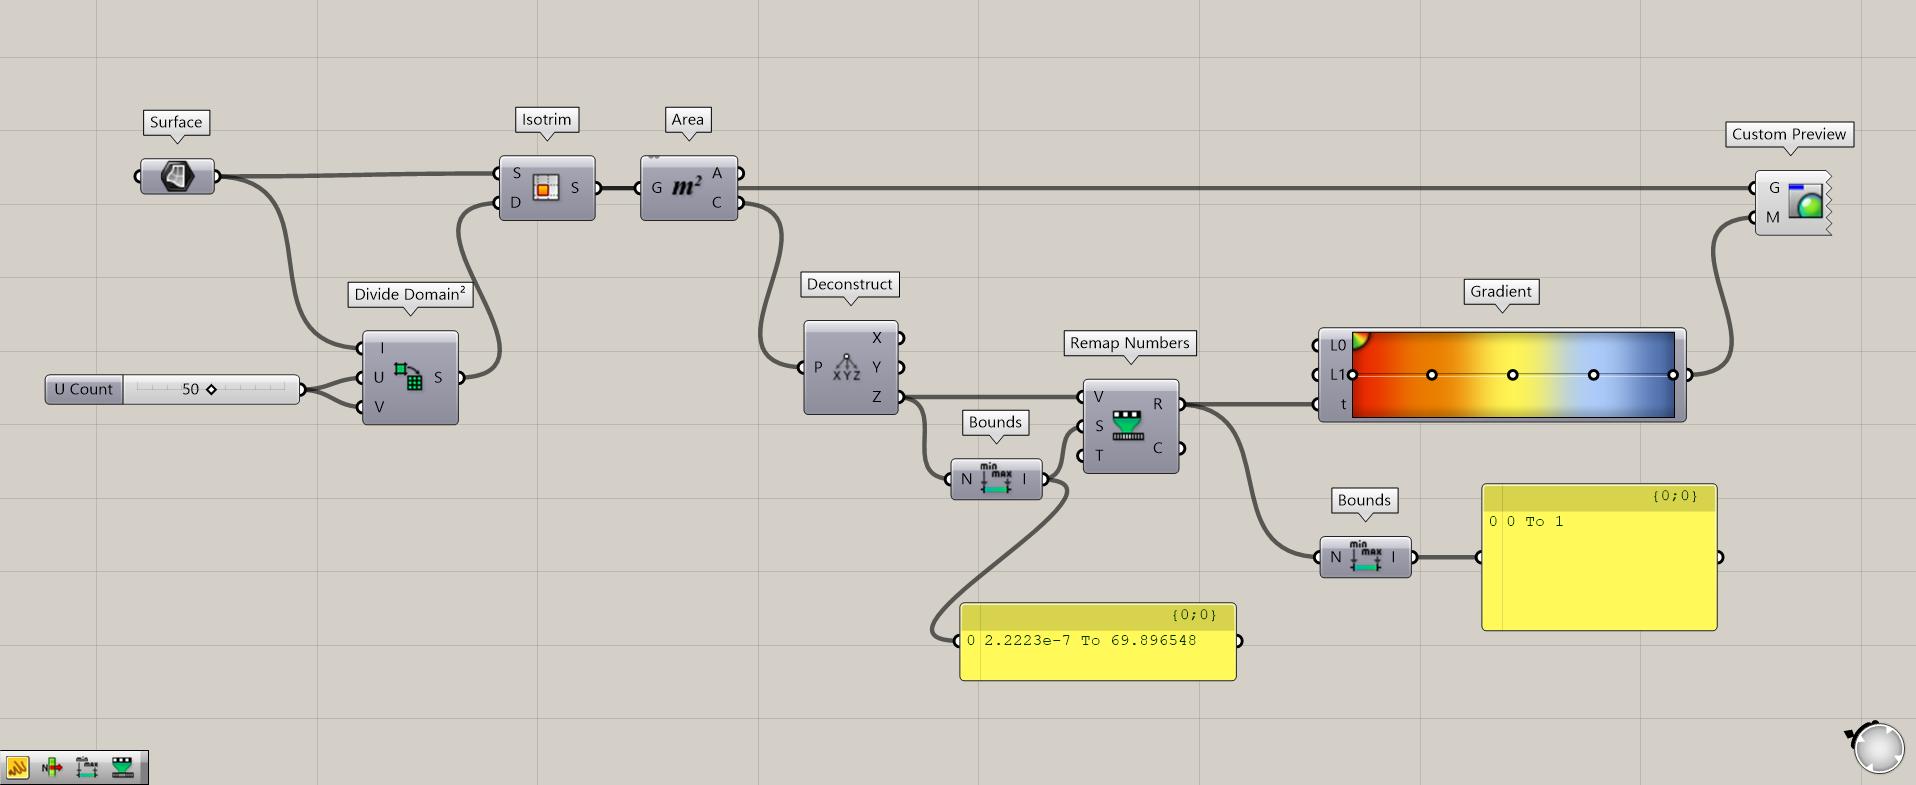
Additional Components: (1) Remap Numbers
Let’s also look at the case where no minimum and maximum values are specified for the Gradient.
Up until now, the minimum and maximum values were connected to the Gradient(L0 and L1).
If you do not set them, the values connected to the Gradient(t) must be 0~1 values.
In this case, the height value is a number in the range of 2.2223e-7 to 69.896548.
By using Remap Numbers, this can be changed to a number in the range of 0~1.
Connect the Deconstruct(Z) to the Remap Numbers(V), and connect the Bounds(I) to the Remap Numbers(S).
Then, connect the Remap Numbers(R) to the Gradient(t).
Even without specifying the minimum and maximum values, the gradient is reflected as shown here.
List of Grasshopper articles using Gradient component↓

Comment