
![[Grasshopper] How to use Reverse as one method for manipulating data structures](https://iarchway.com/wp-content/uploads/2025/10/Reverse.png)
This article explains how to use Reverse as one method for manipulating data structures.

When set to “Reverse,” a round arrow mark appears at the edge of the component as shown here.
How to set “Reverse” and its effect
First, let’s take a look at how to set up Reverse and its effects.
Components used: (1) Series
As an example, we have used Series to create an equal-difference sequence and list data of numbers from 0 to 9.
We input 1 to the Series(N) and 10 to the Series(C).
This created 10 numerical values with the numerical values increasing by 1 from 0.
Therefore, numerical data of 0~9 was created.
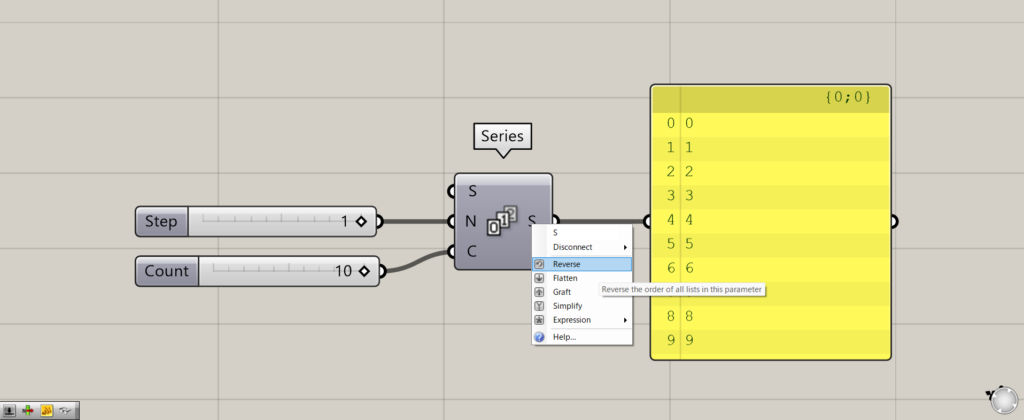
To set the value to Reverse, right-click on the terminal at the end of the component and select Reverse.
In this case, we set Reverse to the Series(S).

A round arrow mark will now appear on the terminal as shown here.
This completes the Reverse setting.
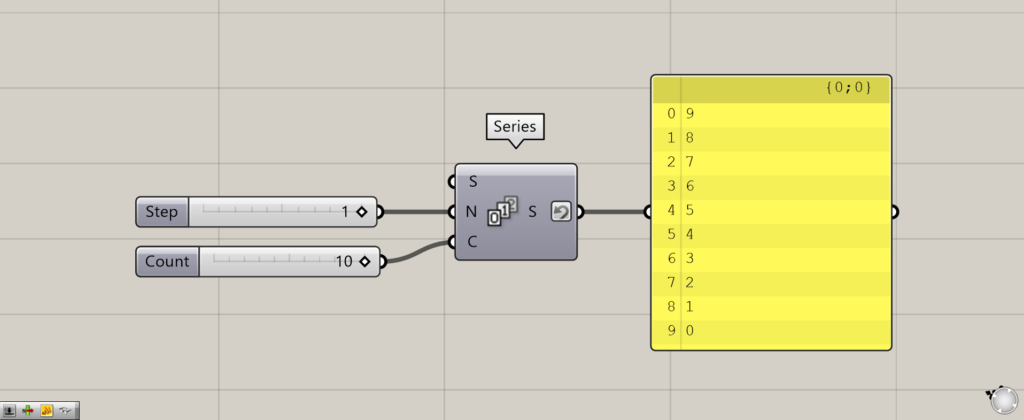
When set to Reverse, the order of the list data is reversed.
Before the setting, the order of the numbers was 0 to 9.
After the setting, however, the order of the numbers has changed from 9 to 0.
Thus, it can be seen that the order of the list data is reversed when set to Reverse.
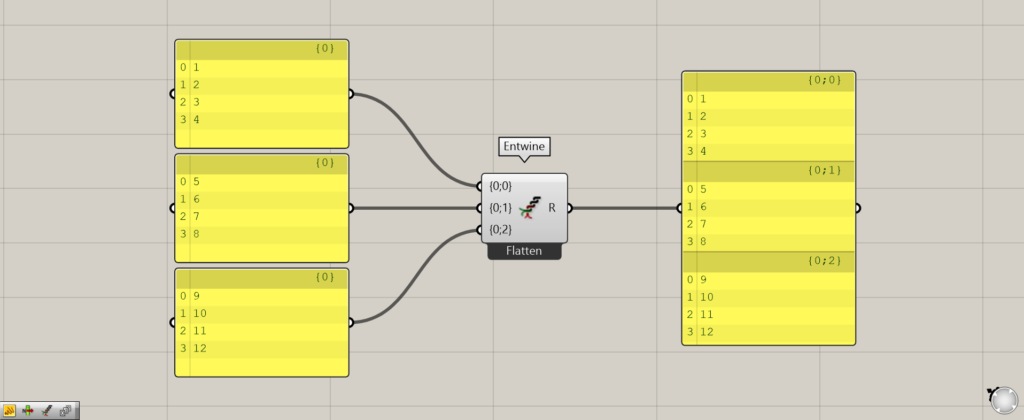
Additional Component: (1) Entwine
Next, let’s look at the case where Reverse is set when there is a branch.
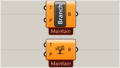
This time, three list data containing four numbers are combined with Entwine.
As a result, we can see that the data is combined in a branch of {0;0}, {0;1}, and {0;2}.

Reverse was set to the Entwine(R).
The order of the branch is not reversed, but the order of the numerical list data in the hierarchy is reversed.
In this way, if there is a branch, and you set Reverse, the branch remains the same.
However, only the order of the numerical list data in the branch is reversed.
Example Usage of Reverse
Let’s look at an example of the use of Reverse to see how it changes before and after use.
This time, we will split the two lines we created at a point and create a new line connecting those points.
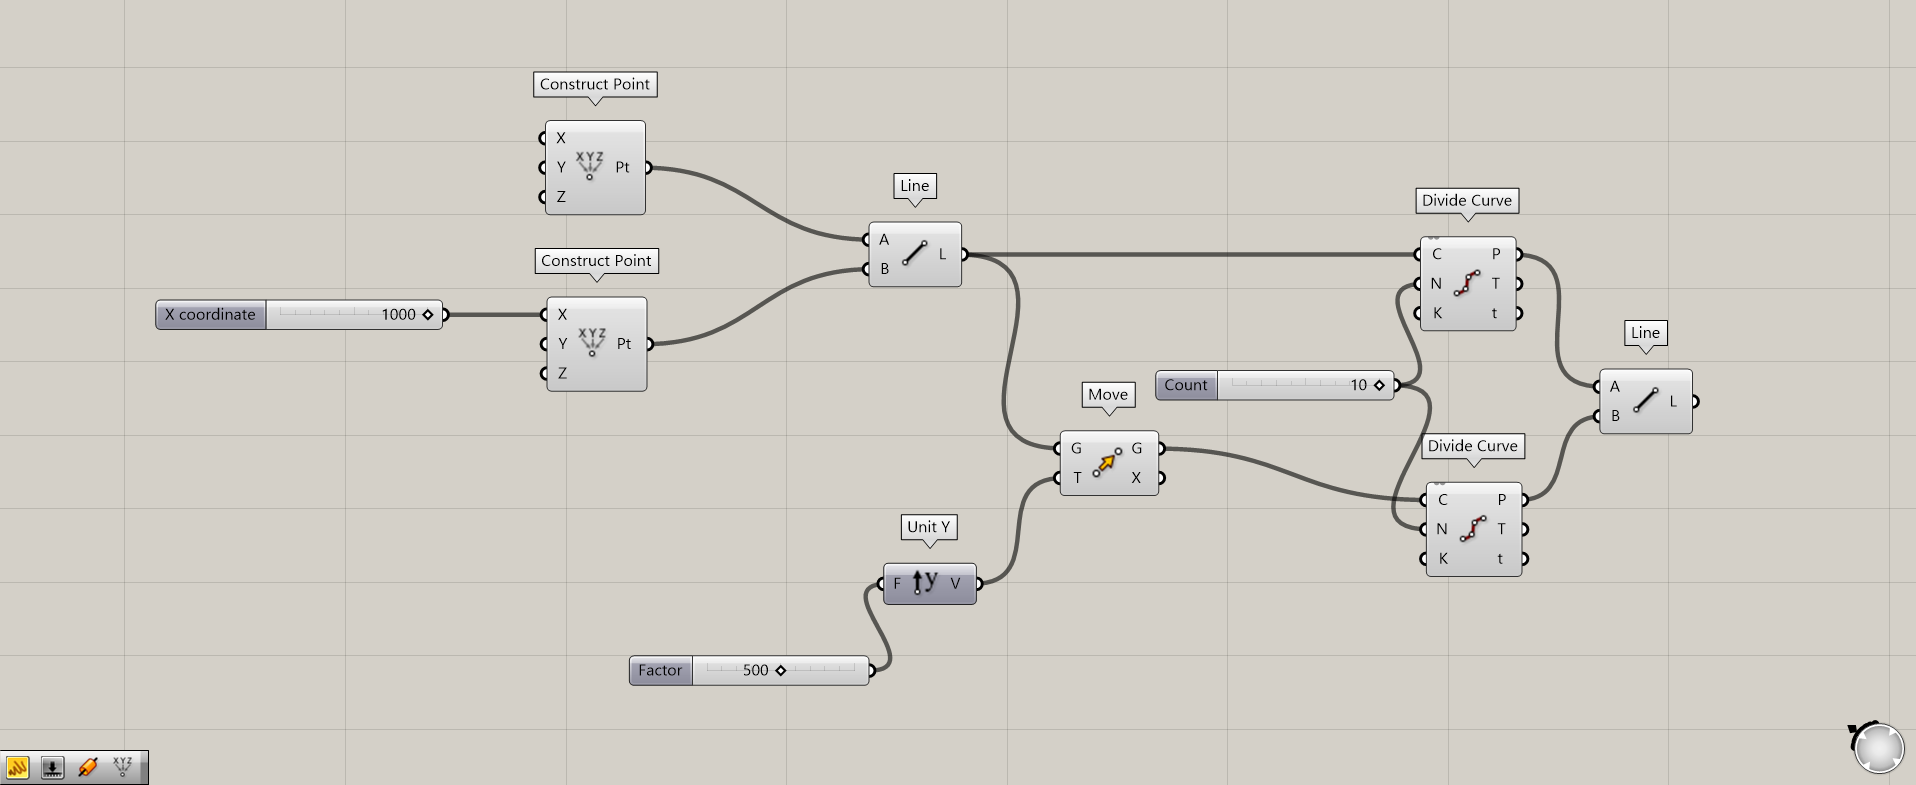
Components used: (1) Construct Point (2) Line (3) Unit Y (4) Move (5) Divide Curve
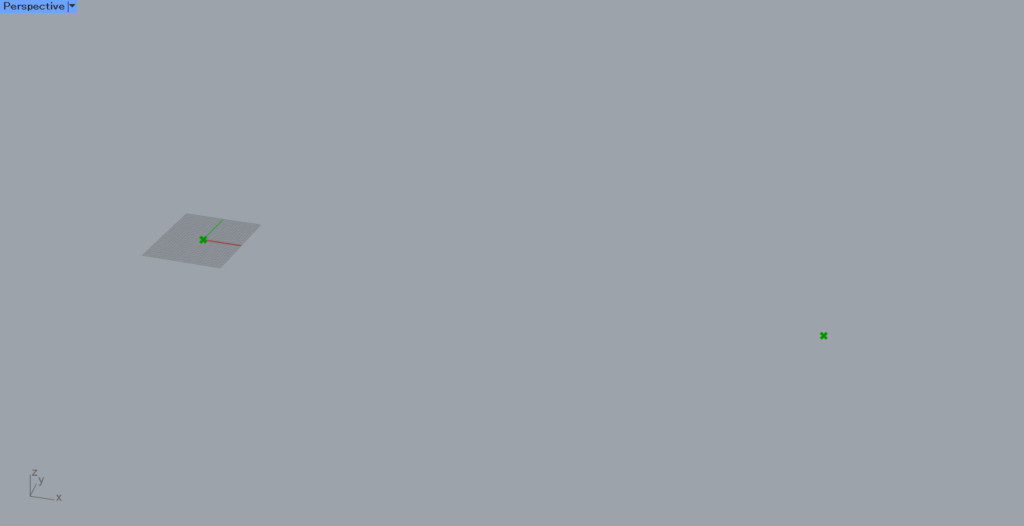
Initially, two Construct Points are used to create two points.
Since nothing is connected to the first Construct Point, the coordinates of the created point will be the origin of 0,0,0.
The second point is created at coordinates 1000,0,0 because 1000 is entered in the Construct Point(X).
Next, the two Construct Points are connected to the Line(A and B) to create a line connecting the two points.
Then, a number of 500 is connected to Unit Y.
Then, connect Line to the Move(G) and connect Unit Y to the Move(T).
This moves the line you just created by a distance of 500 in the Y direction and copies it.
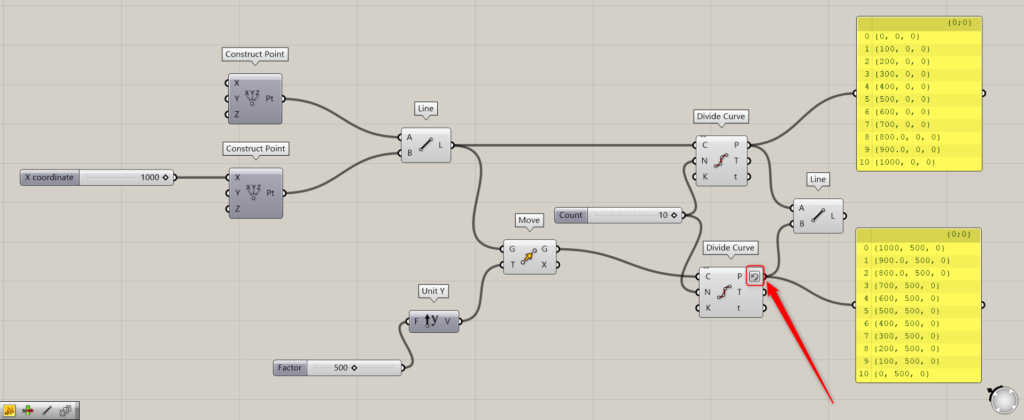
Furthermore, connect the Line(L) and Move(G) to the two Divide Curves(C).
Then, specify the number of divisions at the the Divide Curve(N).
In this case, 10 is input to the N terminal.
This created multiple points that divide the two lines into 10 divisions.
Finally, we connected the two Divide Curves(P) to the new Line(A and B).
This created lines connecting the dividing points.
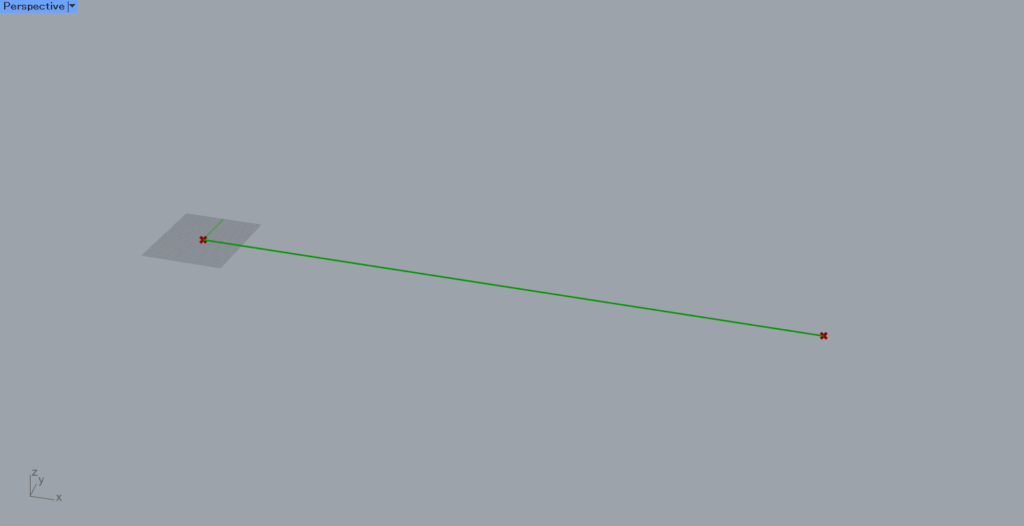
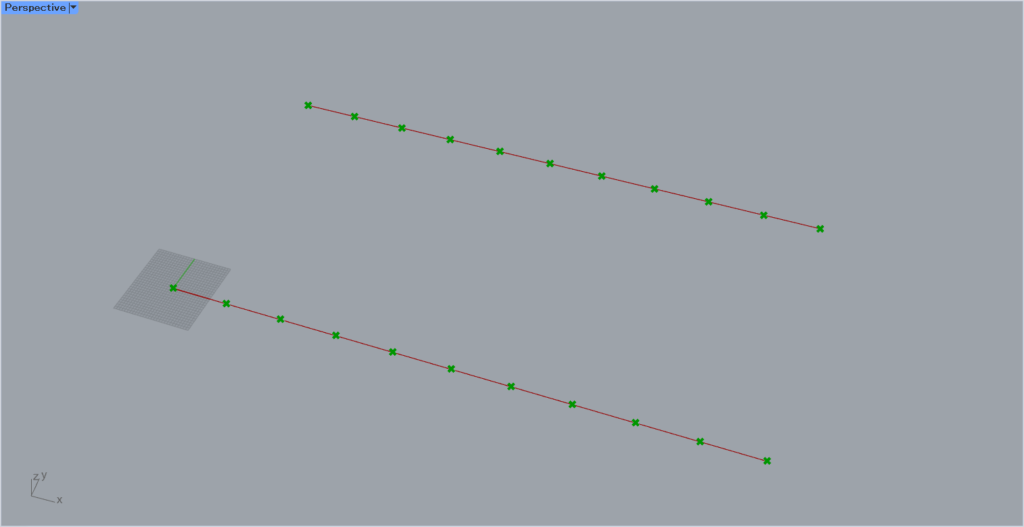
The image above shows the state of the line before Reverse.
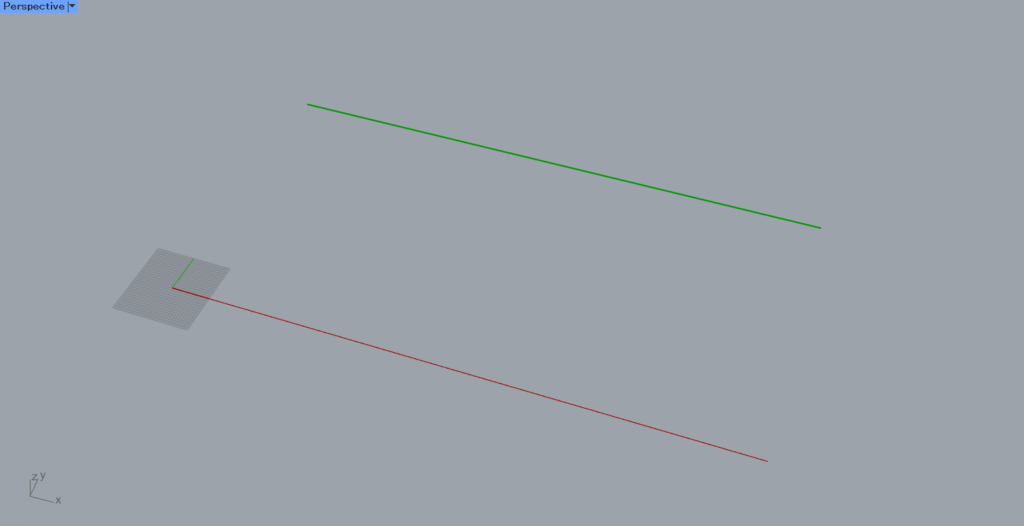
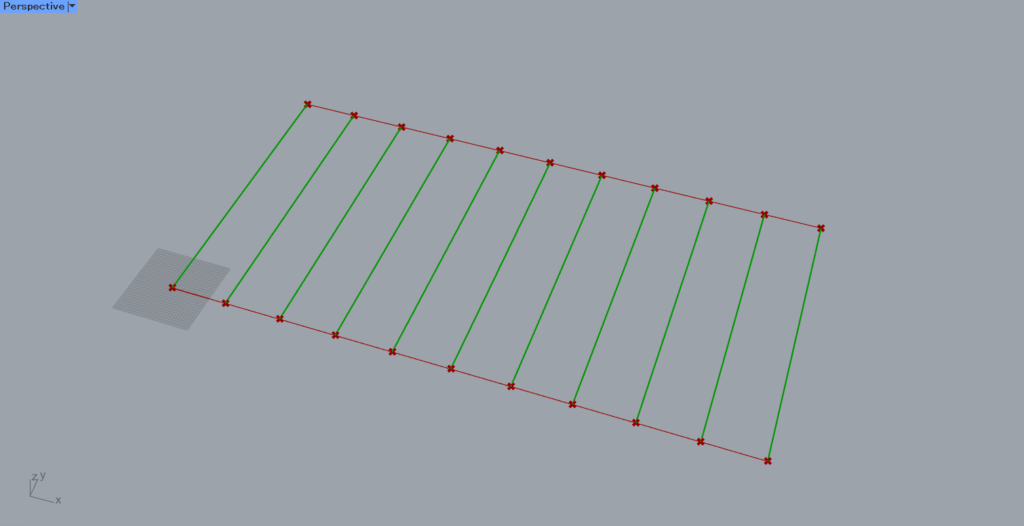
We set Reverse to one of the Divide Curves(P).

Then, the lines are created in such a way that it twists like this.
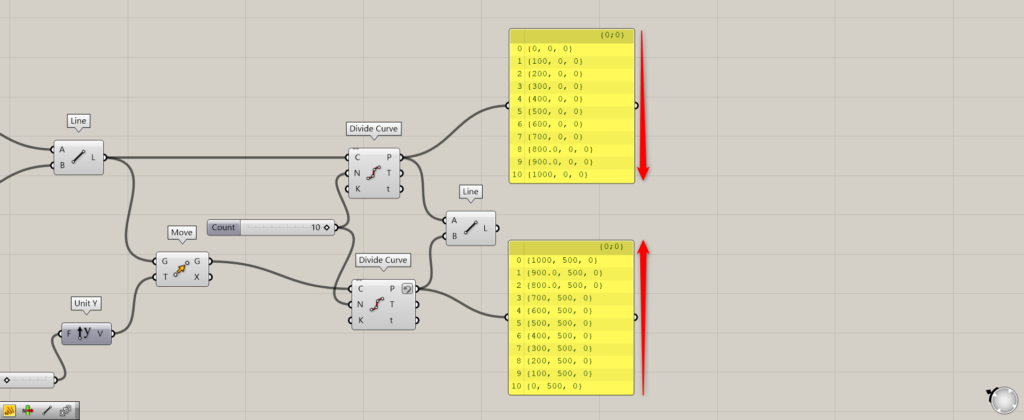
This is because the order of the points with Reverse set is reversed, and the lines are created in a twisted manner.
Lines are created at points with the same index number.
Thus, in the case of index number 0, the points with coordinates 0,0,0 and 1000,500,0 are now connected to each other.
In this way, the Reverse data structure allows us to do many things.
List of Grasshopper articles using Reverse↓


Comment