

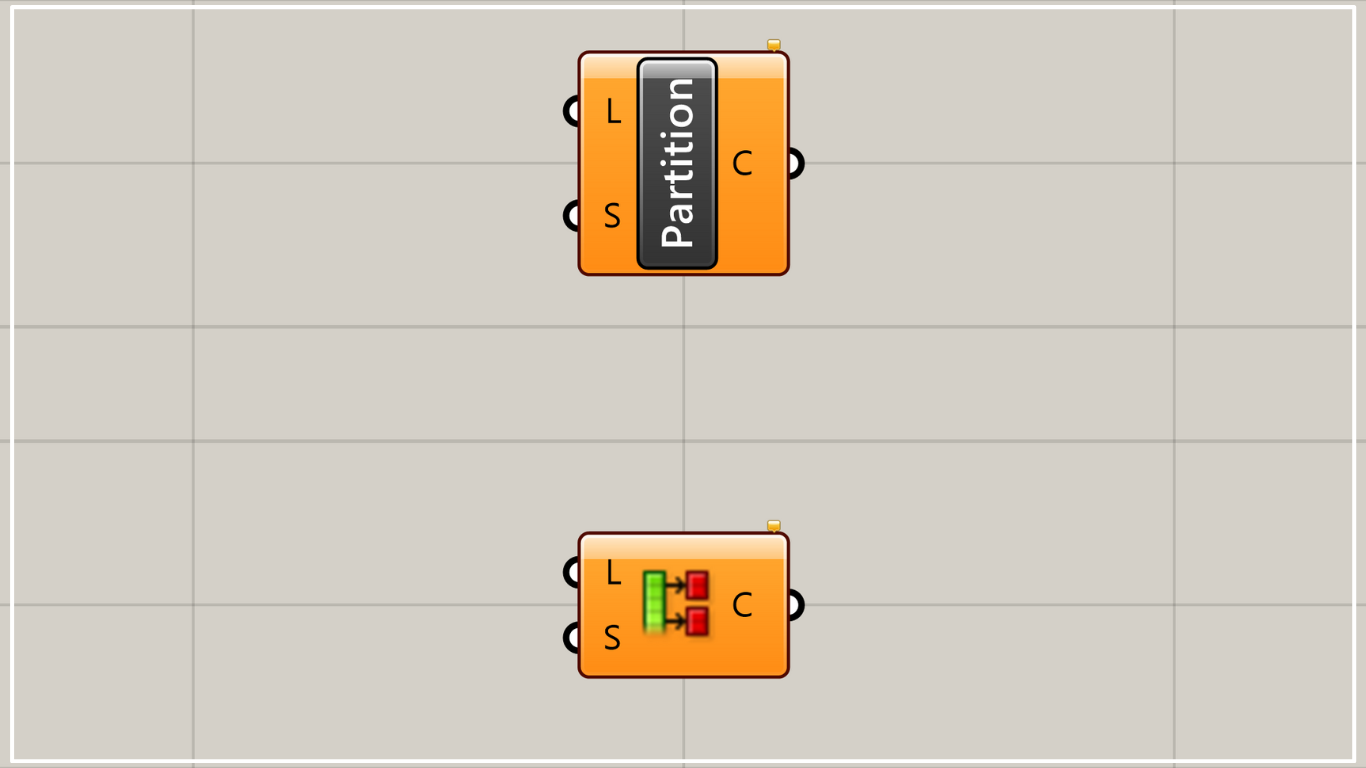
This section describes how to use the Partition List component, which groups and separates a list into hierarchies with a specified number.
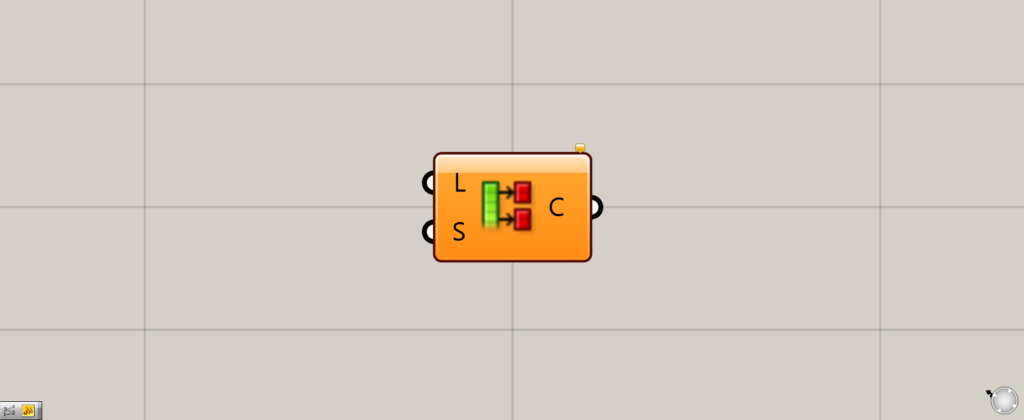
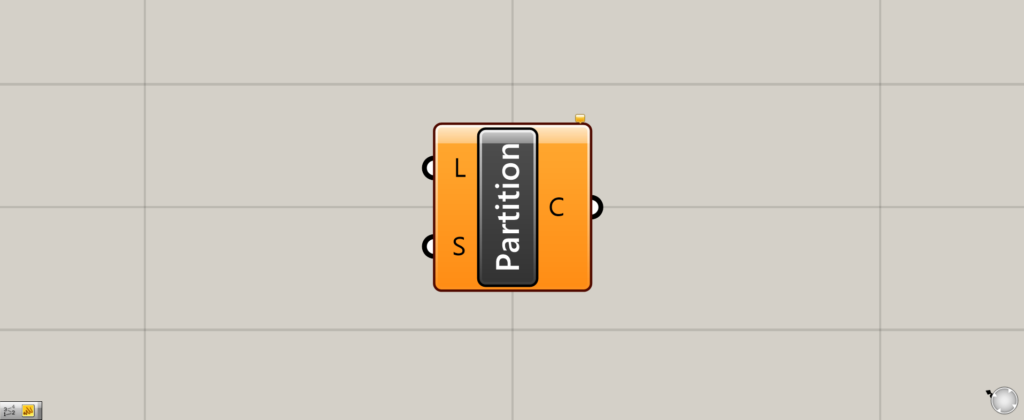
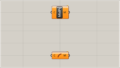
On the Grasshopper, it is represented by either of the two above.
Grouping a list into branches with a specified number of items
Partition List can be used to group a list into branches with a specified number of items.
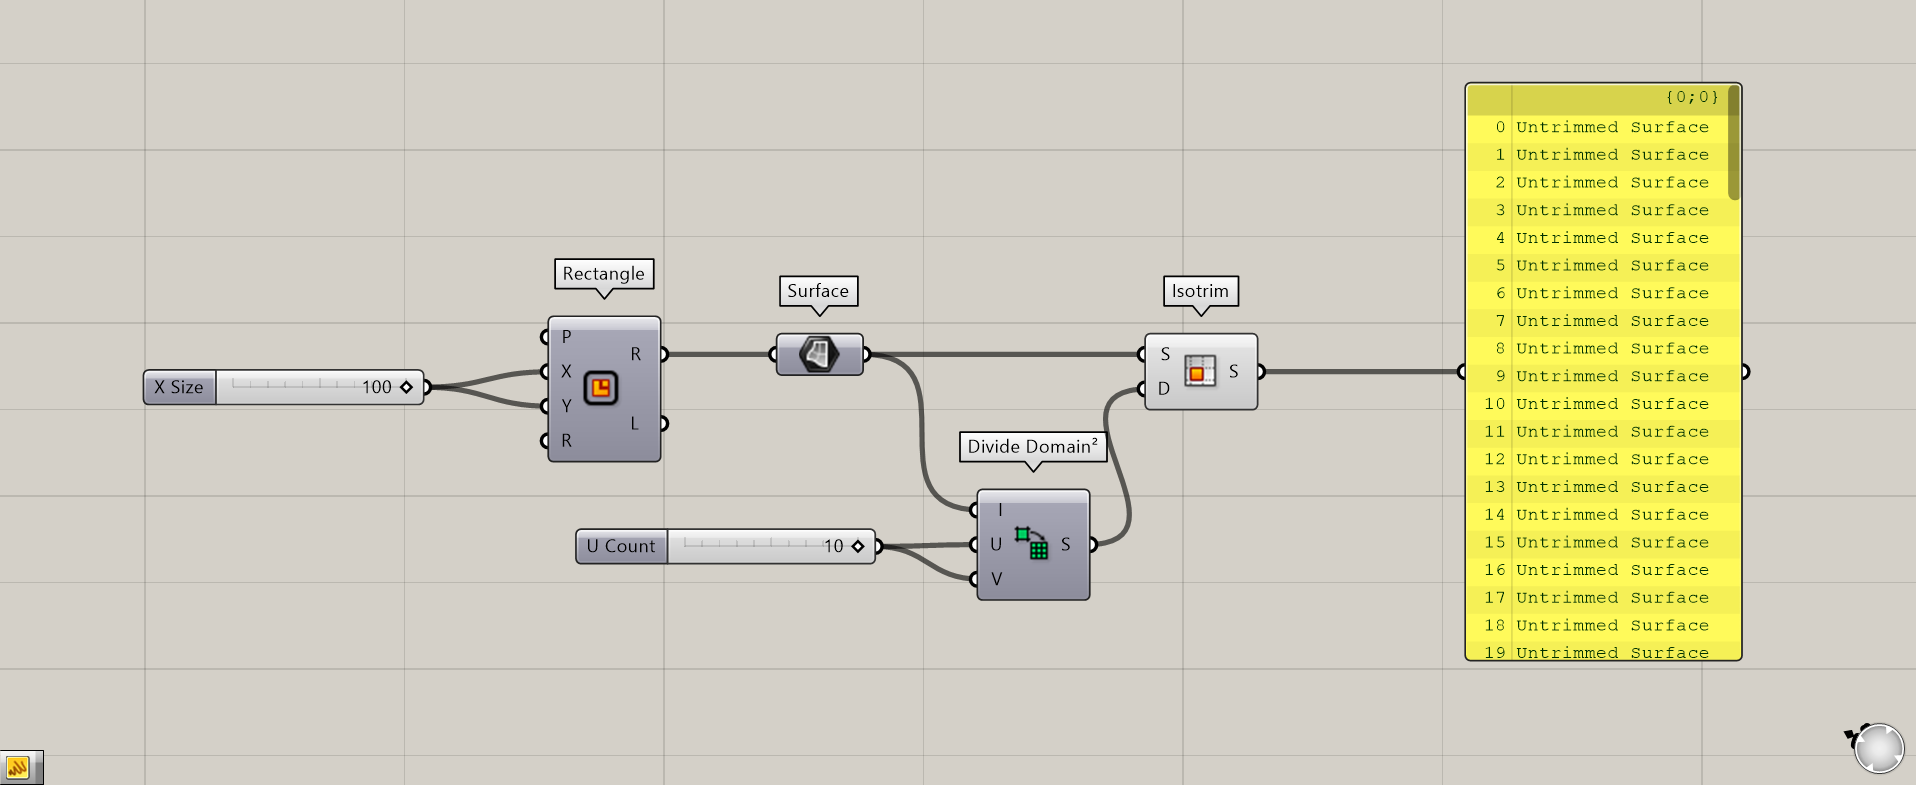
Components used: (1) Rectangle (2) Surface (3) Divide Domain² (4) Isotrim
As an example, we will create 100 surfaces and group 10 surfaces into one branch.
Enter 100 for Rectangle(A and B) to create a 100 x 100 square.
Connect the Rectangle to the Surface and convert the square to a surface square.
Connect Surface to the Divide Domain²(I) and input 10 to the Divide Domain²(U and V) to create 10 divisions in the two directions.
Connect Surface to the Isotrim(S) and the Divide Domain² to the Isotrim(D).
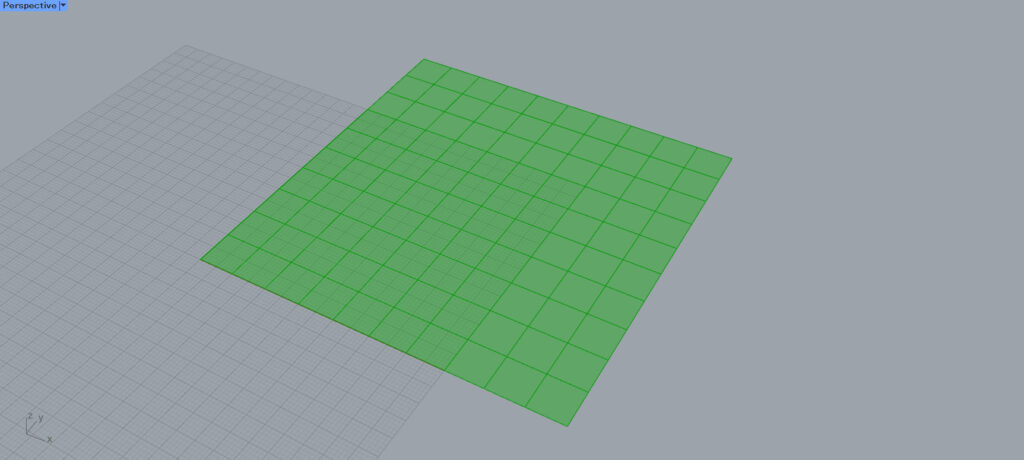
As you can see, 100 surfaces have been created.
This time, we will use the Partition List for the data of these 100 surfaces.
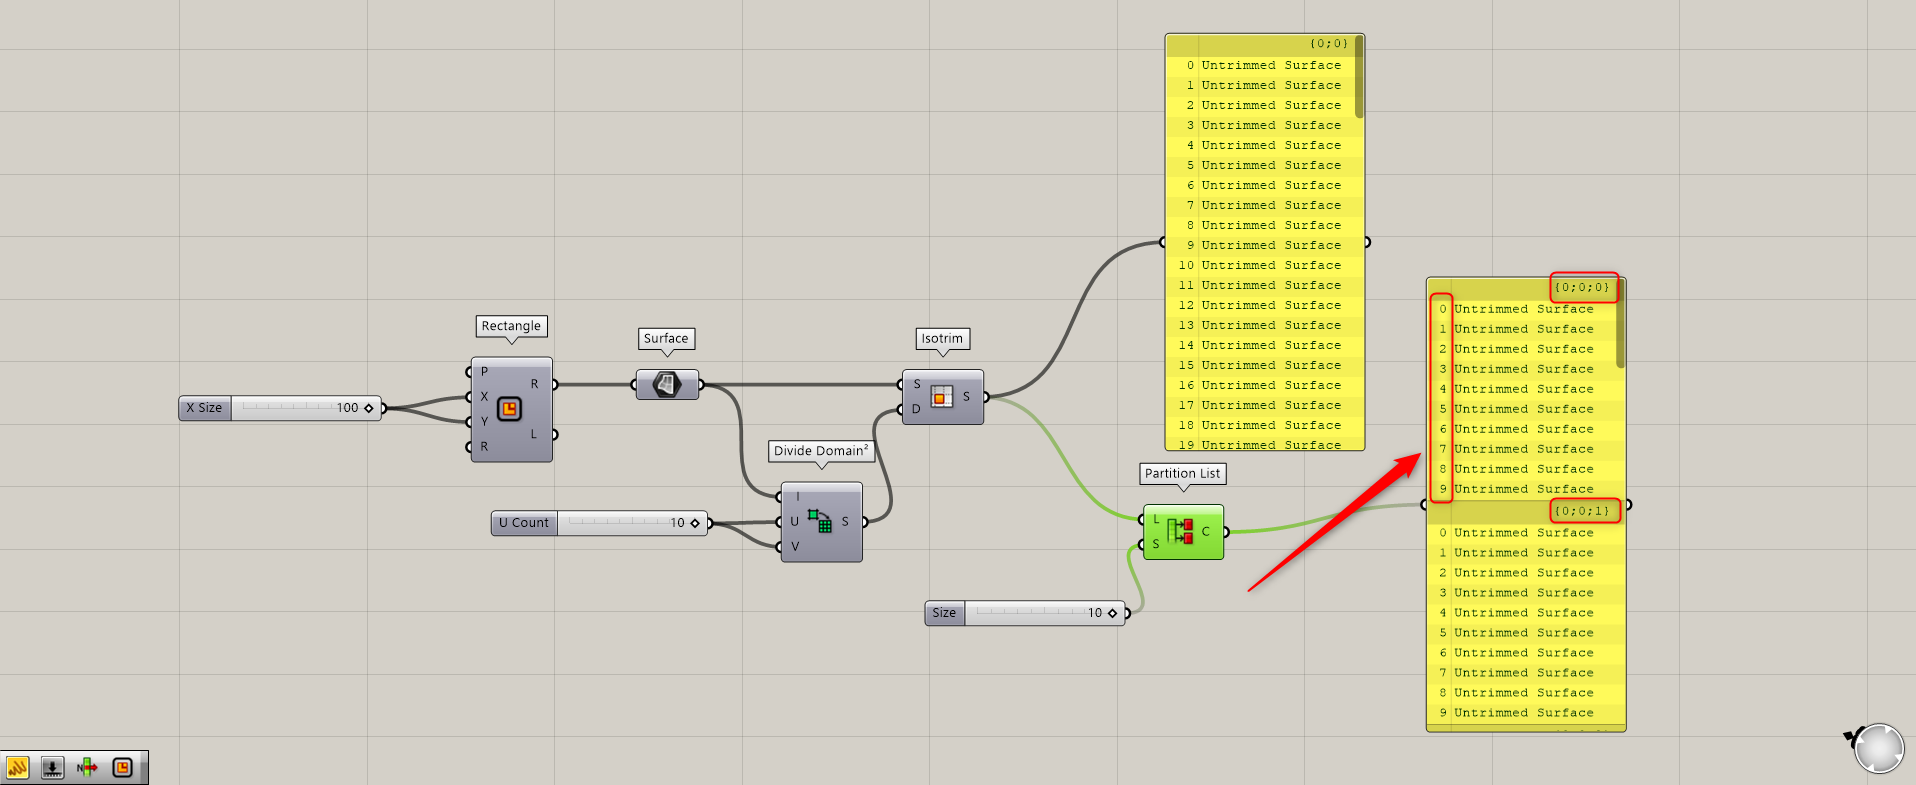
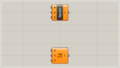
Connect Isotrim to the Partition List(L).
Then, enter a numerical value for how many data will be allocated to one branch in the Partition List(S).
In this case, we will enter “10” so that 10 surfaces will be assigned to a single branch.
Then, as shown in the image above, you can see that surface data with index numbers 0~9 have been assigned to one branch.
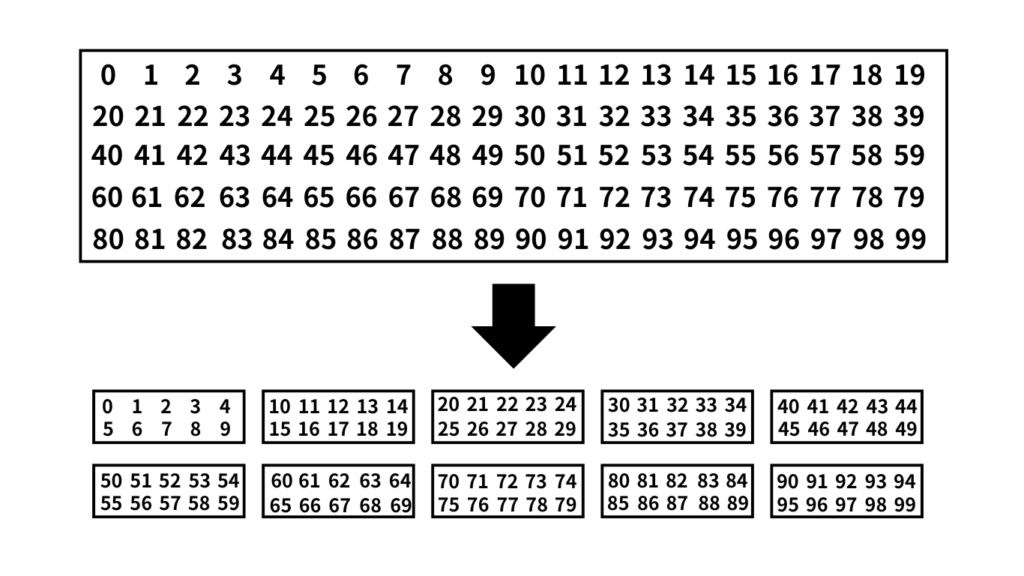
This means that 100 data originally numbered 0~99 in one box can now be entered into 10 boxes, with 10 boxes prepared for each box.
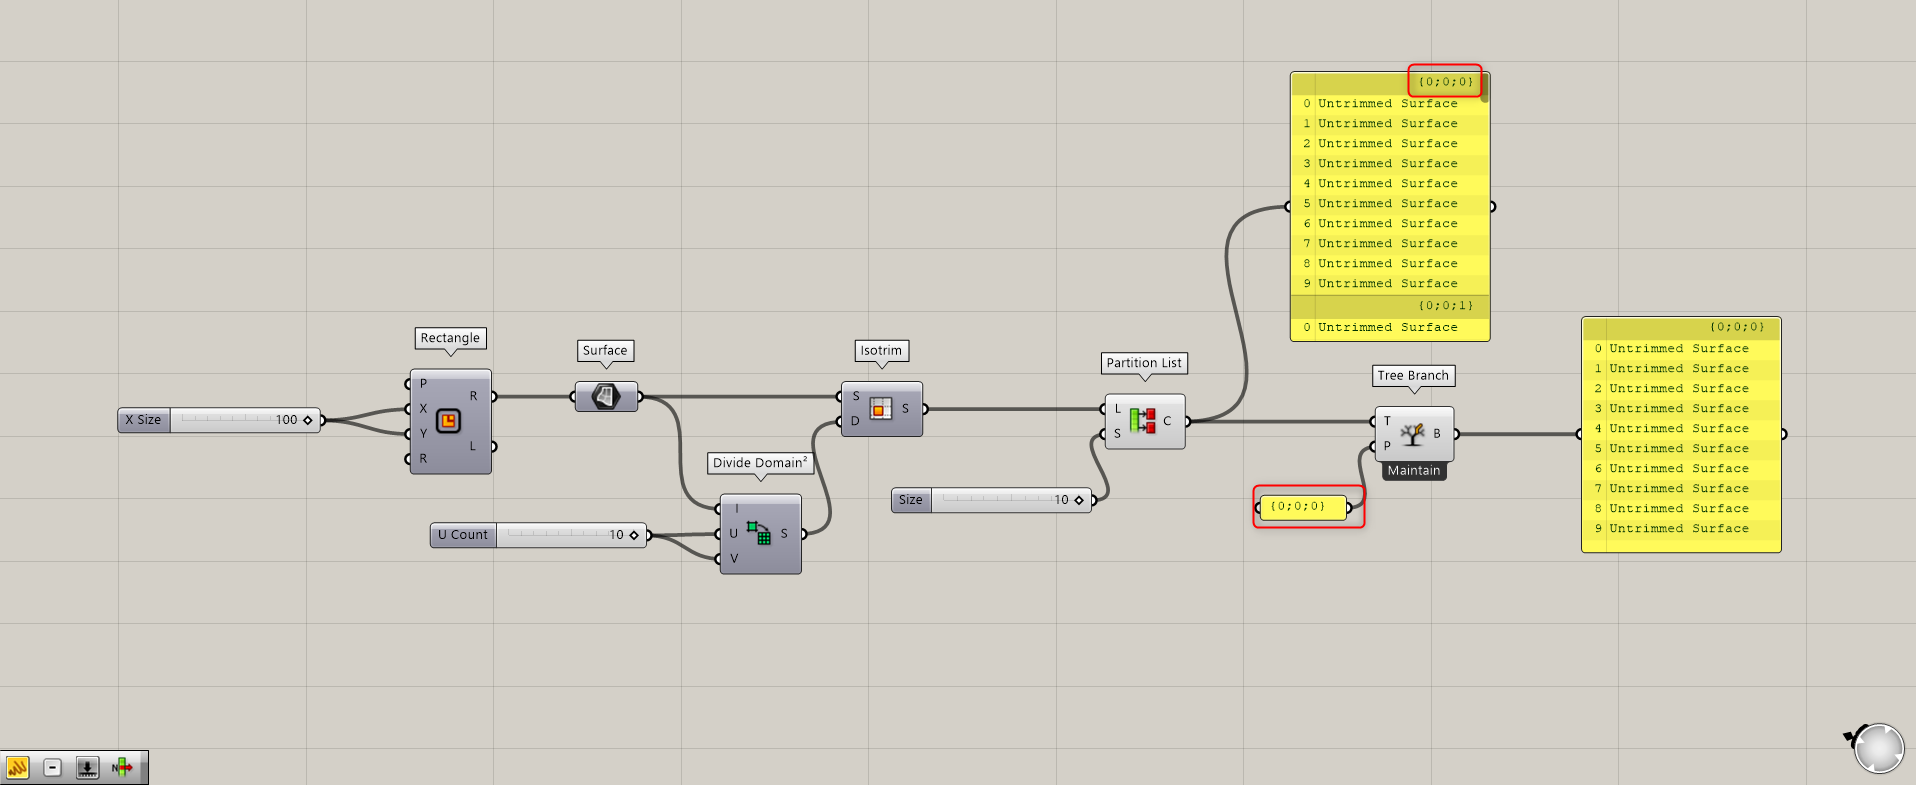
Components used: Tree Branch
By specifying a branch with Tree Branch, we can look at the specified branch.
First, let’s look at the first branch, the {0,0,0} branch.
Looking at one eye hierarchy, 10 surfaces are extracted.
As you can see, one branch contains 10 data, the number specified in the Partition List.
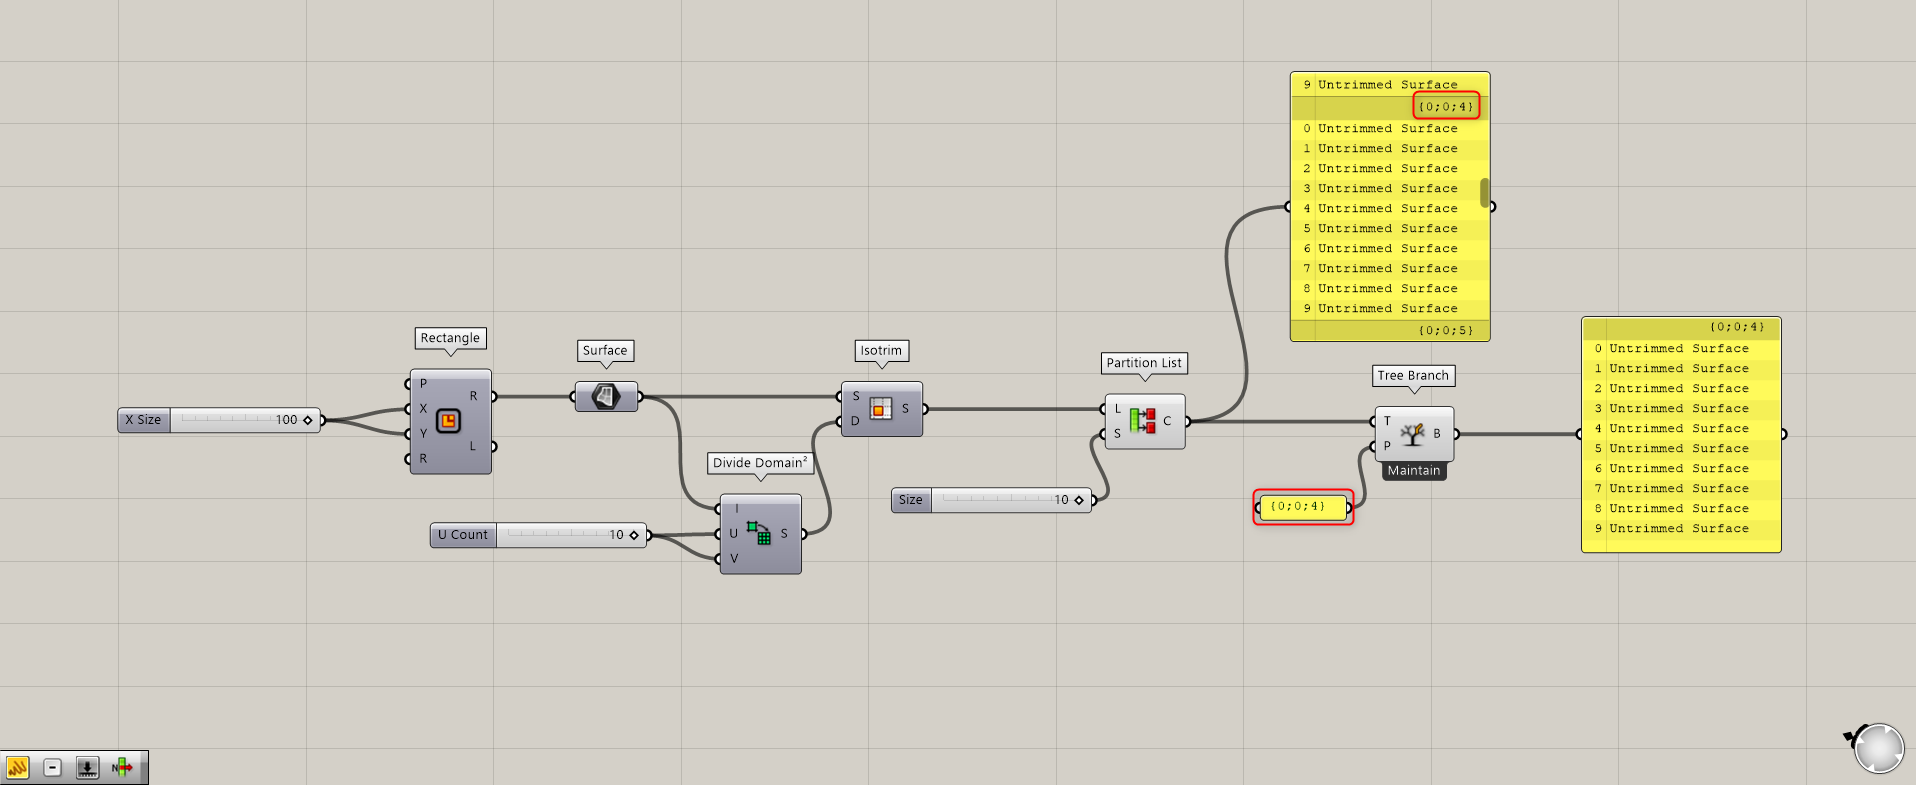
Now let’s look at the fifth branch.

We see that the fifth branch also contains 10 surfaces per hierarchy.
Thus, we can see that the other branches are also grouped into 10 pieces of data.
Another use case
Let’s look at another use case.
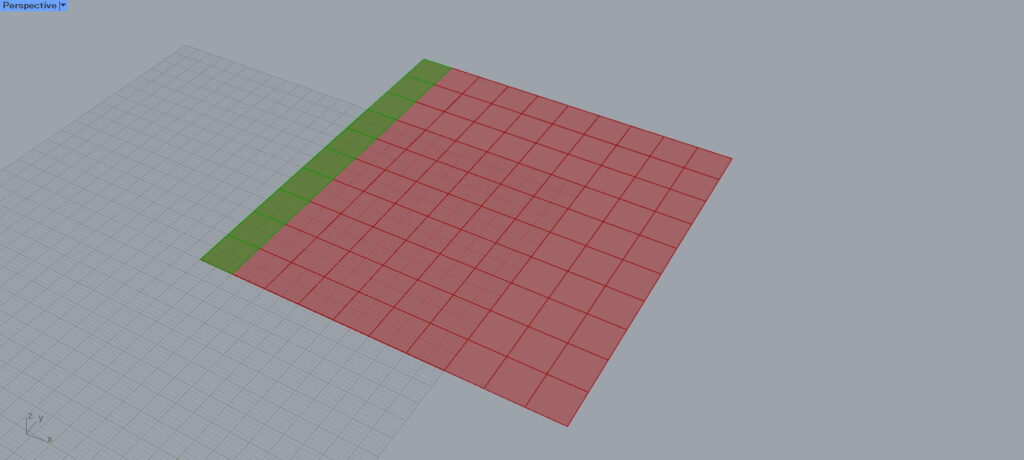
This time, we will create a curve connecting the center points of each of the surfaces and see how they change before and after using the Partition List.
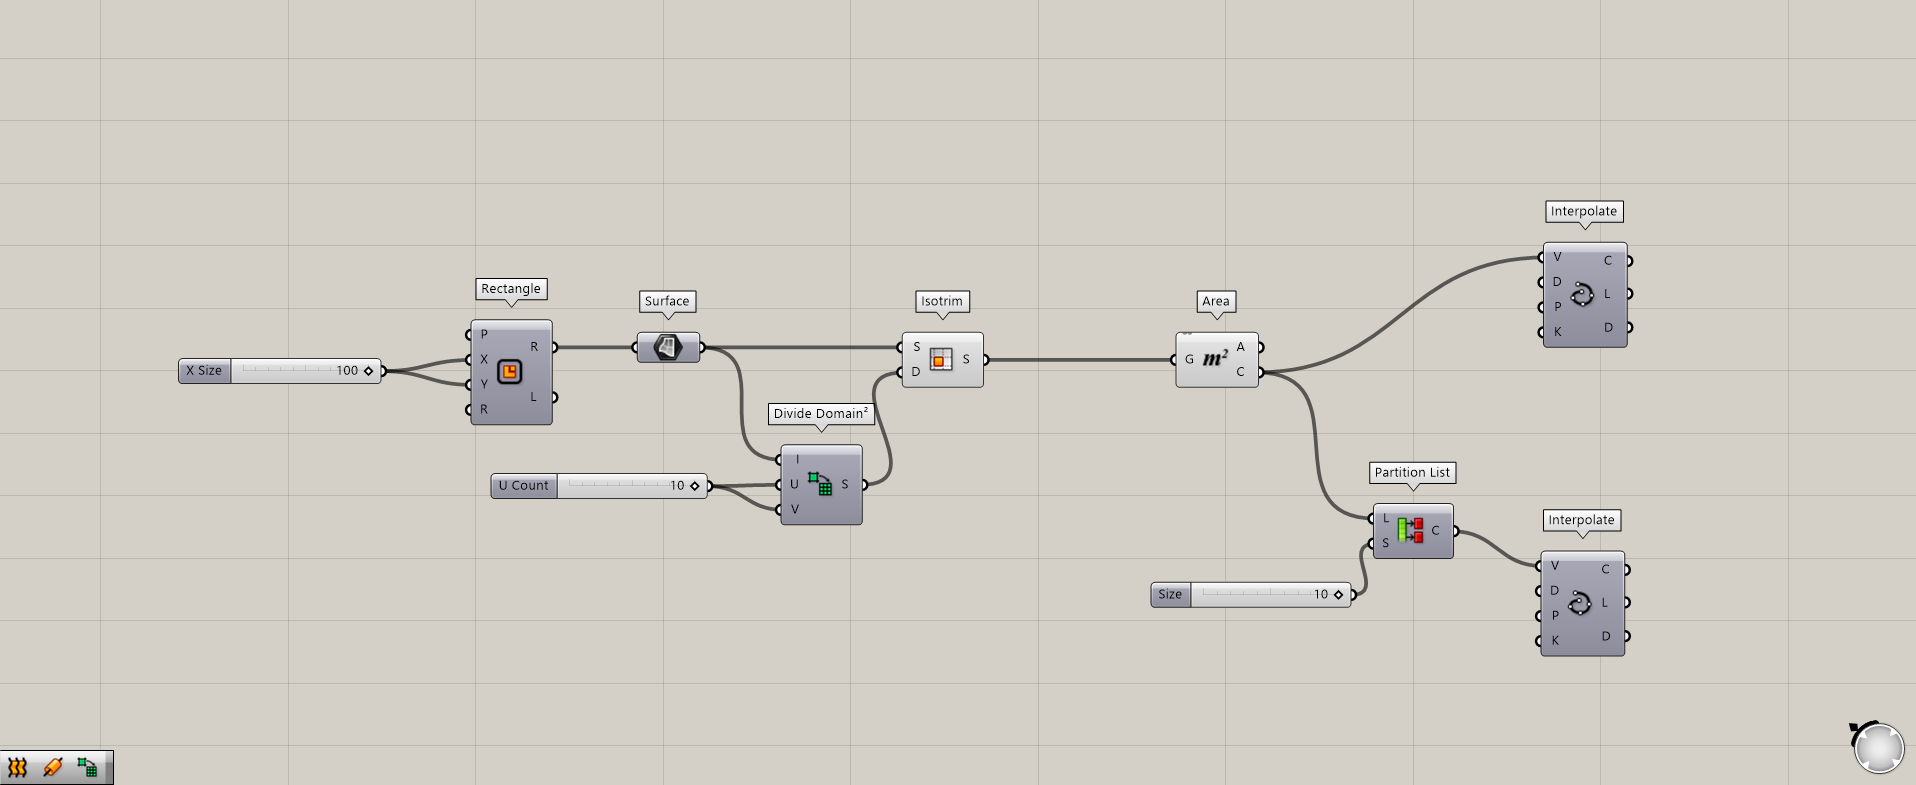
Components used: (1) Rectangle (2) Surface (3) Divide Domain² (4) Isotrim (5) Area (6) Partition List (7) Interpolate
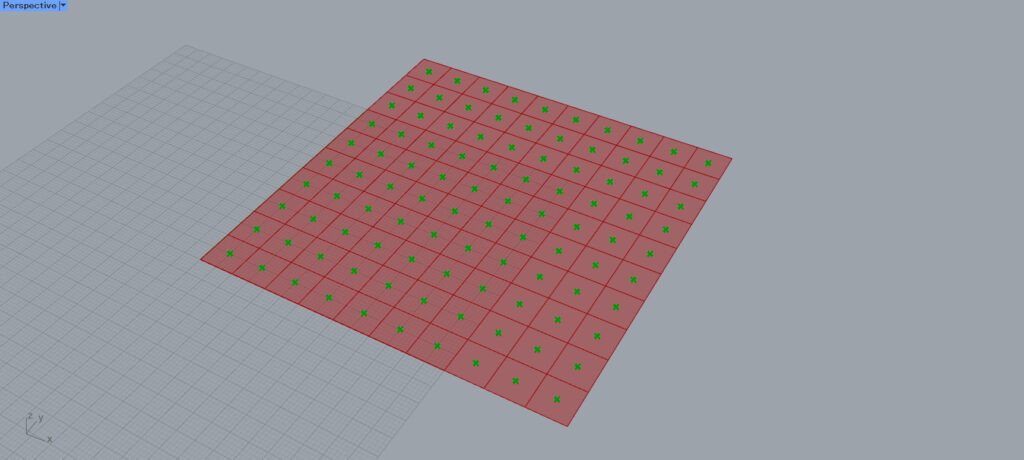
By connecting Isotrim to Area, the center point of each surface is extracted.
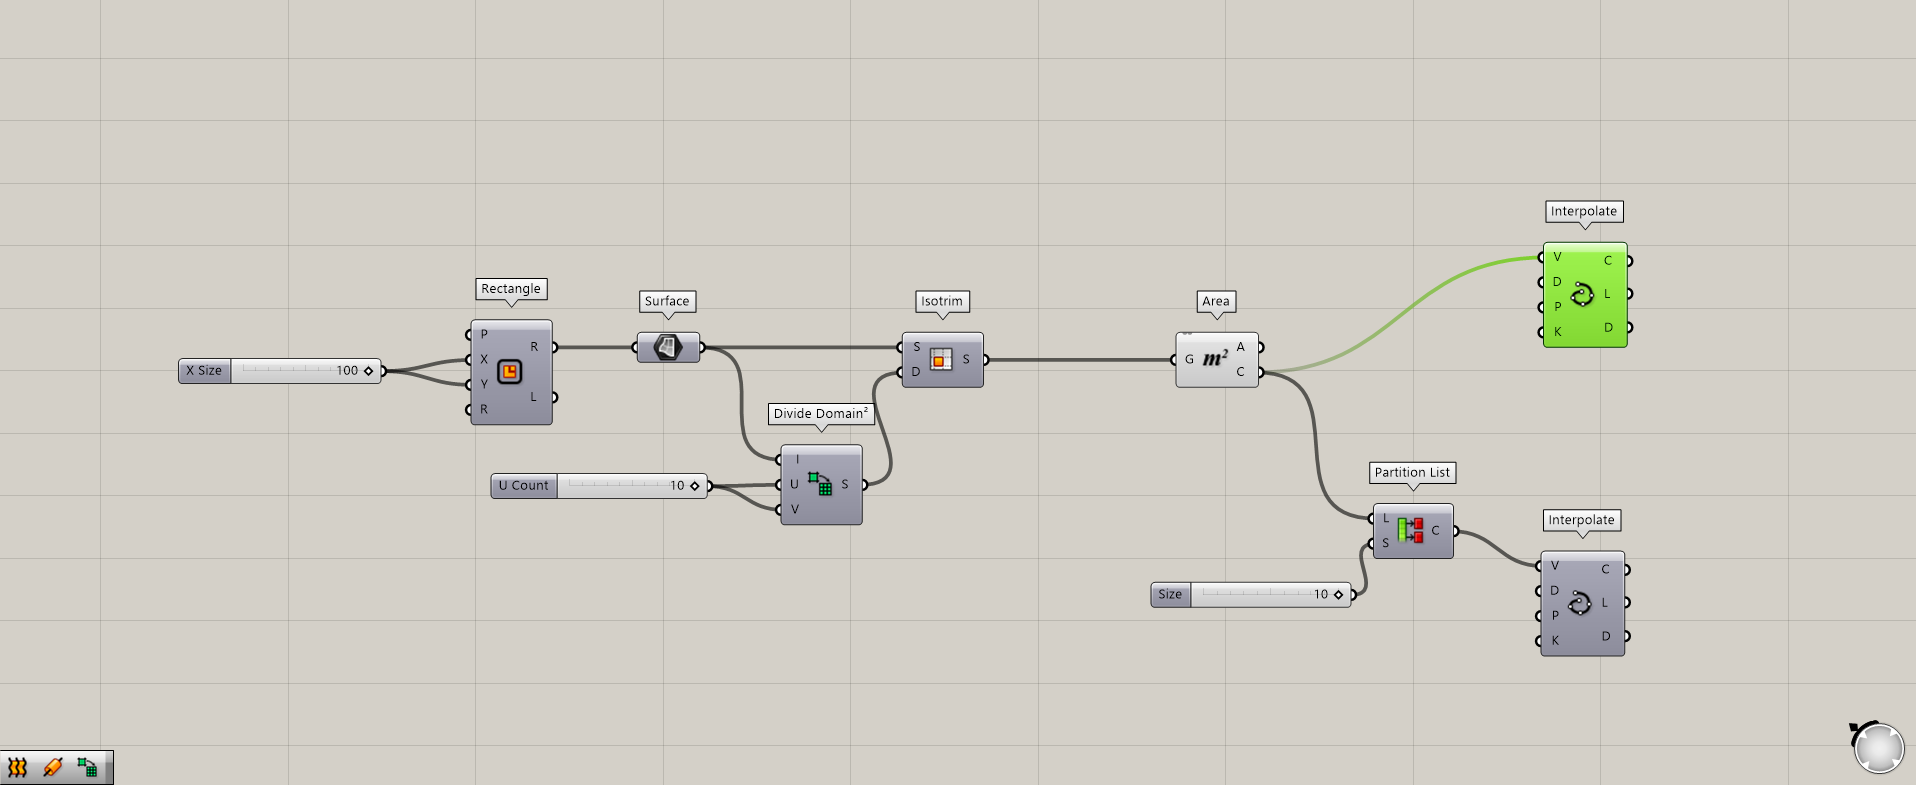
First, connect the Area(C) to the Interpolate(V) without using the Partition List.
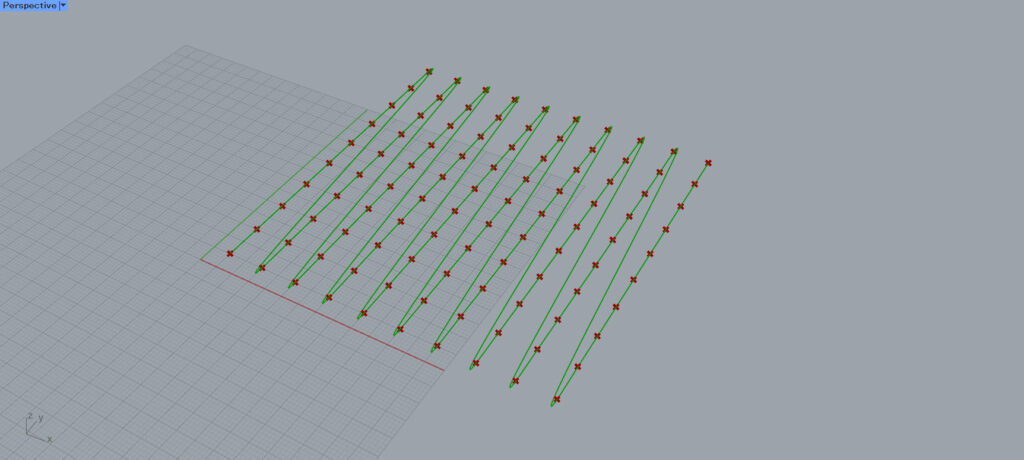
Then, a curve is created by connecting all the points like this.
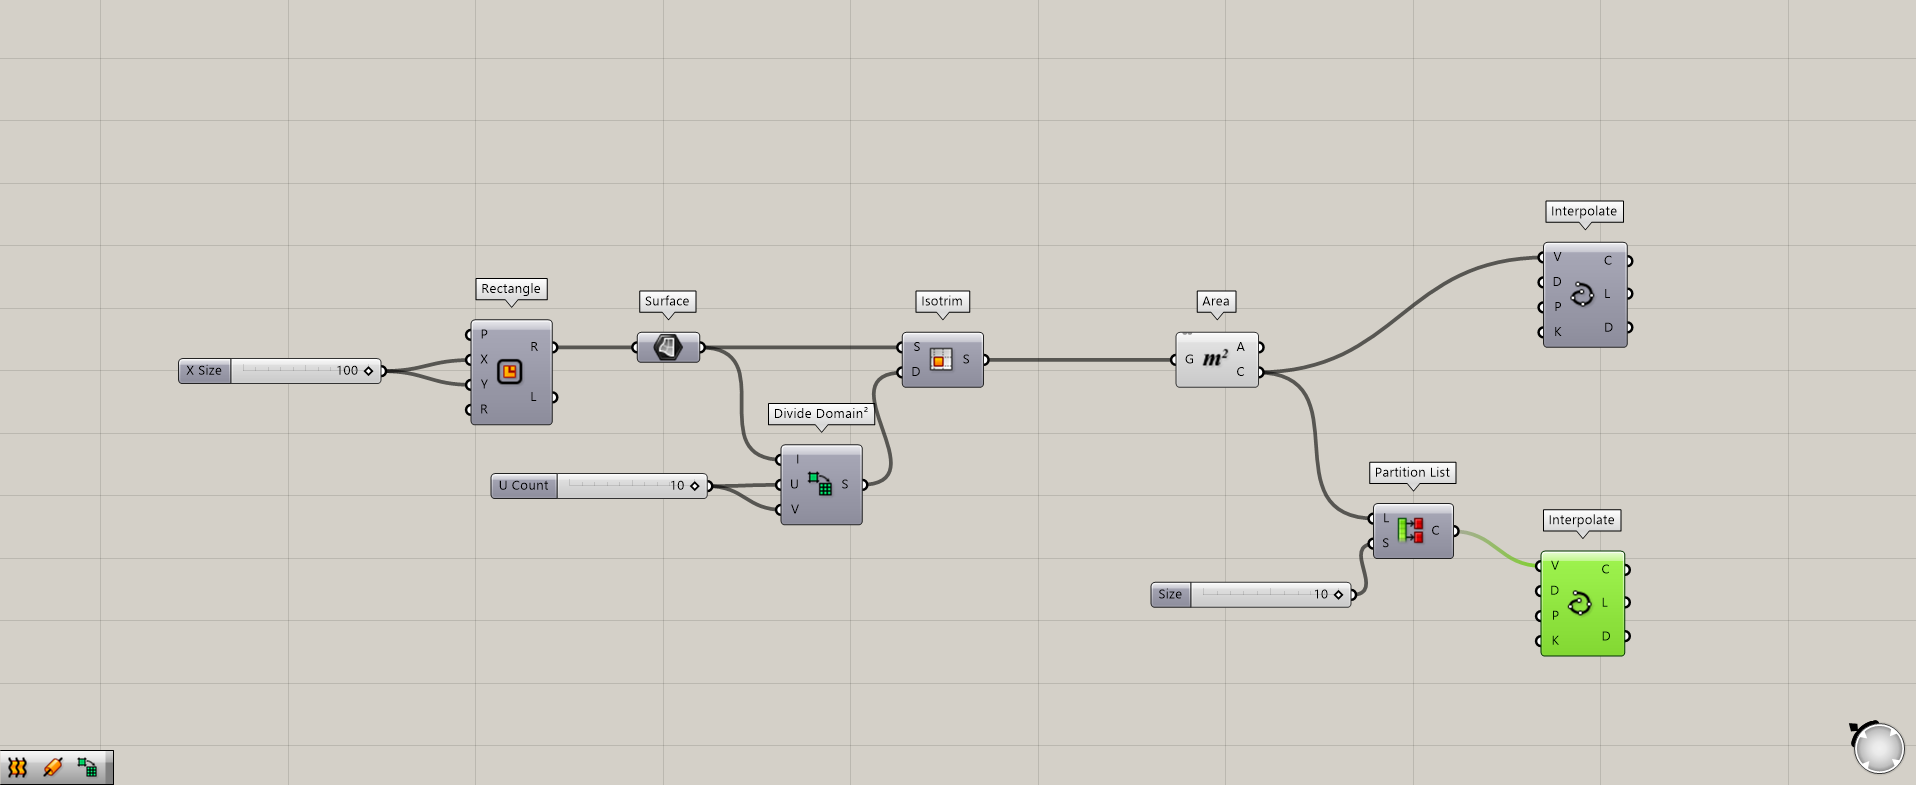
Next, we put a Partition List between Area and Interpolate.
As before, enter a numerical value of 10 in the Partition List(S).
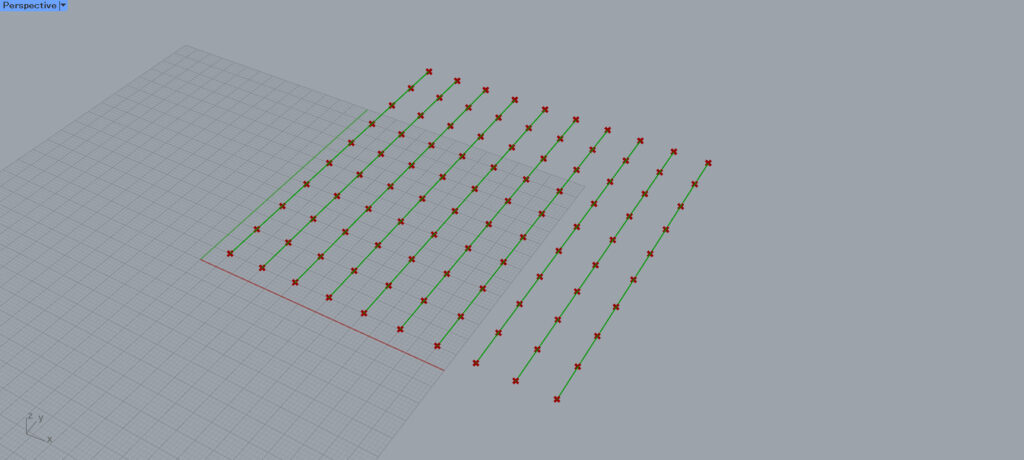
Then, a line connecting 10 points is created as shown here.
This is because Interpolate creates a line by connecting the points in one branch.
Since the Partition List allows 10 data to be assigned to a single branch, 10 lines were created to connect the 10 points as shown in the image above.
List of Grasshopper articles using Partition List component↓

Comment