
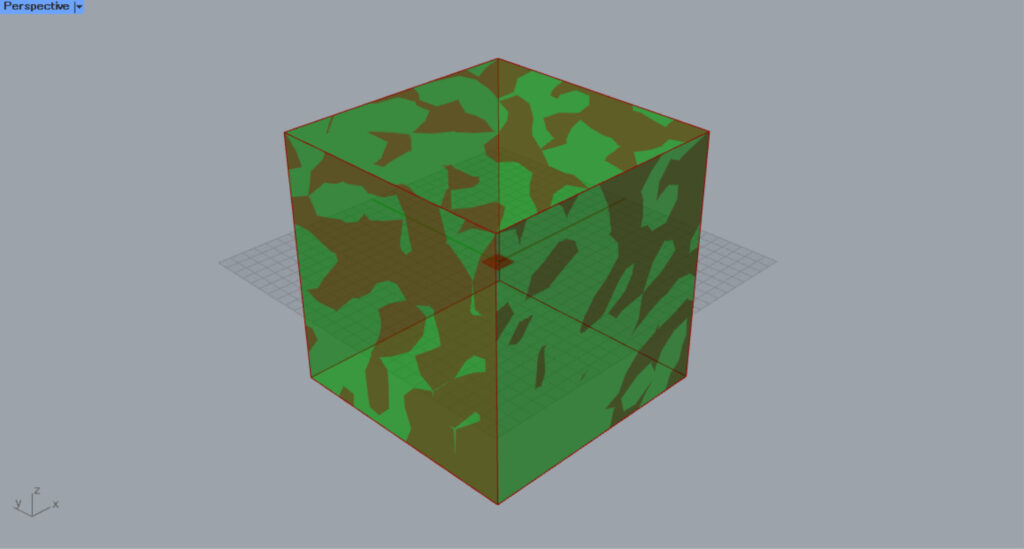
![[Grasshopper] How to Use Mesh Box to Create a Mesh Box](https://iarchway.com/wp-content/uploads/2026/01/Mesh-Box.png)
This article explains how to use Mesh Box to Create a Mesh Box.
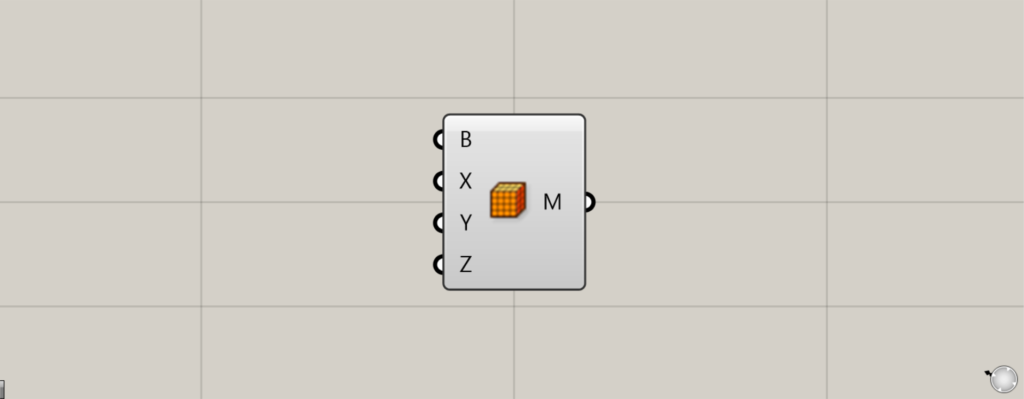
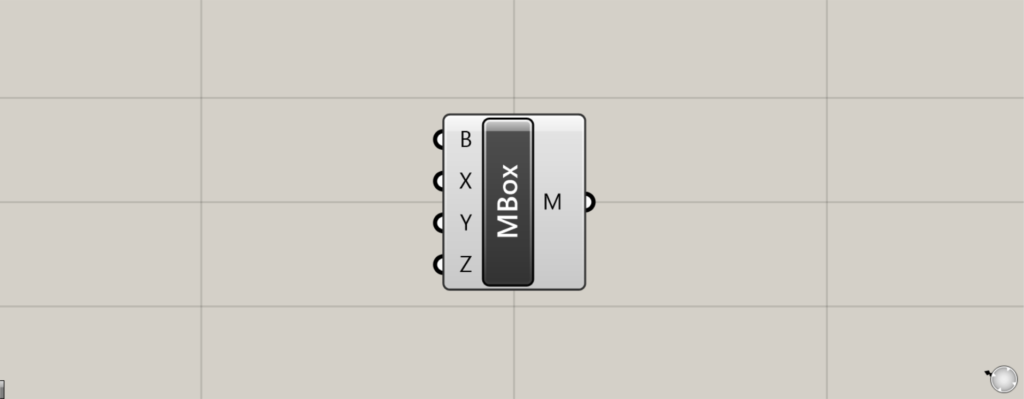
On the Grasshopper, it is represented by either of the two above.
Create a mesh box
Using Mesh Box allows you to create mesh boxes.
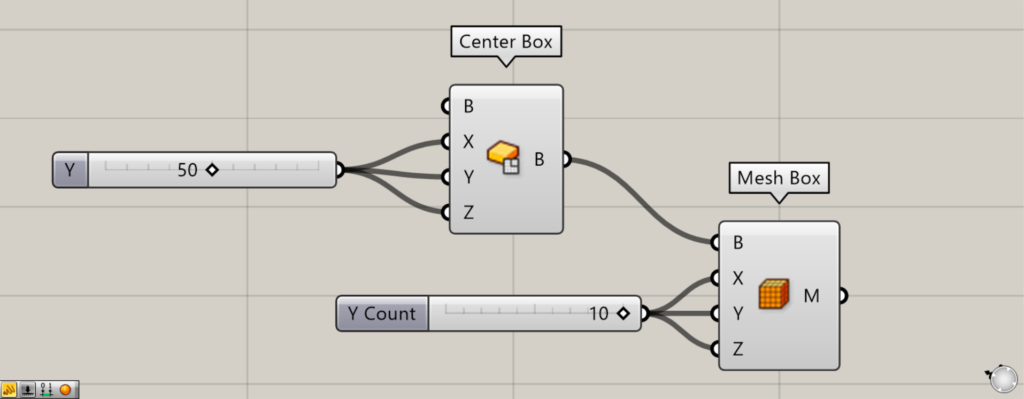
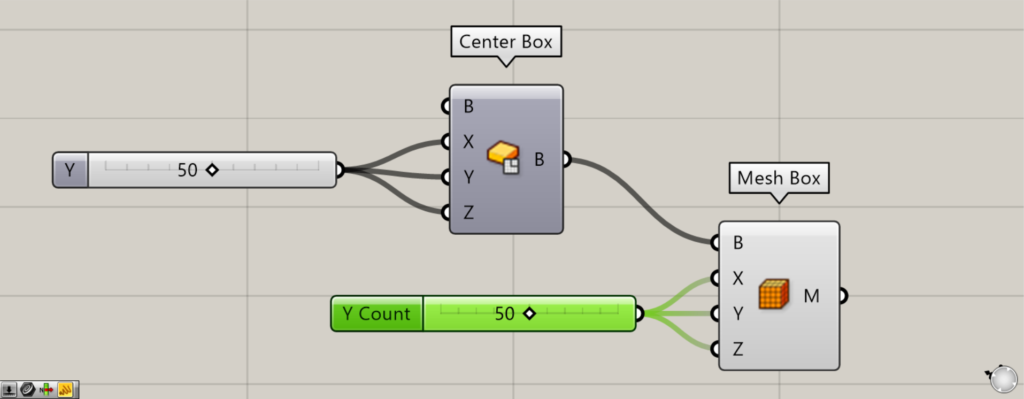
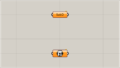
Components used: ①Center Box ②Mesh Box
To use Mesh Box, you must use existing box data.
First, use the Center Box to create a box for the existing Brep model.
This time, we are inputting 50 to the Center Box(X, Y, and Z).
Center Box requires entering the distance from the center of one edge to the edge itself. Therefore, a 50 value creates a 100×100×100 box.
Then connect the Center Box to the Mesh Box(B).
This will reflect the size of the existing box in the Mesh Box.
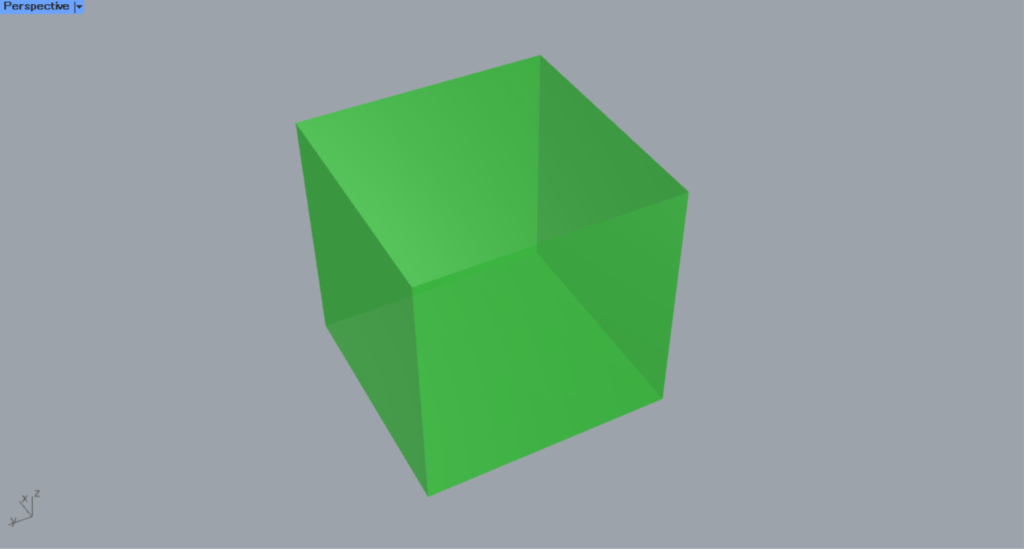
If no existing box is specified for Terminal B, a box with dimensions 20×20×20 will be created at the origin by default.
Then, enter the values for the mesh faces (mesh surfaces) in each direction into the Mesh Box(X, Y, and Z).
This time, We entered 10.
Then, 10 mesh faces are specified in the X, Y, and Z directions, resulting in a 10×10×10 mesh face configuration.
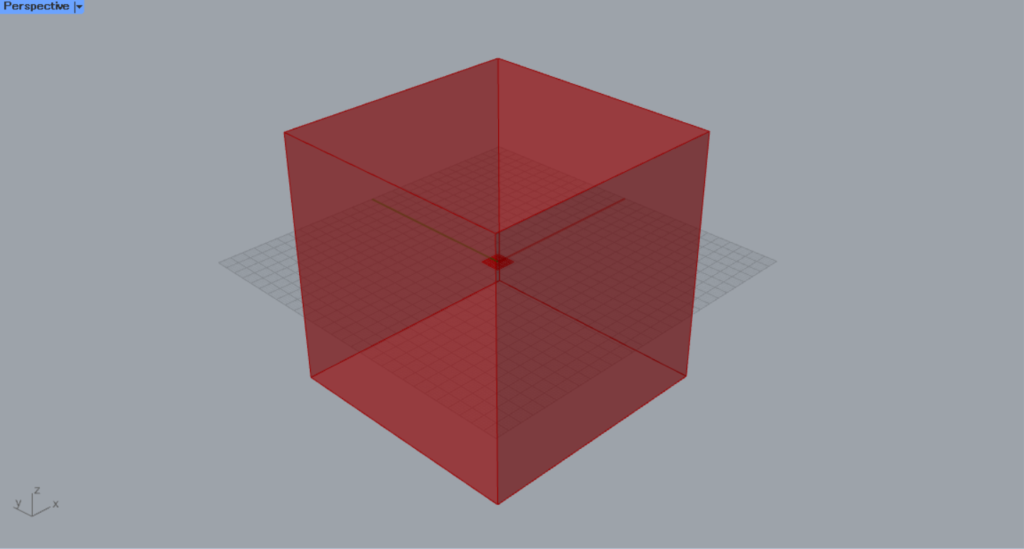
This creates the mesh, but you cannot see the number of mesh faces in Grasshopper.
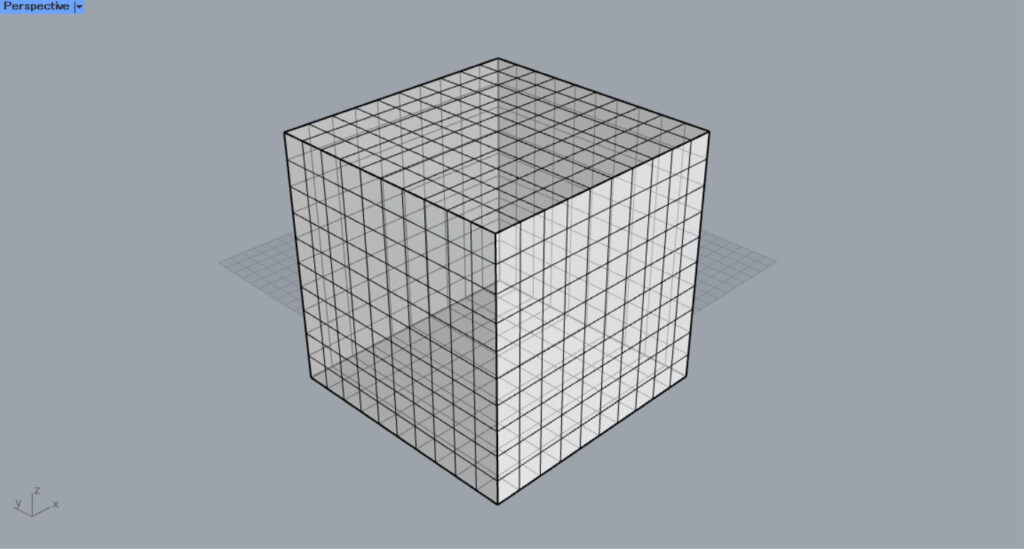
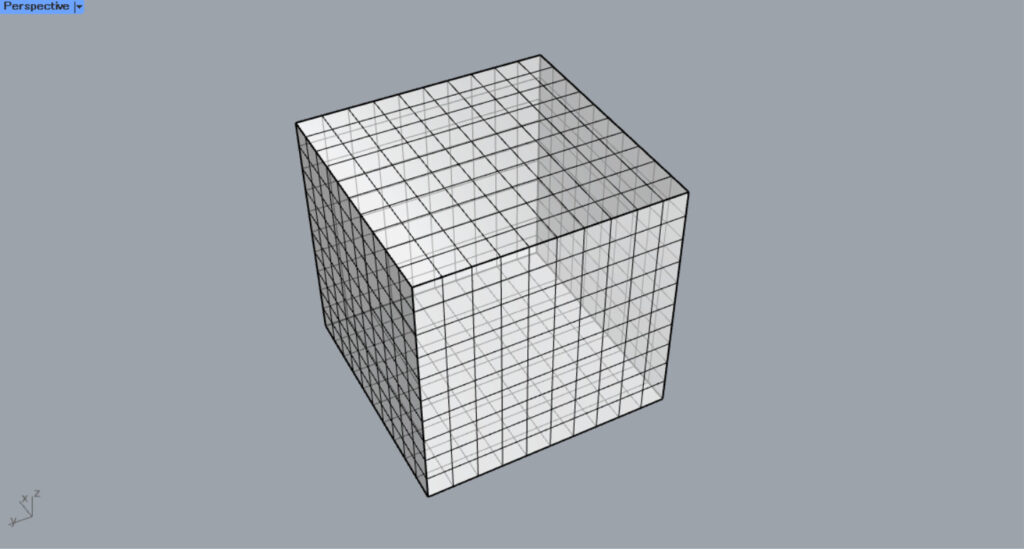
When you bake and export to Rhino, you can confirm that the mesh face is 10×10×10.
Set the values of the Mesh Box(X, Y, and Z) from 10 to 50, increase the number of mesh faces, and export it to Rhino.
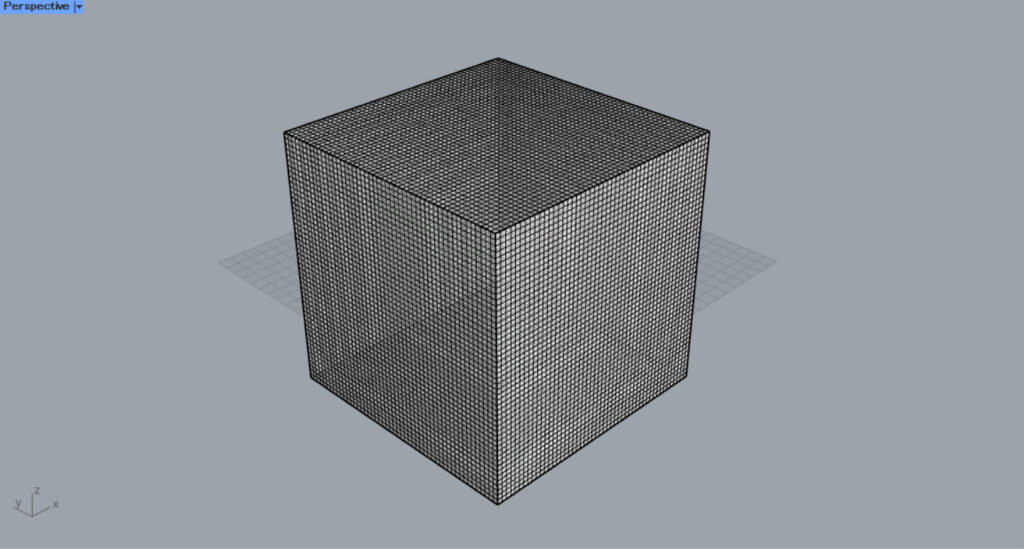
Then, we were able to increase the number of mesh faces like this.
You can also use mesh boxes in existing boxes.
This time, we will use a mesh box with a 10×10×10 mesh face.
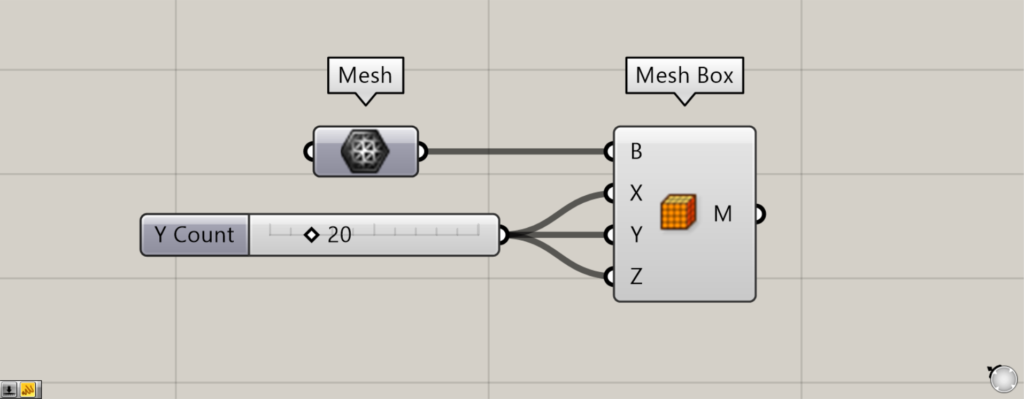
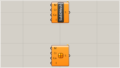
Components used: ① Mesh ② Mesh Box
Set the existing mesh’s box in the Mesh.
Then connect the Mesh to the Mesh Box(V).
This time, We set the values for terminals X, Y, and Z to 20.
Then, a mesh box was created like this.
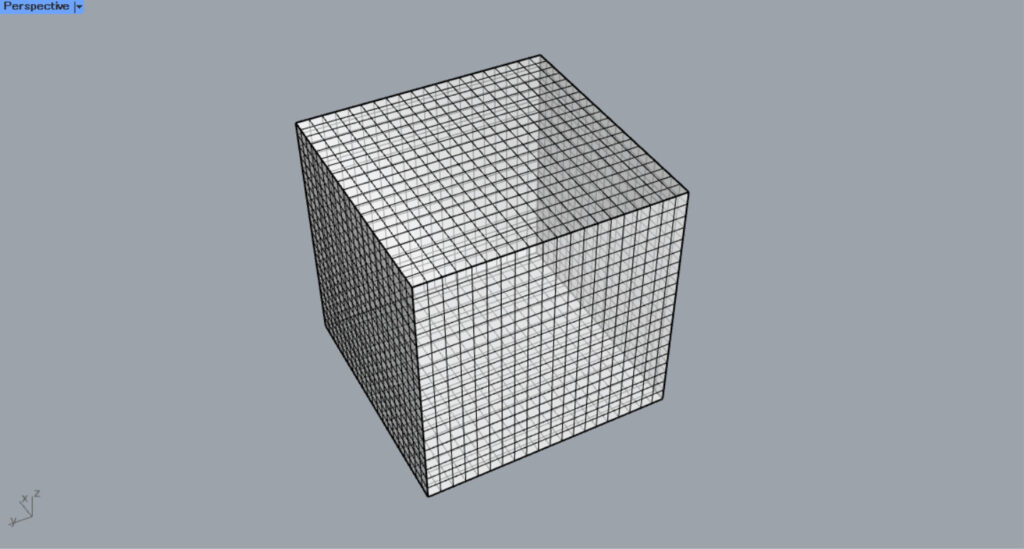
When we exported it to Rhino, we were able to change it from the original 10×10×10 to a 20×20×20 mesh box.
In this way, you can create mesh boxes from existing mesh boxes and also change the number of mesh faces.

Connect the Panel to the Mesh Box(M) and examine the data contents.
Let’s look at the case where the values the Mesh Box(X, Y, and Z) are 10.
In that case, V:726 and F:600 are displayed.
This box has 100 mesh faces on one face, 100 × 10 = 100. Since there are 6 faces total, 100 × 6 = 600, so F (mesh faces) is 600.
And there are 726 vertices that make up the 600 mesh faces, so V (vertices) is 726.
When the values for the Mesh Box(X, Y, and Z) are 50, V:15606 and F:15000 are displayed.
This also means that there are 15,000 mesh faces, and the vertices that make up these mesh faces total 15,606.
List of Grasshopper articles using Mesh Box component↓


Comment