
![[Grasshopper] How to Use Twisted Box to Set and Create Twisted Boxes](https://iarchway.com/wp-content/uploads/2026/01/Twisted-Box.png)
This article explains how to use Twisted Box to set and create twisted boxes.
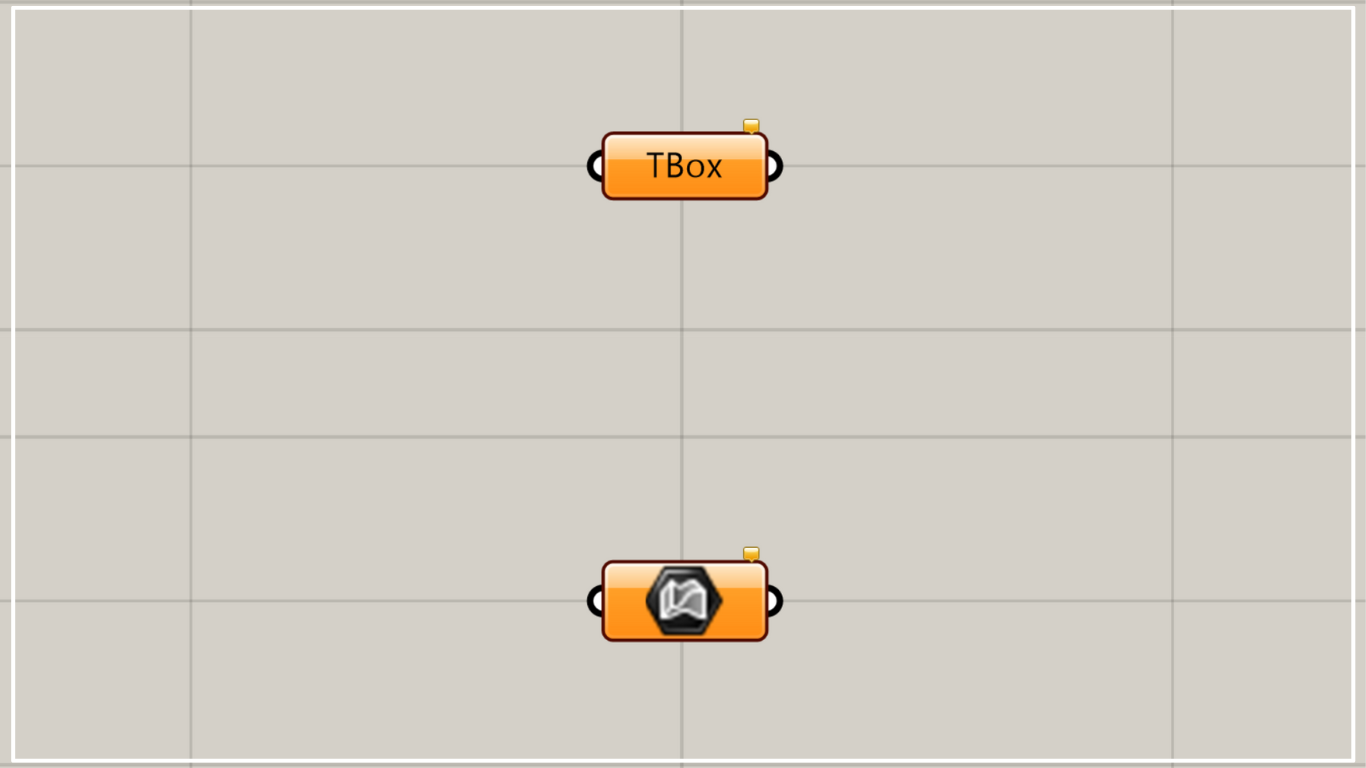
On the Grasshopper, it is represented by either of the two above.
Set a twist box
Using Twisted Box allows you to set twisted boxes.
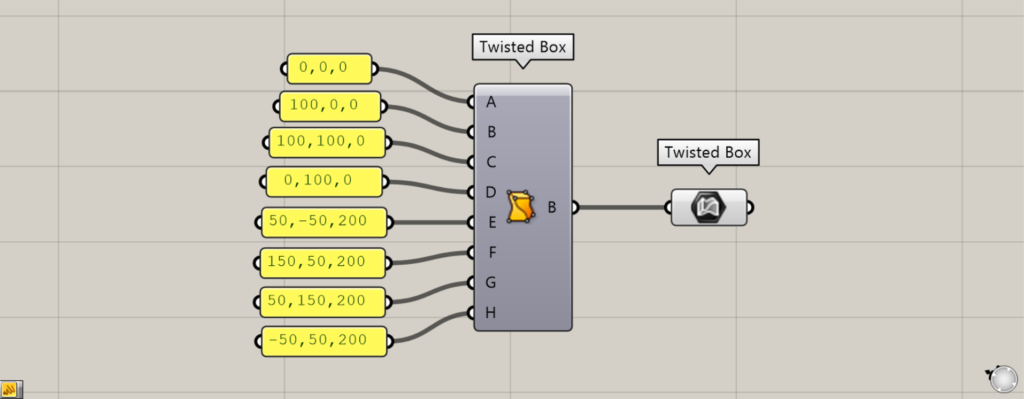
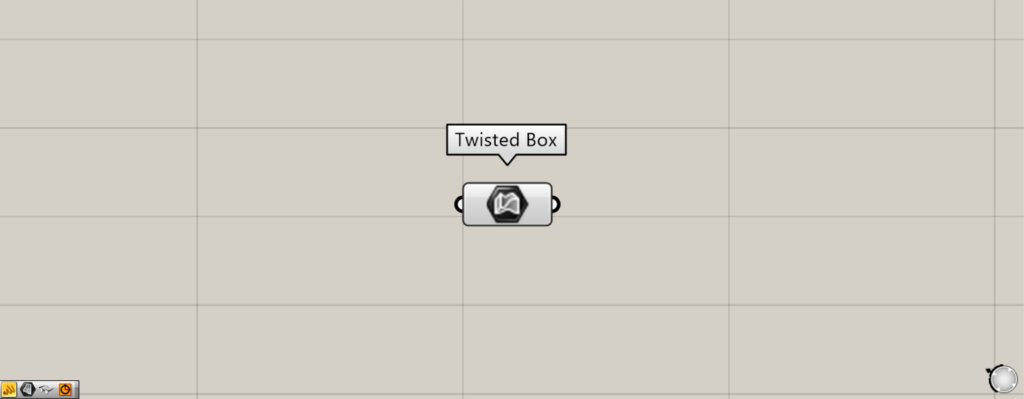
Components used: ①Twisted Box ②Twisted Box
Please note that there is another component with the same name.
The other Twisted Box creates a twisted box by specifying eight points.
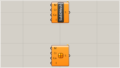
First, we’ll use two Twisted Boxes to set the twisted Box we created.
Input the coordinates or point information into the other Twisted Box(A~H).
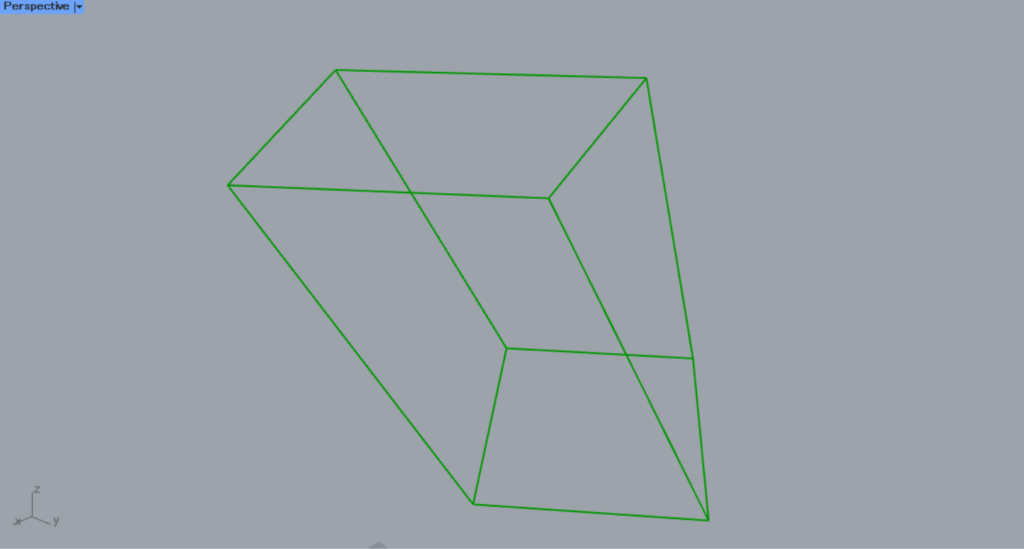
Then, a twist box is created from those eight points.
Then, connect the other Twisted Box to this Twisted Box.
Then, the Twist Box was set in this Twisted Box.
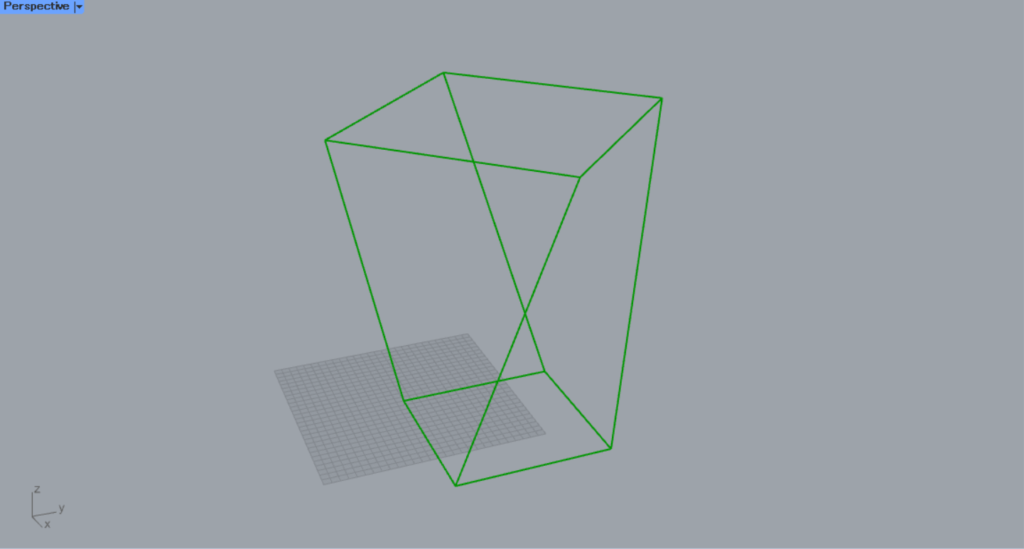
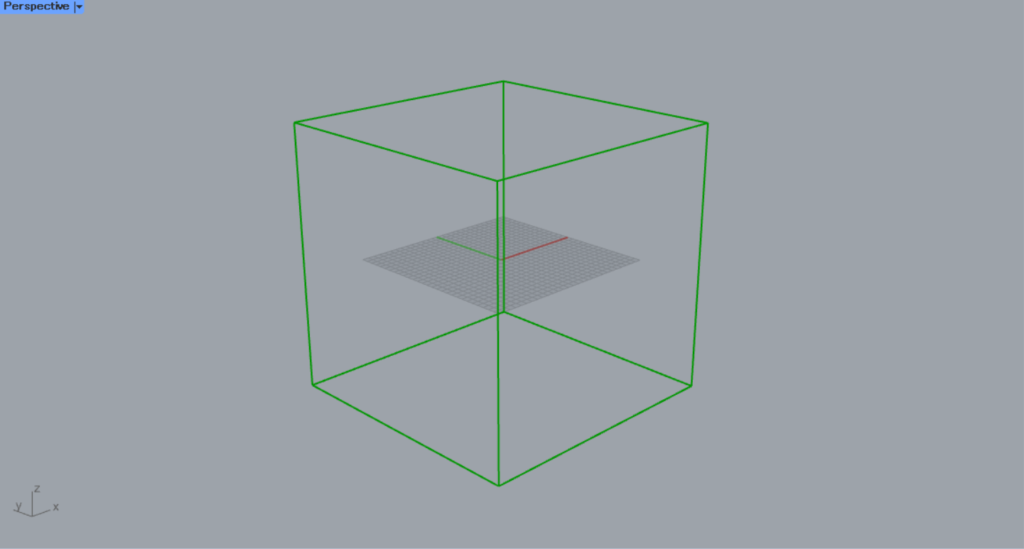
The twist box is represented with a line-like appearance, as shown in the image above.
Convert other types of objects into twist boxes
Using Twisted Box, you can also convert other types of objects into Twisted Boxes.
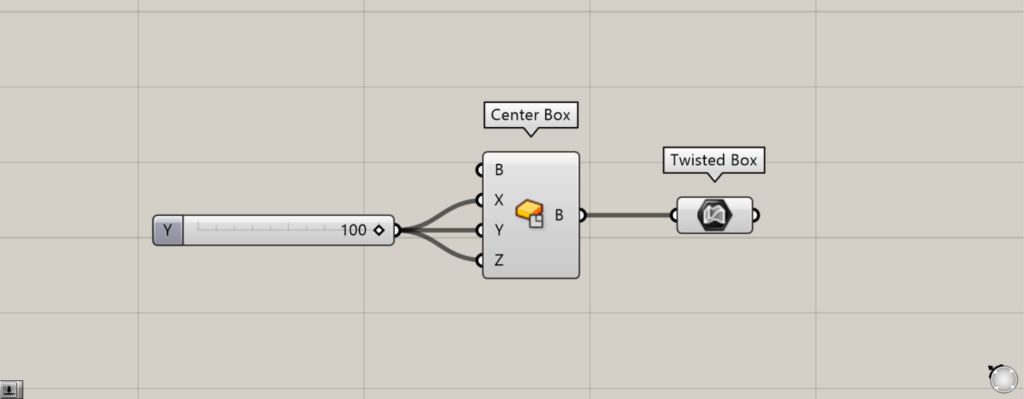
Components used: ①Center Box ②Twisted Box
For example, let’s convert the box into a twist box.
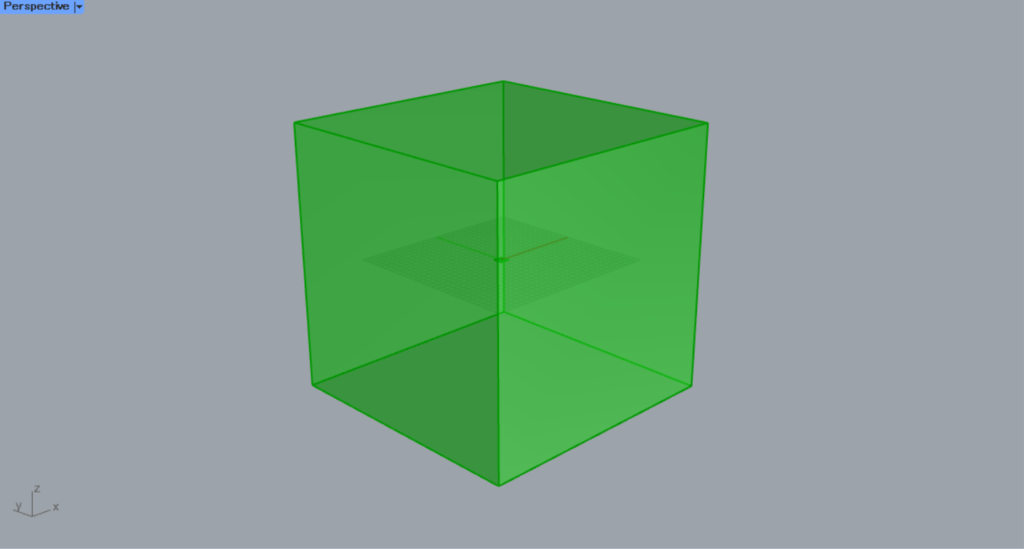
Enter the values from the center of one side to the edge into the Center Box(X, Y, and Z).
This time, since 100 is entered, a 200×200×200 cube will be created.
Then connect the Center Box to the Twisted Box.
Then, the box was converted into a twist box.
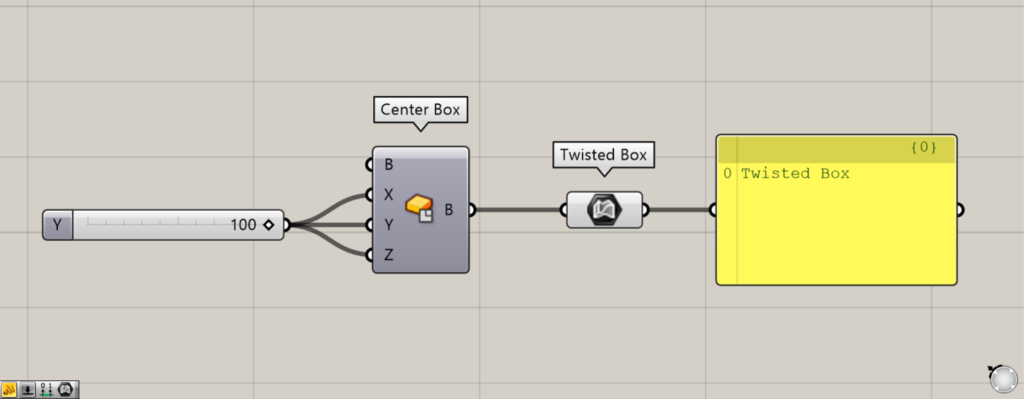
When you connect a Panel to the Twisted Box and view the data, it displays as “Twisted Box,” confirming it has been converted into a Twisted Box.
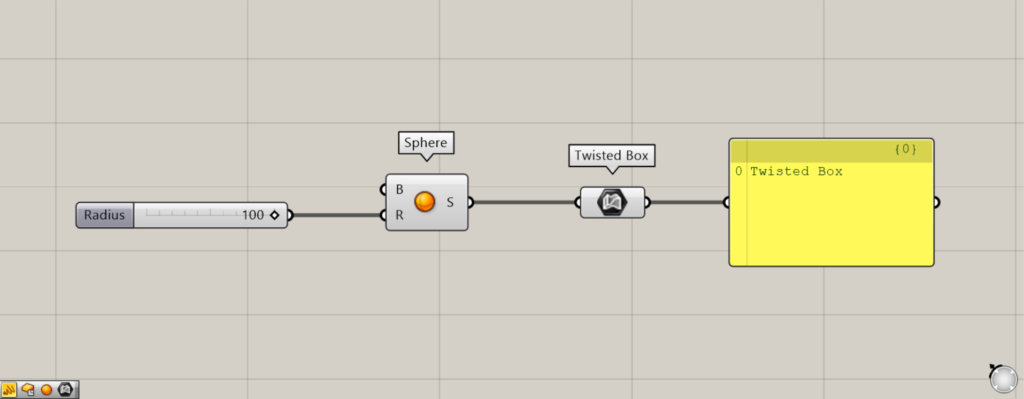
Components used: ① Sphere ② Twisted Box
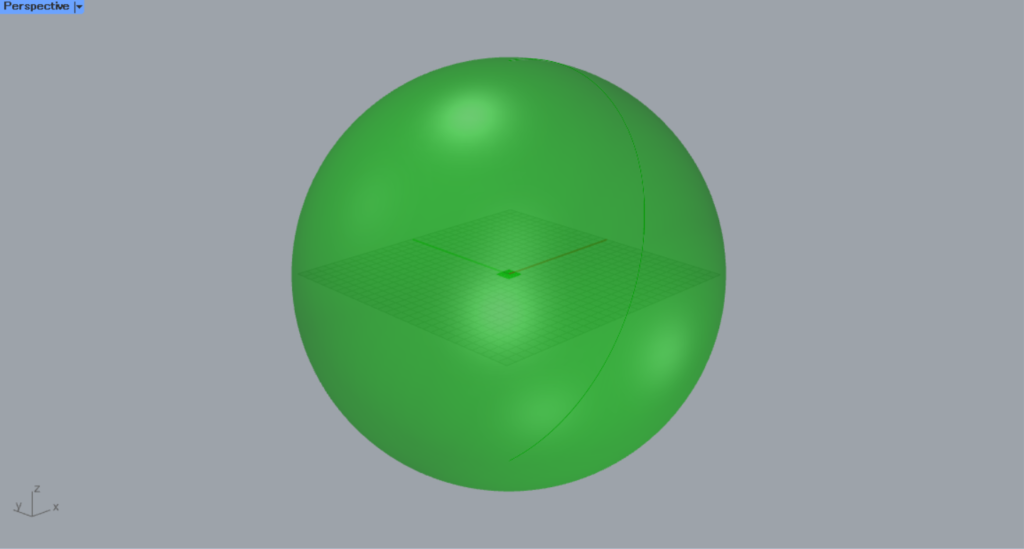
As the next example, let’s convert the sphere into a twist box.
Enter the radius value into the Sphere(R).
This time, we entered 100.
Then, a sphere is created.
Then connect the Sphere to the Twisted Box.
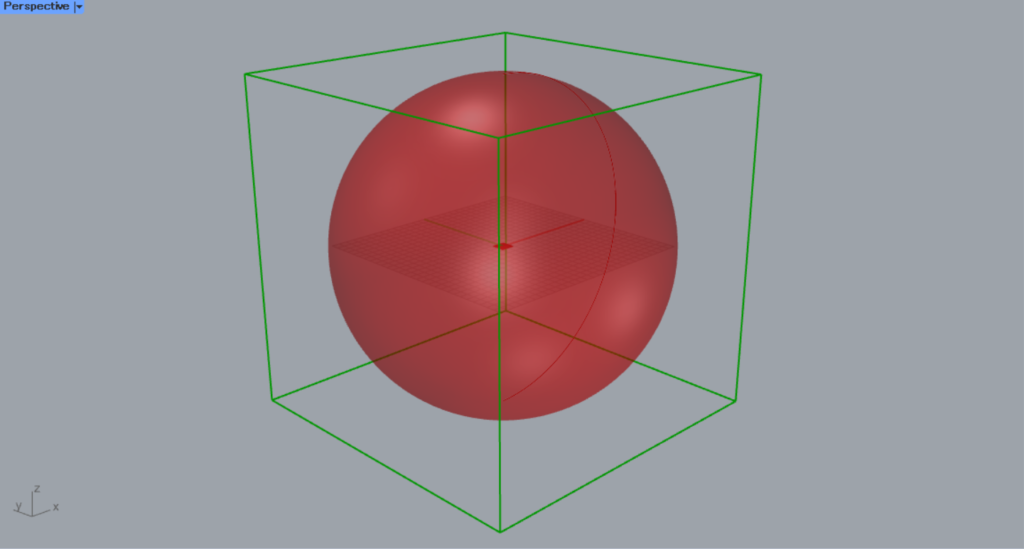
Then, a twist box was created to wrap around the sphere.
In this way, when connecting a non-box shape to a Twisted Box, the Twisted Box is created to wrap around that model.
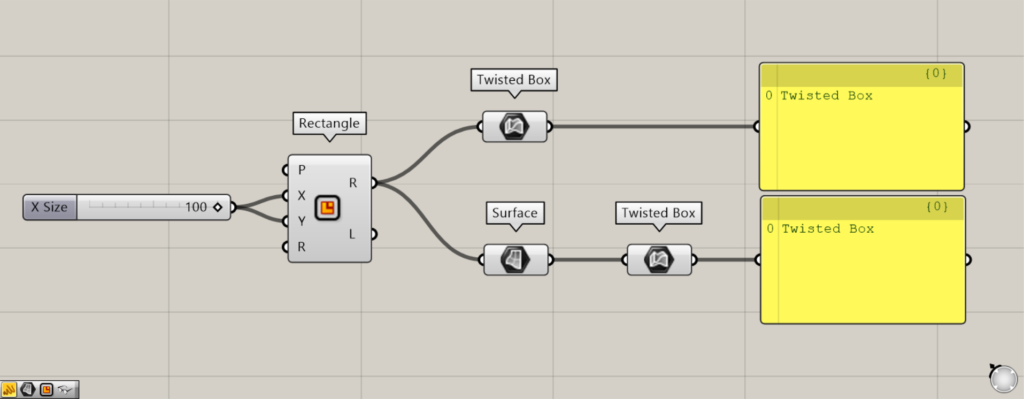
Components used: ① Rectangle ② Surface ③ Twisted Box
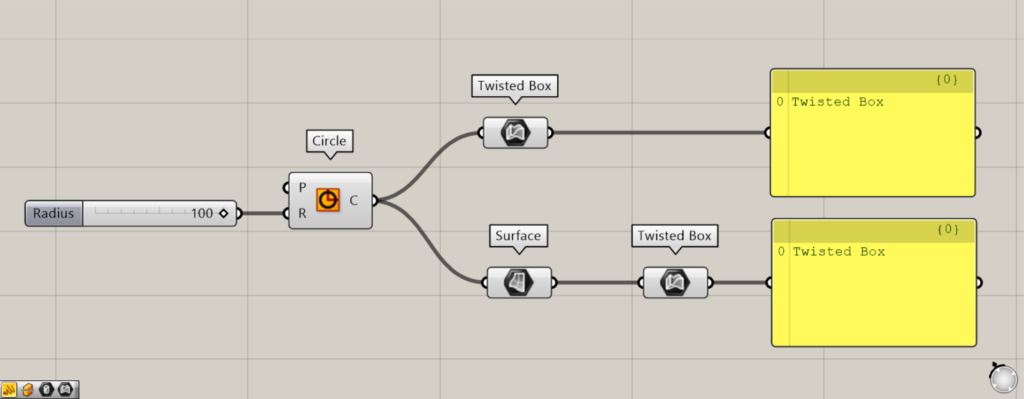
Components used: ①Circle ②Surface ③Twisted Box
Next, let’s look at the case of planar line data and surface data.
This time, we created a rectangle and a circle using Rectangle and Circle respectively.
Then, I left one as line data and converted the other to a surface using Surface, connecting it to a Twisted Box.
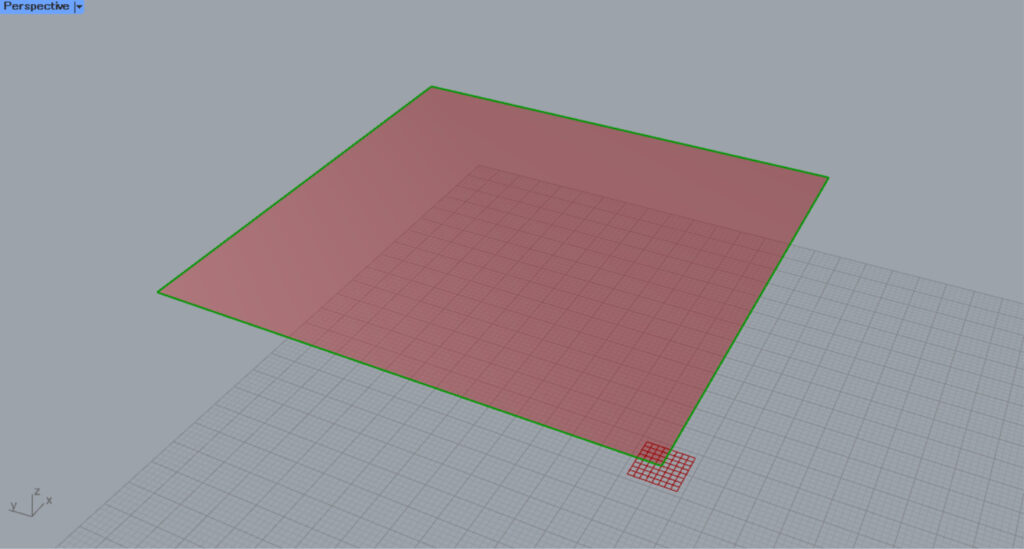
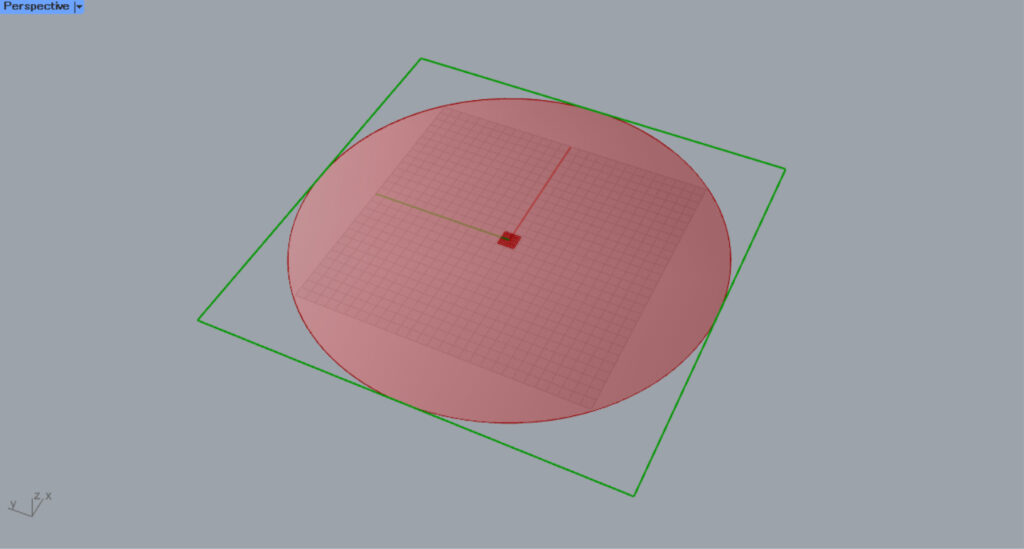
Then, although it has no thickness, it was converted into a twist box.
For the circle, a flat, rectangular twist box was created to wrap around it.
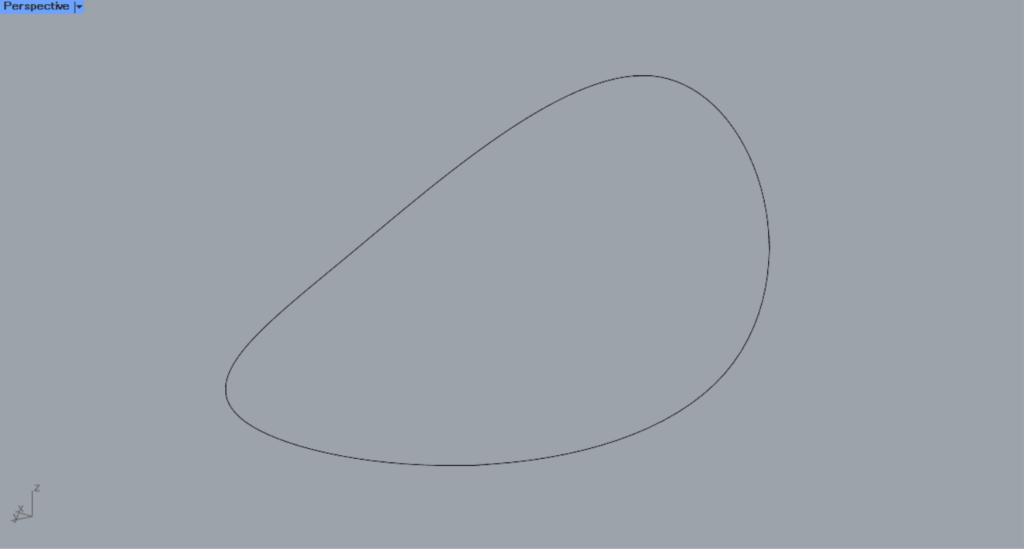
Next, let’s look at the case of curves and surfaces in 3D.
This time, we will use the curve created in Rhino for the image above.
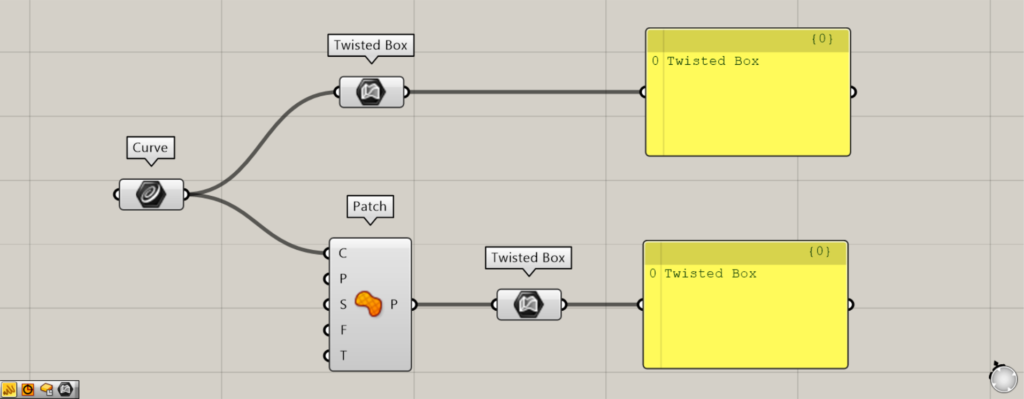
Components used: ①Curve ②Patch ③Twisted Box
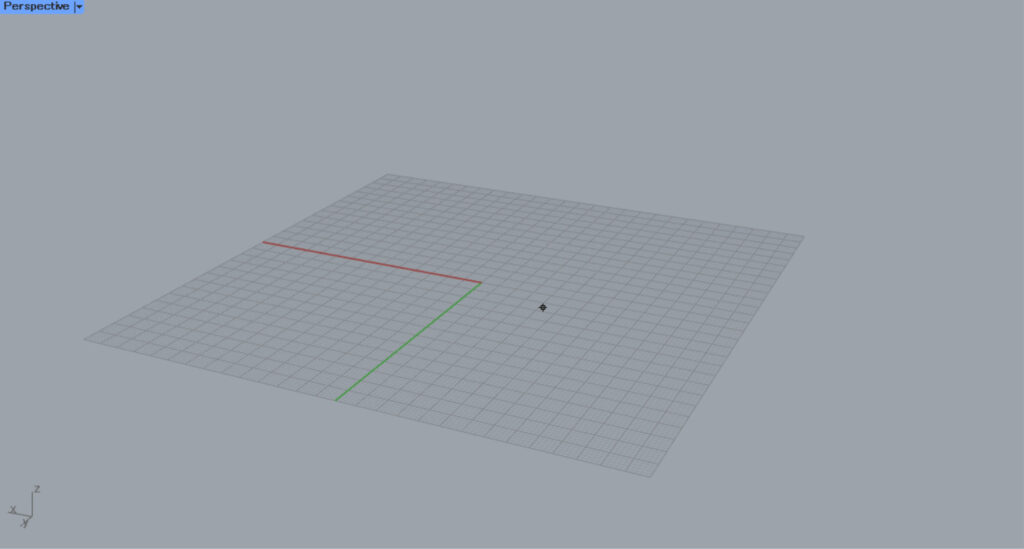
Set the line on the Rhino in Curve.
Then, connect one directly to the Twisted Box.
The other one connects Curve to the Patch(C), converts it to a surface, and then connects it to the Twisted Box.
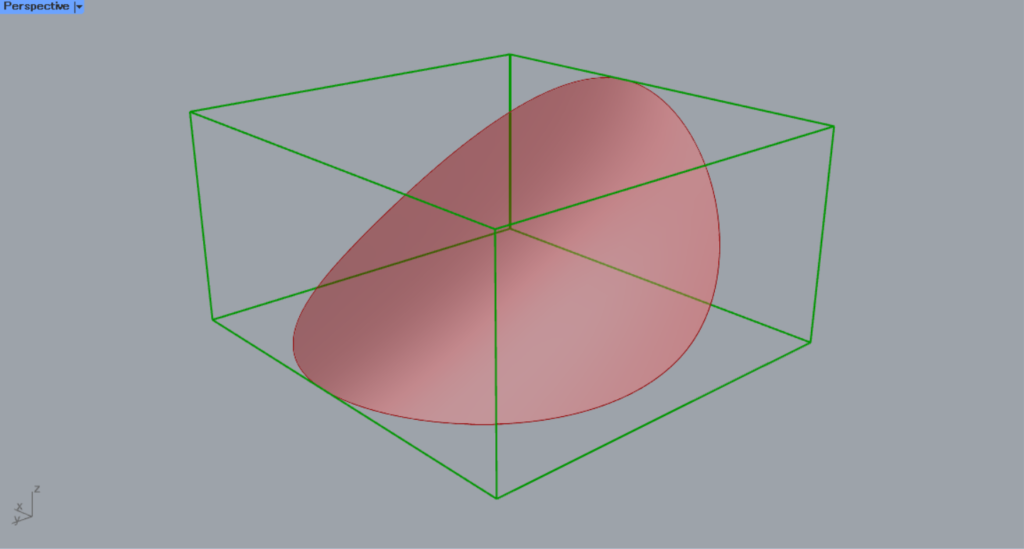
Then, a thick twisted box was created, enveloping the curves and surfaces of the solid.
As shown here, you can convert other types of objects into twist boxes.
Convert the twist box to another object
You can also convert the twist box into other objects.
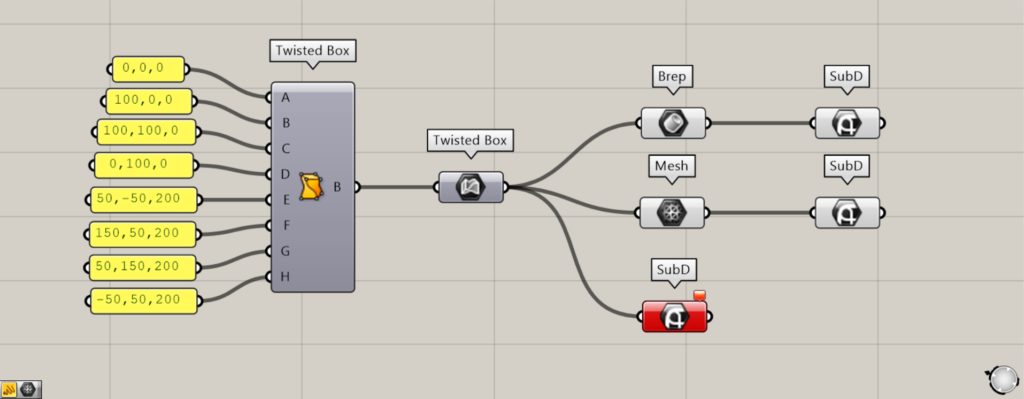
Components used: ①Twisted Box ②Twisted Box ③Brep ④Mesh ⑤SubD
Connecting a Brep to a Twisted Box converts it into a Brep object.
By connecting a Mesh to a Twisted Box, you can convert it into a Mesh object.
SubD cannot be converted directly.
Therefore, you can convert it by first converting it to Brep or Mesh, then using SubD.
Create and set twist boxes directly
You can also create and set twist boxes directly.
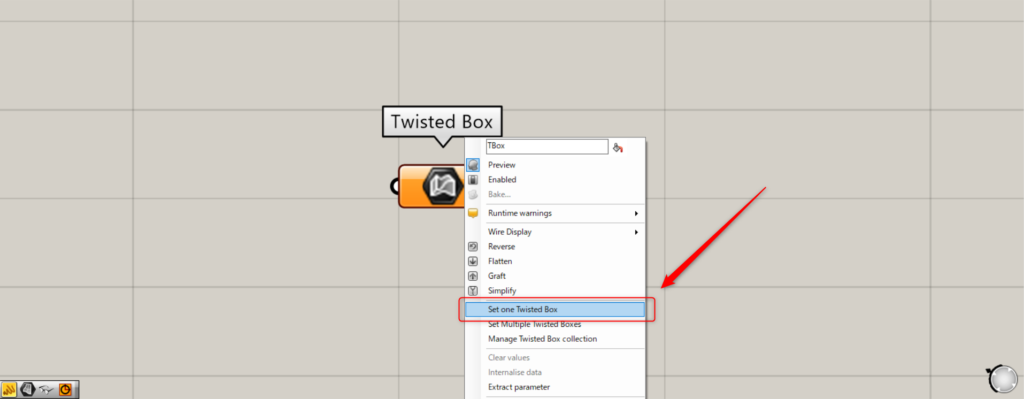
Right-click the Twisted Box and select Set one Twisted Box.
Then, the screen will switch to Rhino.
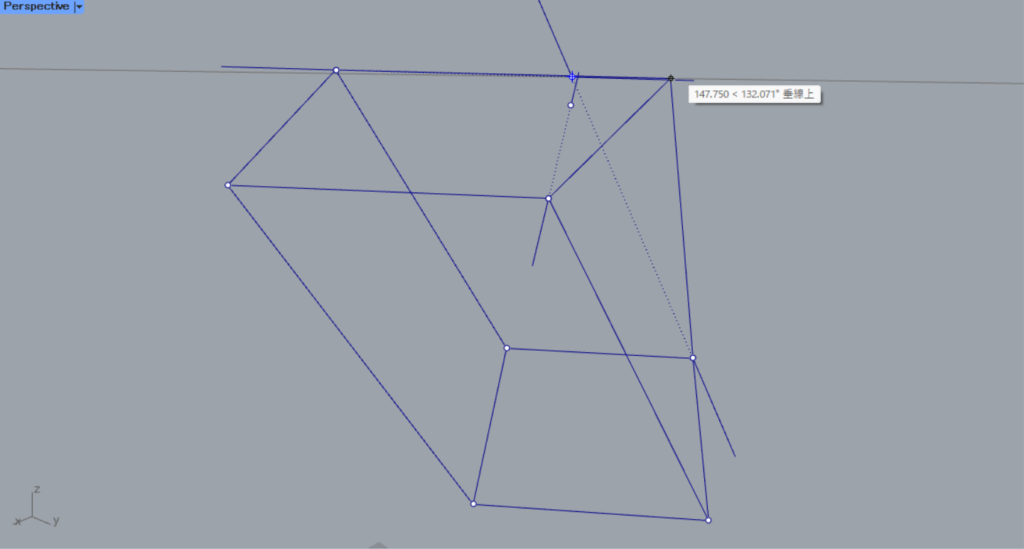
After that, you can create a twist box by specifying 8 points.
It has been set.
This is the result on Rhino.

When using this method, placing auxiliary lines or points on Rhino in advance makes it easier to create twist boxes.
List of Grasshopper articles using Twisted Box component↓

Comment