
![[Grasshopper] How to use Model Hatch Pattern to set hatch patterns](https://iarchway.com/wp-content/uploads/2026/01/Model-Hatch-Pattern.png)
This article explains how to use Model Hatch Pattern to set hatch patterns.

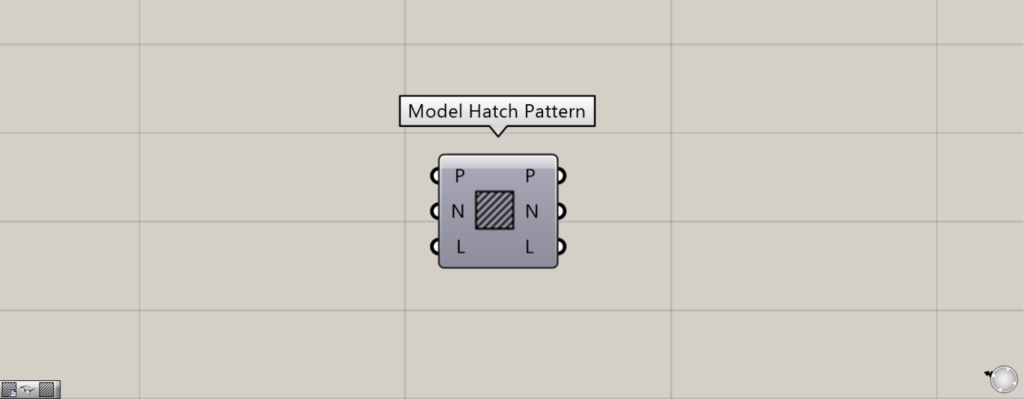
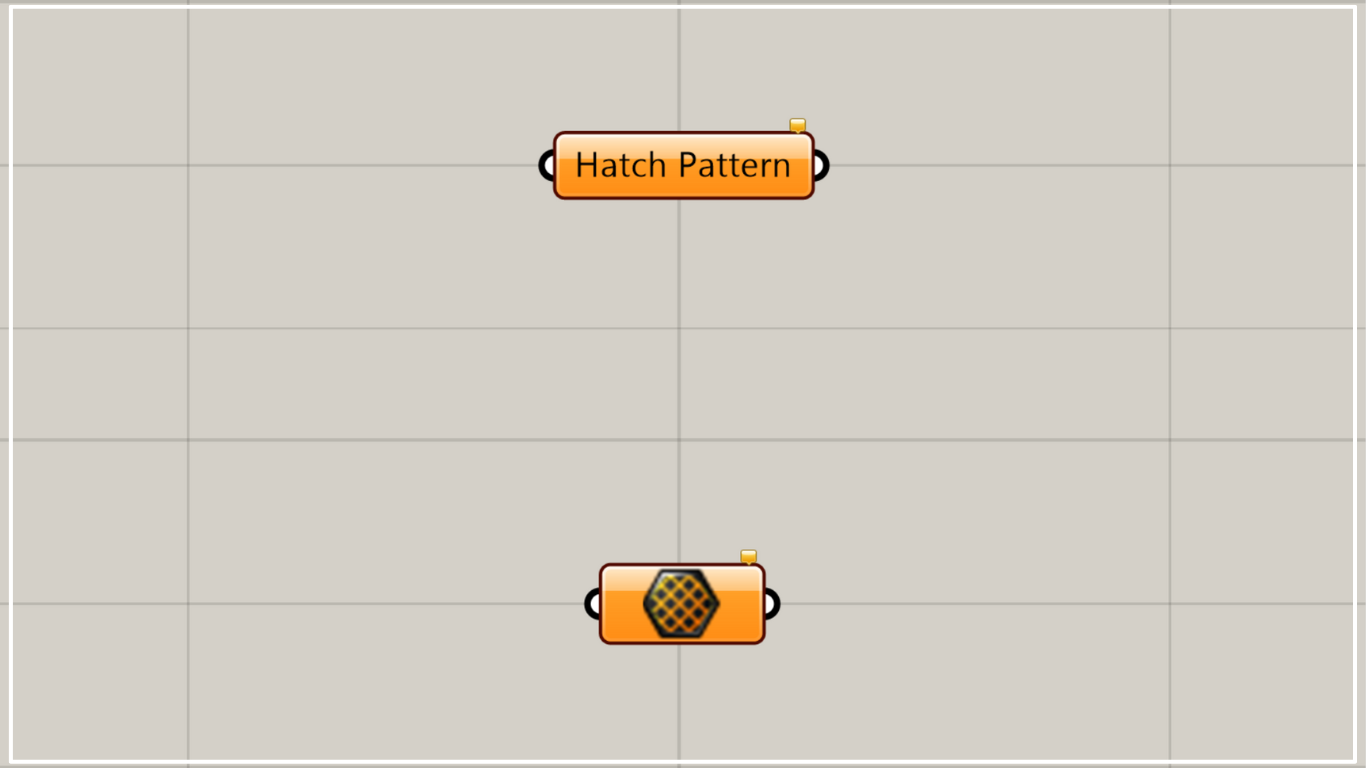
On the Grasshopper, it is represented by either of the two above.
Set the hatching pattern
Using the Model Hatch Pattern allows you to set hatch patterns.
Please note that there is another component with the same name.
This Model Hatch Pattern allows you to retrieve elements from existing hatch patterns or create new patterns.
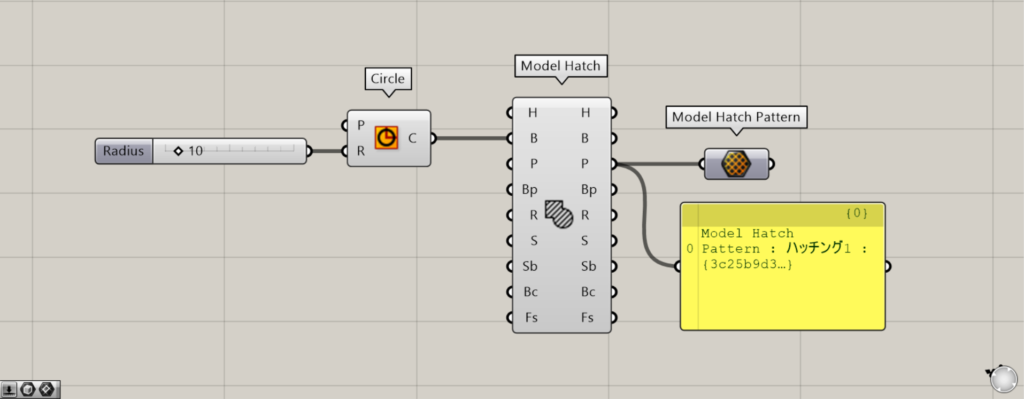
Components used: ①Circle ②Model Hatch ③Model Hatch Pattern
This time, we will set the pattern used for the hatching created within the circle into the Model Hatch Pattern.
Enter the radius value into the Circle(R).
This time, since 10 was entered, a circle with a radius of 10 was created.
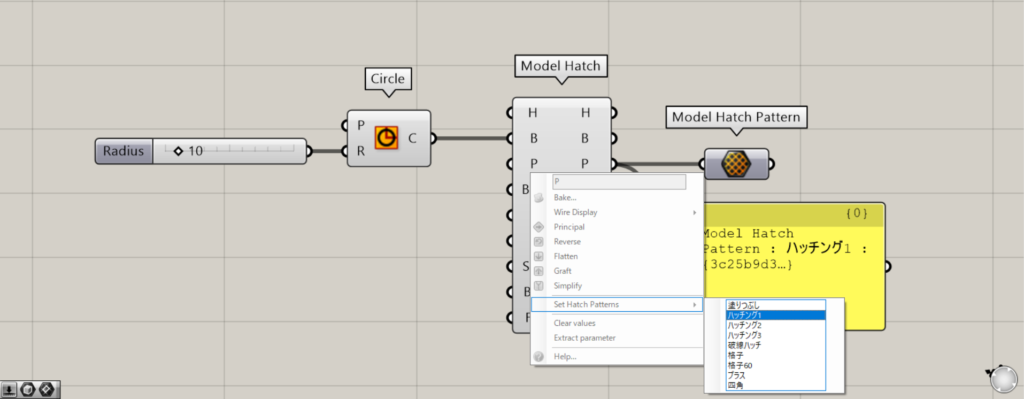
Then connect the Circle to the Model Hatch(B).
Next, right-click the Model Hatch(P) and select Set Hatch patterns.
Then you can select the pattern to use for hatching.
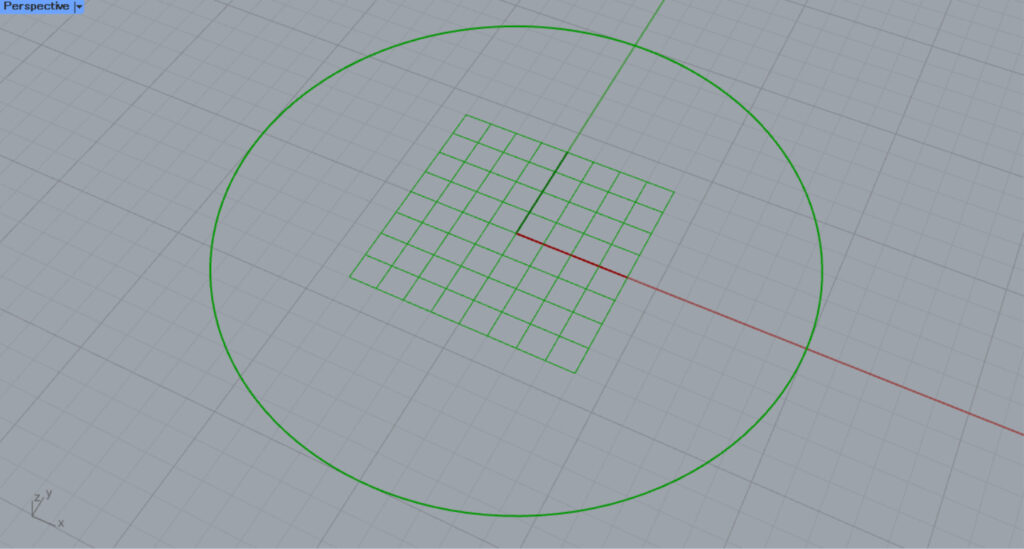
This time, we selected Hatching 1.
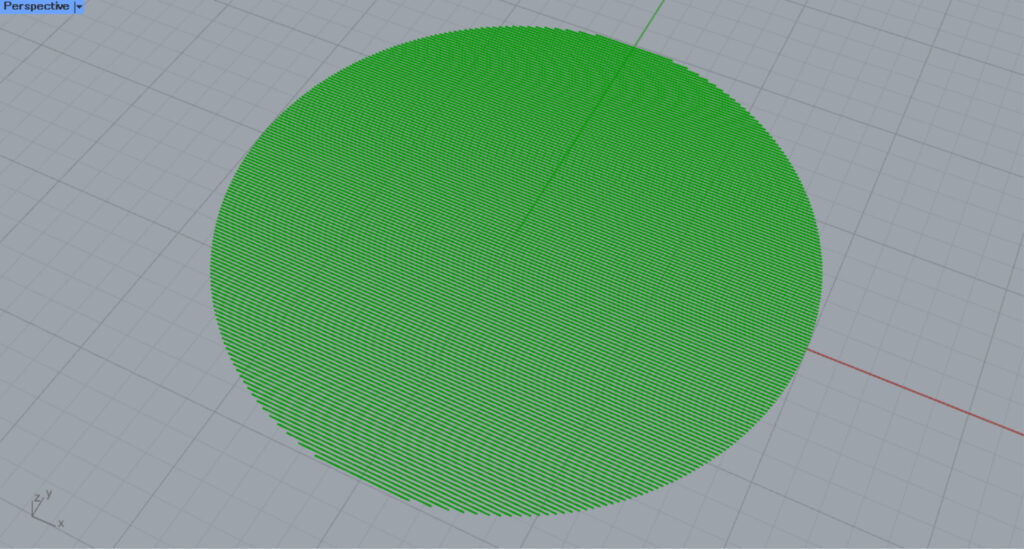
Then, the hatching was created like this.
Then, since the data for the pattern you used is output from Model Hatch(P), connect it to Model Hatch Pattern.
Then, the hatch pattern was set in the Model Hatch Pattern.
In this way, you can set hatching pattern data in the Model Hatch Pattern.
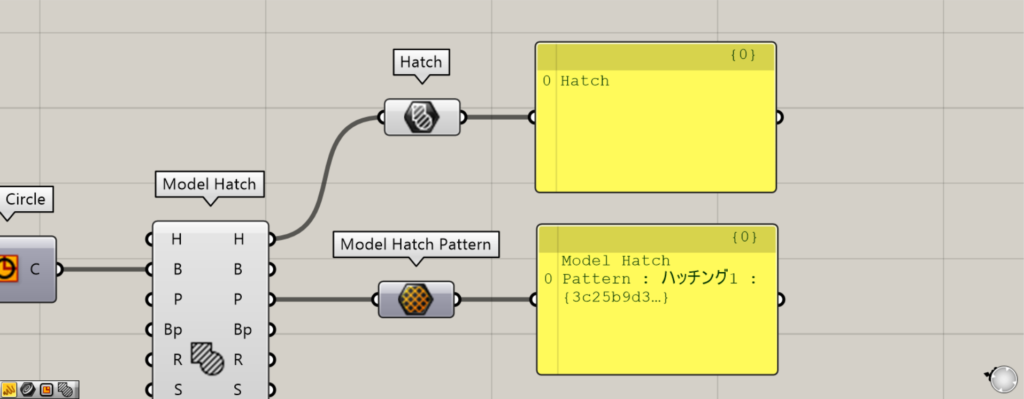
Additional Component: ①Hatch
The hatching body and pattern data are different.
A pattern is one of the elements that make up hatching, and it is like a set design.
Hatching is created by repeating a set pattern within a defined area.
Set the pattern directly
You can also set patterns directly in the Model Hatch Pattern component.
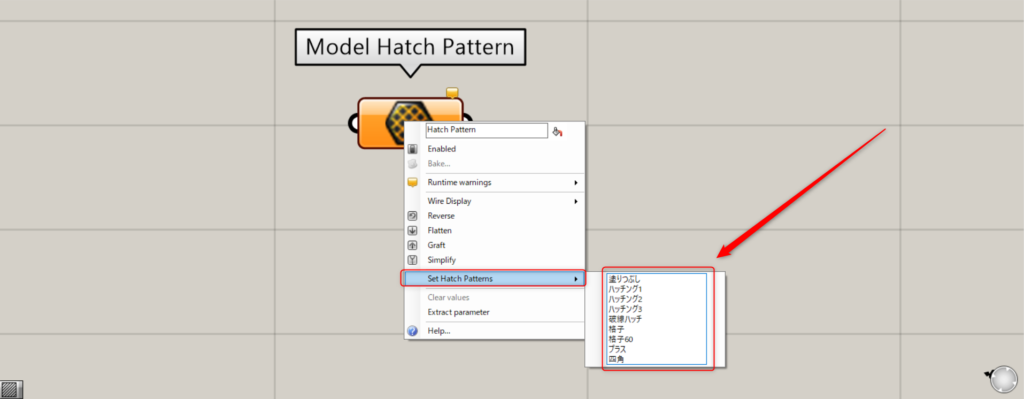
In that case, right-click the Model Hatch Pattern and select Set Hatch Patterns.
Then, a list of available patterns will be displayed; select the pattern you wish to use.
This time, select Hatch2.
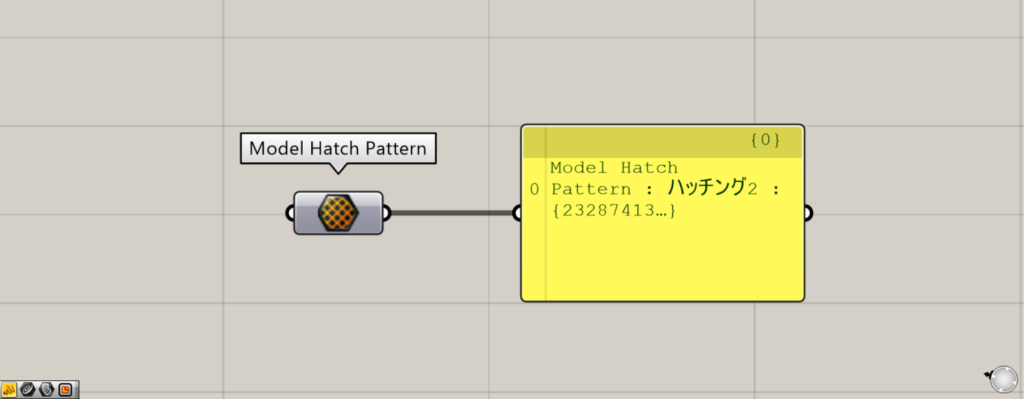
Then, the hatching pattern was set like this.
List of Grasshopper articles using Model Hatch Pattern component↓

Comment