
![[Grasshopper] How to use Hatch Line to set hatch lines](https://iarchway.com/wp-content/uploads/2026/01/Hatch-Line.png)
This article explains how to use Hatch Line to set hatch lines.
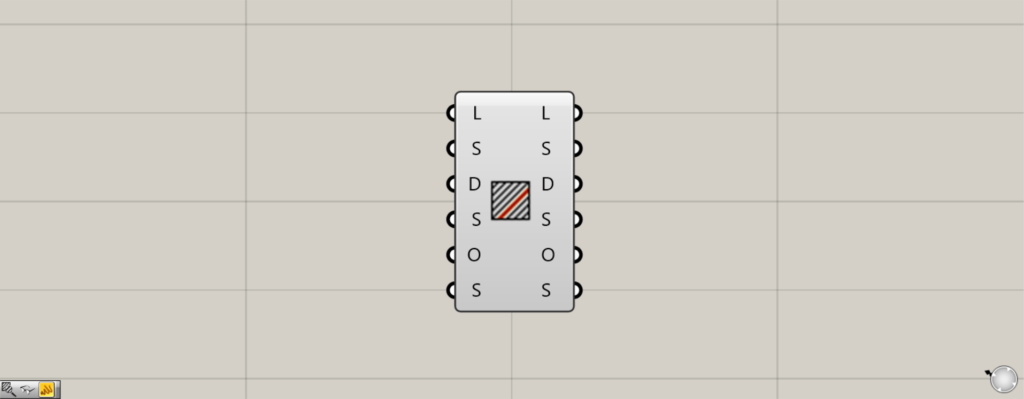
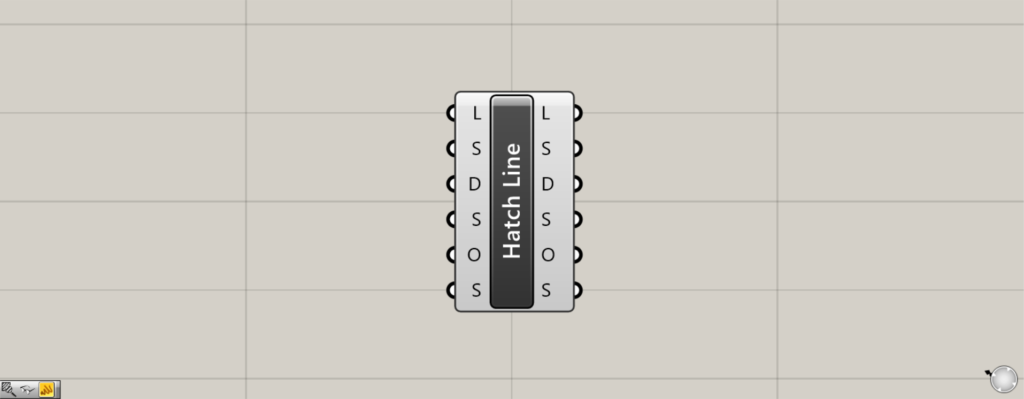
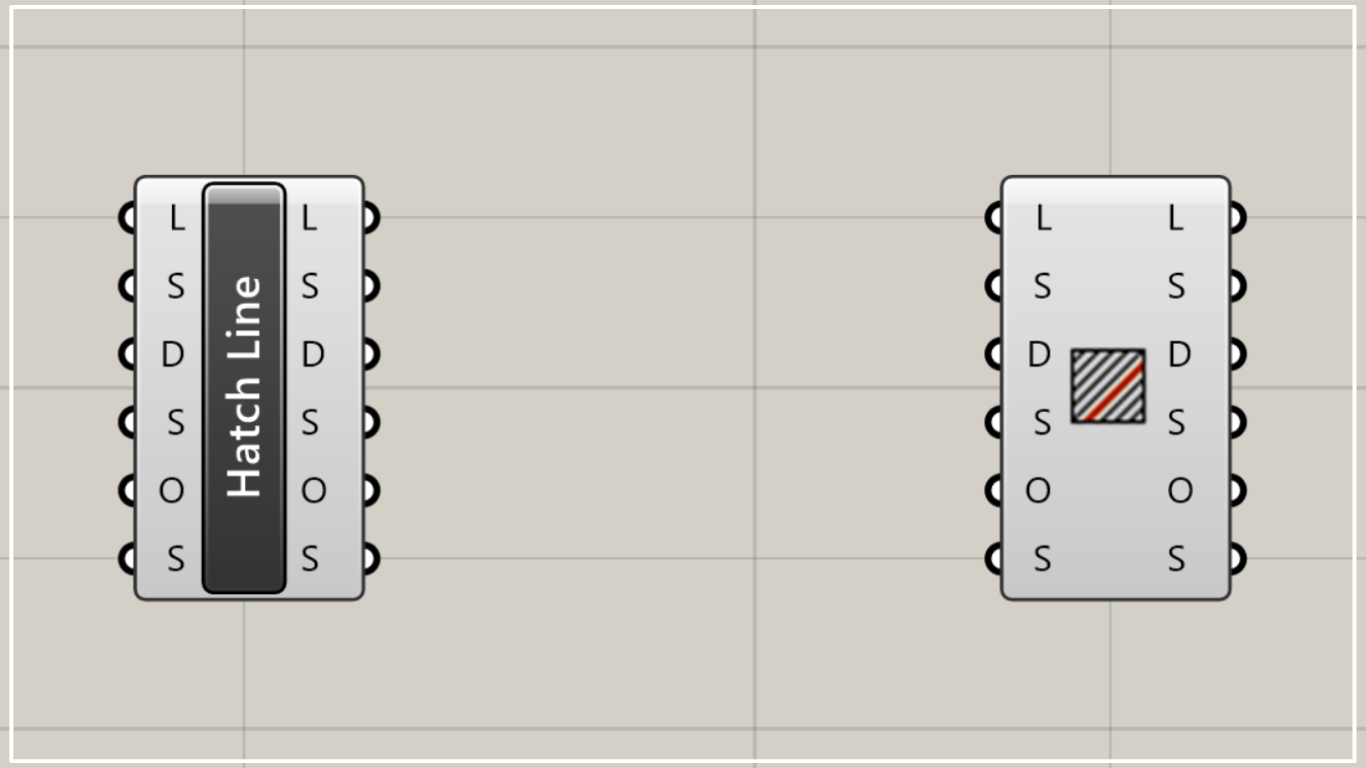
On the Grasshopper, it is represented by either of the two above.
Set hatch lines
Using Hatch Line allows you to set hatch lines used for creating hatching and patterns.
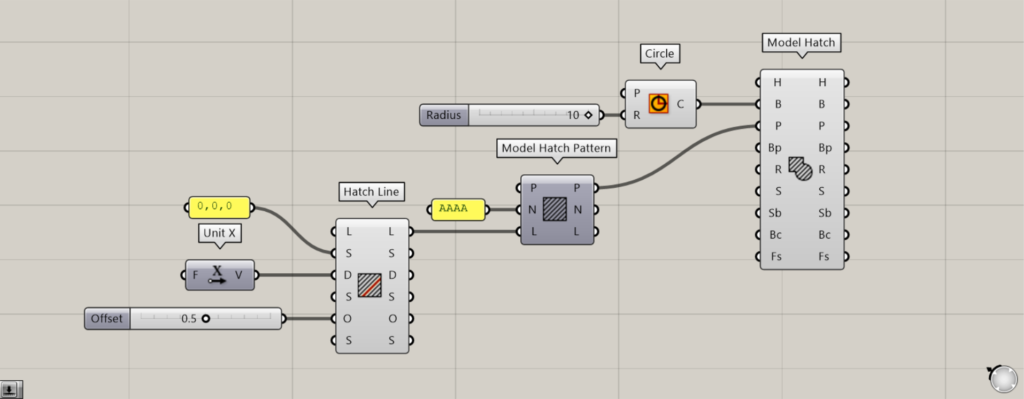
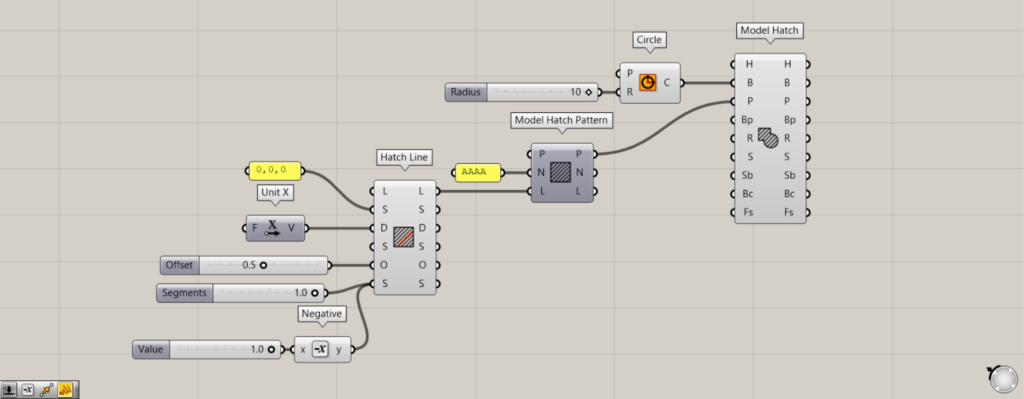
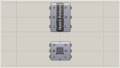
Components Used: ①Circle ②Unit X ③Hatch Line ④Model Hatch Pattern ⑤Model Hatch
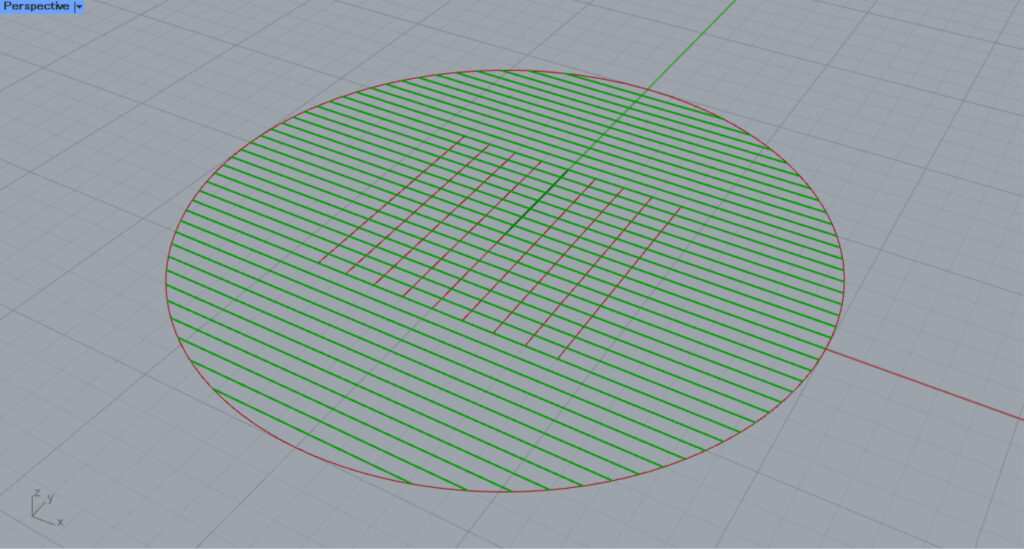
For example, let’s create hatching inside a circle using the set hatch line.
First, enter the radius value into the Circle(R).
This time, since 10 was entered, a circle with a radius of 10 was created.
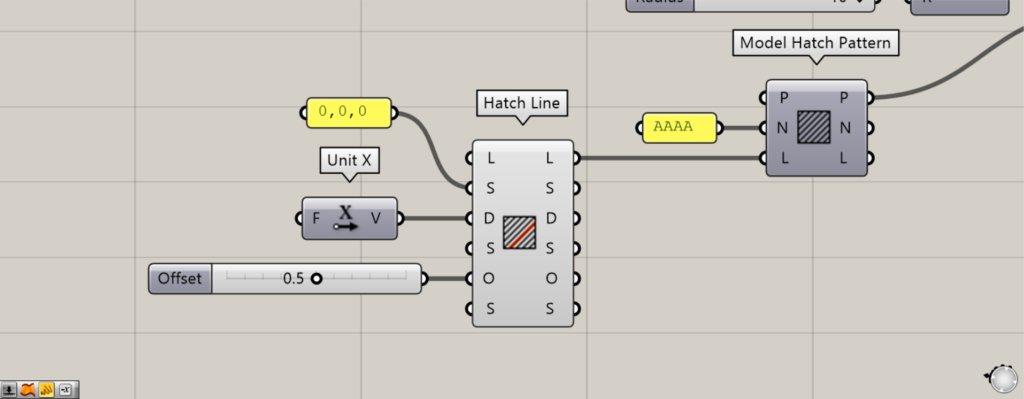
The basic Hatch Line configuration uses three S, D, and O terminals.
Connect the starting point of the hatch line to the Hatch Line(S) using coordinates or point data.
This time, we are connecting the coordinates 0,0,0.
Connect the vector information for the direction in which the hatch line extends to the Hatch Line(D).
This time, since Unit X is connected, the hatch lines extend along the X-axis.
Then, enter the hatch line spacing value into the Hatch Line(O).
This time, since 0.5 is entered, the line spacing will be 0.5.
This completes the basic hatch line settings.
Create patterns and hatching from the set hatch lines.
Connect any pattern name to the Model Hatch Pattern(N).
This time, we’re connecting the name AAAA.
Additionally, connect the Hatch Line(L) to the Model Hatch Pattern(L).
Then, a pattern named AAAA was created from the hatch line.
Next, connect the Circle to the Model Hatch(B).
Then, connect the Model Hatch(P) to the Model Hatch Pattern(P).
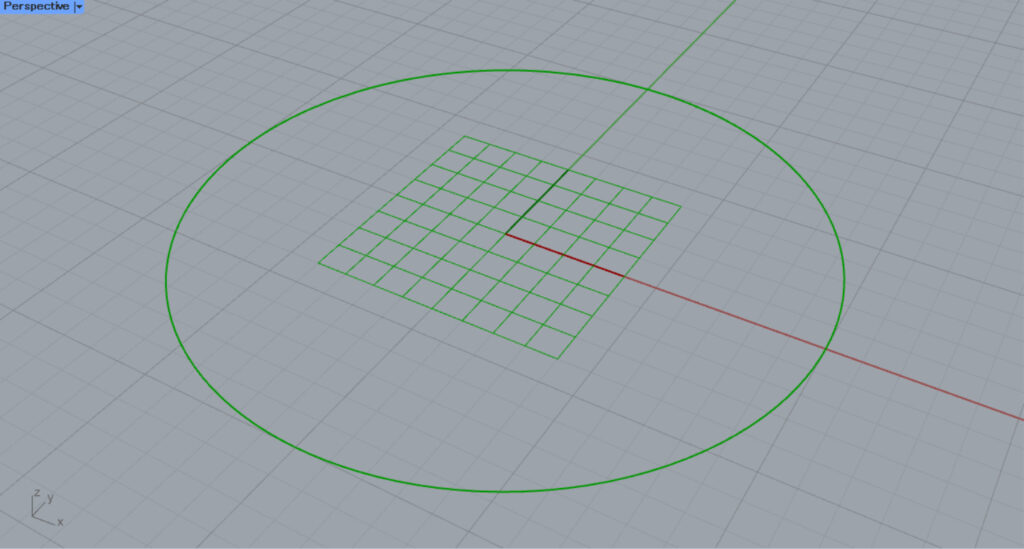
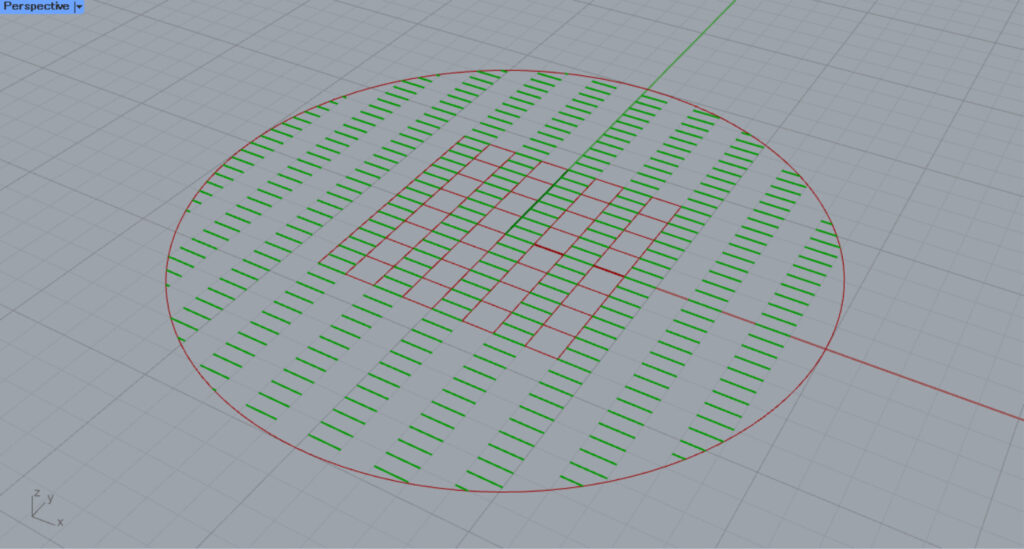
Then, as shown in the image above, hatching was created from the hatch line and pattern.
In this way, using Hatch Line allows you to configure hatch line settings.
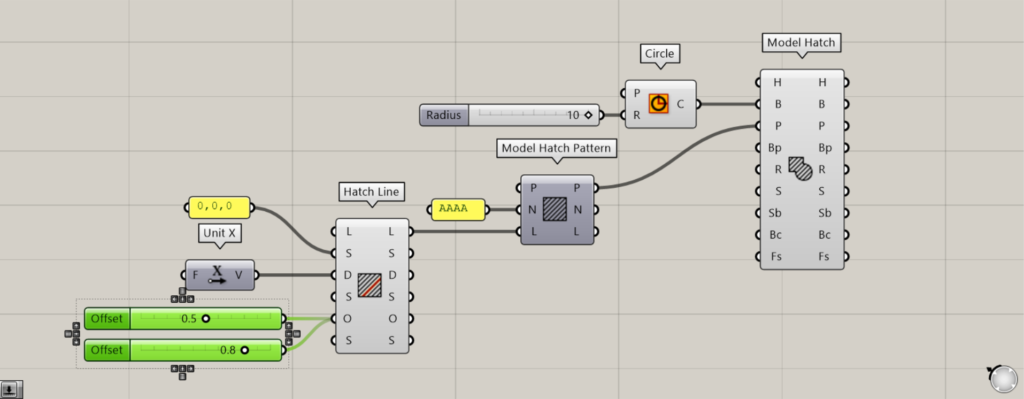
Connecting multiple values to the O terminal allows you to create multiple hatch lines simultaneously.
This time, we entered two values: 0.5 and 0.8.
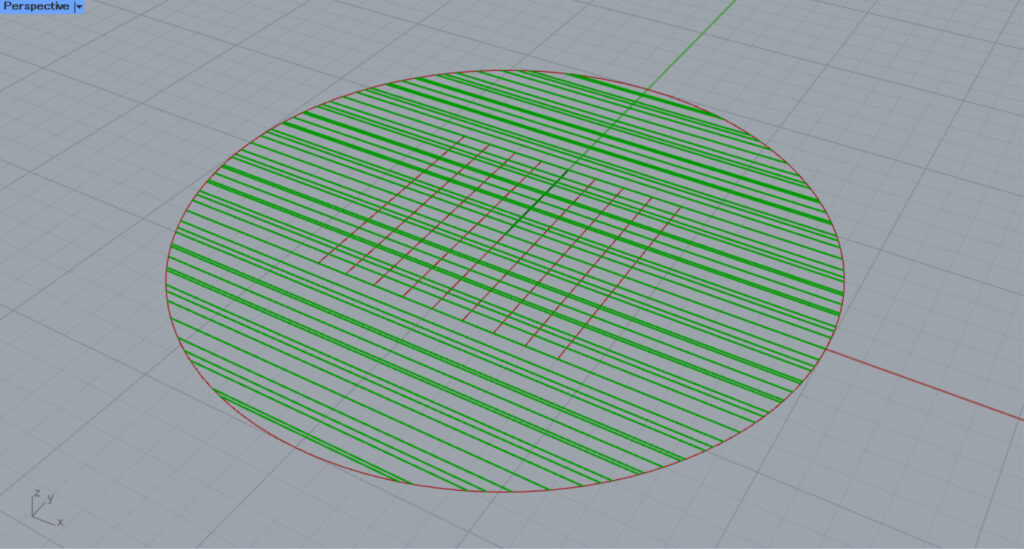
Then, two hatch lines with intervals of 0.5 and 0.8 were created simultaneously.
By connecting multiple values to the O terminal in this way, you can create multiple hatch lines simultaneously.
Additional Component: ①Negative
The bottom S terminal allows you to set the gap between the line and the space.
If the value is positive, a line is created.
This time, we are entering 1.
If the value is negative, a gap will be created.
This time, we’re connecting -1, created by connecting Negative to 1.
Then, the gaps between the lines and spaces will alternate.
This time, a line of length 1 and a gap of length 1 alternate in display.
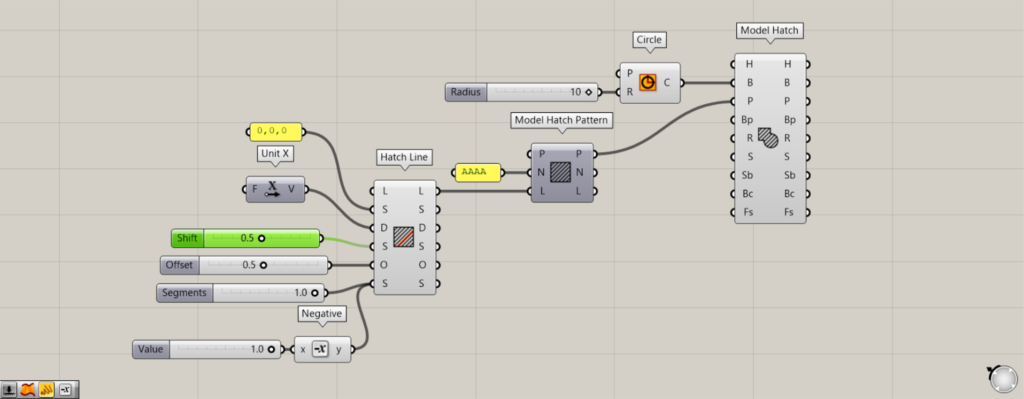
By entering a value into the center S terminal, you can shift the line.
This time, we entered 0.5.
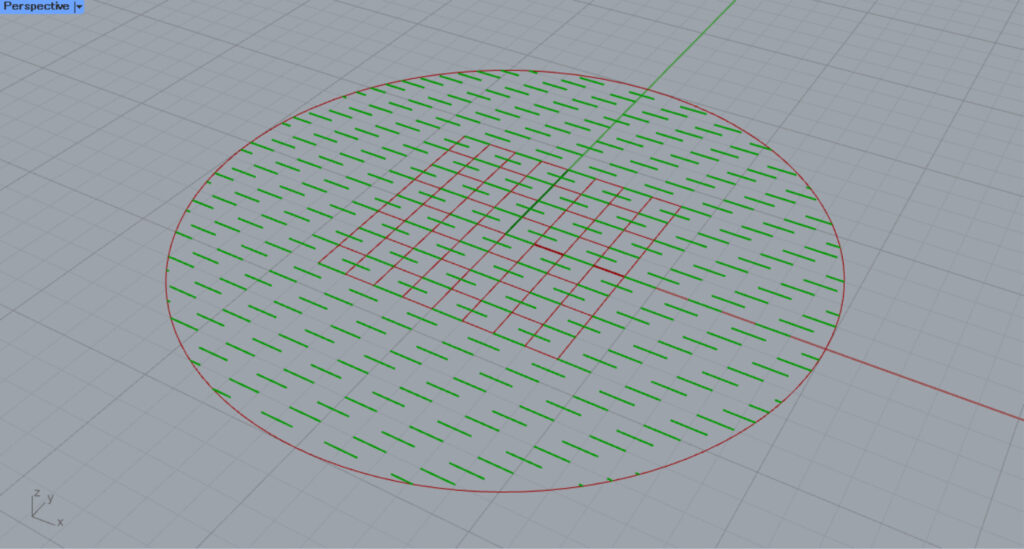
Then, adjacent lines were created with a 0.5-unit offset.
List of Grasshopper articles using Hatch Line component↓

Comment