
![[Grasshopper] How to use Text to set text information](https://iarchway.com/wp-content/uploads/2026/01/Text.png)
This explains how to use Text to set text information.
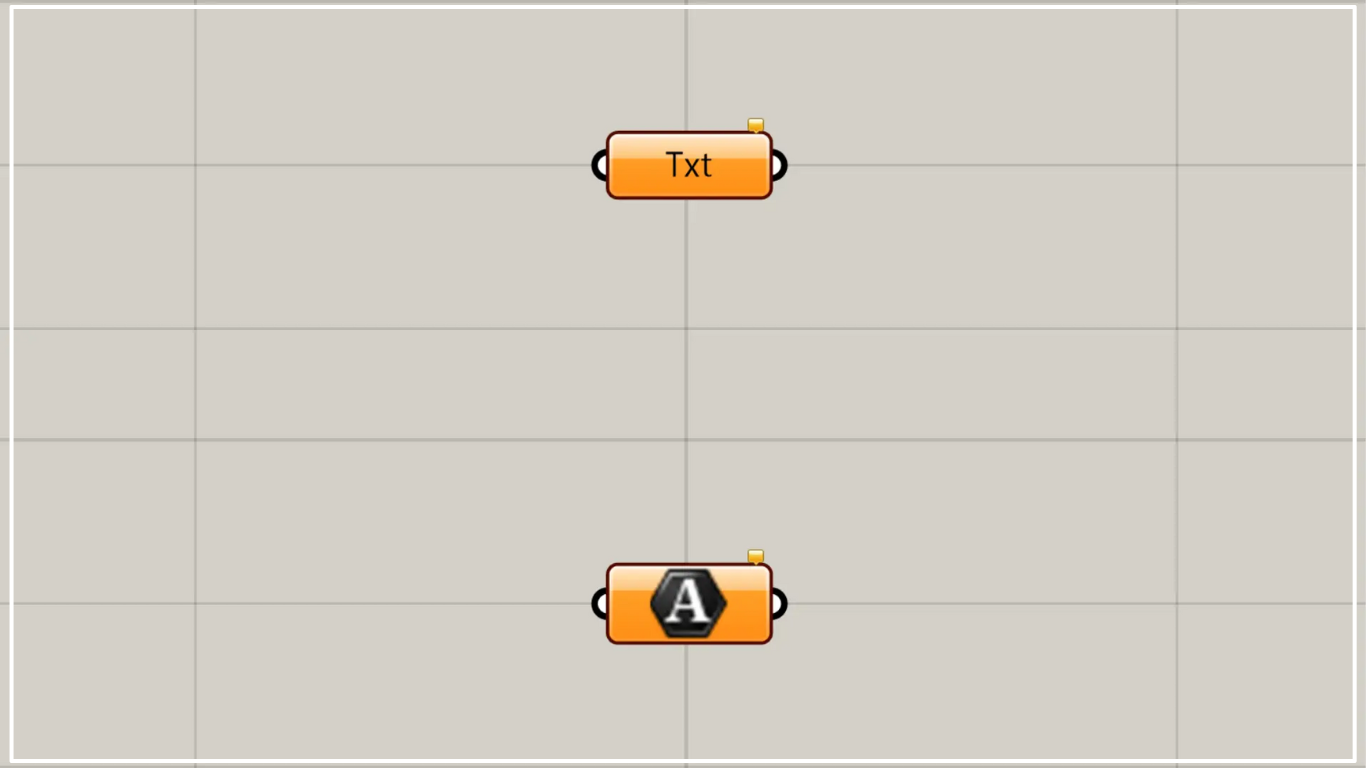
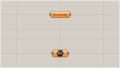
On the Grasshopper, it is represented by either of the two above.
Set text information
Using Text allows you to set text information.
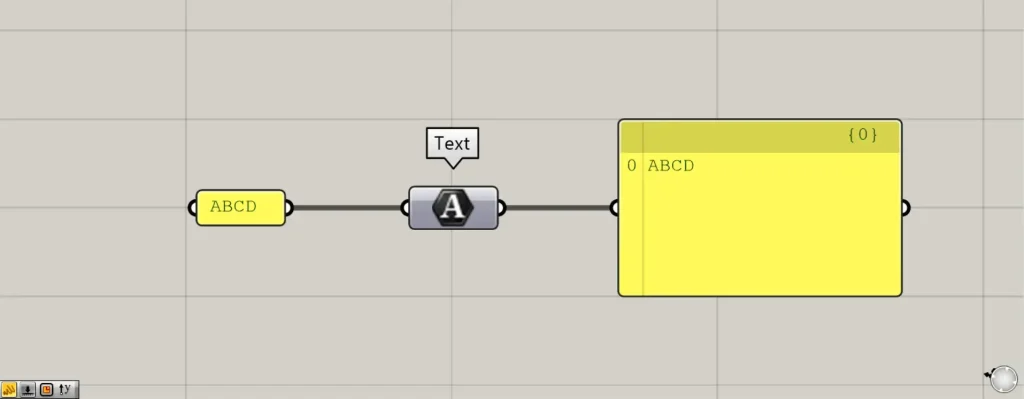
Connect text information to Text.
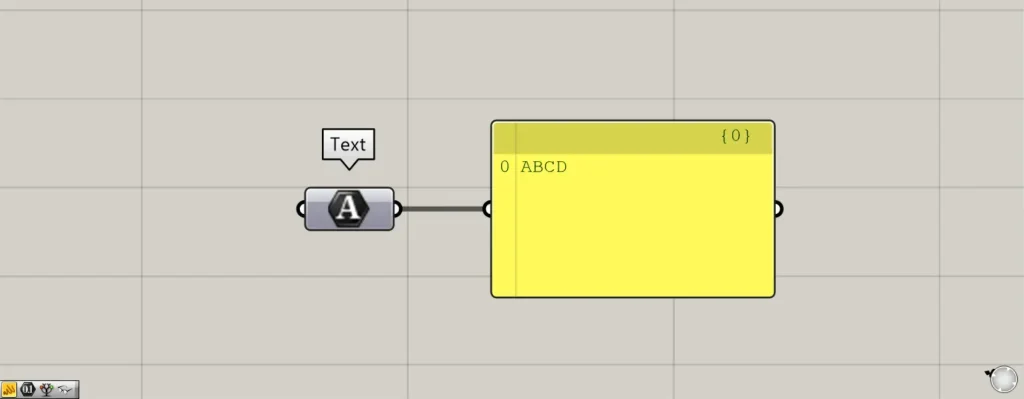
This time, we entered the texts ABCD into the Panel and connected them.
Then, the text information was set in Text.
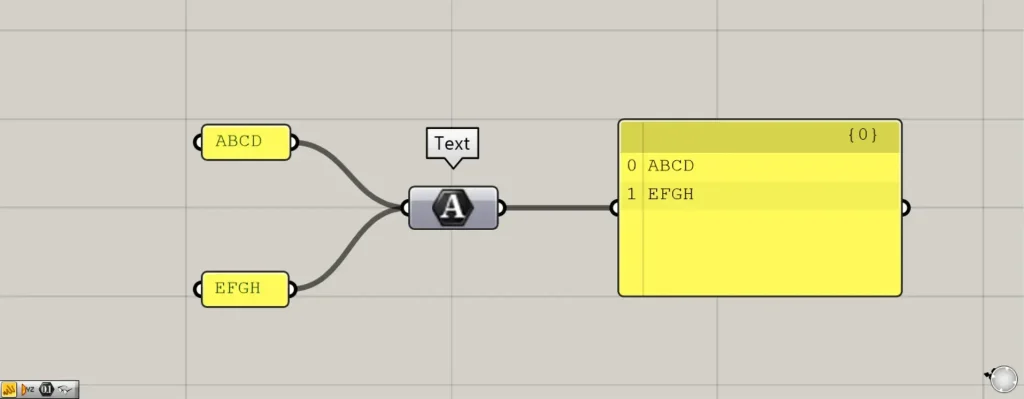
Let’s connect multiple pieces of text information.
This time, we are connecting the two sets of texts: ABCD and EFGH.
Then, you can see that one layer (in this case, {0}) contains two text entries: ABCD and EFGH.
Set text data directly in Text
You can also set text data directly in the Text component.
First, let’s try setting a single piece of text information.
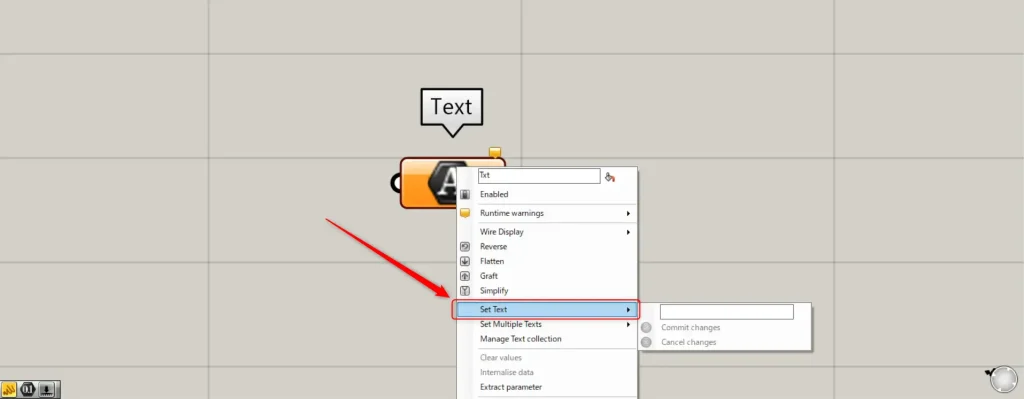
In one case, right-click the Text and select “Set Text”.
Then, a small window appears where you can enter text.
Enter any texts there.
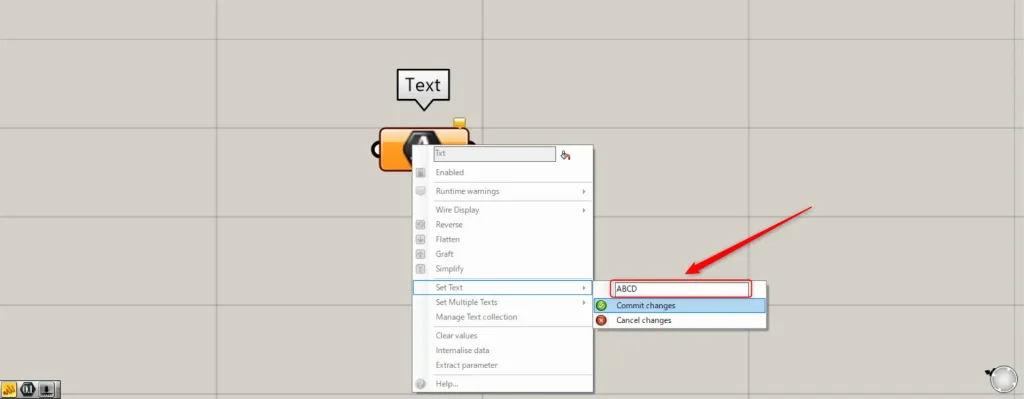
This time, we entered ABCD.
After entering text, select Commit changes.
Then, a single piece of text information was set directly in this manner.
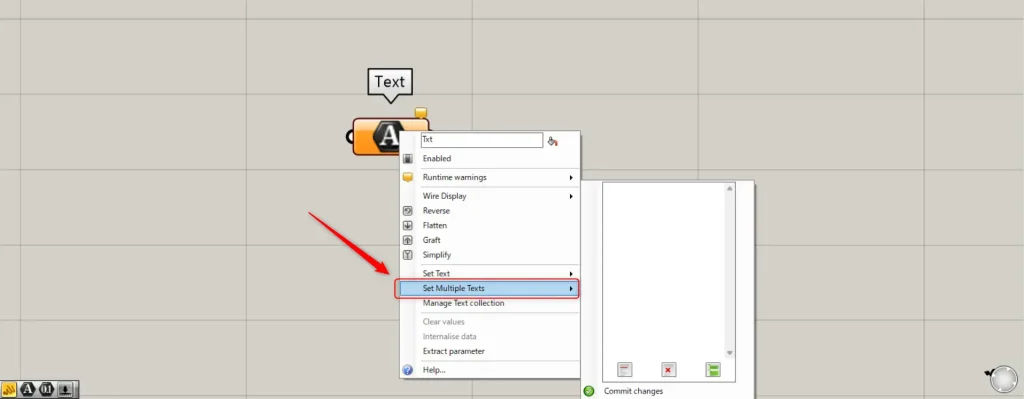
Next, let’s try storing multiple pieces of text information.
To select multiple texts, right-click on a text and choose “Set Multiple Texts”.
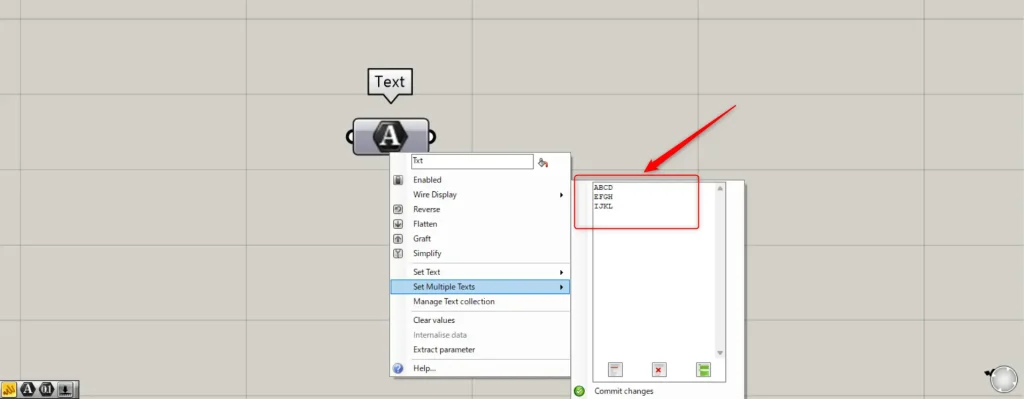
Then, a window appears where you can enter multiple texts.
Then, enter any multiple texts.
This time, we entered ABCD, EFGH, and IJKL.
After entering the information, select Commit changes below.
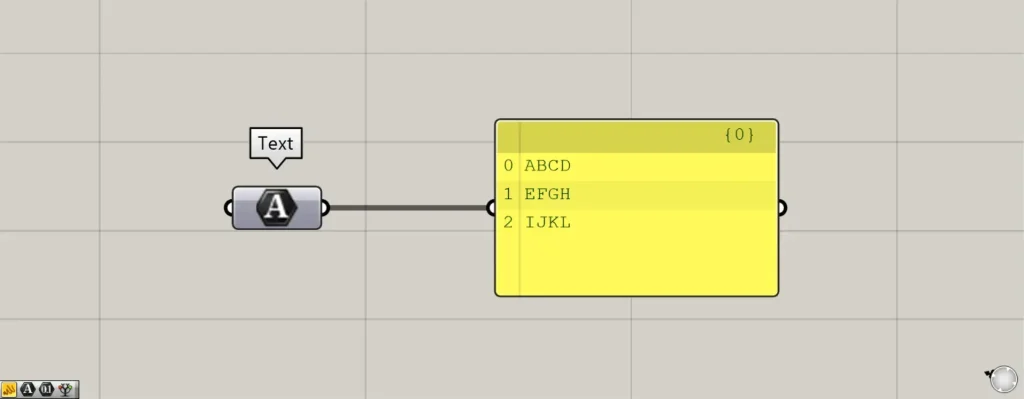
Then, multiple texts were set directly in this manner.
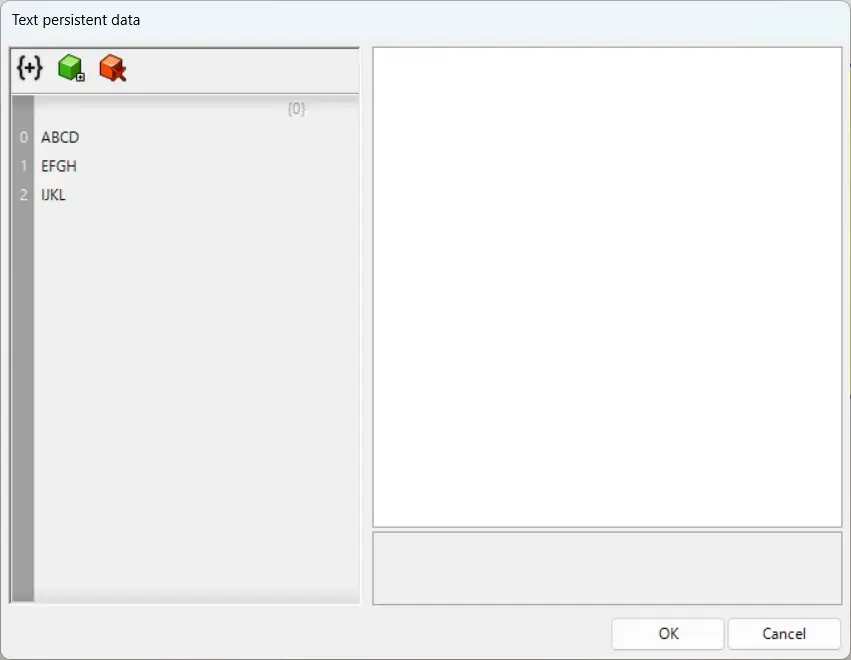
Manage and edit set text information
You can also manage and edit the stored text information.
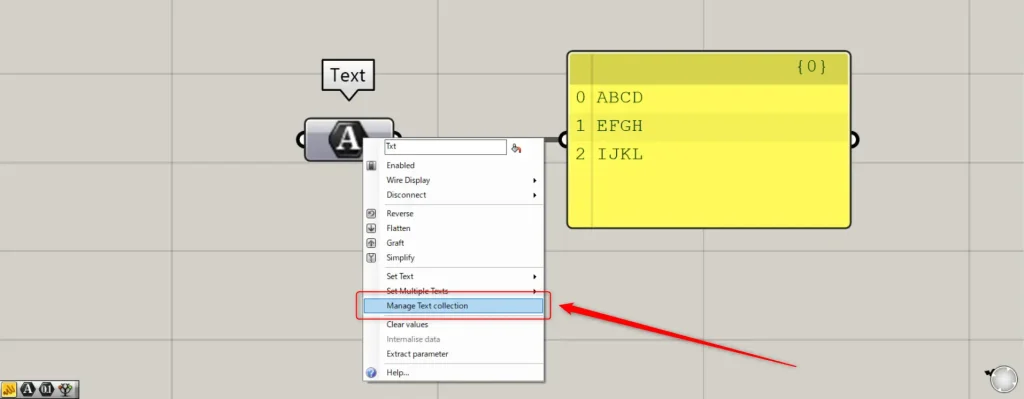
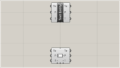
In that case, right-click the Text and select “Manage Text collection”.
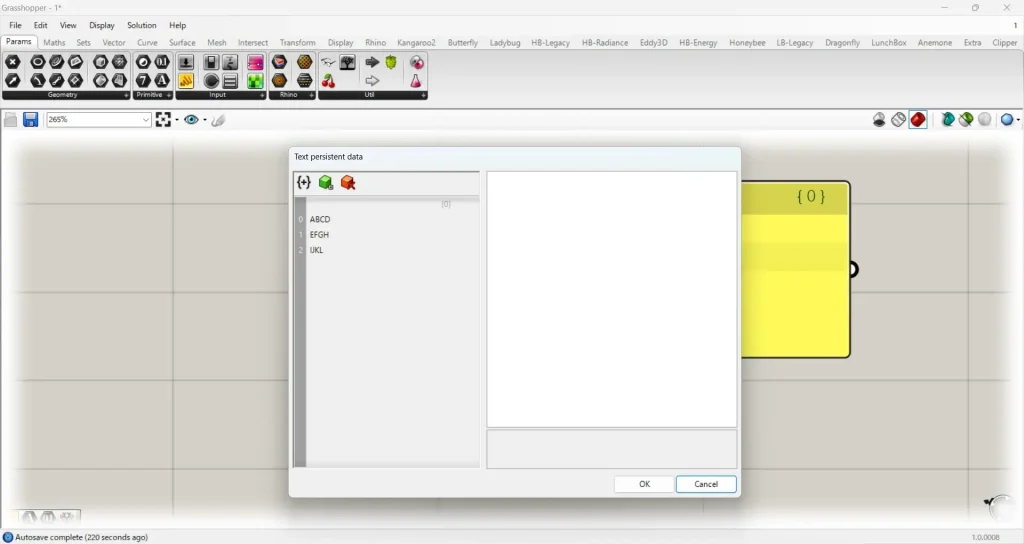
Then, this settings window will appear.
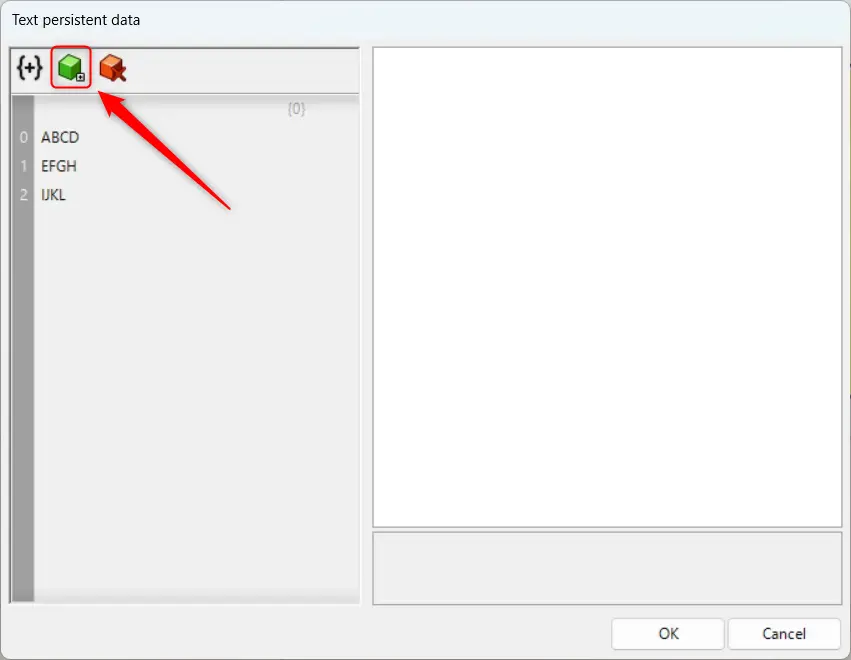
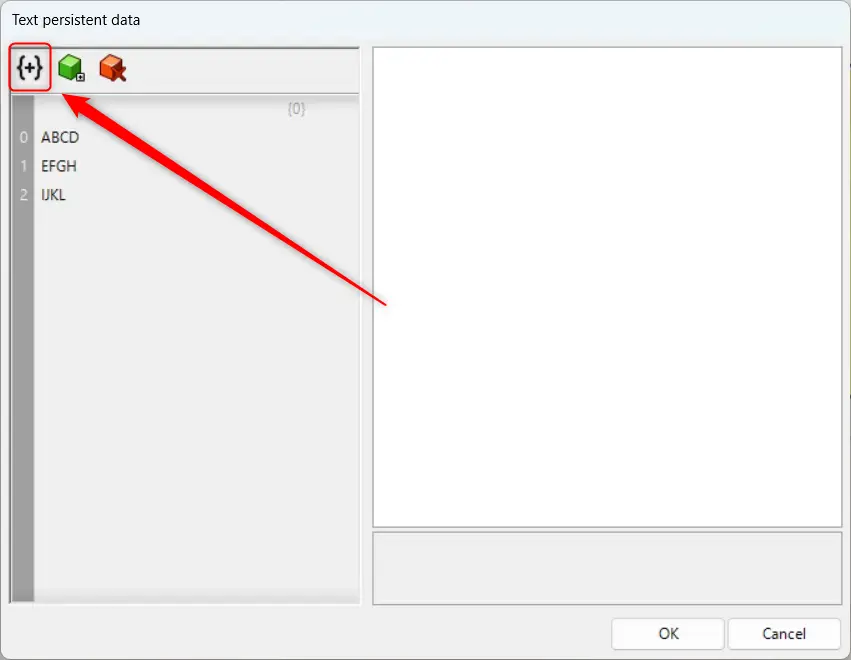
Click the green icon in the upper left to add text data that can be entered.
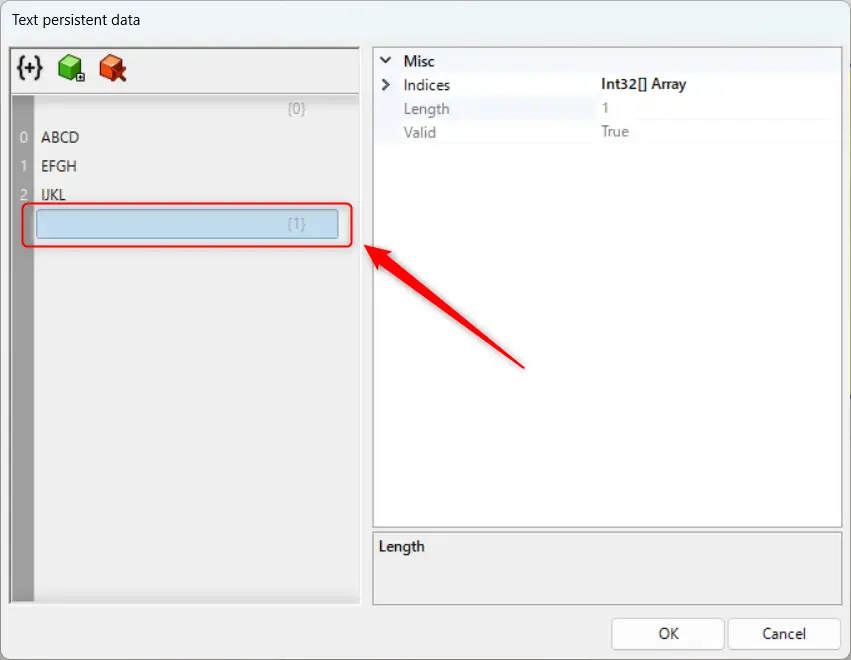
In this way, new data has been added.
However, in this state, the data is empty.
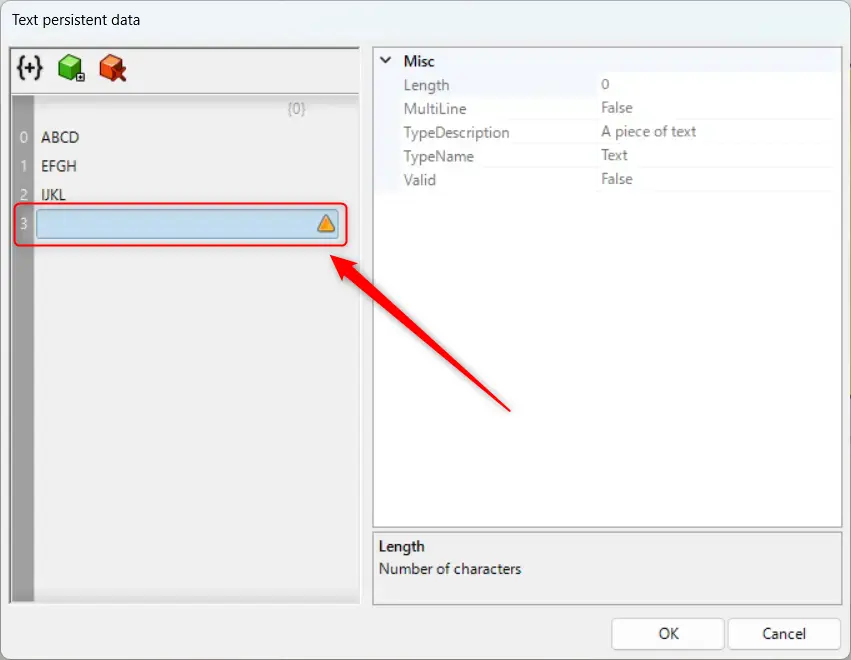
Double-click the newly created data to enter any text information.
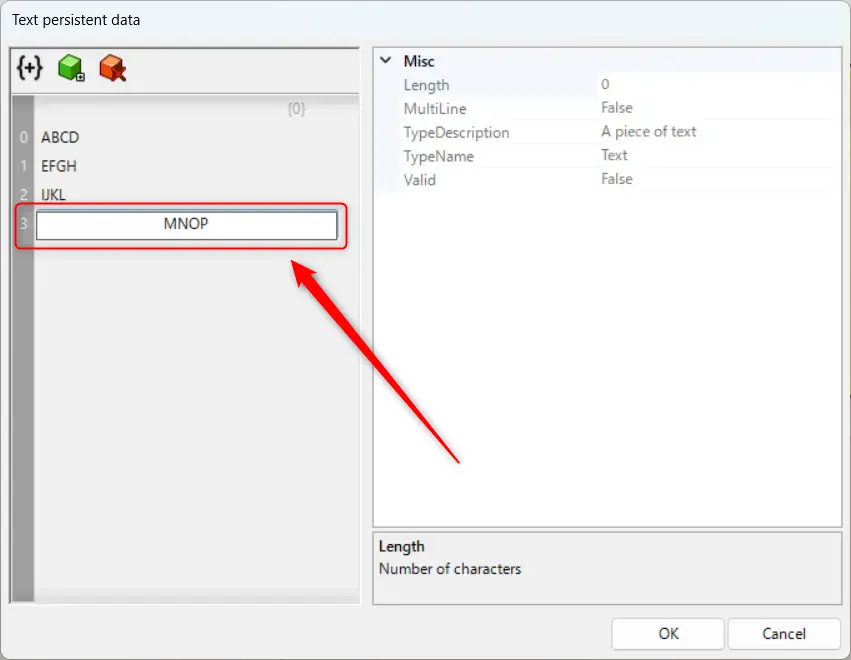
This time, we entered MNOP.

Then, we were able to add new text information like this.
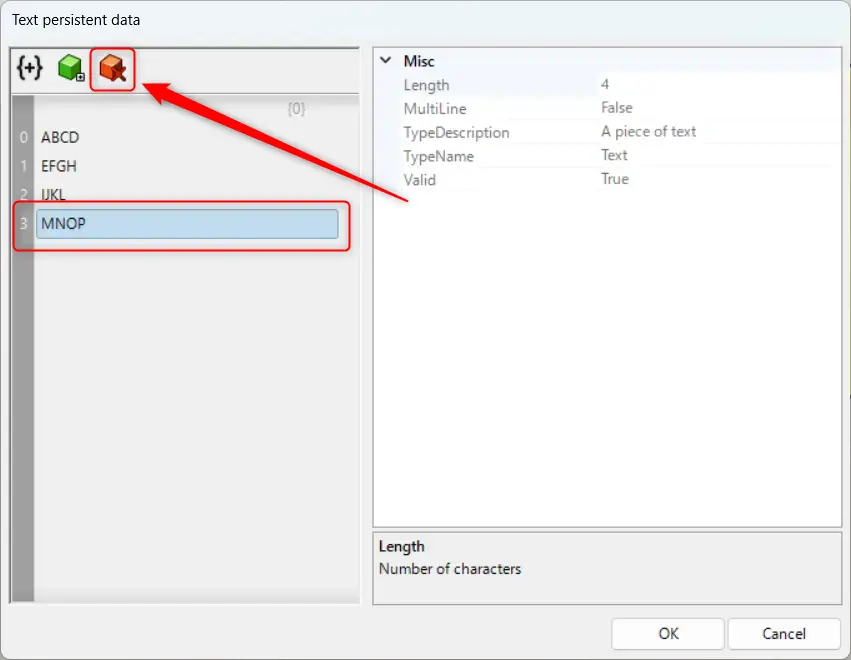
With any text information selected, clicking the red icon in the upper left corner will delete the selected text information.
In this way, the selected text information has been deleted.
Click the icon in the top-left corner to add a new branch.
As you can see, a new branch has been added.
List of Grasshopper articles using Text component↓

Comment