
![[Grasshopper] How to use Field to set magnetic field data](https://iarchway.com/wp-content/uploads/2026/01/Field.png)
This article explains how to use Field to set magnetic field data.
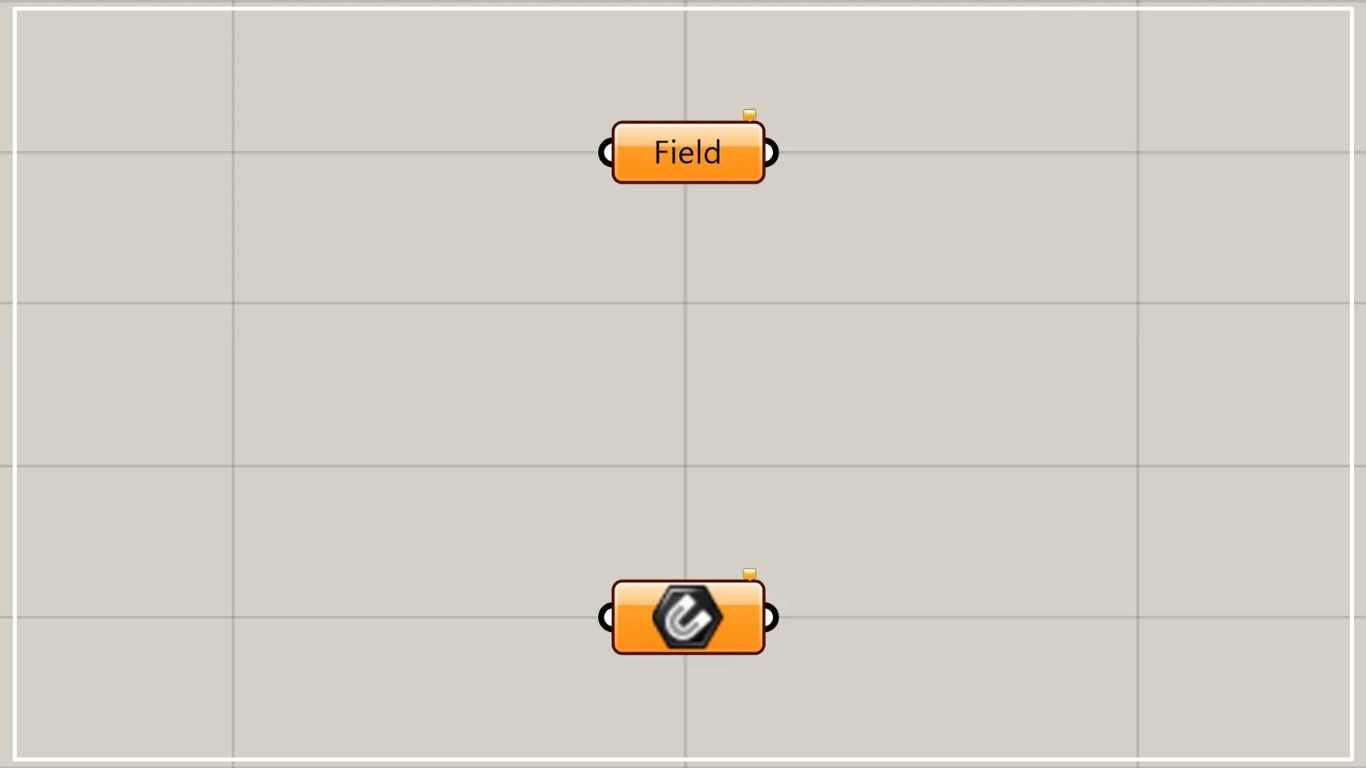
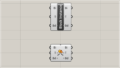
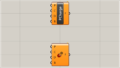
On the Grasshopper, it is represented by either of the two above.
Set magnetic field data
Using Field allows you to set magnetic field data.
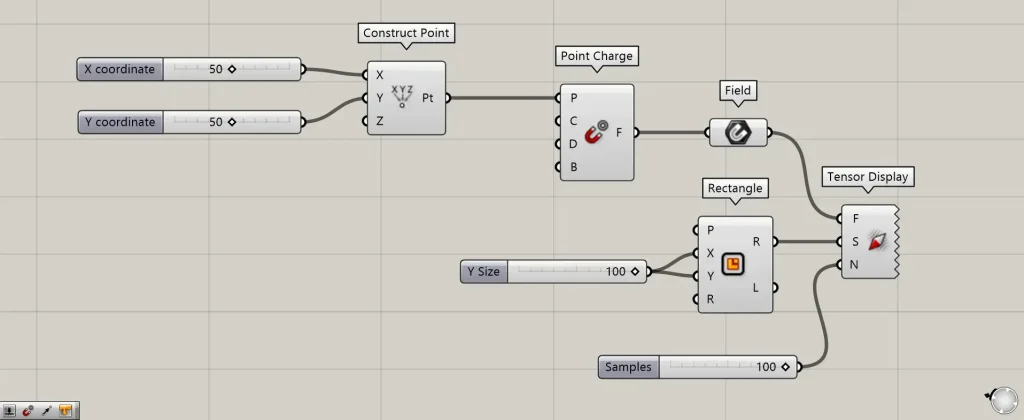
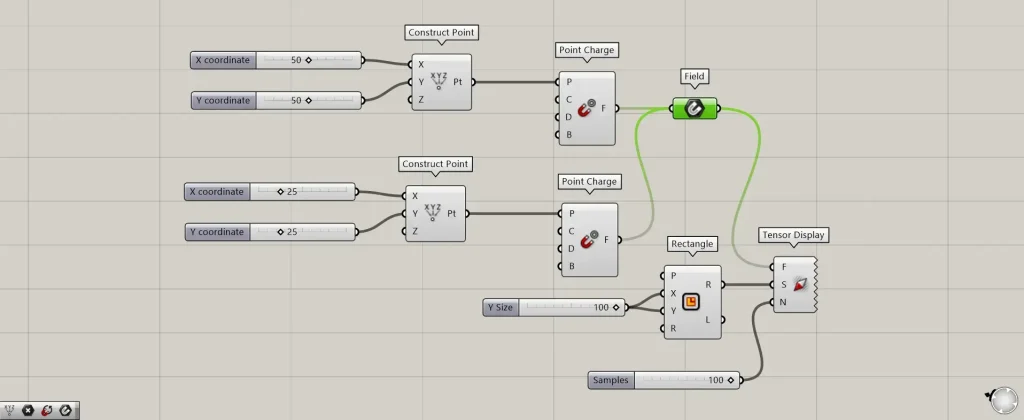
Components Used: ①Construct Point ②Point Charge ③Field ④Rectangle ⑤Tensor Display
This time, as an example, we’ll set the magnetic field created at the location of a single point in the Field.
And we’ll also check the vector of the set magnetic field.
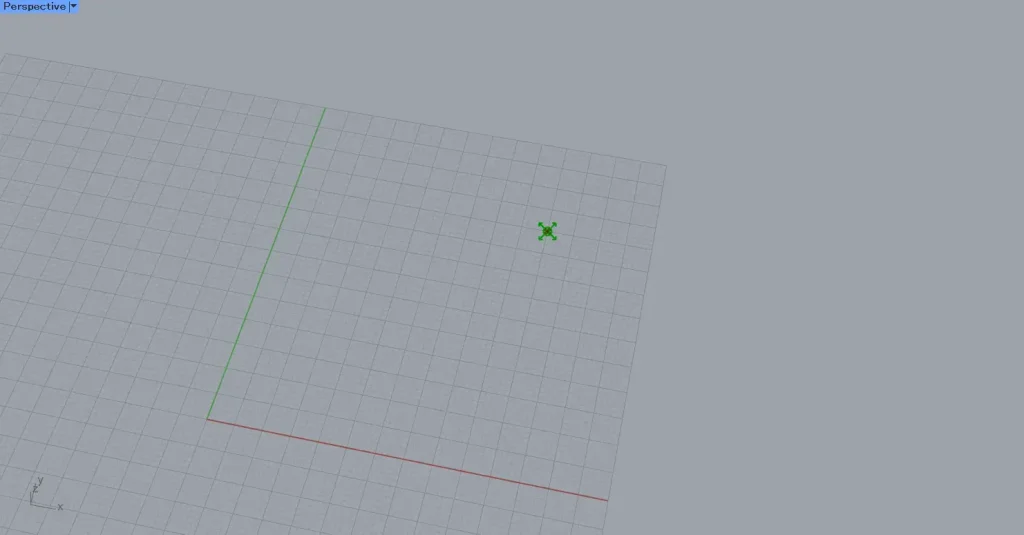
First, create a point.
Entering 50 into the Construct Point(X and Y)creates a point at coordinates 50,50,0.
Then, connect the Construct Point to the Point Charge(P).
Then, a magnetic field is created at the specified point.
Then connect the Point Charge to the Field.
Then, we were able to set the created magnetic field data in Field.
In this way, the Field can set magnetic field data.
However, the magnetic field data is difficult to understand as it is, so let’s visualize it.
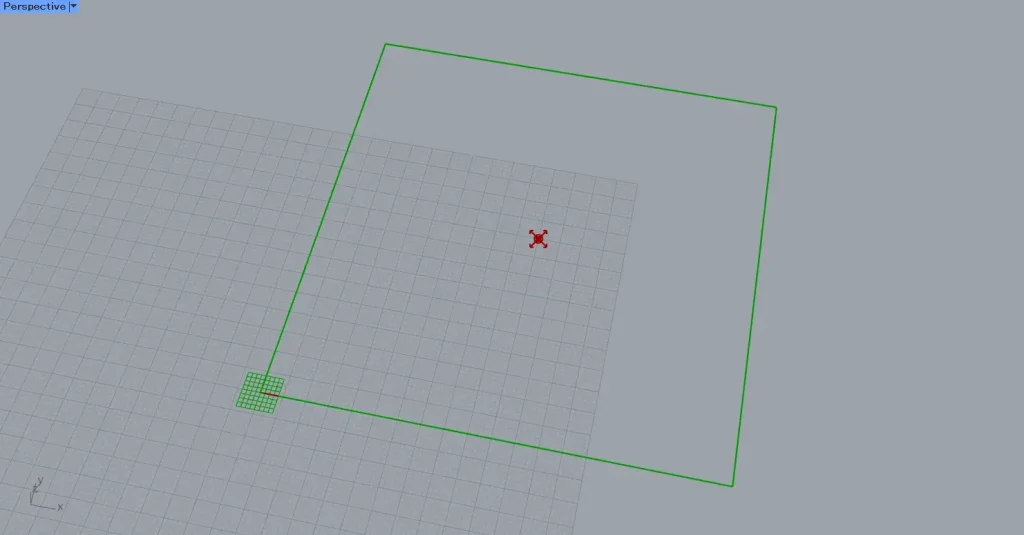
Create a rectangle that surrounds the point where the magnetic field is present.
By inputting 100 into the Rectangle(X and Y), a 100×100 square was created.
Next, connect the Field to the Tensor Display(F).
Next, connect the Rectangle(R) to the Tensor Display(S).
Additionally, enter the number of vector elements into the Tensor Display(N).
This time, we entered 100.
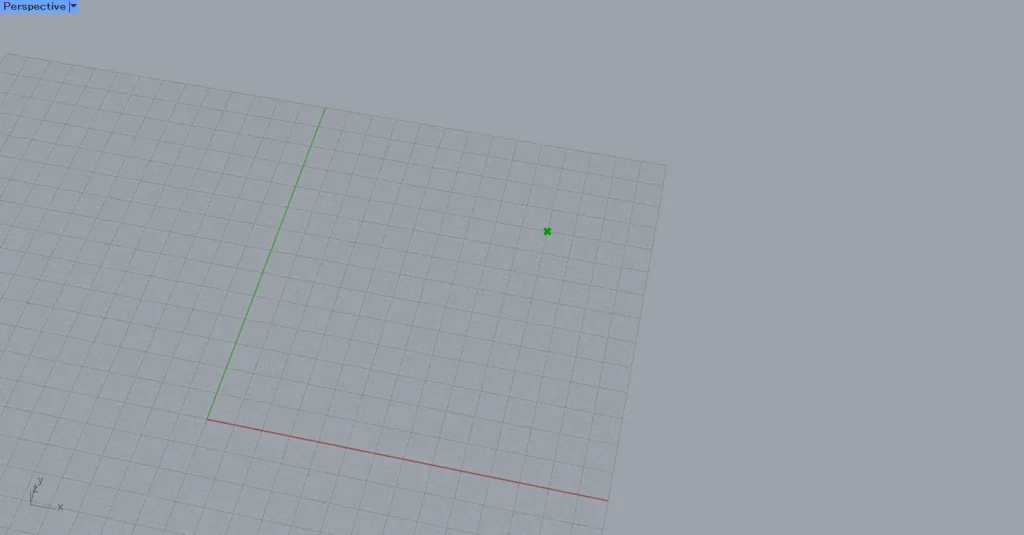
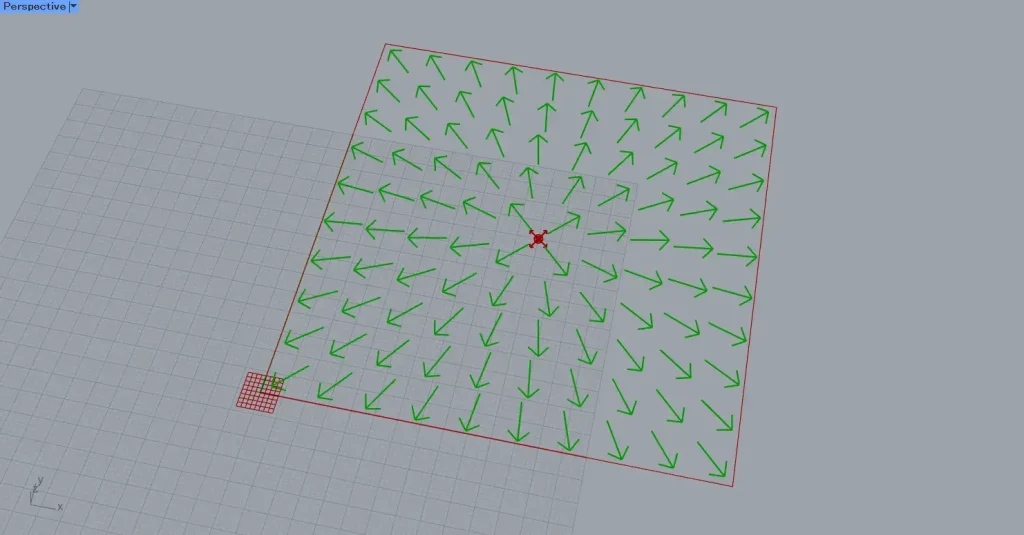
Then, the magnetic field was visualized within the specified rectangle using vector arrows.
In this way, we have confirmed that the field carries information about the magnetic field.
Let’s connect multiple magnetic field data points to the Field.
This time, we connected the magnetic field created at coordinates 25,25,0 to the Field.
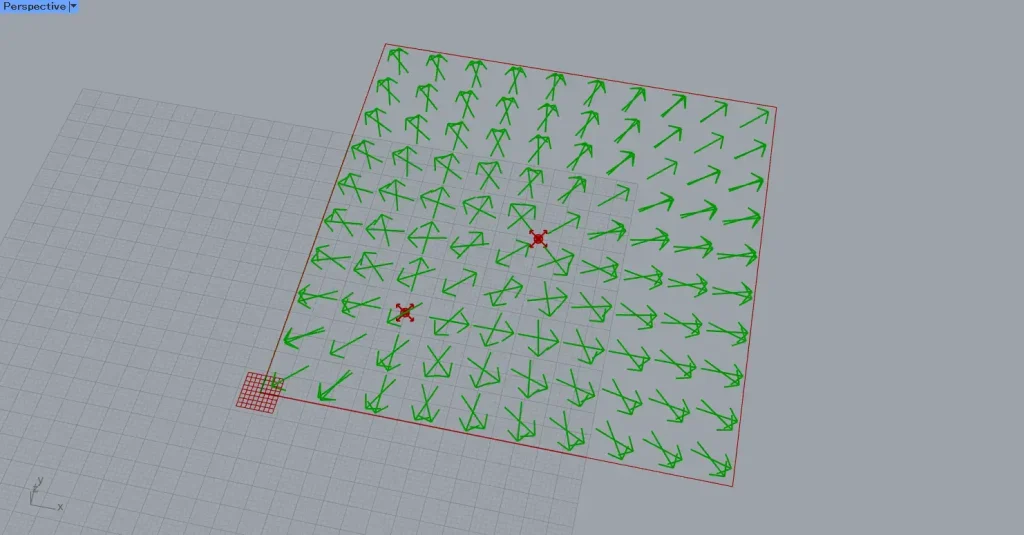
Then, you can see that the magnetic fields do not affect each other and are displayed separately.
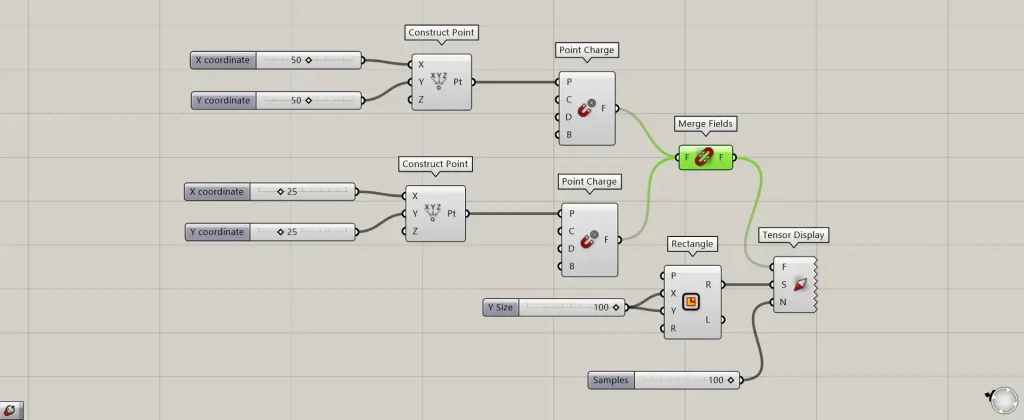
Additional Components: ① Merge Fields
To reflect the interaction between multiple magnetic fields, connect them to Merge Fields.
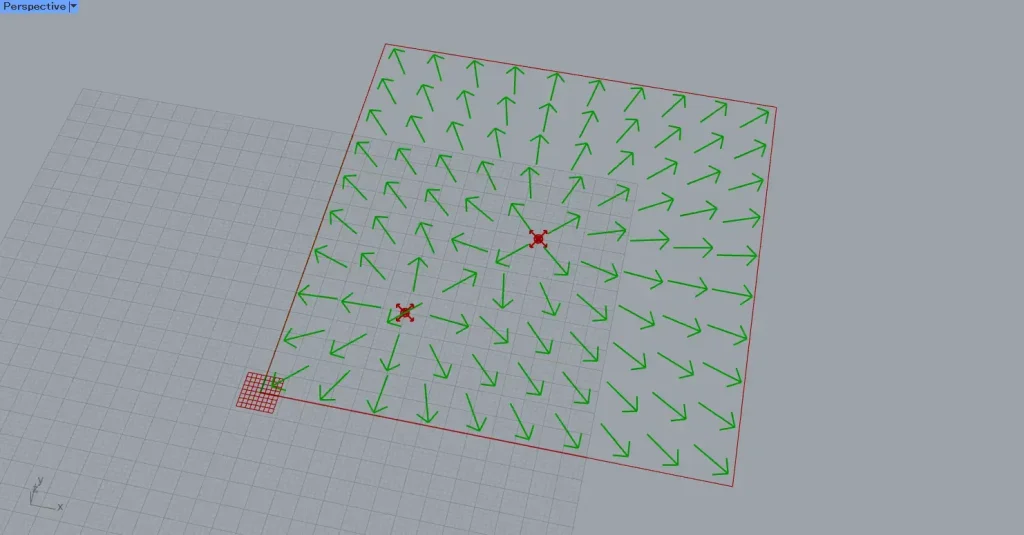
Then, their magnetic fields will reflect each other like this.
List of Grasshopper articles using Field component↓

Comment