
![[Grasshopper] How to use Geometry Cache to export and save models using key designation](https://iarchway.com/wp-content/uploads/2026/01/Geometry-Cache.png)
This article explains how to use Geometry Cache to export and save models using key designation.
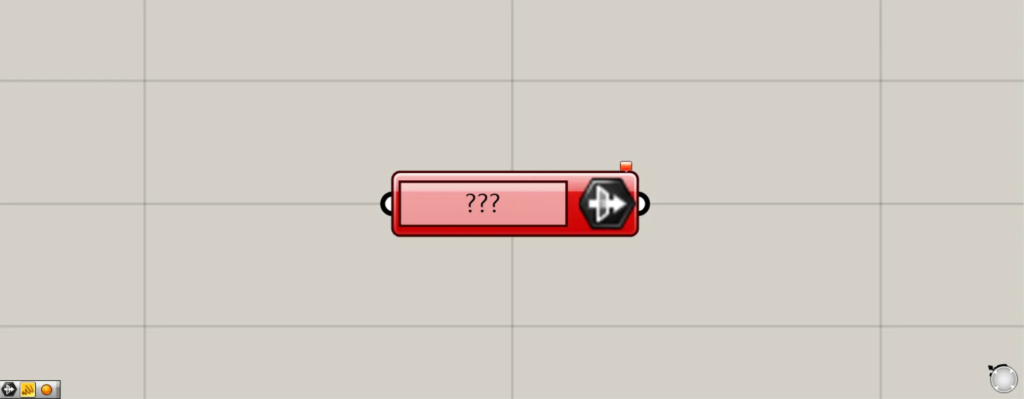
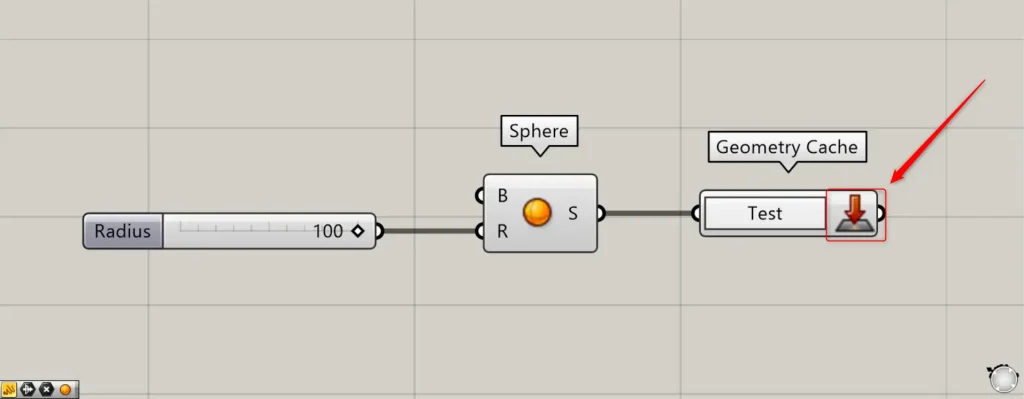
In Grasshopper, it is displayed as shown above.
Add key information and export the model to Rhino
Using Geometry Cache, you can export models to Rhino with key information added.
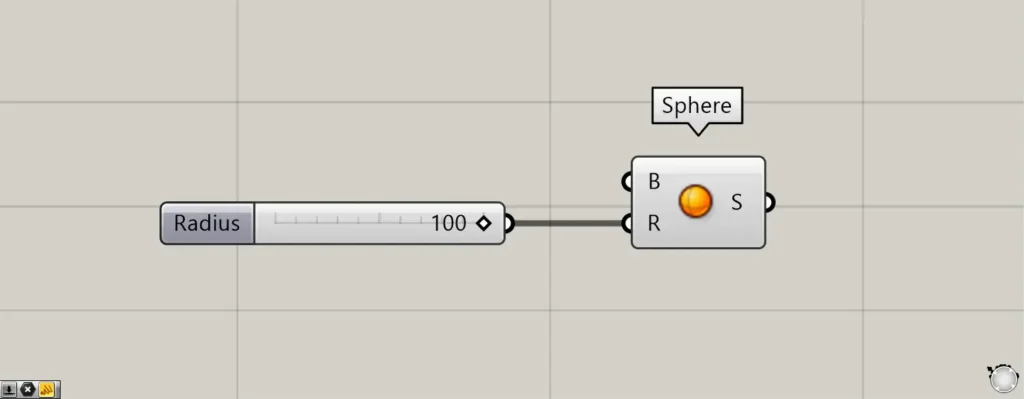
Components used: ① Sphere
This time, as an example, we’ll create a sphere and export it to Rhino geometry cache.
Enter the radius value into the Sphere(R).
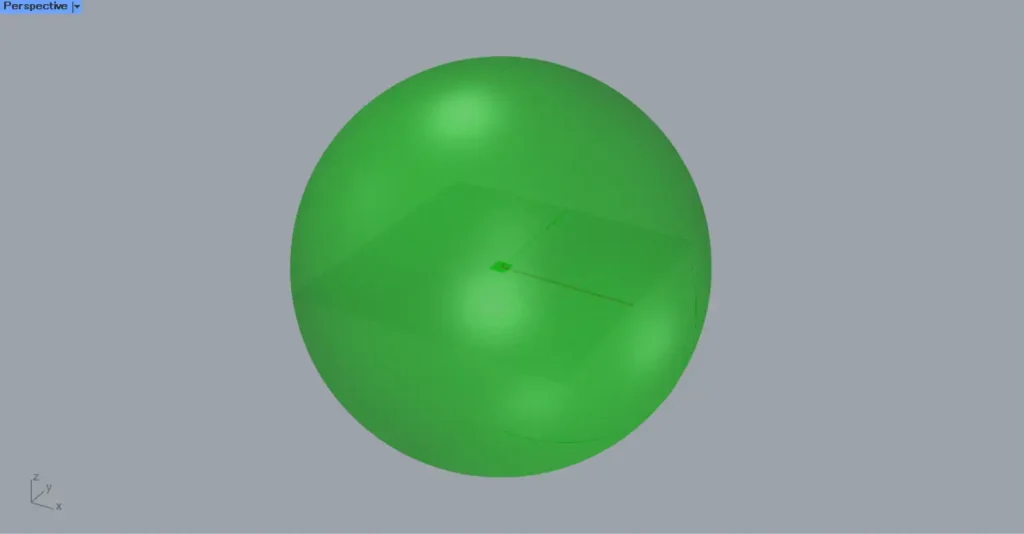
Then, a sphere with a radius of 100 was created.
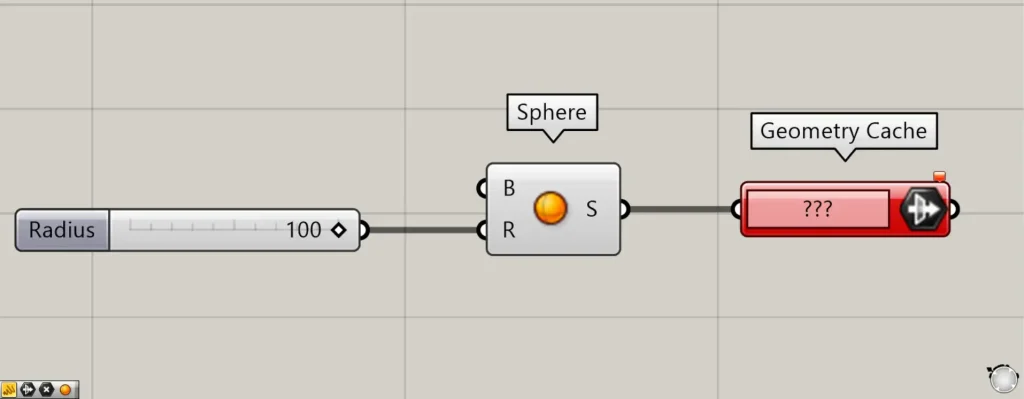
Additional Components: ① Geometry Cache
Then connect the Sphere to the Geometry Cache.
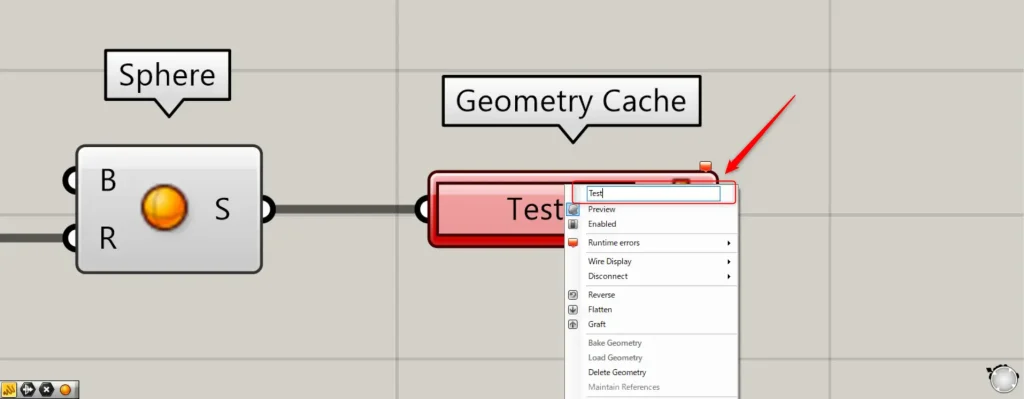
Then, right-click the Geometry Cache and assign any name.
This time, we named it Test.
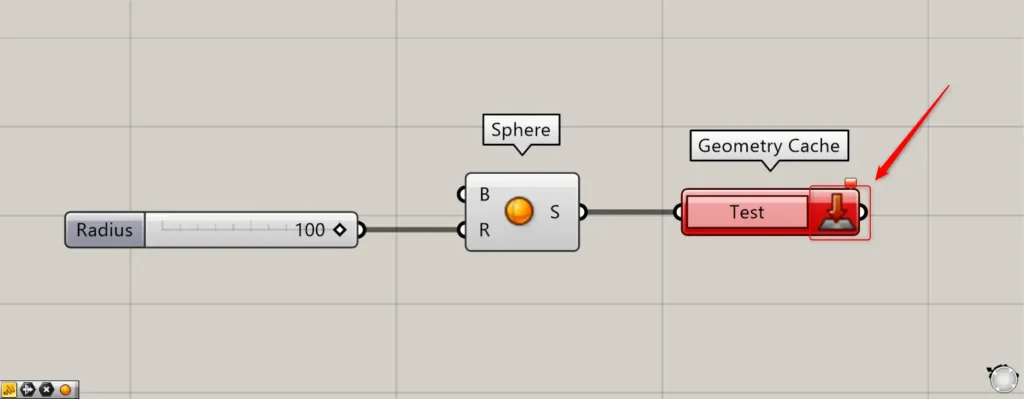
Then, the specified name was reflected in the Geometry Cache.
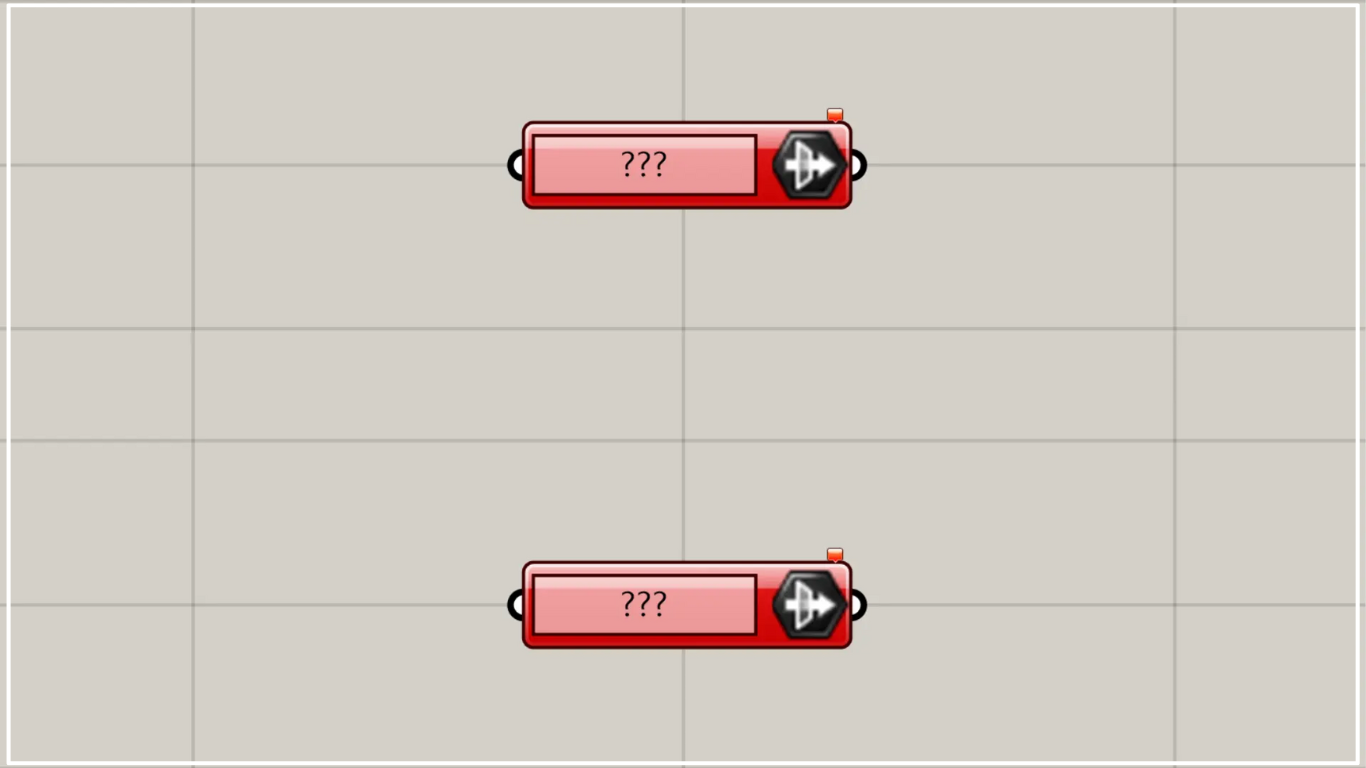
After that, pressing the button on the right will export to Rhino, but it may show a red error as in the image above.
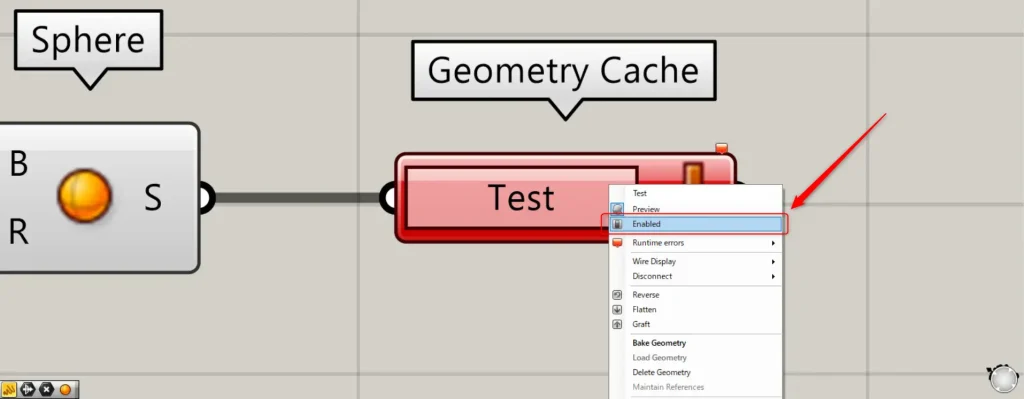
If an error occurs, right-click the Geometry Cache.
Then, select Enabled.
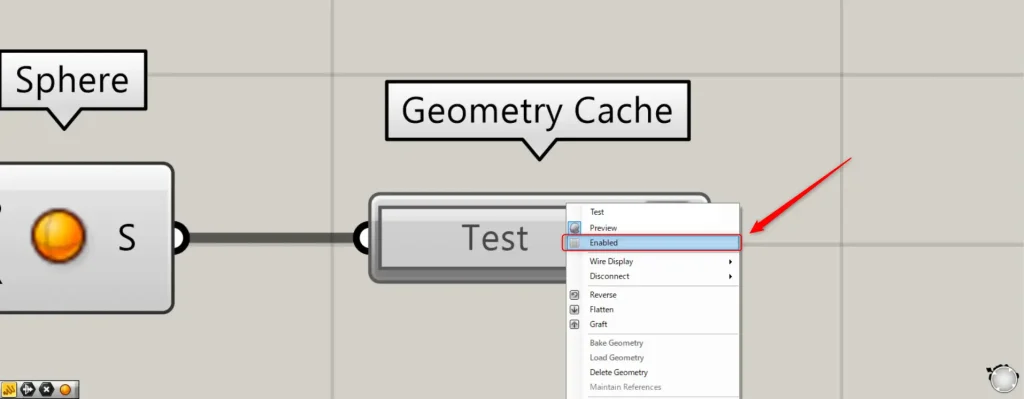
Then, right-click the Geometry Cache once more and select Enabled again.
Then, the error was resolved like this.
Click the button on the right side of the Geometry Cache.
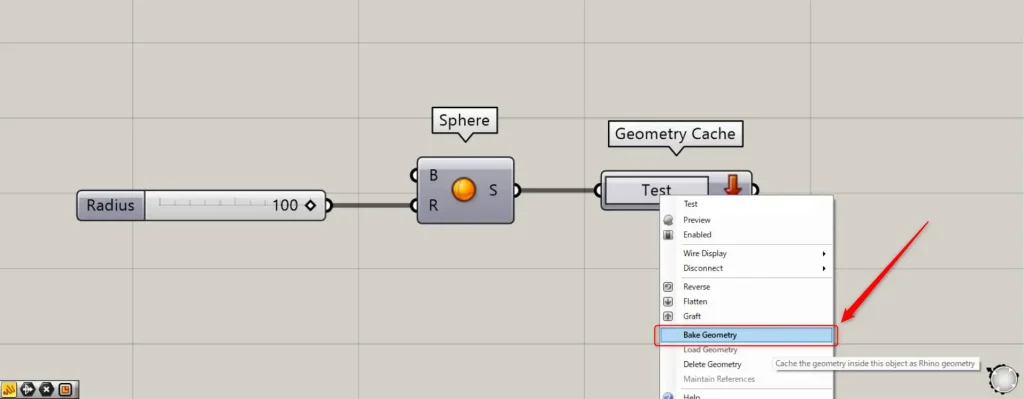
Alternatively, right-click the Geometry Cache and select “Bake Geometry”.
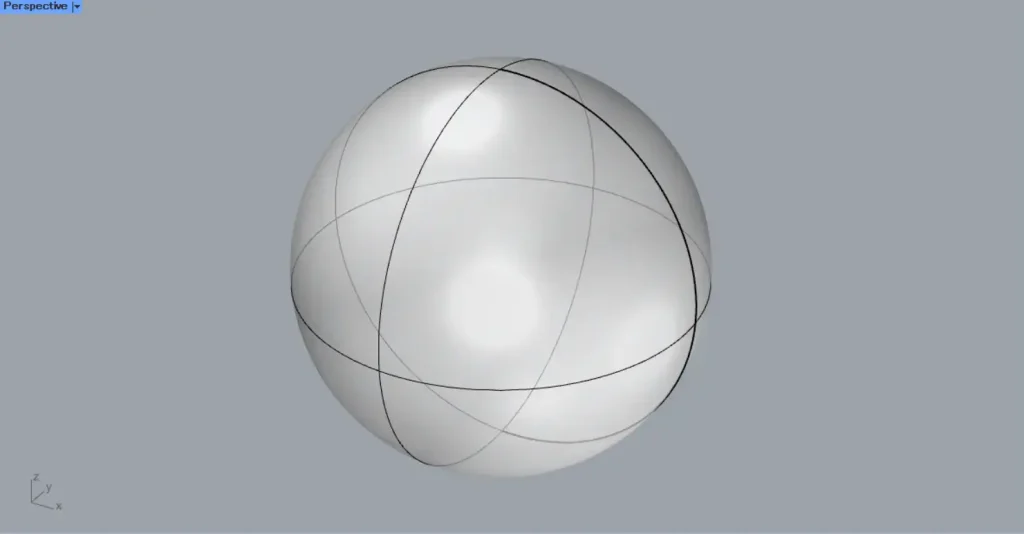
Then, the model was exported onto Rhino as shown here.
Check if key information has been added.
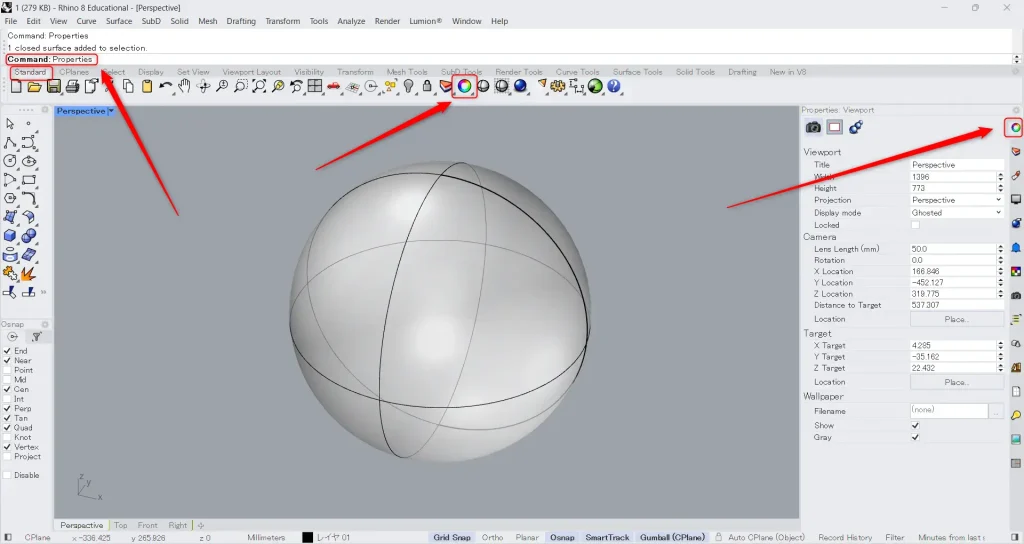
Open the Properties viewport.
If the Properties viewport is not displayed, type Properties in the command line.
Or, click the icon shown in the image above in the Standard tab.
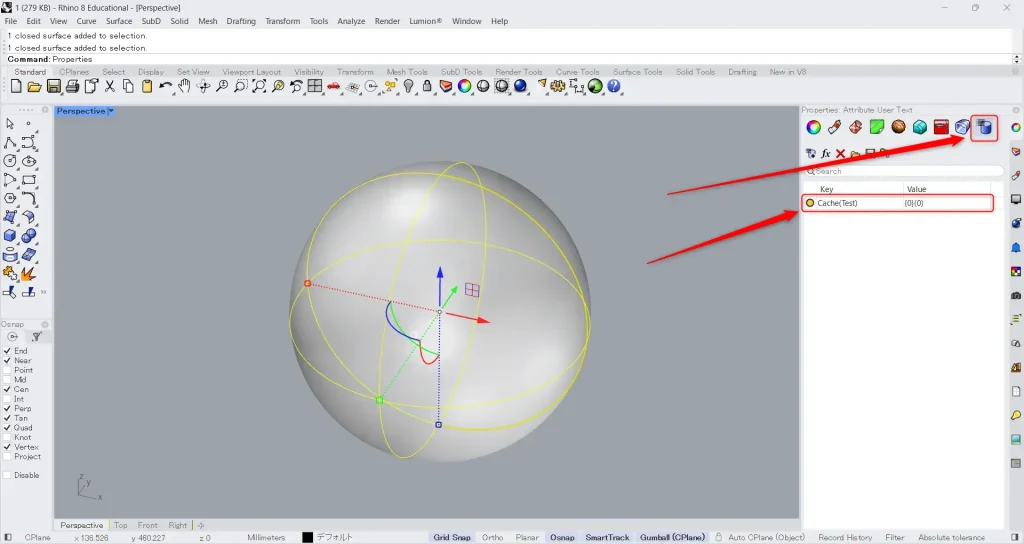
Select a model and click the icon in the image above.
Then you’ll see that key information has been added.
You can see that the key name is also set to Cache(specified name) as defined in Grasshopper.
Set the model on Rhino by specifying the key name
You can also set models on Rhino in the Geometry Cache by specifying the key name.
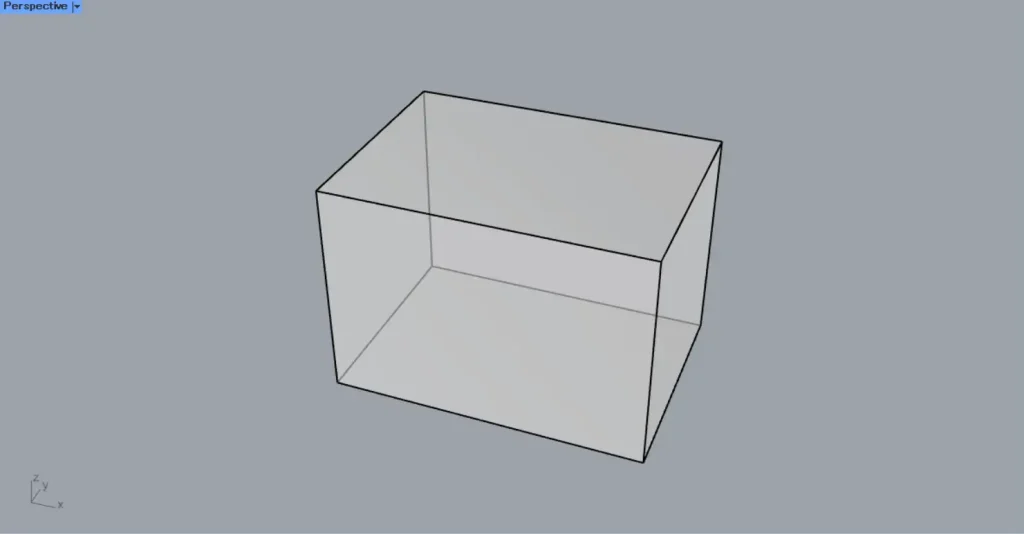
This time, we will use this model on Rhino.
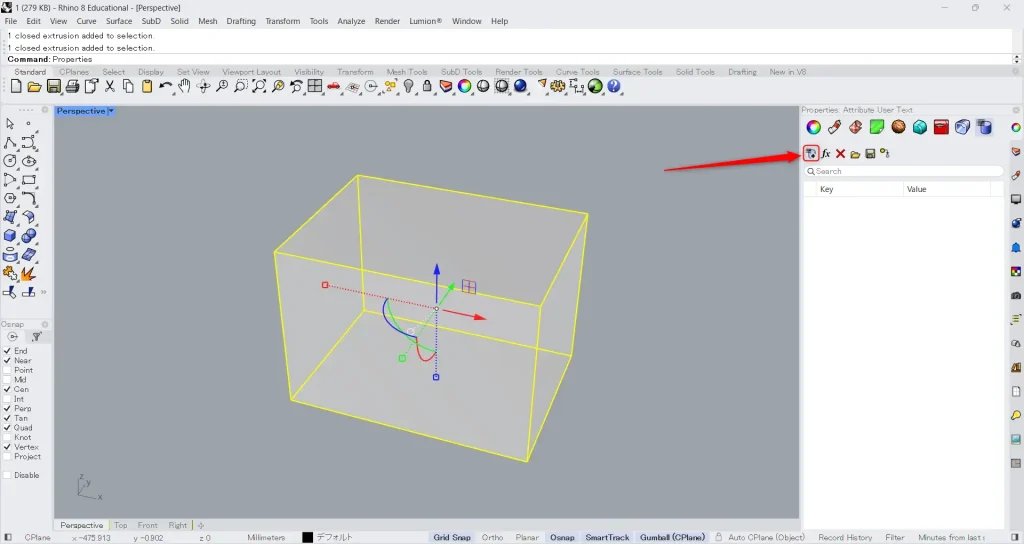
Select the model, then click the image icon in the User Text window of the Properties panel.
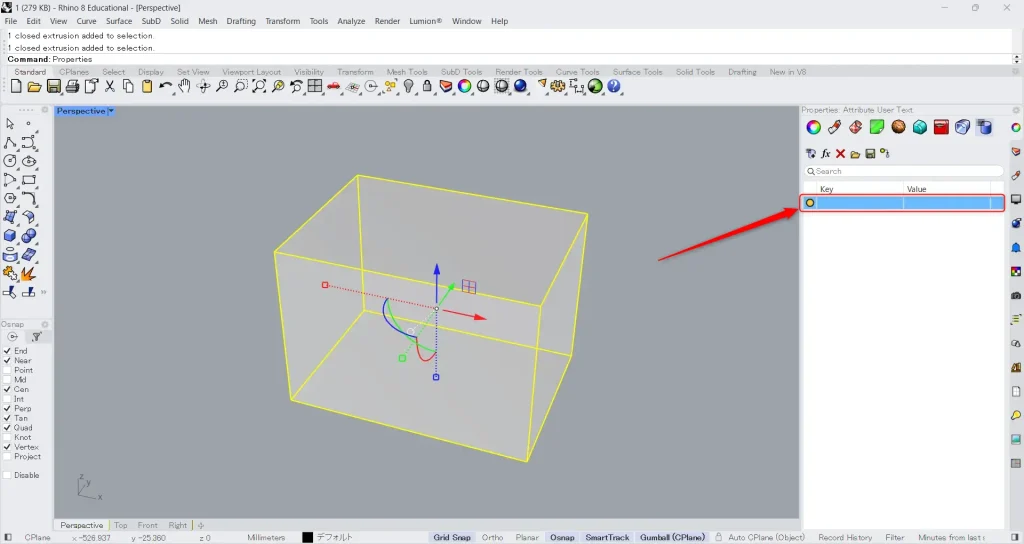
Then, the key will be added like this.
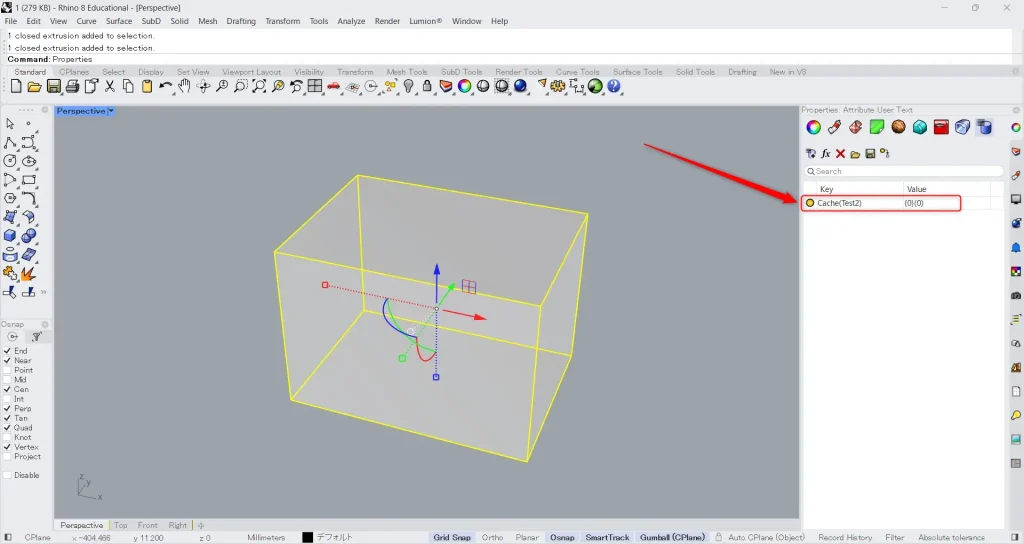
Then, enter “Cache(any name)” for the key and “{0}(0)” (branch and index number) for the value.
This time, the arbitrary name is set to Test2.
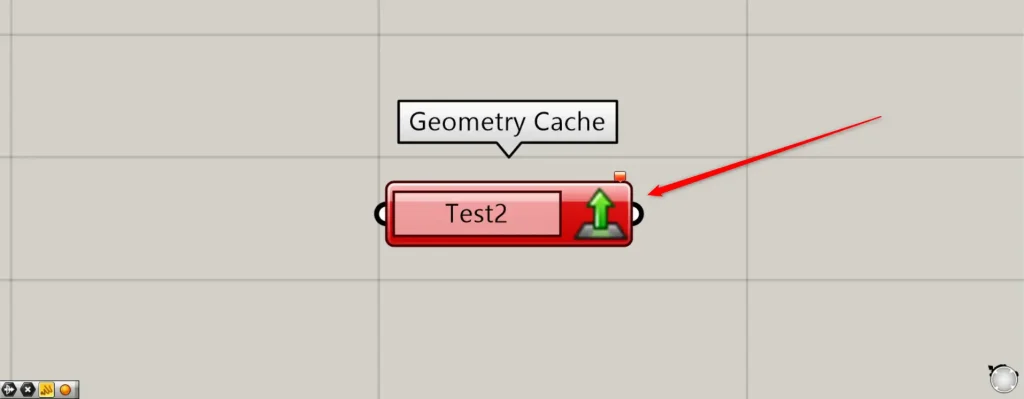
After that, it converts the Geometry Cache name to the specified name.
Then, click the button on the right side of the Geometry Cache.
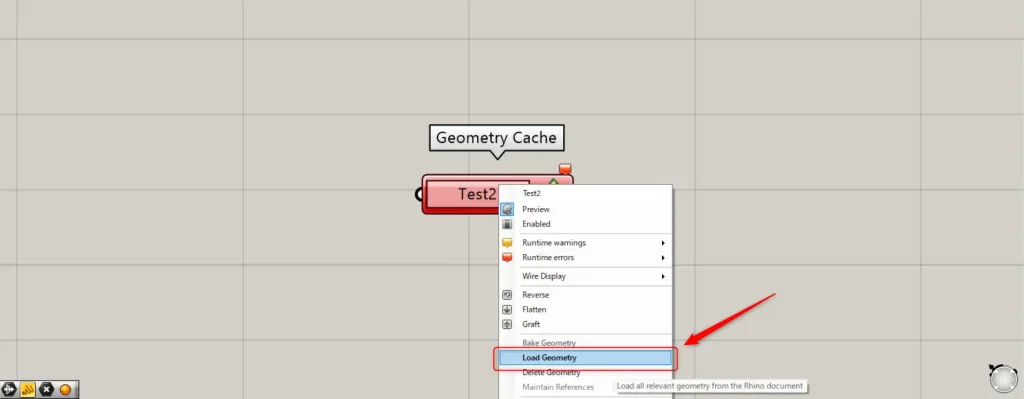
Alternatively, right-click the Geometry Cache and select Load Geometry.
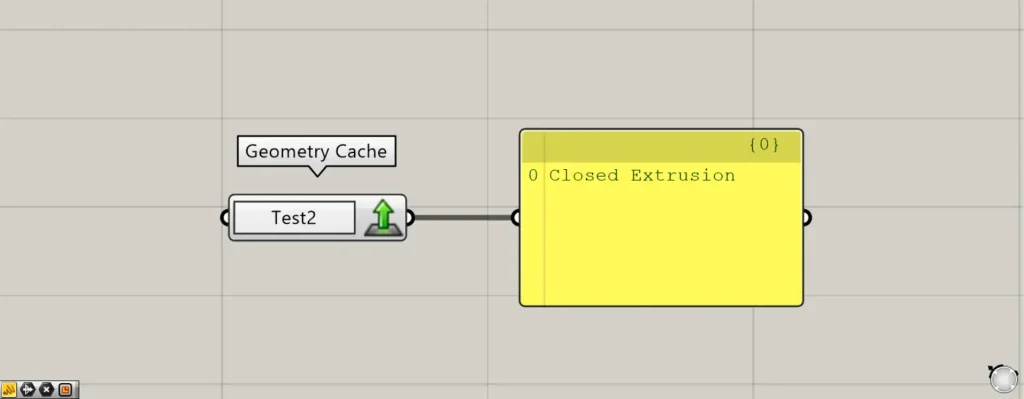
Then, we were able to set the model on Rhino like this.
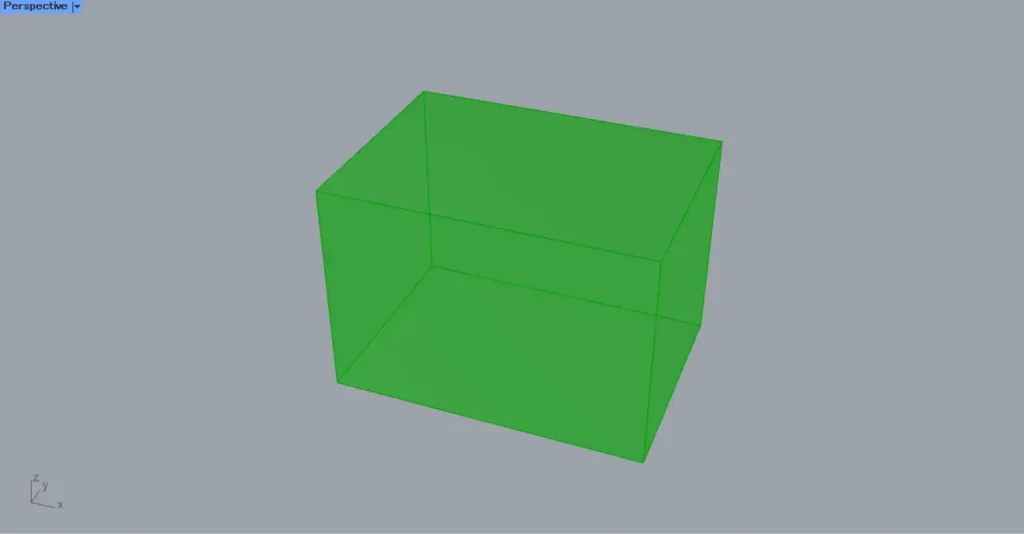
This is the result on Rhino.

We’ll try changing the value and setting it.
We entered “{1}(1)” in the value field.
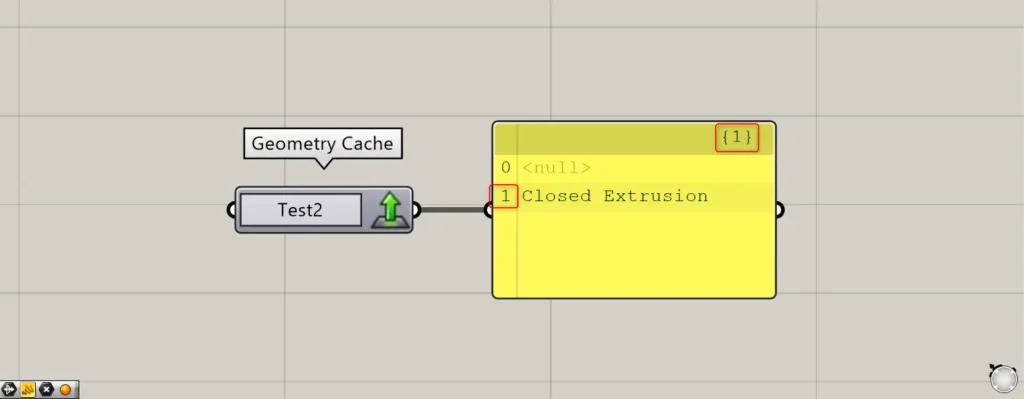
Then, the branch and index number changed.
The branch is represented by {}, and the index number is ().
List of Grasshopper articles using Geometry Cache component↓

Comment