
![[Grasshopper] How to use Brep Closest Point to create a point at the closest location on a brep model](https://iarchway.com/wp-content/uploads/2026/01/eyecatch-24.png)
This explains how to use Brep Closest Point to create a point at the closest location on a brep model.
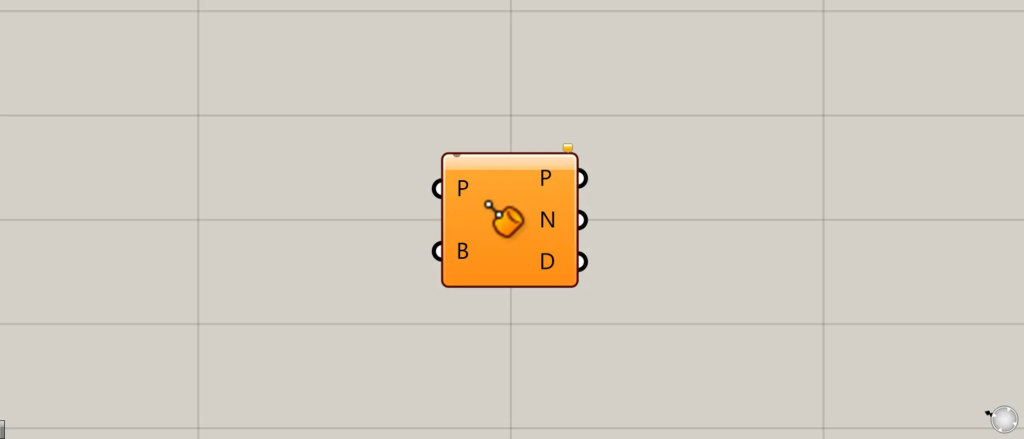
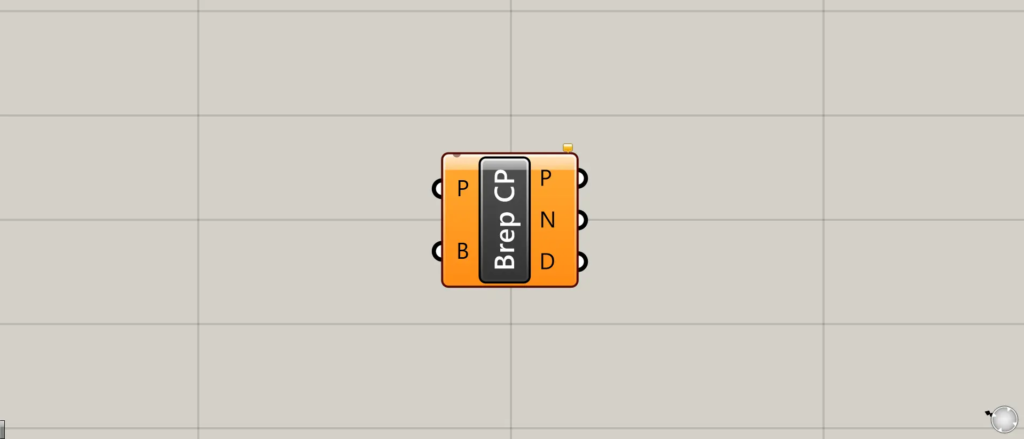
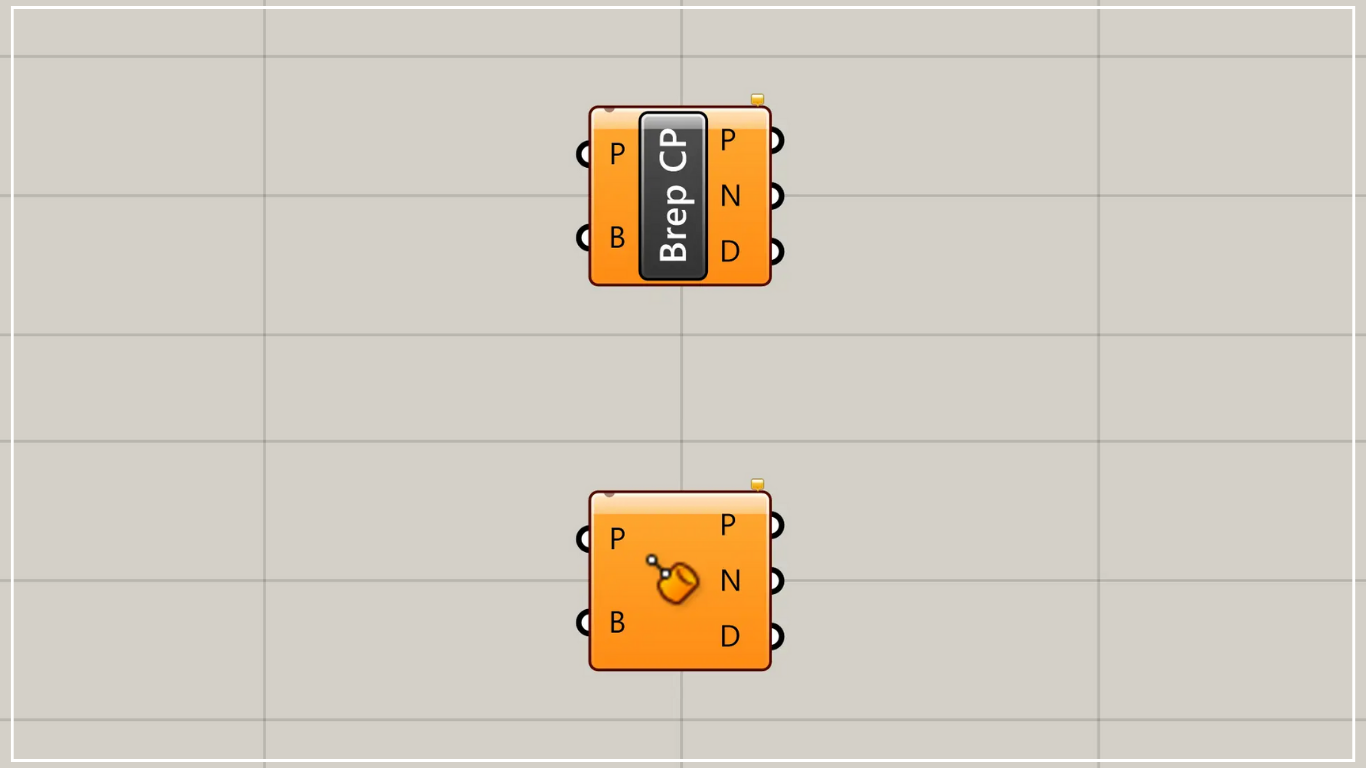
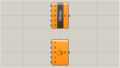
On the Grasshopper, it is represented by either of the two above.
Create a point at the closest location on a brep model
Using Brep Closest Point allows you to create a point at the closest location on a brep model.
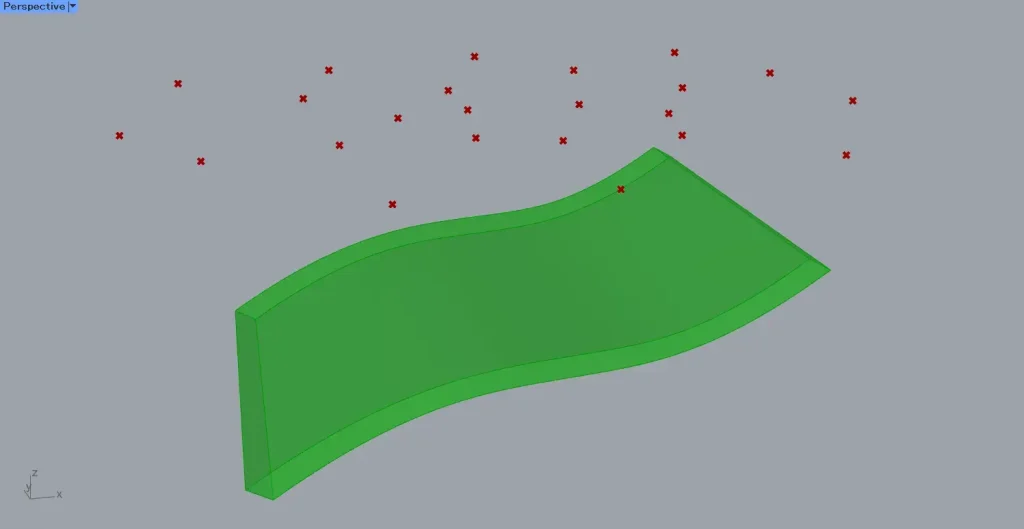
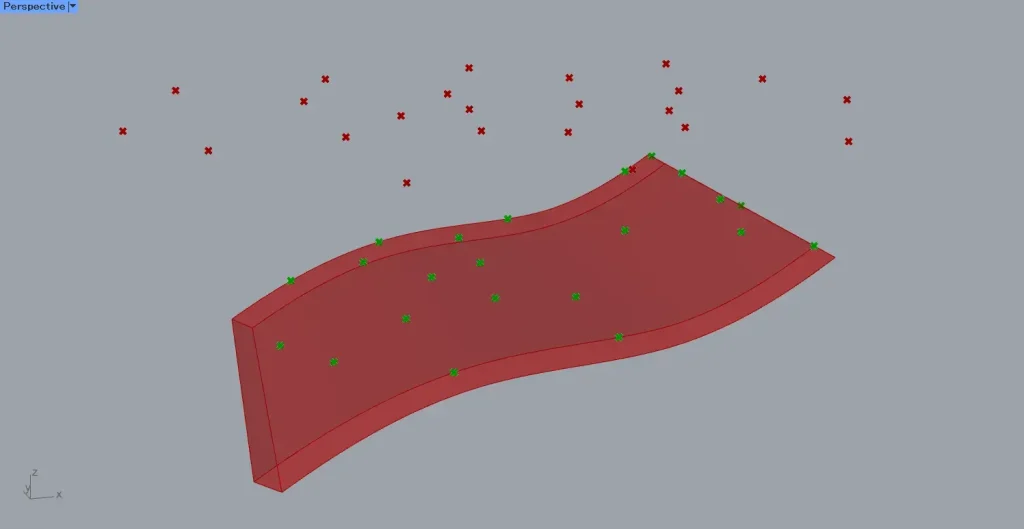
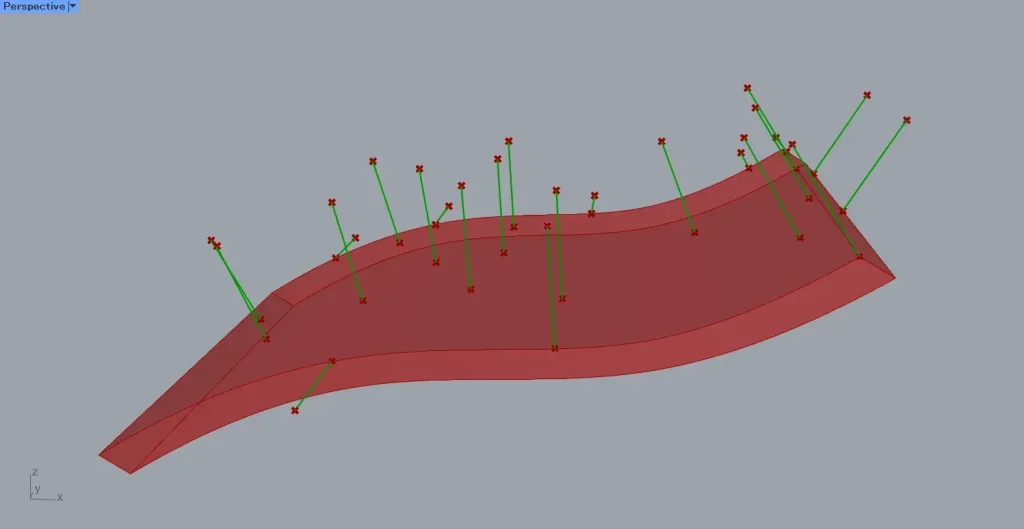
This time, we will use the model in the image above and multiple points.
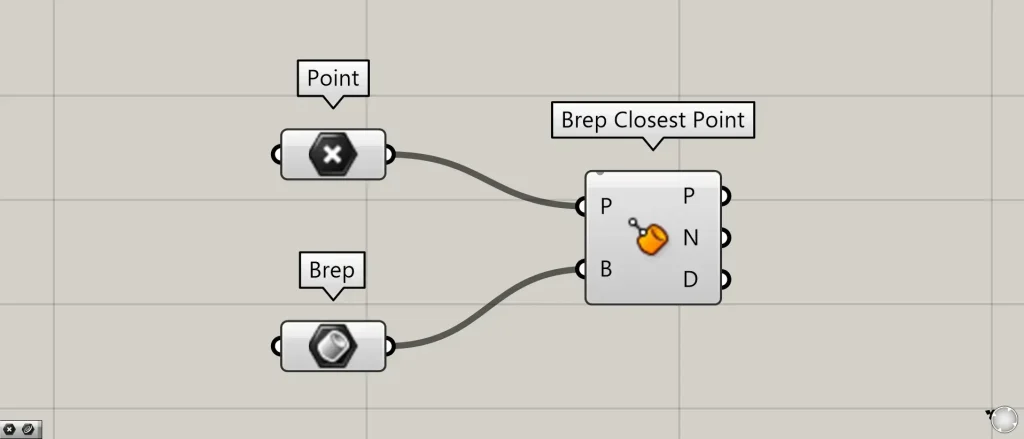
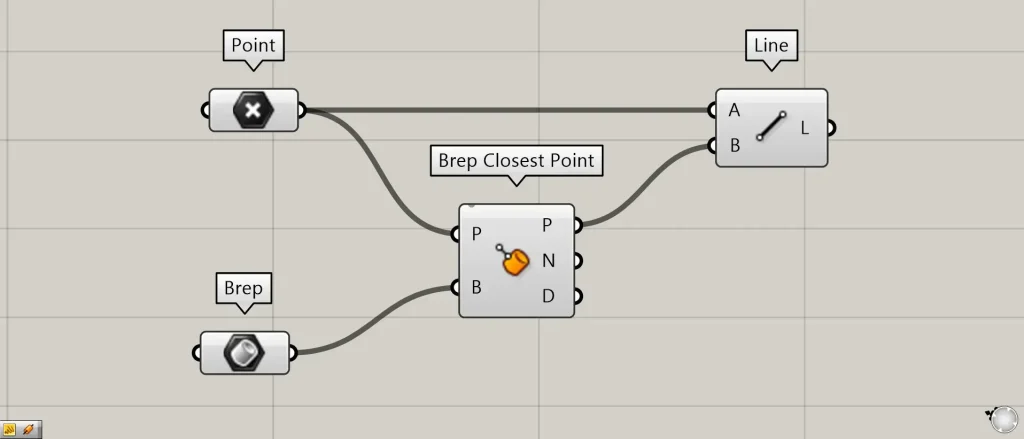
Components used: ①Point ②Brep ③Brep Closest Point
This time, multiple points on Rhino are set in Point.
Furthermore, the model on Rhino is set in Brep.
Connect the Point to the Brep Closest Point(P).
Furthermore, connect the Brep to the Brep Closest Point(B).
Then, as shown in the image above, points were created at the closest position on the Brep model from the specified points.
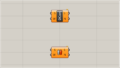
Additional Component: ①Line
We’ll connect the original points and the newly created points with lines to verify.
Connect the Point and Brep Closest Point(P) to the Line(A and B).
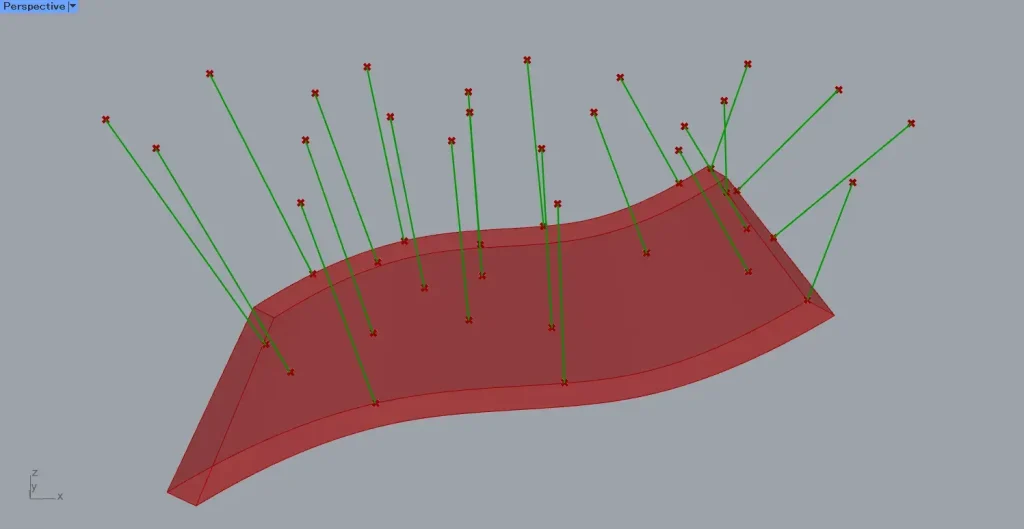
Then, as shown in the image above, lines connecting the original points and the newly created points were created.
As shown by these lines, you can see that the points are moving.
Output data
Let’s examine the data output from Brep Closest Point.
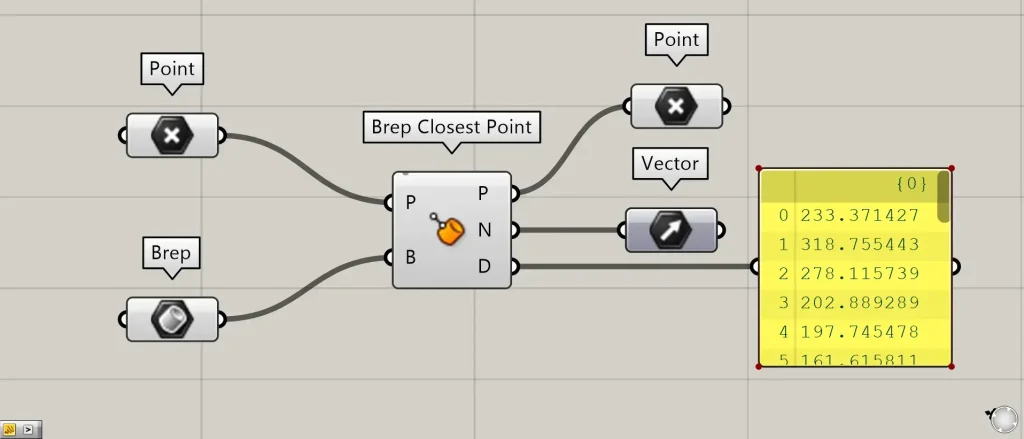
Additional Components: ① Vector
The Brep Closest Point(P) outputs point data on the Brep model.
Brep Closest Point(N) outputs the normal vector data for the position of a point on the Brep model.
Brep Closest Point(D) outputs the numerical distance between the original point and the newly created point.
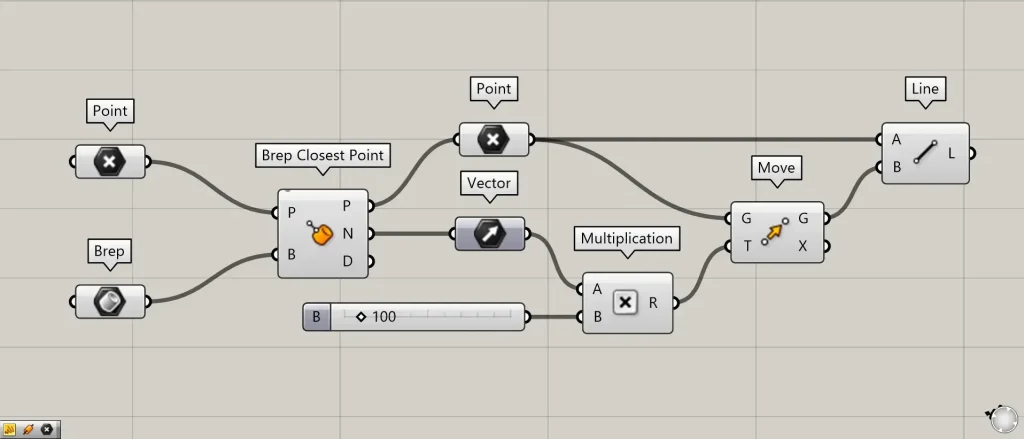
Additional Components: ①Multiplication ②Move
Let’s move the point on the model using the acquired vector.
Connect the Vector and the numerical value representing the distance to be moved to the Multiplication.
This time, we’re connecting 100.
Furthermore, connect Multiplication to Move(T).
Furthermore, connect the Point containing the acquired points to Move(G).
Then, the point moves by the specified value of 100 in the direction of the acquired normal vector.
After that, connect the Point containing the acquired points and Move(G) to the Line.
Then, as shown in the image above, lines connecting the points before and after the move were created.
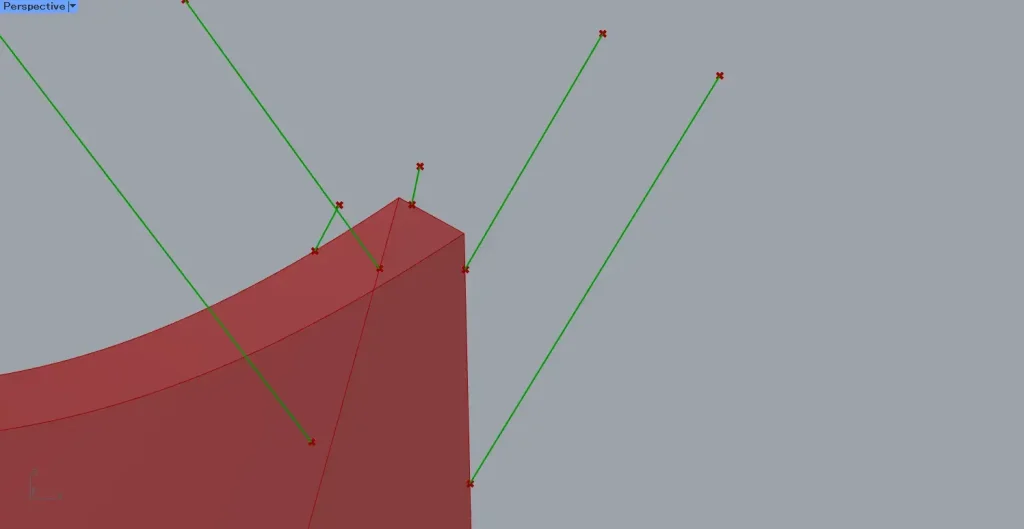
The direction is specified by the normal vector.
Therefore, since the model’s side faces a different direction than the top surface, you can see that the direction in which the points are moving has also changed significantly.
List of Grasshopper articles using Brep Closest Point component↓

Comment