
![[Grasshopper] How to use Evaluate Box to obtain points and planes at specified positions in a box](https://iarchway.com/wp-content/uploads/2026/01/eyecatch-41.png)
This article explains how to use Evaluate Box to obtain points and planes at specified positions in a box.


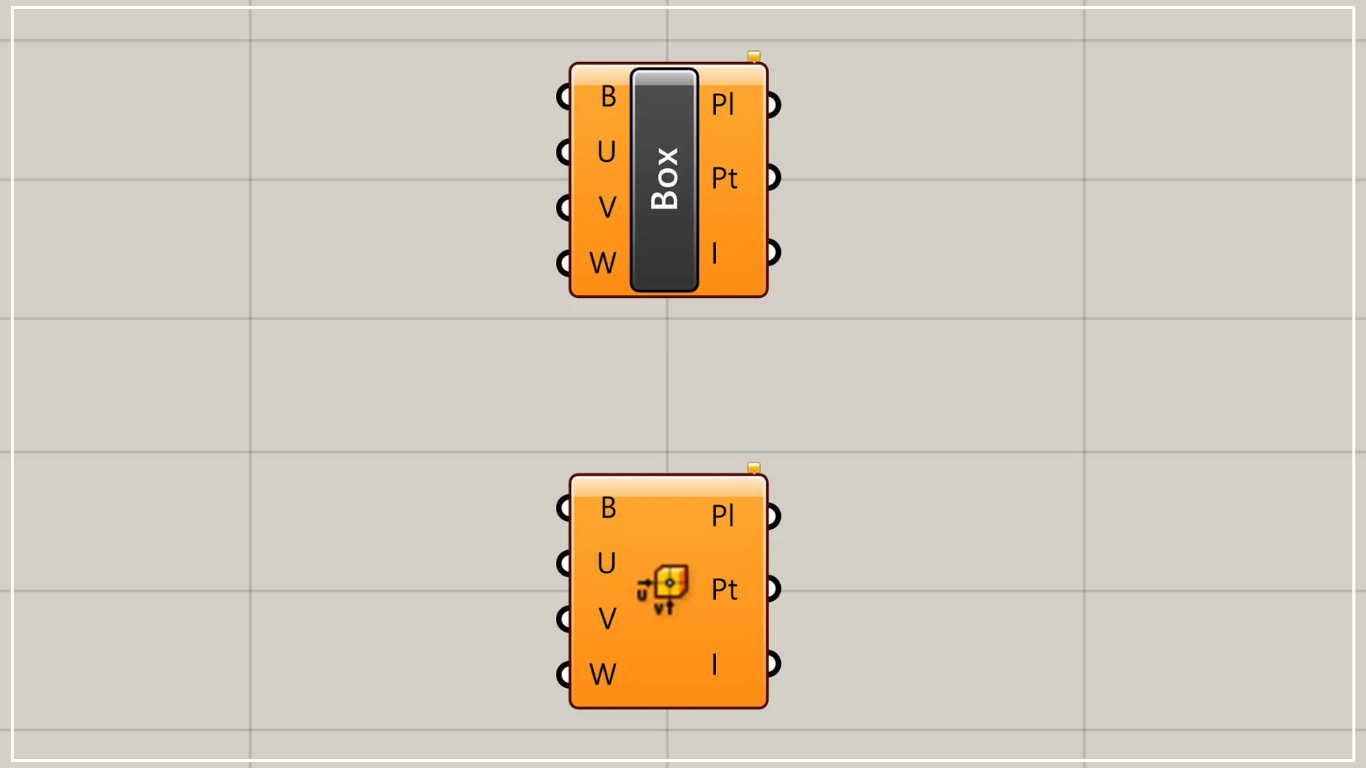
On the Grasshopper, it is represented by either of the two above.
Acquire points and planes at specified position of a box
Using the Evaluate Box allows you to obtain points and planes at specified position of a box.
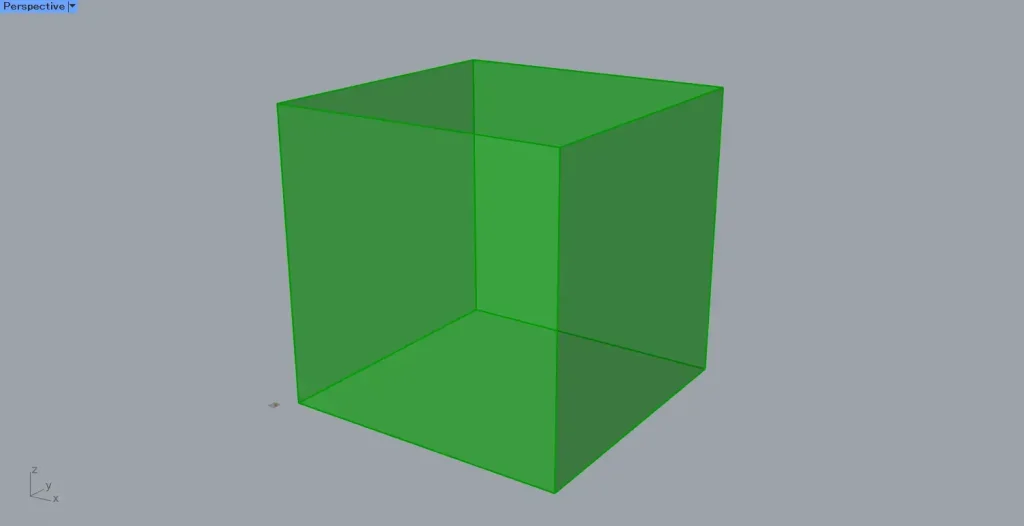
For this example, we will use the box created in the Box shown in the image above.
Components used: ①Box ②Evaluate Box
This time, we are creating a box in Box.
Connect the Box to the Evaluate Box(B).
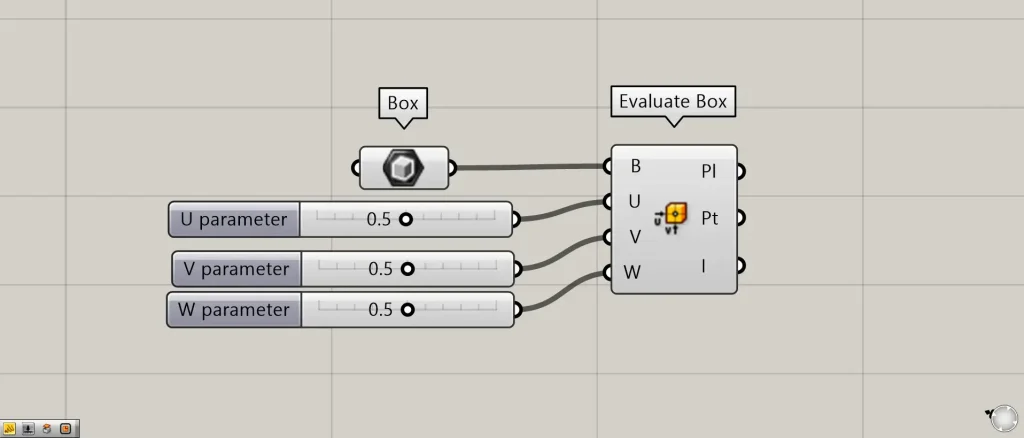
After that, the positions in the three directions U, V, and W are specified using values ranging from 0 to 1.
Connect the 0 to 1 values to the Evaluate Box(U, V, W).
This time, 0.5 is connected to all three.

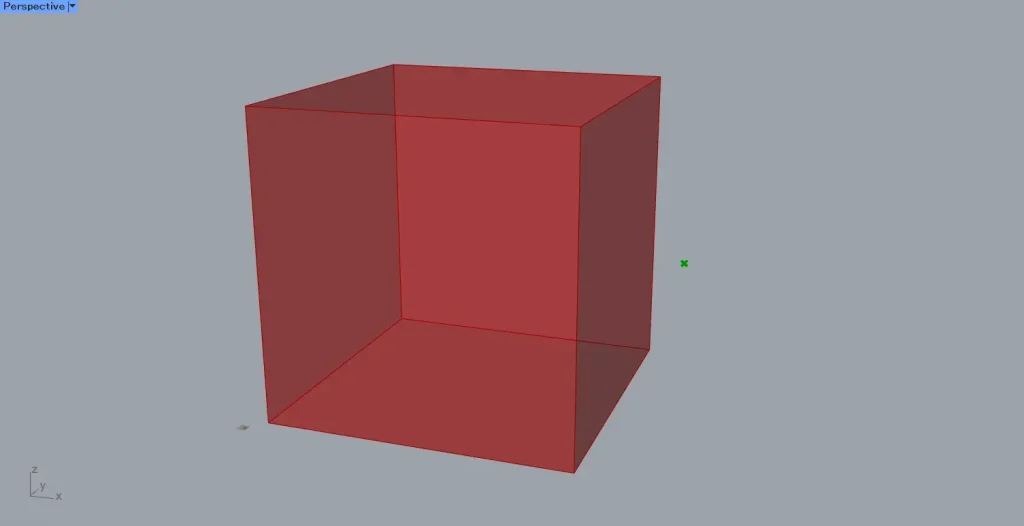
Then, as shown in the image above, a point will appear inside the box.
In this case, since 0.5 is connected in three directions, points are created at the midpoints of these three directions.
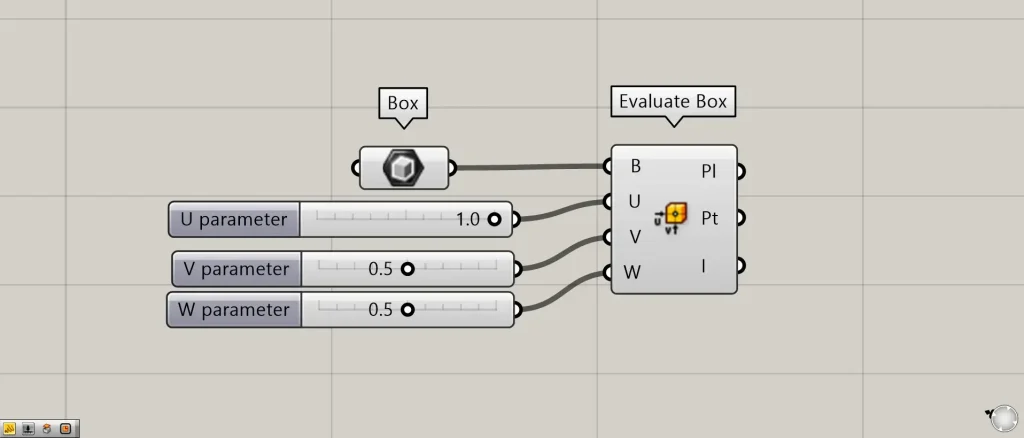
For example, let’s change the value in the Evaluate Box(U) to 1.0.
Then, the point moved to the end in the U direction.
By specifying the positions in three directions as values within the range 0 to 1, the points of the box at that location will be displayed.
Output data
Let’s take a look at the output data.
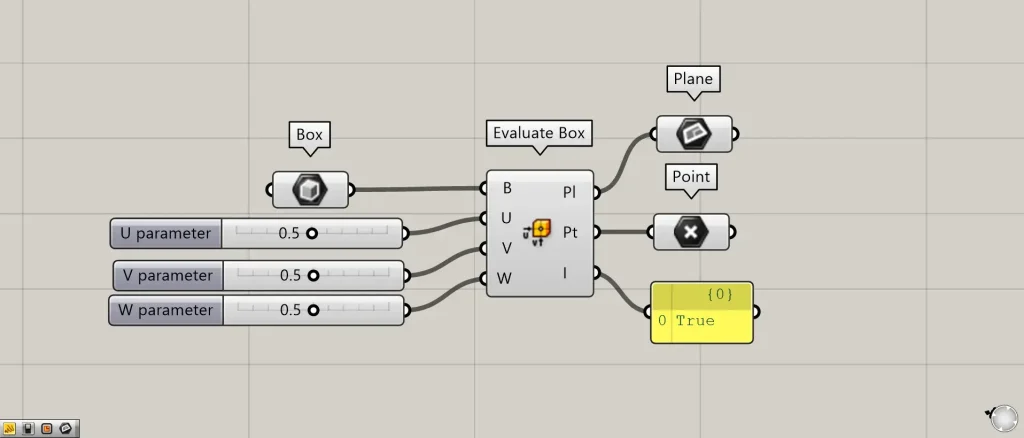
Additional Components: ①Plane ②Point
The data for the plane at the acquired location is output from the Evaluate Box(Pl).
Point data for the acquired location is output from the Evaluate Box(Pt).
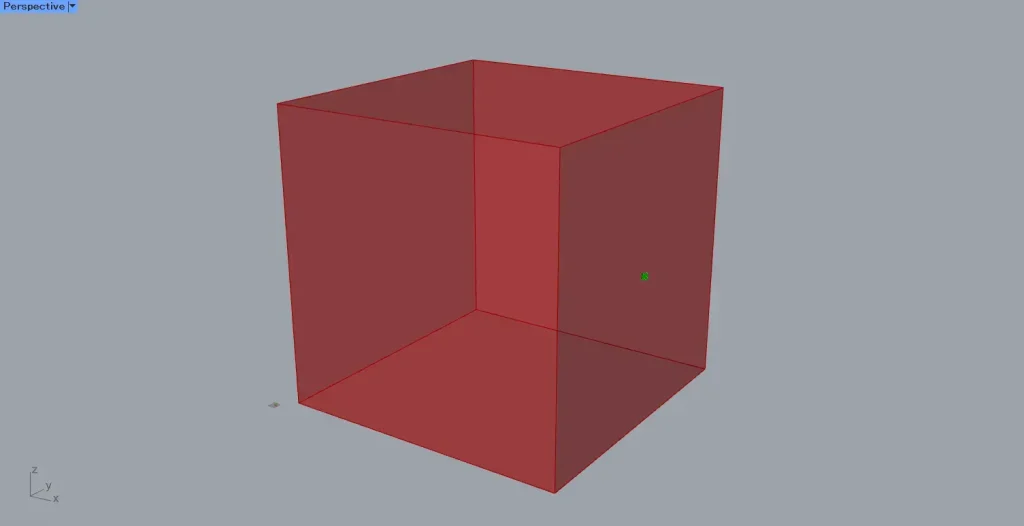
The Evaluate Box(I) outputs True if the point is inside the box and False if it is outside.
In the case of the image above, the point is inside the box, so it outputs True.
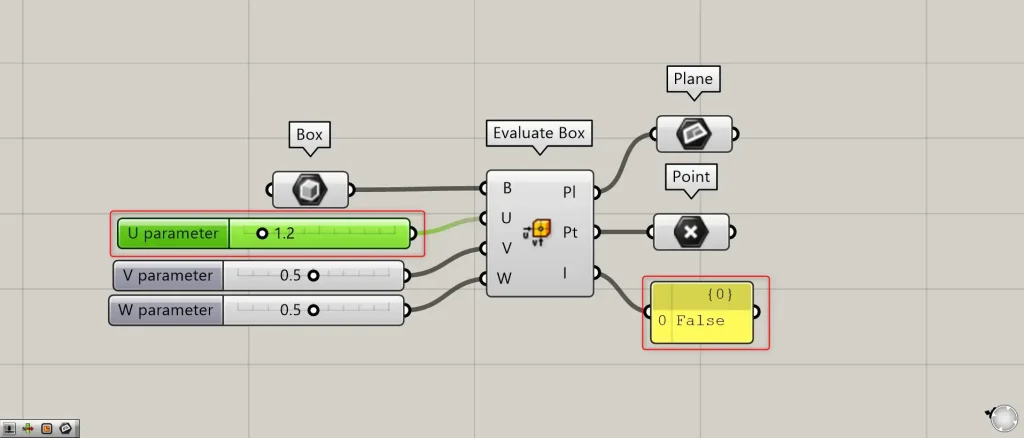
Let’s set the value of Evaluate Box(U) to 1.2, which is greater than 1.
Then, the Evaluate Box(I) changed to False.
In this case, as shown in the image above, the point is outside the box, so the Evaluate Box(I) outputs False.
List of Grasshopper articles using Evaluate Box component↓

Comment