
When using Grasshopper, you may find yourself wanting to create a surface from curves.
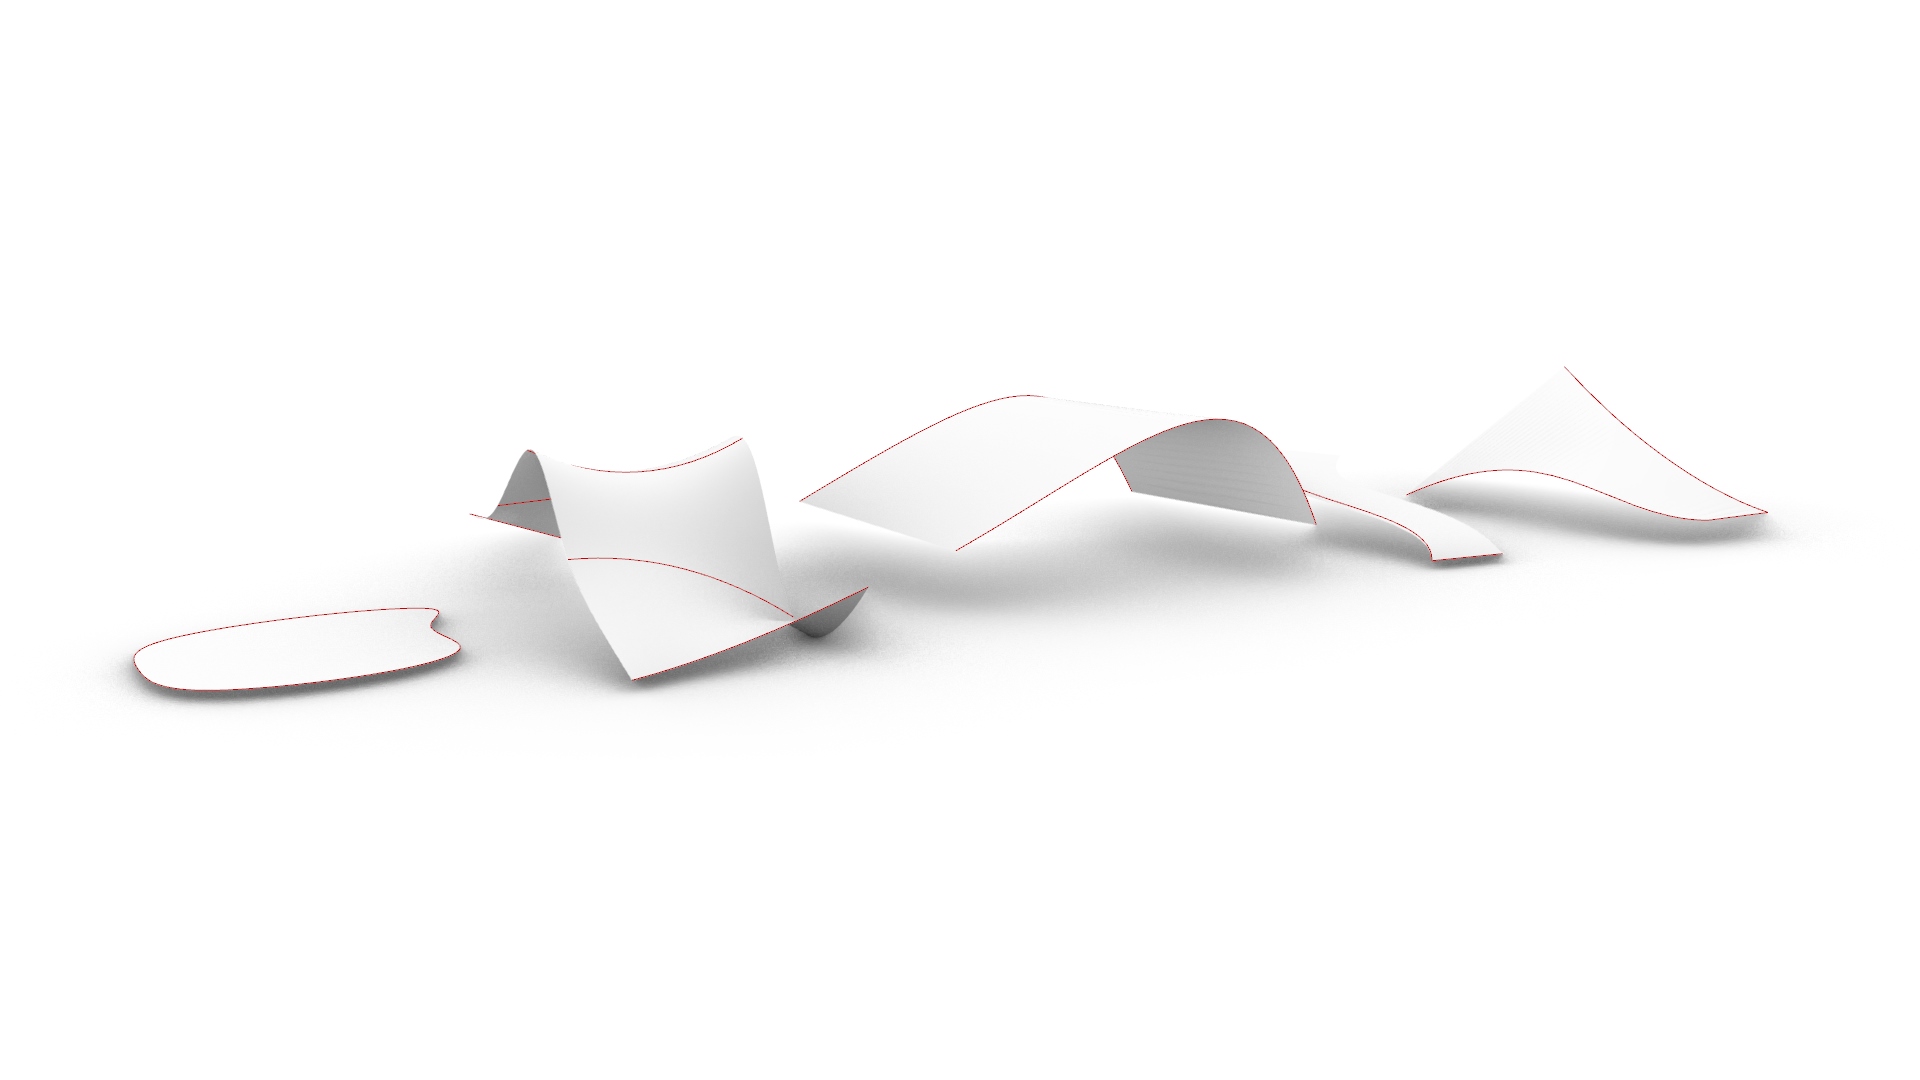
This time we would like to introduce five different methods for creating surfaces from curves.
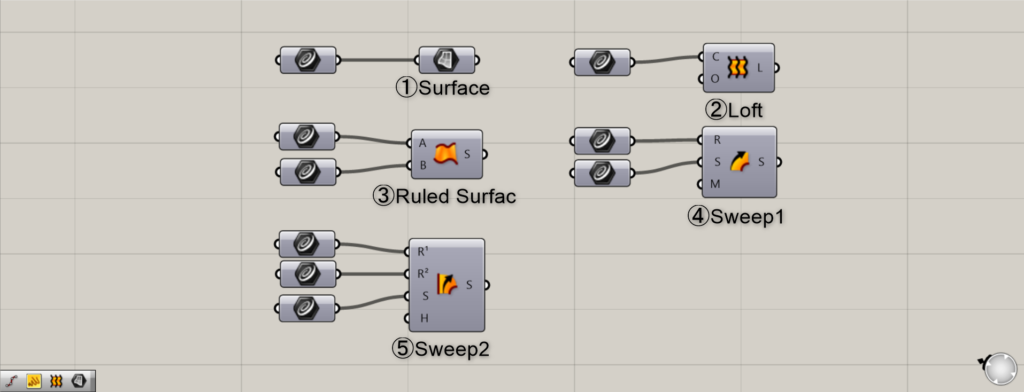
We will use the following components: ① Surface, ② Loft, ③ Ruled Surface, ④ Sweep1, and ⑤ Sweep2.
Now, let’s go through each one step by step.
The Grasshopper and Rhino data for this session can be downloaded from the link below.
Download Grasshopper and Rhino data here
For information regarding the use of downloadable data, please refer to the Terms of Use.
Video
Surface component
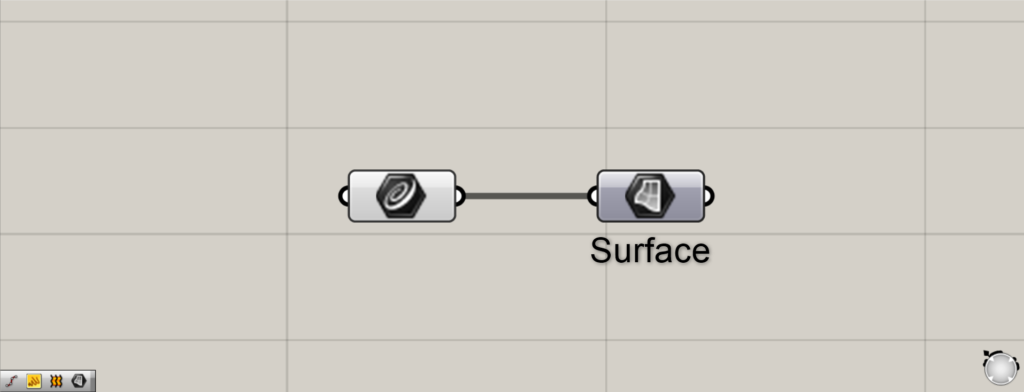
Components used: ① Surface
First, we’ll explain the Surface component.
This component is primarily used for storing surfaces on Rhino.
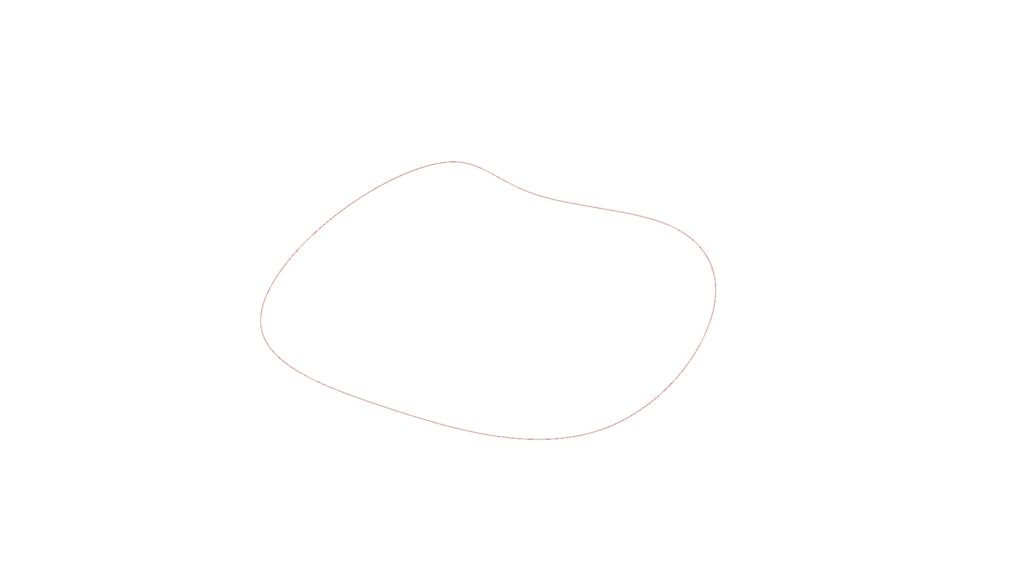
However, closed curves that are planar and not three-dimensional can be converted from curves to surfaces.
Store the curve data on Rhino into the Geometry or Curve component.
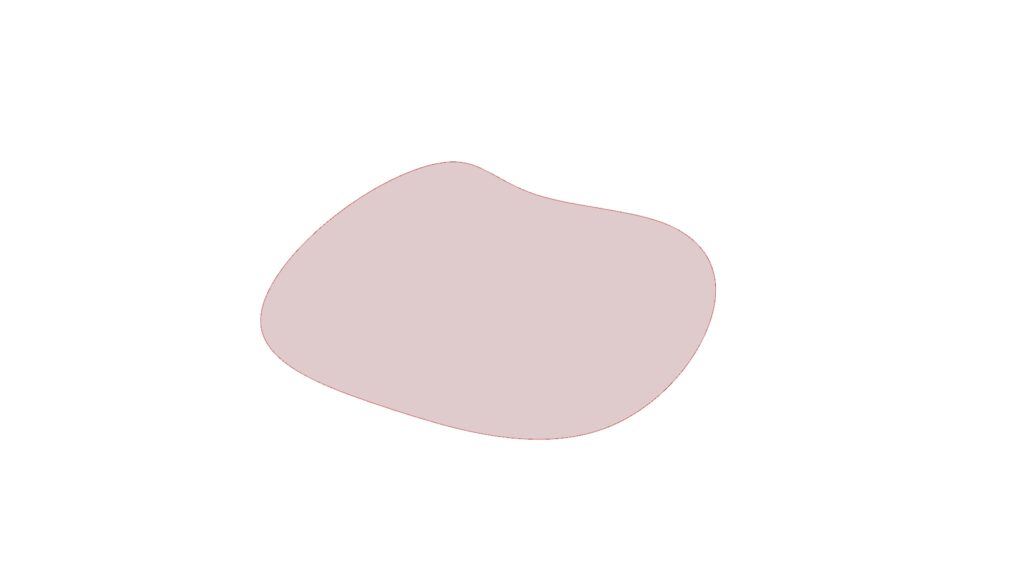
And when you connect it to Surface, you can transform it into a Surface like this.
However, this applies only to curves that are not three-dimensional.
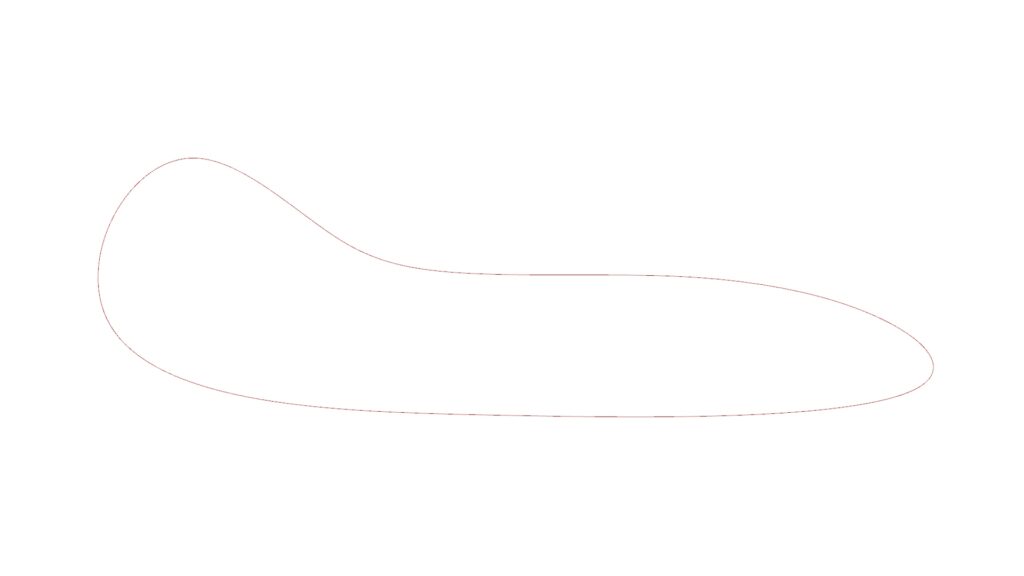
By making the curve three-dimensional in this way, surfaces will no longer be generated as shown in the image above.
Therefore, this method is not three-dimensional and should only be used when the curves are closed.
List of Grasshopper articles using Surface component↓
Loft Component
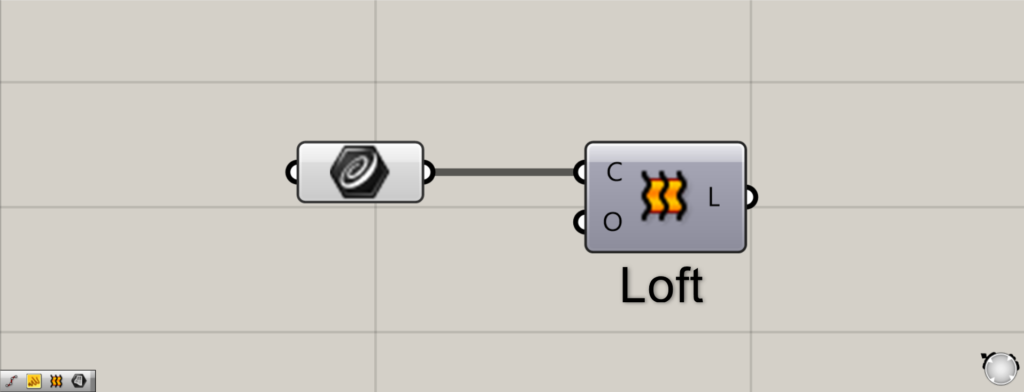
Components used: ② Loft
Next, we’ll explain the Loft component.
This component offers a high degree of flexibility, making it frequently used.
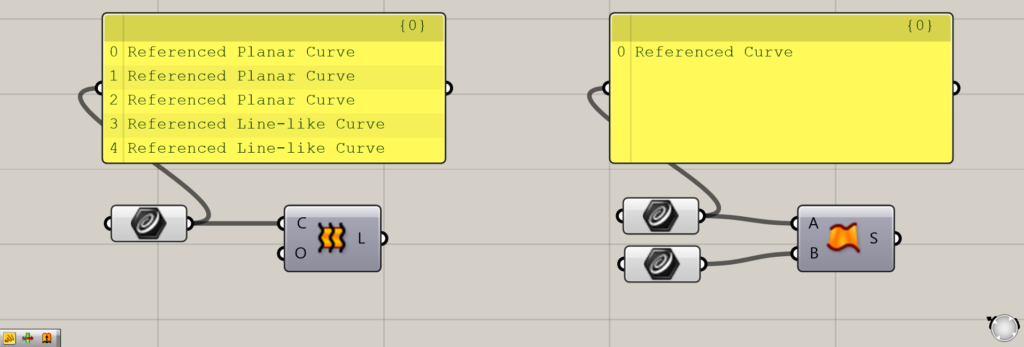
The difference from the Ruled Surface described later lies in whether the Curve component used contains multiple curve data or a single curve data.
As shown in the image above, in the case of Loft (left), a single Curve component contains multiple curves.
Conversely, in the case of a Ruled Surface (right), there is only one curve data.
This time, since we are placing five separate curve data sets into a single Curve component, Loft is the appropriate choice.

First, create several curves on Rhino.
Then, we set five curves sequentially into a single Curve.
When selecting curves, please select them sequentially from one end to the other.
If you select without following the order, you won’t be able to create a clean surface.
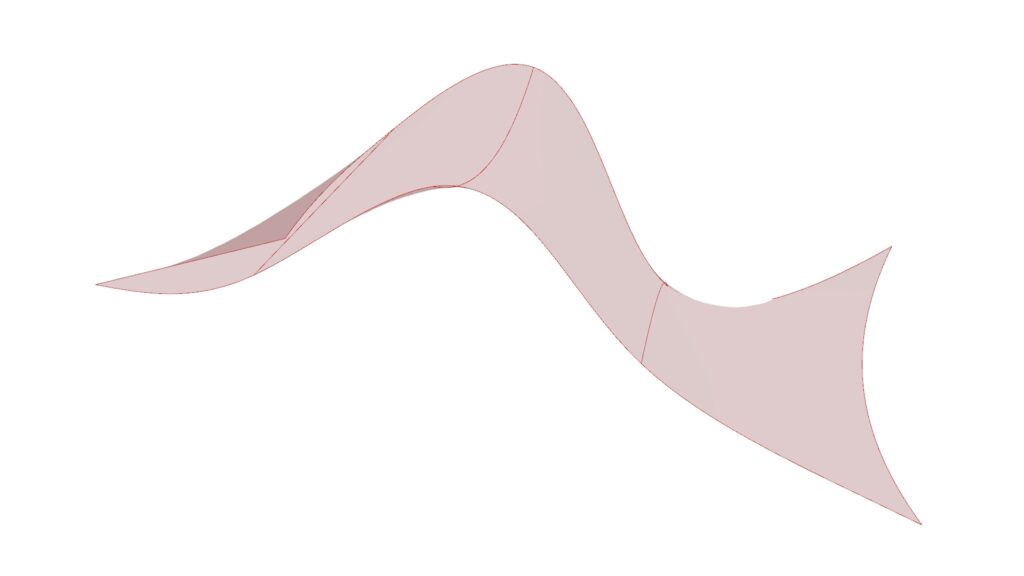
When you connect to the loft, surfaces are created as if connecting continuous curves.
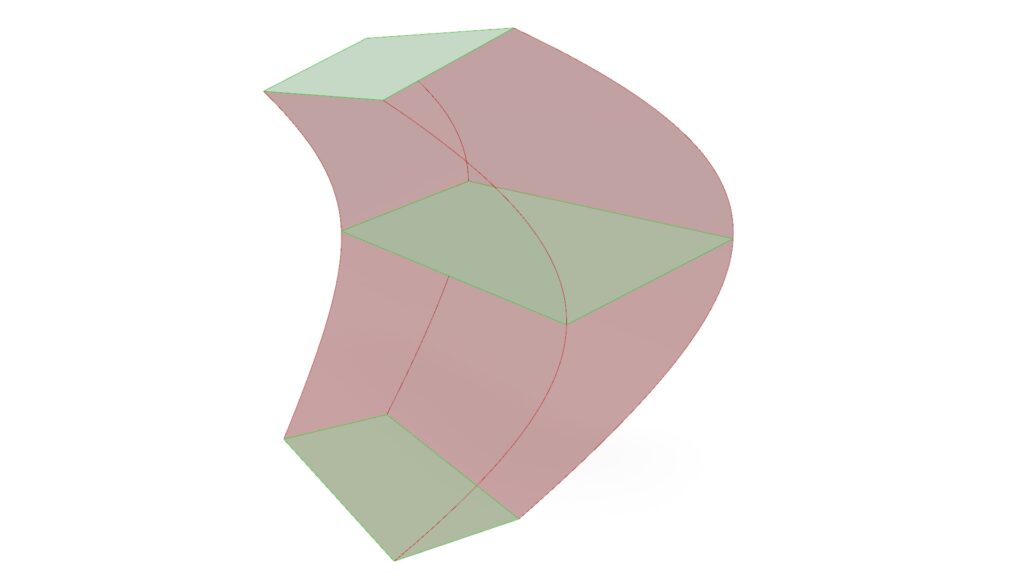
It’s not widely known, but Loft also has the effect of connecting surfaces together.
By joining the original surface with the surface generated by Loft, you can also create a solid.
For detailed loft settings, please refer to the following article on Loft Options.
List of Grasshopper articles using Loft component↓

Ruled Surface Component
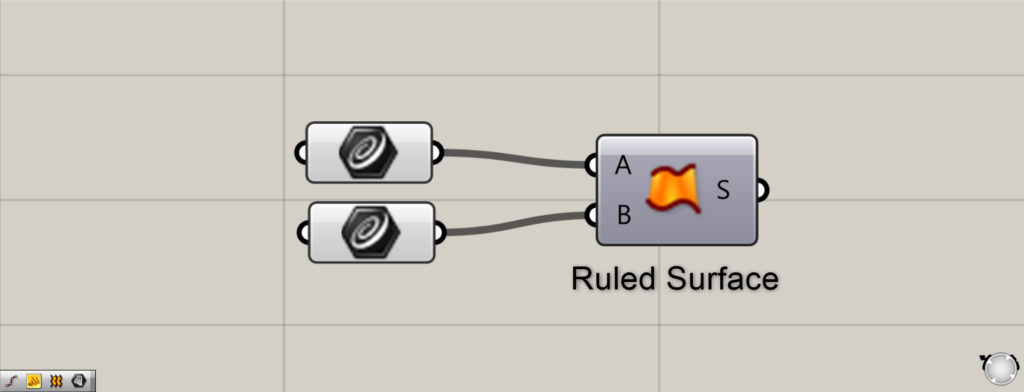
Component Used: ③ Ruled Surface
Next is Ruled Surface.
In the case of the Loft (left) earlier, multiple curves were stored in the Curve.
However, in this Ruled Surface (right), only one curve is stored per Curve component.
This is the difference between these two components.
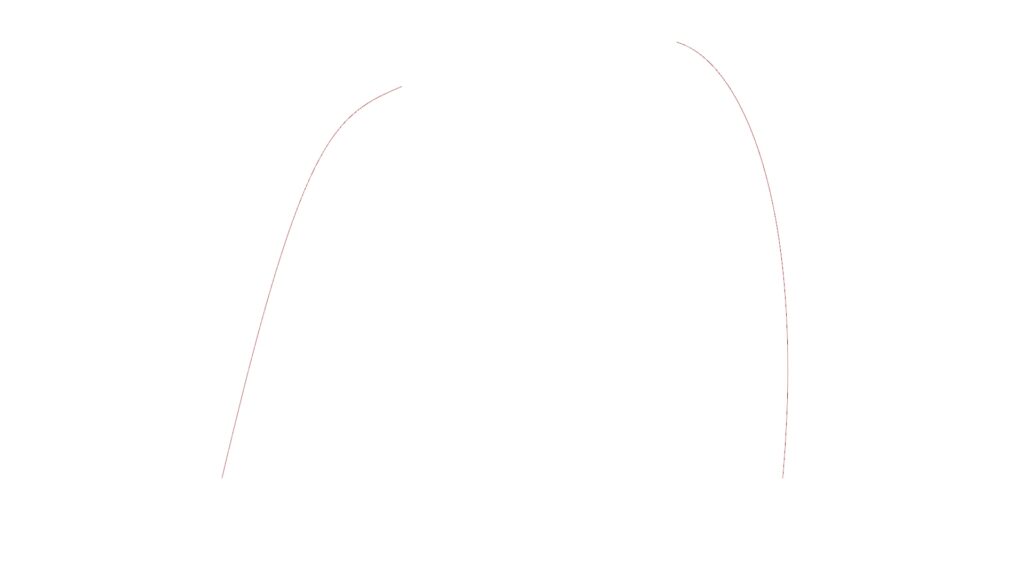
Then prepare two curves and connect them to terminals A and B of the Ruled Surface, respectively.
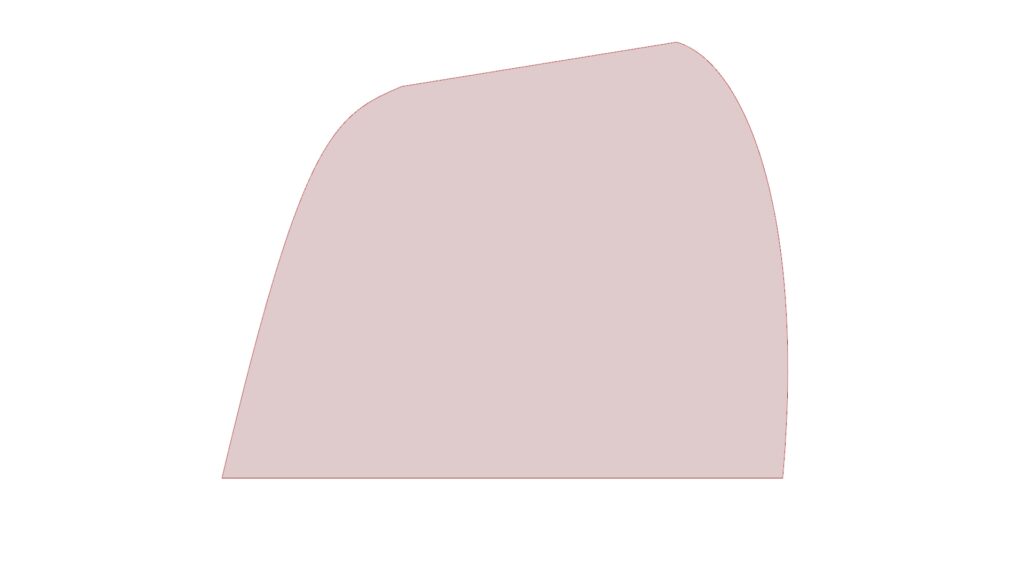
And when you connect two curves to the Ruled Surface, a surface based on these two curves is created like this.
List of Grasshopper articles using Ruled Surface component↓
Sweep1 Component
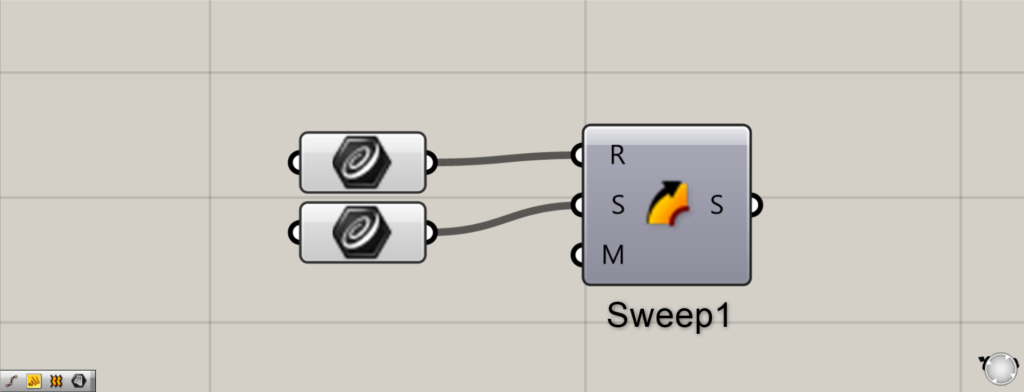
Component Used: ④ Sweep1
Next is the Sweep1 component.
To use it, prepare two curves.
The first curve acts as a rail, and the other curve creates a surface that follows along that rail.
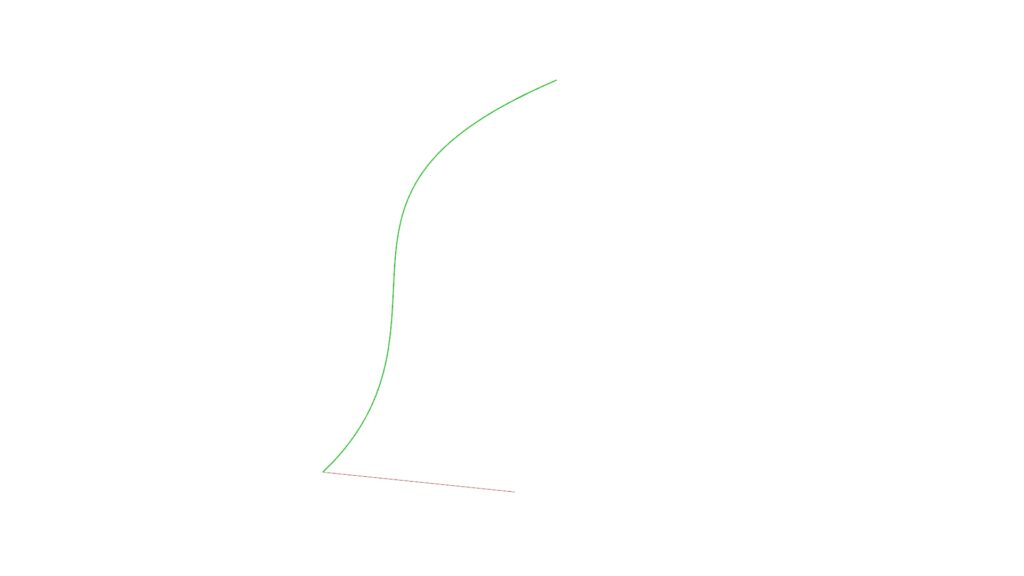
Connect the curve you want to be the rail to the R terminal, and connect the wire that follows the rail to the S terminal.
This time, green represents the rail curve, and red represents the curve running alongside the rail.
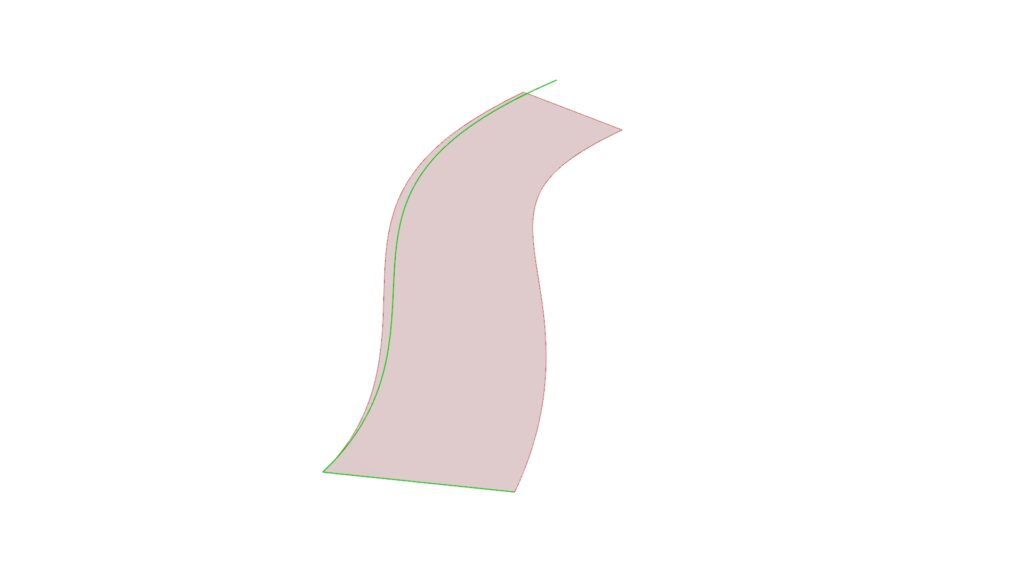
The output result will be a surface that follows the rail like this.
If you wish to set up lanes on both sides, use the Sweep2 component described later.
List of Grasshopper articles using Sweep1 component↓
Sweep2 Component
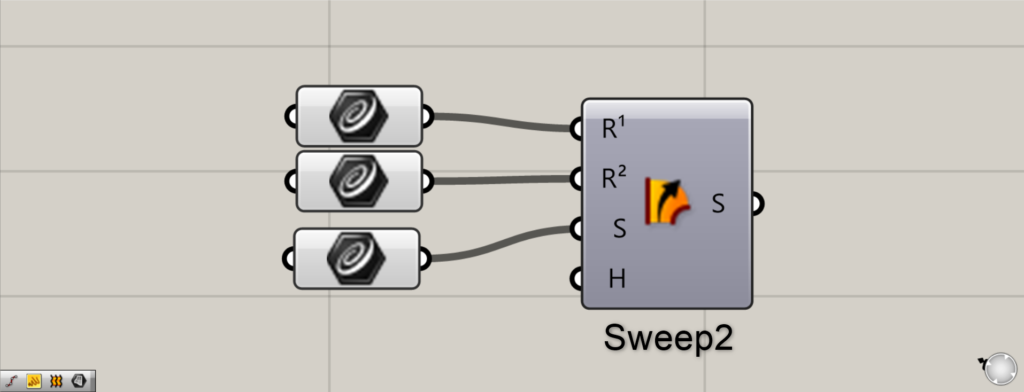
Components Used: ⑤ Sweep2
Finally, we introduce the Sweep2 component. This uses three curves.
This component is similar to Sweep1, but it allows you to set two rails.
Then, a surface emerges from a single curve, following the path of the two rails.
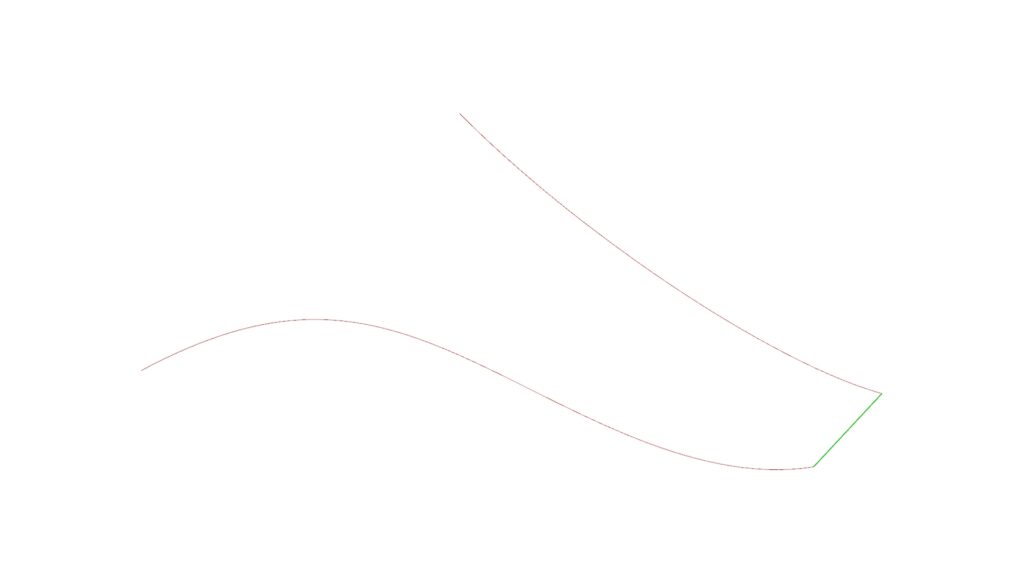
Store rails at terminals R¹ and R², and store curves running along the rails at terminal S.
This time, the red curves represent the rails, and the green curve follows the rails.
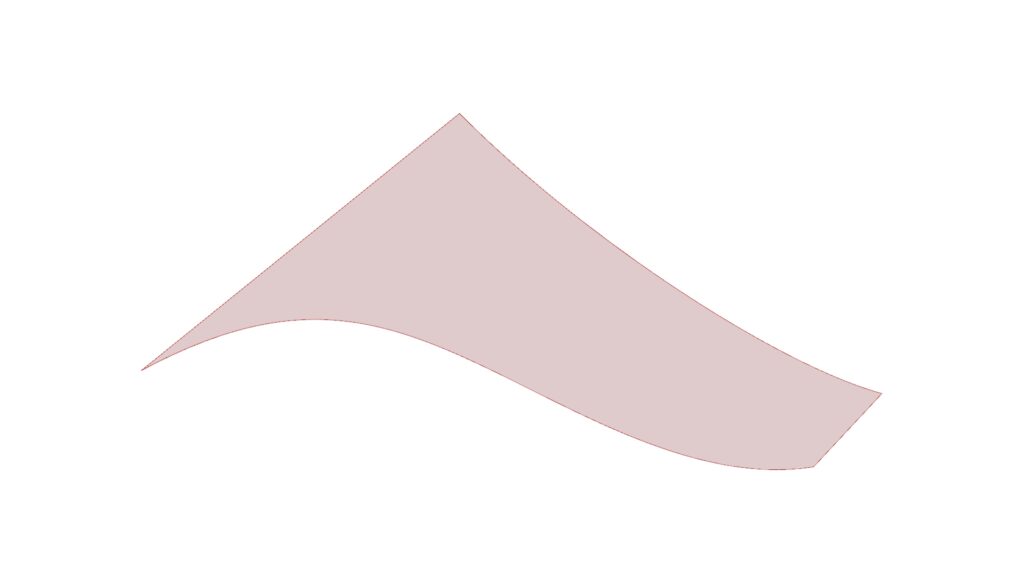
And this is the output result of Sweep2.
Compared to Sweep1, you can create surfaces with greater freedom.
List of Grasshopper articles using Sweep2 component↓

Comment