
![[Grasshopper] How to Use Annotation Dot to set annotations and text dots](https://iarchway.com/wp-content/uploads/2026/01/Annotation-Dot.png)
This article explains how to use Annotation Dot to set annotations and text dots.
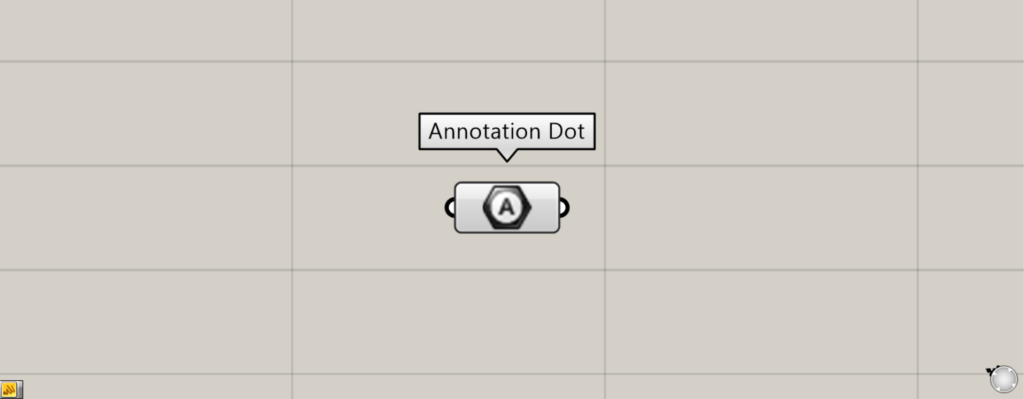
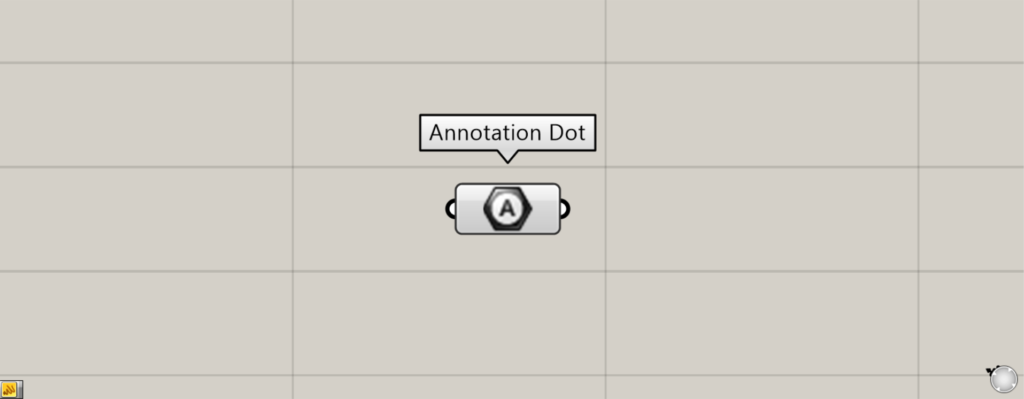
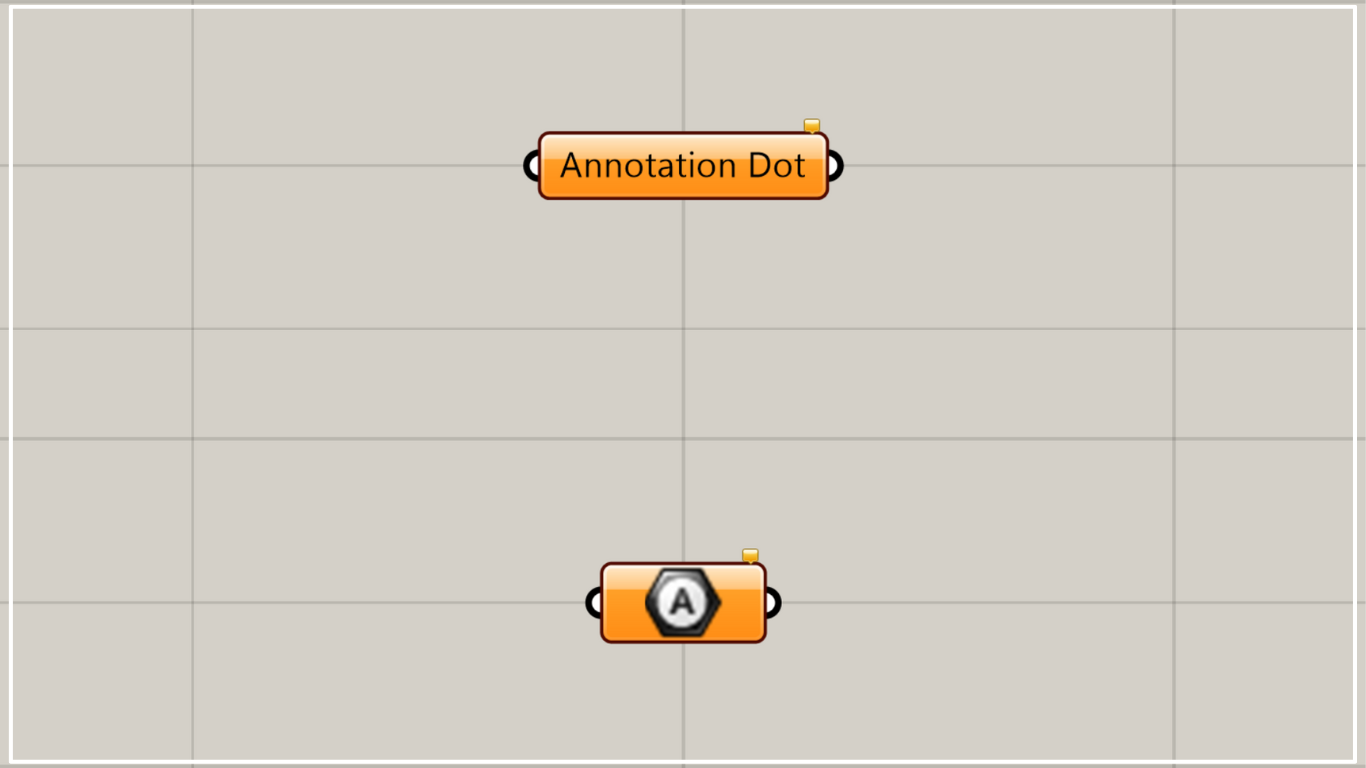
On the Grasshopper, it is represented by either of the two above.
Set annotation and text dots
Using Annotation Dot allows you to set annotation and text dots.
Components Used: ①Annotation Dot ②Annotation Dot
Please note that there is another component with the same name as Annotation Dot.
The other Annotation Dot is a component for creating annotation and text dots.
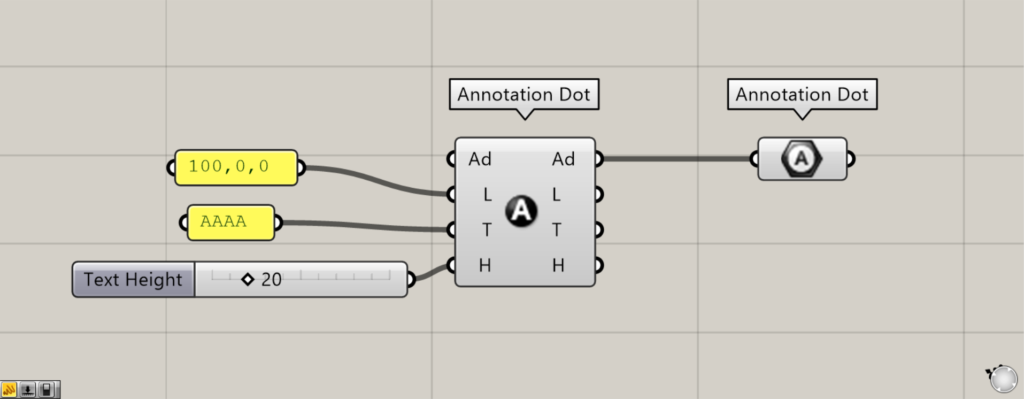
As a first example, we’ll explain using two Annotation Dots.
Connect the coordinates or point data to the other Annotation Dot(L).
This time, we are connecting coordinate data with values of 100, 0, 0.
Enter the text information to be displayed into the other Annotation Dot(T).
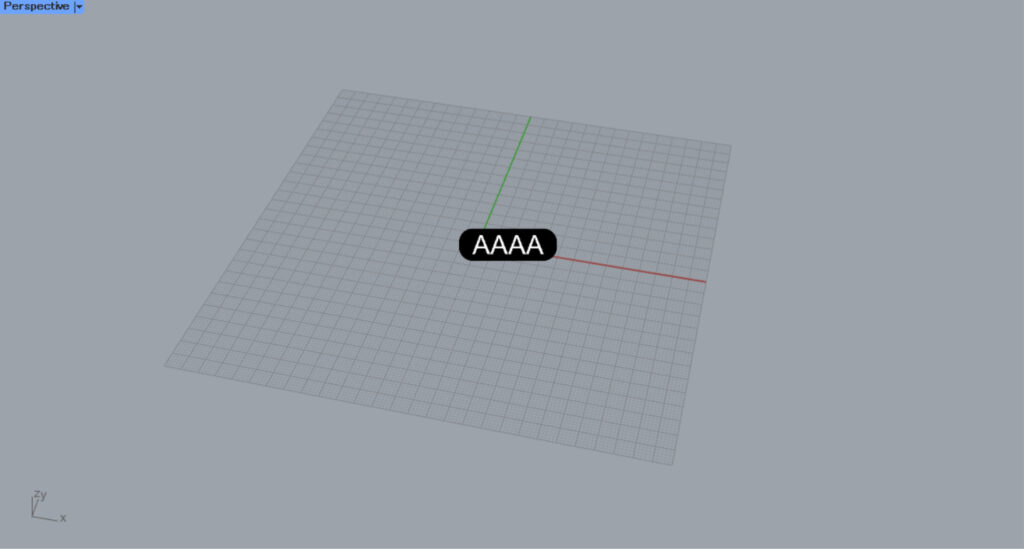
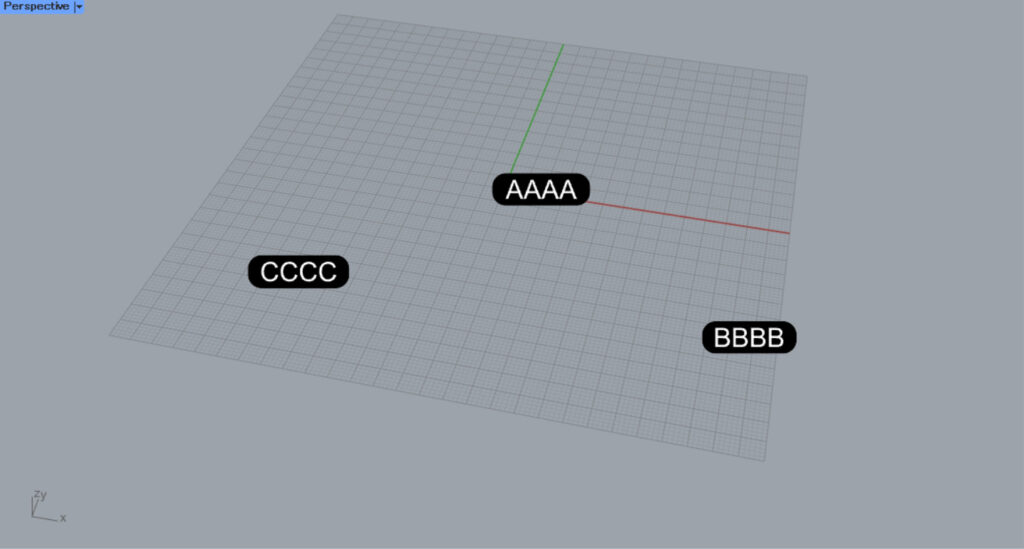
This time, we entered AAAA.
Enter the numerical value for the font size into the other Annotation Dot(H).
This time, we entered 20.
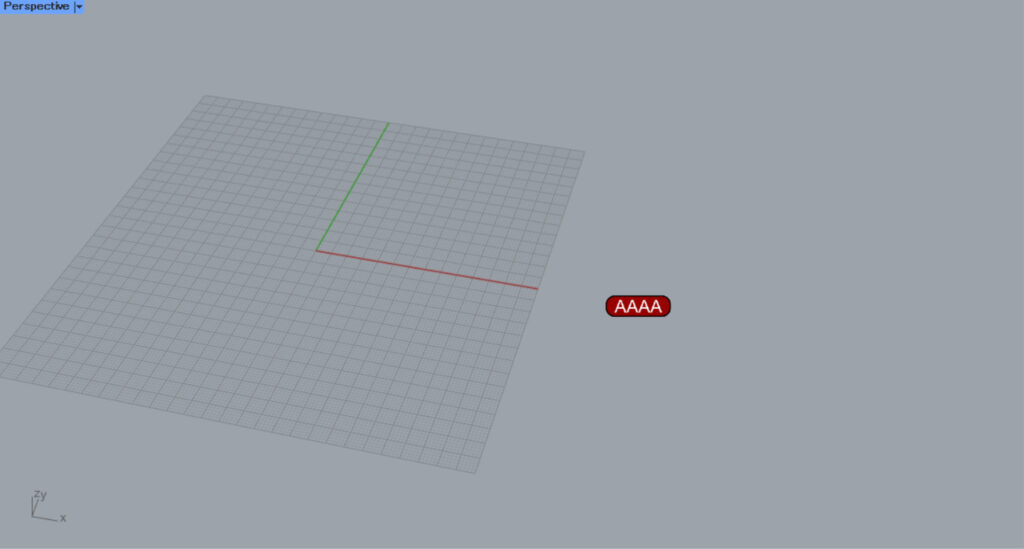
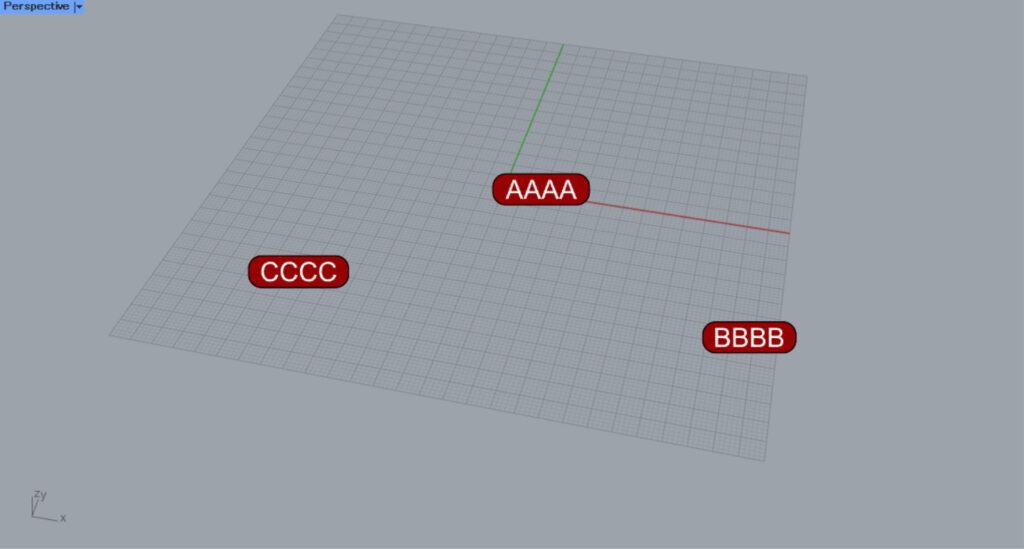
Then, an annotation or text dot will be created at the specified position.
Then connect the other Annotation Dot to this Annotation Dot.
Then, the annotation and text dot will be set in this Annotation Dot.
In this way, annotation dots can set annotations and text dots.
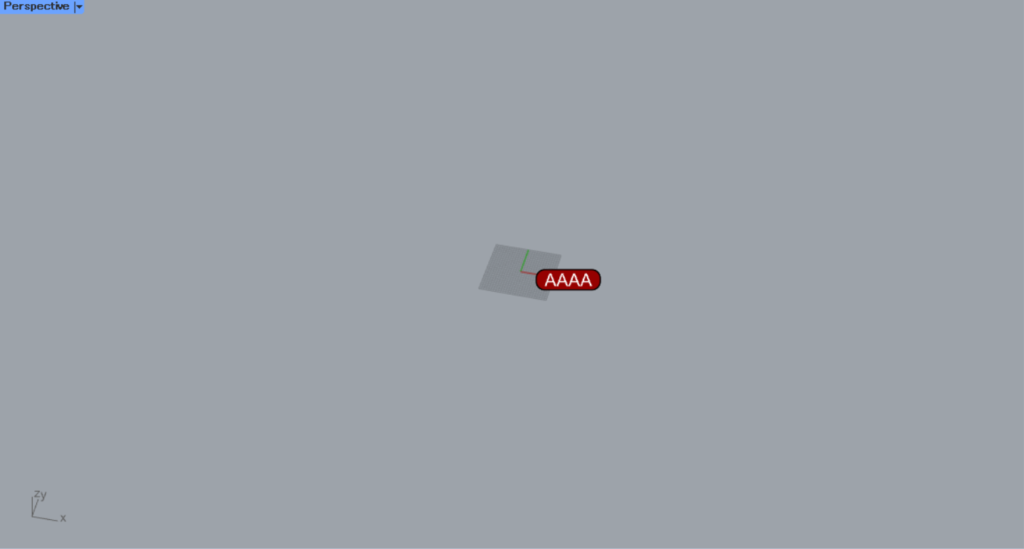
Changing the viewpoint does not alter the size or orientation of annotations or text dots.
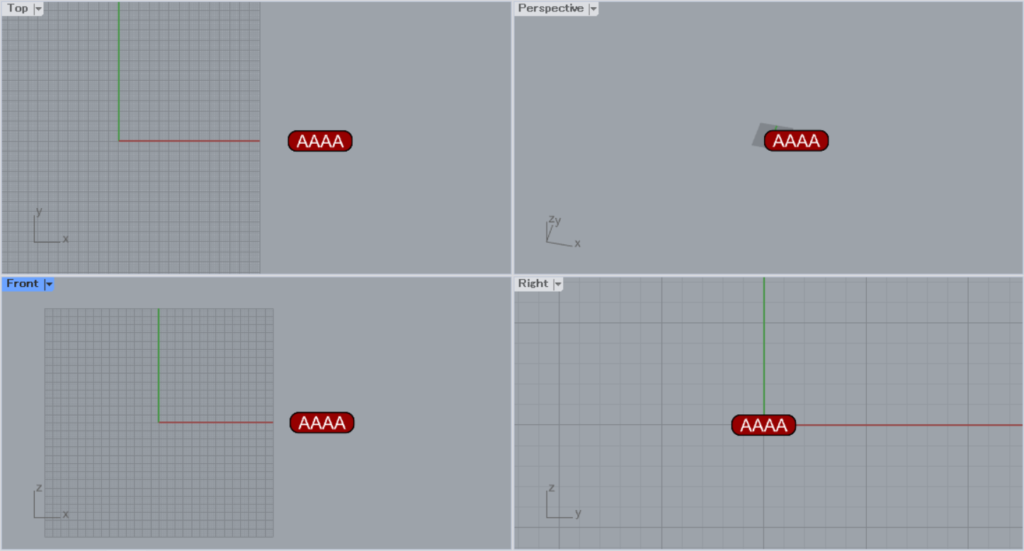
In other views, the size and orientation of annotations and text dots remain consistent.
Directly set annotations and text dots on Rhino
You can also set annotations and text dots directly on Rhino.
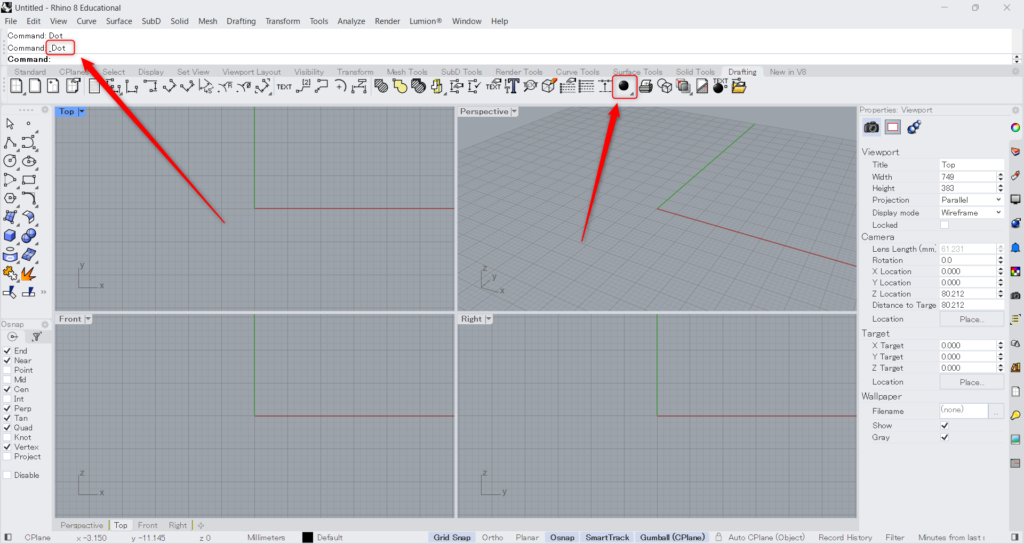
This time, we’ll create annotation and text dots using Rhino’s Dot command.
Type “Dot” in the command line or click the icon shown in the image above in the Drafting tab.
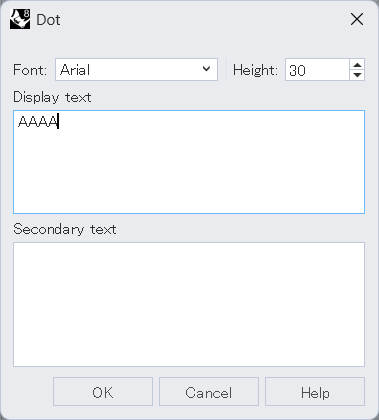
Then, this dot settings screen will appear.
Set the font, height, and display text.
Then, select the placement location.
Then, an annotation or text dot will be created.
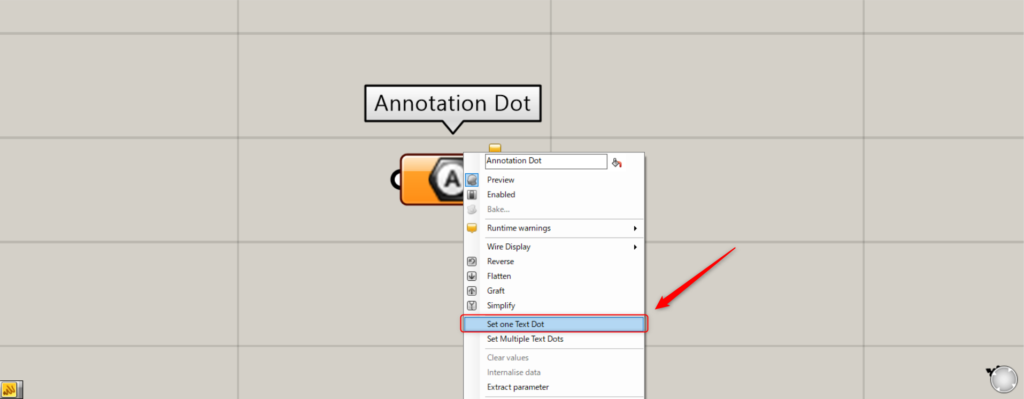
We’ll try setting annotation dots and text dots directly in Annotation Dot.
For a single annotation dot, right-click the Annotation Dot and select “Set as Text Dot”.

Then, the screen will switch to Rhino.
Select the annotation or text dot you want to set.
Then, the annotation and text dot will be set.
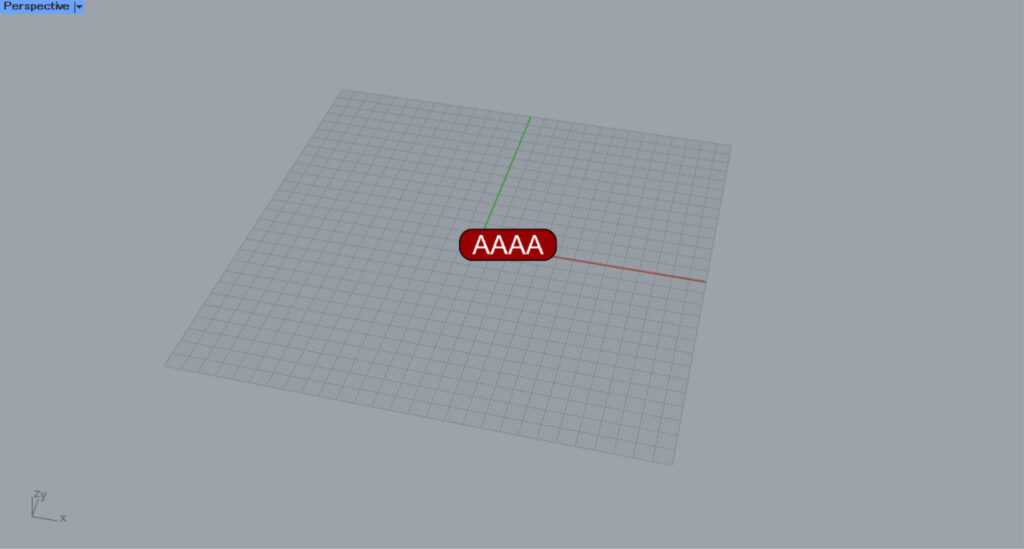
This is the result on Rhino.
This time, we’ll try setting multiple annotations and text dots.
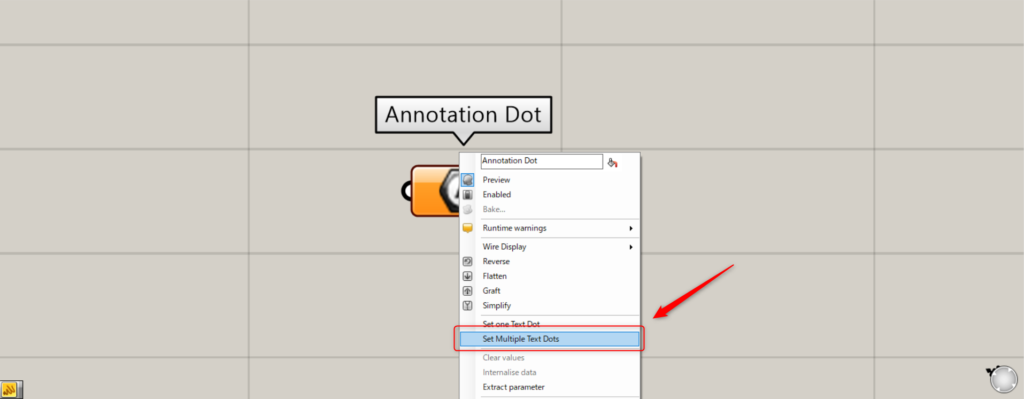
For multiple instances, right-click the Annotation Dot and select “Set Multiple Text Dots”.
Then, select multiple annotations and text dots on Rhino.
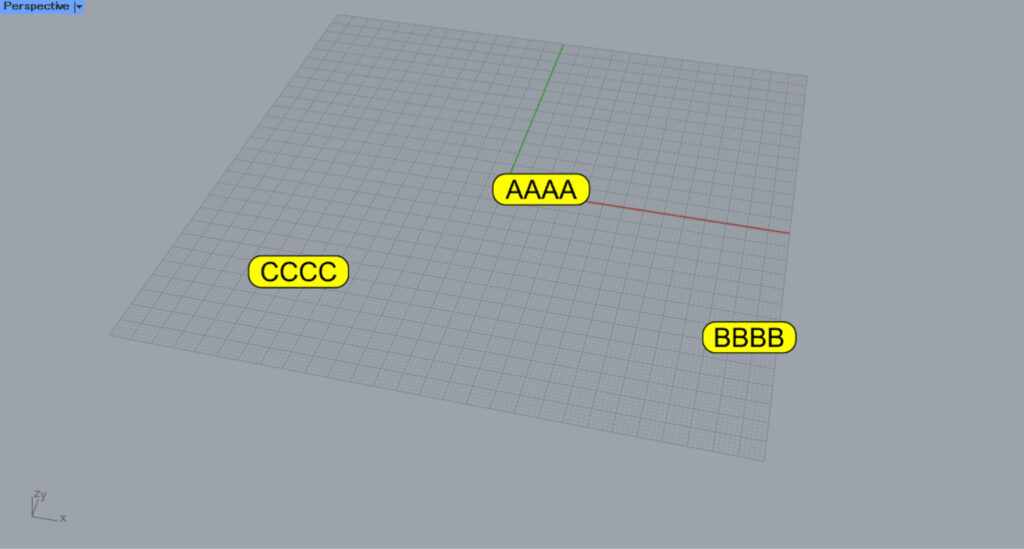
Then, multiple annotations and text dots were set.
This is the result on Rhino.
List of Grasshopper articles using Annotation Dot component↓

Comment