
![[Grasshopper] How to Use Annotation Dot to create annotations and text dots](https://iarchway.com/wp-content/uploads/2026/01/Annotation-Dot-1.png)
This article explains how to use Annotation Dot to create annotations and text dots.
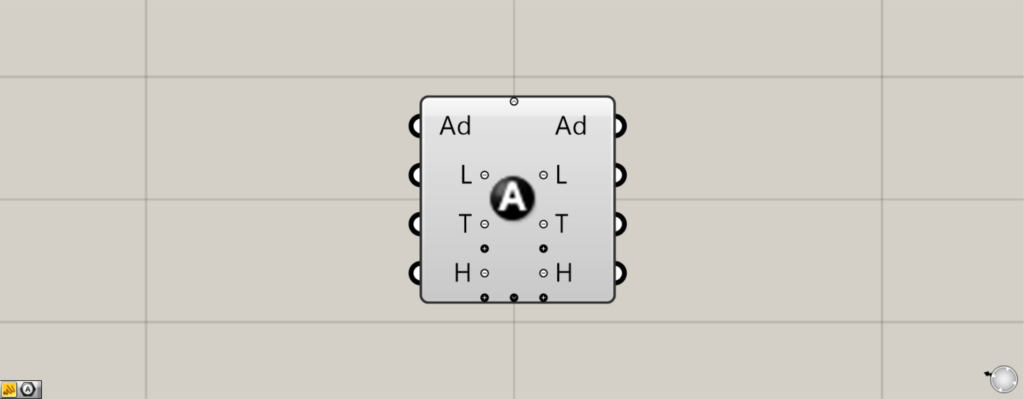
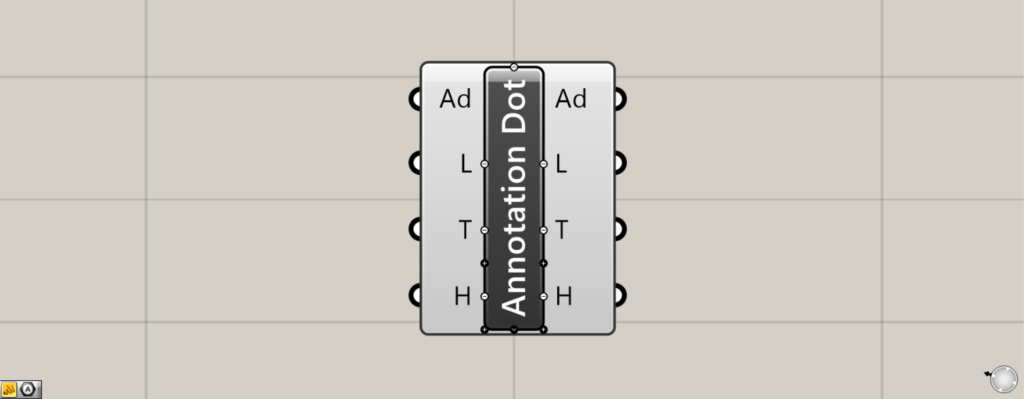
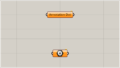
On the Grasshopper, it is represented by either of the two above.
Create annotations and text dots
Using Annotation Dot, you can create annotation and text dots.
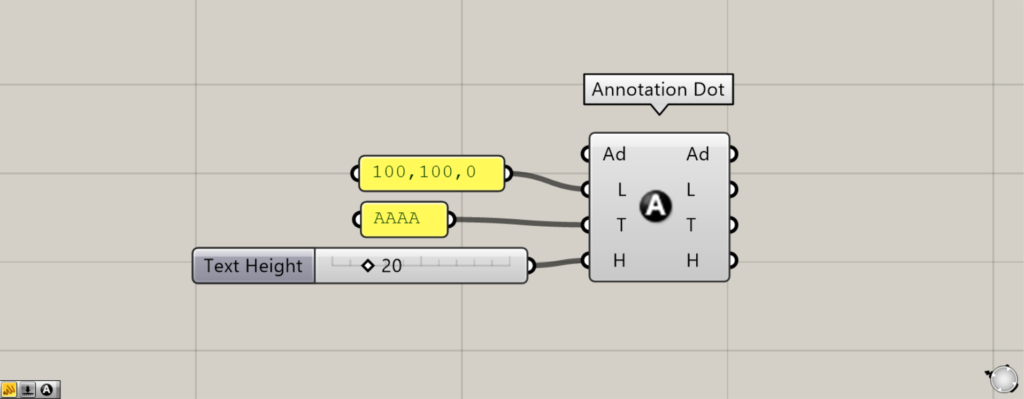
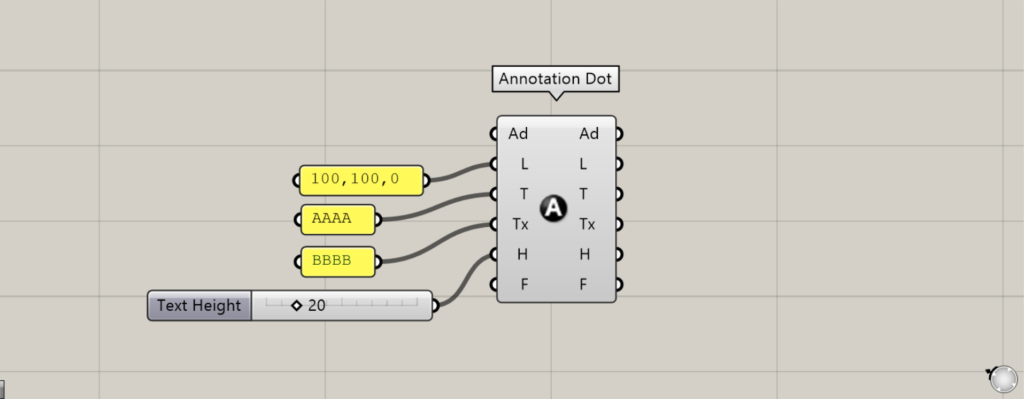
Connect the coordinates of the location where you created the annotation or text dot, or the point data, to the Annotation Dot(L).
This time, we are entering the coordinates 100, 100, 0.
Enter the text data you want to display into the Annotation Dot(T).
This time, we are entering AAAA.
Enter the numerical value for the font size into the Annotation Dot(H).
This time, we entered 20.
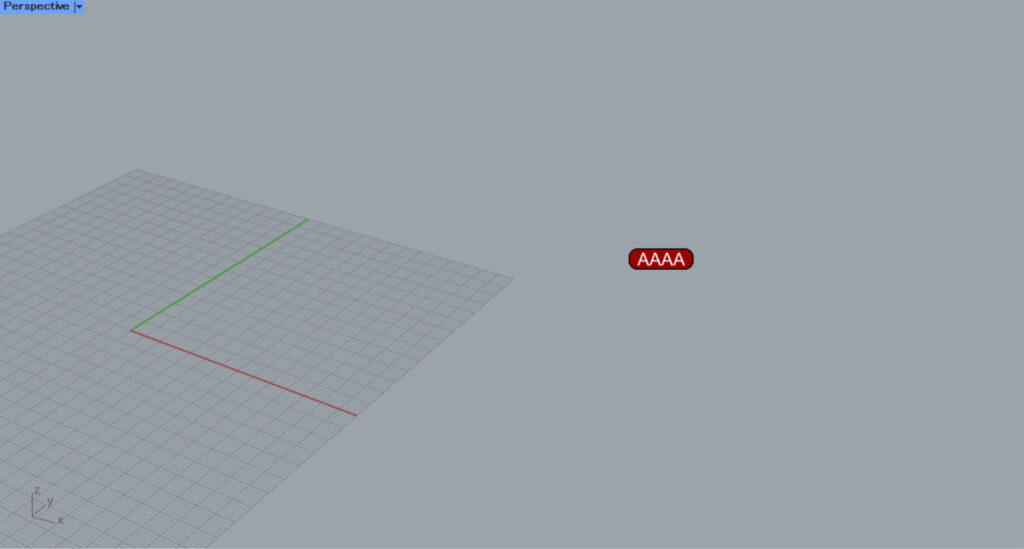
Then, an annotation/text dot was created at the specified location.
For annotations and text dots, the font size remains constant even when changing views or zooming.
Output data
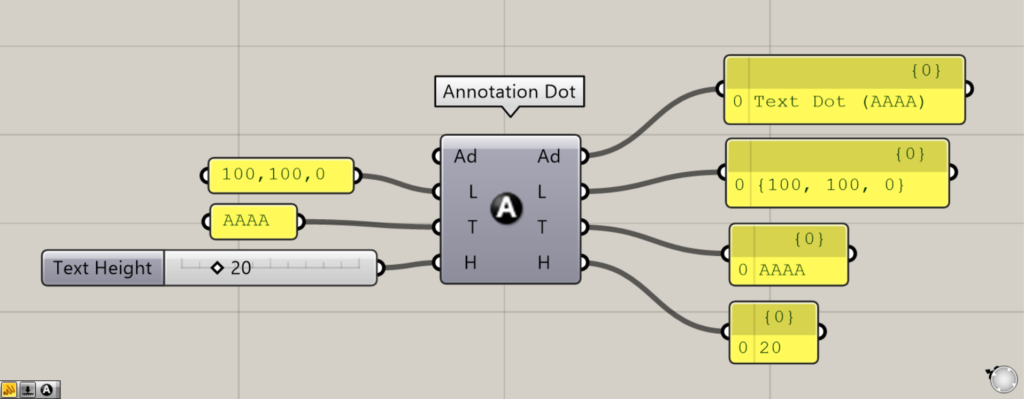
Let’s take a look at the output data.
Data for created annotations and text dots is output from the Annotation Dot(Ad).
The Annotation Dot(L) outputs coordinate data and point data for the positions of created annotations and text dots.
The Annotation Dot(T) displays the data for the characters being shown.
The Annotation Dot(H) outputs the character size value.
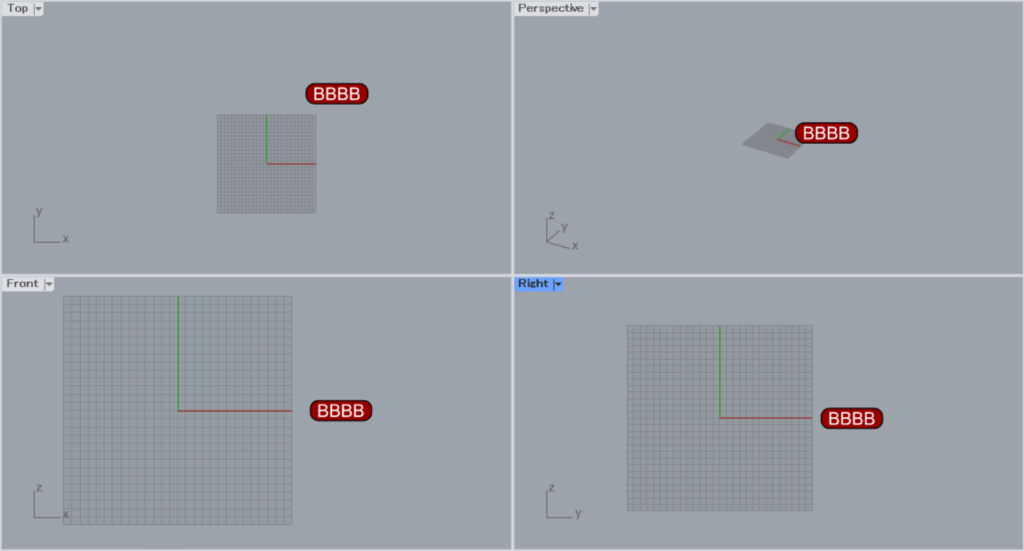
Edit existing annotations and text dots
You can also edit existing annotations and text dots.
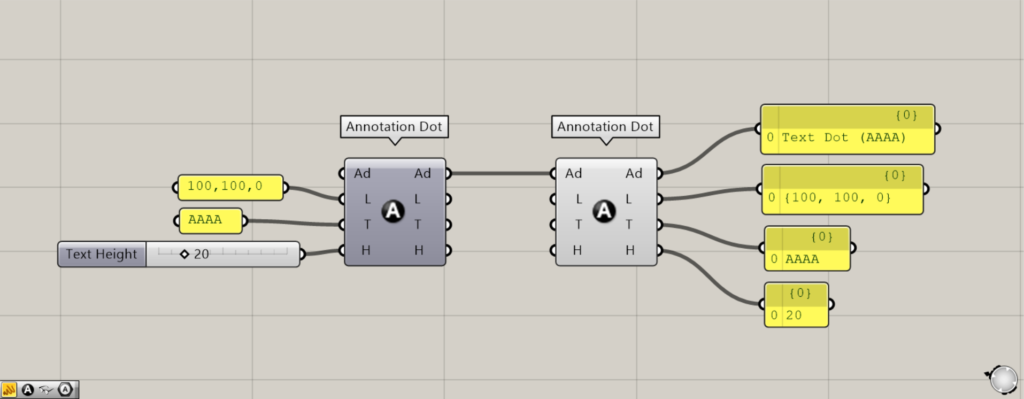
Connect existing annotation dots and text dots to the new Annotation Dot(Ad).
Then, the data from the existing annotation dots and text dots will be reflected in the new Annotation Dot.
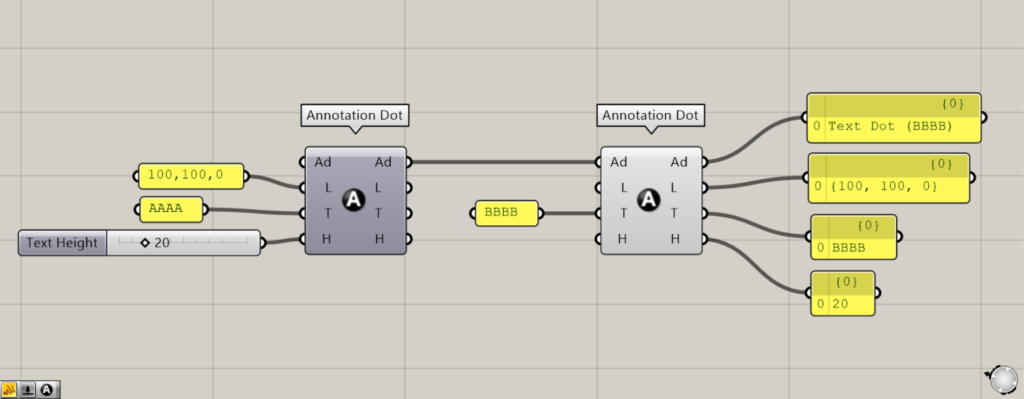
When existing annotation and text dot data is reflected, making partial corrections allows you to modify only that specific portion.
This time, we’ll only edit the Annotation Dot(T) in the text.
This time, we entered BBBB.
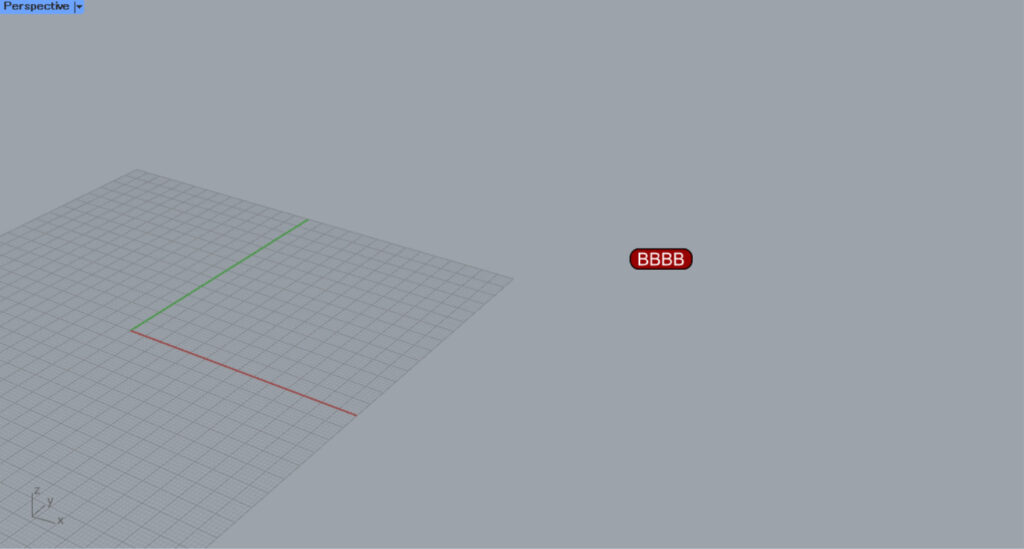
Then, only the text was modified like this.
In this way, you can also edit existing annotations and text dots.
Advanced Settings
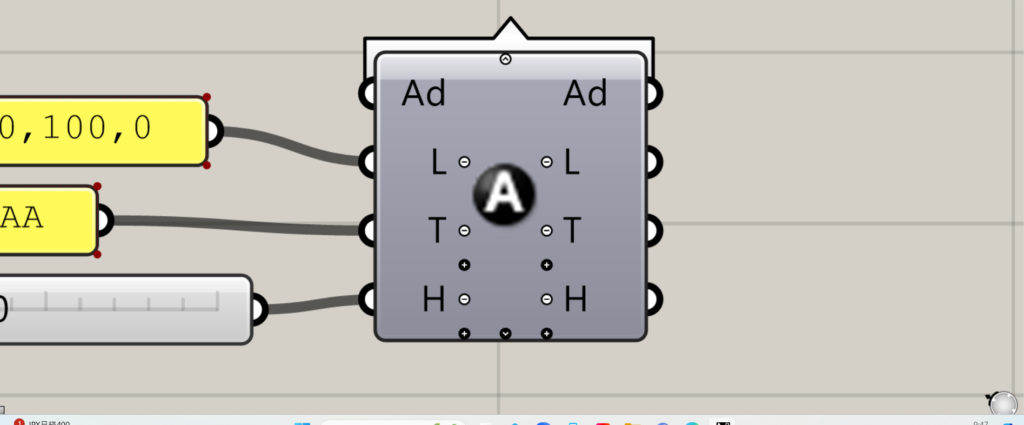
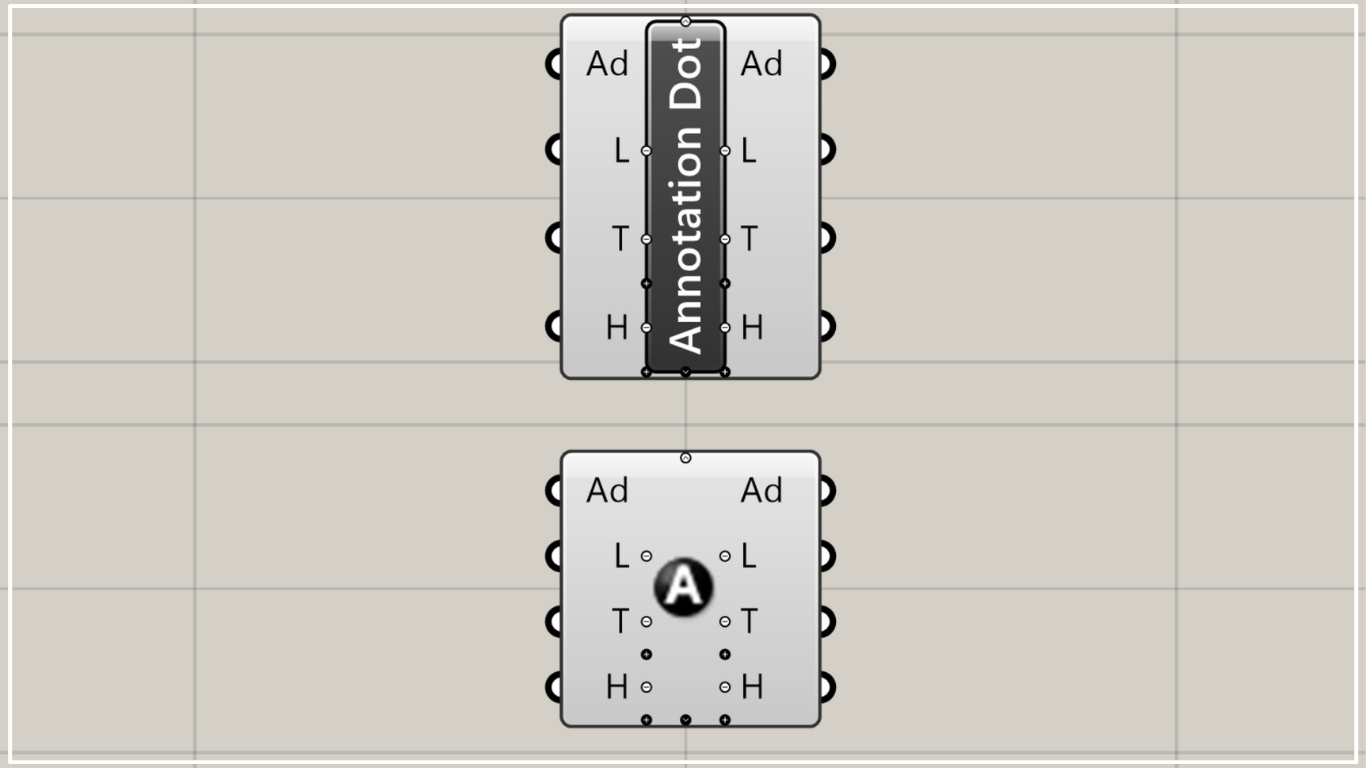
When you zoom in, various icons appear on the Annotation Dot.
Click the plus sign or down arrow at the bottom to increase the number of available terminals.
The newly introduced Tx terminal allows you to configure secondary text.
This time, we entered BBBB.
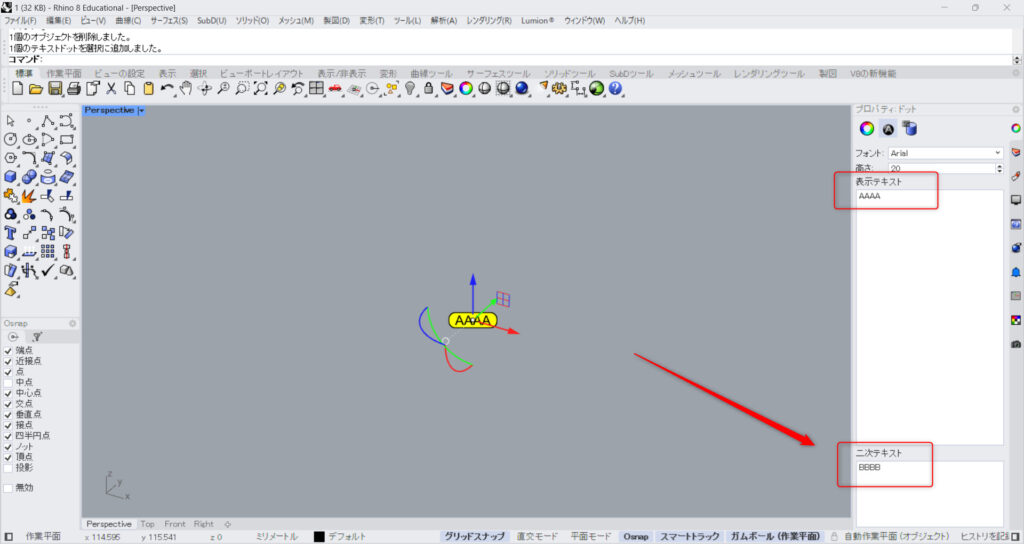
In this state, we’ll bake the Annotation Dot onto Rhino and export it.
When you make a selection, BBBB will appear in the secondary text field.
In this way, you can set characters separately from the displayed text and add more detailed information.
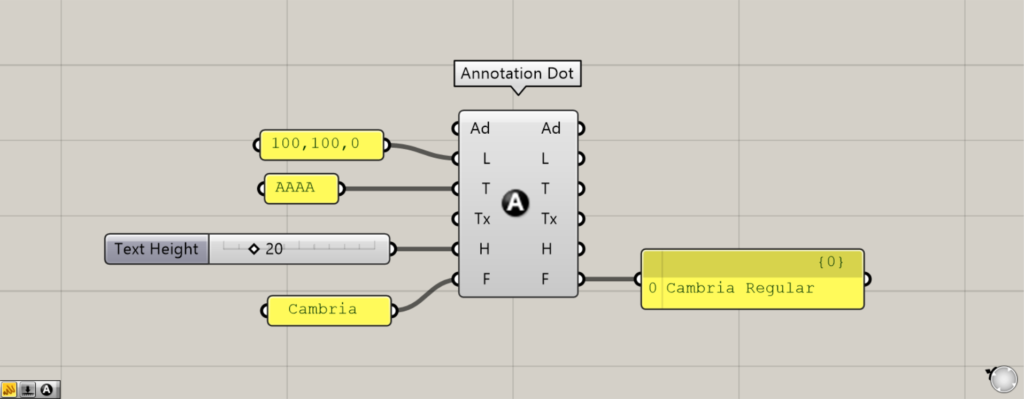
Fonts can be set for the F terminal.
This time, I’ll type “Cambria” and change the font.
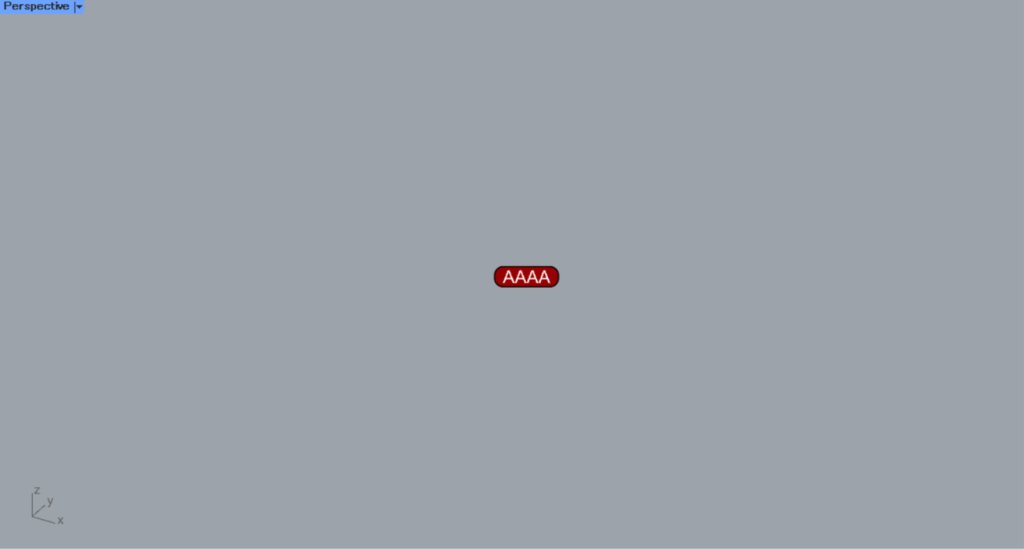
This is the font before configuration.
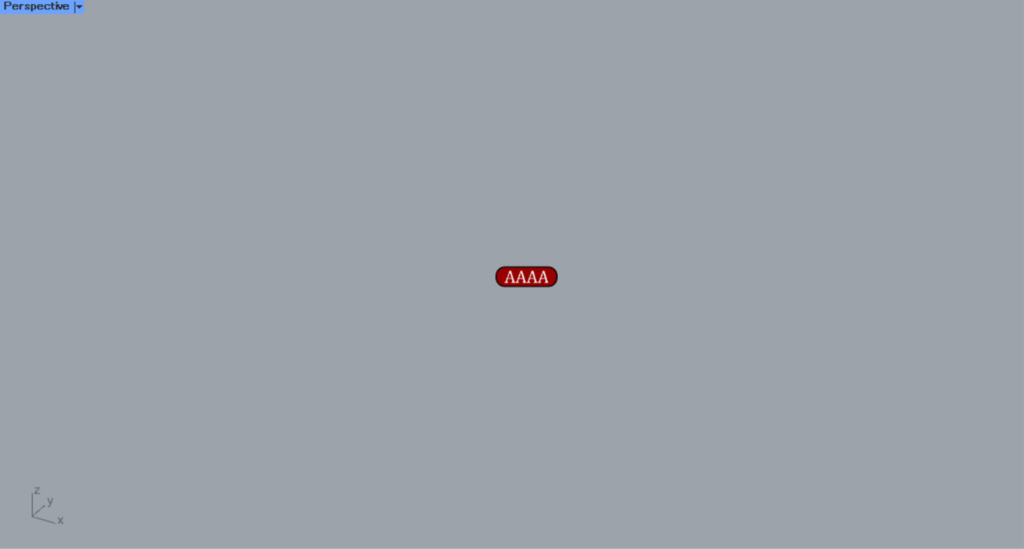
Here is how it looks after changing the font to Cambria.
This way, you can freely set the font.
List of Grasshopper articles using Annotation Dot component↓


Comment