
![[Grasshopper] How to use Block Instance to set block instances](https://iarchway.com/wp-content/uploads/2026/01/Block-Instance.png)
This article explains how to use Block Instance to set block instances.
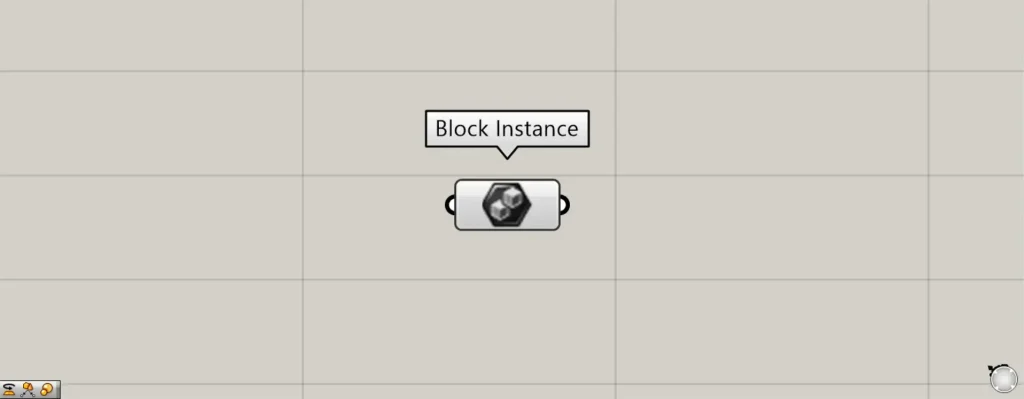
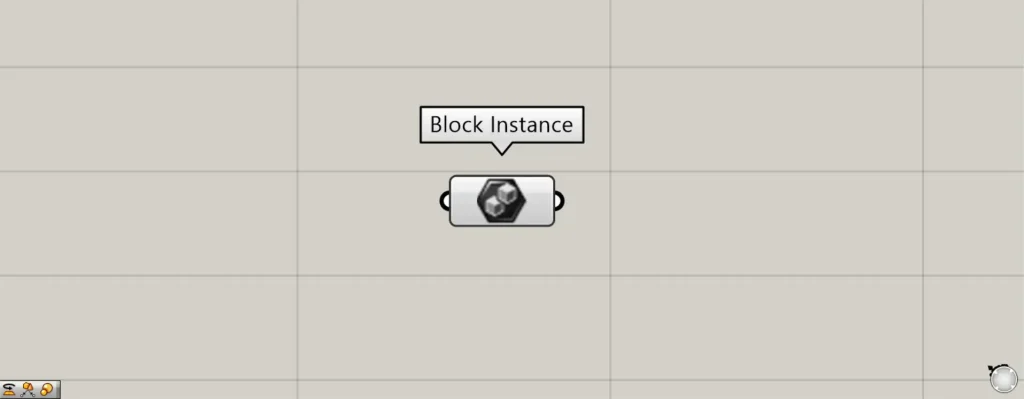
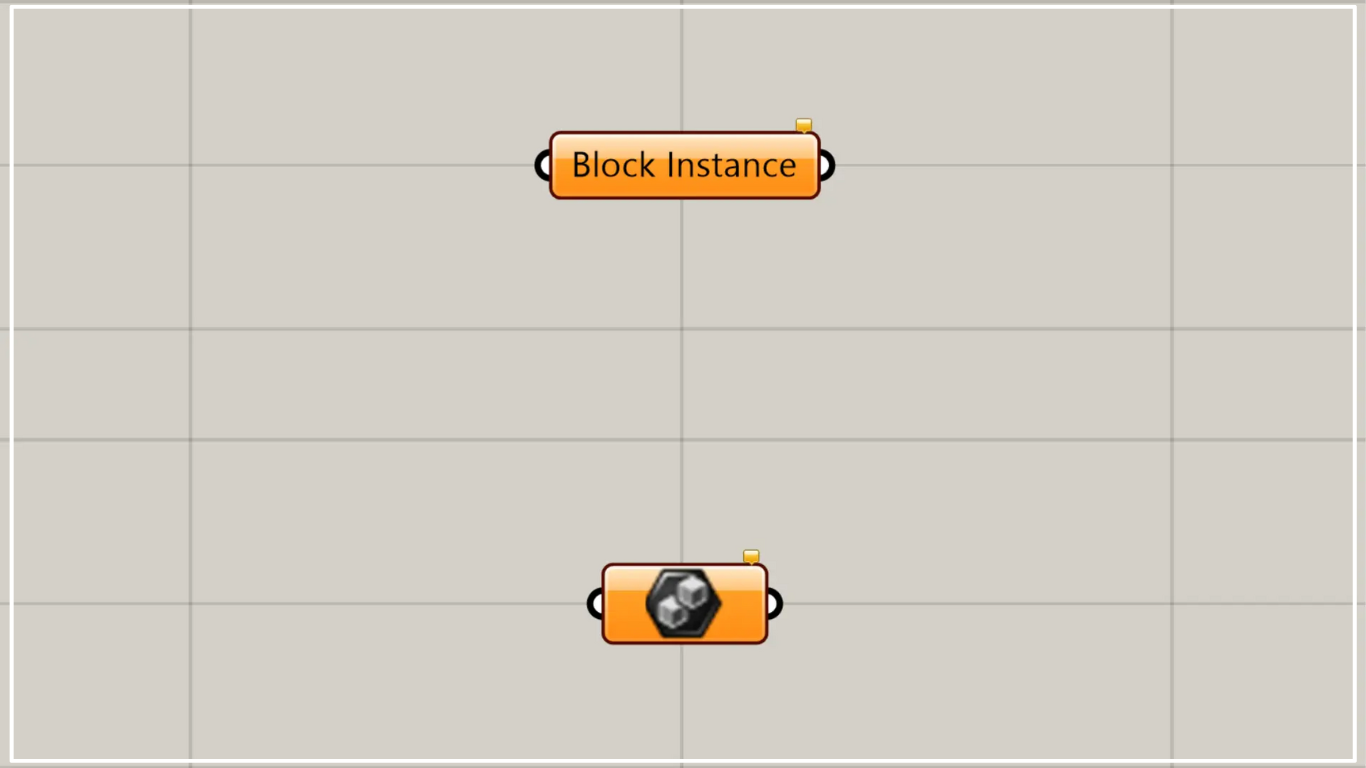
On the Grasshopper, it is represented by either of the two above.
Set block instance objects
Using Block Instance allows you to set block instance objects.
A block instance object is an object whose shape has already been defined.
Therefore, while you can change the position, rotate, or scale it, you cannot alter its shape.
In exchange, it has the characteristics of being very lightweight and displaying faster than regular objects.
Learn more about block instance objects here
Components used: ① Rectangle ② Surface ③ Model Block Definition ④ Model Block Instance ⑤ Block Instance
As an example this time, we will define and create a square surface as a block instance object.
Then, let’s try setting the created block instance object in the Block Instance.
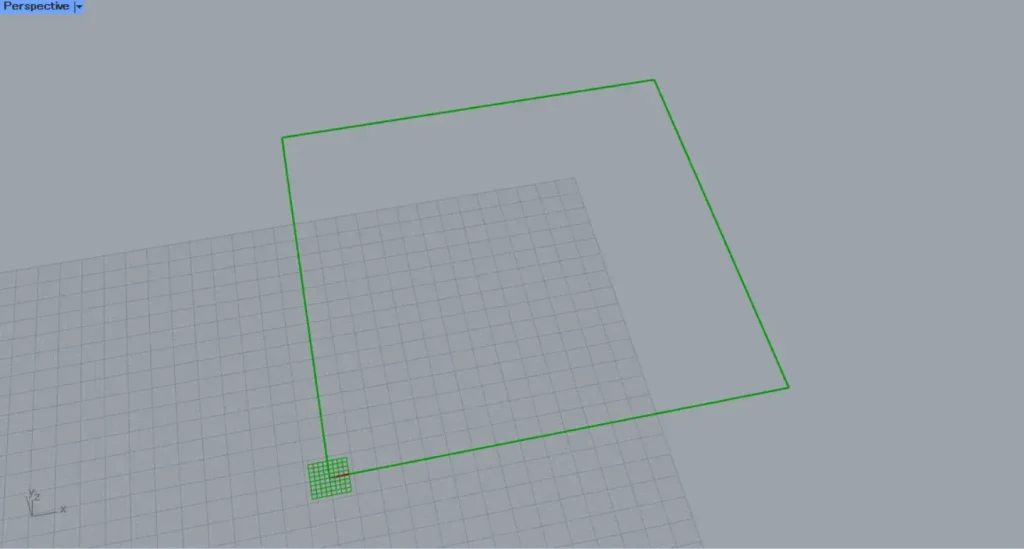
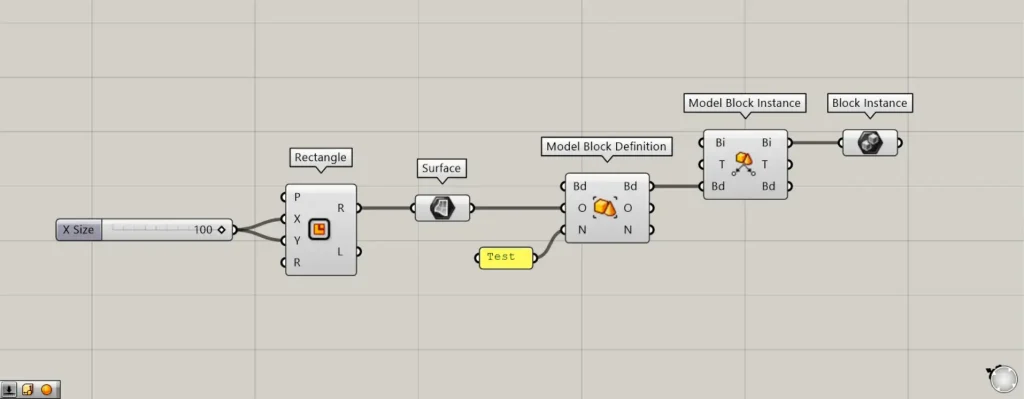
First, create a rectangular shape by entering the length of one side into the Rectangle(X and Y).
This time, since 100 was entered for both dimensions, a 100×100 square line has been created.
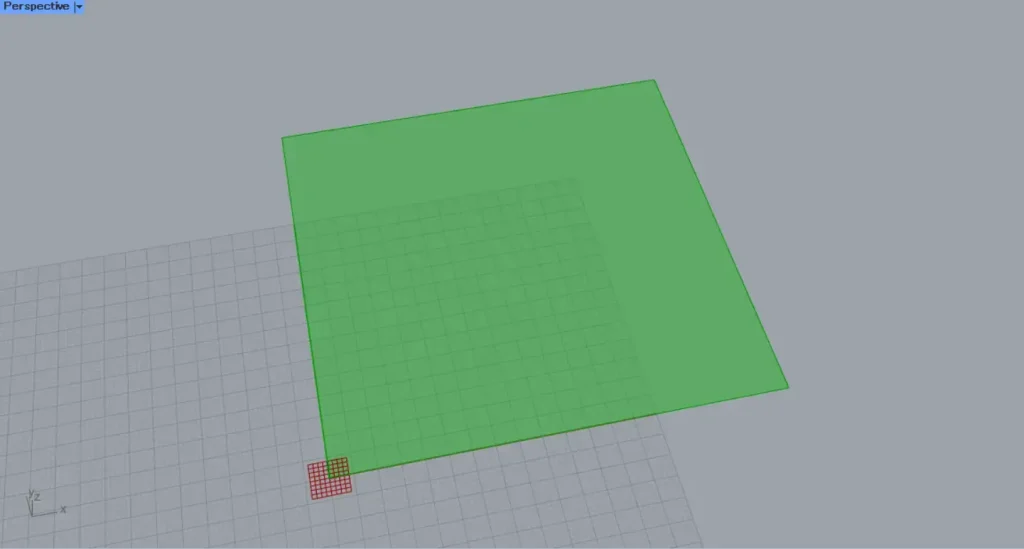
After that, connect the Rectangle(R) to the Surface to convert it into a surface.
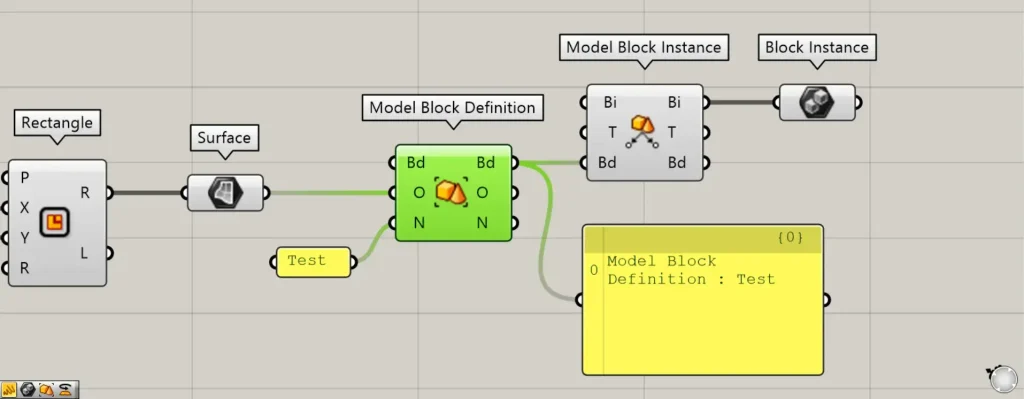
Next, connect the Surface to the Model Block Definition(O).
Additionally, enter any name for the Model Block Definition(N).
This time, we entered “Test”.
This defines a square surface as a block named Test.
Then, connect the Model Block Definition(Bd) on the right side to the left side of the Model Block Instance(Bd).
Then, a block instance object is created.
Visually, it doesn’t look much different from when it was a Surface, but when you connect Panels, you can see that it displays as a Block Instance, indicating it has been converted.
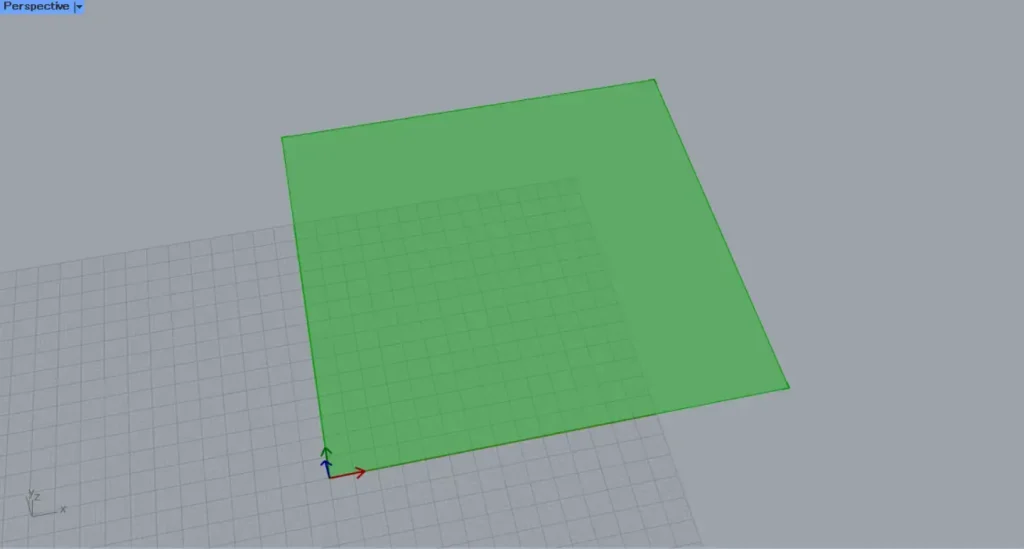
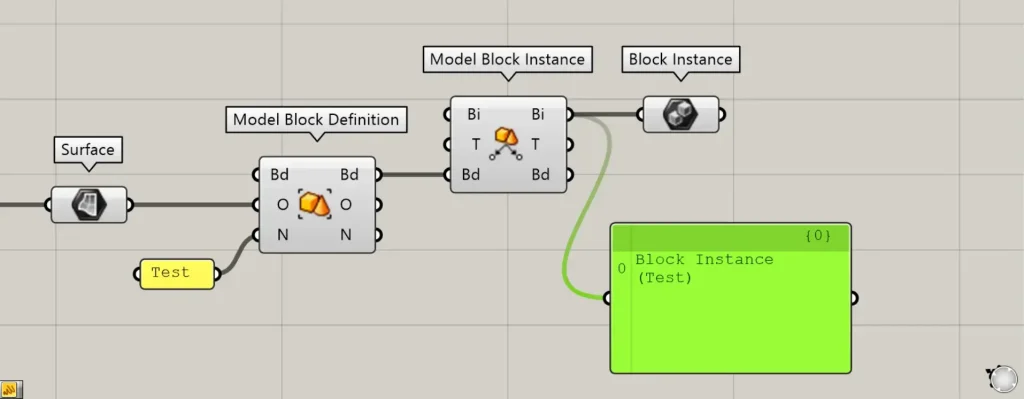
Finally, connect the Model Block Instance(Bi) to the Block Instance.
Then, the created block instance object was set in the Block Instance.
In this way, you can set block instance objects in Block Instance.
Directly set block instance objects on the Rhino
You can also set block instance objects directly on Rhino.
Let’s create a block instance object on Rhino.
First, prepare any model.
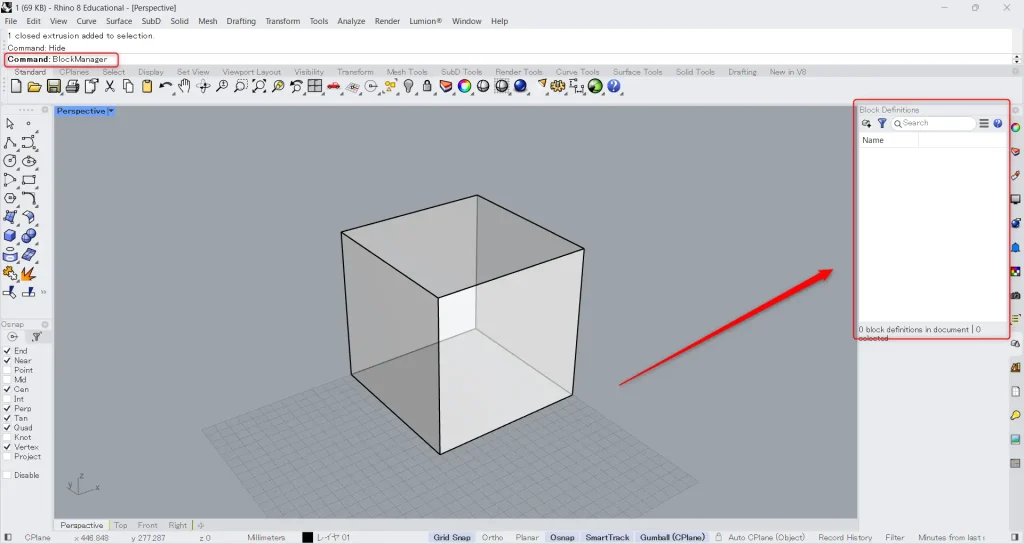
Then, enter “BlockManager” in the command.
Then, a window called Block Definition will appear.
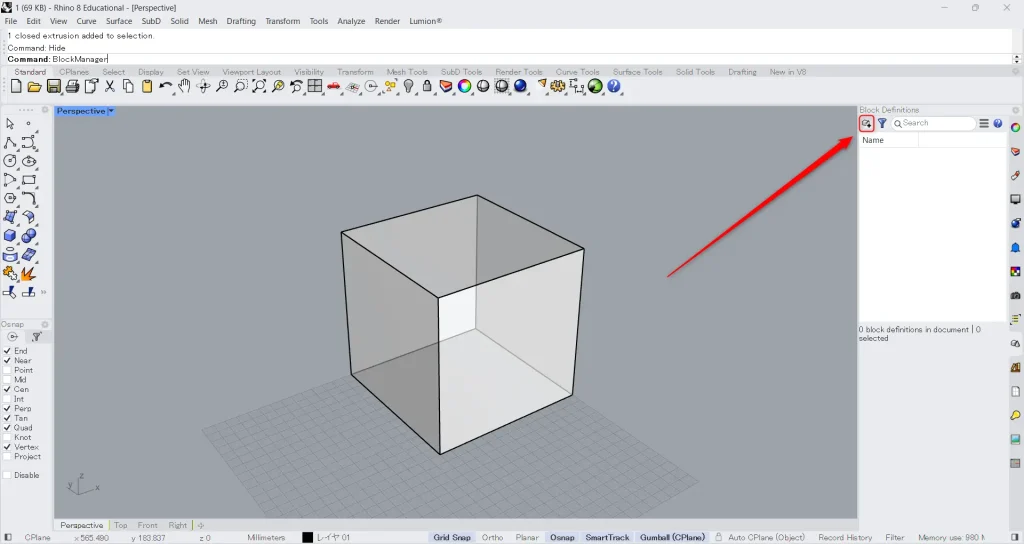
Then, tap the + icon in the upper-left corner.
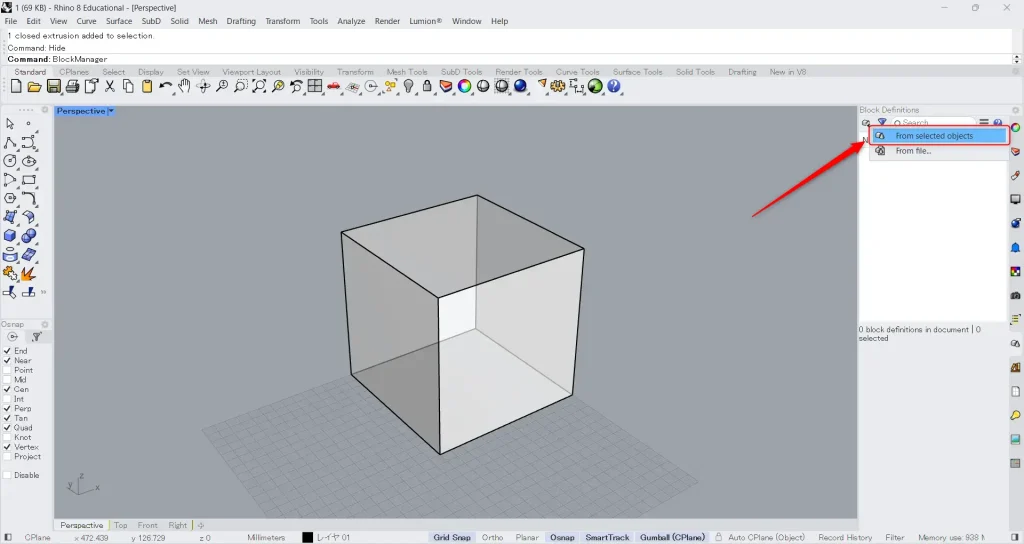
Click “From Selected Objects”.
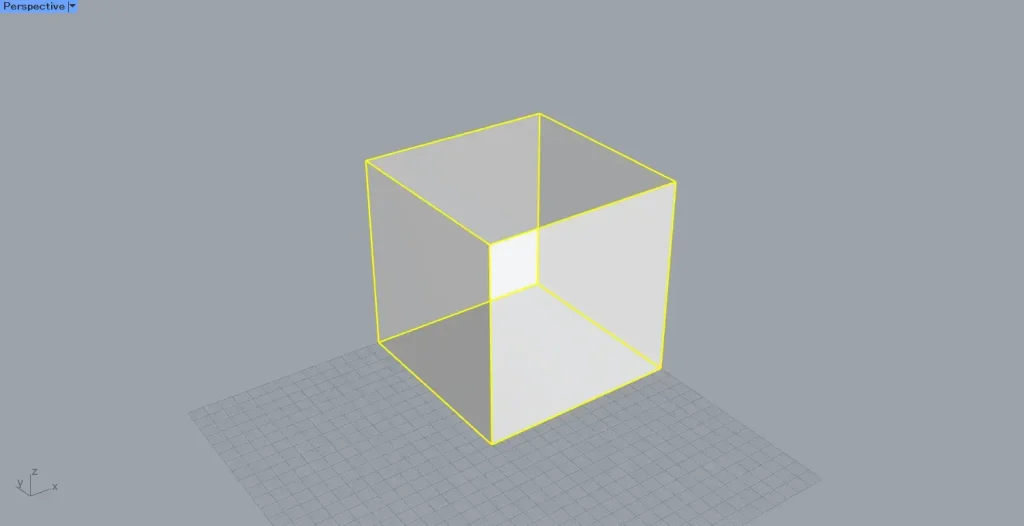
Select any model.
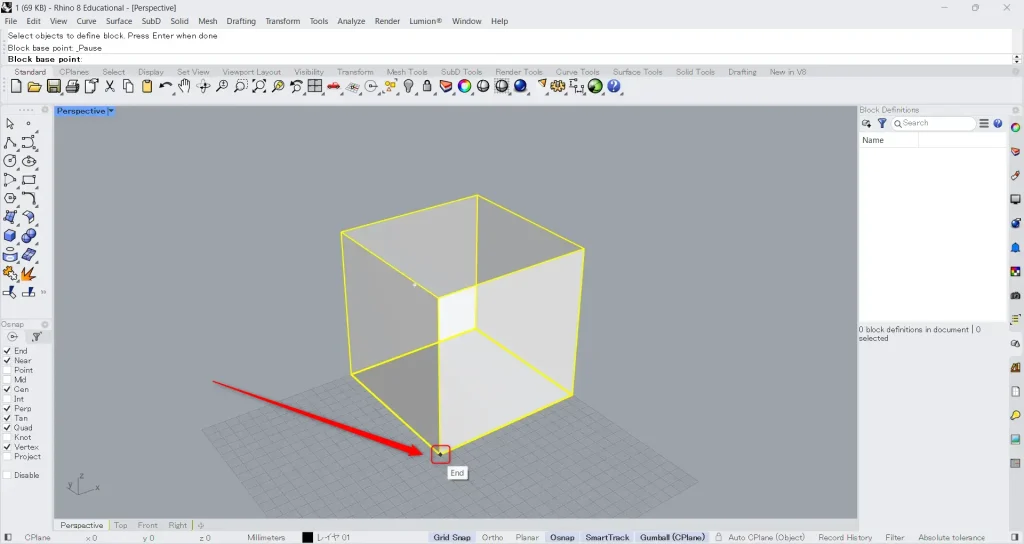
Additionally, specify an arbitrary reference point.

Then, it was converted into a block instance object like this.
This completes the creation of a block instance object on Rhino.
Then, let’s set it in the Block Instance on Grasshopper.
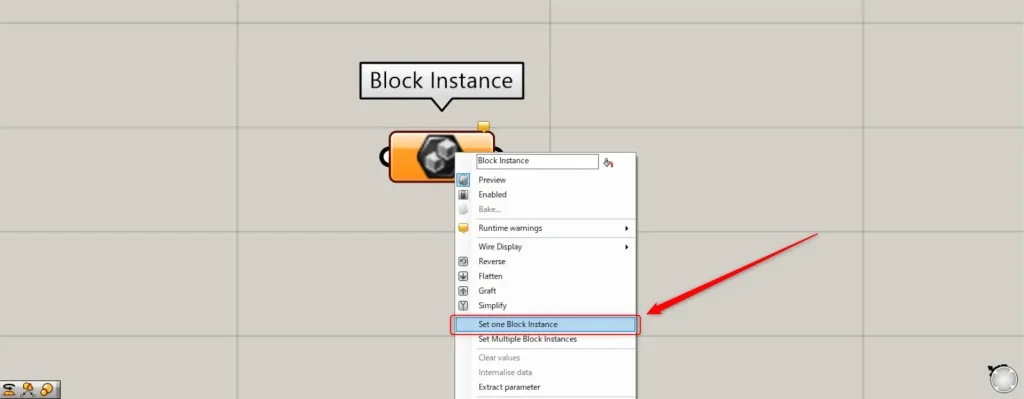
In one case, right-click the Block Instance and select “Set one Block Instance”.
Then, the screen will switch to Rhino as shown here.
Select the block instance object you want to set.
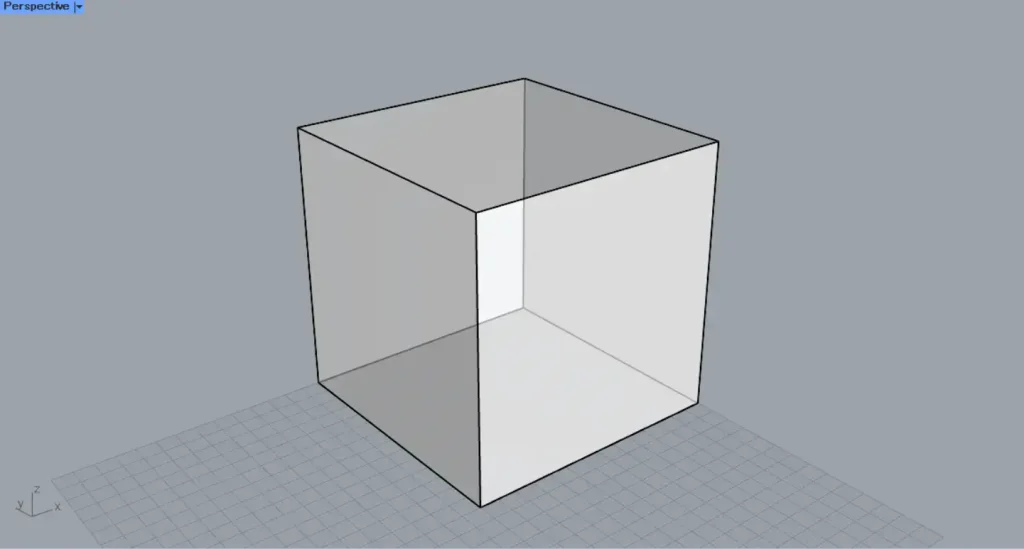
Then, it was set in the Block Instance like this.
This is the result on Rhino.
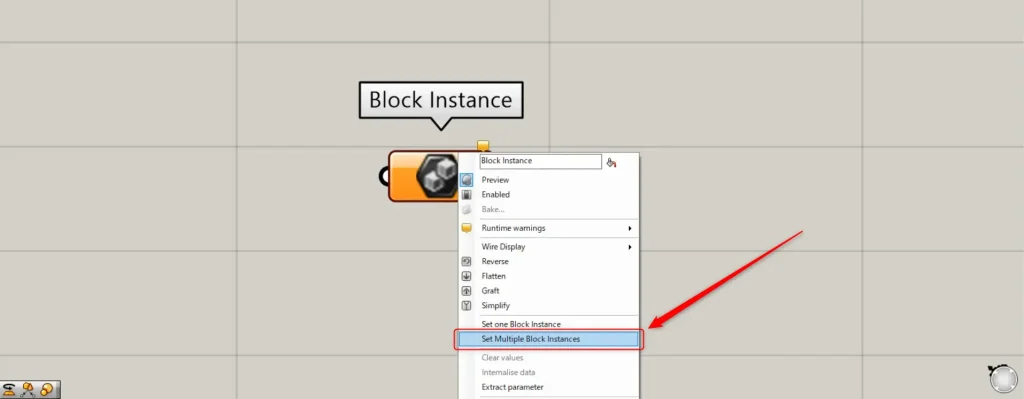
For multiple instances, right-click the Block Instance and select “Set Multiple Block Instances”.
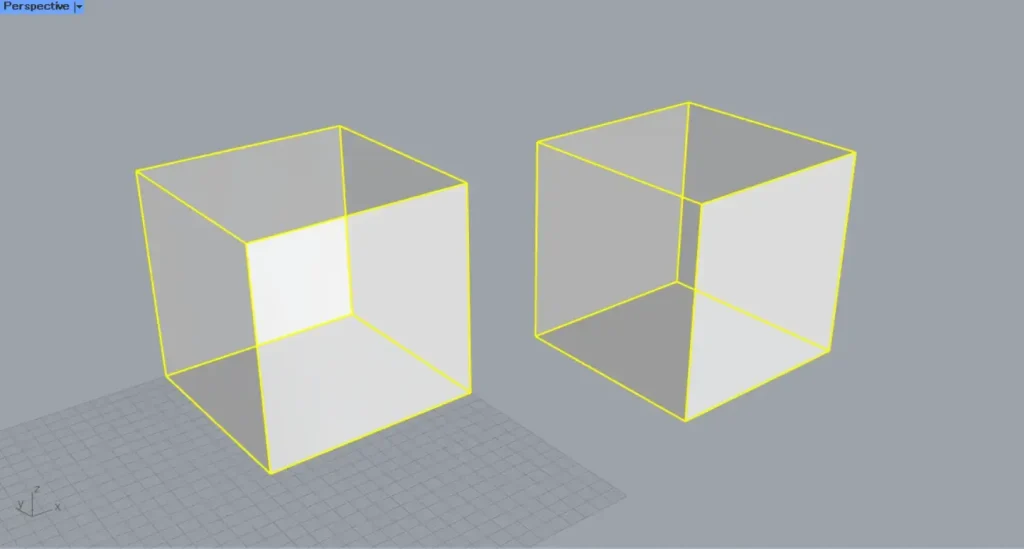
Then, select multiple block instance objects on Rhino.
Then, it set multiple block instance objects like this.
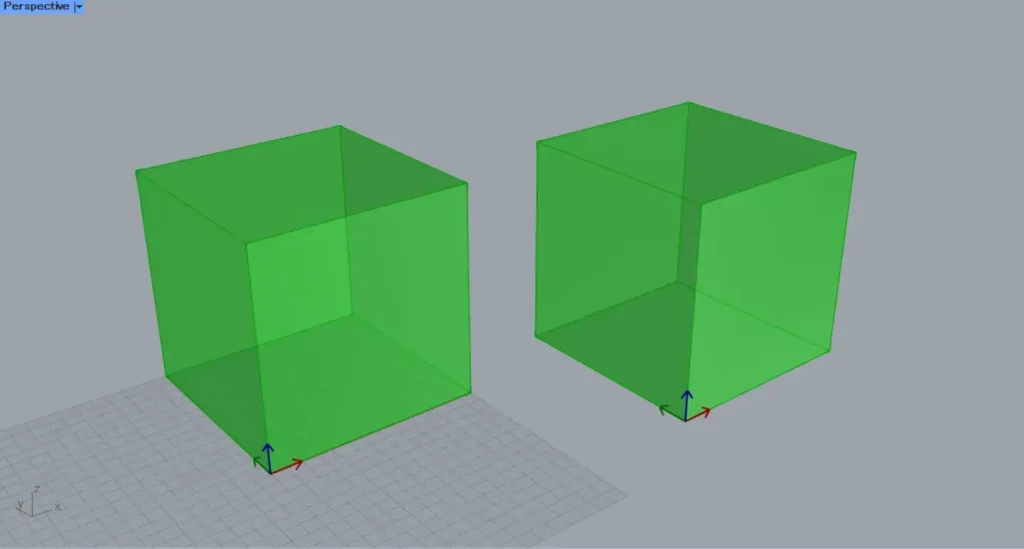
This is the result on Rhino.
List of Grasshopper articles using Block Instance component↓

Comment