
![[Grasshopper] How to use Brep to set Brep objects](https://iarchway.com/wp-content/uploads/2025/07/Brep.png)
This article explains how to use Brep to set Brep objects.
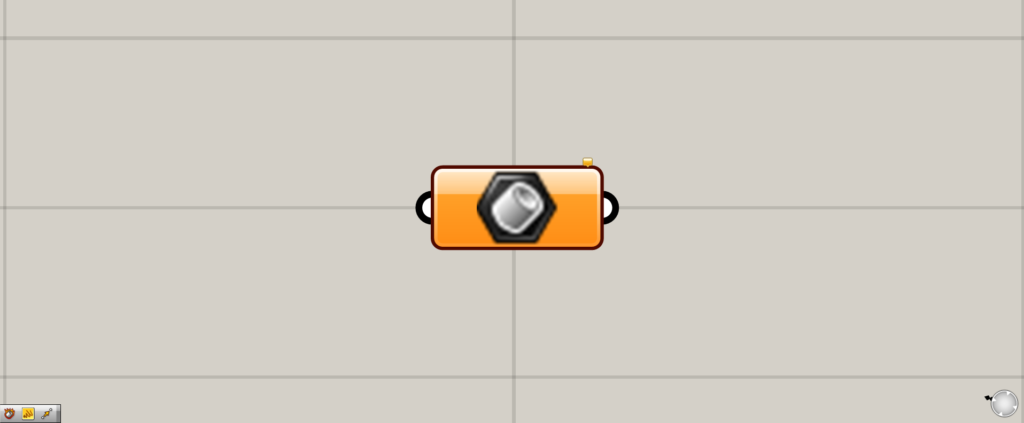
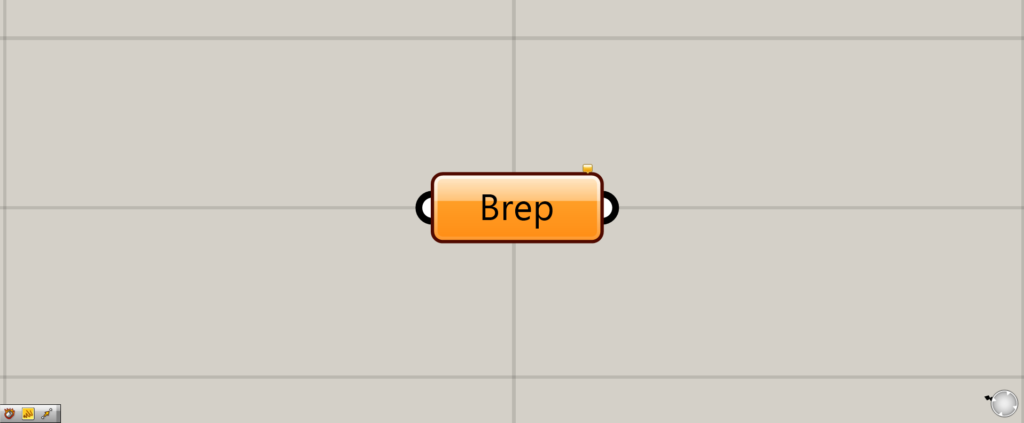
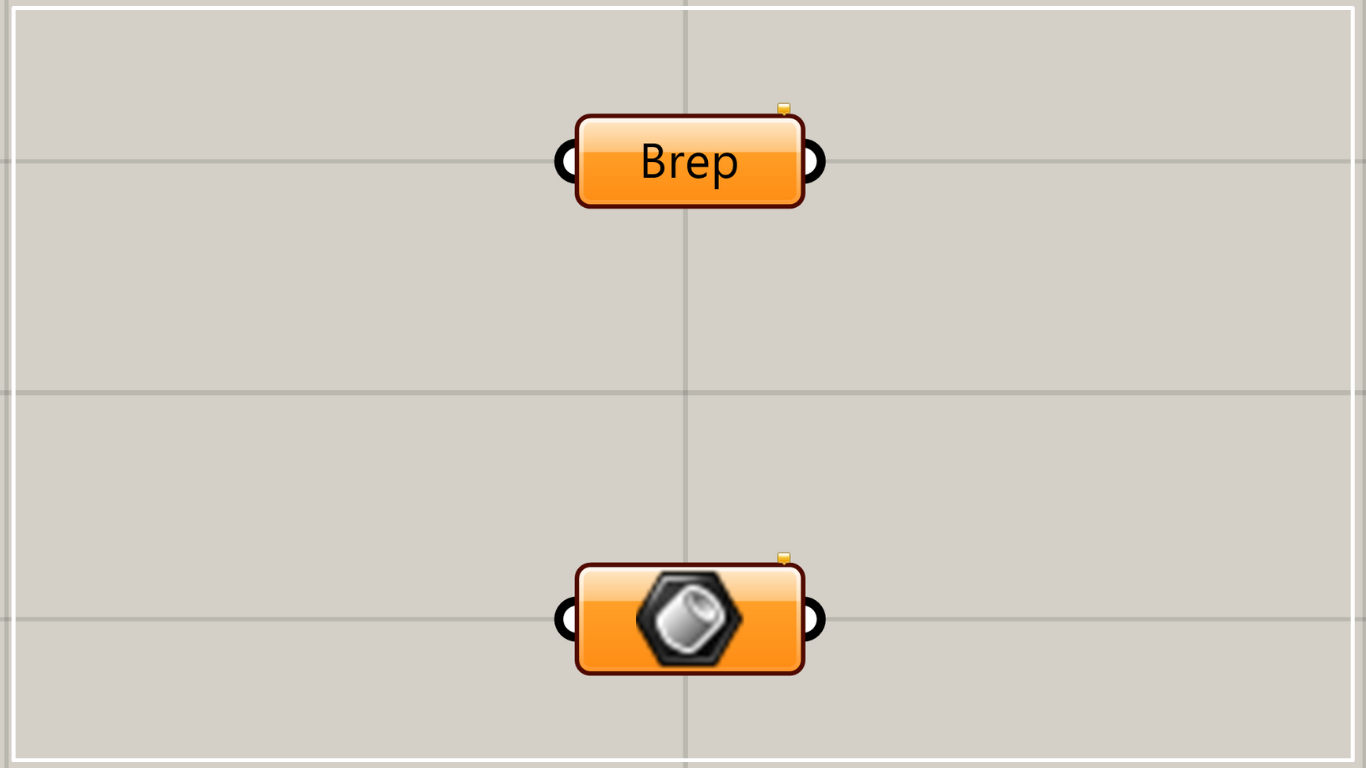
On the Grasshopper, it is represented by either of the two above.
Setting Brep objects (surfaces and polysurfaces), SubDs, etc.
The Brep can be used to set surfaces, polysurfaces, SubDs, etc.
Setting a single Brep object on Rhino
Let’s try storing one object on Rhino.
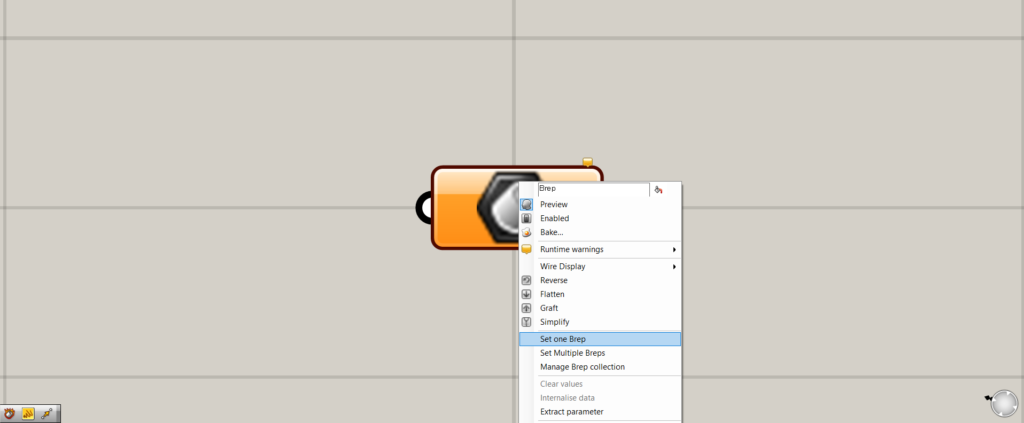
Right-click on the Brep and select “Set one Brep”.
The screen will switch to Rhino screen.
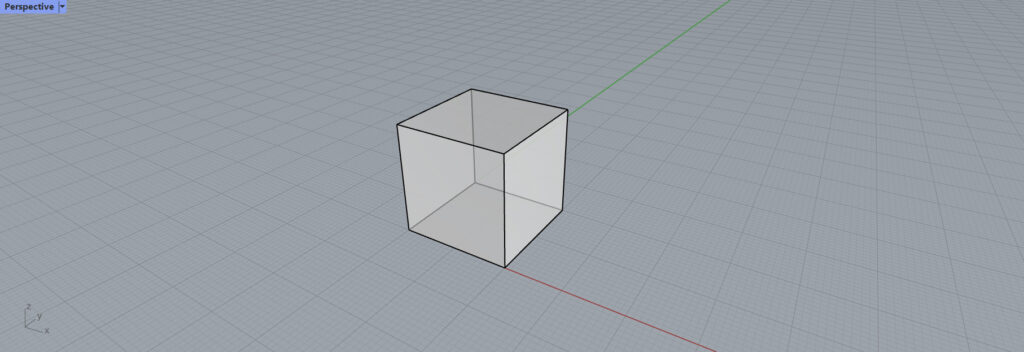
Select the Brep object on Rhino.
This will return you to the screen on Grasshopper.
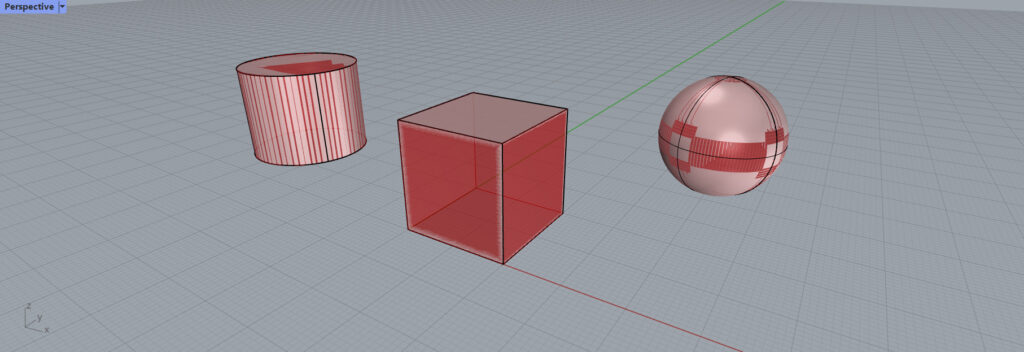
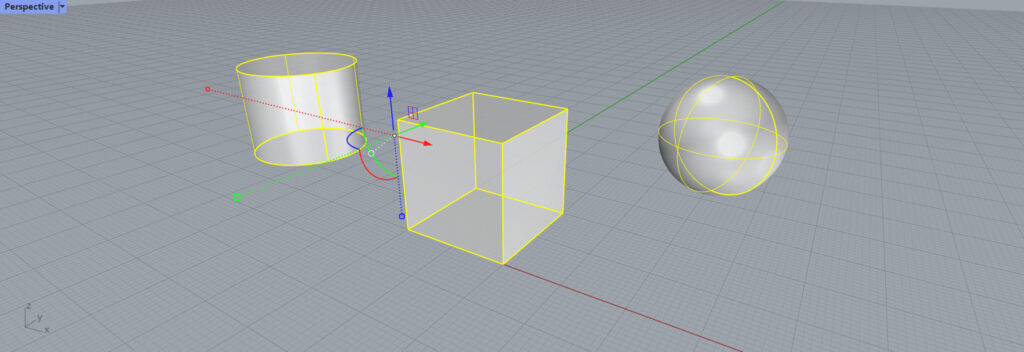
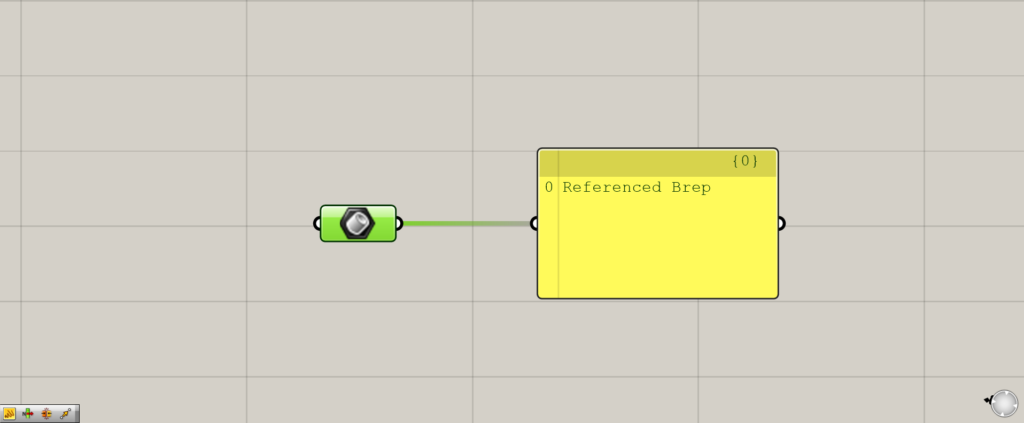
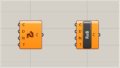
If the Brep changes from orange to white, it has been successfully set.
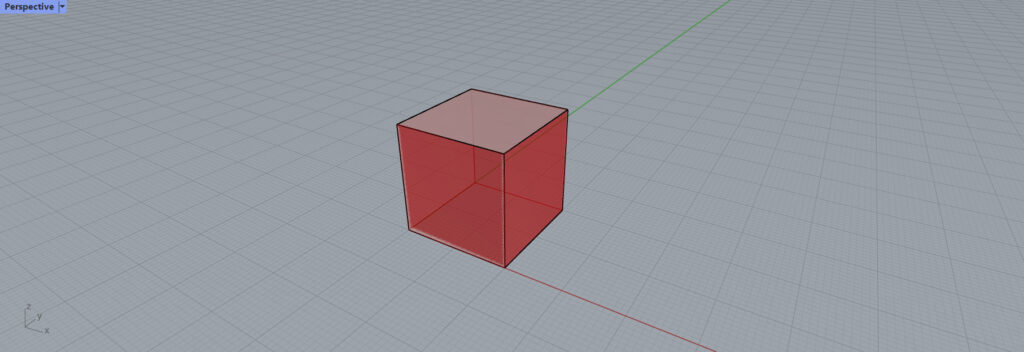
The Rhino object is now set as shown above.
Setting multiple Brep objects on Rhino
Multiple Rhino brep objects can also be set.
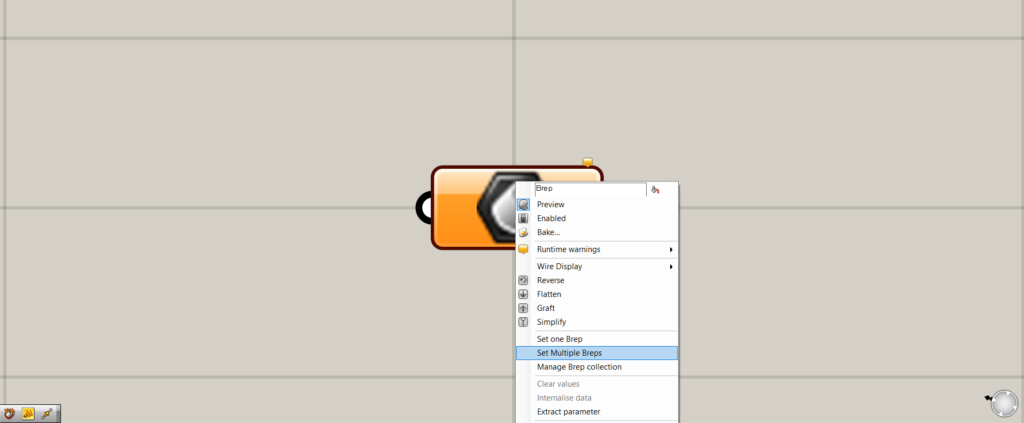
Right-click on the Brep and select “Set Multiple Breps”.
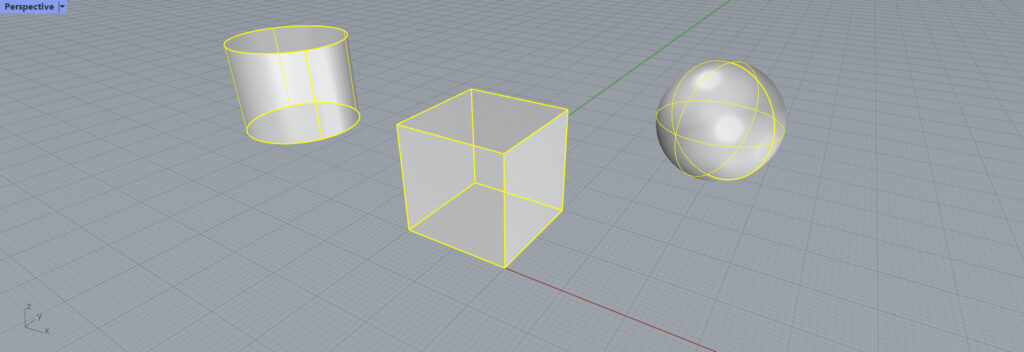
The screen will change to the screen on Rhino, and multiple Brep objects will be selected.
When the selection is complete, right-click or press Enter.
The setting of multiple Brep objects is now complete.
Setting Brep Objects in Reverse Order
The reverse procedure can also be used to set a brep object.
First, select the Brep object on Rhino.

Next, set it on Grasshopper.
If there is only one Brep object, select “Set one Brep”; if there are multiple Breps, select “Set Multiple Breps”.

Then, the reverse procedure could also be performed as shown here.
Setting a Brep object on Grasshopper
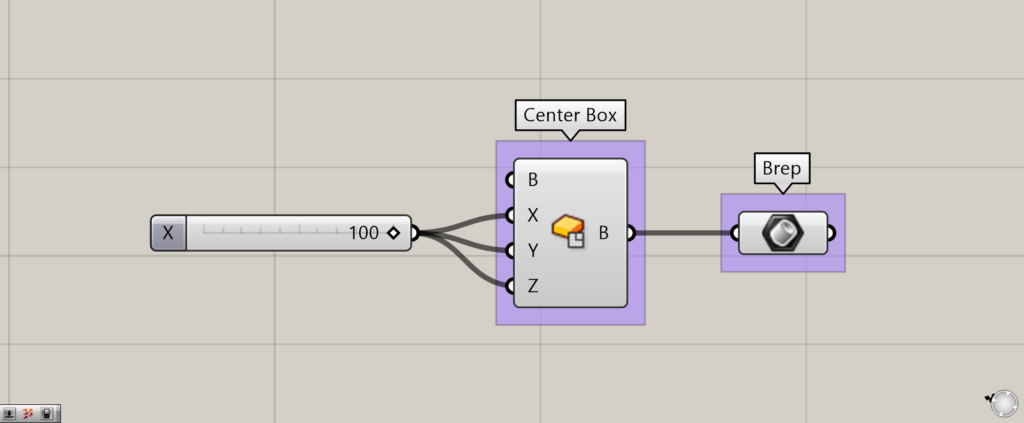
Components used: (1) Center Box (2) Brep
Brep objects on Grasshopper can be set as well as on Rhio.
In this case, the box Brep object created with the Center Box was connected to the Brep.
SubD objects can also be set
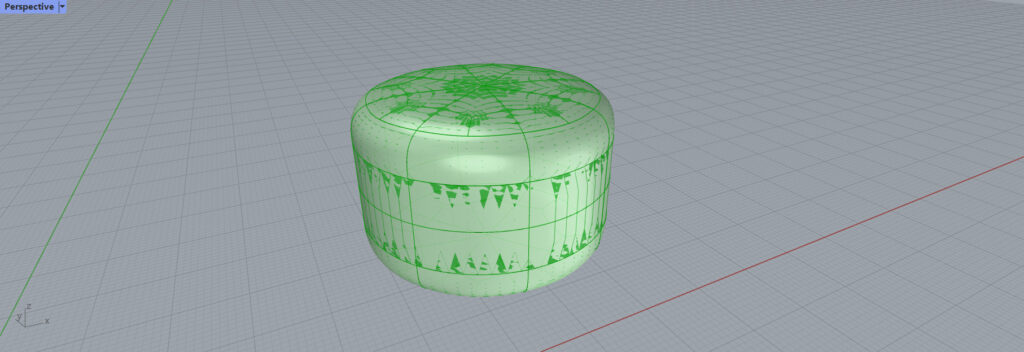
SubD objects can also be set.
When a SubD object is set in a Brep, it is converted into a Brep object like this.
List of Grasshopper articles using Brep component↓

Comment