
![[Grasshopper] How to use Cone to create cones](https://iarchway.com/wp-content/uploads/2026/01/eyecatch-16.png)
This article explains how to use Cone to create cones.
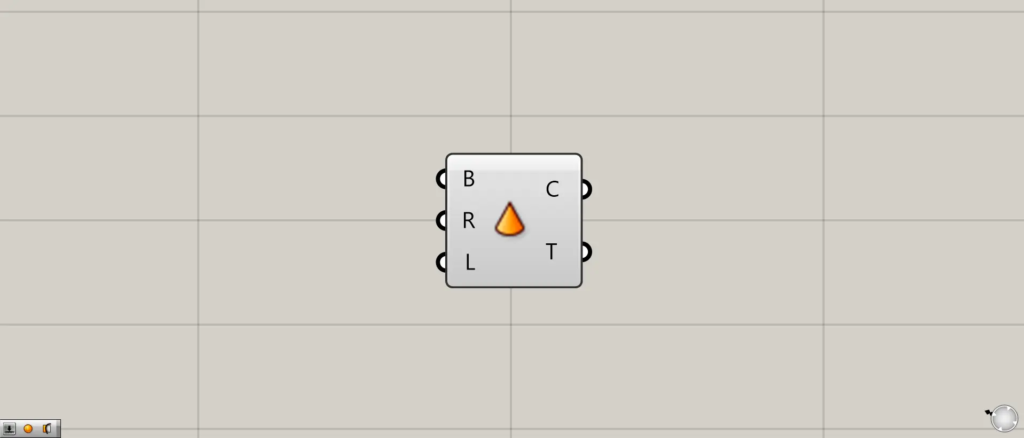
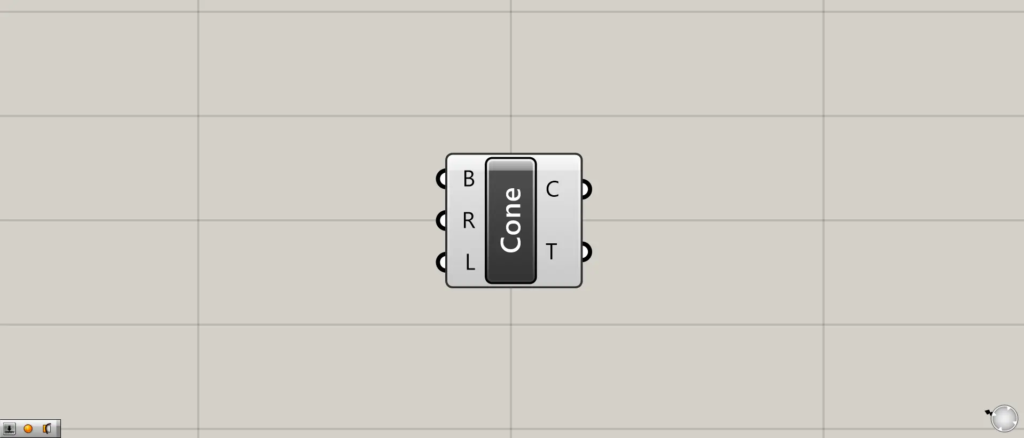
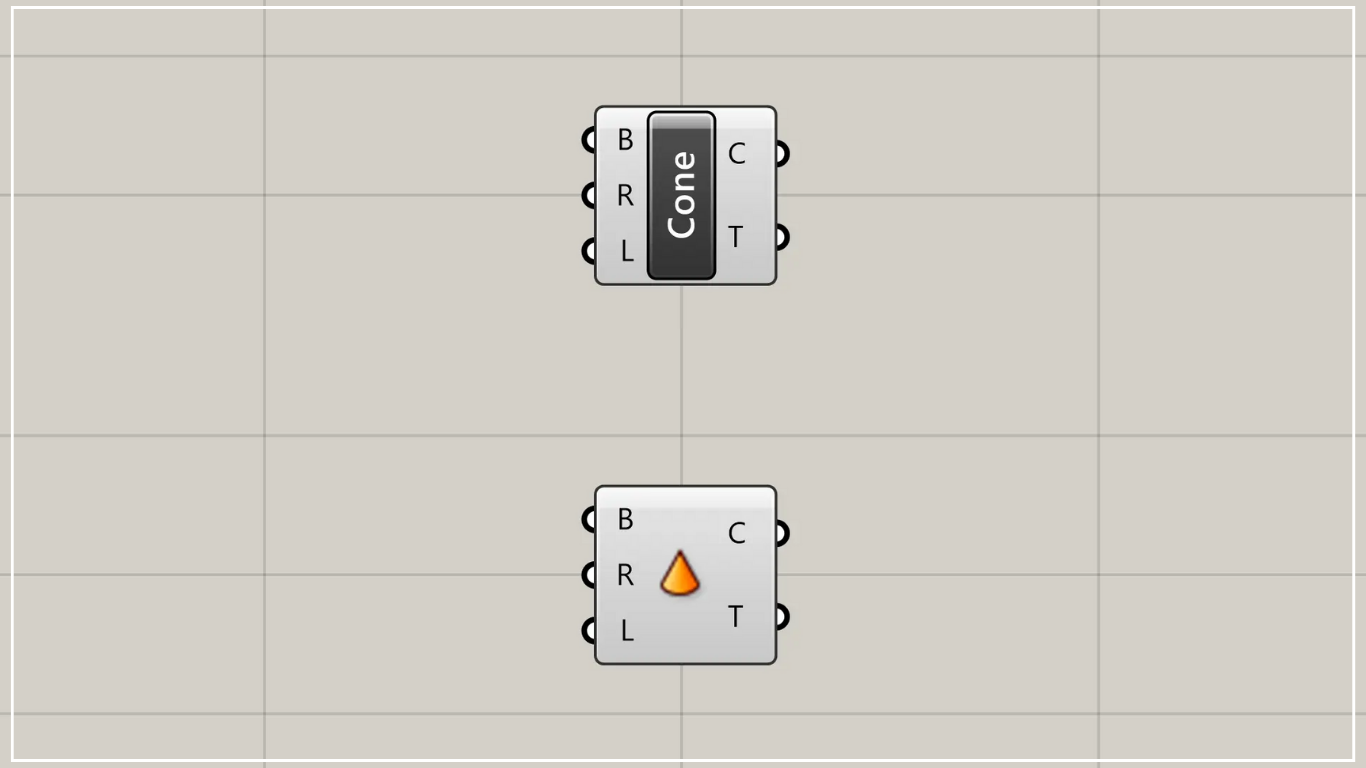
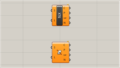
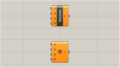
On the Grasshopper, it is represented by either of the two above.
Create cone shapes
Using Cone allows you to create cone shapes.
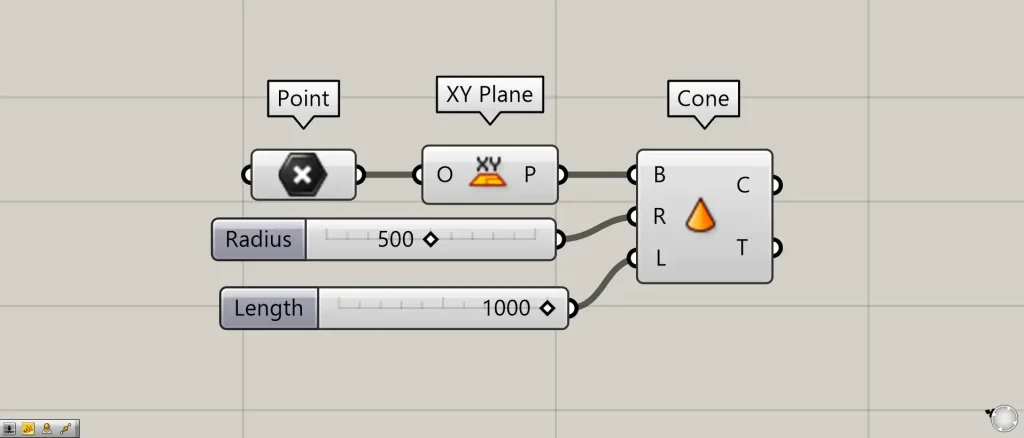
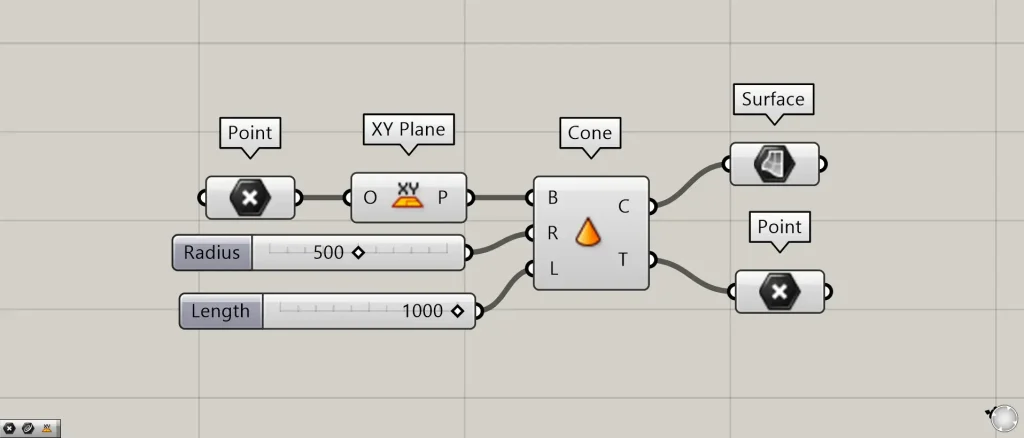
Components used: ①Point ②XY Plane ③Cone
Connect a point for specifying a position or plane data to Cone(B).
This time, we are connecting the point set in the Point to the XY Plane, creating the plane formed from the X-direction and Y-direction.
Connect the numerical values for the radius to Cone(R).
This time, we’re connecting 500.
Enter the height value into Cone(L).
This time, we’re connecting 1000.
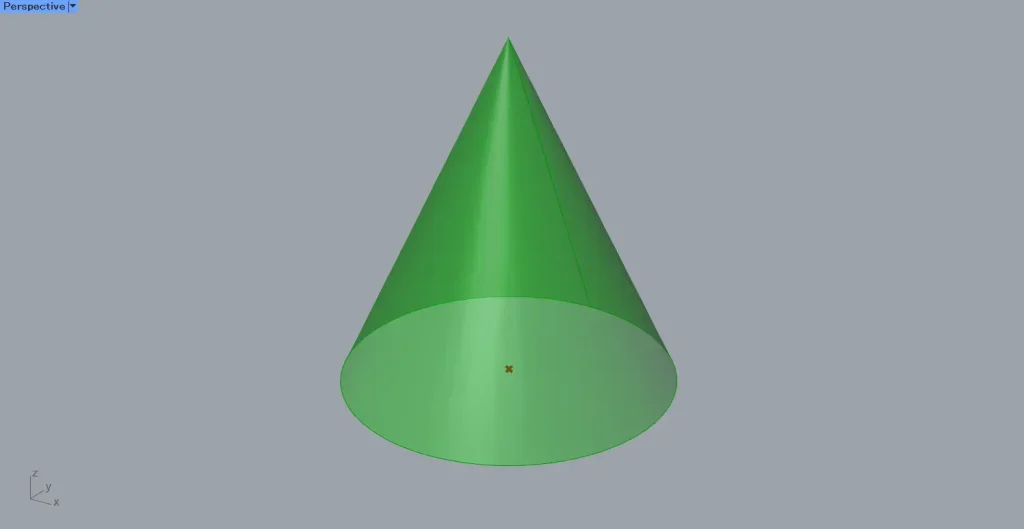
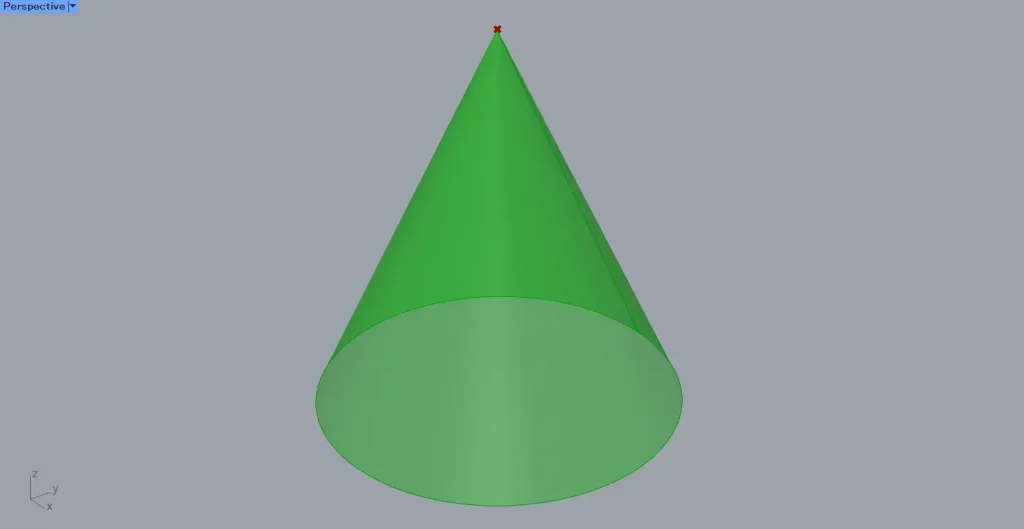
Then, as shown in the image above, a cone was created.
In this state, let’s try exporting it to Rhino.
Then you’ll see it’s a cone with an open base.
This is the surface condition.
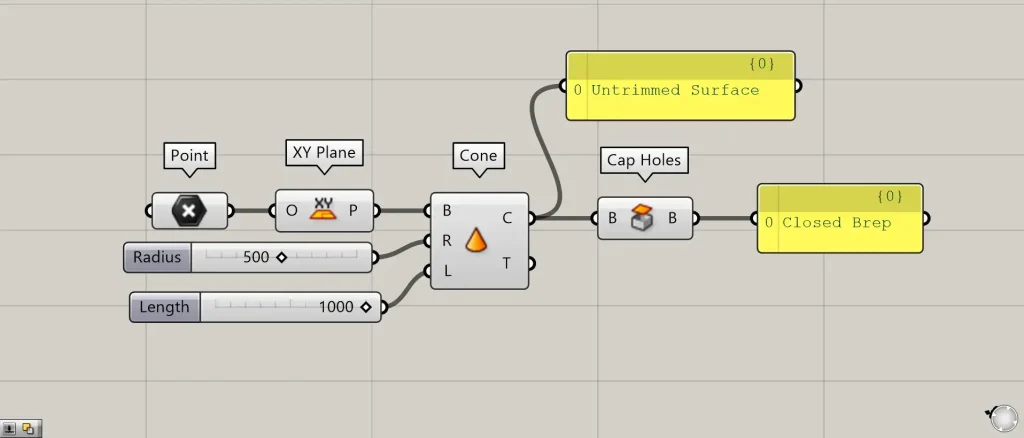
Additional Components: ①Cap Holes
To close this hole, connect Cone(C) to the Cap Holes.
Then, it becomes a closed Brep model from the surface.
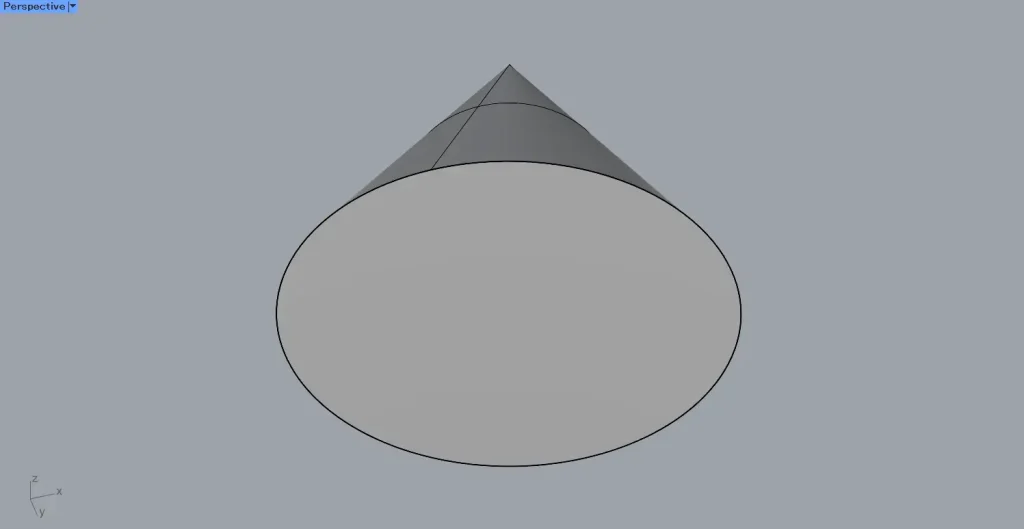
Upon checking again on Rhino, you can see that the bottom section has been closed.
Output data
Let’s take a look at the output data.
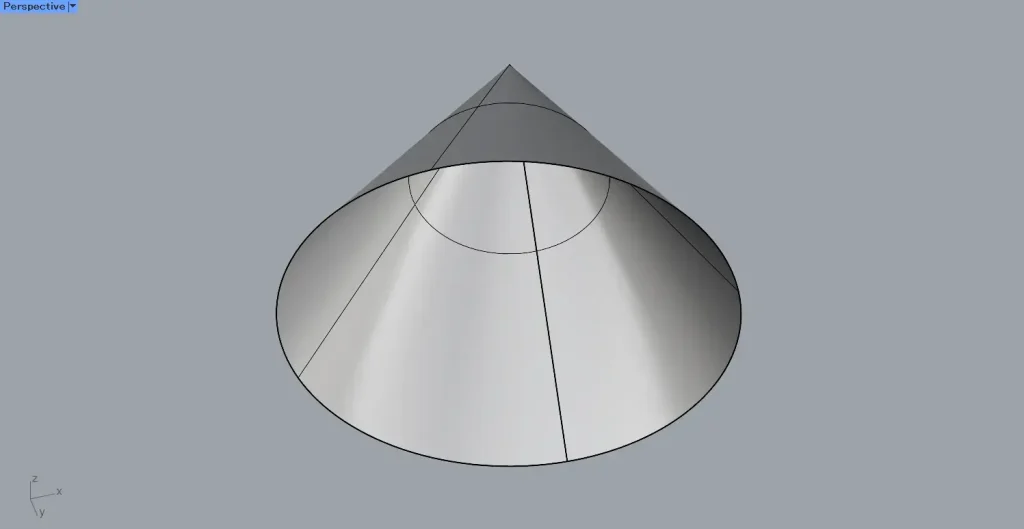
Additional Components: ① Surface
Cone(C) outputs the surface data of the cone.
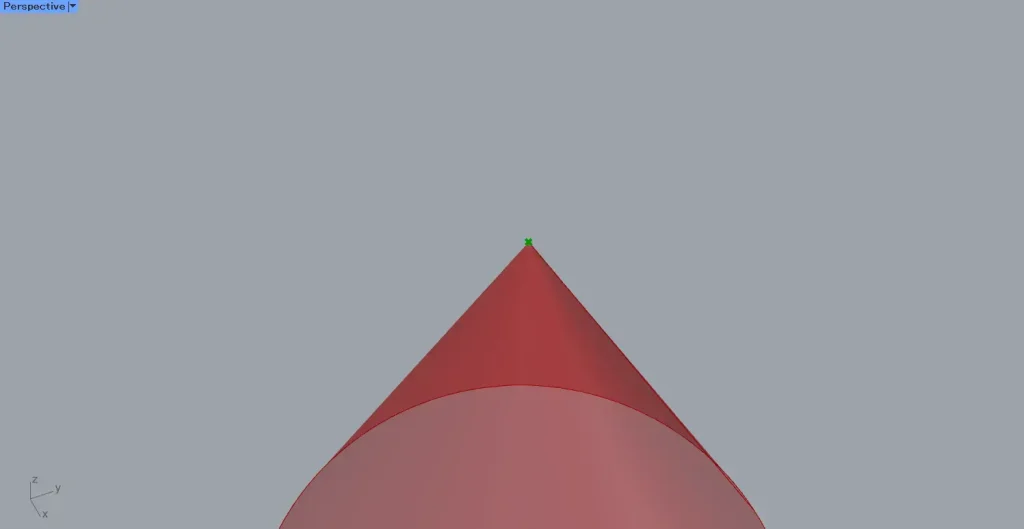
Cone(T) outputs the vertex point data of the cone.
List of Grasshopper articles using Cone component↓

Comment