
![[Grasshopper] How to use Curve Array to copy and arrange a model along a curve](https://iarchway.com/wp-content/uploads/2026/01/Curve-Array.png)
This article explains how to use Curve Array to copy and arrange a model along a curve.
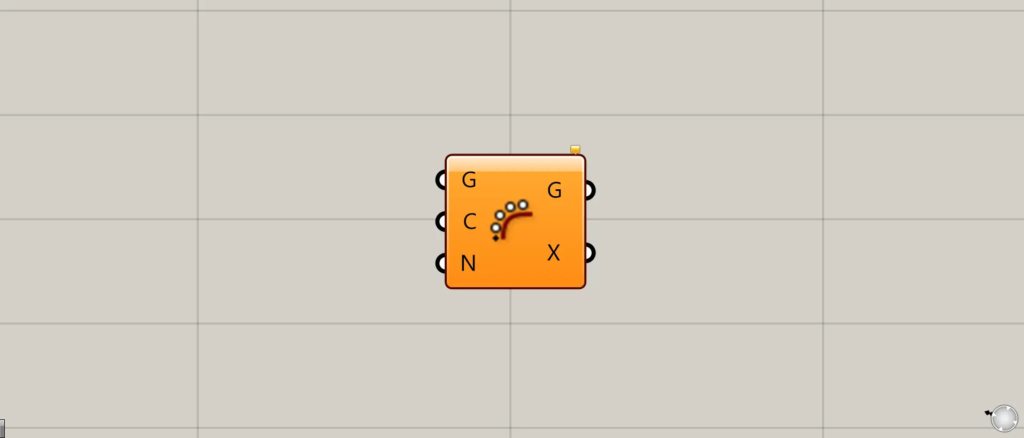
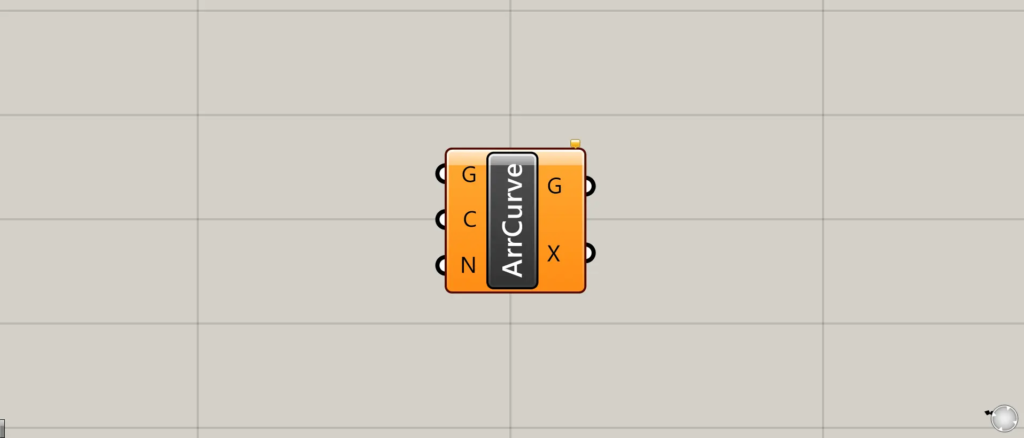
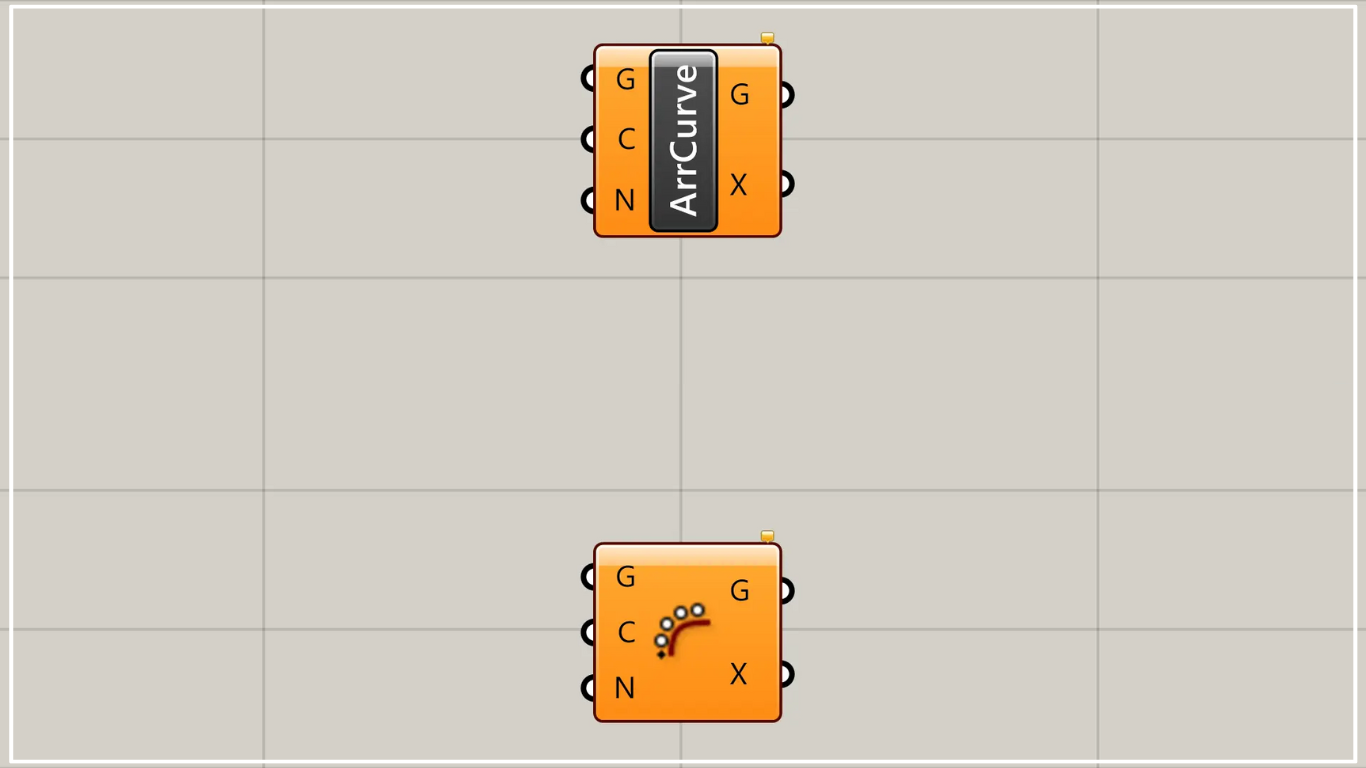
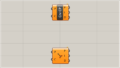
On the Grasshopper, it is represented by either of the two above.
Copy and arrange a model along a curve
Using Curve Array allows you to copy and arrange a model along a curve.
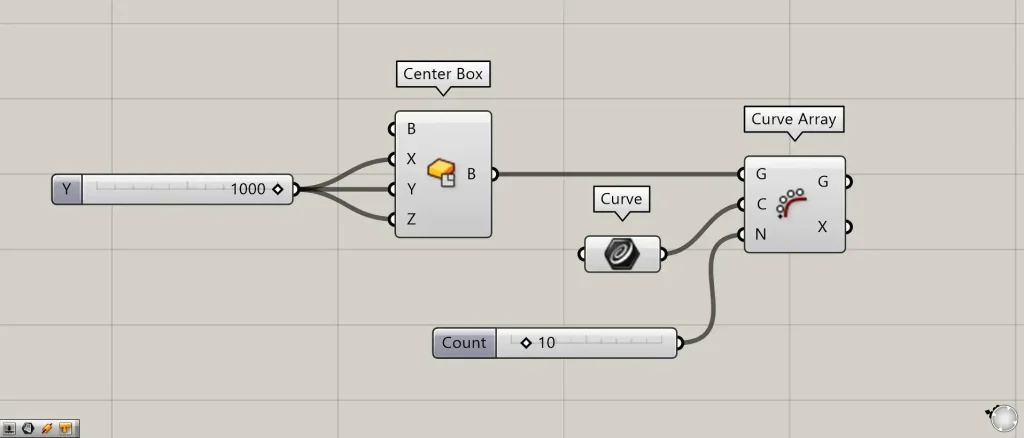
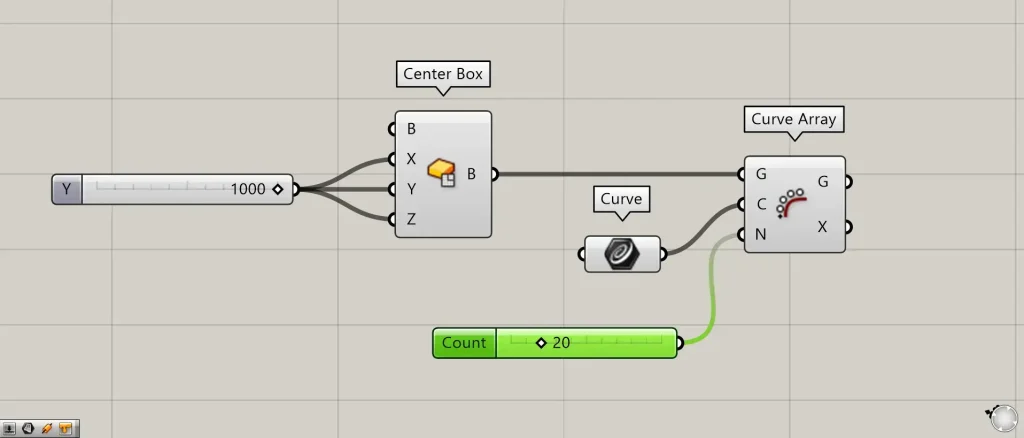
Components used: ①Center Box ②Curve ③Curve Array
This time, as an example, we’ll create a box and try copying it along a curve.

This time, we will use the curve on Rhino.
First, enter the values for half the length of the edges into the Center Box(X, Y, and Z).
This time, we’ve entered the value 1000 for everything.
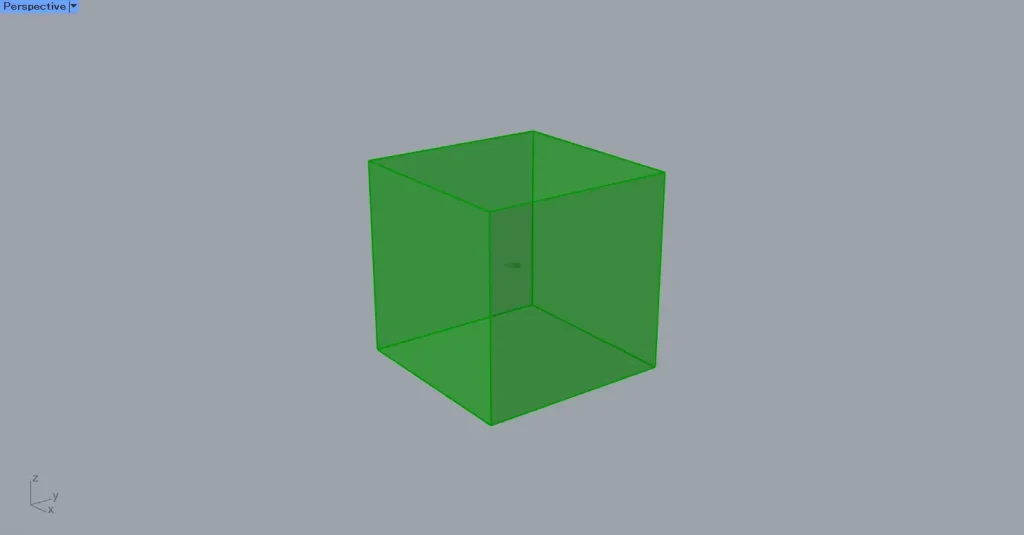
Then, a 2000×2000×2000 cube box was created.
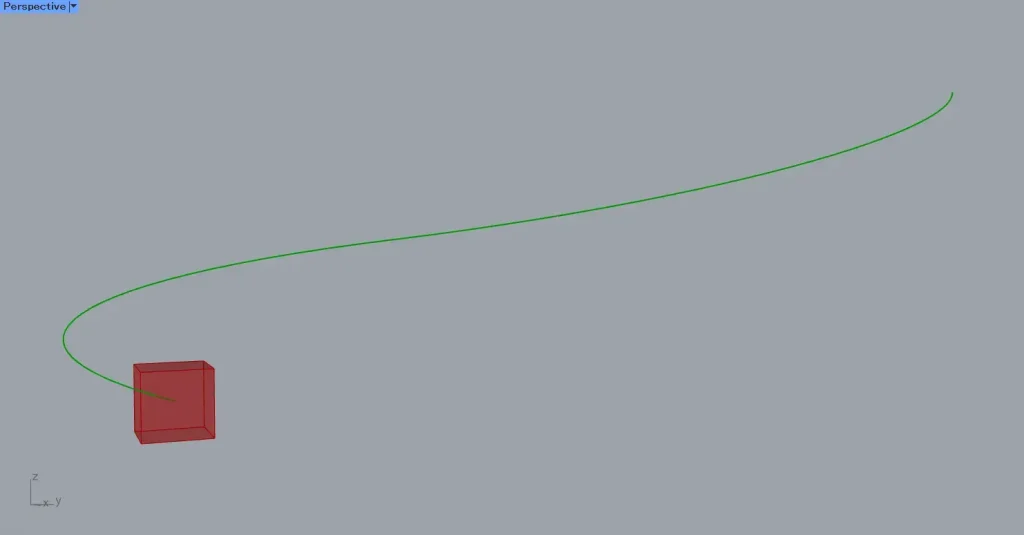
Then, set the curve on Rhino in the Curve.
Next, connect the Center Box to the Curve Array(G).
Also, connect the Curve to the Curve Array(C).
Then, enter the number of model instances into the Curve Array(N).
This time, we are entering the number 10.
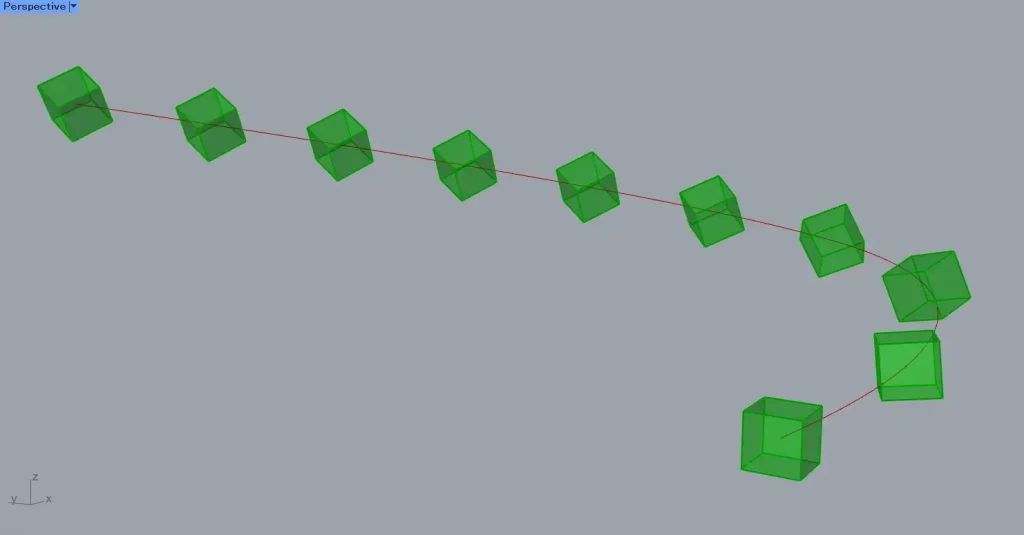
Then, the boxes were copied along the curve and arranged to create the specified 10 pieces.
Let’s change the N terminal value to 20.
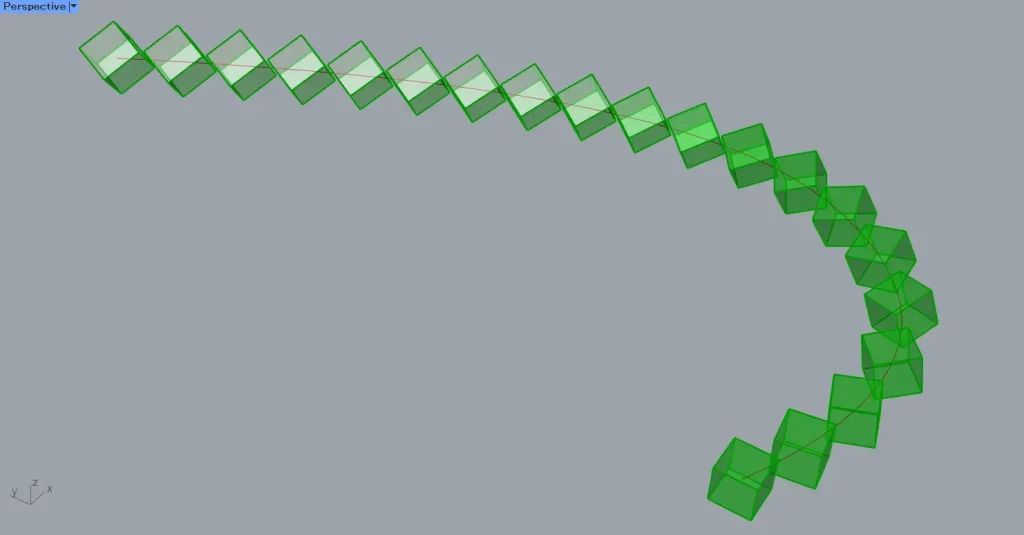
Then, as shown in the image above, the number being copied changed.
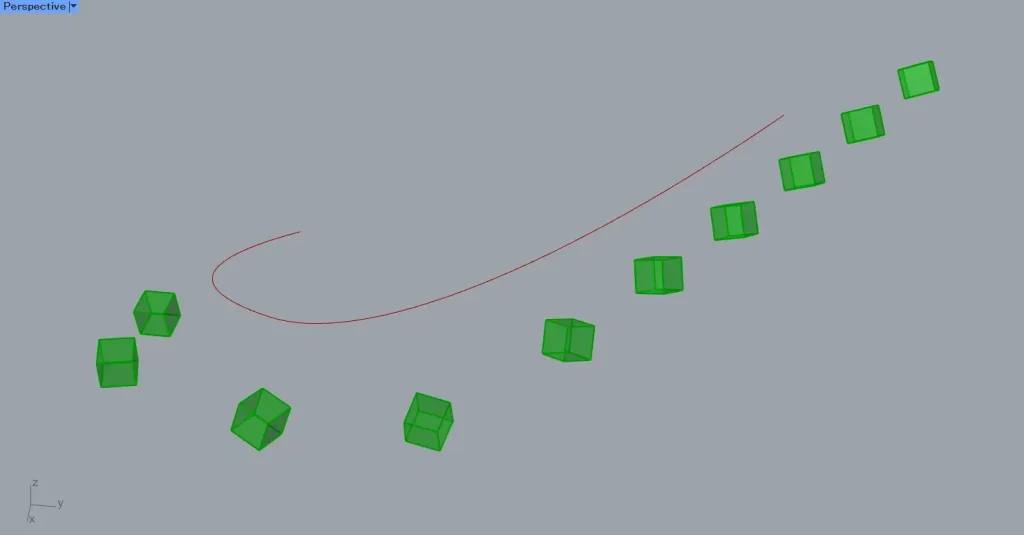
Earlier, the model we were copying overlapped with the curve.
So, move the curve away from the model we’re copying.
As shown in the image above, you can see that even when separated, the array copies along the curve.
Data output from the Curve Array
Let’s examine the data output from the Curve Array.
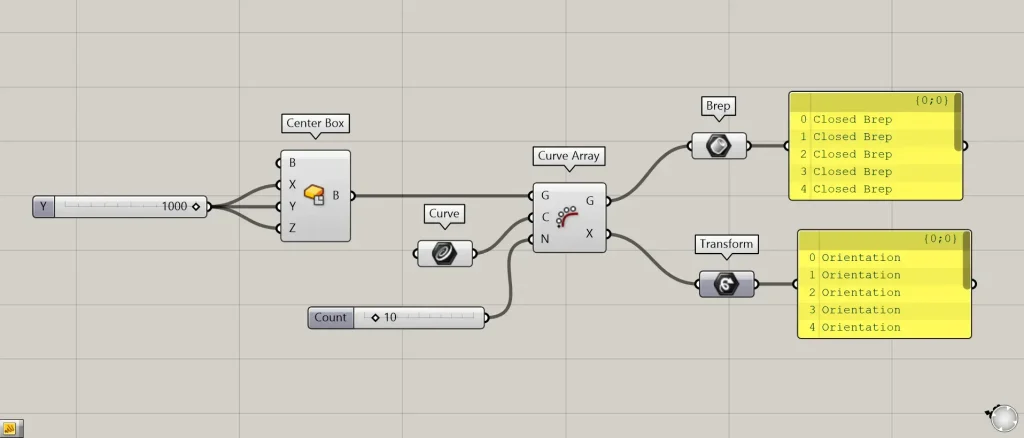
Additional Components: ①Brep ②Transform
Data from the array-copied model is output from the G terminal on the right side of the Curve Array.
The T terminal of the Curve Array outputs Transform data containing information about any deformations or movements that have been applied.
List of Grasshopper articles using Curve Array component↓

Comment