
![[Grasshopper]How to use the Divide Surface to create division points on a surface](https://iarchway.com/wp-content/uploads/2025/06/Divide-Surface.png)
This article explains how to use the Divide Surface to create division points on a surface.
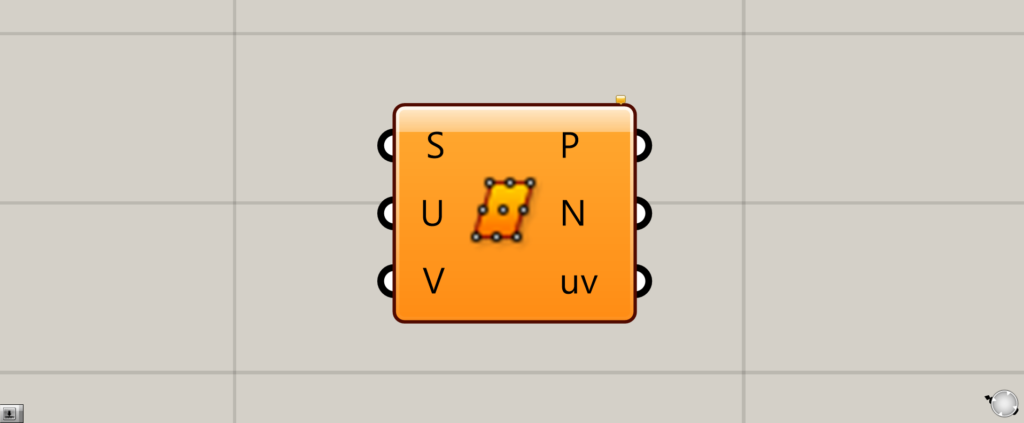
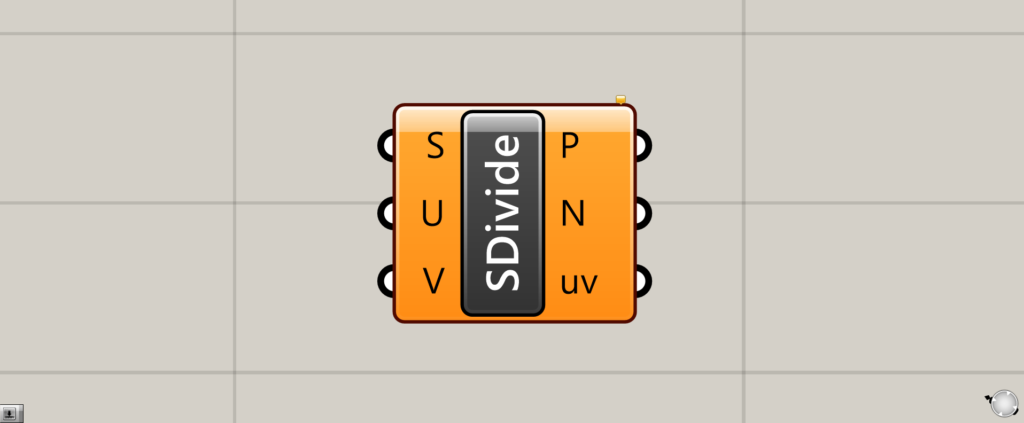
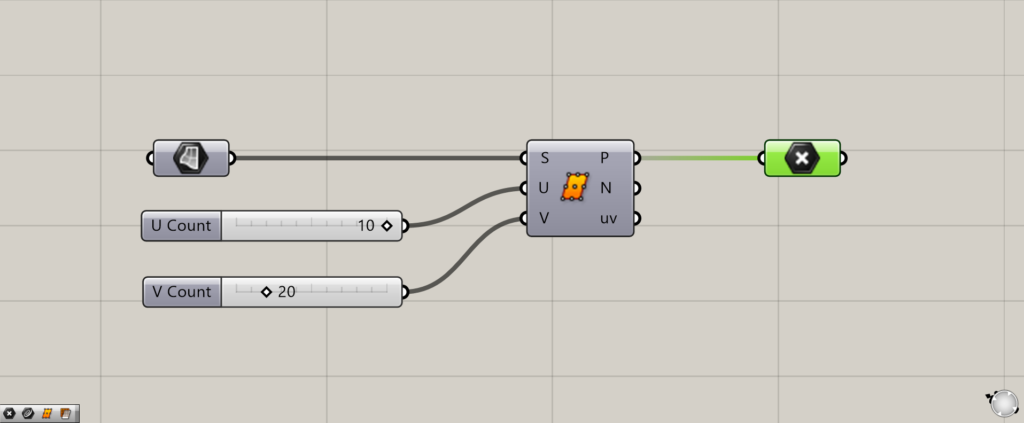
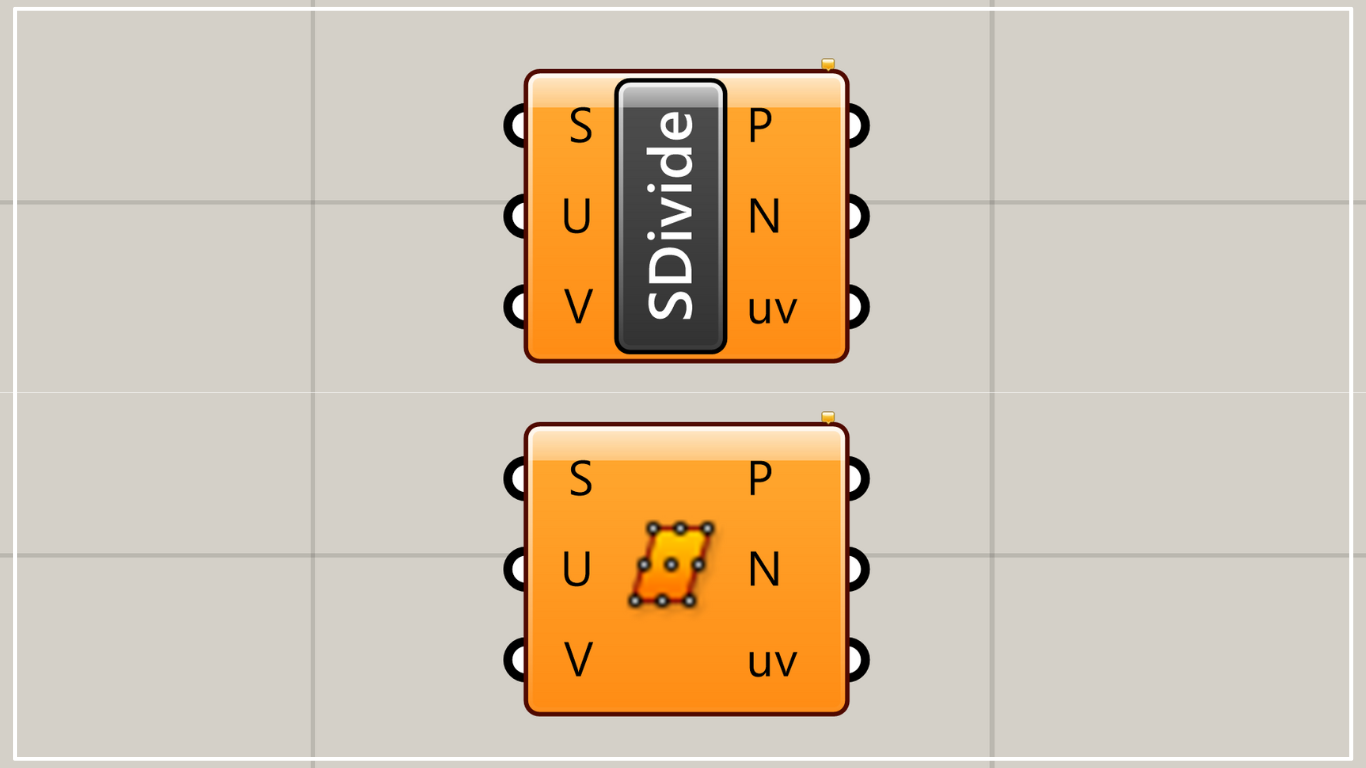
On the Grasshopper, it is represented by one of the two above.
Create division points on a surface
The basic overall component looks like the image above.
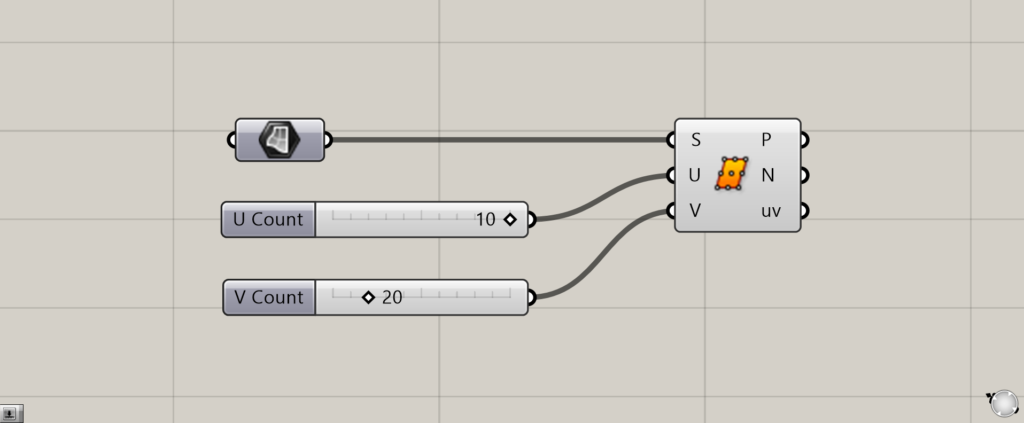
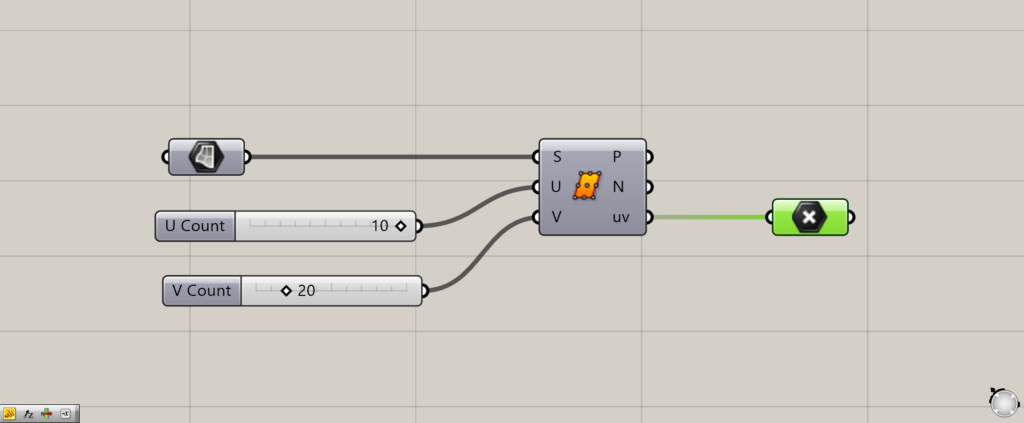
In this case, Surface contains the surface.
Connect the Surface to the Divide Surface(S) and the numbers to divide the surface in the two directions in the Divide Surface(U and V).
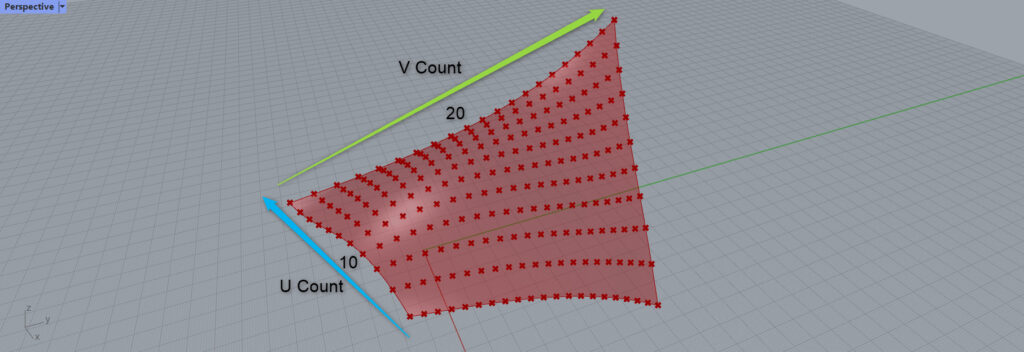
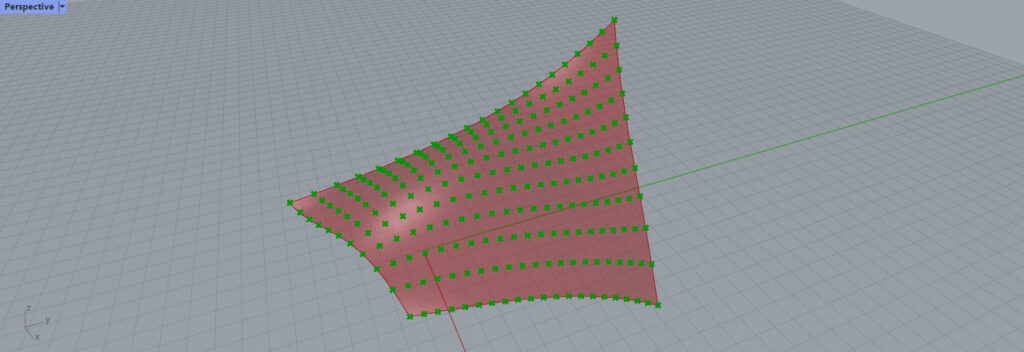
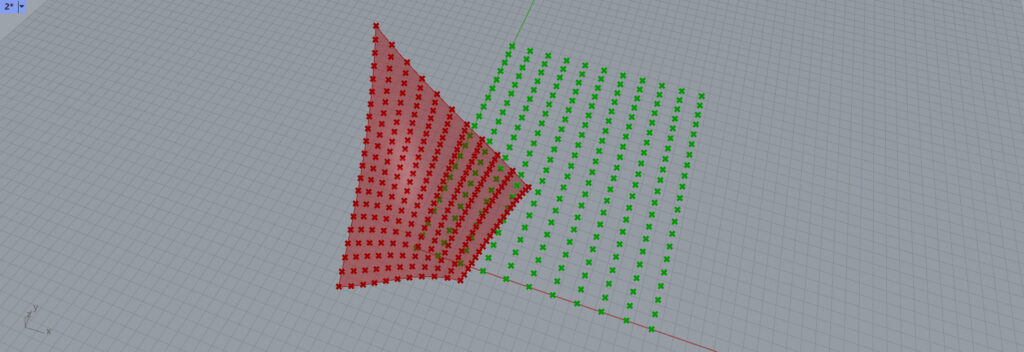
Then division points are created on the surface like this.
Since we entered 10 in the Divide Surface(U) and 20 in the Divide Surface(V), the surface was divided by 10 x 20 as shown here.
Obtain points
The points at which the surface is divided is output from the Divide Surface(P).
Thus, we were able to obtain points.
Obtain Normal Vector
You can get the normal vector from the Divide Surface(N).
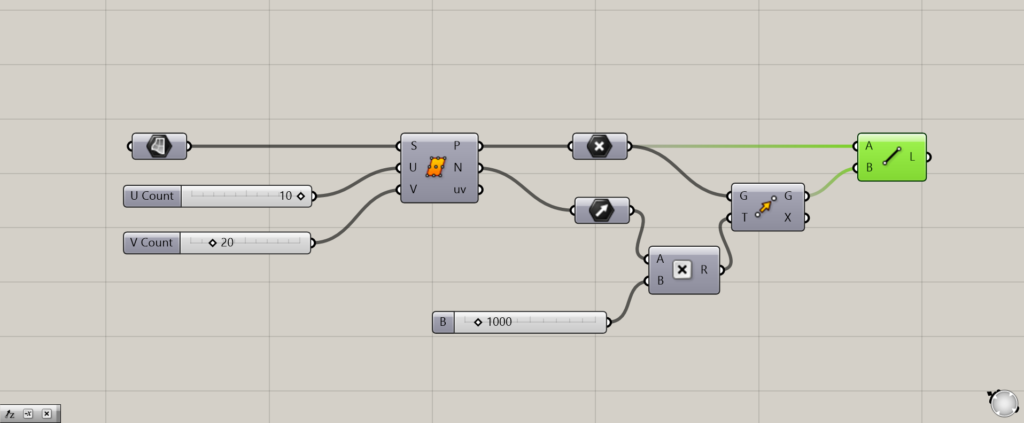
In order to make the normal vectors easier to understand, we created a program like the one above.
The points to divide the surface are moved in the direction of the normal vector using a Move.
The points before and after the Move are then connected by lines using a Line.
Multiplying the normal vector by a Multiplication, which multiplies the normal vectors by numerical values, determines the distance to be moved in that direction.
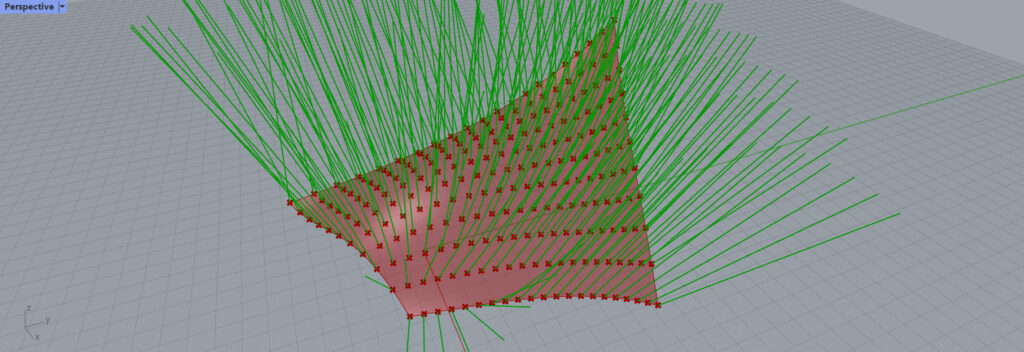
Then you can see that the lines extend in the direction of the respective normal vectors.
Obtain UV values
Get UV values.
Simply put, UV values mean that when dividing complex forms of surfaces and other objects, we think in terms of simplifications.
Connect a Point to Divide Surface(uv).
Then, a neat array of points like this appeared, starting from the origin.
At first glance, the original surface division appears complex, but if the green dots form a rectangle that adapts to this complex surface, the UV concept allows us to understand where each point will be located.
List of Grasshopper articles using the Divide Surface component↓


Comment