
This article explains how to use the Geometry component.

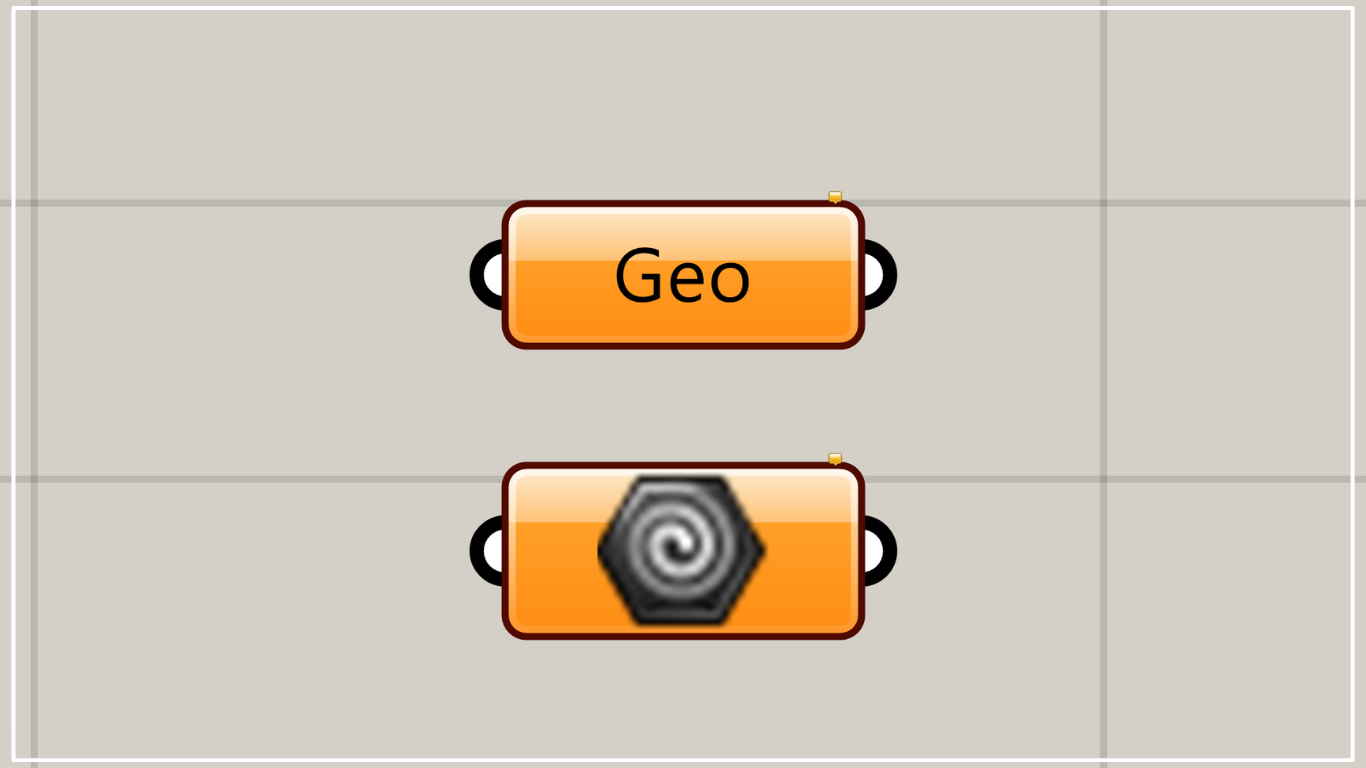
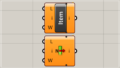
On the Grasshopper, it is represented by one of the two above.
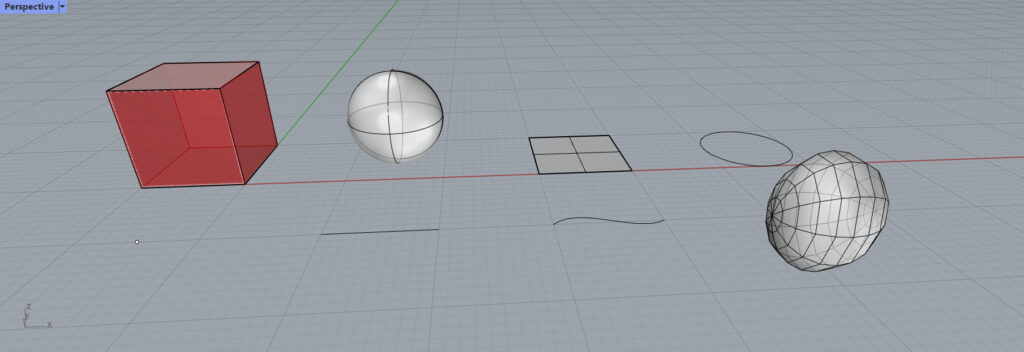
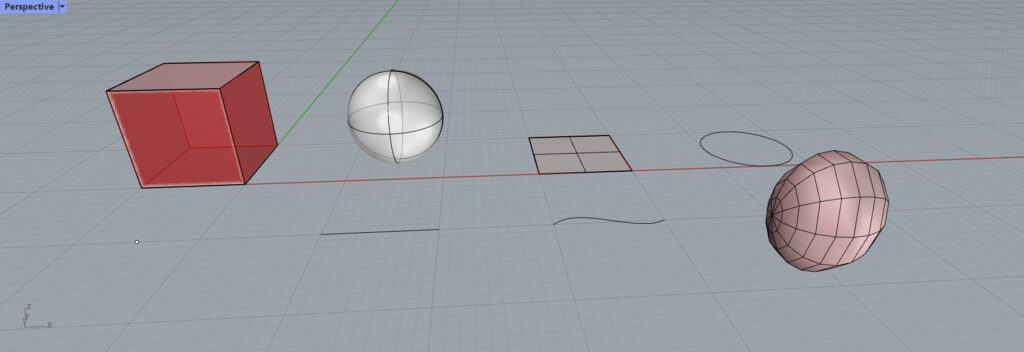
Set almost any type of object on the rhinoceros
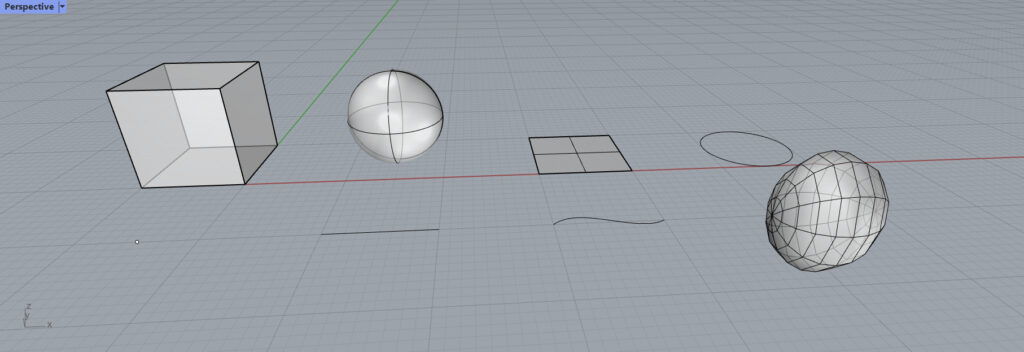
The Geometry can set many different types of objects.
It can set solids, surfaces, curves, points, meshes, and almost anything else, so if you are a beginner or have trouble, use the Geometry component for now.
How to set
Sets one object

The first method is to set a single object.
Right-click on the Geometry component.
You will then see a screen like the one above, select “Set one Geometry”.

Then the Grasshopper screen disappears and the Rhinoceros screen appears.
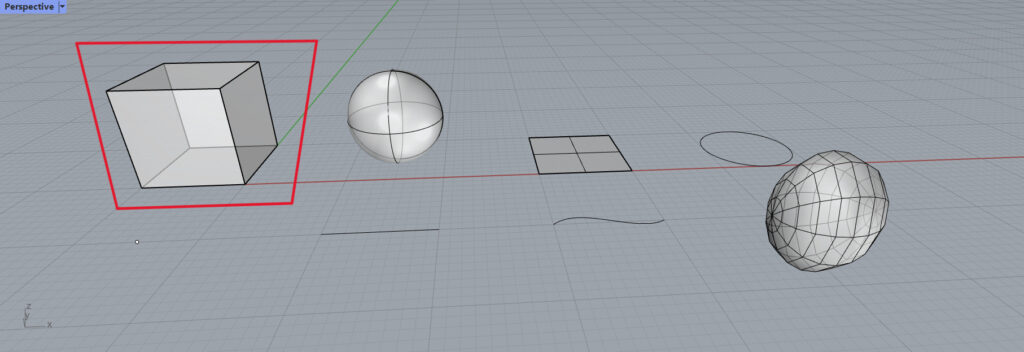
In this case, we will select a box.
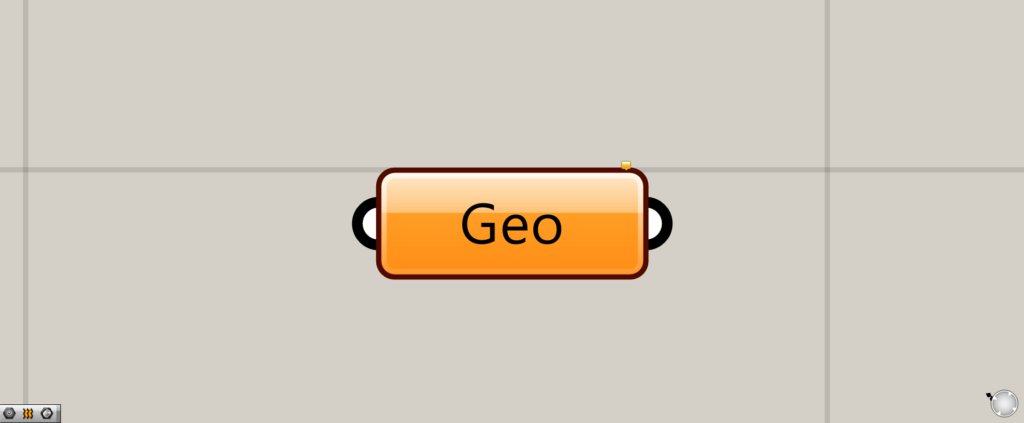
You will then be returned to the Grasshopper screen.
If the Geometry component is white instead of orange, you have succeeded.
When viewed on the rhinoceros, the box is reddish.
We can now confirm that the box is stored in the Geometry component.
Sets Multiple Objects
Now we will set multiple objects.
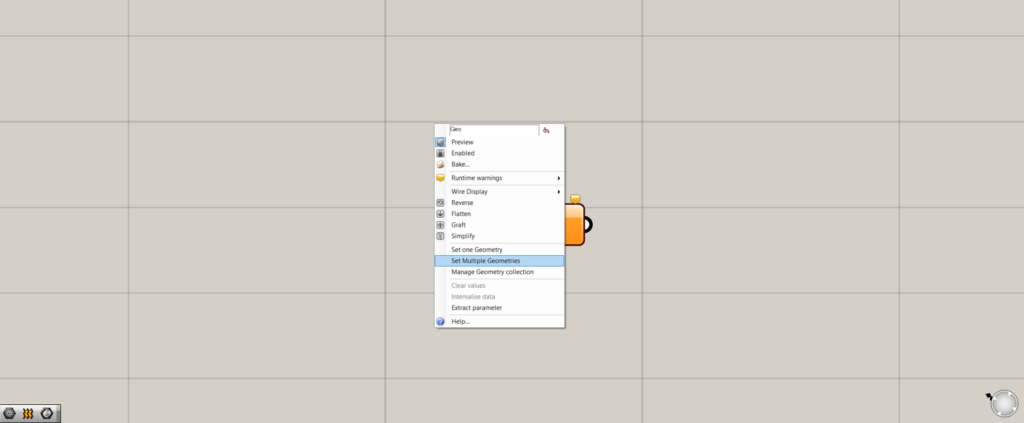
Right-click and select “Set Multiple Geometries”.
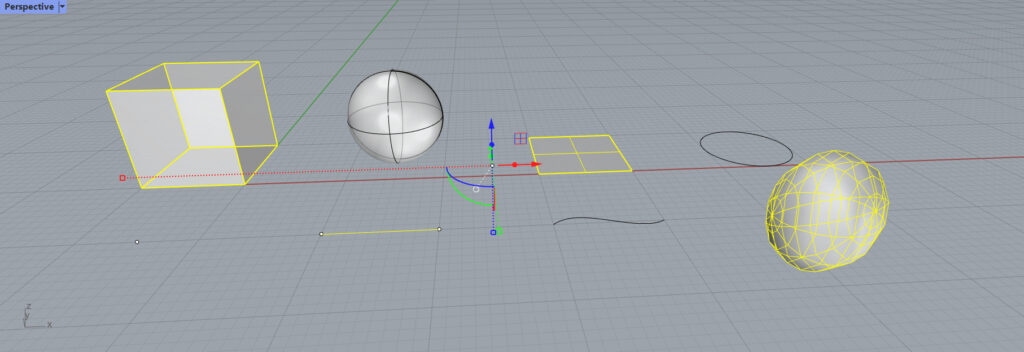
Select multiple objects on the rhinoceros.
When you are done selecting, right-click or press Enter.
Then multiple objects were set.
Sets Objects on the Grasshopper
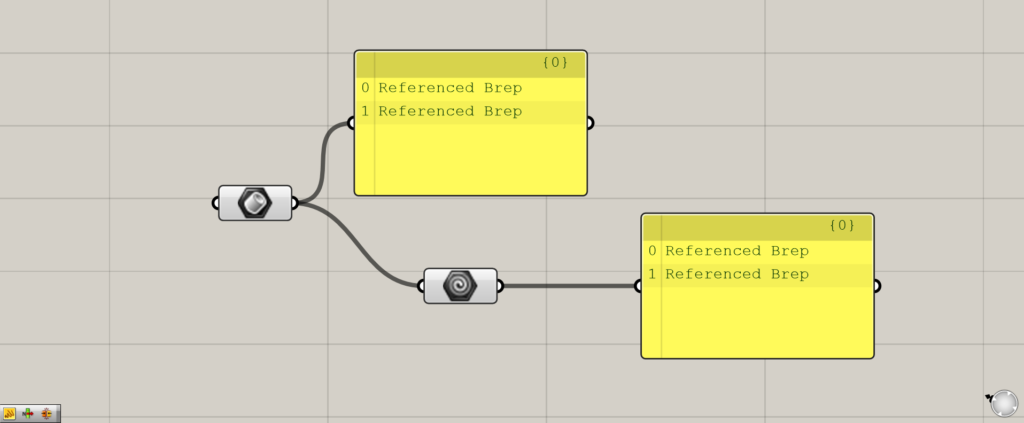
As shown in the image above, data already on the Grasshopper can also be connected and reflected in the Geometry.
Items that cannot be set by the Geometry component
Some items cannot be stored even in the Geometry component.

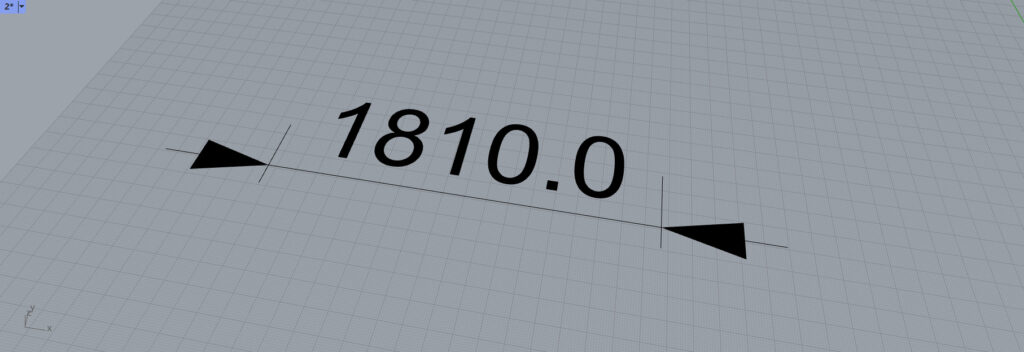
Such text and dimension lines cannot be reflected in the Geometry component.
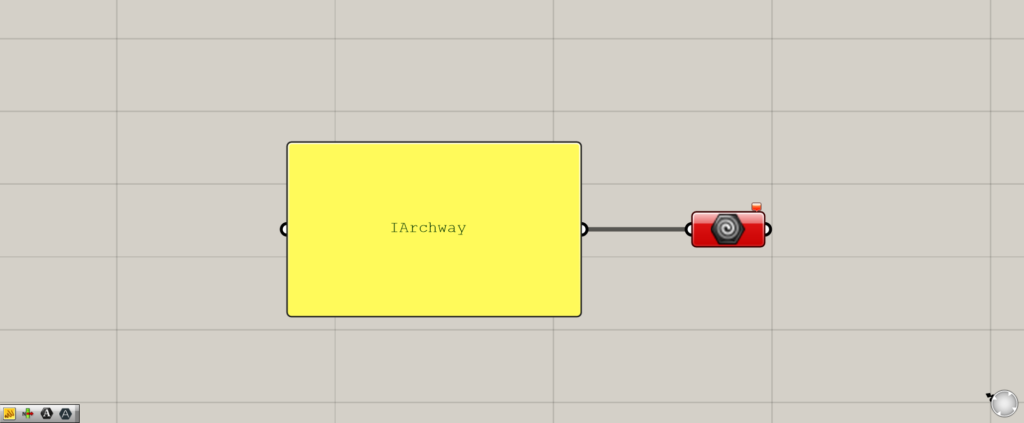
The same cannot be reflected on the Grasshopper.
List of Grasshopper articles using the Geometry component↓


Comment