
![[Grasshopper] How to use Mesh Surface to convert surfaces to meshes](https://iarchway.com/wp-content/uploads/2026/01/eyecatch-37.png)
This article explains how to use Mesh Surface to convert surfaces to meshes.
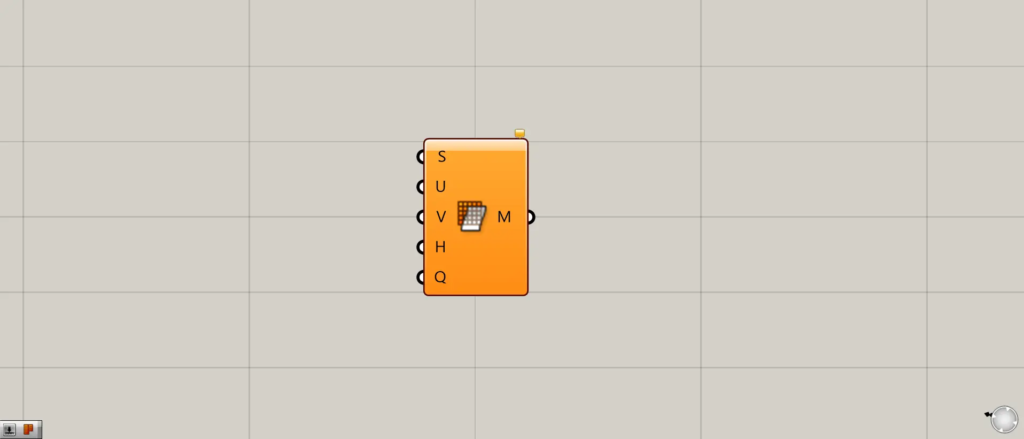
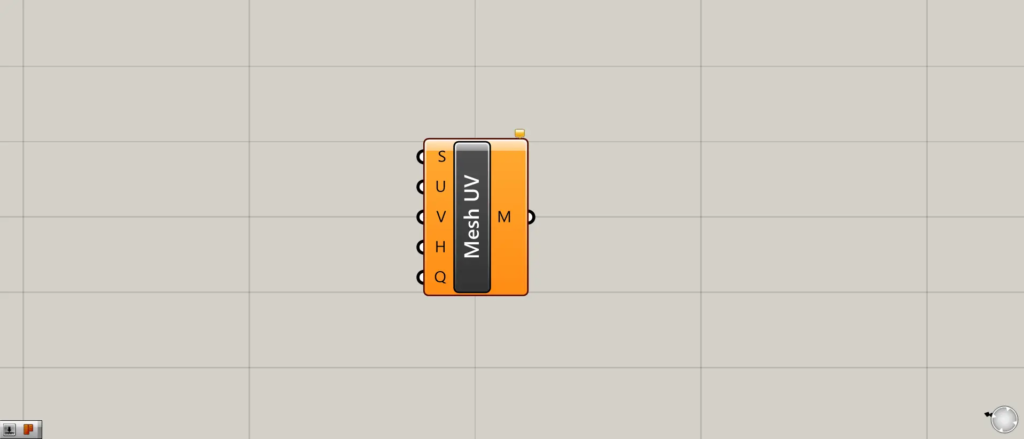
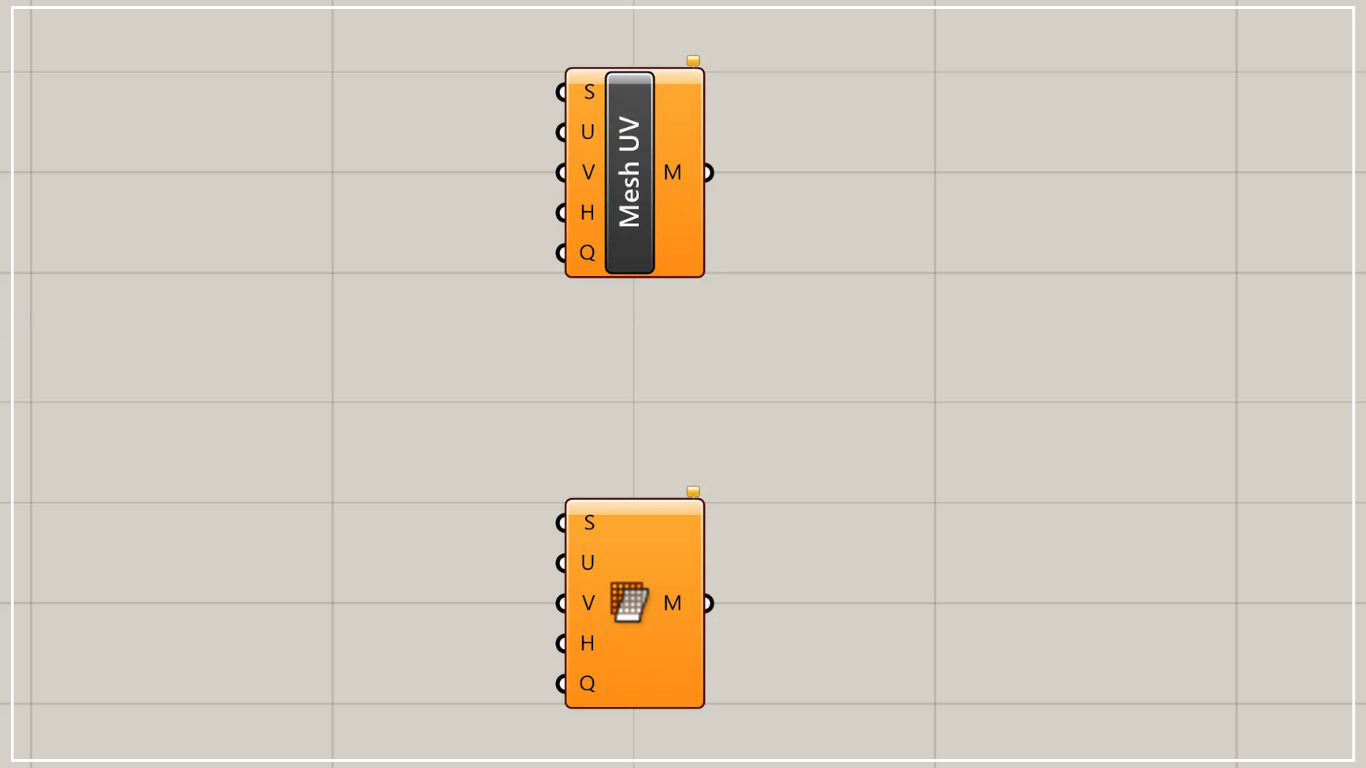
On the Grasshopper, it is represented by either of the two above.
Convert surface to mesh
Using Mesh Surface allows you to convert a surface into a mesh.

As the first example, we will use the surface shown in the image above.
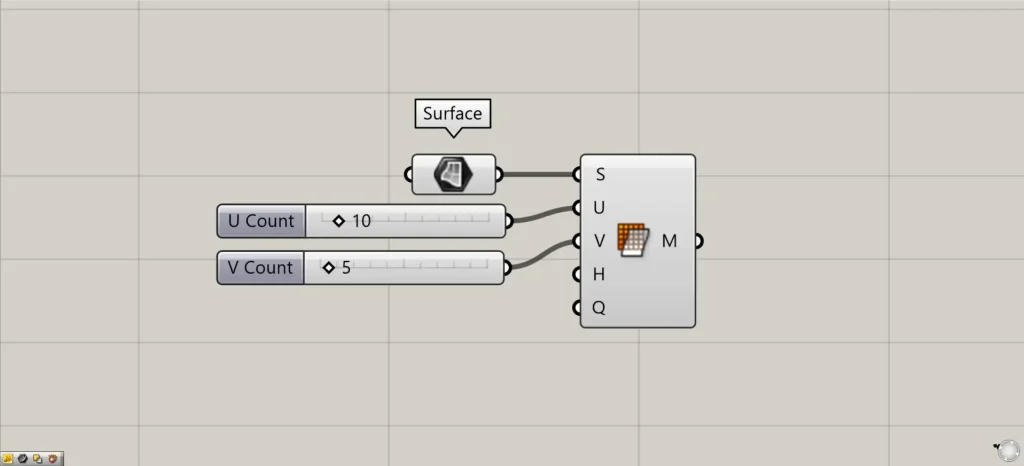
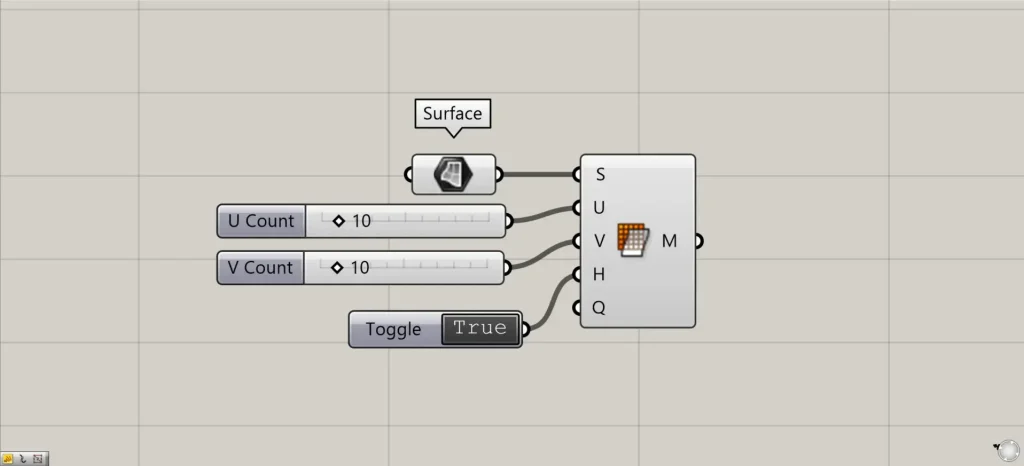
Components used: ① Surface ② Mesh Surface
This time, we are setting the surface on Rhino in Surface.
Connect the Surface to the Mesh Surface (S).
Additionally, connect the numerical values for the subdivision level in the UV direction to the Mesh Surface(U and V).
This time, we are entering 10 and 5.
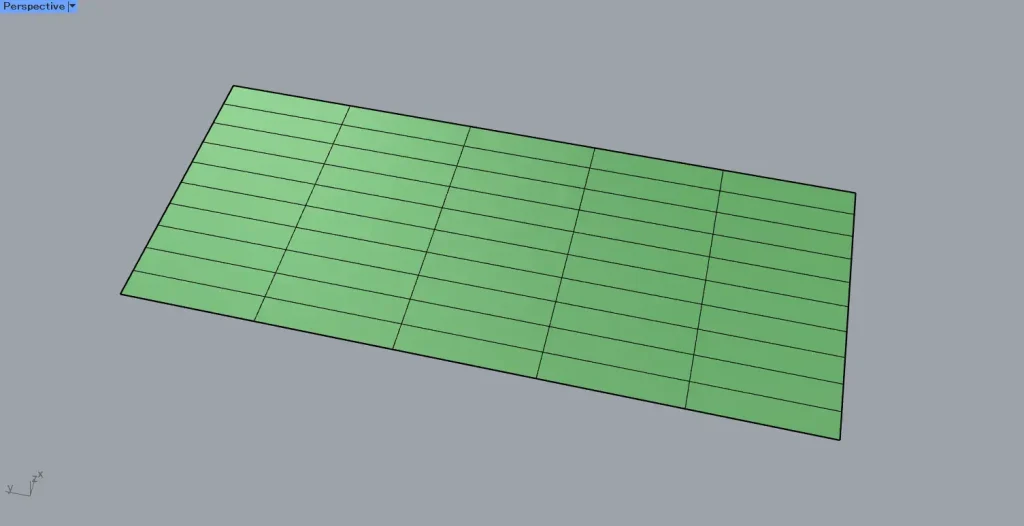
For easier viewing, the results are output to Rhino.
As shown in the image above, the mesh will be created.
As entered in Mesh Surface (U and V), you can confirm it is a 10×5 mesh.

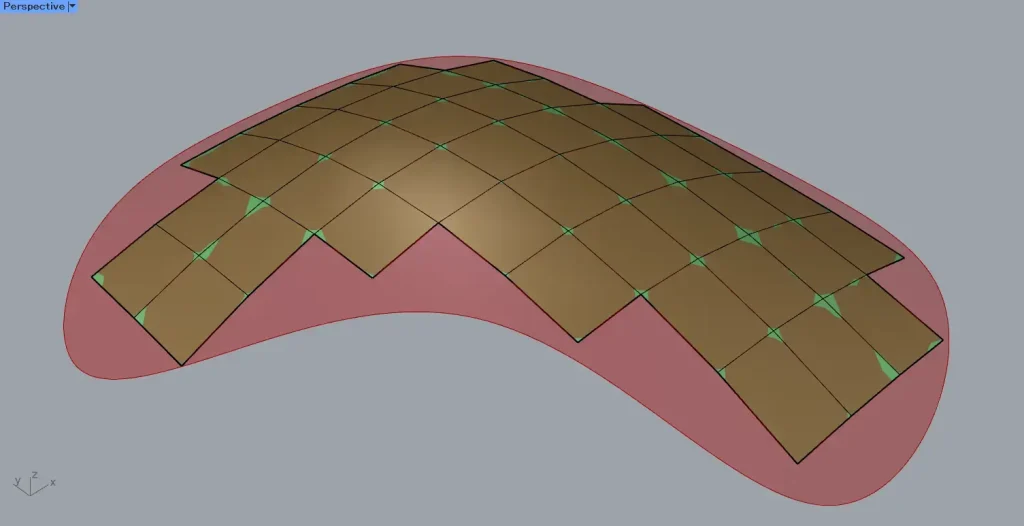
As the next example, we will use the complex surface shape shown in the image above.

Additional Component: ① Boolean Toggle
For complex shapes, since the mesh cannot accurately reproduce the shape from the surface, you can specify the state of the mesh around the surface edges.
In that case, enter either True or False into the Mesh Surface(H).
This time, we are creating information that is either True or False using a Boolean Toggle.
If False, the mesh is created within the original surface.
We’ll change it to True.
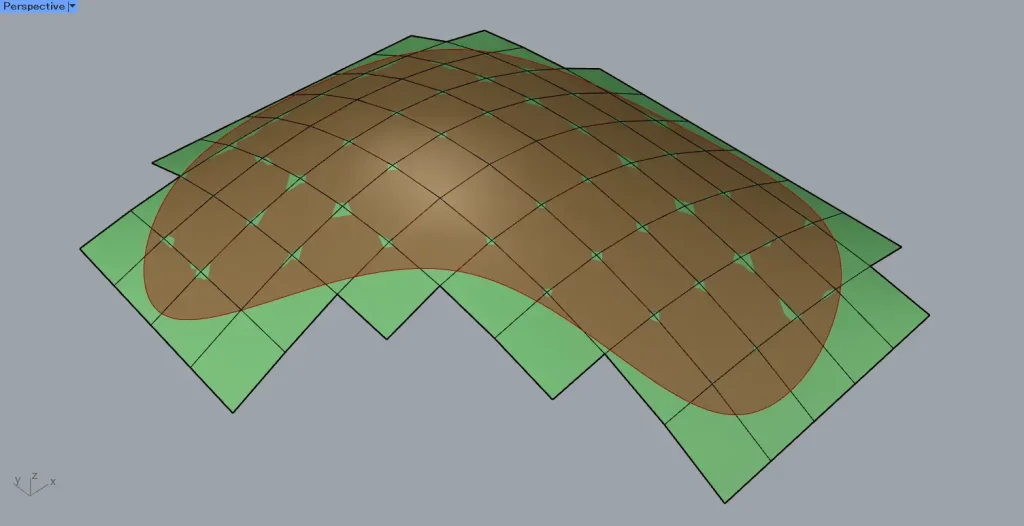
If True, faces are added one at a time outward from the False state, creating a mesh that extends beyond the edges of the original surface.
List of Grasshopper articles using Mesh Surface component↓


Comment