
![[Grasshopper] How to Use Model Hatch to Create Hatching](https://iarchway.com/wp-content/uploads/2026/01/Model-Hatch.png)
This article explains how to use Model Hatch to create hatching.
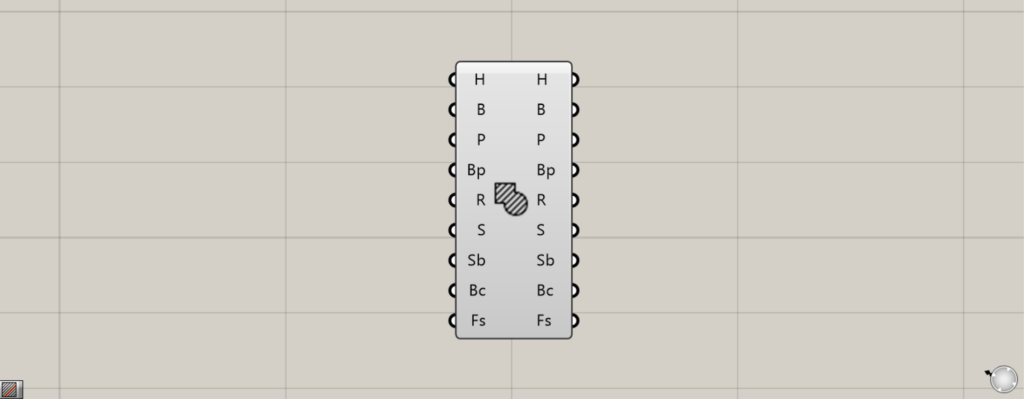
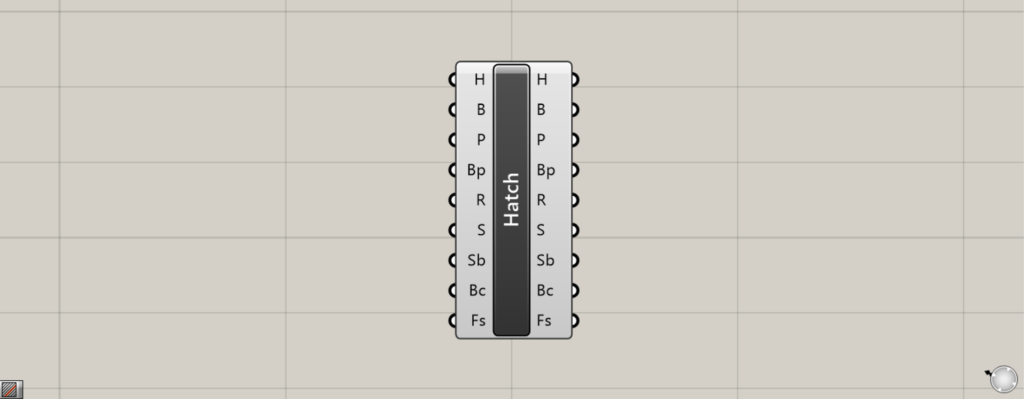
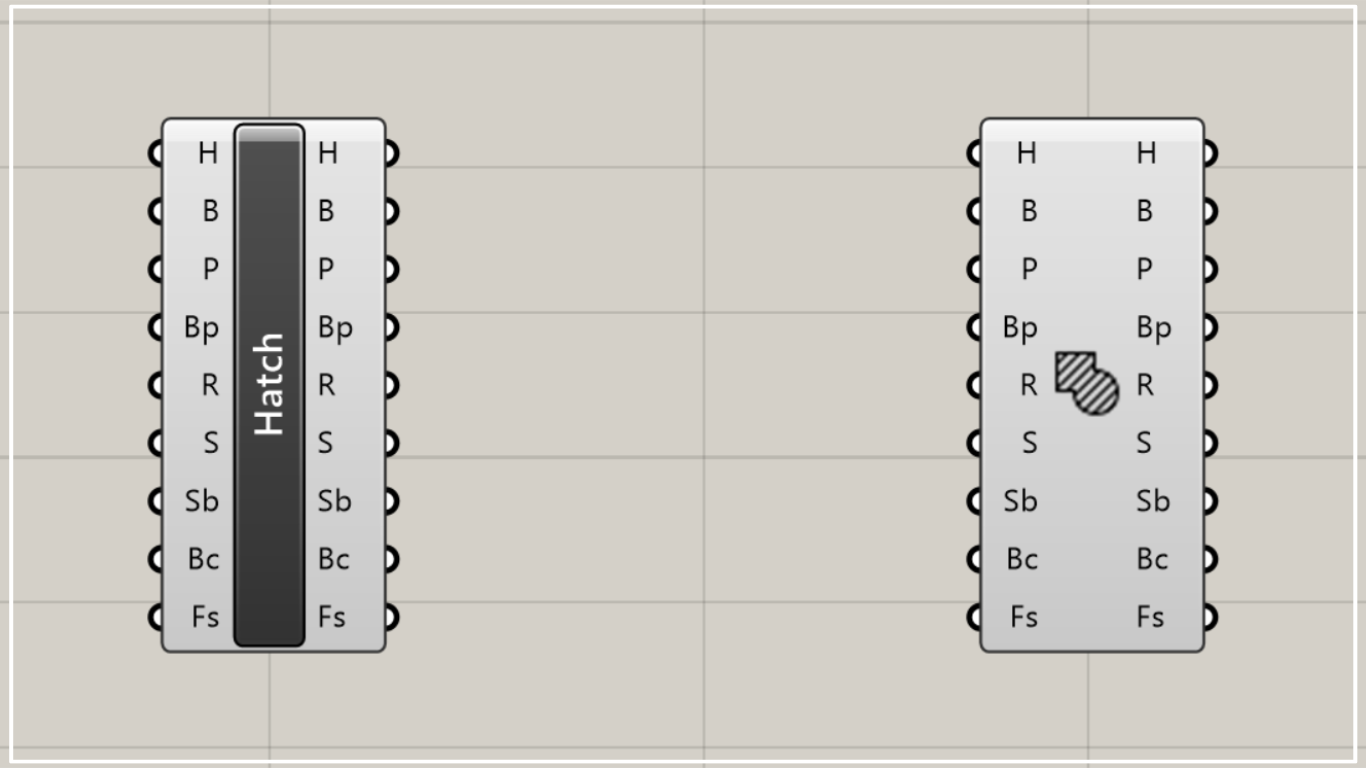
On the Grasshopper, it is represented by either of the two above.
Create hatching
Using Model Hatch allows you to create hatching.
Create hatching from closed lines or surfaces on a plane
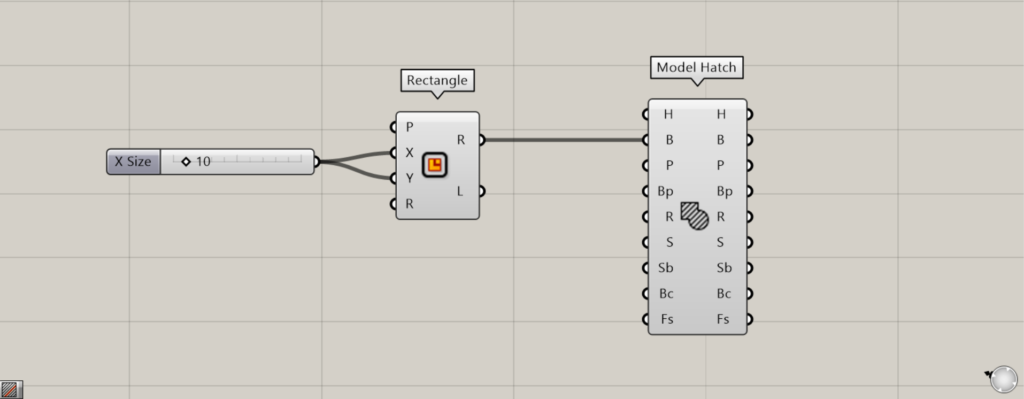
Components used: ① Rectangle ② Model Hatch
In Model Hatch, you can create hatches from closed lines on a plane or from surfaces.
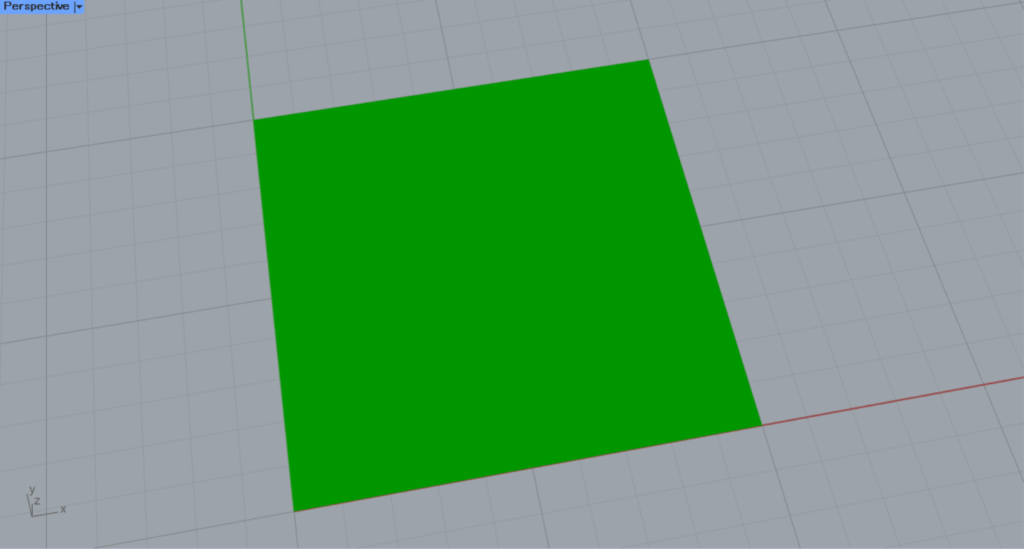
As a first example, let’s create a square and then create hatching within that square.
Enter the numerical value for the length of one side into the Rectangle(X and Y).
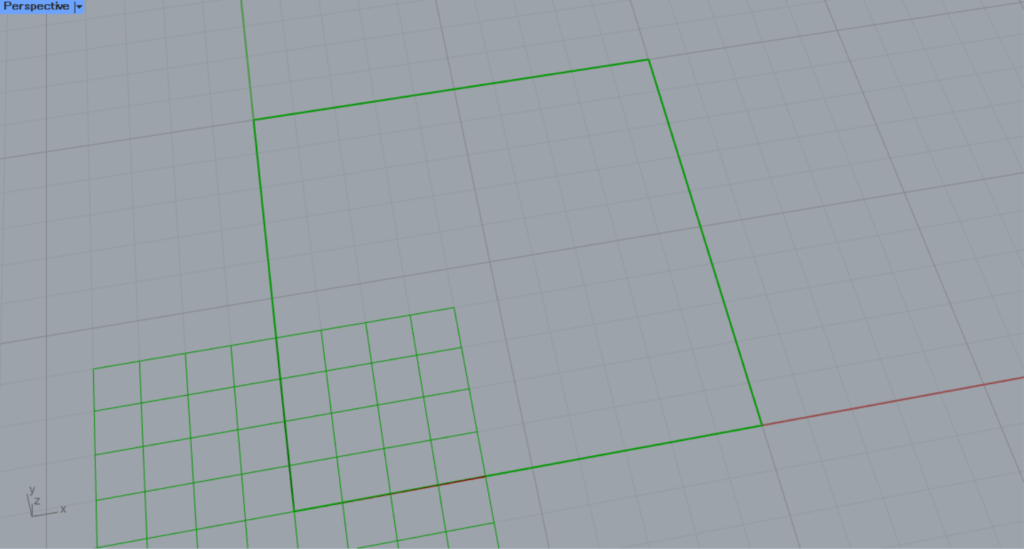
This time, we entered 10 and created a 10×10 square.
Next, connect the Rectangle(R) to the Model Hatch(B).
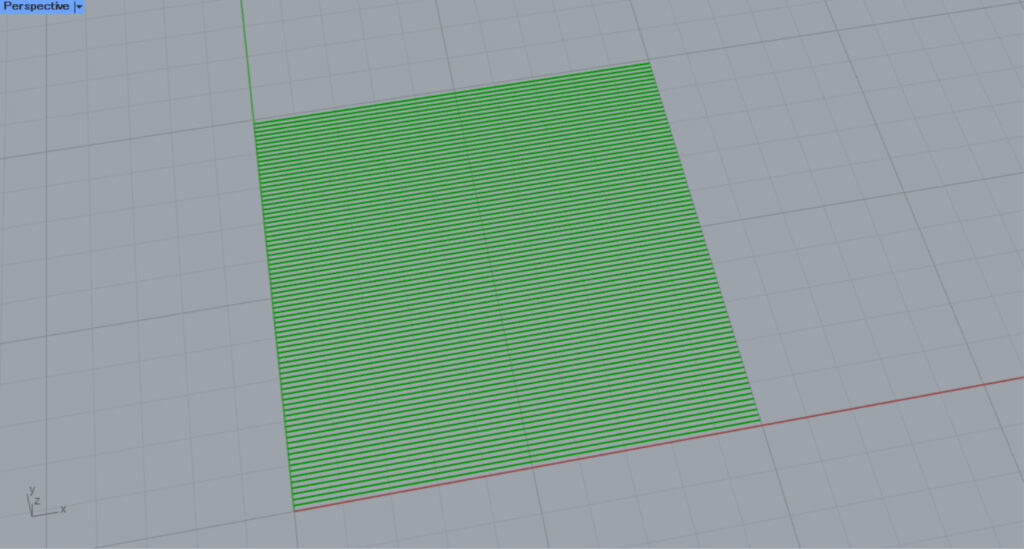
Then, hatching is created.
By default, Model Hatch uses a pattern fill.
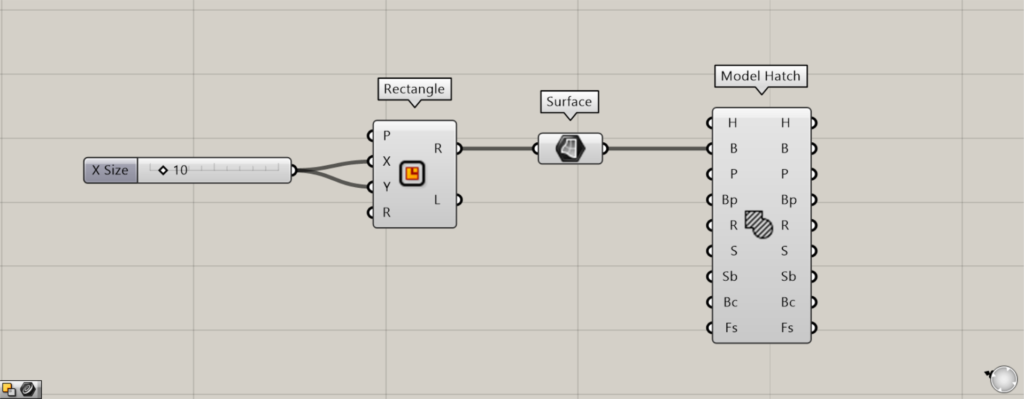
Additional Components: ① Surface
Earlier, we created hatching from a closed line on a plane, but you can also create hatching from a surface on a plane.
The image above shows an example of converting a rectangular line into a surface on Surface.
Set the pattern
You can set the hatching pattern from the Model Hatch(P).
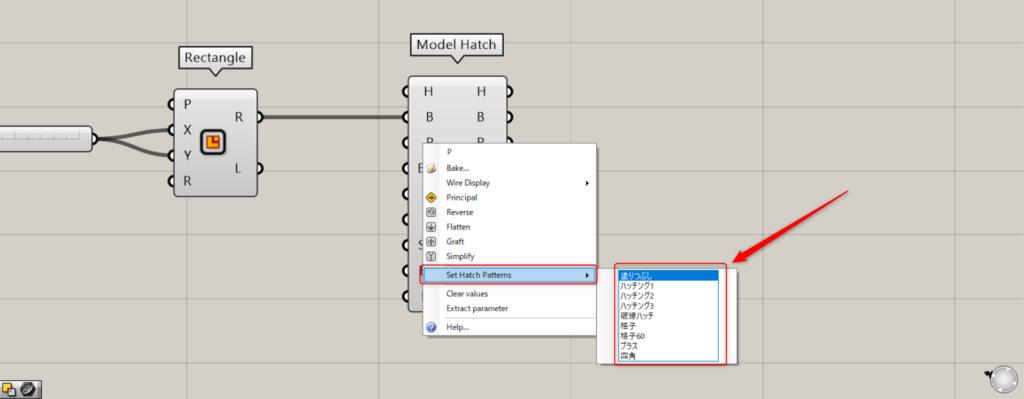
To set a pattern, right-click the P terminal and select “Set Hatch Patterns”.
Then, you can set various types of patterns.
In the initial settings state, you can configure the following nine types of patterns.
Solid
Solid pattern.
Hatch1
This is the pattern for Hatch1.
Hatch2
This is the pattern for Hatch2.
Hatch3
This is the pattern for Hatch3.
HatchDash

This is a HatchDash pattern.
Grid
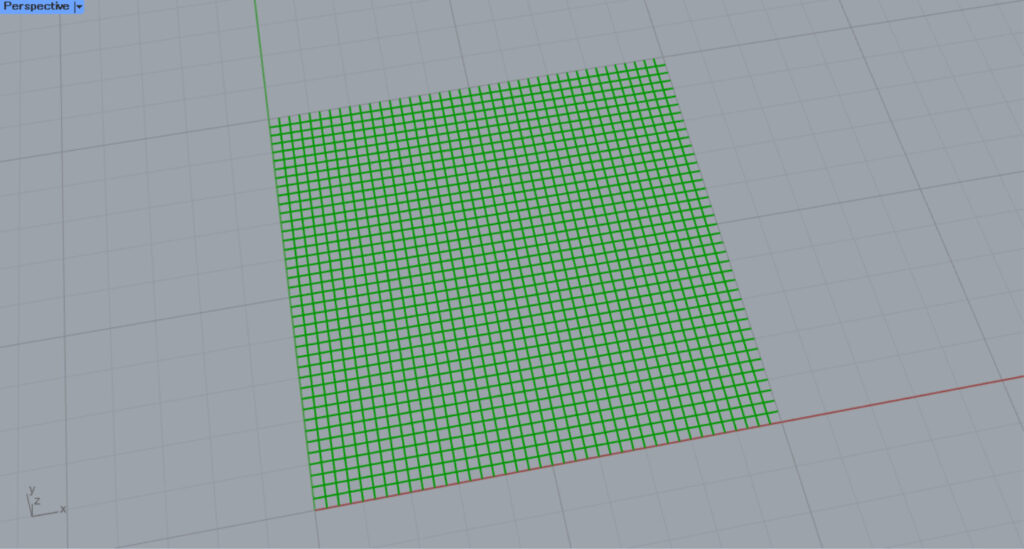
This is a grid pattern.
Grid60
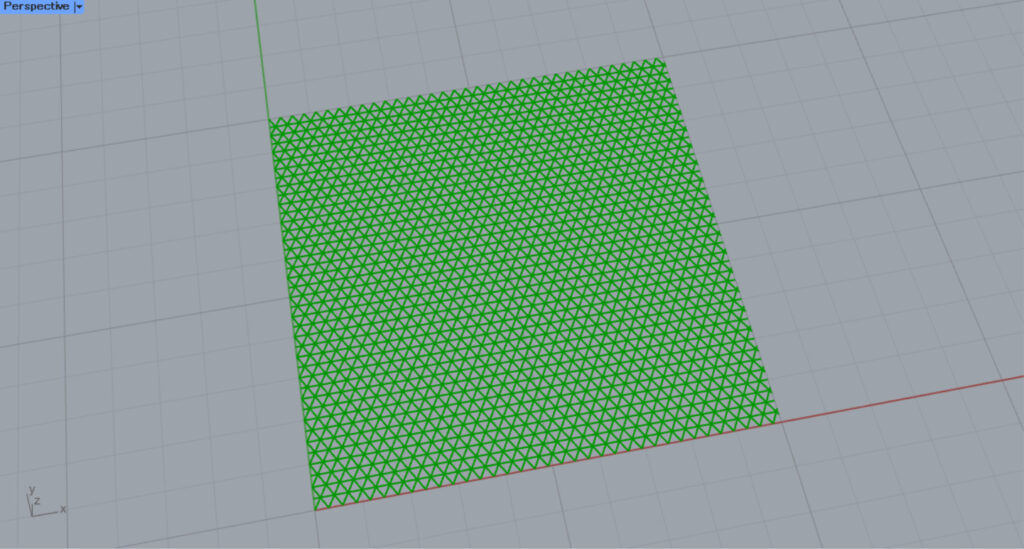
This is a Grid60 pattern.
Plus

This is a Plus pattern.
Squares
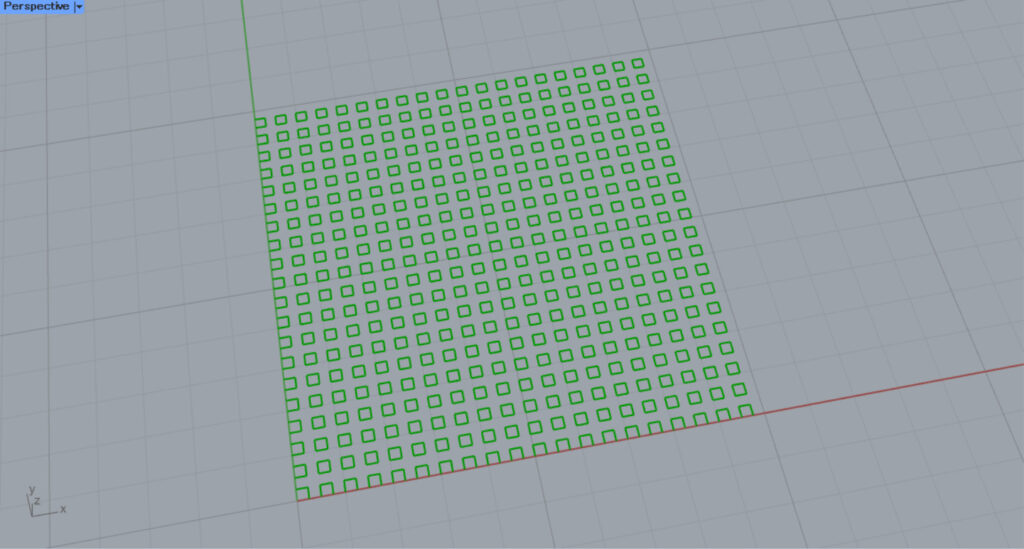
It’s a squares pattern.
Connect pattern data
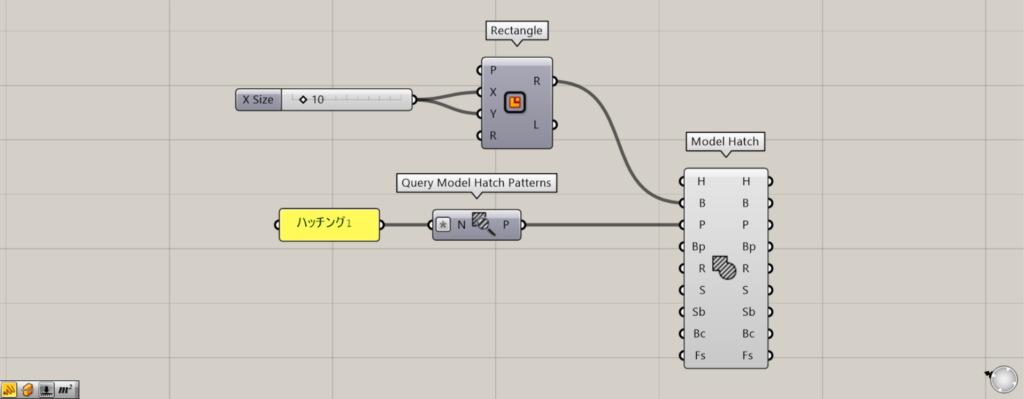
Additional Components: ①Query Model Hatch Patterns
You can also set patterns by connecting pattern data to the Model Hatch(P).
The image above shows entering a pattern name usable with the Query Model Hatch Patterns, acquiring the pattern data, and connecting it to the Model Hatch(P).
Set the reference point
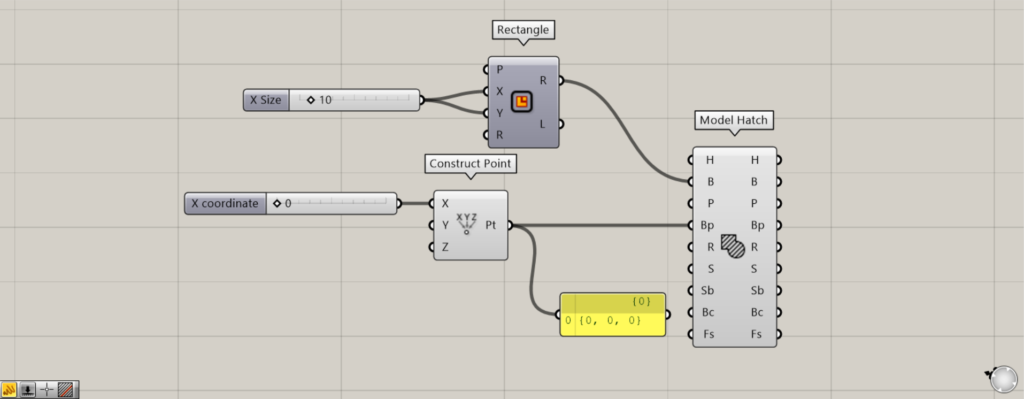
Additional Component: ① Construct Point
By entering point information or coordinate information into the Model Hatch(Bp), you can create the base point for hatching.
Using diagonal patterns makes it easier to notice changes.
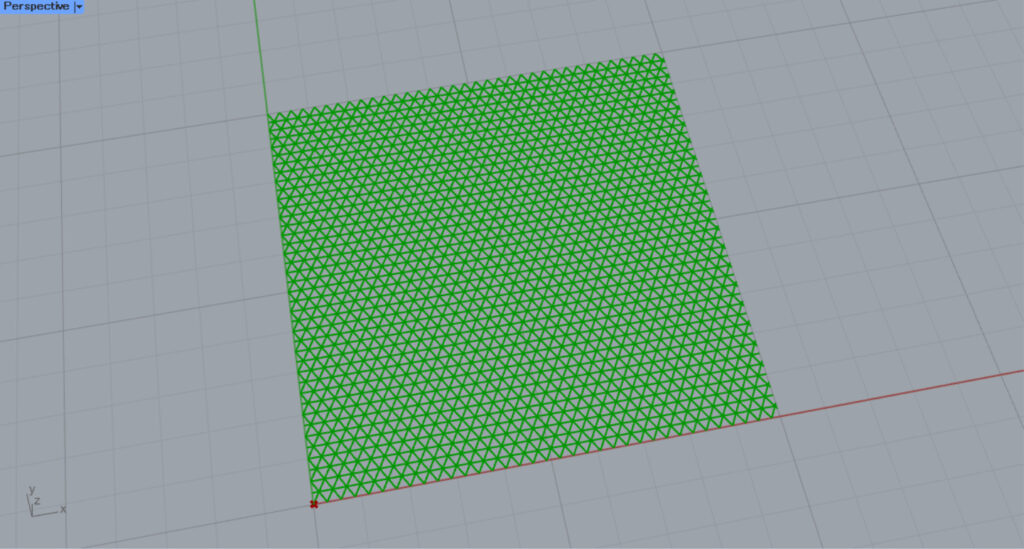
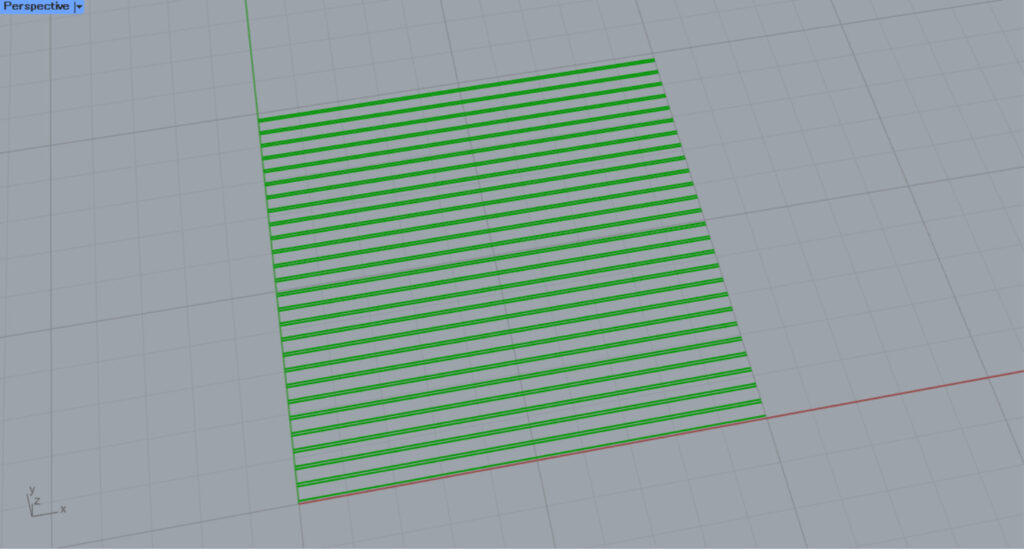
Initially, we set the Construct Point(X) to 0 and created a base point at the origin position of 0,0,0.
Then, the hatching looks like this.
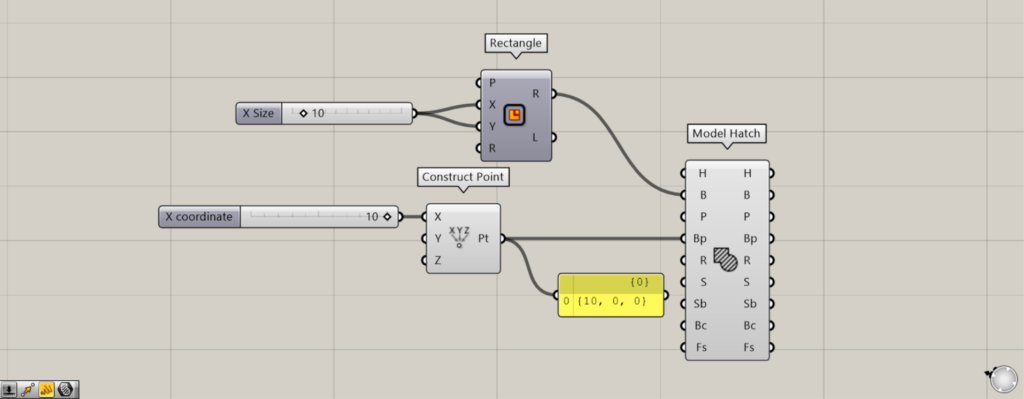
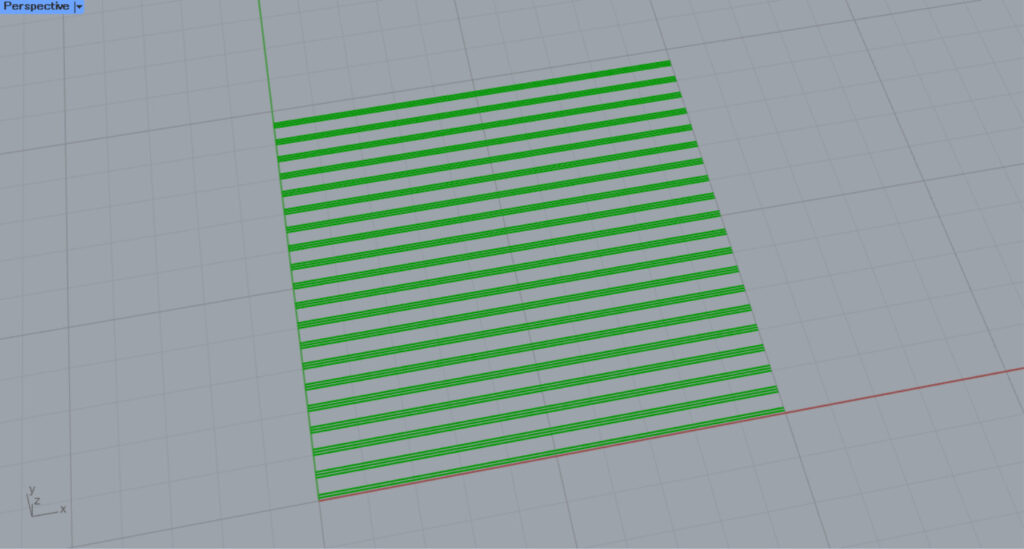
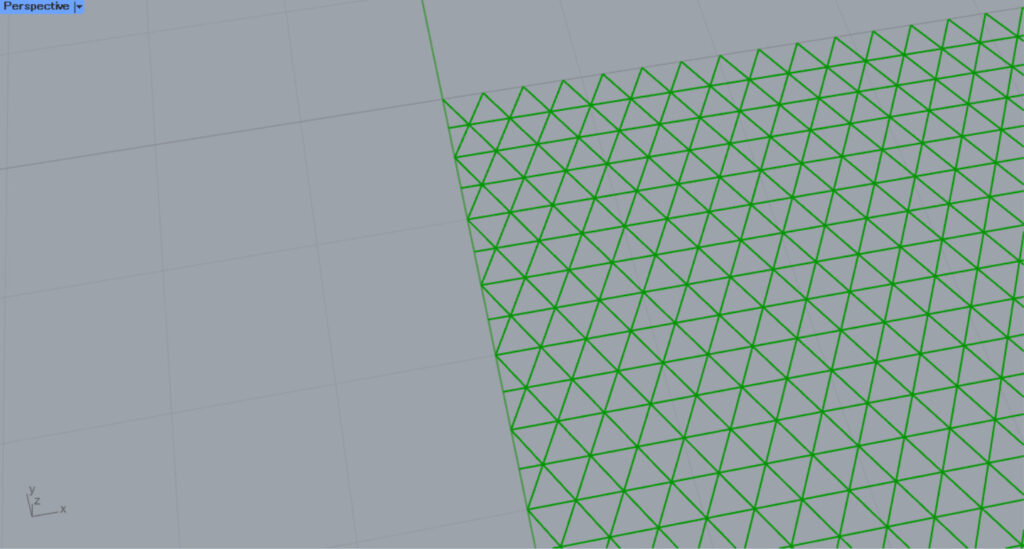
Next, we set the Construct Point(X) to 10 and created a base point at the origin position of 10,0,0.
Then, the hatching looks like this.
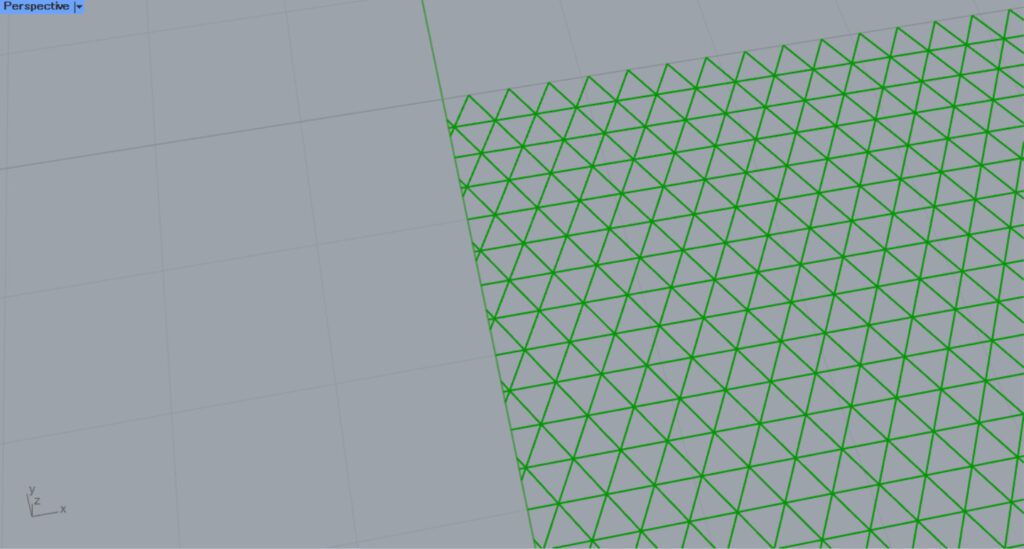
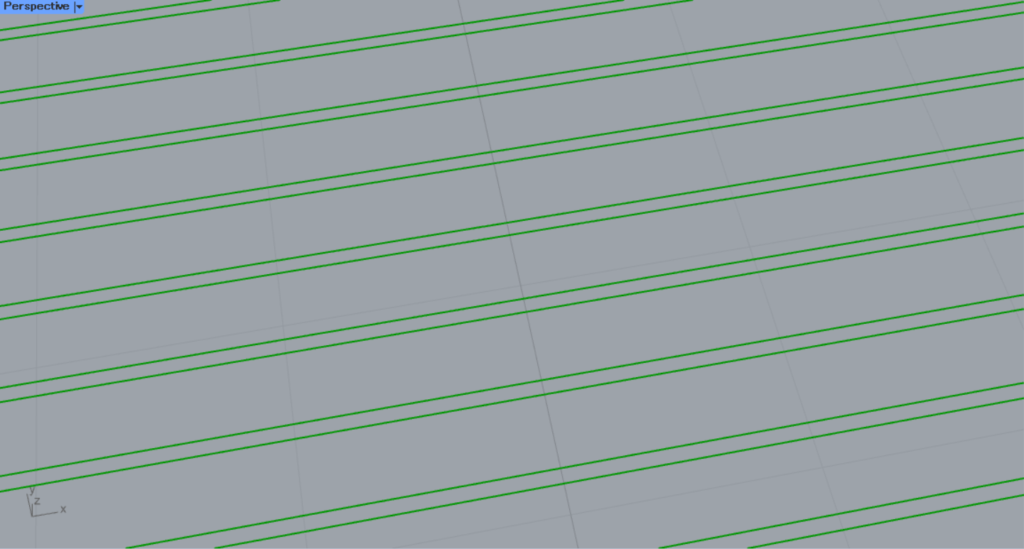
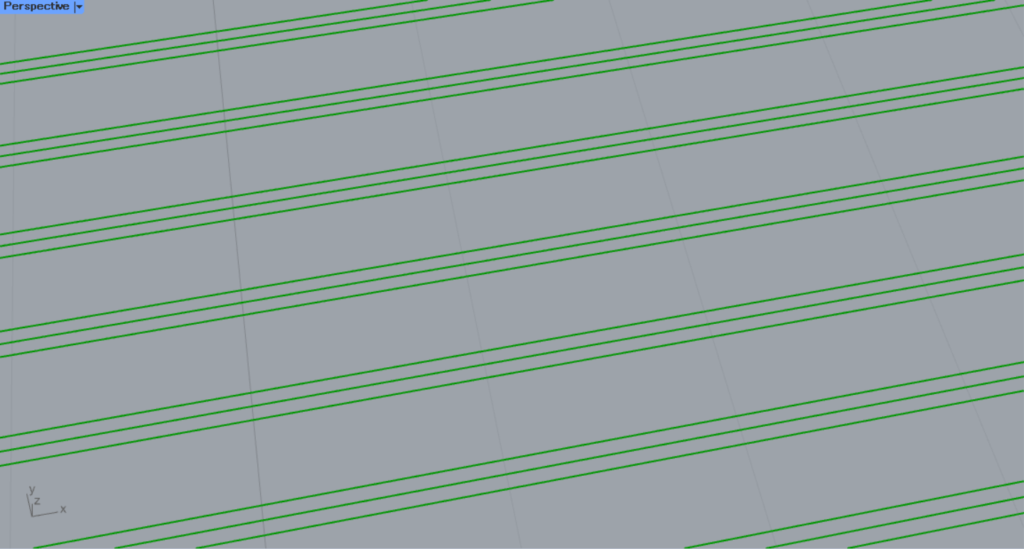
Zooming in reveals that the hatching is also misaligned because the base point is off.
In this way, you can specify the base point position using the Bp terminal and adjust the hatching.
Change the angle
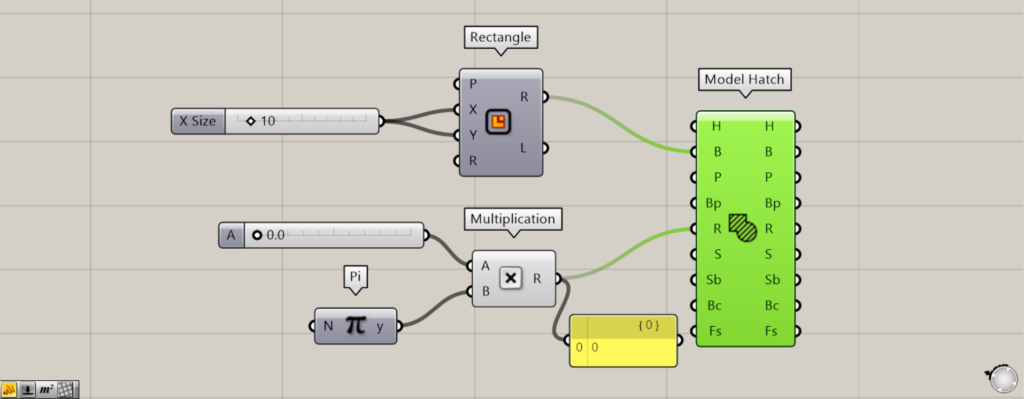
Additional Components: ①Pi ②Multiplication
By setting the angle of the Model Hatch(R), you can set the angle of the hatching.
The default setting for the Model Hatch(R) requires angle information to be entered in radians.
This time, values between 0 and 2.0 and Pi are connected to the Multiplication(A and B), creating values between 0 and 2.0 × π.

Setting the Number Slider value to 0 will make it the same as the default angle.

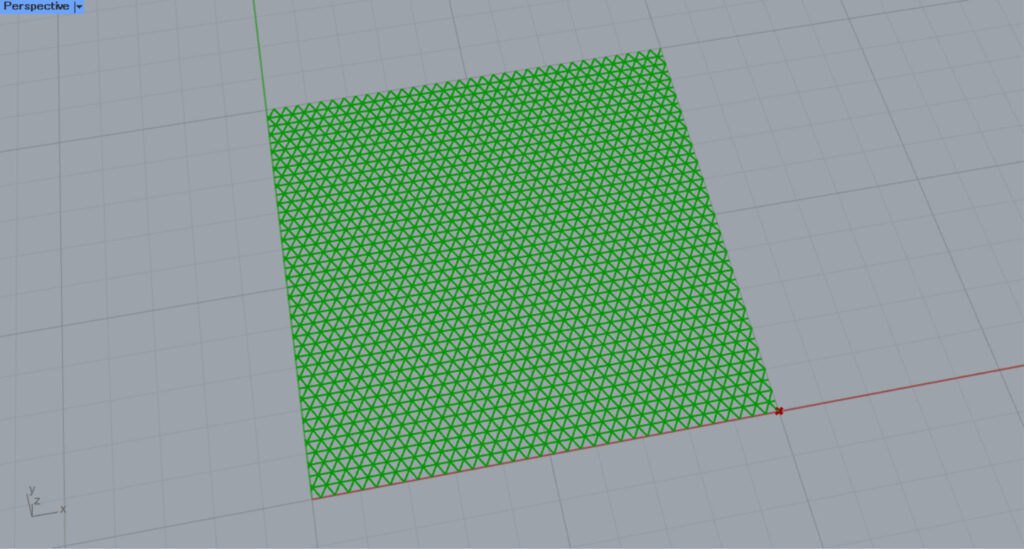
We set the value of the Number Slider to 0.5, which corresponds to 0.5π (π/2).

Then, as shown in the image above, the angle changed by 90 degrees.

We set the value of the Number Slider to 0.2 and adjusted it to 0.2π.
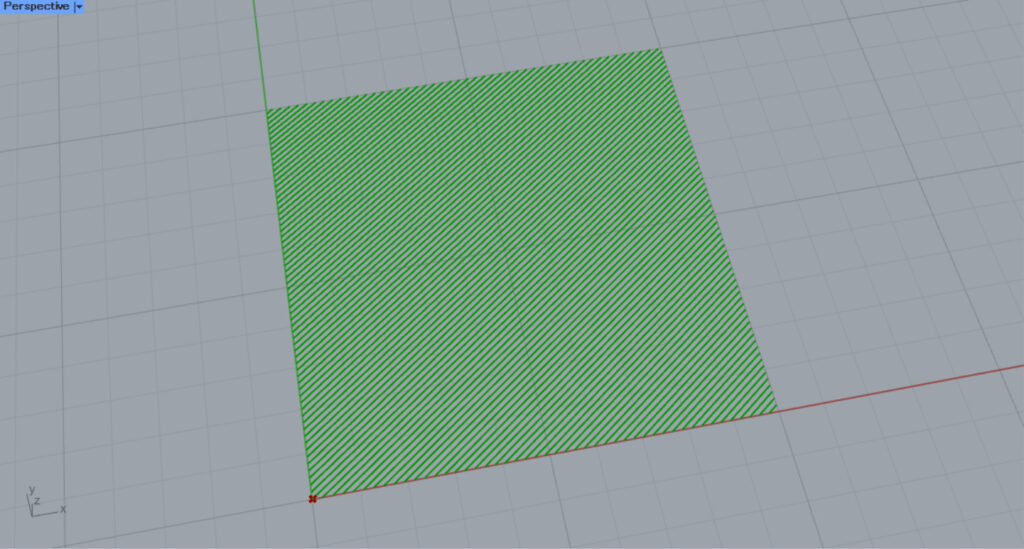
Then the hatching became diagonal.
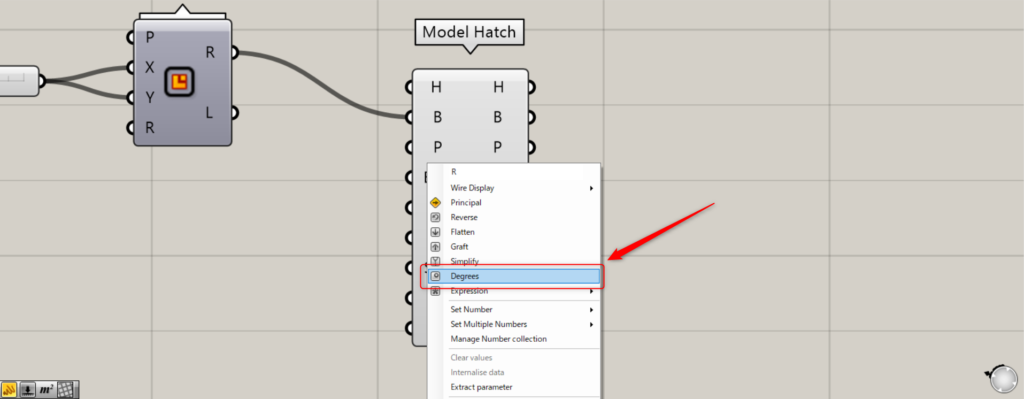
To set in degrees, right-click the Model Hatch(R) and select Degrees.
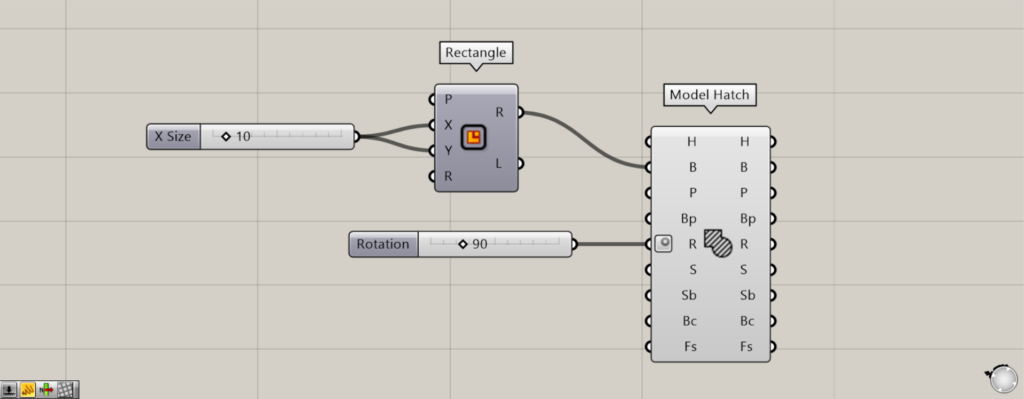
Then, enter a value between 0 and 360.
This time, we entered 90.
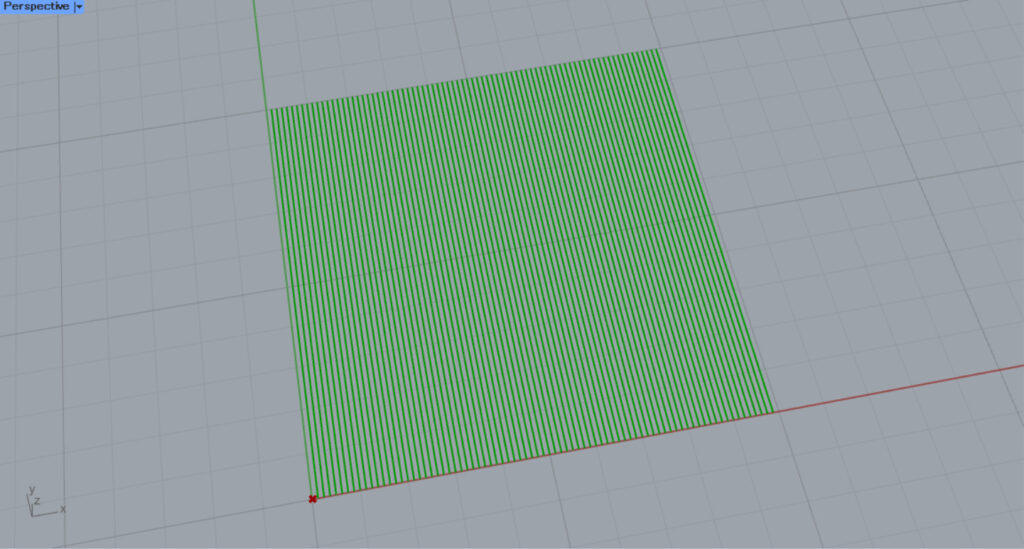
Then, as entered, the angle changed by 90 degrees.
In this way, you can also set angles using degrees.
Set the scale
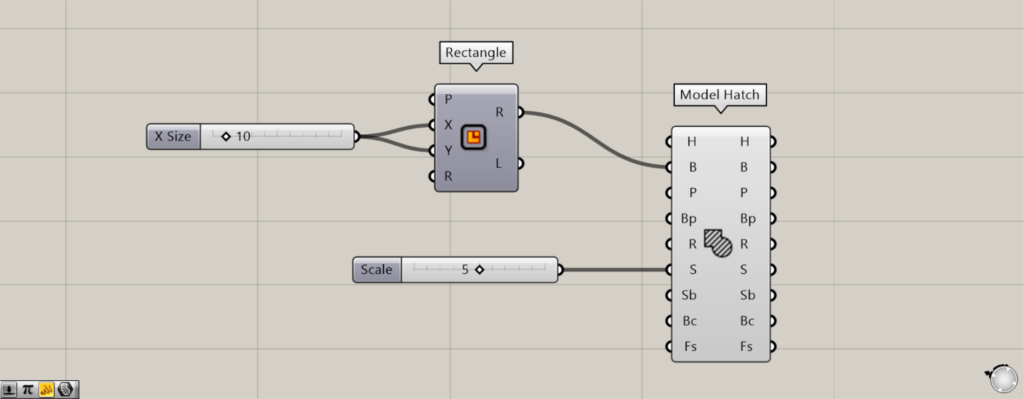
You can set the scale by entering a value into the Model Hatch(S).
This time, we entered the number 5.
This is the default state before input.
When the number 5 was entered, the scale changed.
In this way, you can change the scale using the Model Hatch(S).
Determine whether to include borders

Additional Component: ① Boolean Toggle
Setting the Sb terminal allows you to determine whether to include frame lines in the hatching.
Input True or False to the Model Hatch(Sb).
This time, we’ll set True or False using a Boolean Toggle.
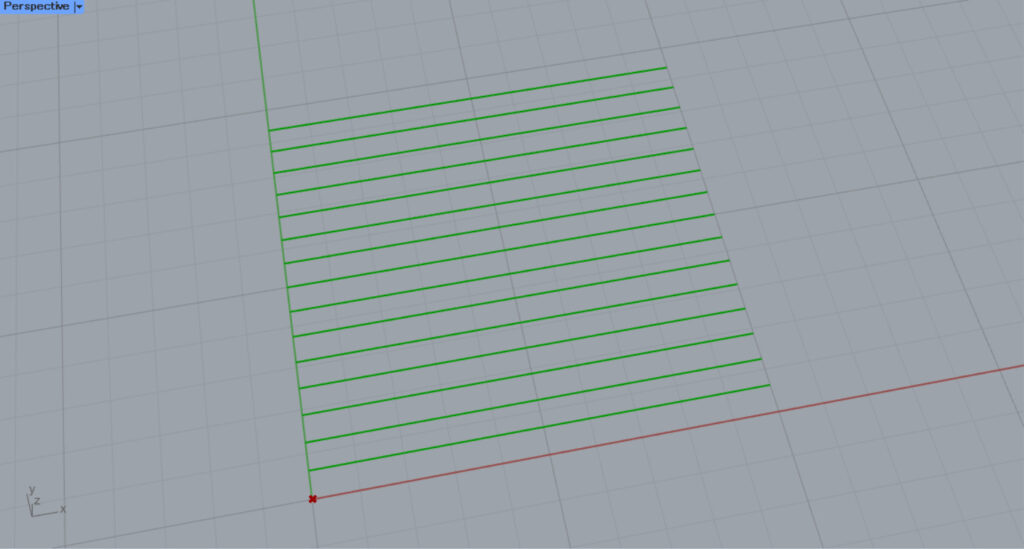
When set to True, the frame line is included in the hatching.

I’ll set it to False.

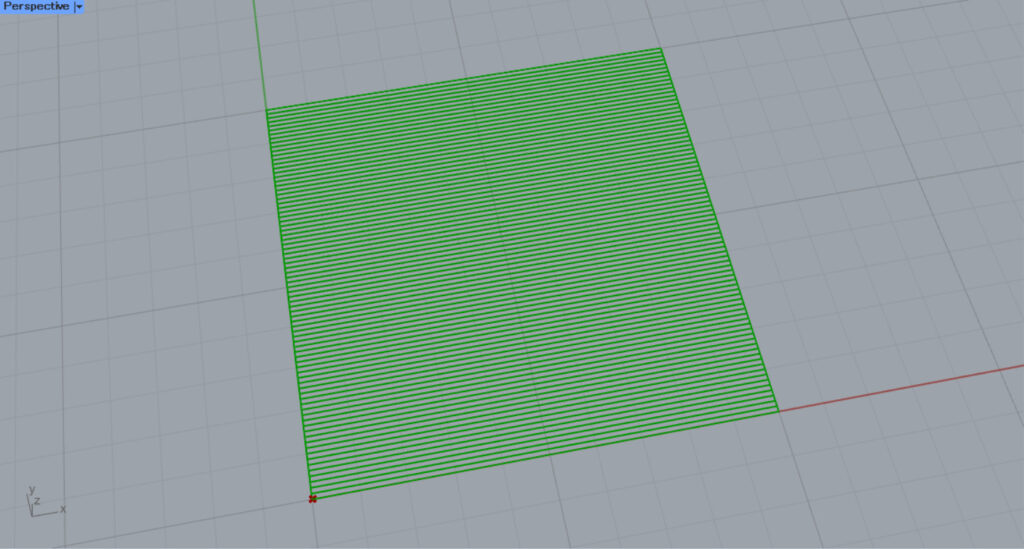
Then, the border will not be included like this.
In this way, you can decide whether to include a border in the hatching using the Model Hatch(Sb).
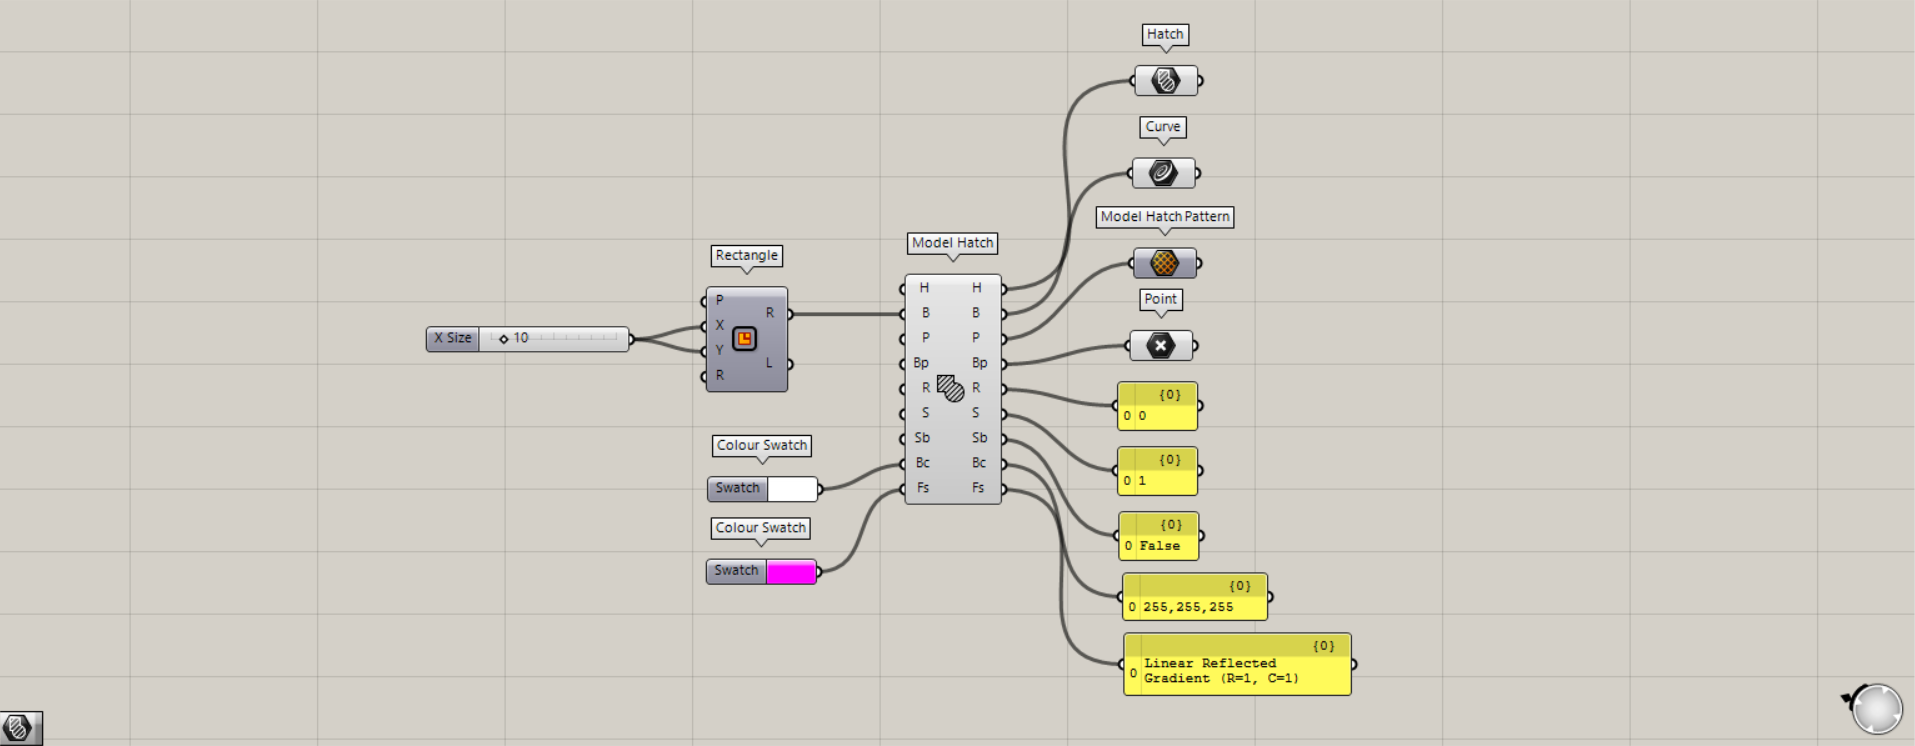
Set the color
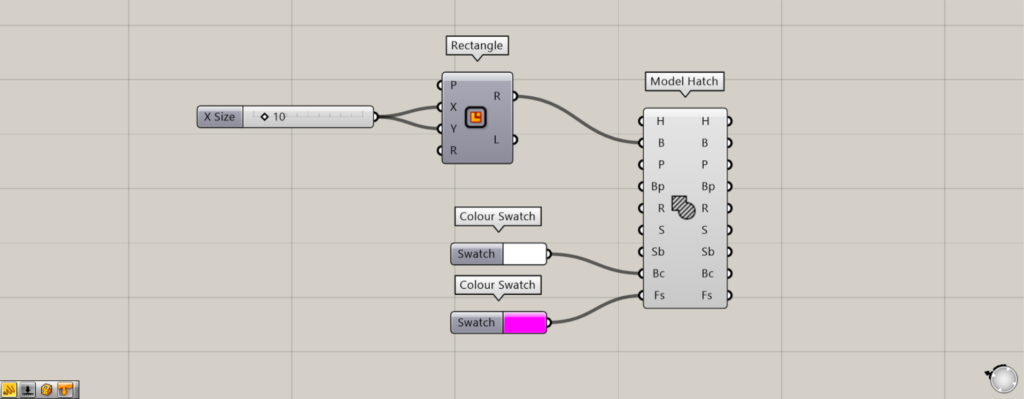
Additional Component: ①Colour Swatch
The Model Hatch(Bc) and Model Hatch(Fs) allow you to set the color of the hatching.
You can set the background color for the Model Hatch(Bc).
The Model Hatch(Fs) allows you to set the color of the hatching lines.
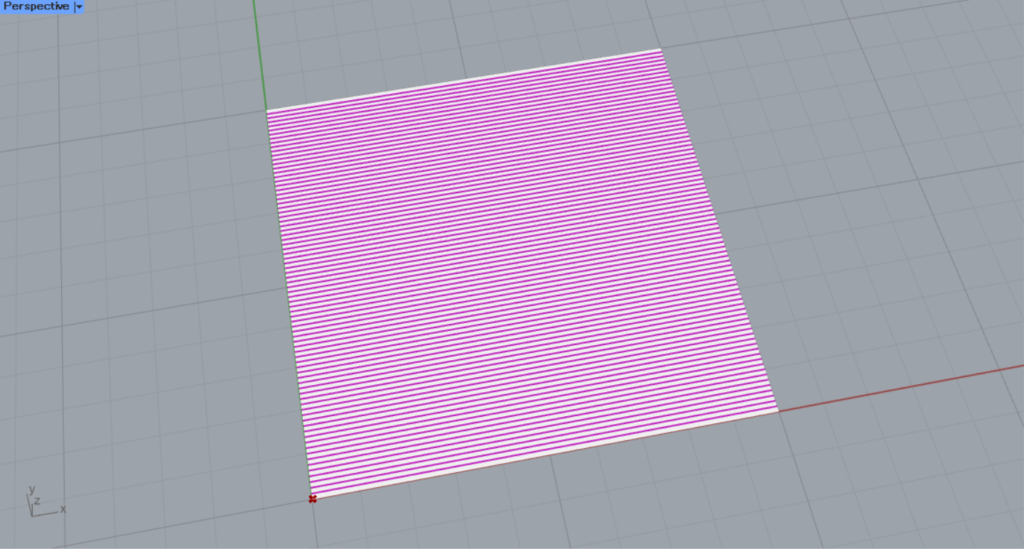
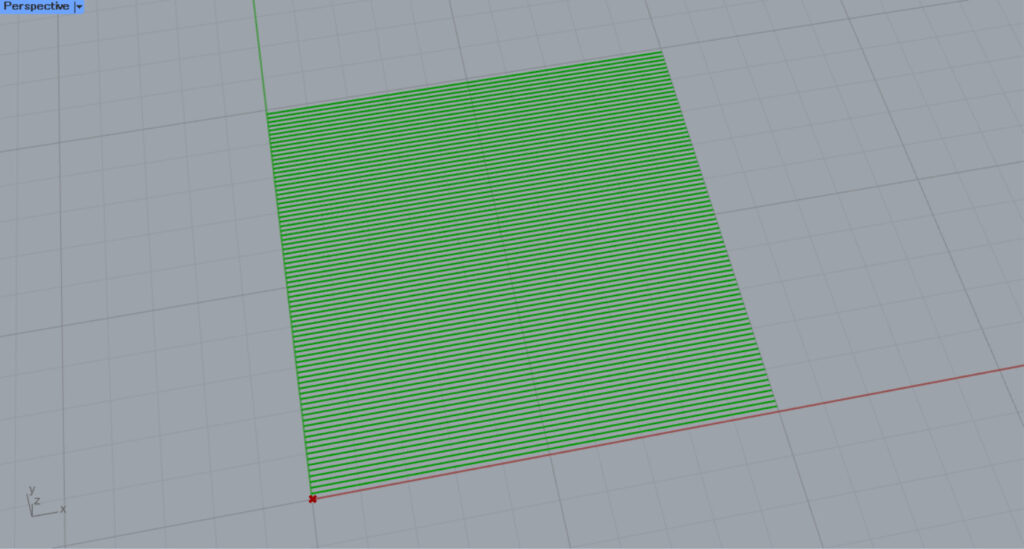
This time, we set white for the Model Hatch(Bc) and pink for the Model Hatch(Fs) in the Colour Swatch.
Then, as shown in the image above, you can set the background and line colors for the hatching.
Output data
Additional Components: ① Hatch ② Curve ③ Model Hatch Pattern ④ Point
Various data constituting the hatching are output from the terminal on the right.
H terminal outputs the created hatching data.
From terminal B, the line data for the frame lines used to create hatching is output.
The P terminal outputs the pattern data used for hatching.
Point data for the hatch base point is output from the Bp terminal.
Numerical data representing angles is output from the R terminal.
Numerical data from the scale is output via the S terminal.
The Sb terminal outputs either True or False to determine whether to include the frame border.
The Bc terminal outputs background color information.
The Fs terminal outputs the color information for the hatching lines.
List of Grasshopper articles using Model Hatch component↓

Comment