
![[Grasshopper] How to use Plane to set plane data](https://iarchway.com/wp-content/uploads/2025/09/Plane.png)
This section explains how to use Plane to set plane data.
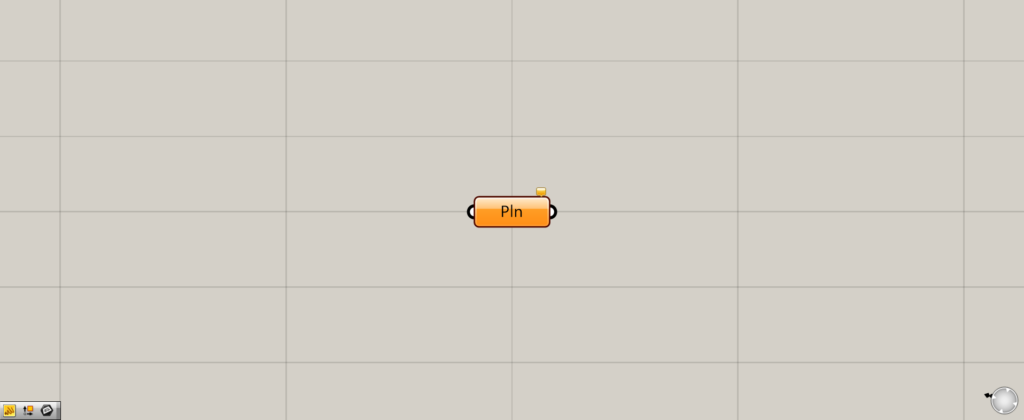
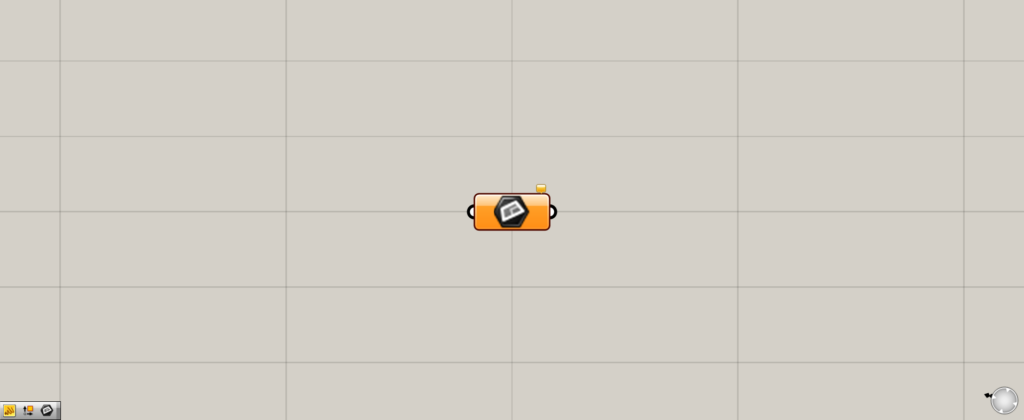
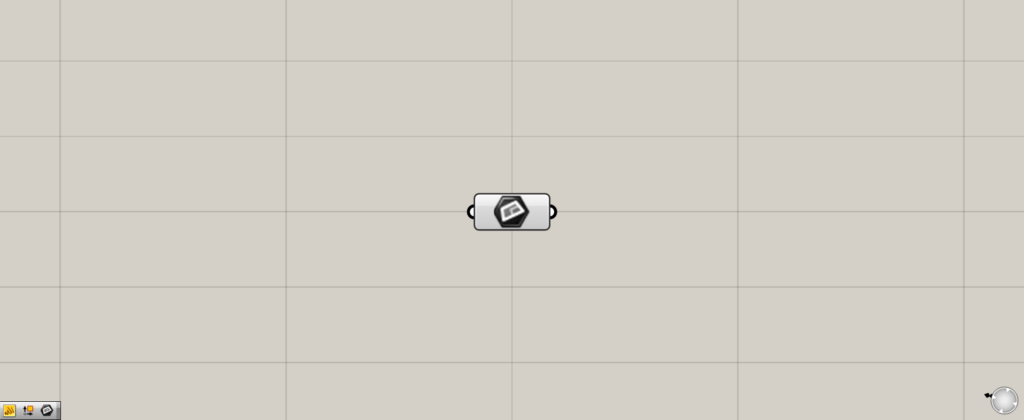
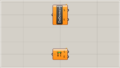
On the Grasshopper, it is represented by either of the two above.
Setting Plane data
Plane can be used to set plane data.
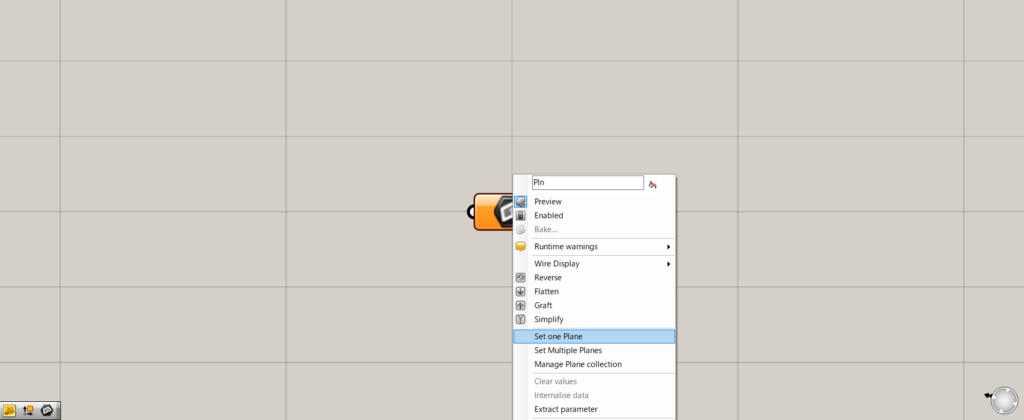
First, let’s set a single plane.
Right-click on Plane and select “Set one Plane”.
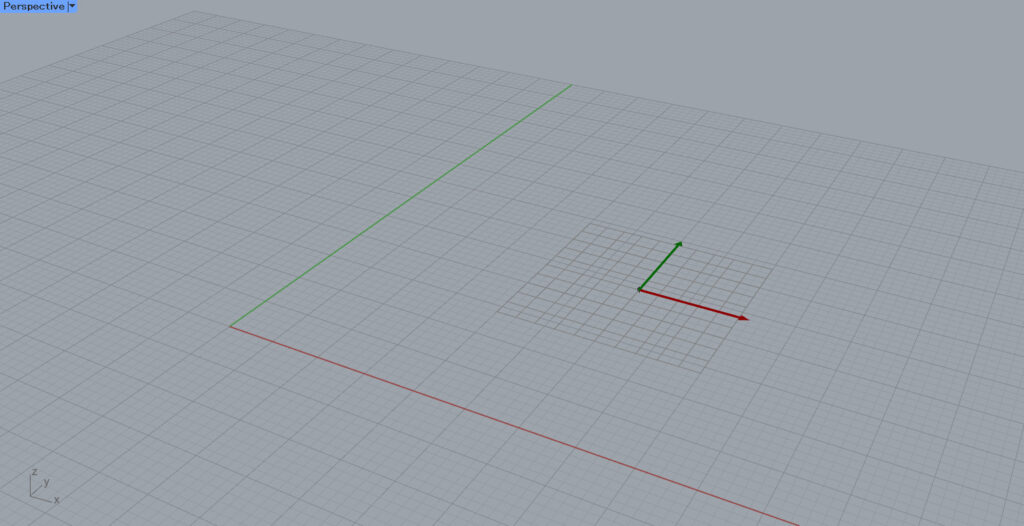
Click on the location where you want to create the plane on Rhino.
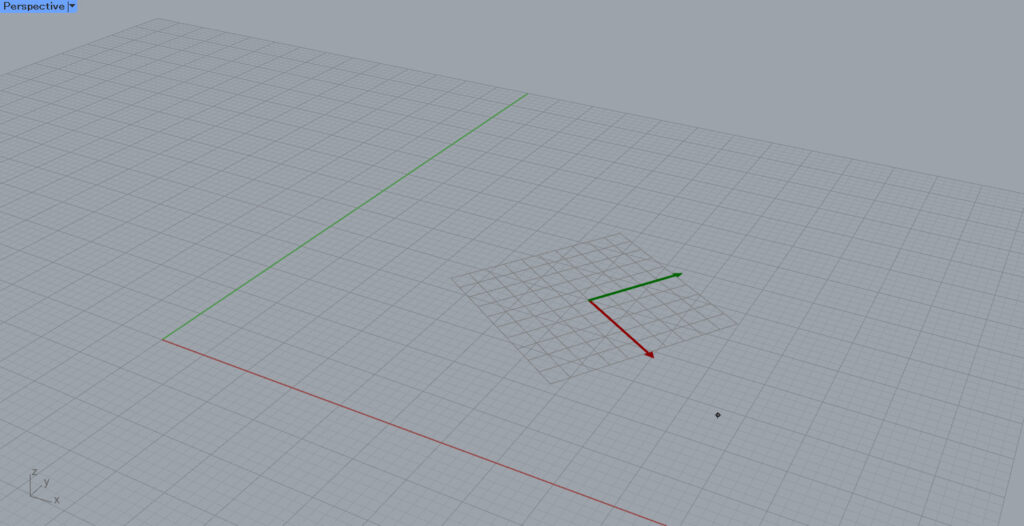
Then, determine the angle of the plane.
Finally, determine the slope of the plane.
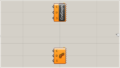
When the plane is set, the color of the plane changes from orange to white.
We have now set one plane.
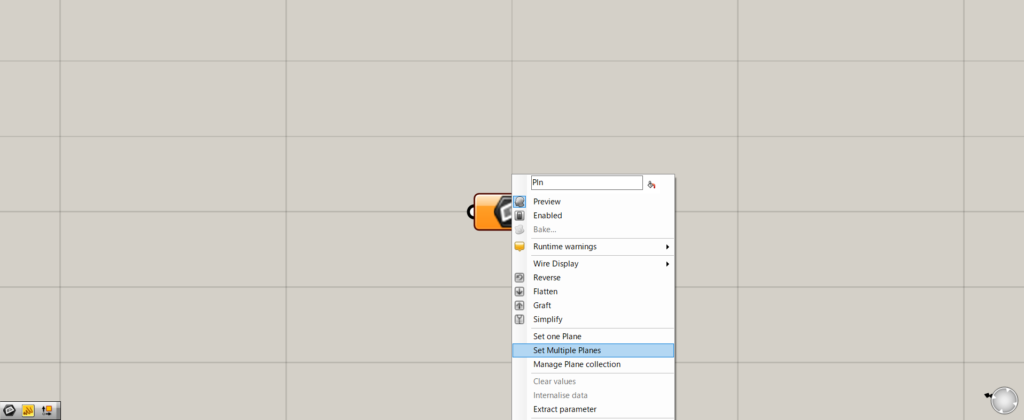
To set multiple planes, select “Set Multiple Planes”.
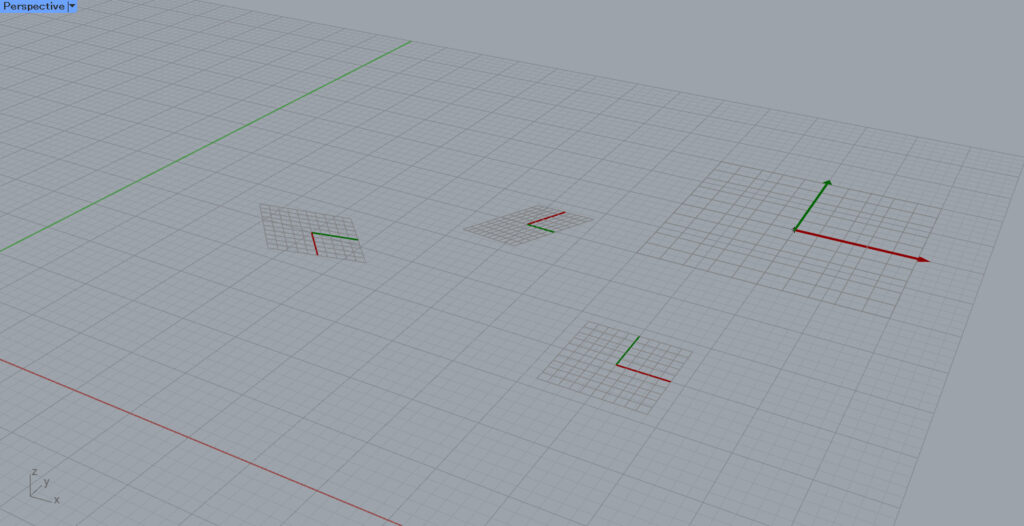
This will allow you to create and set not only one, but multiple planes at once.
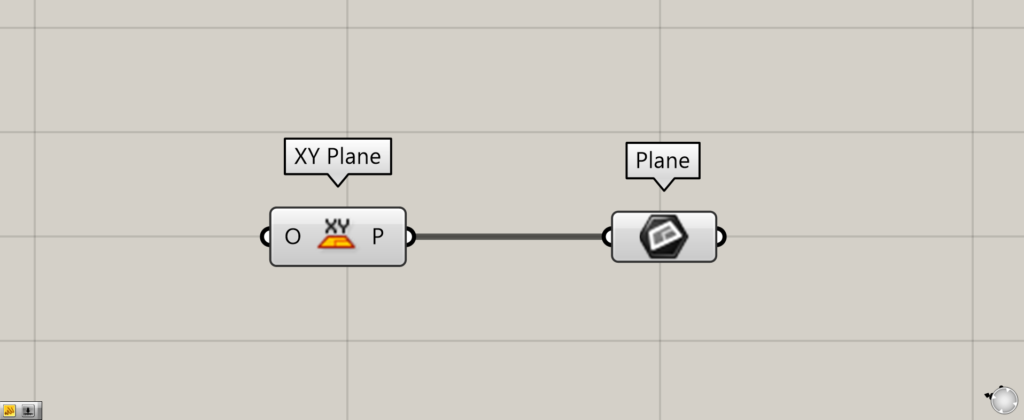
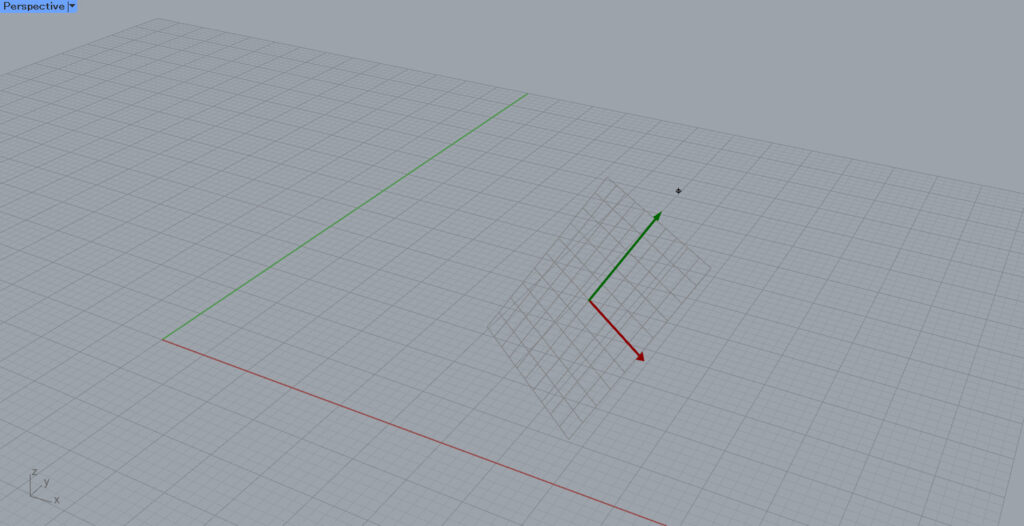
You can also set existing planes on Grasshopper by connecting it to the plane.
In the image above, a plane created with an XY Plane is set to the Plane.
Editing a Set Plane
Set planes can also be edited.
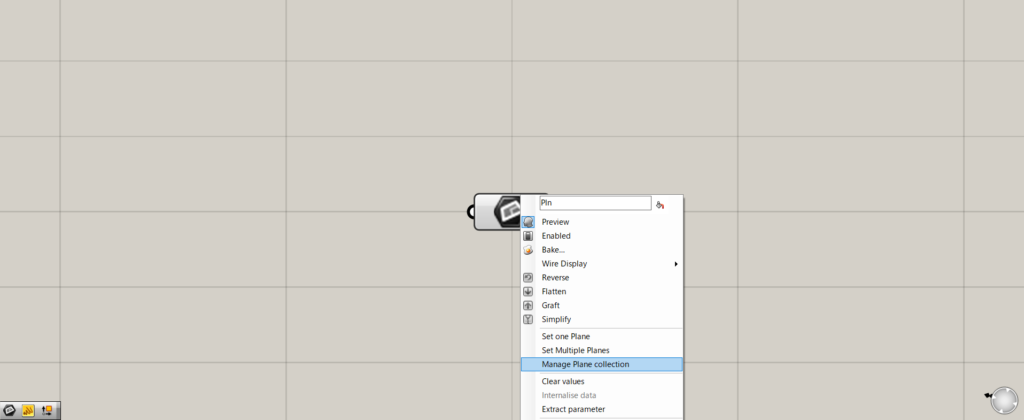
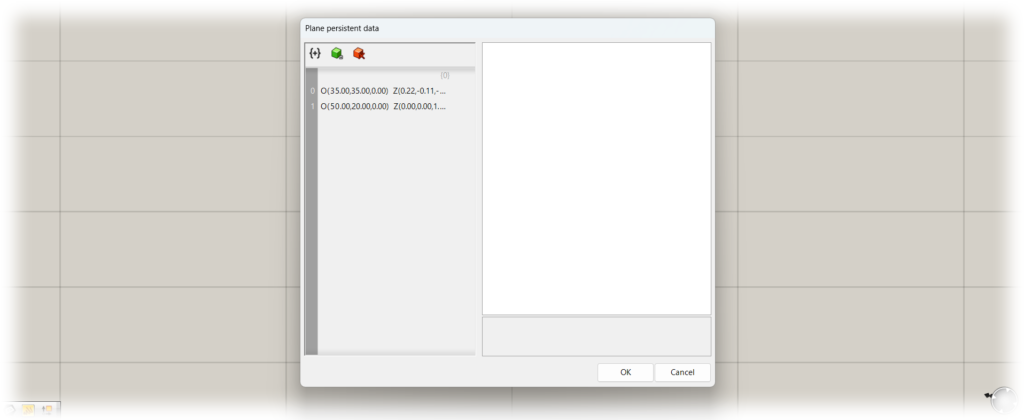
To do so, right-click on the plane and select “Manage Plane collection”.
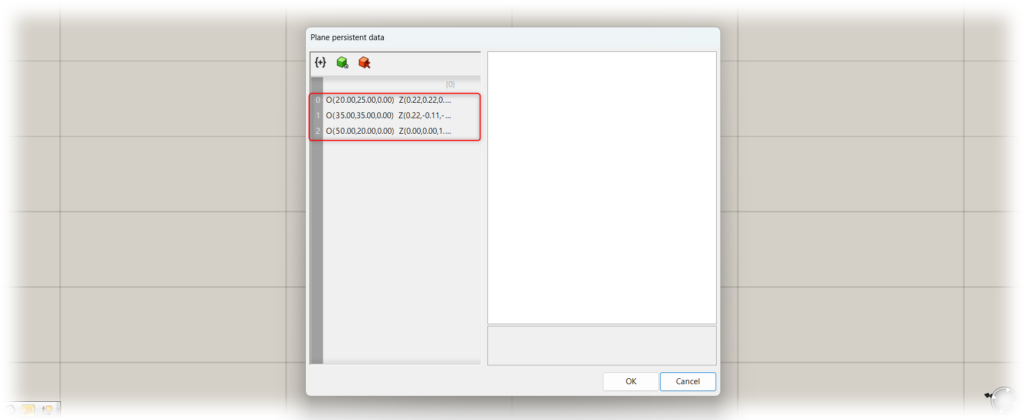
A window similar to the one shown here will appear.
In this case, there are three data on the left side.
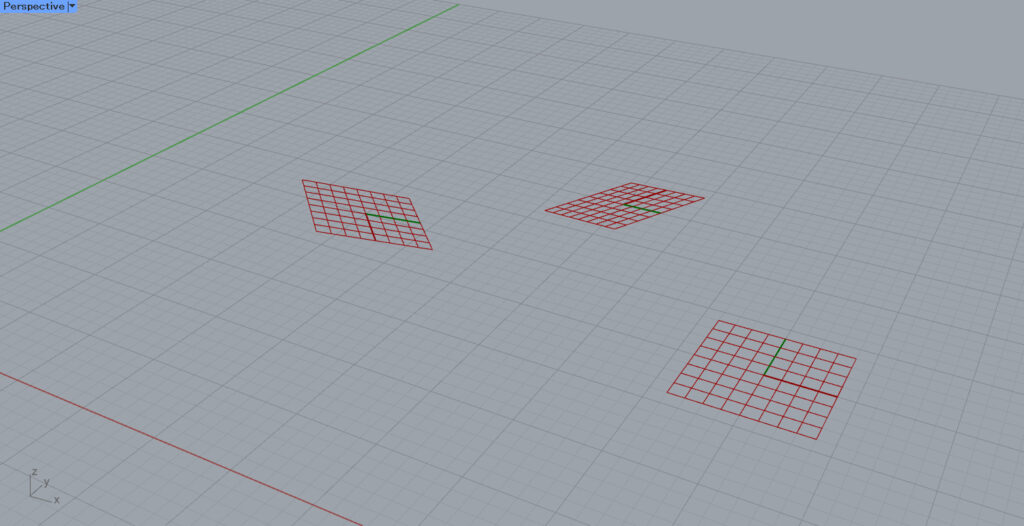
This is because the currently set planes are the three shown in the image above.
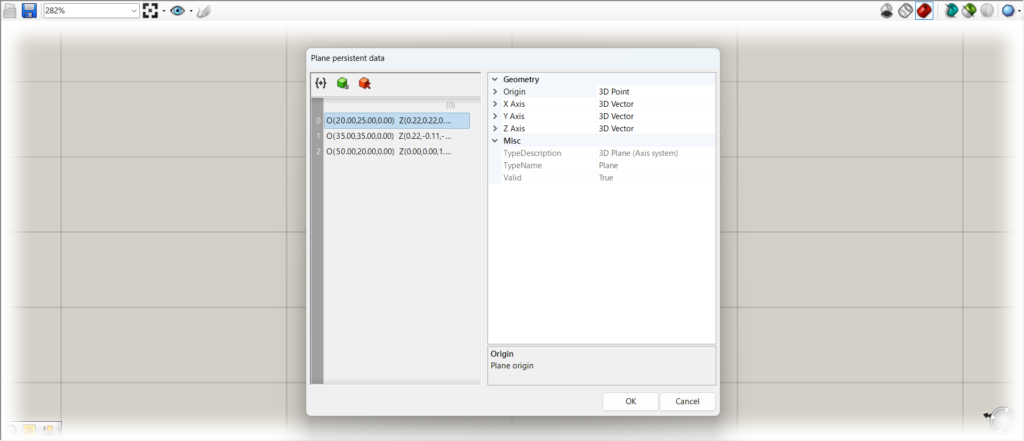
Select the plane you wish to edit, and the edit window will appear on the right.
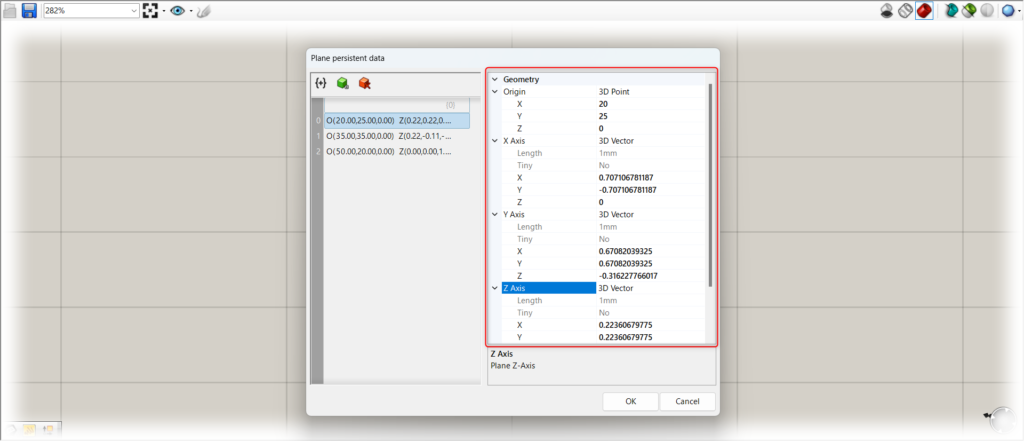
Here, you can set the coordinates and XYZ axes of each plane.
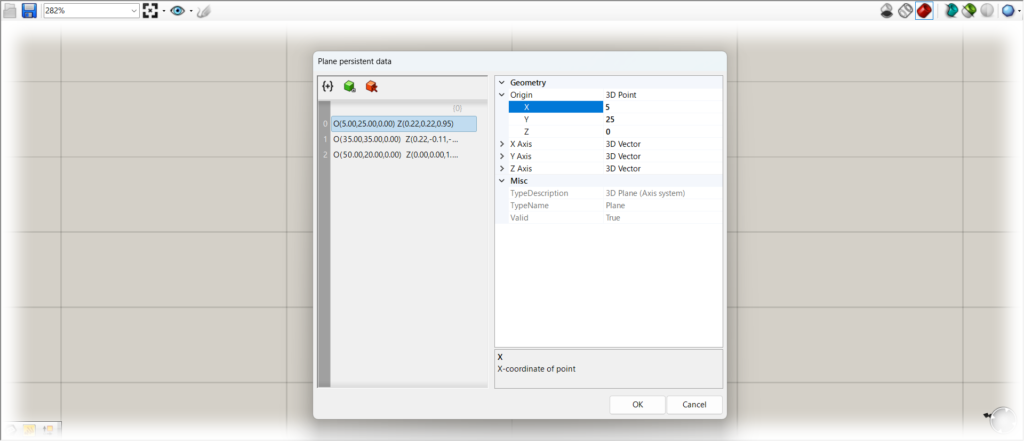
In this case, let’s change the coordinates.
We changed the value of X from 20 to 5.
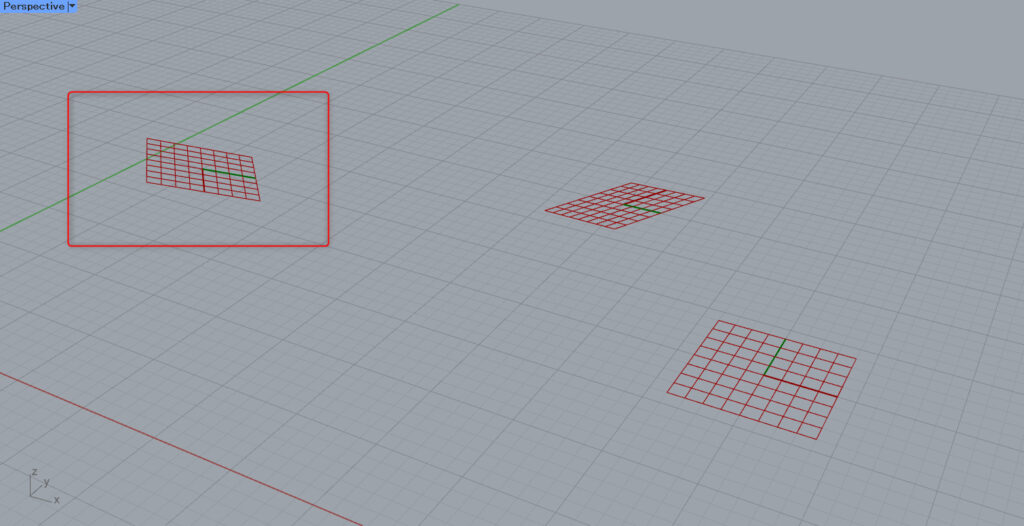
Then, the plane also moves because the coordinates have changed.
As you can see, you can edit the plane information.
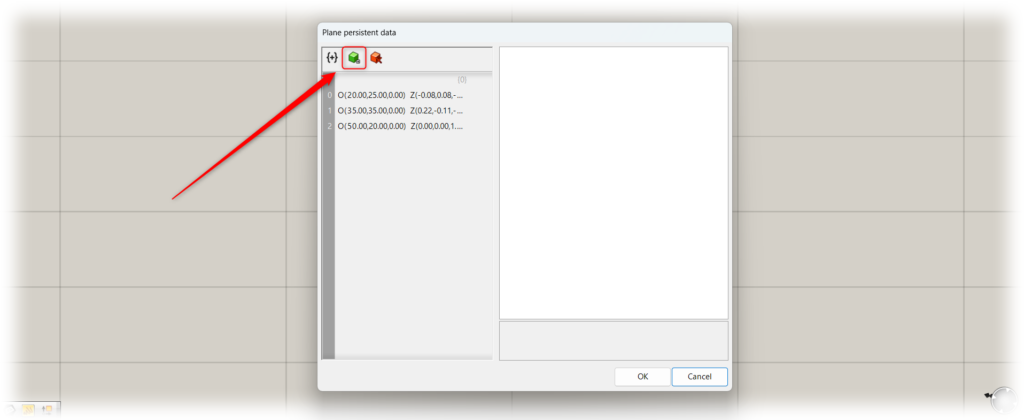
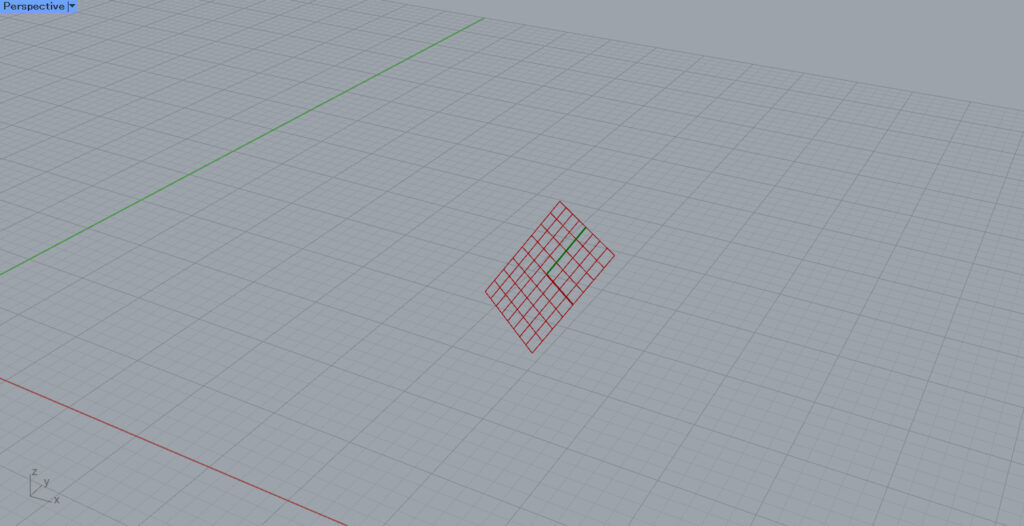
You can also add or remove planes from this window.
To add a plane, click on the green icon.

This will add a new plane.
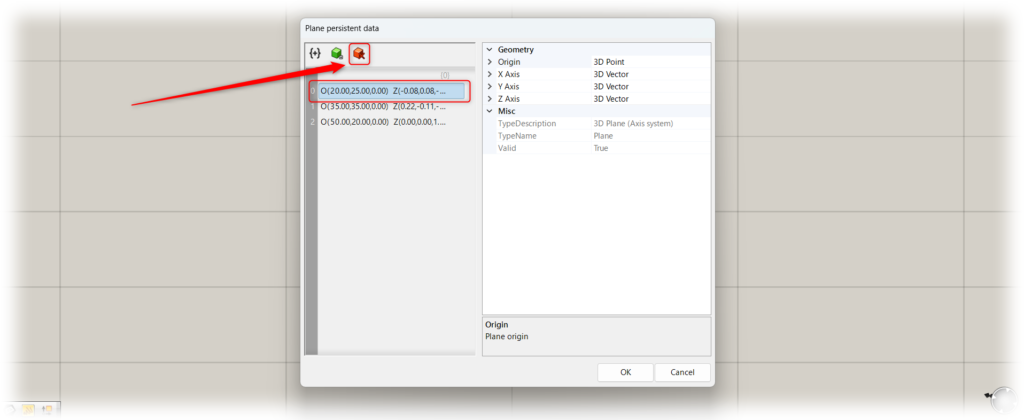
To delete a plane, click on the red icon while the plane you wish to delete is selected.
The selected plane is then deleted.
List of Grasshopper articles using Plane component↓


Comment