
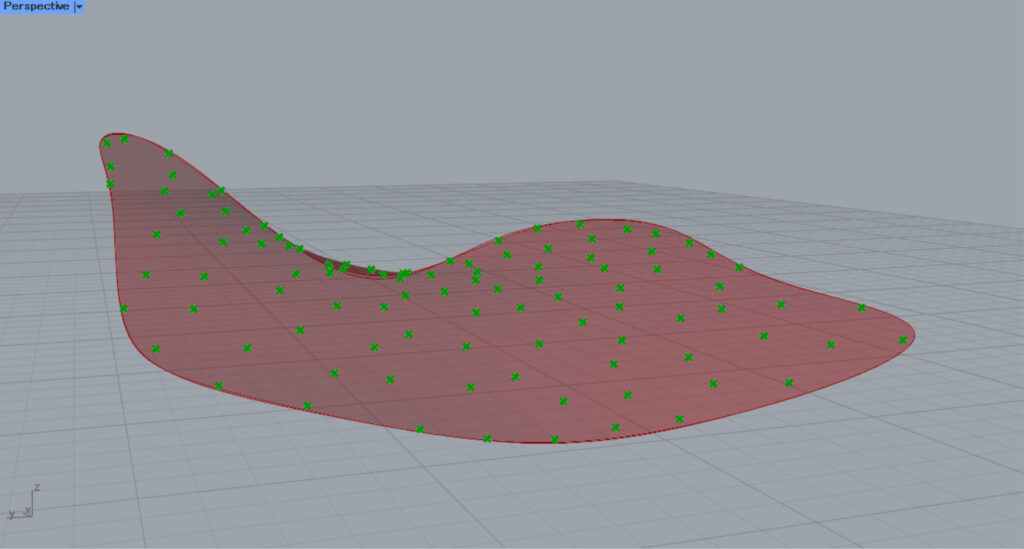
![[Grasshopper] How to use Populate 2D to create random points within an enclosed line](https://iarchway.com/wp-content/uploads/2025/10/Populate-2D.png)
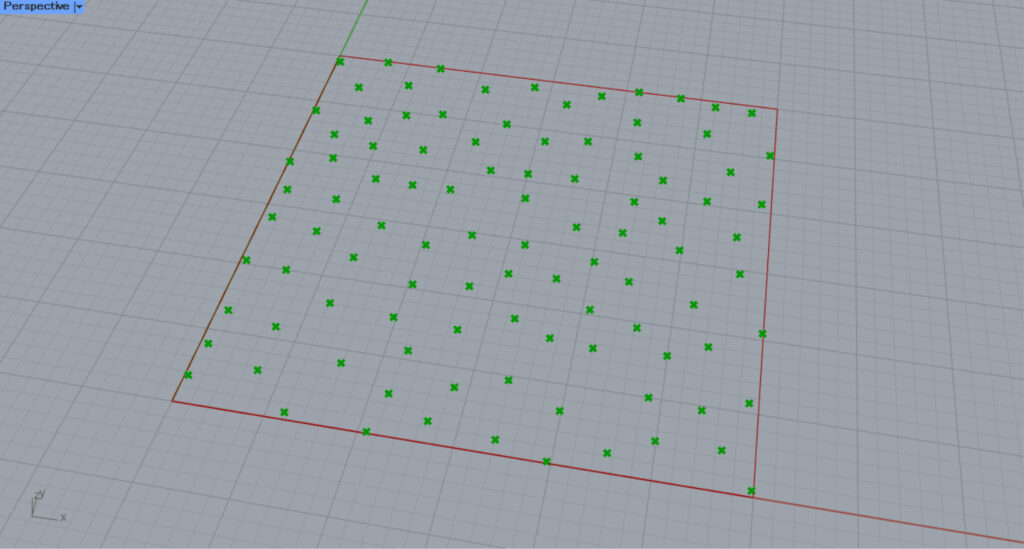
This article explains how to use Populate 2D to create random points within an enclosed line.
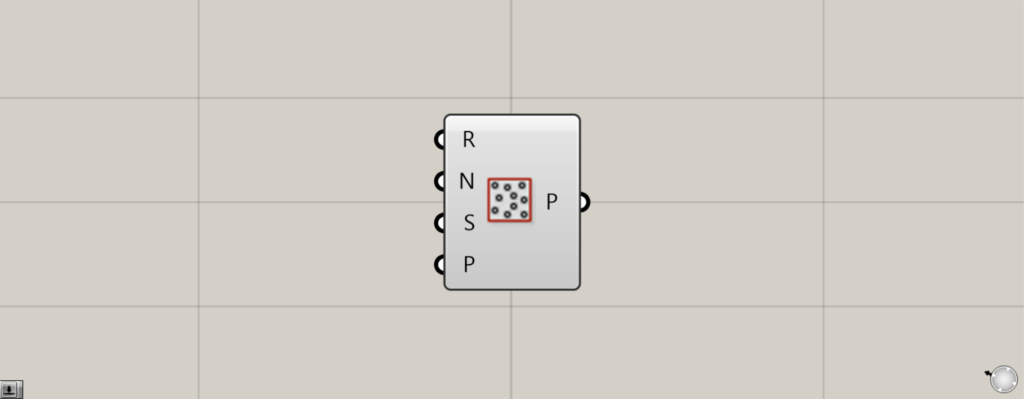

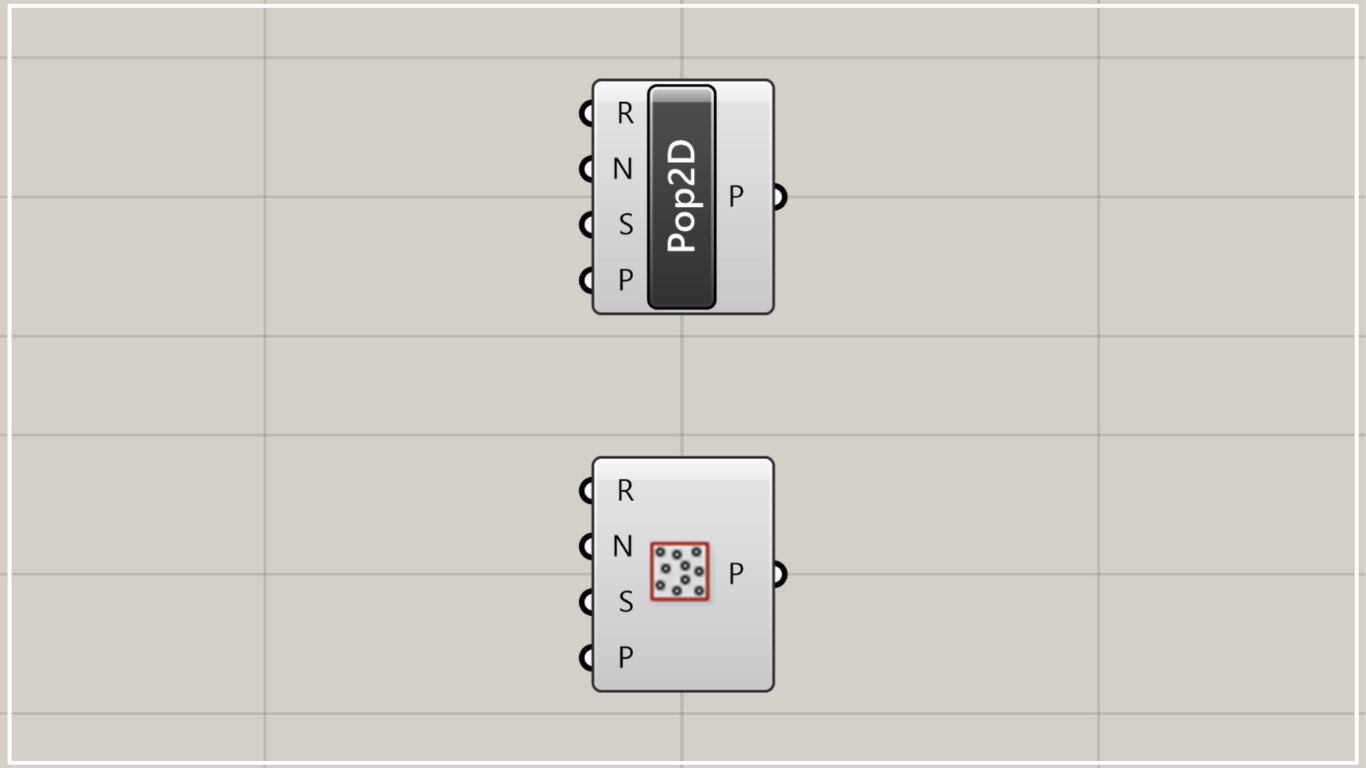
On the Grasshopper, it is represented by either of the two above.
Creating a random point within an enclosed line
Populate 2D can be used to create random points within an enclosed line.
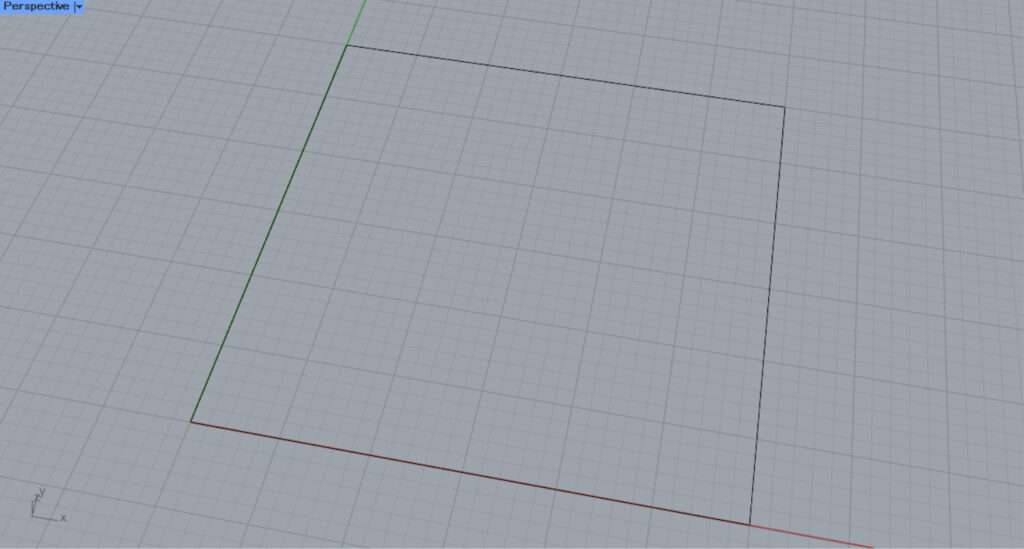
We will start with a square line data on Rhino.
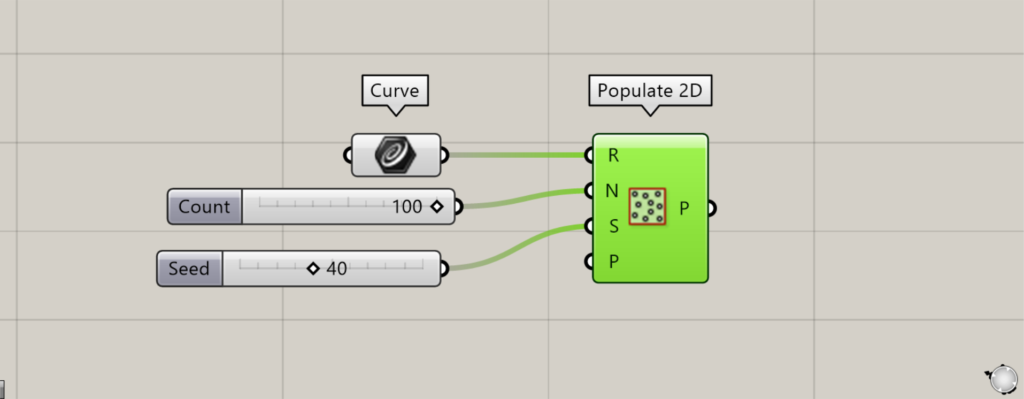
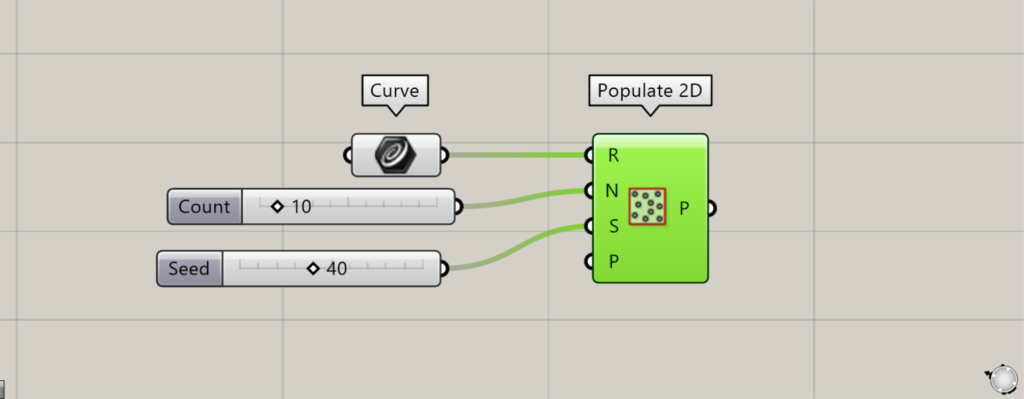
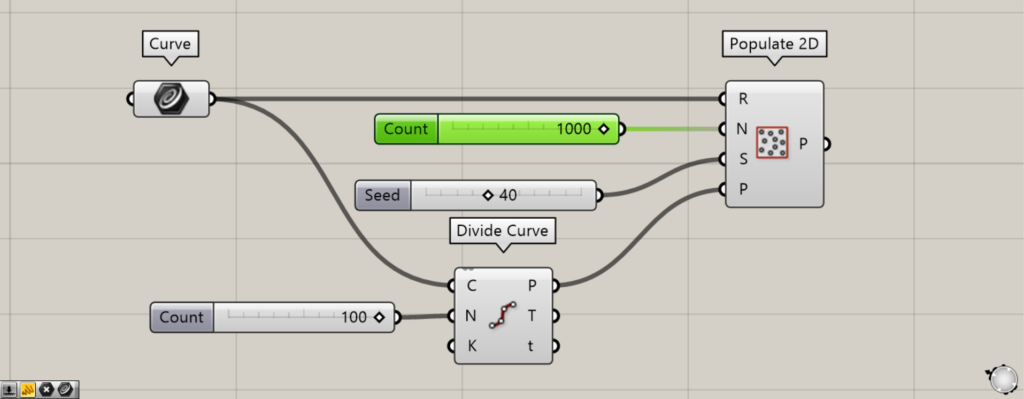
Components used: (1) Curve (2) Populate 2D
First, the square line data is set in Curve.
Then, input the number of points to the Populate 2D(N).
In this case, 100 is entered.
In addition, input the seed value of the randomness to the Populate 2D(S).
In this case, 40 is entered.
As an example, if we connect the Number Slider, which can be changed from 1 to 100, to the S terminal, we can create 100 different patterns.
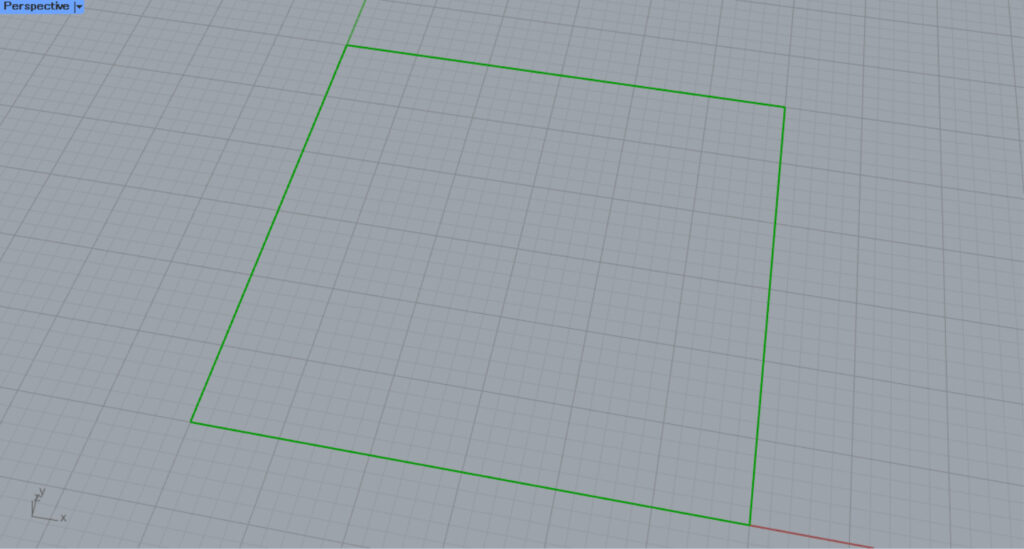
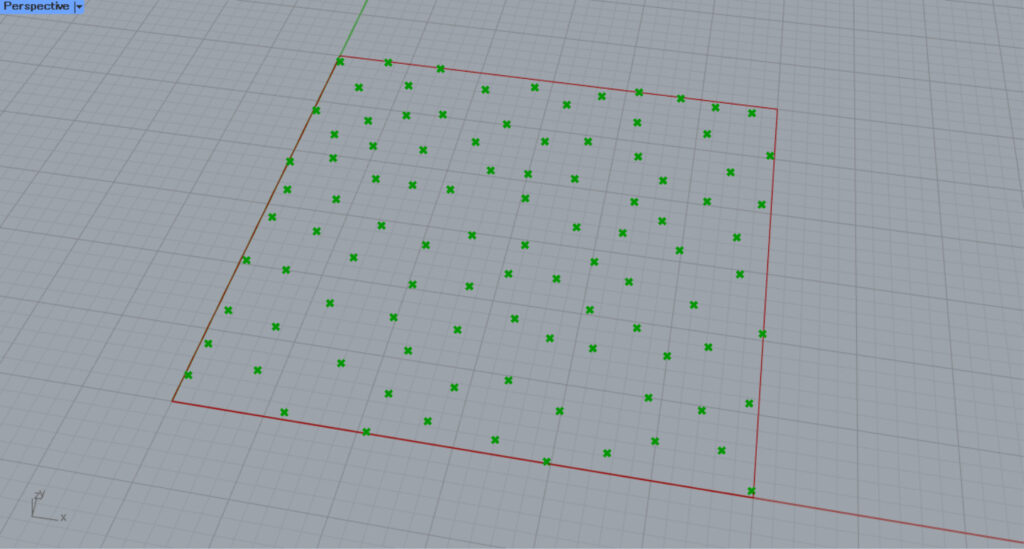
Then, as shown in the image above, a random point is created inside the square.
In this case, 100 random points were created.
We changed the value of the Populate 2D(N) and set the number of points to 10.
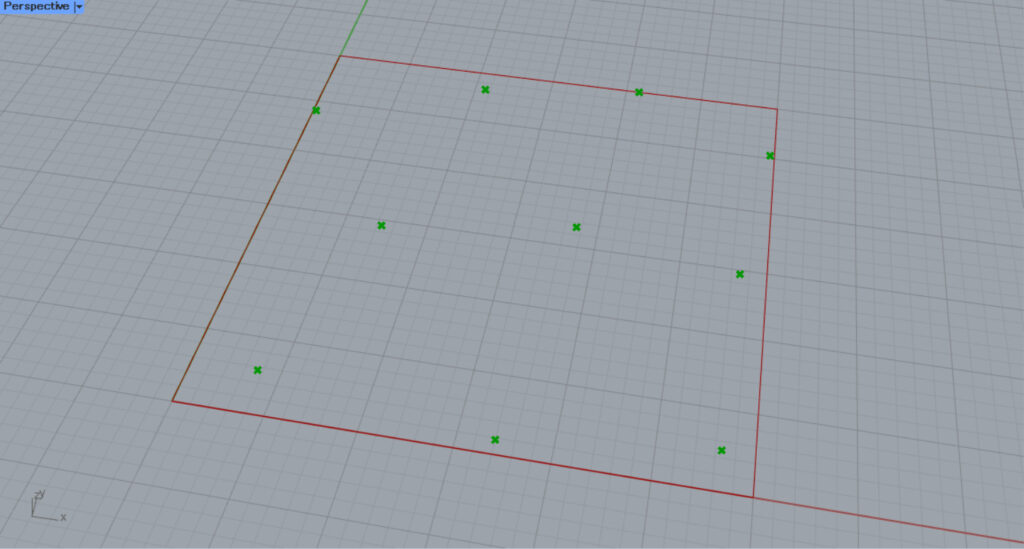
The number of points was then reduced to 10, as shown here.

This time, we set the seed value of the Populate 2D(S) to 64.
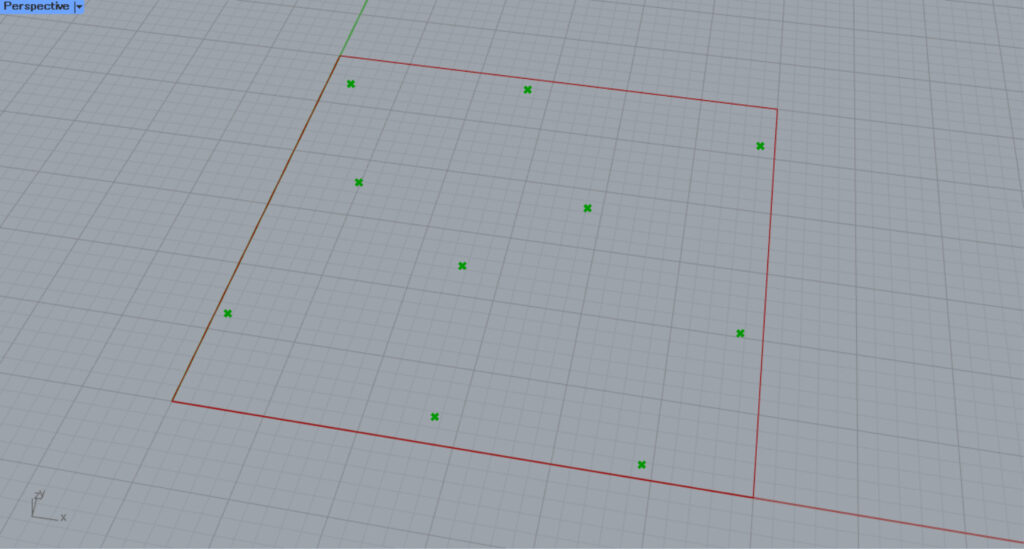
As you can see, the randomness was changed and the arrangement of the points was changed.
In this way, the number of points and randomness can be freely adjusted.
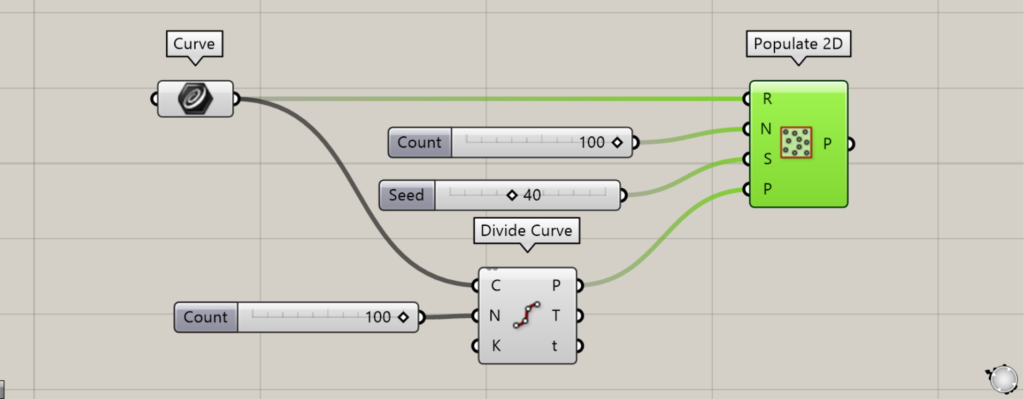
Additional component: (1) Divide Curve
By specifying an existing point at the Populate 2D(P), new points will not be placed around that point.
In this case, we created a point from a square with Divide Curve.
Connect Curve to the Divide Curve(C).
Input the number of line divisions to the Divide Curve(N).
In this case, enter 100.
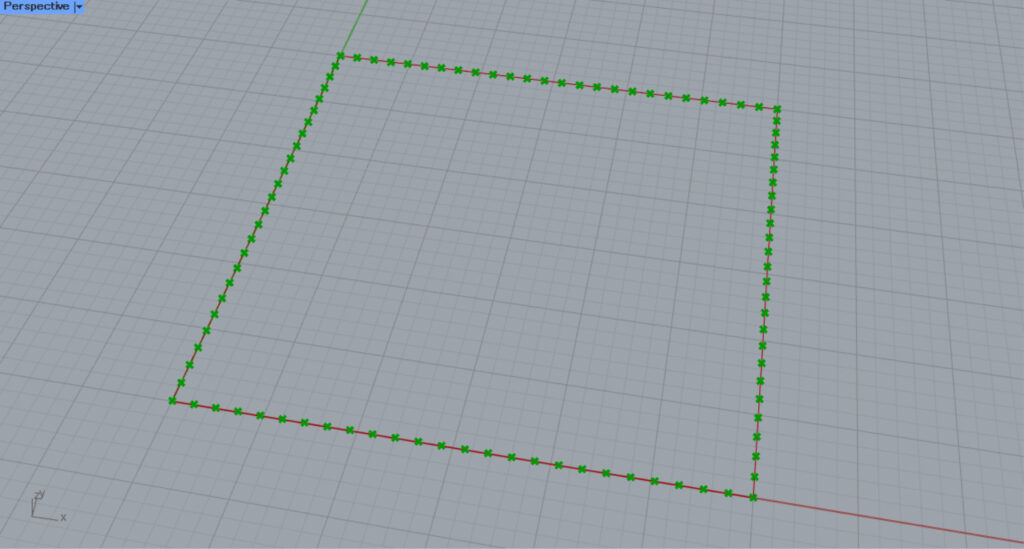
Points are now created at the position where the line is divided at equal intervals.
In this case, the points are created at the position where the square is divided into 100 equal parts.
Then, connect the Divide Curve(P) to the Populate 2D(P).
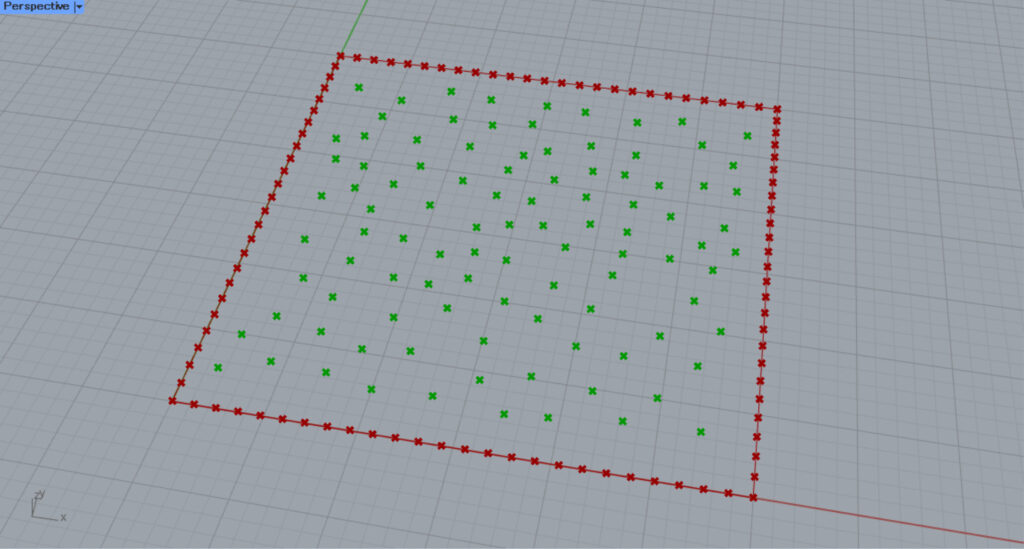
Now, no new points are created around the point at the position of the square.
Here are the original points without the Populate 2D(P), and a points are also created at the square line position.
Thus, by specifying an existing point at the Populate 2D(P), a point is no longer created around it.
As the number of points is increased and the density of points is increased, the points will approach the points that were specified for the Populate 2D(P).
Set the value of the Populate 2D(N) to 1000.
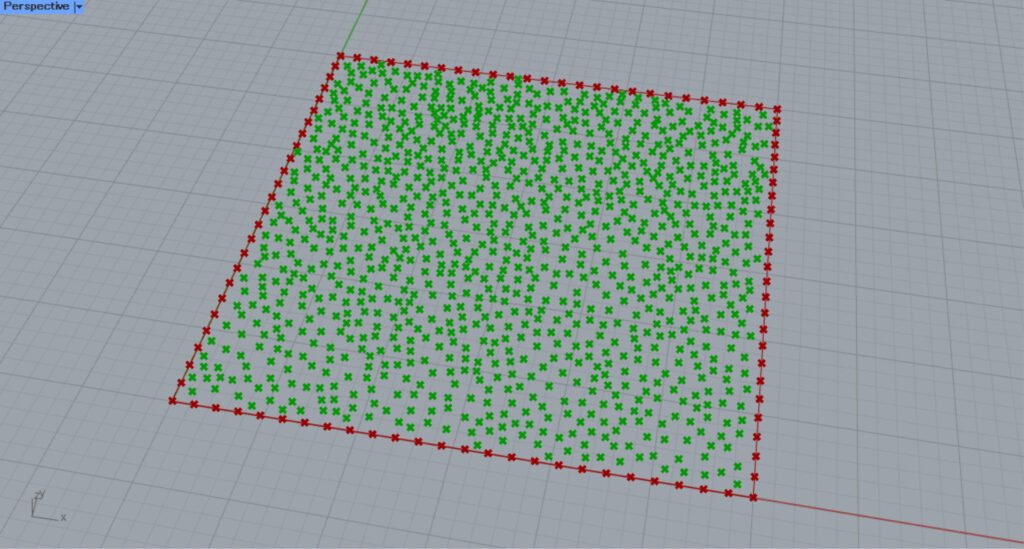
Note that as the density of points increases in this way, even if you specify points at the Populate 2D(P), it will still be somewhat close to the points.
For line data other than square or rectangle
For line data other than square or rectangular, a virtual square or rectangular area is created and points are randomly created within it.
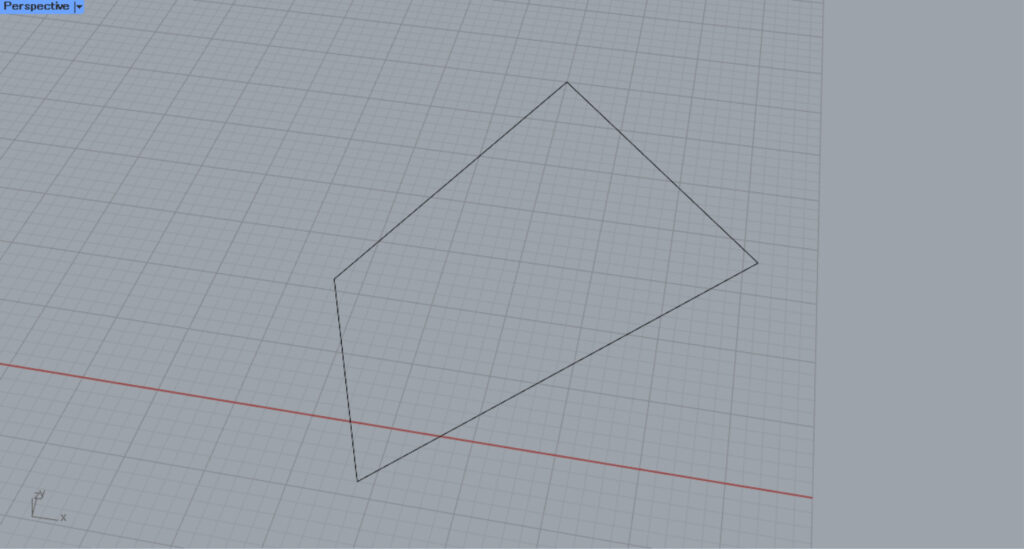
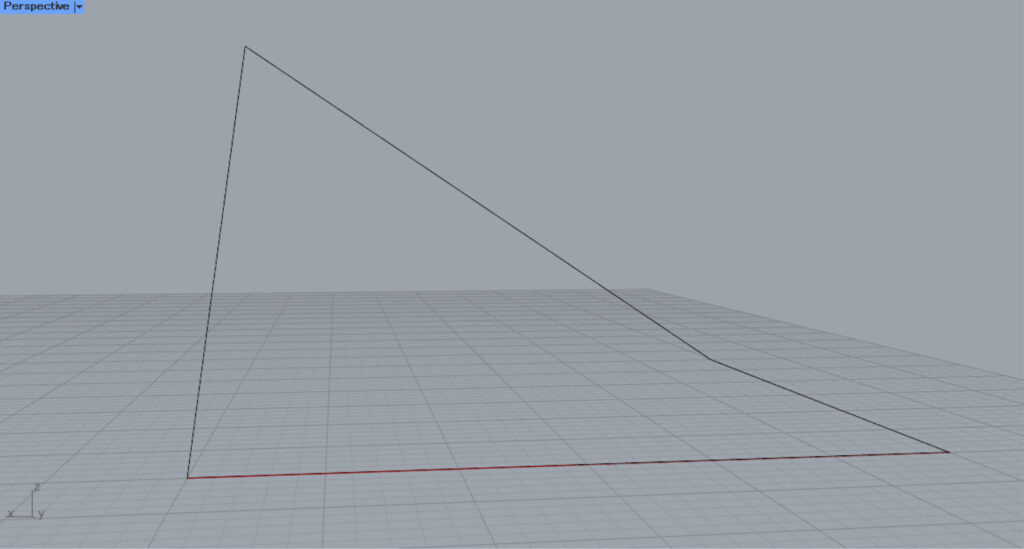
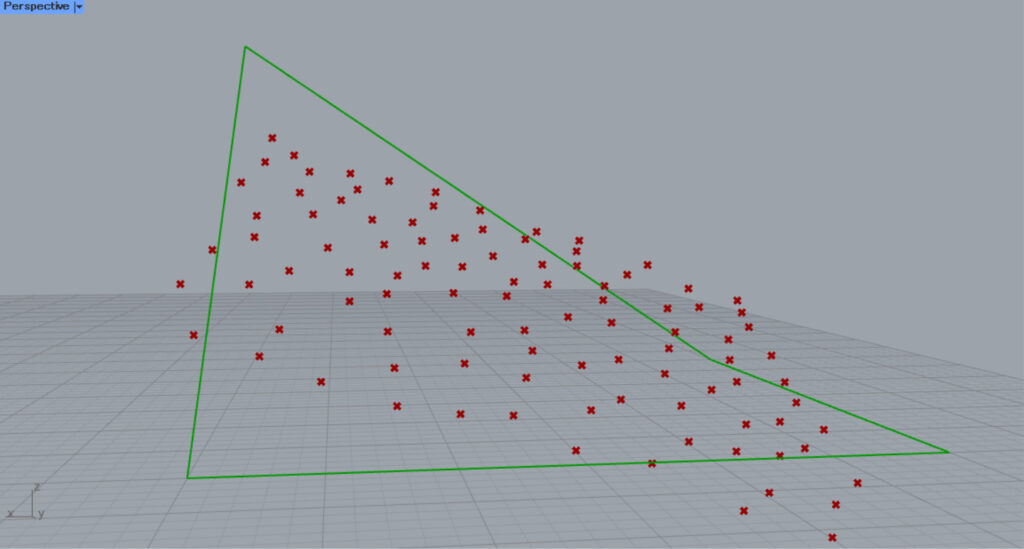
Let’s try to use a rectangular line data that is neither a square nor a rectangle.
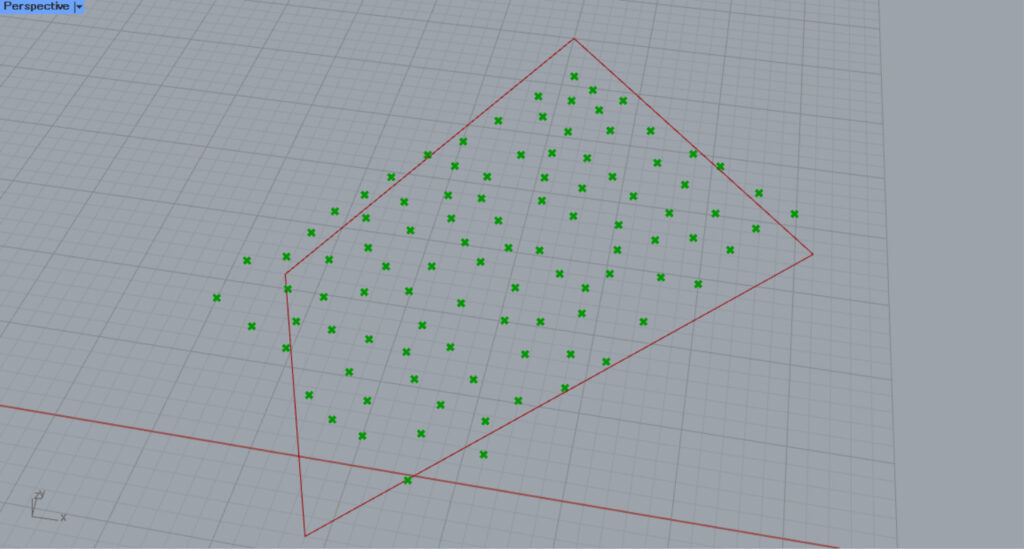
Then, the randomly created points extend beyond the rectangle’s borders, as shown here.
This is because the unequally shaped rectangle is forced to be virtually modified into a square or rectangular area, and points are created within it.
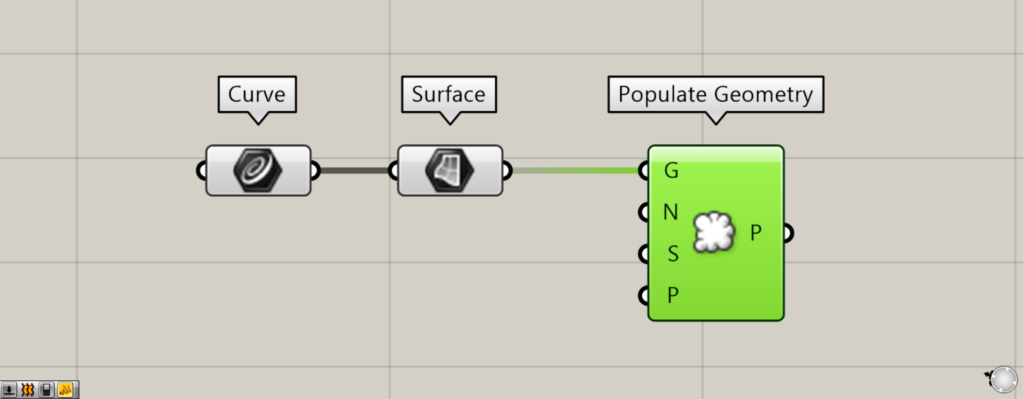
Additional components: (1) Surface (2) Populate Geometry
In this case, we convert the closed line data to a surface and use Populate Geometry.
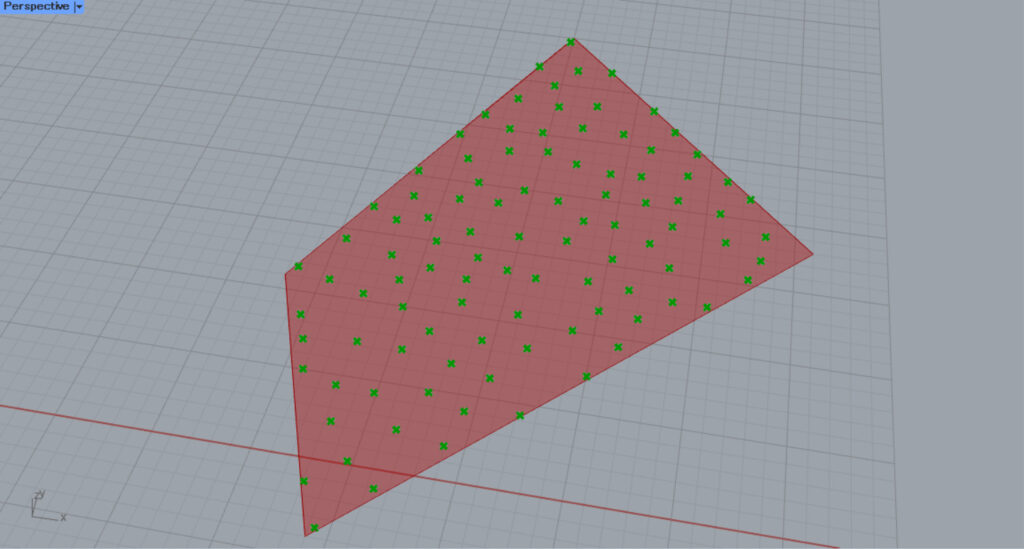
In this case, the line is converted to a surface with Surface.
In this case, points will be created on the model, so the point will not extend beyond the border in this case.
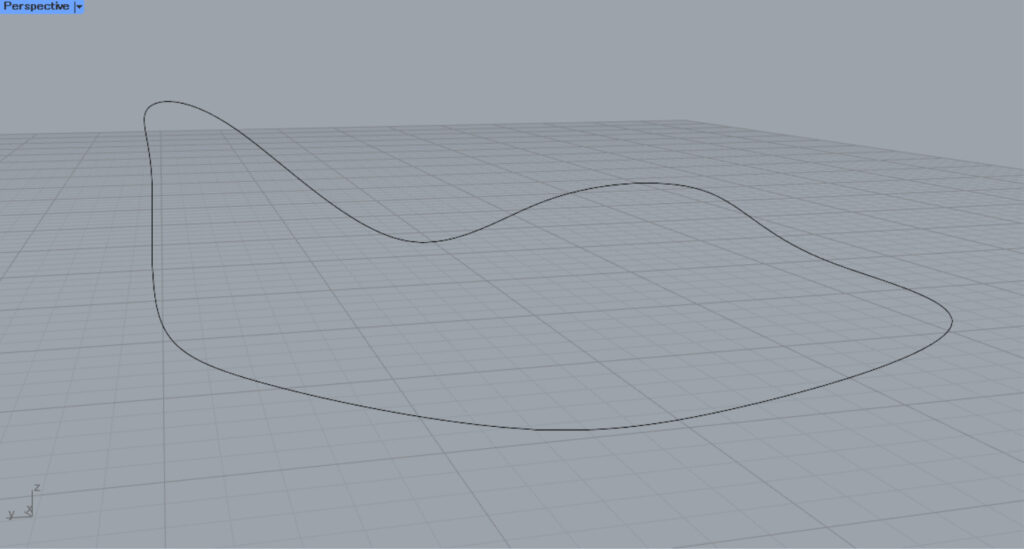
Let’s look at the case where the border is three-dimensional.
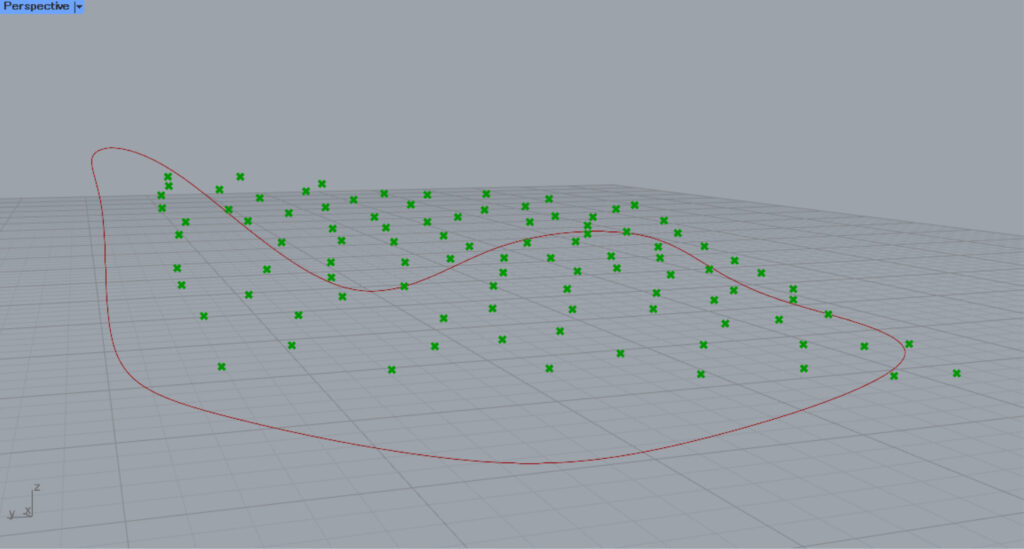
If the border is three-dimensional, it is also forced to be converted to a two-dimensional square or rectangle, and a point is created within the square or rectangle.
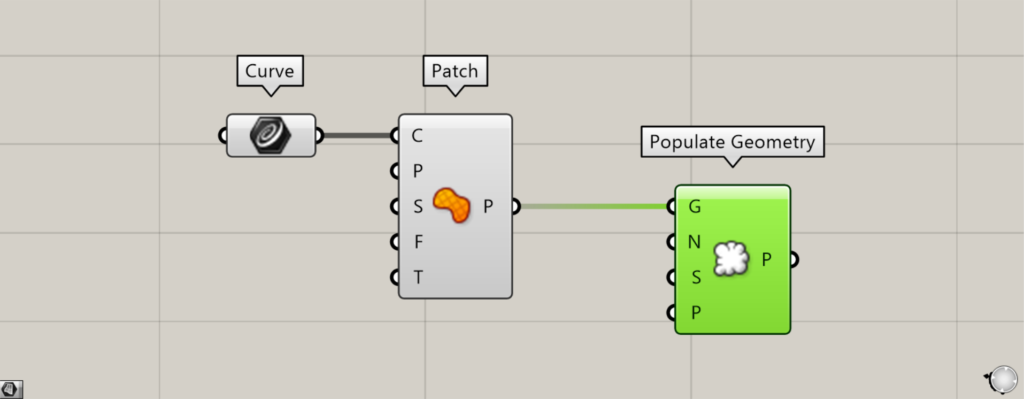
Additional components: (1) Patch
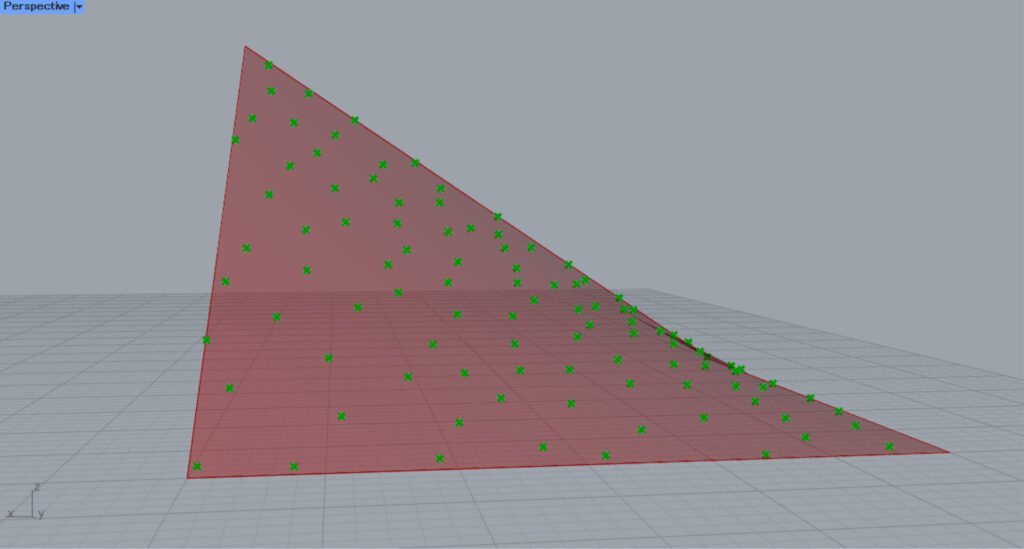
These cases can also be solved by converting to a surface and then using Populate Geometry.
In this case, Patch is used to convert it to a surface.
List of Grasshopper articles using Populate 2D component↓

Comment