
![[Grasshopper] How to use Populate 3D to create random points within a volume](https://iarchway.com/wp-content/uploads/2025/07/Populate-3D.png)
This article explains how to use Populate 3D to create random points within a volume.
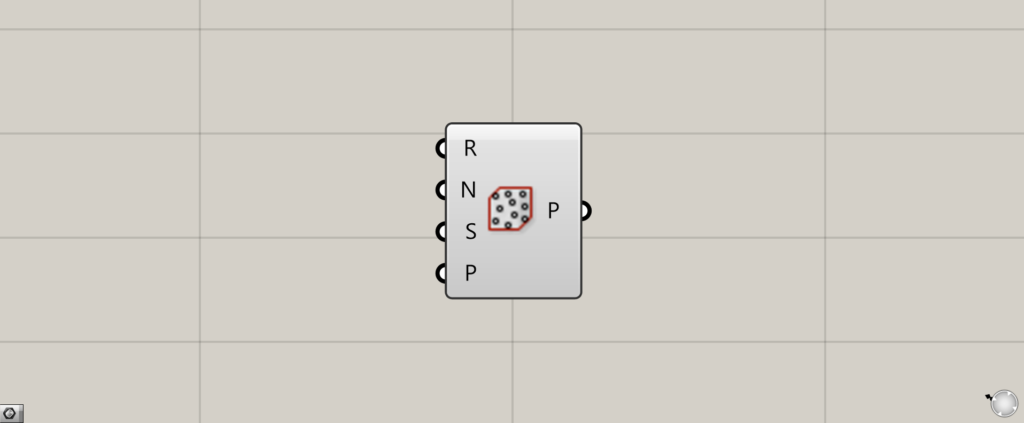
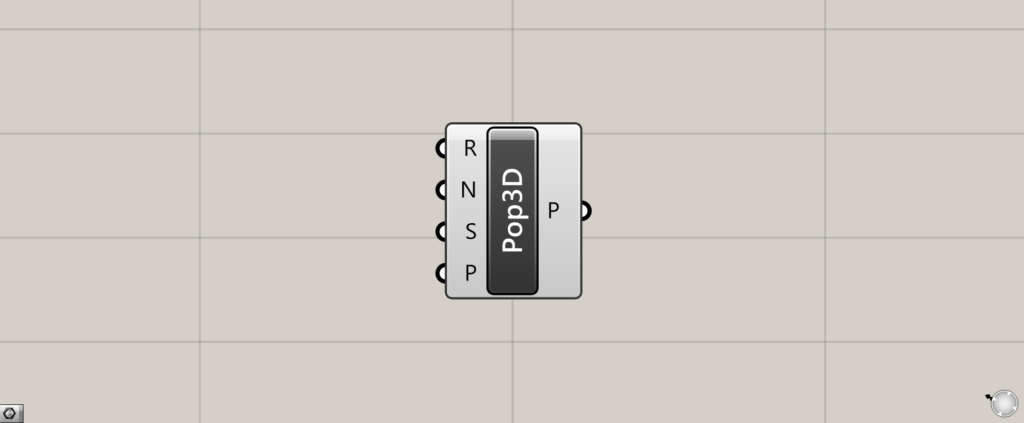
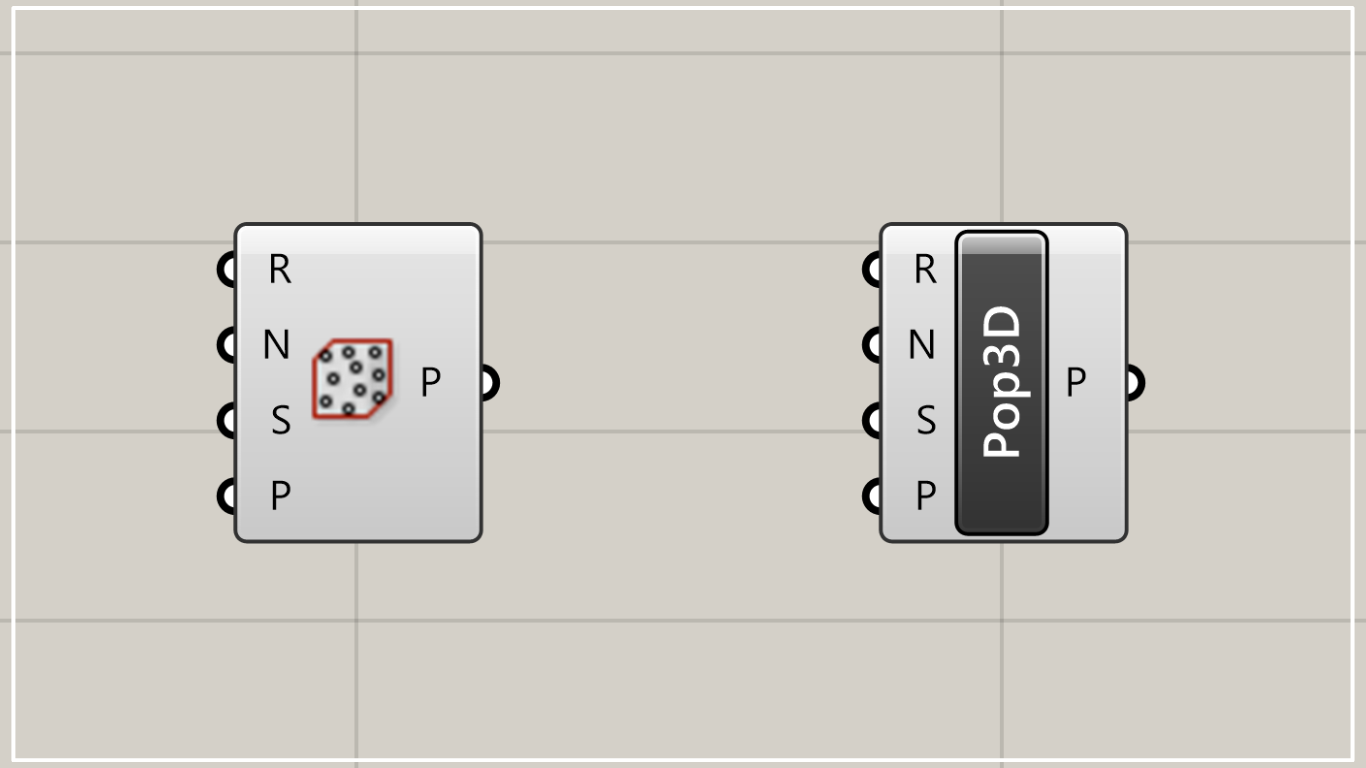
On the Grasshopper, it is represented by either of the two above.
Creating random points within a specified volume
Populate 3D allows you to create random points within a specified volume.
The volume you specify can be of various types, such as solids, brep objects, meshes, SubD, etc.

In this article, we will use this volume for this explanation.
Populate 3D Basics

Here are the basics of Populate 3D.
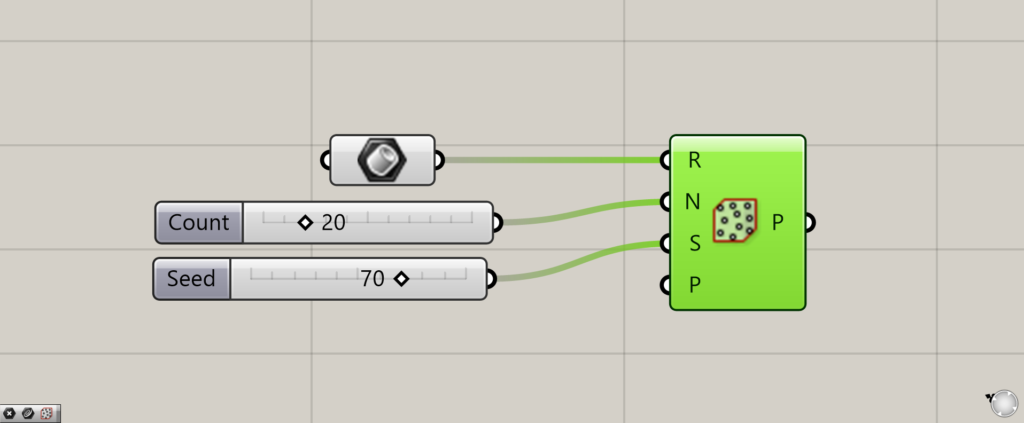
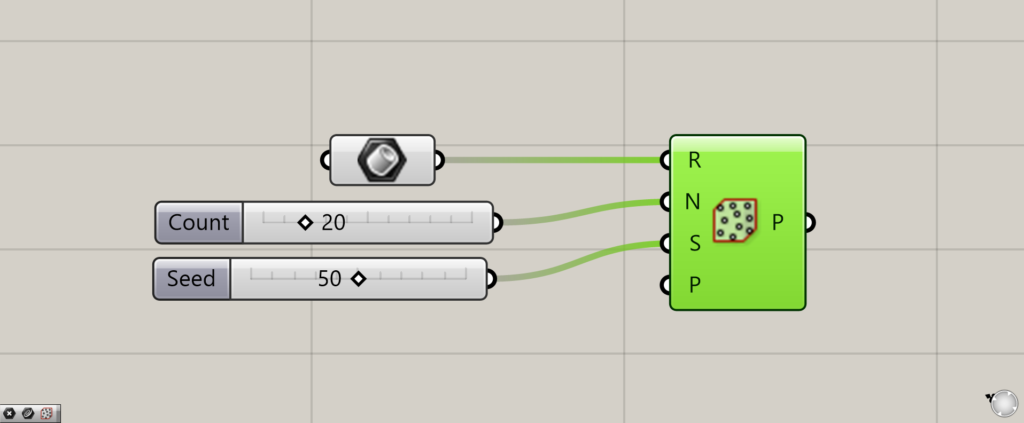
Connect a volume to the Populate 3D(R).
In this case, we are connecting the volume set in the Brep.
Enter a numerical value for the number of points you want to create in the Populate 3D(N).
Input the seed value of the random number that will produce a random result by changing the value to the Populate 3D(S).
In the Populate 3D(P), set the point data for the location where you want to ensure the creation of a point, which will be explained in detail later.
Changing the number of points

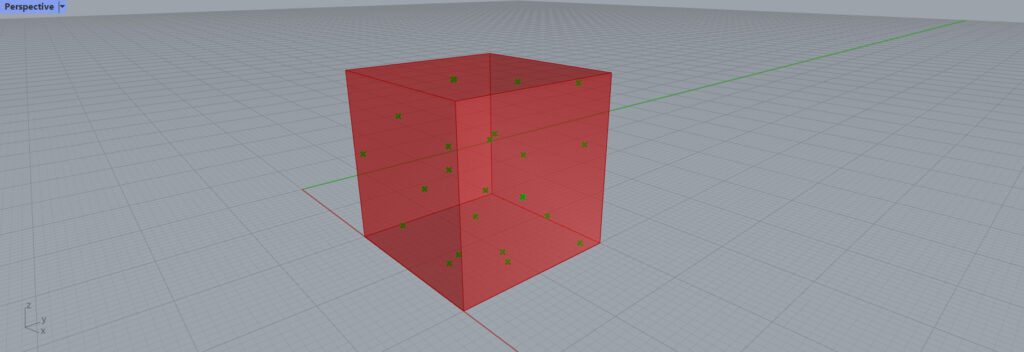
By entering 20 in the Populate 3D(N), we were able to create this level of points.

We changed the value of the Populate 3D(N) to 100.

The number of points was then increased as shown here.
Changing the seed value (random number)
Now we change the seed value of the Populate 3D(S).
By changing this value, we can change the randomness of the placement of the points.

With a seed value of 70, the points look like this.
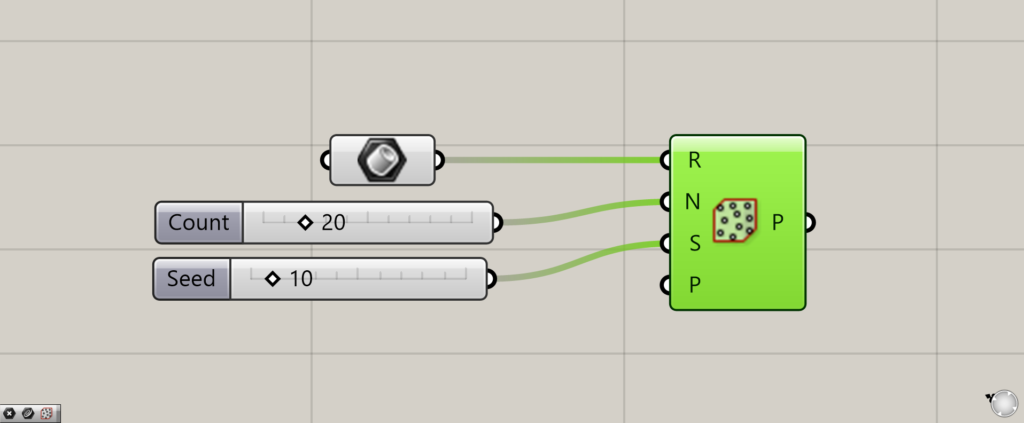
We set the seed value to 10.
As a result, the placement of the points change again.
As you can see, by changing the seed value, various point patterns can be generated.
Set the point data for the location where you want to reliably create points.
Populate 3D basically creates point clouds at random locations.
However, by setting point data in the Populate 3D(P), you can also create points in locations where you want to be sure to create points.
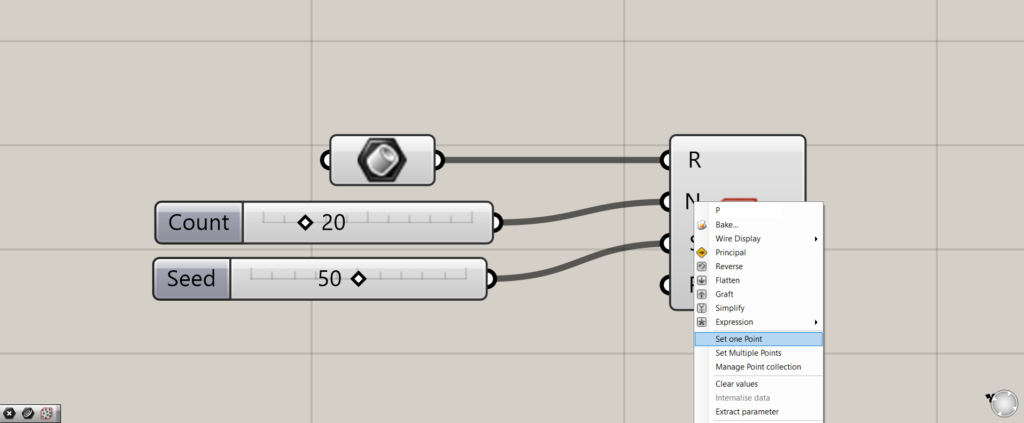
Initially, you specify the location of a single point.
Right-click on the Populate 3D(P) and select “Set one Point”.
This will bring you to the screen on Rhinoceros, where you can specify a point.
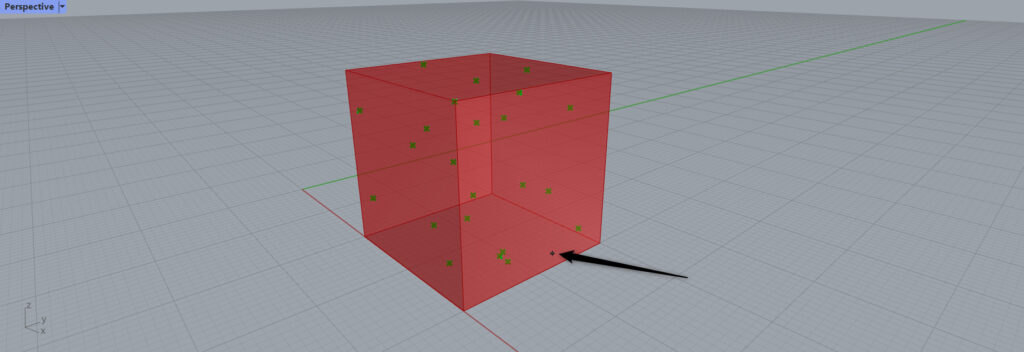
In this case, we specified a point at the black arrow.
The point designation is complete.
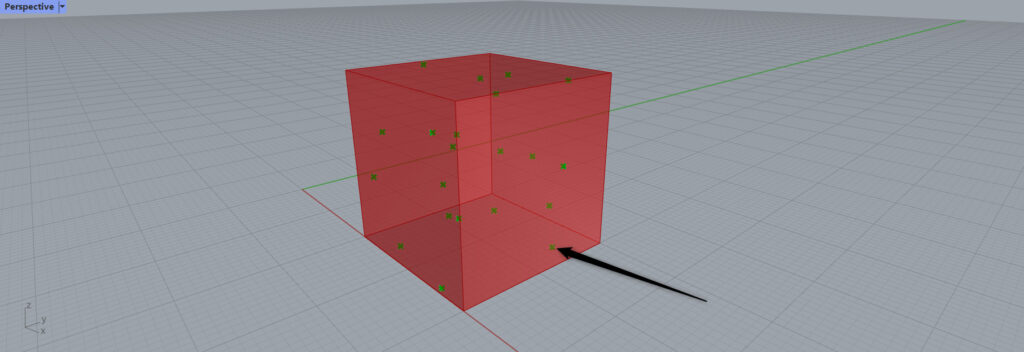
You will see that a point has been created at the specified location.
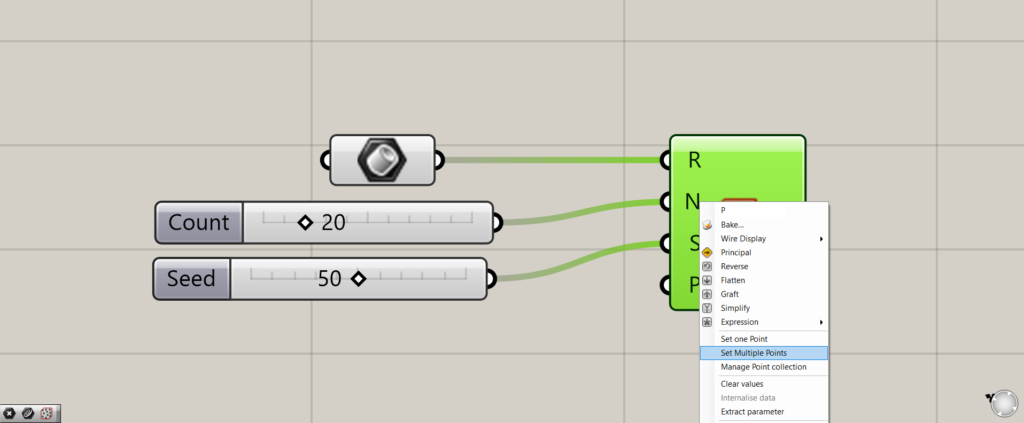
Multiple point locations can also be specified.
Right-click on the Populate 3D(P) and select “Set Multiple Points”.

Specify the positions of multiple points on Rhinoceros.
In this case, we specified the three points indicated by the black arrows.
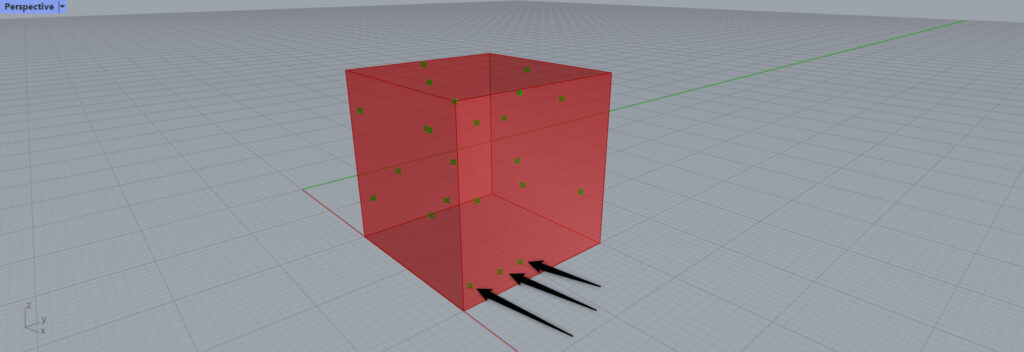
Multiple points are now created at the specified multiple locations.
In this way, you can specify some points in a non-random way.
If the volume is not box, points are created in the range of the control points
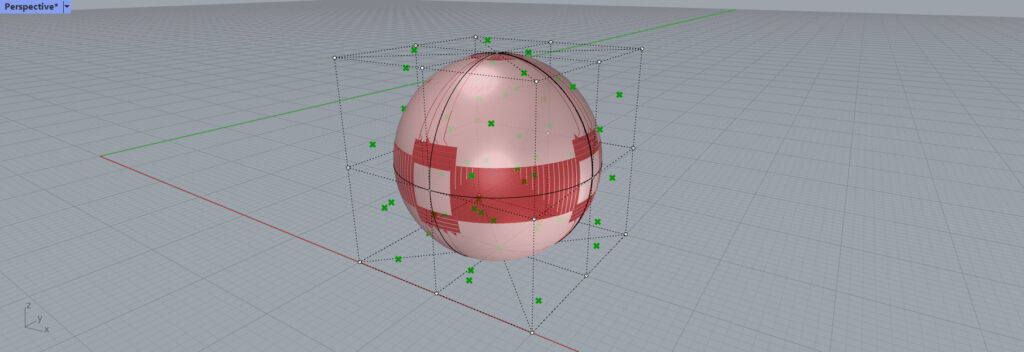
If the volume you specify is not a box volume, points are created within the control points.
In the above image, the volume is a sphere, but points are also created outside of the class.
Thus, if it is not a box, a point cloud is created inside the control points.
List of Grasshopper articles using Populate 3D component↓.

Comment