
![[Grasshopper] How to use Proximity 2D to create lines connecting nearby points on a plane](https://iarchway.com/wp-content/uploads/2026/01/eyecatch-30.png)
This article explains how to use Proximity 2D to create lines connecting nearby points on a plane.
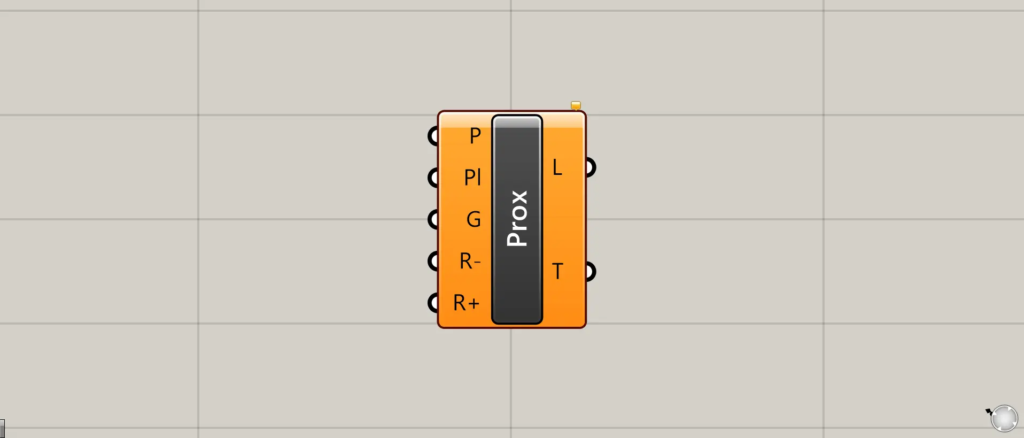
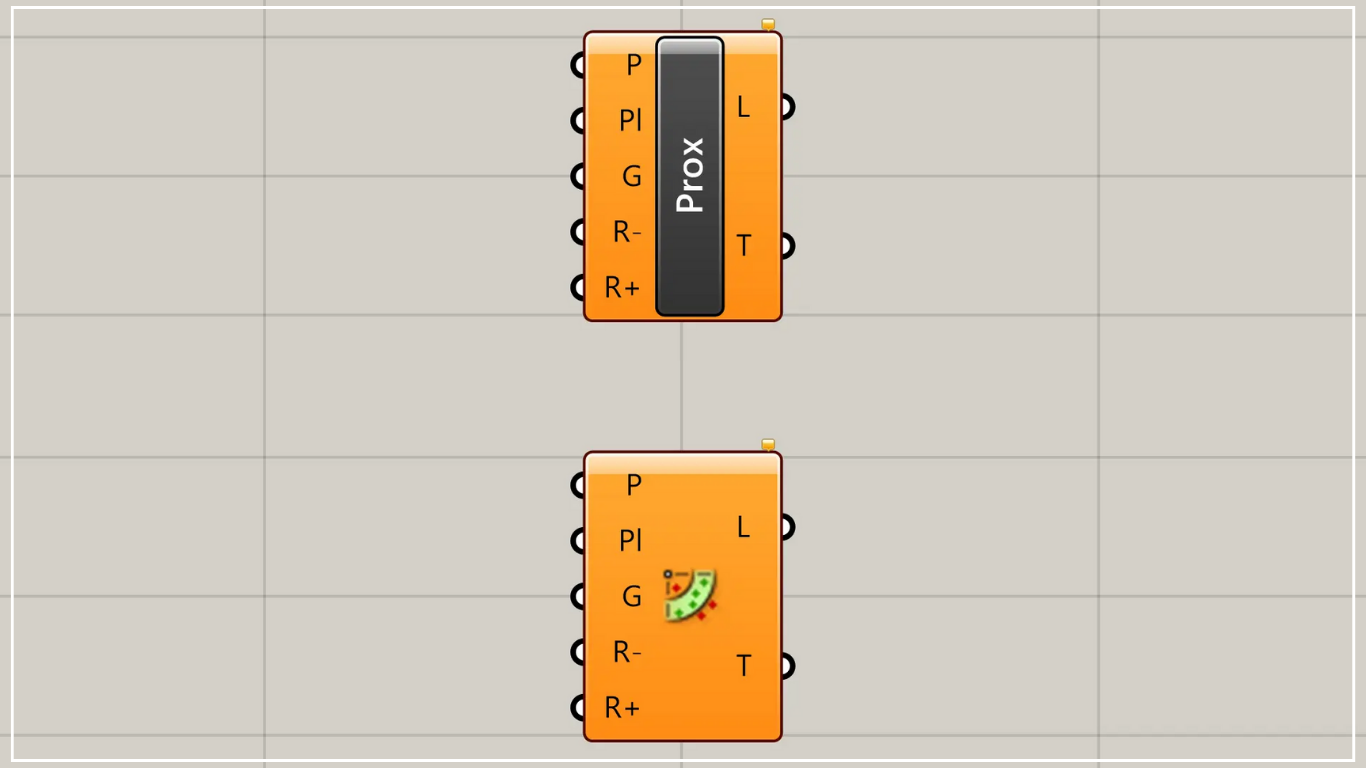
On the Grasshopper, it is represented by either of the two above.
Create straight lines connecting nearby points on a plane
Using Proximity 2D, you can create straight lines connecting nearby points on a plane.
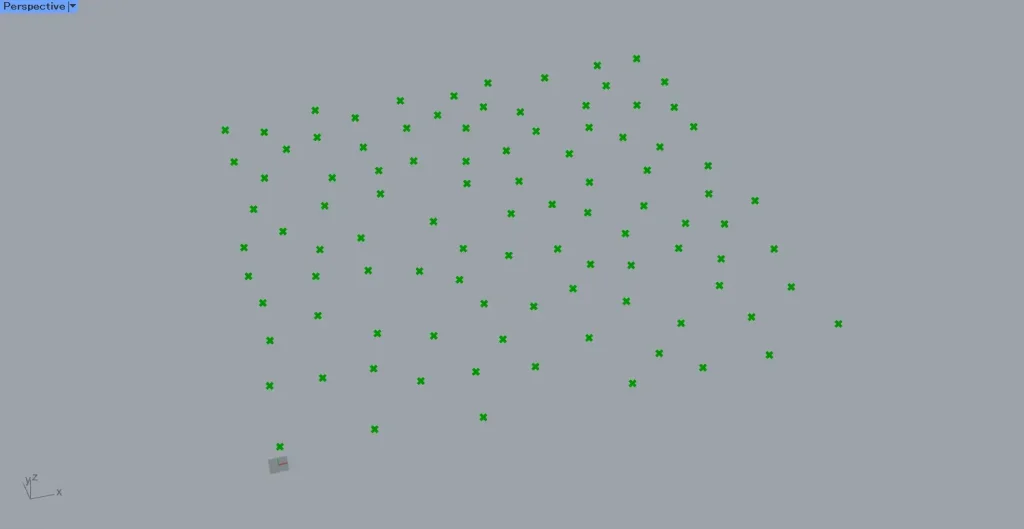
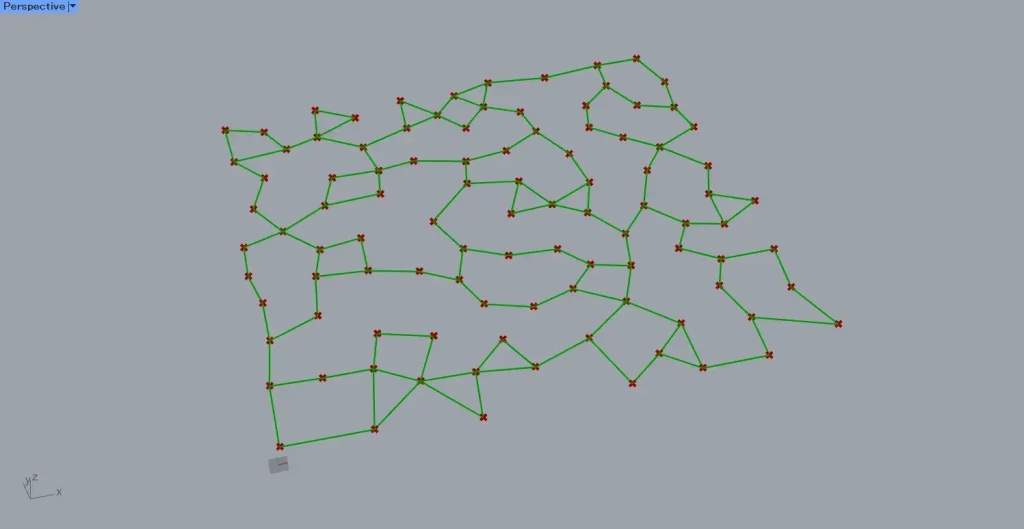
For this example, we will use multiple points from the image above.
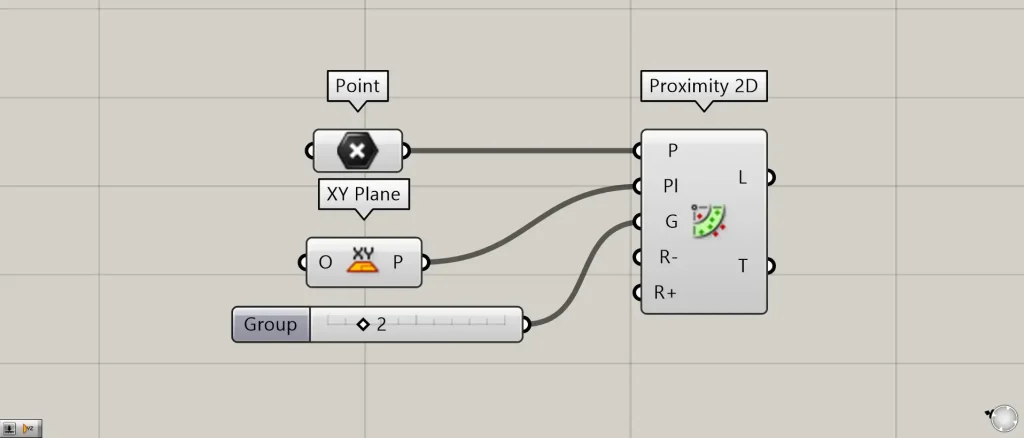
Components used: ①Point ②XY Plane ③Proximity 2D
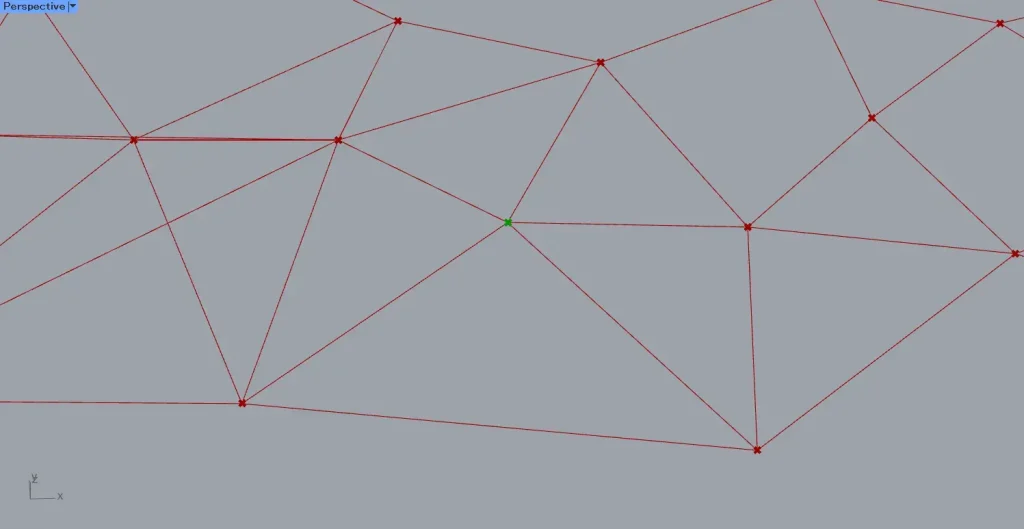
This time, multiple points are set in Point.
Connect the Point containing the point data to Proximity 2D(P).
Also, since the points are on the XY plane this time, connect the XY Plane to Proximity 2D(Pl).
Furthermore, for each point, the number of lines connecting to surrounding points is connected to Proximity 2D(G).
First, we are connecting two.
Then, as shown in the image above, lines connecting each point to the two nearest points were created.
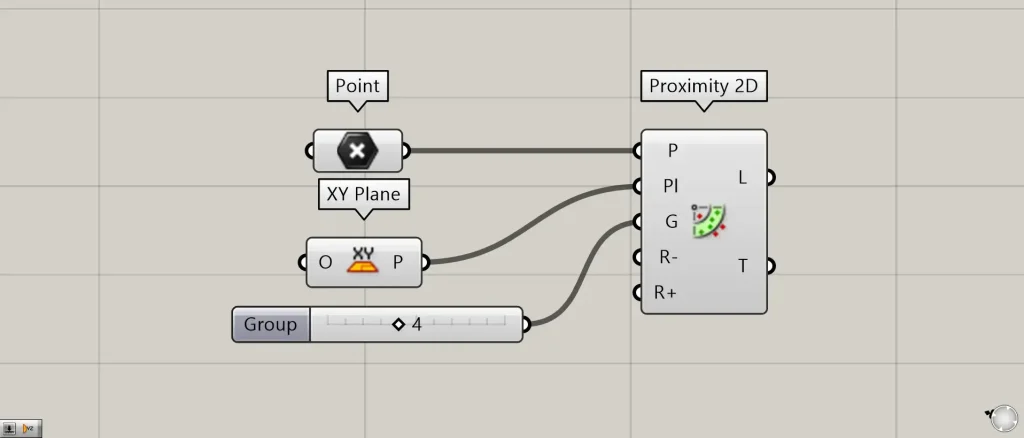
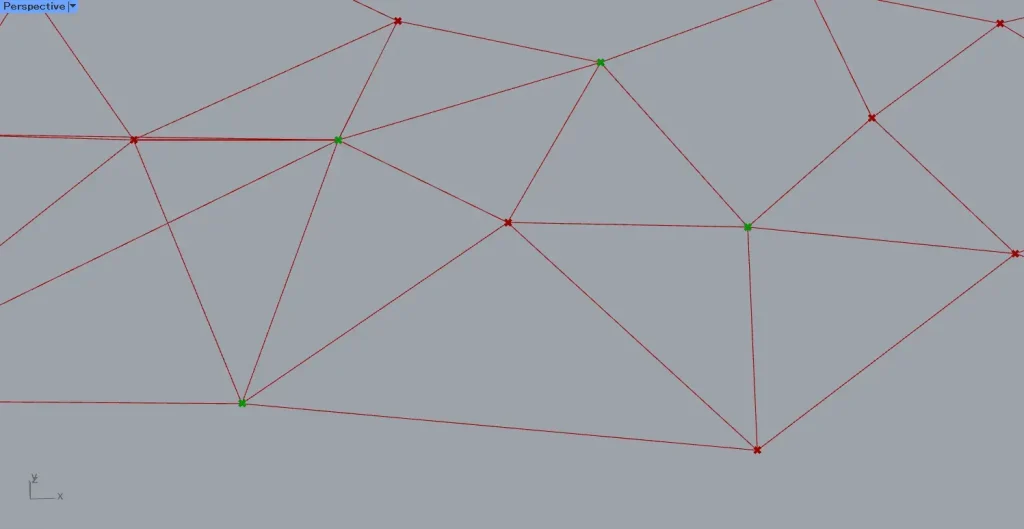
Let’s change the value connected to Proximity 2D(G) from 2 to 4.
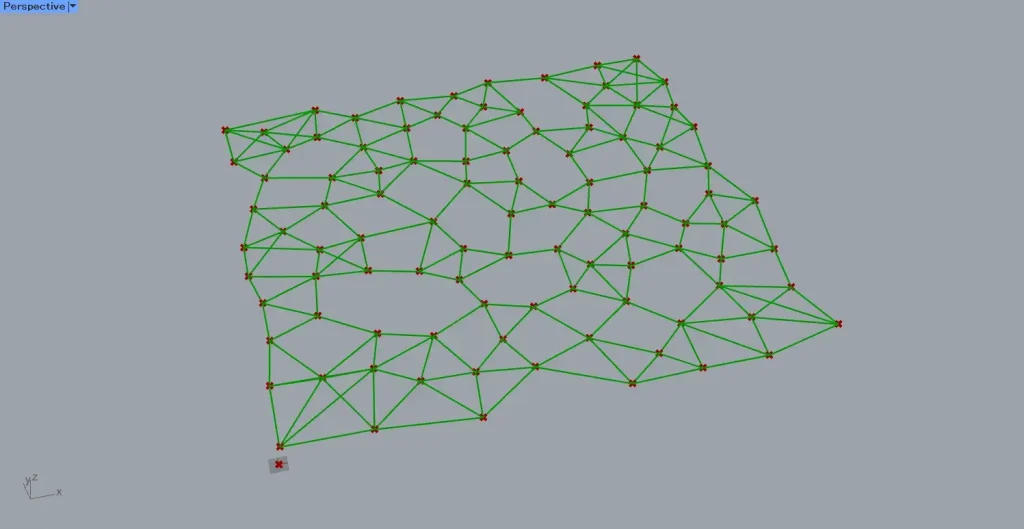
As shown in the image above, you can see that the number of lines has increased.
In this way, Proximity 2D allows you to create lines connecting nearby points on a plane.
Specify the range within which the line is created
You can also specify the range within which a line is created by defining the radius.

Additional Components: ①List Item ②Sphere
For example, let’s take a single point and create a sphere centered on that point to see what happens.
Connect the Point to the List Item(L).
To obtain the very first point, we will connect 0 to List Item(i).
Then, you can obtain one point.
Next, connect the List Item to Sphere(B).
Furthermore, connect the radius value to Sphere(R).
This time, we’re connecting 600.
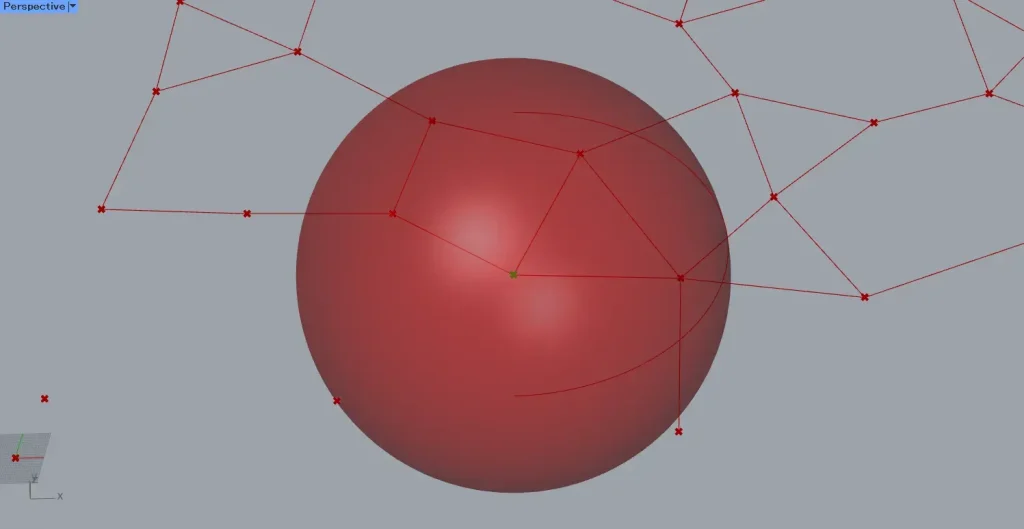
Then, a sphere with a radius of 600 centered on the acquired point is created.
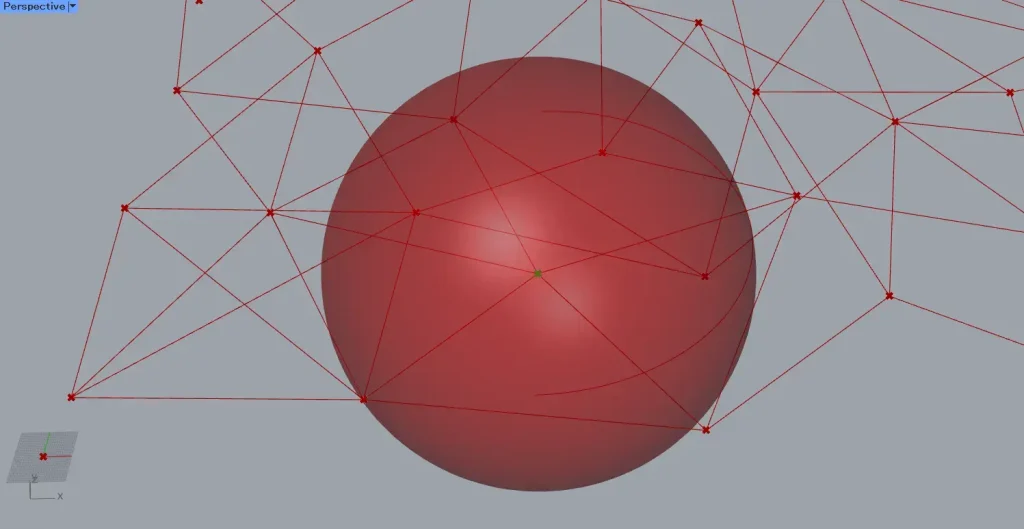
Connect the radius of 600 used earlier to Proximity 2D(R-).
Then, as shown in the image above, the line will not be created within the specified radius.
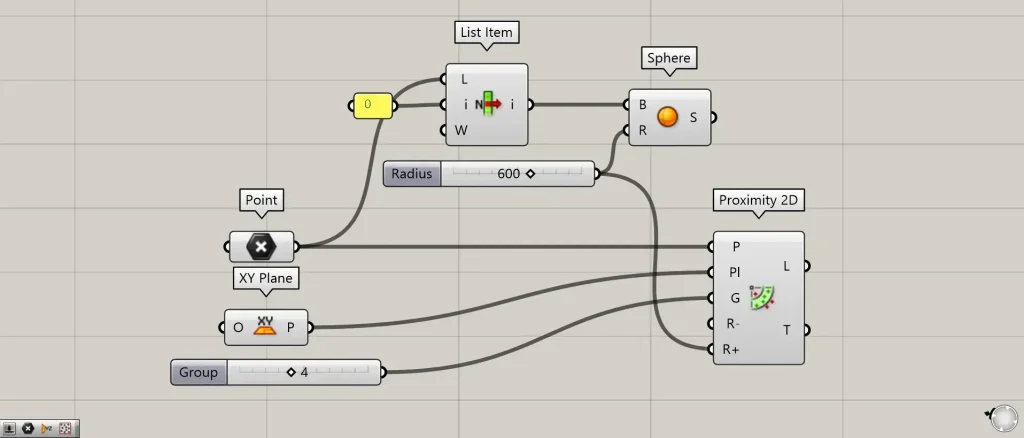
This time, connect the radius of 600 to Proximity 2D(R+).
Then, as shown in the image above, the line will only be created within the specified radius.
In this way, you can also specify the range within which a line is created by defining the radius.
Output data
Let’s take a look at the output data.
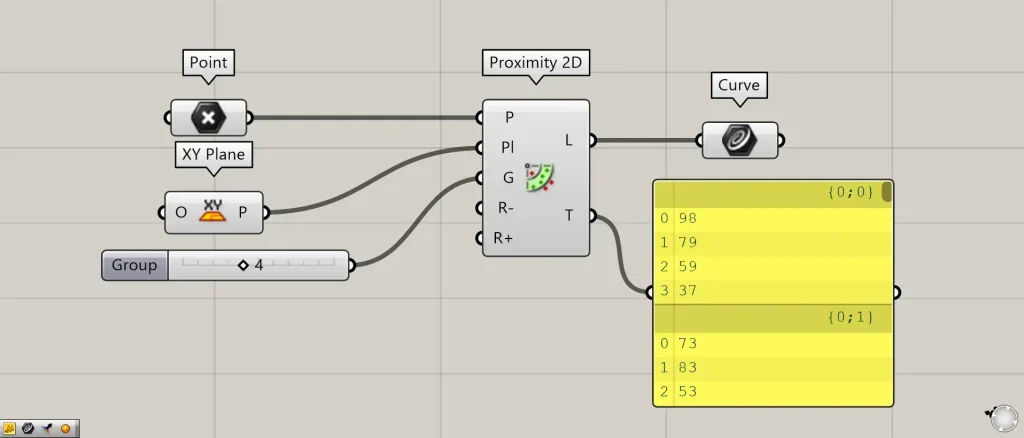
Additional Components: ①Curve
Proximity 2D(L) outputs the line data of the created line.
Proximity 2D(T) outputs the index numbers (sequence numbers) of the points connecting each point.
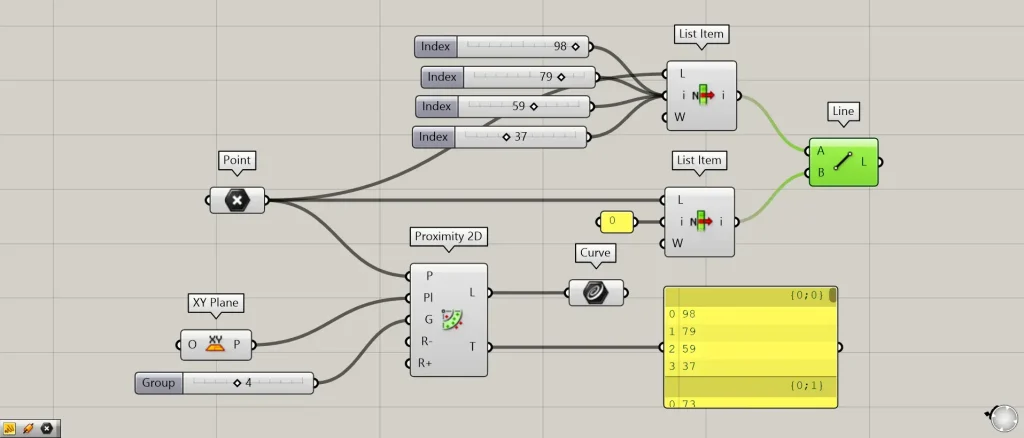
For example, let’s look at the {0;0} value in the first layer of Proximity 2D(T).
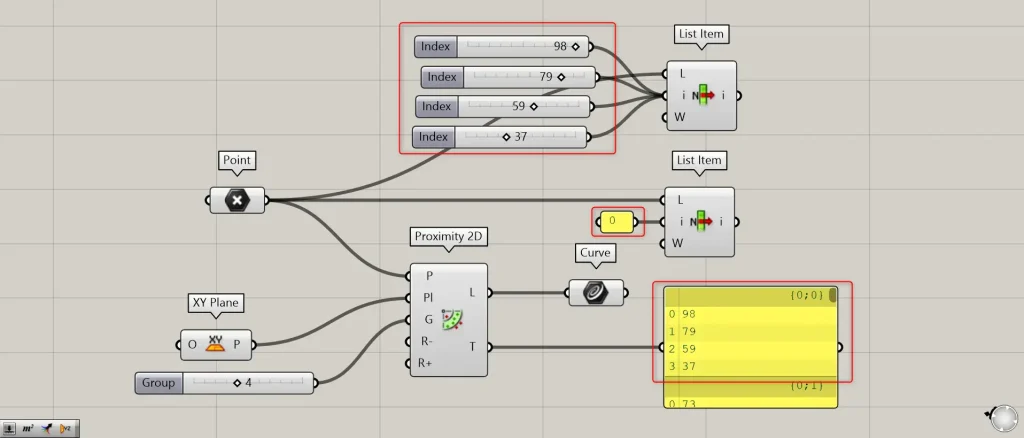
To obtain the first point, connect the Point to List Item(L) and connect 0 to List Item(i).
Furthermore, connect the values within the first level to another List Item(i).
In this case, we are connecting 98, 79, 59, and 37.
The image above shows a single point obtained by connecting 0 to List Item(i).
The image above shows four points obtained by connecting the values 98, 79, 59, and 37 within the first level to List Item(i).
Additional Component: ①Line
Let’s visualize the points we’ve acquired.
Connect the two List item to Line.
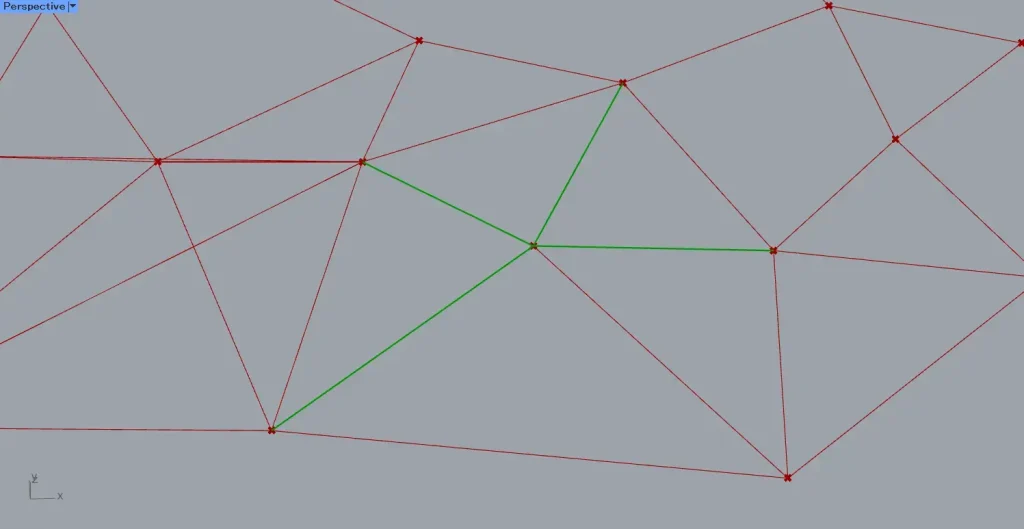
Then, as shown in the image above, the lines are visualized.
Thus, Proximity 2D(T) outputs the index numbers of the surrounding points acquired by each point.
List of Grasshopper articles using Proximity 2D component↓


Comment