
![[Grasshopper] How to use Query Model Hatch Patterns to obtain hatching](https://iarchway.com/wp-content/uploads/2026/01/Query-Model-Hatch-Patterns.png)
This article explains how to use Query Model Hatch Patterns to obtain hatching.

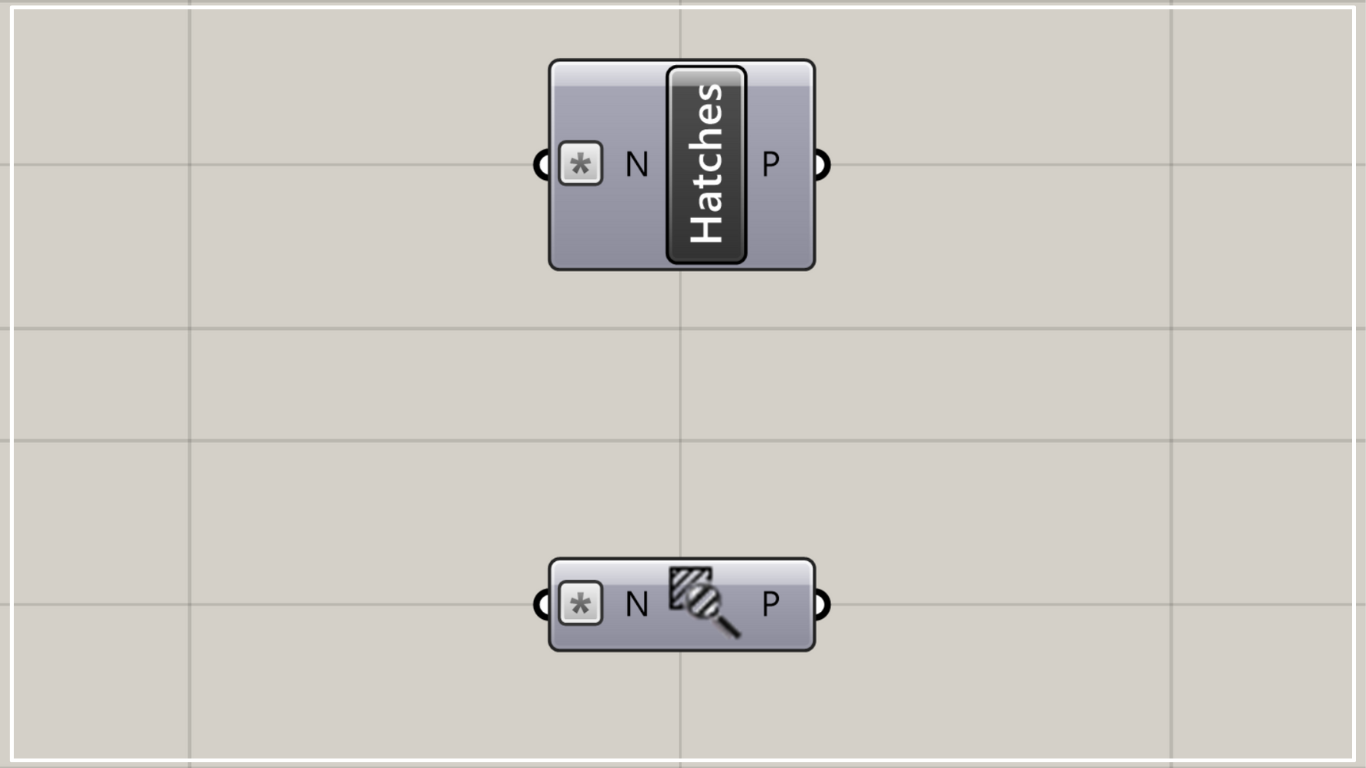
On the Grasshopper, it is represented by either of the two above.
Acquire Rhino hatchling
By using Query Model Hatch Patterns, you can obtain hatching of Rhino.

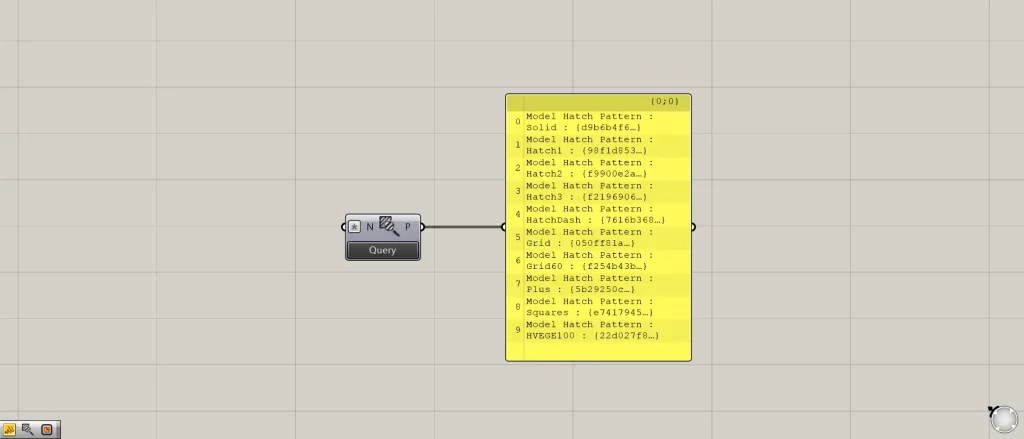
Let’s take a look at Rhino hatchings you can obtain.
Right-click the center of the Query Model Hatch Patterns and select “Manage Document Patterns”.
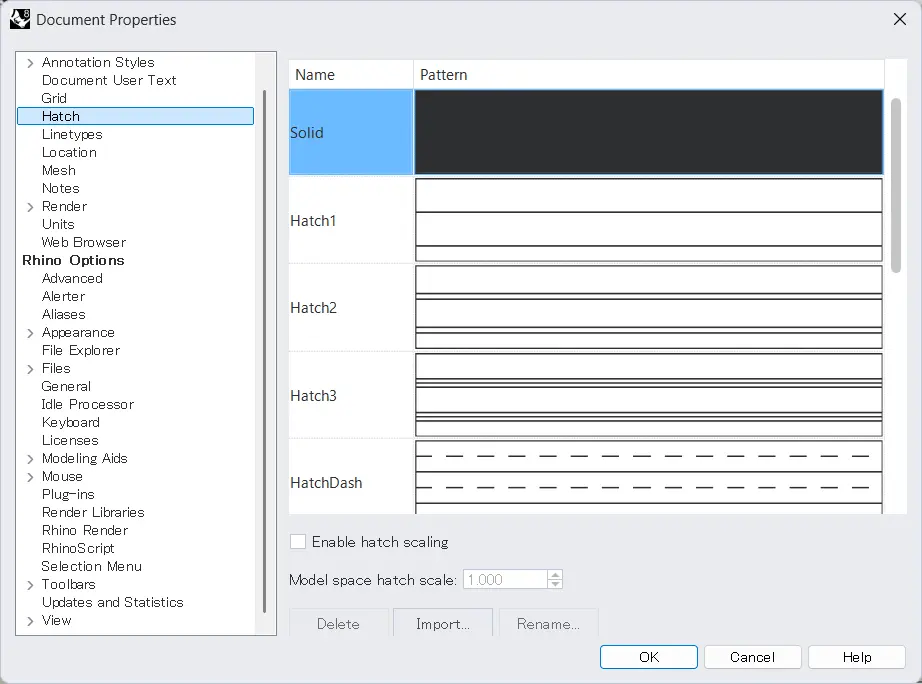
Then, Rhino document properties window will appear.
The name portion is the hatch name, and by specifying these hatch names, you can retrieve information on Grasshopper.
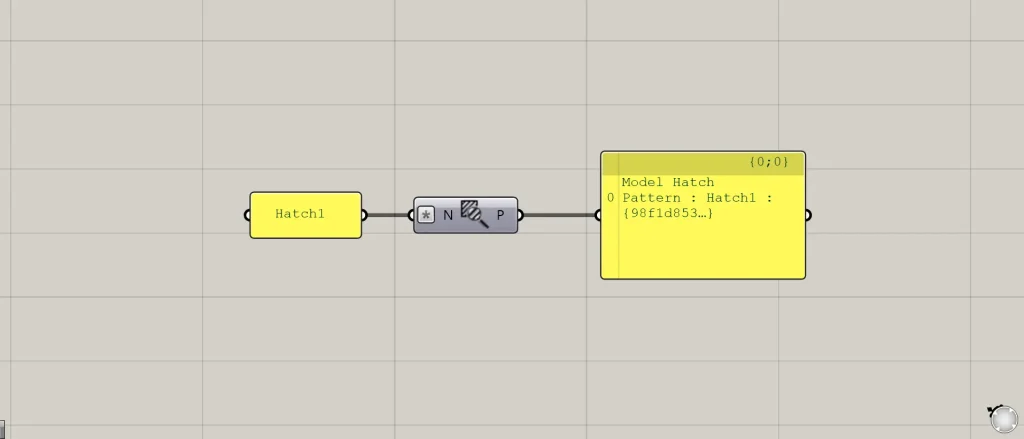
As a basic usage method, connect the hatch name to the Query Model Hatch Patterns.
And the corresponding hatching is output.
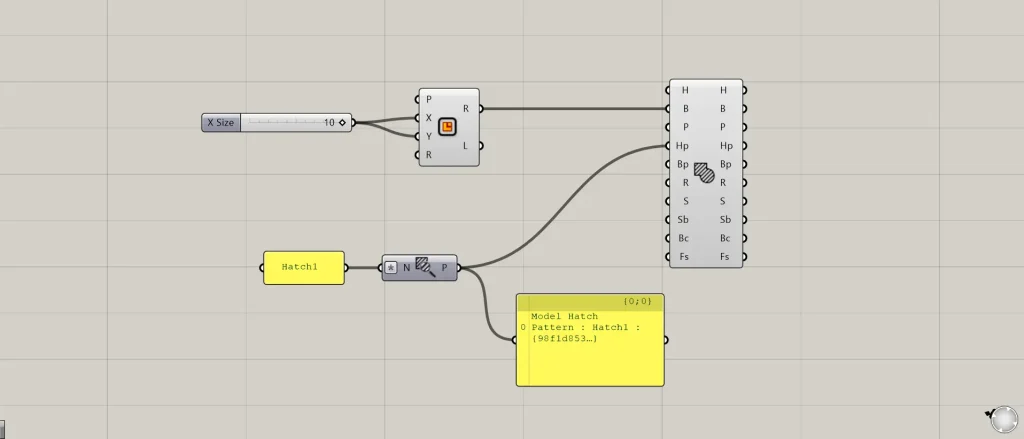
Components Used: ① Rectangle ② Query Model Hatch Patterns ③ Model Hatch
For example, within a square, create hatching based on the hatching information obtained from the Query Model Hatch Patterns.
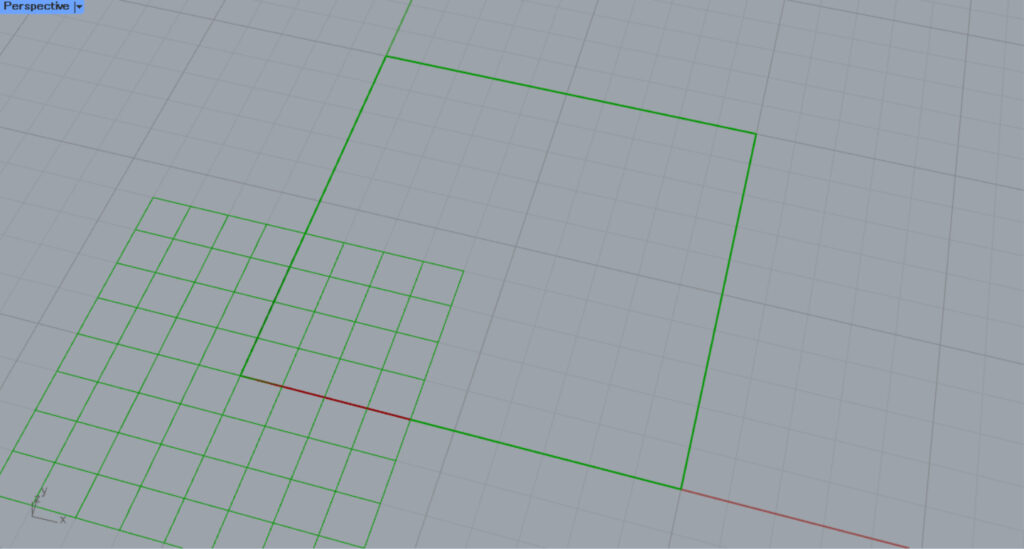
First, enter the numerical value for the length of one side into the Rectangle(X and Y).
This time, since 10 is entered, a 10×10 square will be created.
Then, connect the desired hatch name to the Query Model Hatch Patterns.
This time, we are connecting Hatch 1.
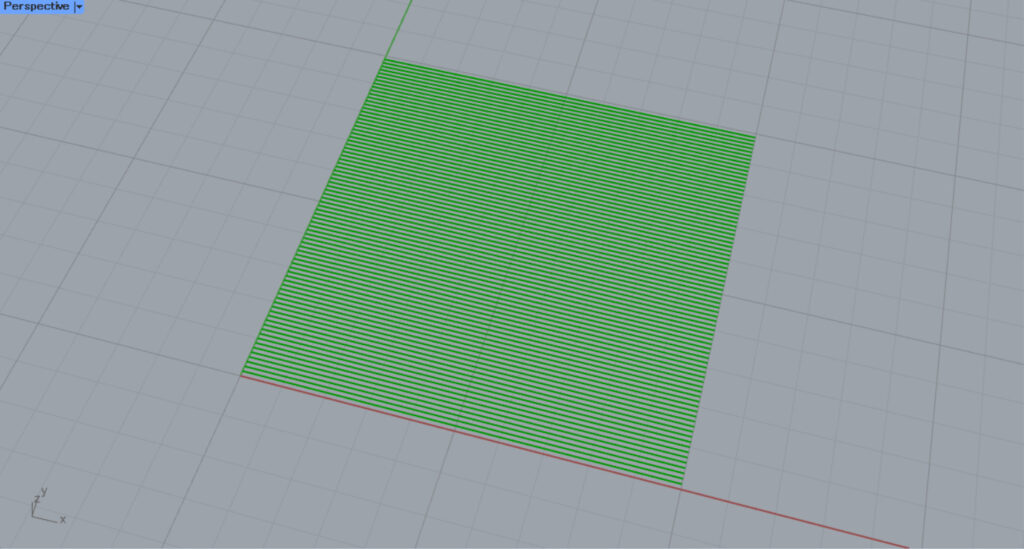
Then, connect the Rectangle(R) to the Model Hatch(B).
Additionally, connect the Query Model Hatch Patterns to the Model Hatch(Hp).
Then, as shown in the image above, hatching is created using the specified hatching information.
In this way, by using Query Model Hatch Patterns, you can obtain and utilize the hatching information for Rhino.
Change the method for acquiring hatching
You can also change the method for obtaining Rhino hatchings.
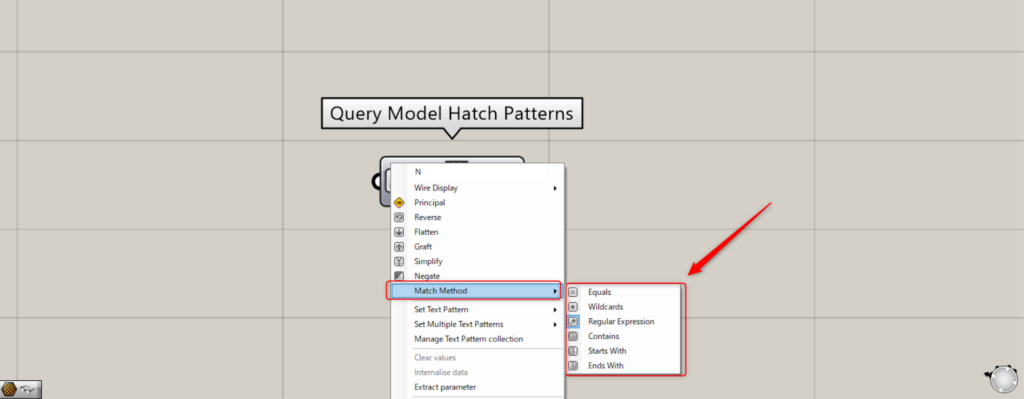
In that case, right-click the N terminal of the Query Model Hatch Patterns and select “Match Method”.
You can then set the acquisition method for six types of hatching.
Equals
For Equals, only hatching names that match exactly are retrieved.
Wildcards
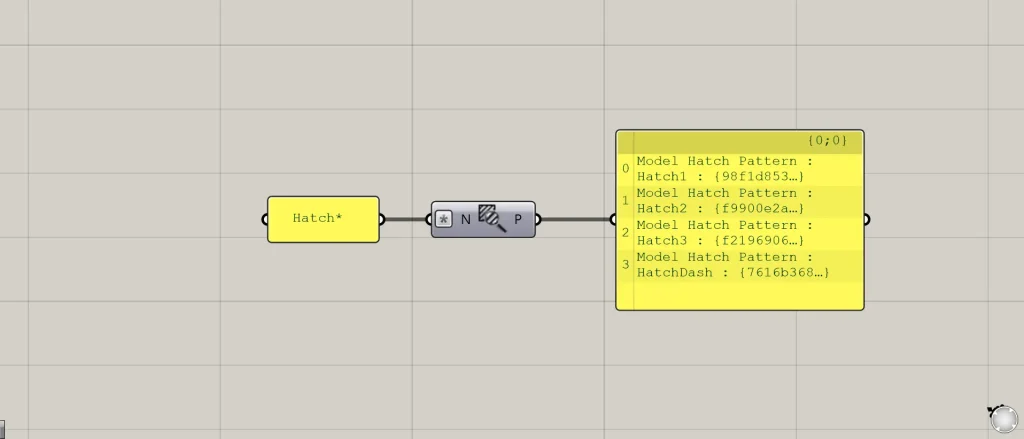
With wildcards, you can use wildcard characters to set detailed conditions for retrieving hatch names.
In the case of the image above, we are using an asterisk (*) and specifying “Hatch*” to retrieve only hatching names that contain the word “Hatch”.
Regular Expression
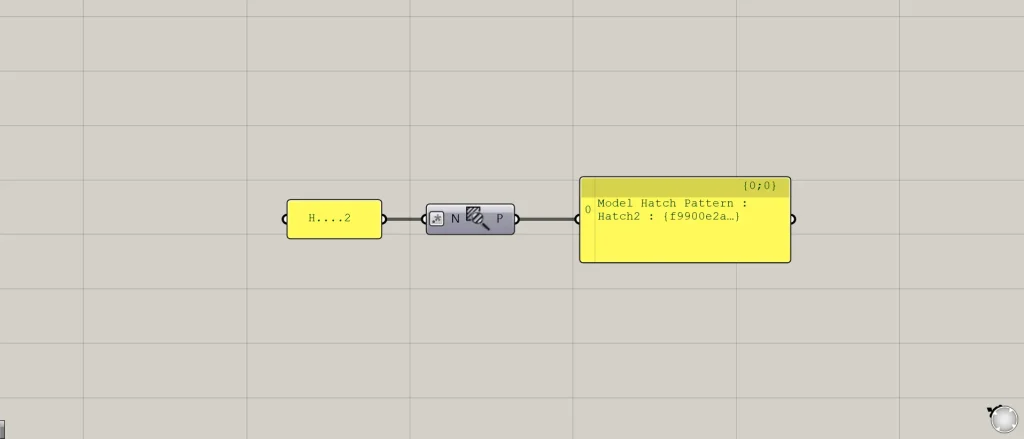
With regular expressions, you can set conditions to extract hatch names more precisely than with wildcards by using special characters.
In the case of the image above, by setting it to H….2, only the hatching names corresponding to H〇〇〇〇2 are retrieved.
Contains
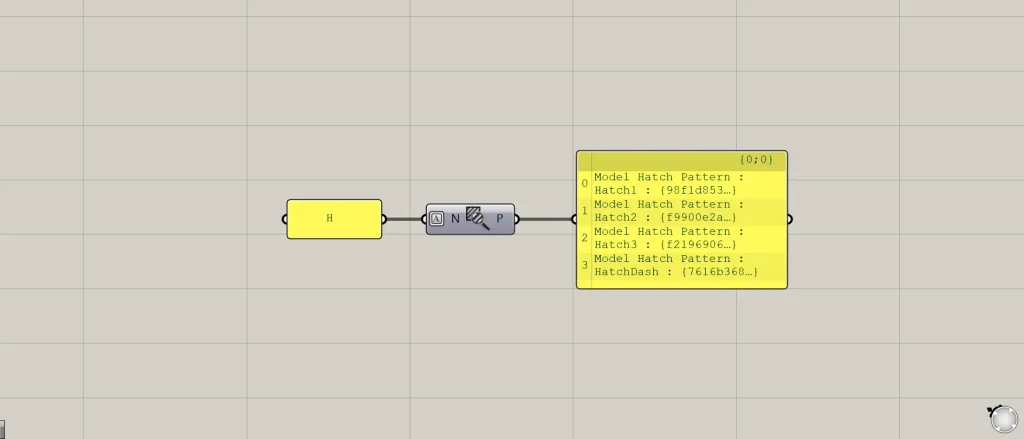
For Contains, it retrieves all hatch names that contain the specified characters.
In the case of the image above, since “H” is entered, all hatching names containing “H” are retrieved.
Starts With
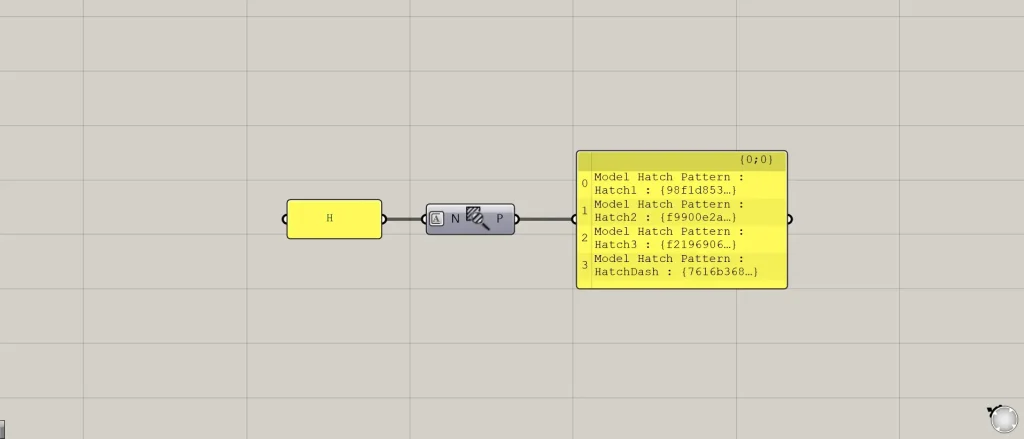
For “Starts With,” it retrieves all hatch names that begin with the specified characters.
In the case of the image above, since “H” is entered, all hatching names starting with “H” are retrieved.
End With
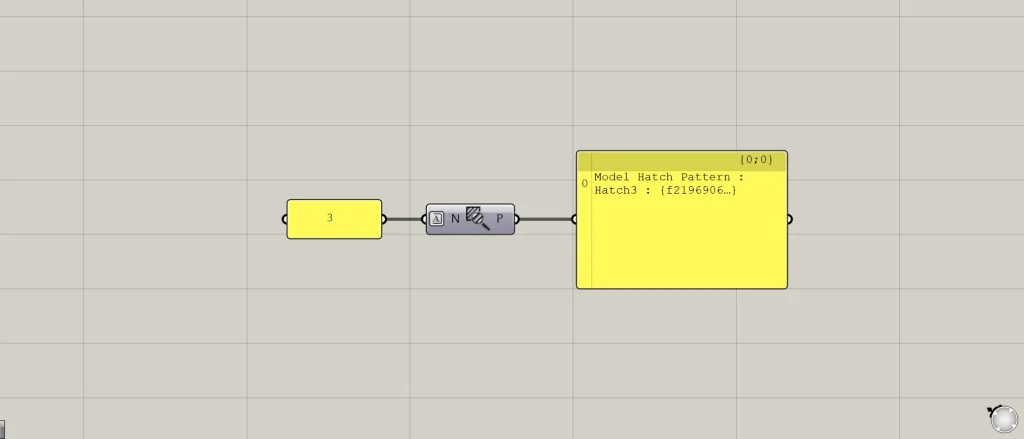
For the “End With” option, it retrieves all hatch names ending with the specified characters.
In the case of the image above, since 3 is entered, it retrieves all hatch names ending with 3.
When nothing is connected
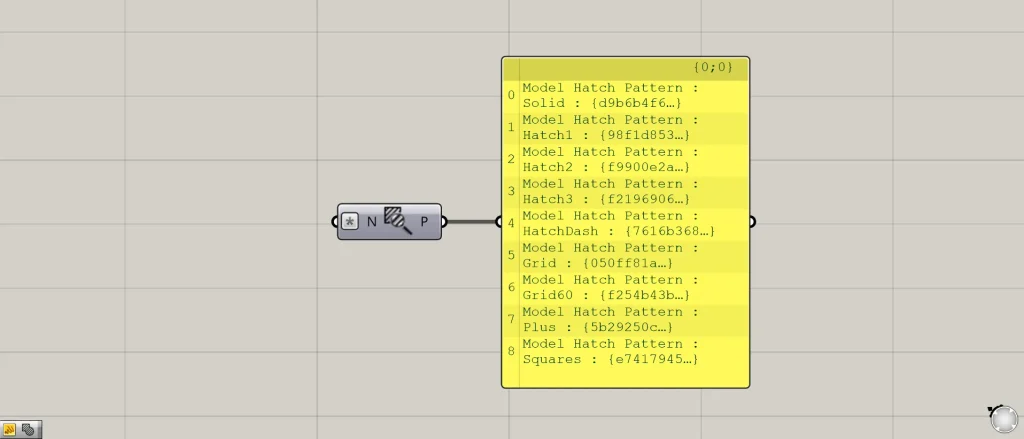
If nothing is connected to the N terminal, all available hatching will be acquired.
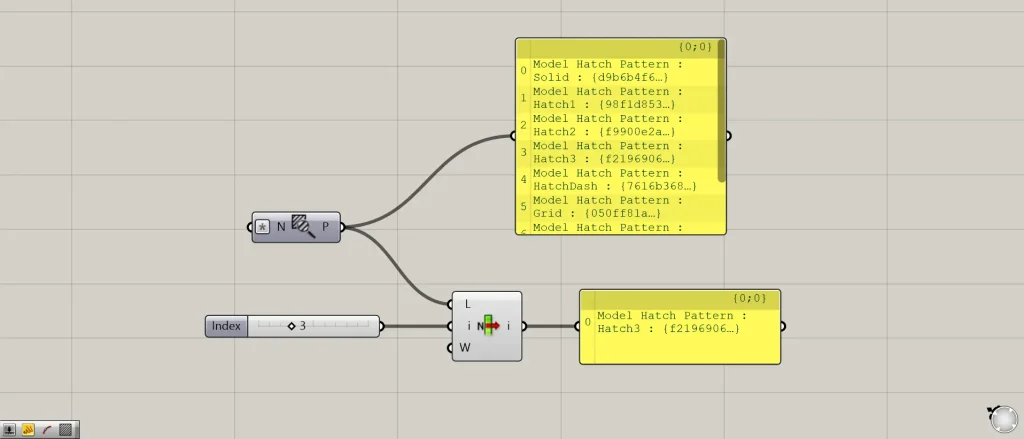
Additional Component: ①List Item
Therefore, you can also obtain any hatching by using List Item and similar methods.
In the case of the image above, since 3 is entered into the List Item(i), it is retrieving hatching 3 with index number 3.
Specify the hatch name directly
You can also specify the hatch name directly to the N terminal.
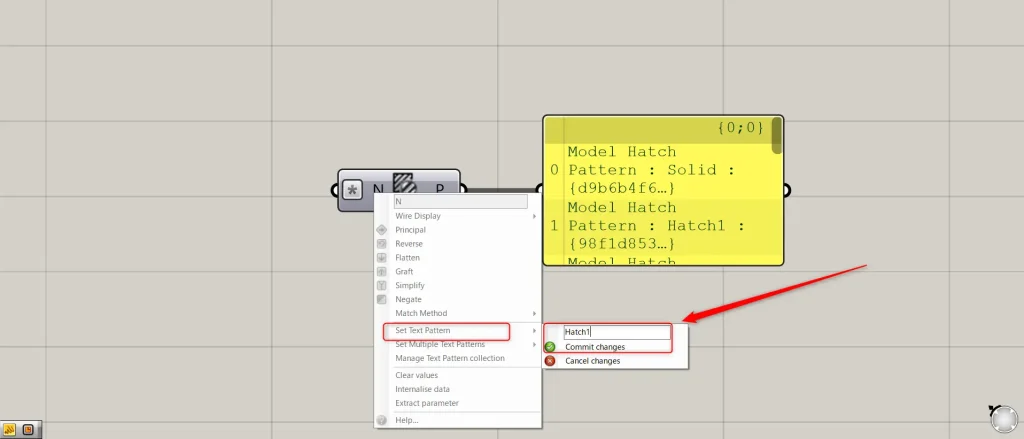
To specify a single hatch name, right-click the N terminal and select “Set Text Pattern”.
You will then be able to enter text, so type in any hatching name.
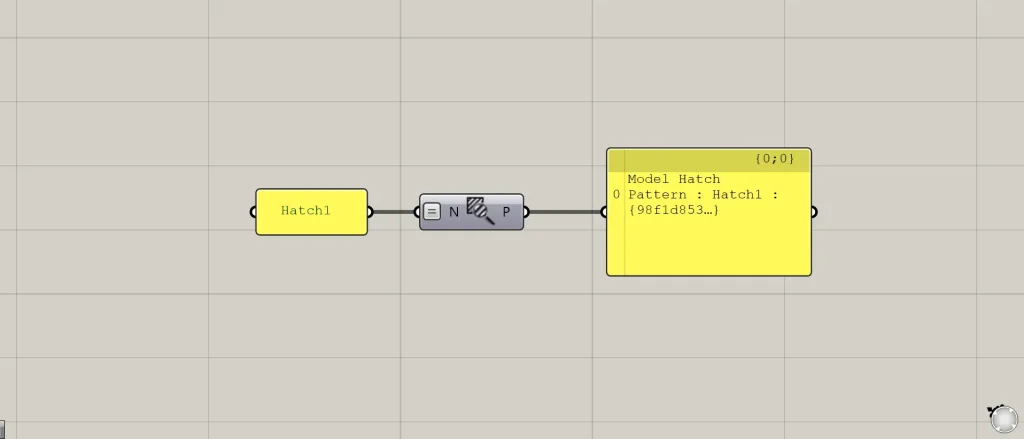
This time, we entered Hatch1.
Then, click “Commit changes” to finish.
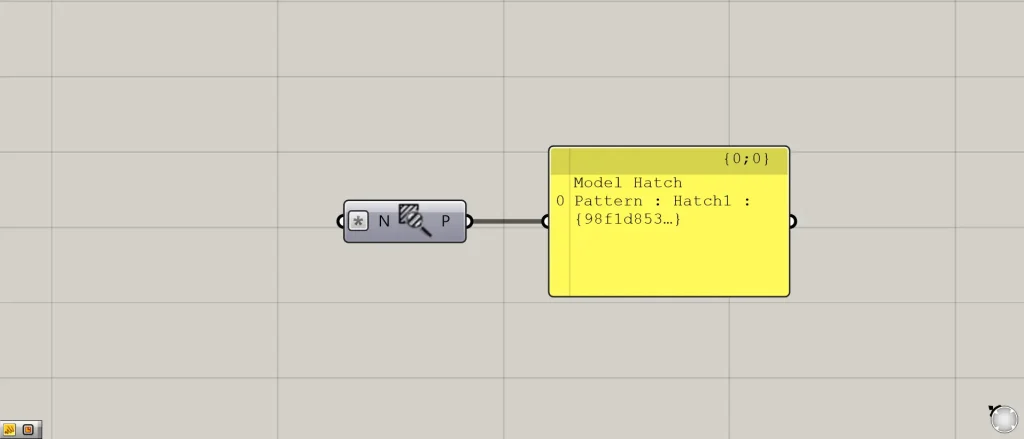
In this way, the specified Hatch1 has been acquired.
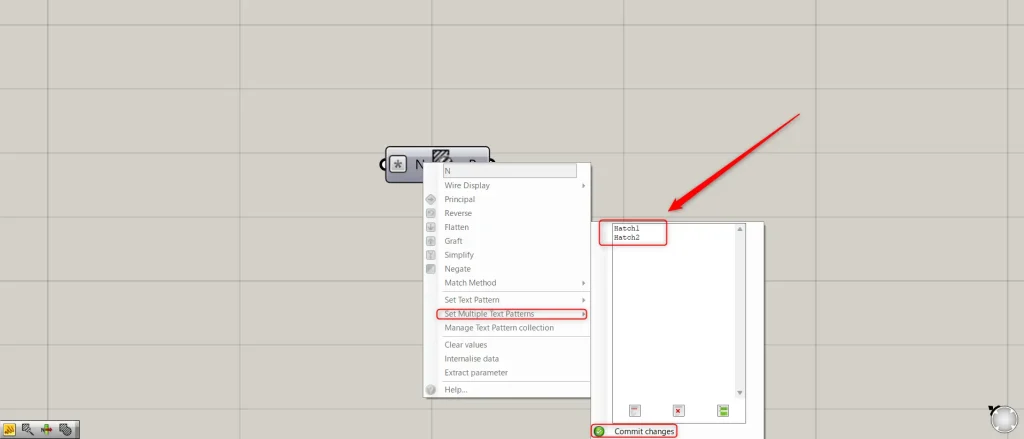
To specify multiple hatch names, right-click the N terminal and select Set Multiple Text Patterns.
You will then be able to enter text, so enter multiple hatching names as desired.
This time, we are inputting Hatch1 and Hatch2.
Then, click Commit changes to finish.
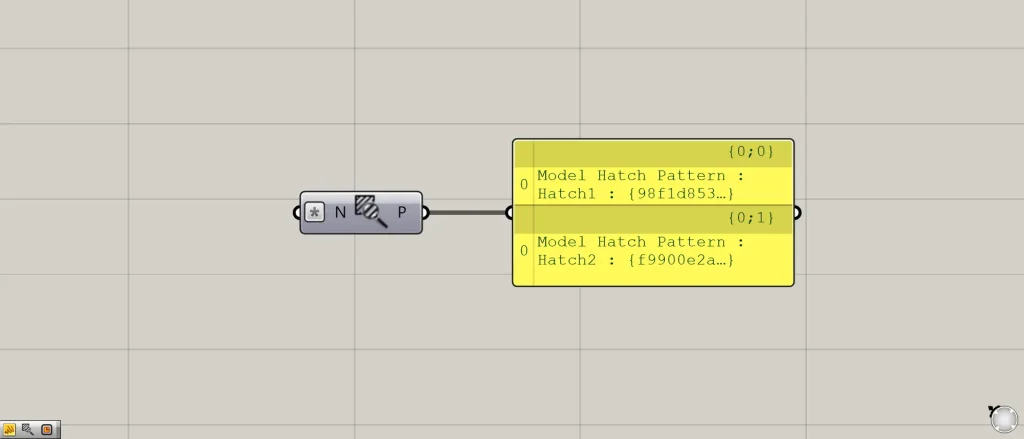
In this way, the specified Hatch1 and Hatch2 were obtained.
Manage the names of directly specified hatches
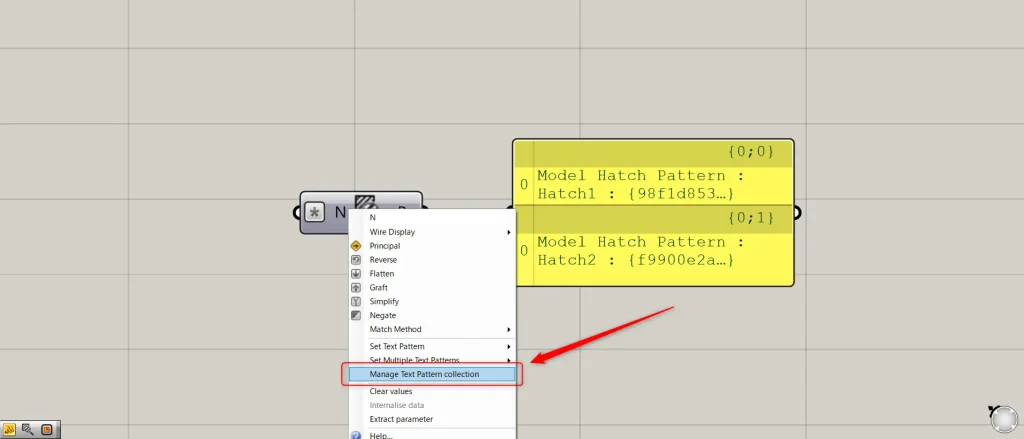
You can also manage the hatch names you have directly specified.
In that case, right-click the N terminal and select “Manage Text Pattern collection”.
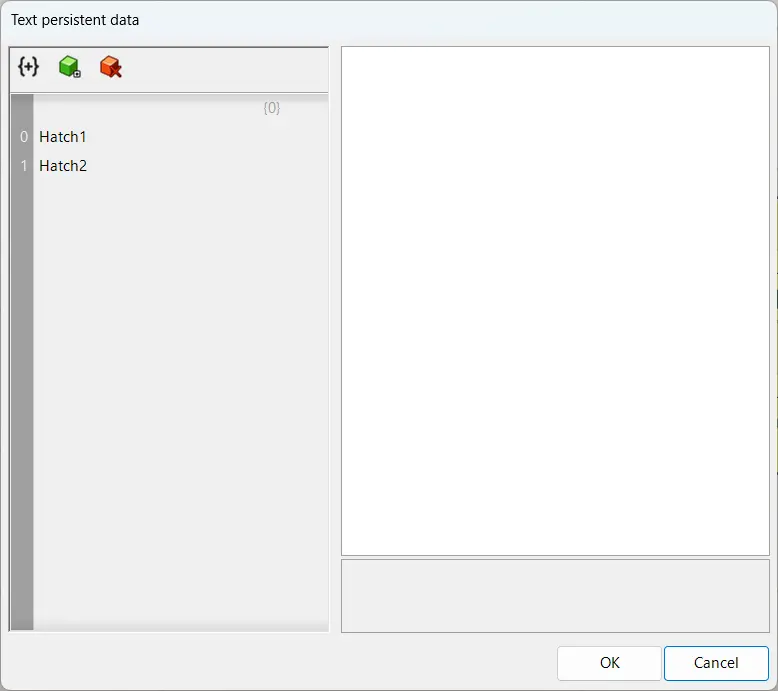
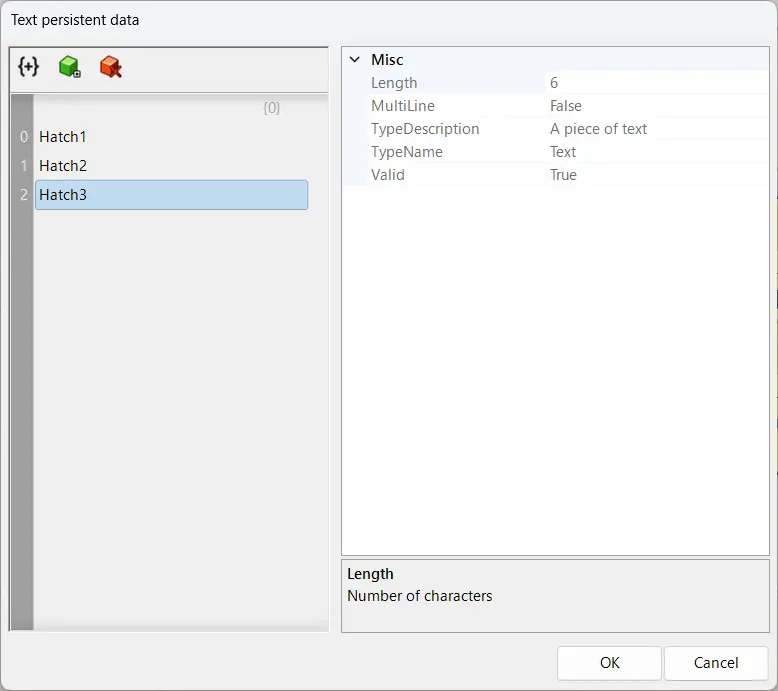
Then, the settings window will appear like this.
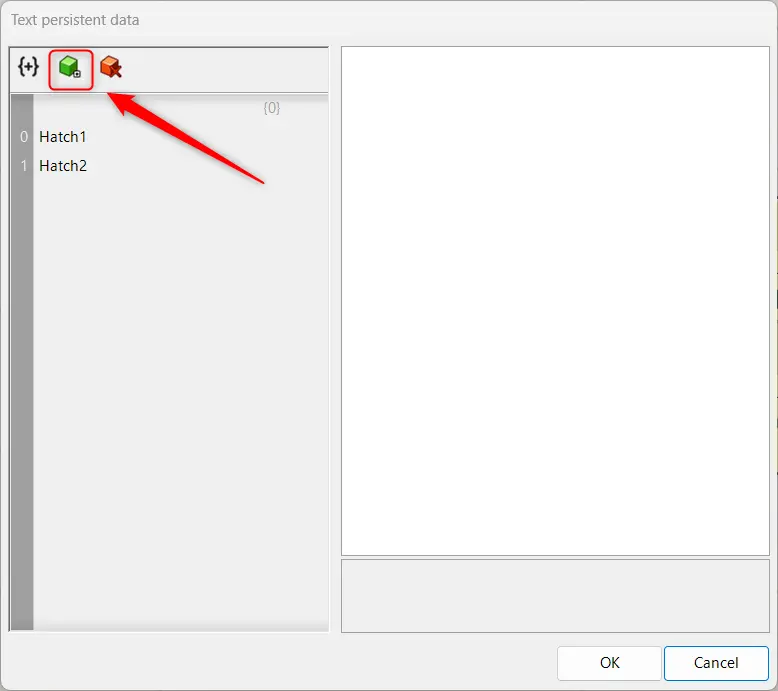
Select the green icon to add a new hatch name.
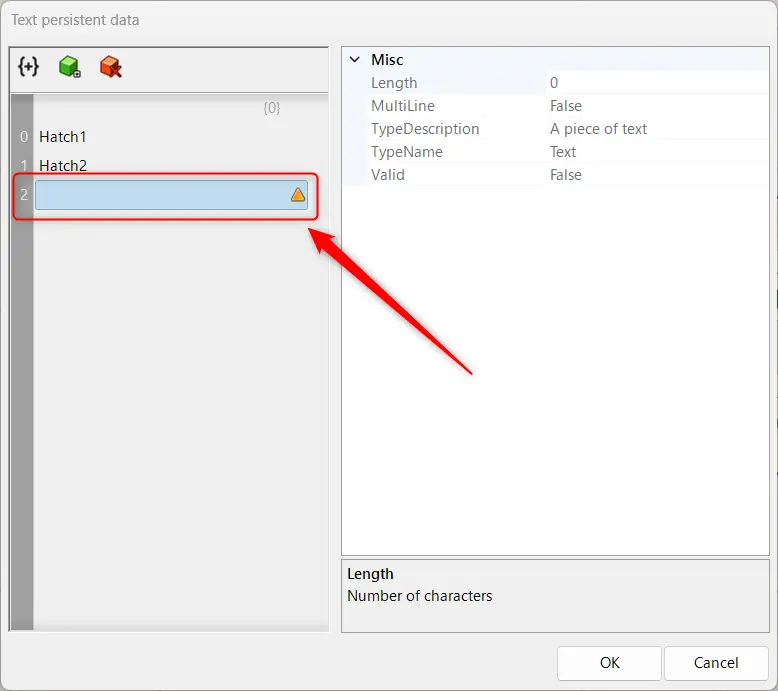
Selecting the green icon creates additional data like this.
Double-click and set the hatch name.
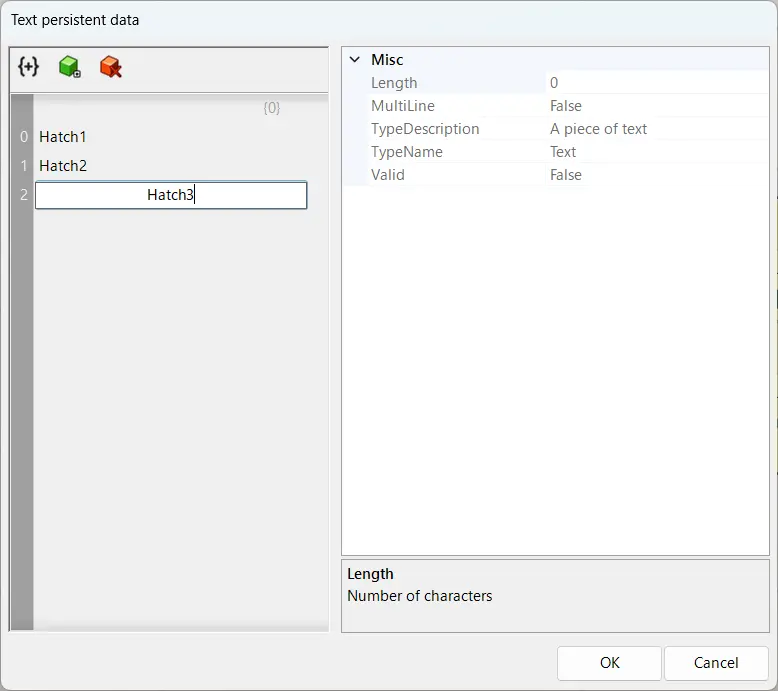
This time, we set hatching 3.
In this way, we were able to add a new hatch name.
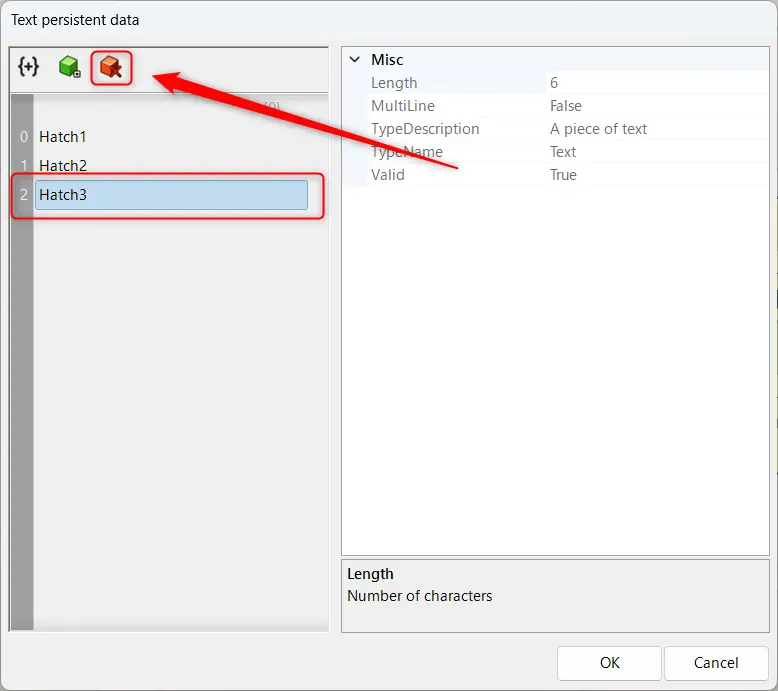
With the hatch name selected, you can also delete the hatch name by clicking the red icon.
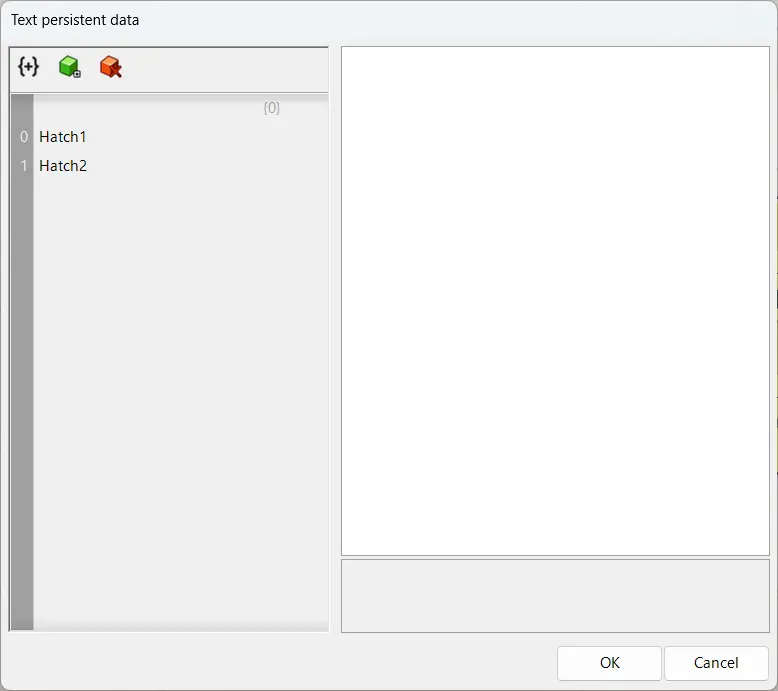
It was deleted in this manner.

Clicking the icon in the top-left corner also allows you to add a new branch.
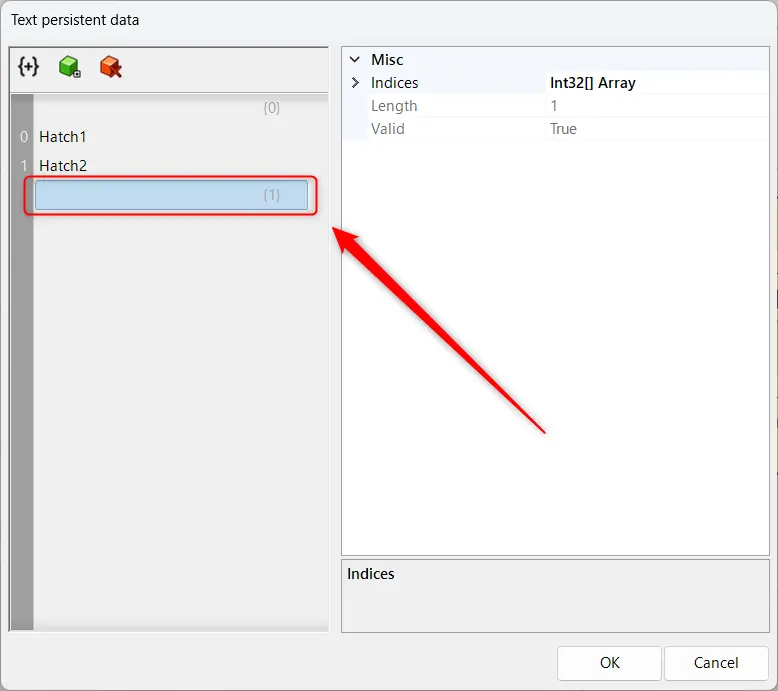
In this way, a branch has been added.
Reflects hatching information on Rhino in real time
Using the Synchronize feature, you can also reflect hatching information on Rhino in real time.
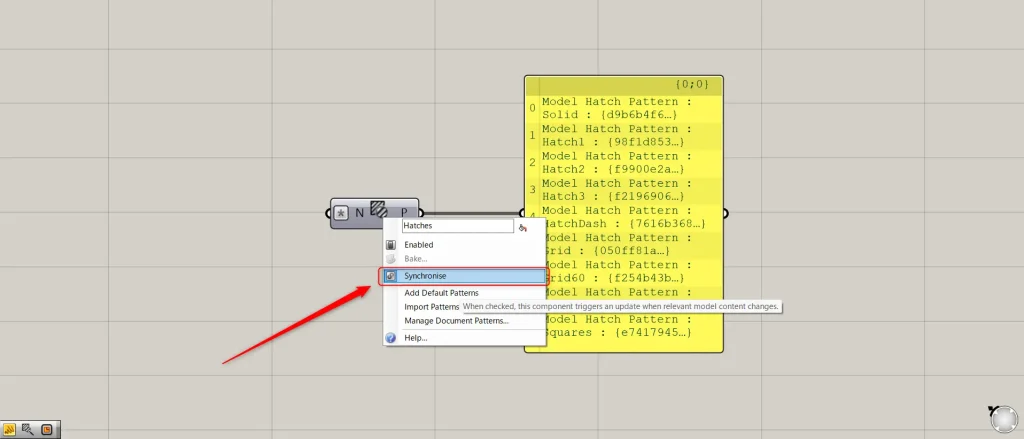
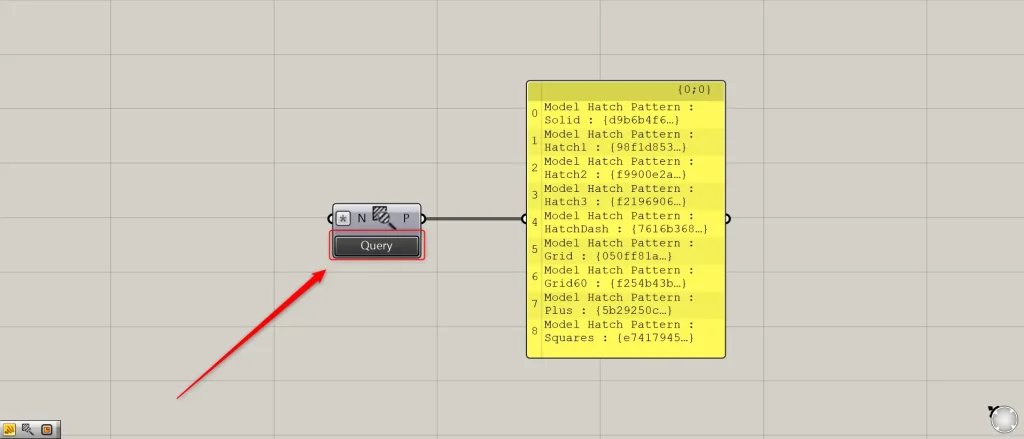
To use the Synchronize function, right-click the center of the Query Model Hatch Patterns and select Synchronize.
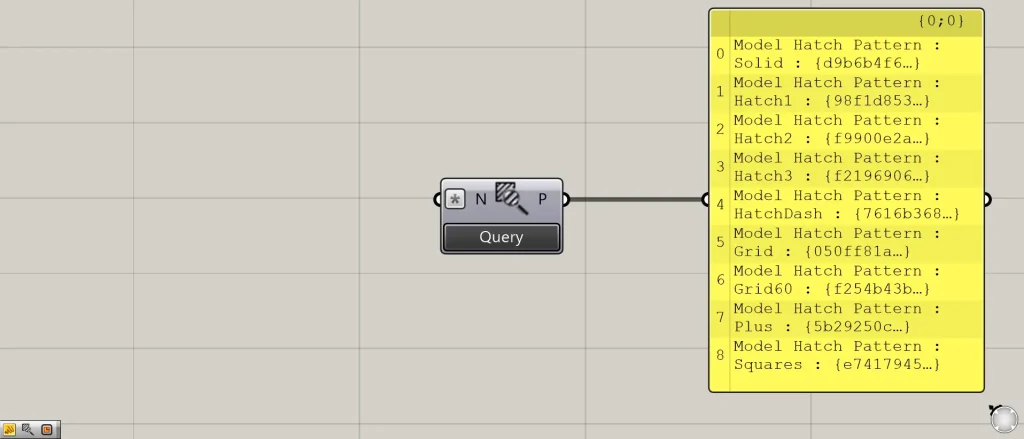
Then, the Query button will appear below the Query Model Hatch Patterns component.
For example, let’s try importing a new hatching onto Rhino.
The import is complete.
On Rhin, this brings the total number of hatches to 10.
However, the tenth hatching information is not reflected on Grasshopper.
Then, press the Query button.
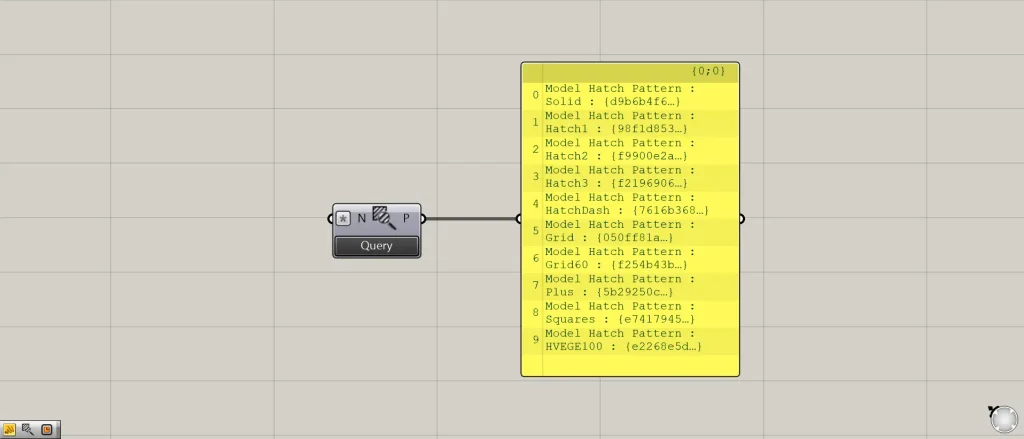
Then, the information for the tenth hatch was reflected.
In this way, the Synchronize feature allows you to reflect hatching information on Rhino in real time.
Import new hatching data from Grasshopper
You can also import new hatching data from Grasshopper.
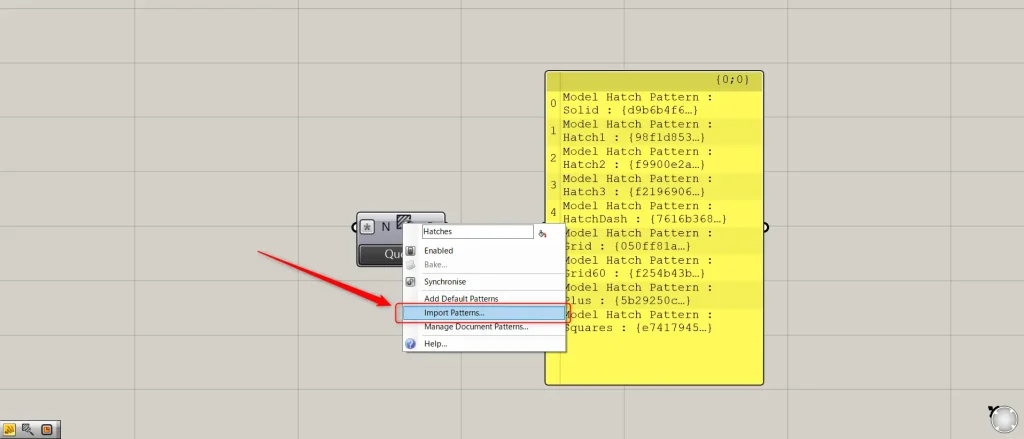
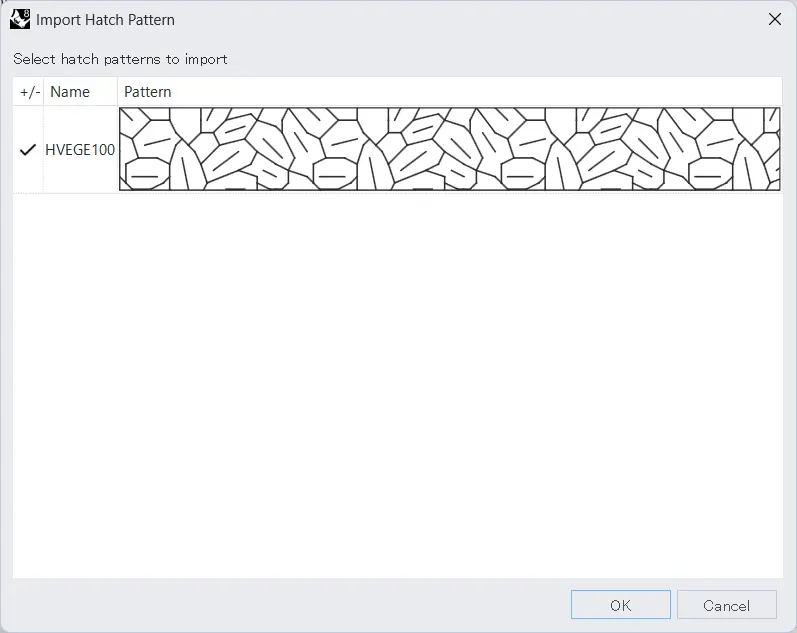
In that case, right-click the center of the Query Model Hatch Patterns and select Import Patterns.
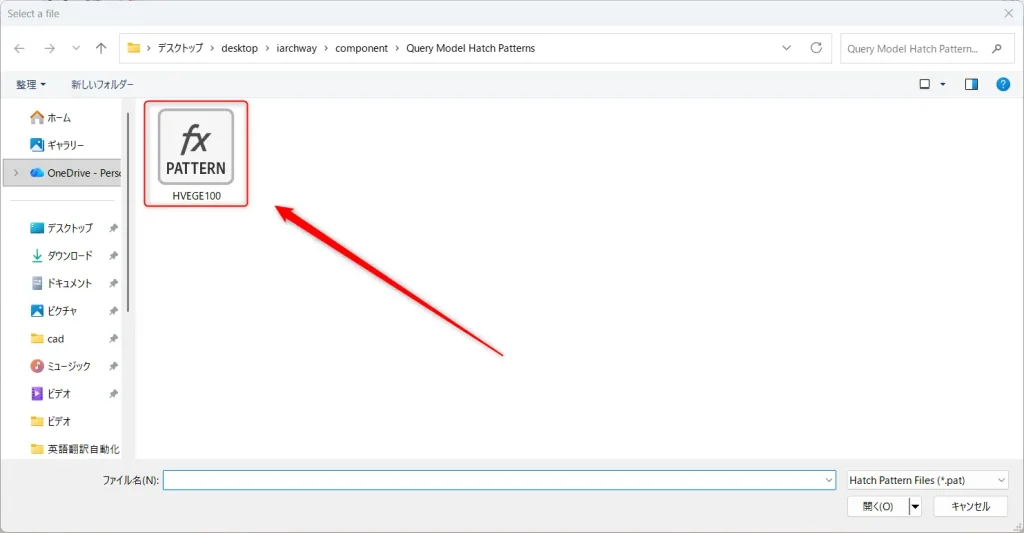
Then, select the pattern data on your computer.
Then, the new hatching data was successfully imported.
In this case, changes will be reflected on Grasshopper immediately, even without using the Synchronize function.
Hatching Edit Window
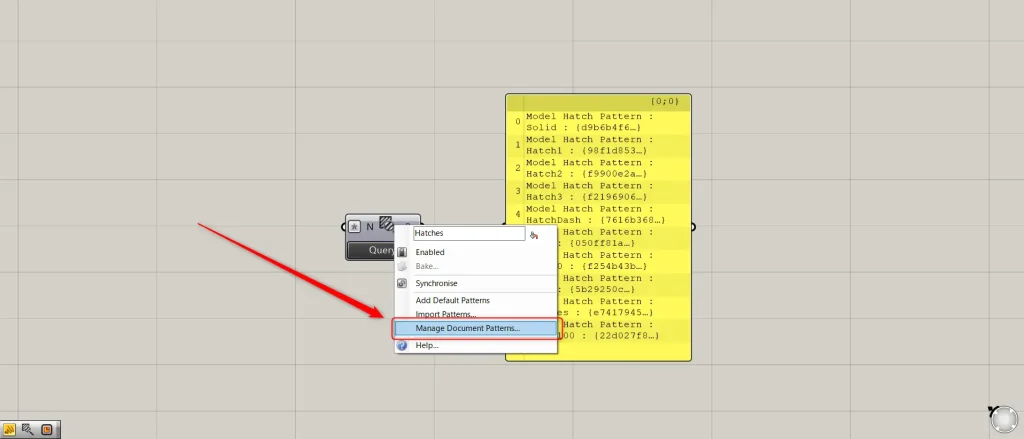
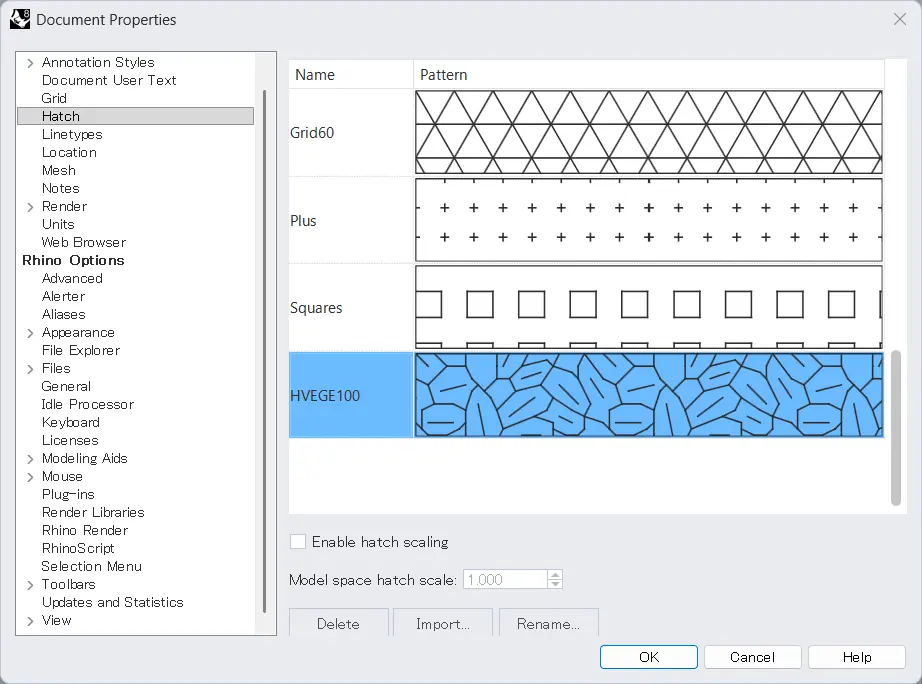
To open the hatch editing window, right-click the center of the Query Model Hatch Patterns and select “Manage Document Patterns”.

Then, you can open the hatching settings screen like this.
List of Grasshopper articles using Query Model Hatch Patterns component↓

Comment