
In this article, we will learn how to create Space design using curves created by shifting points in Grasshopper.
Video
Model Images
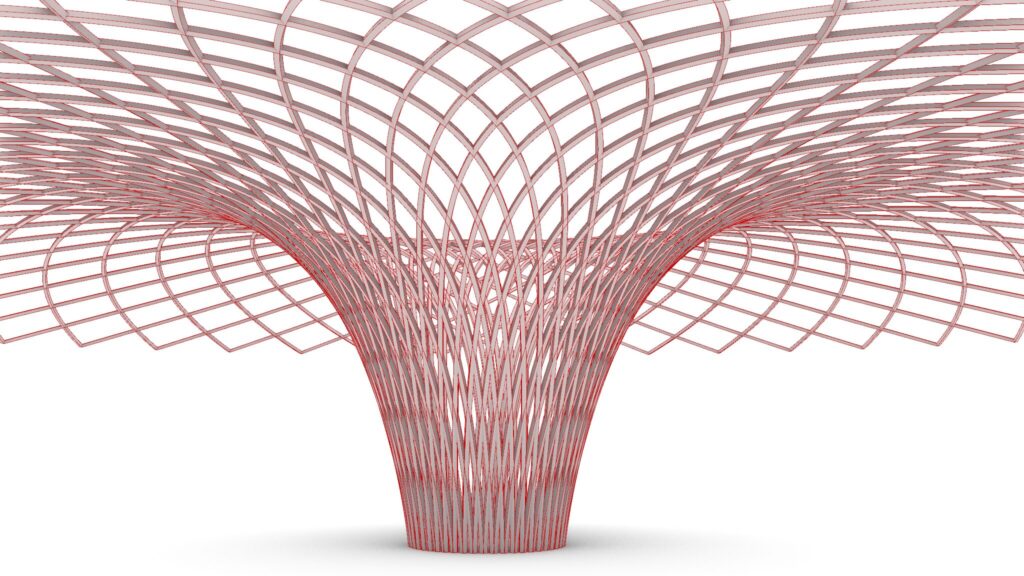
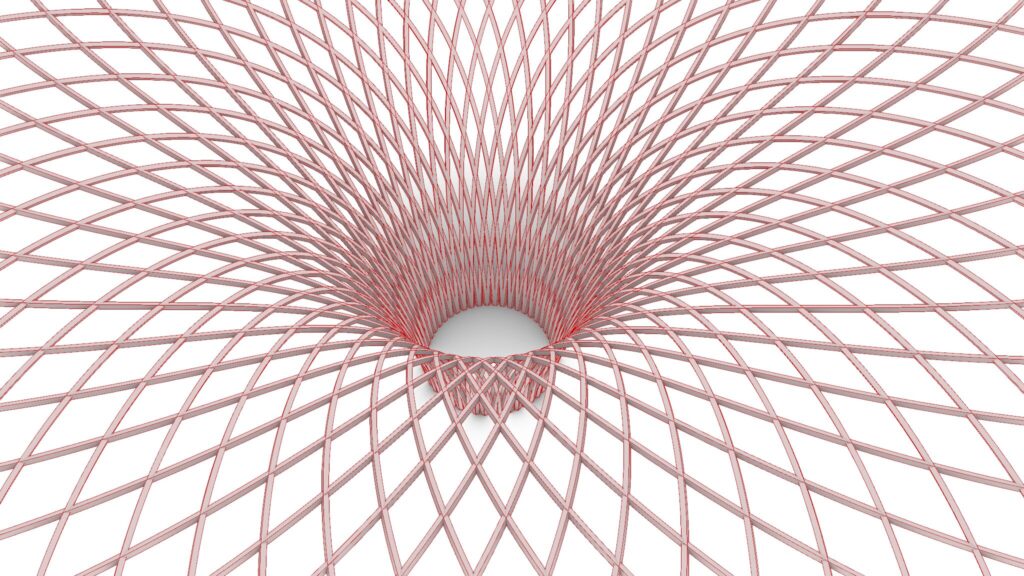
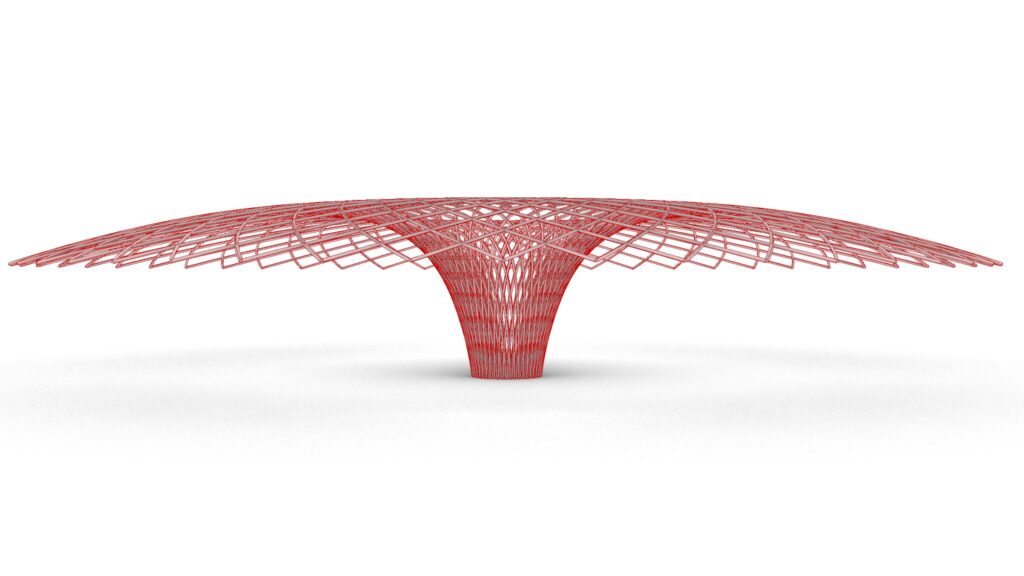
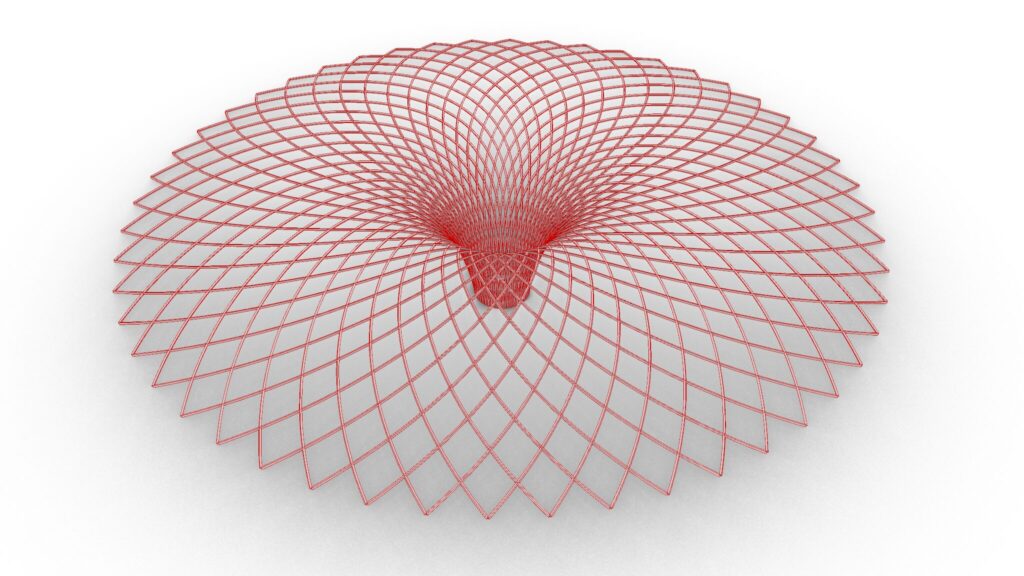
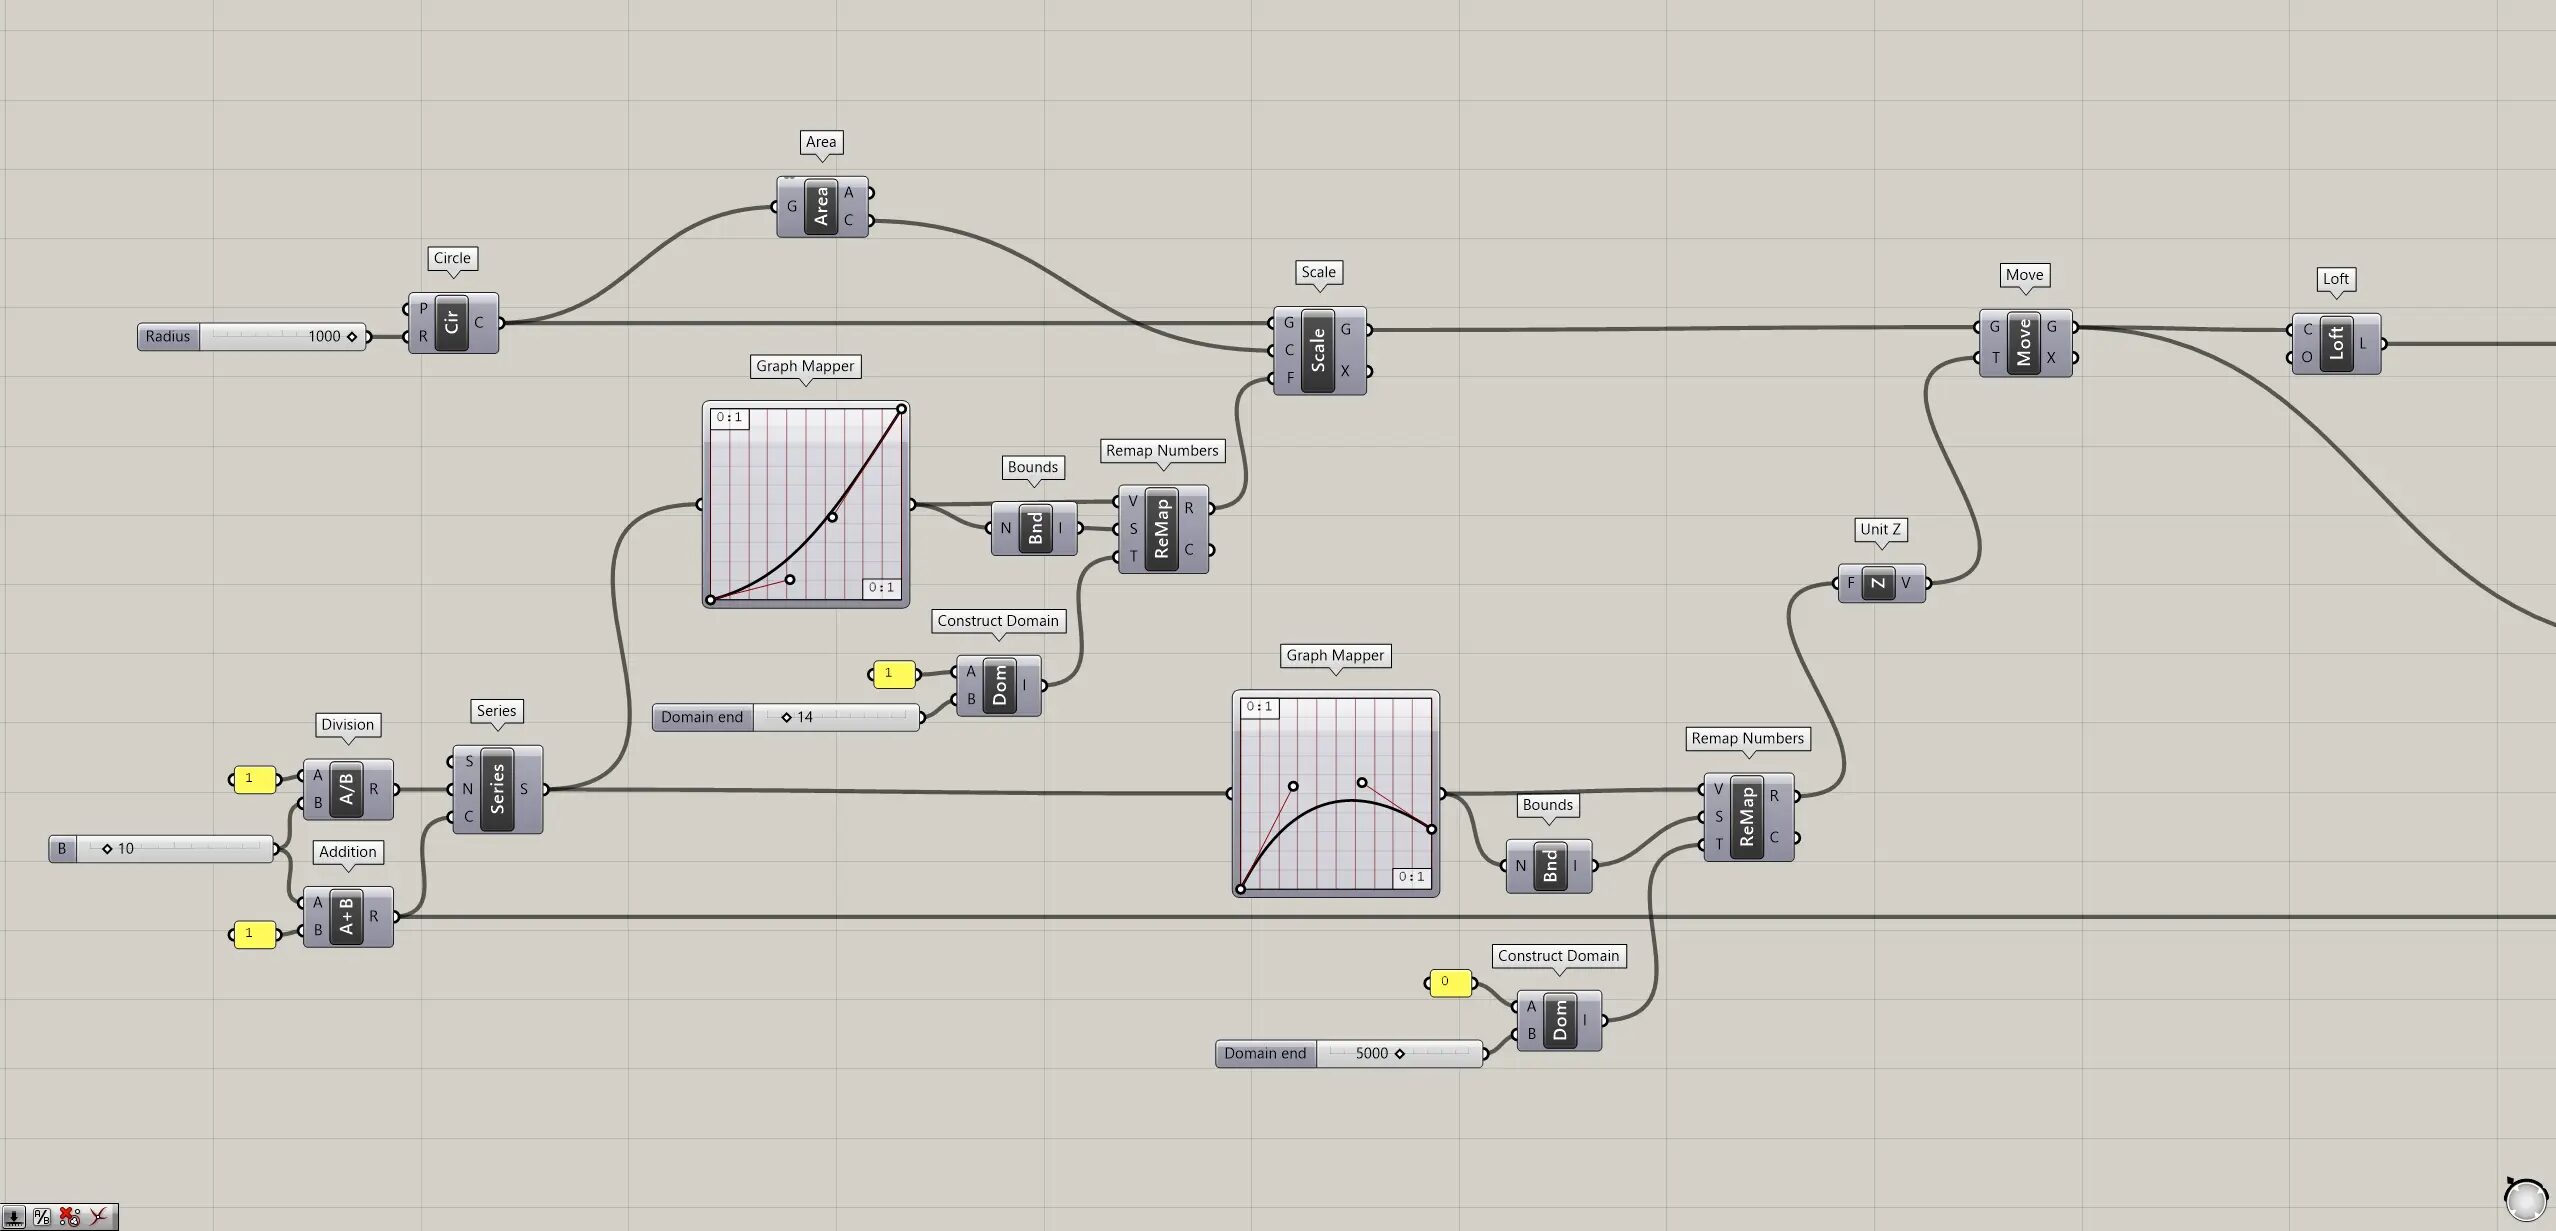
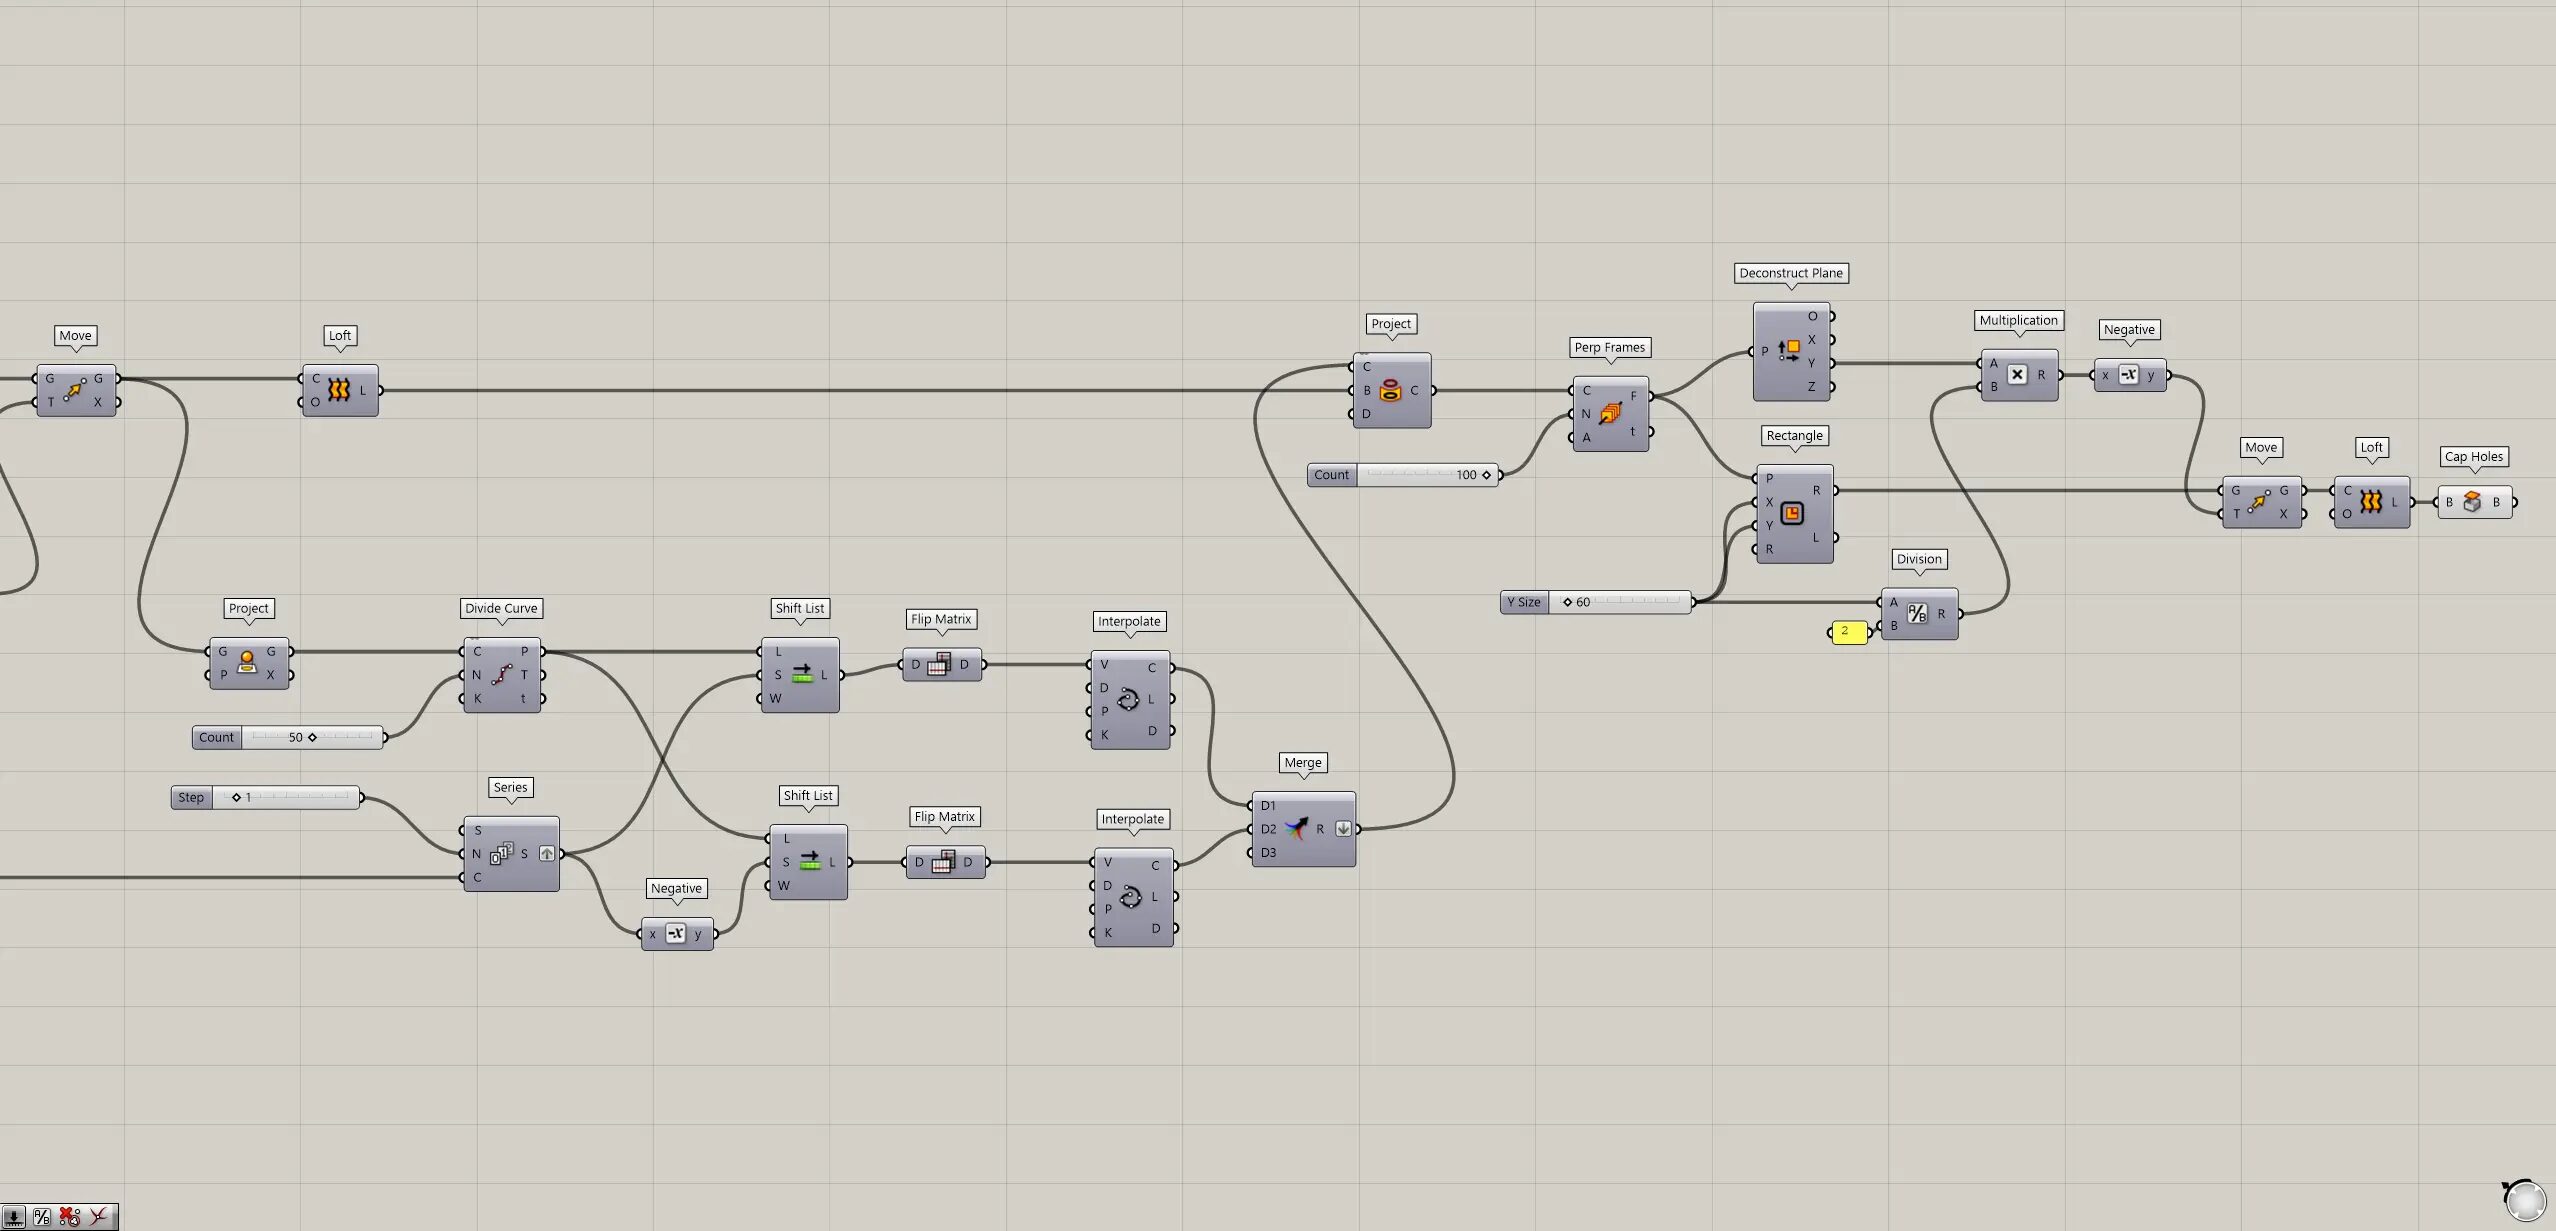
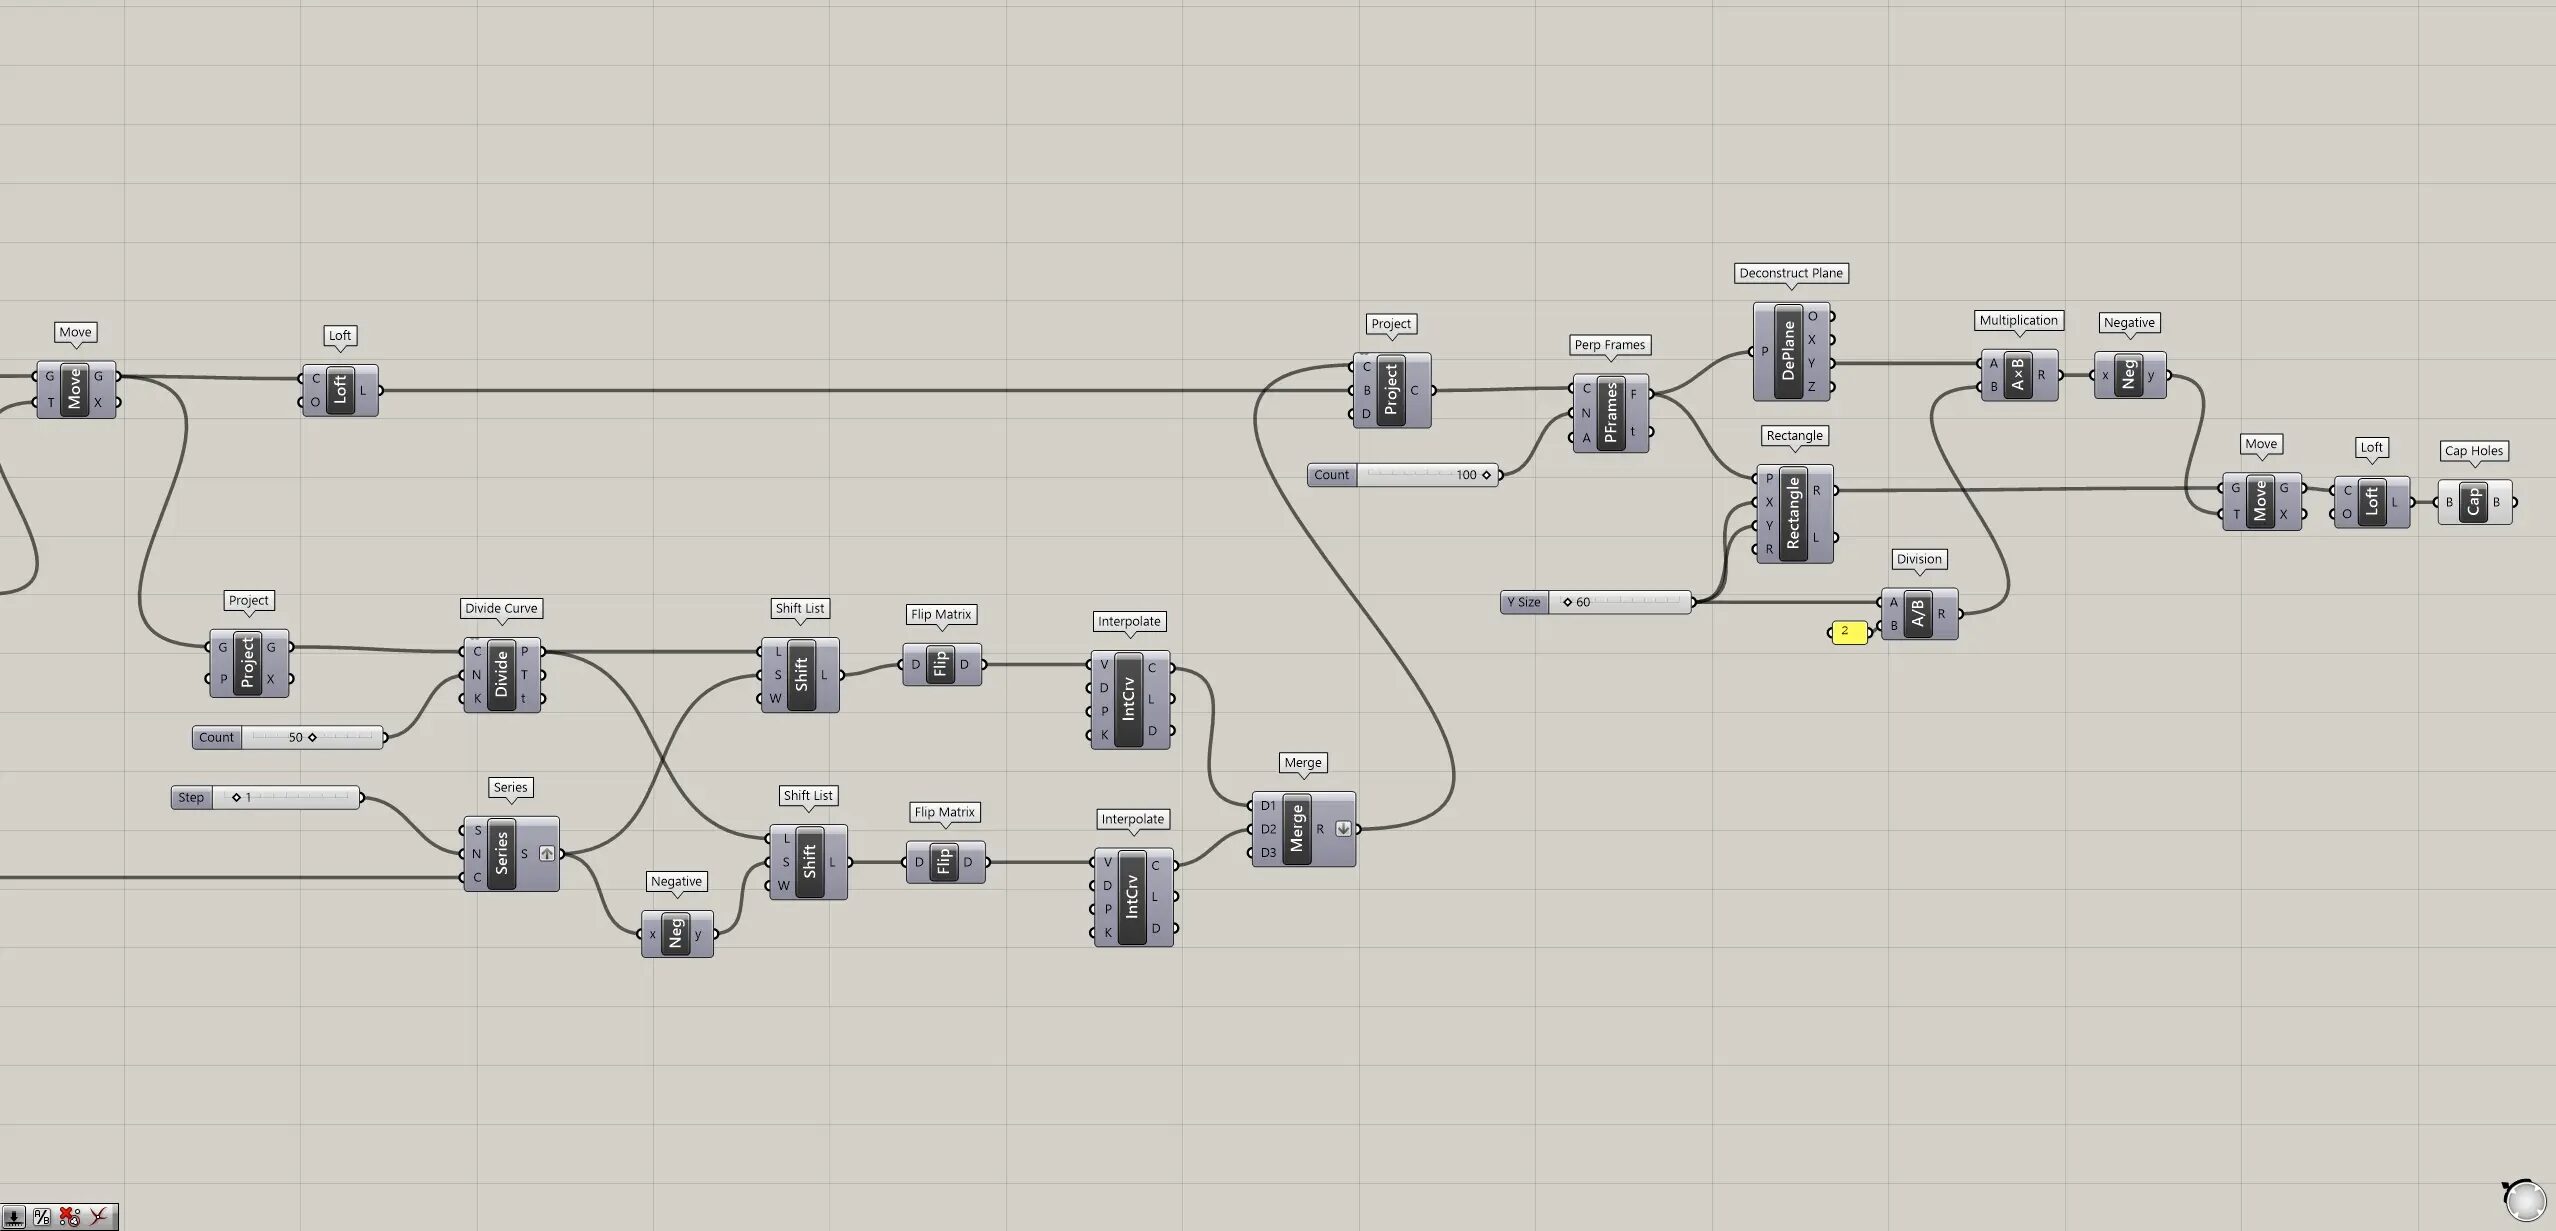
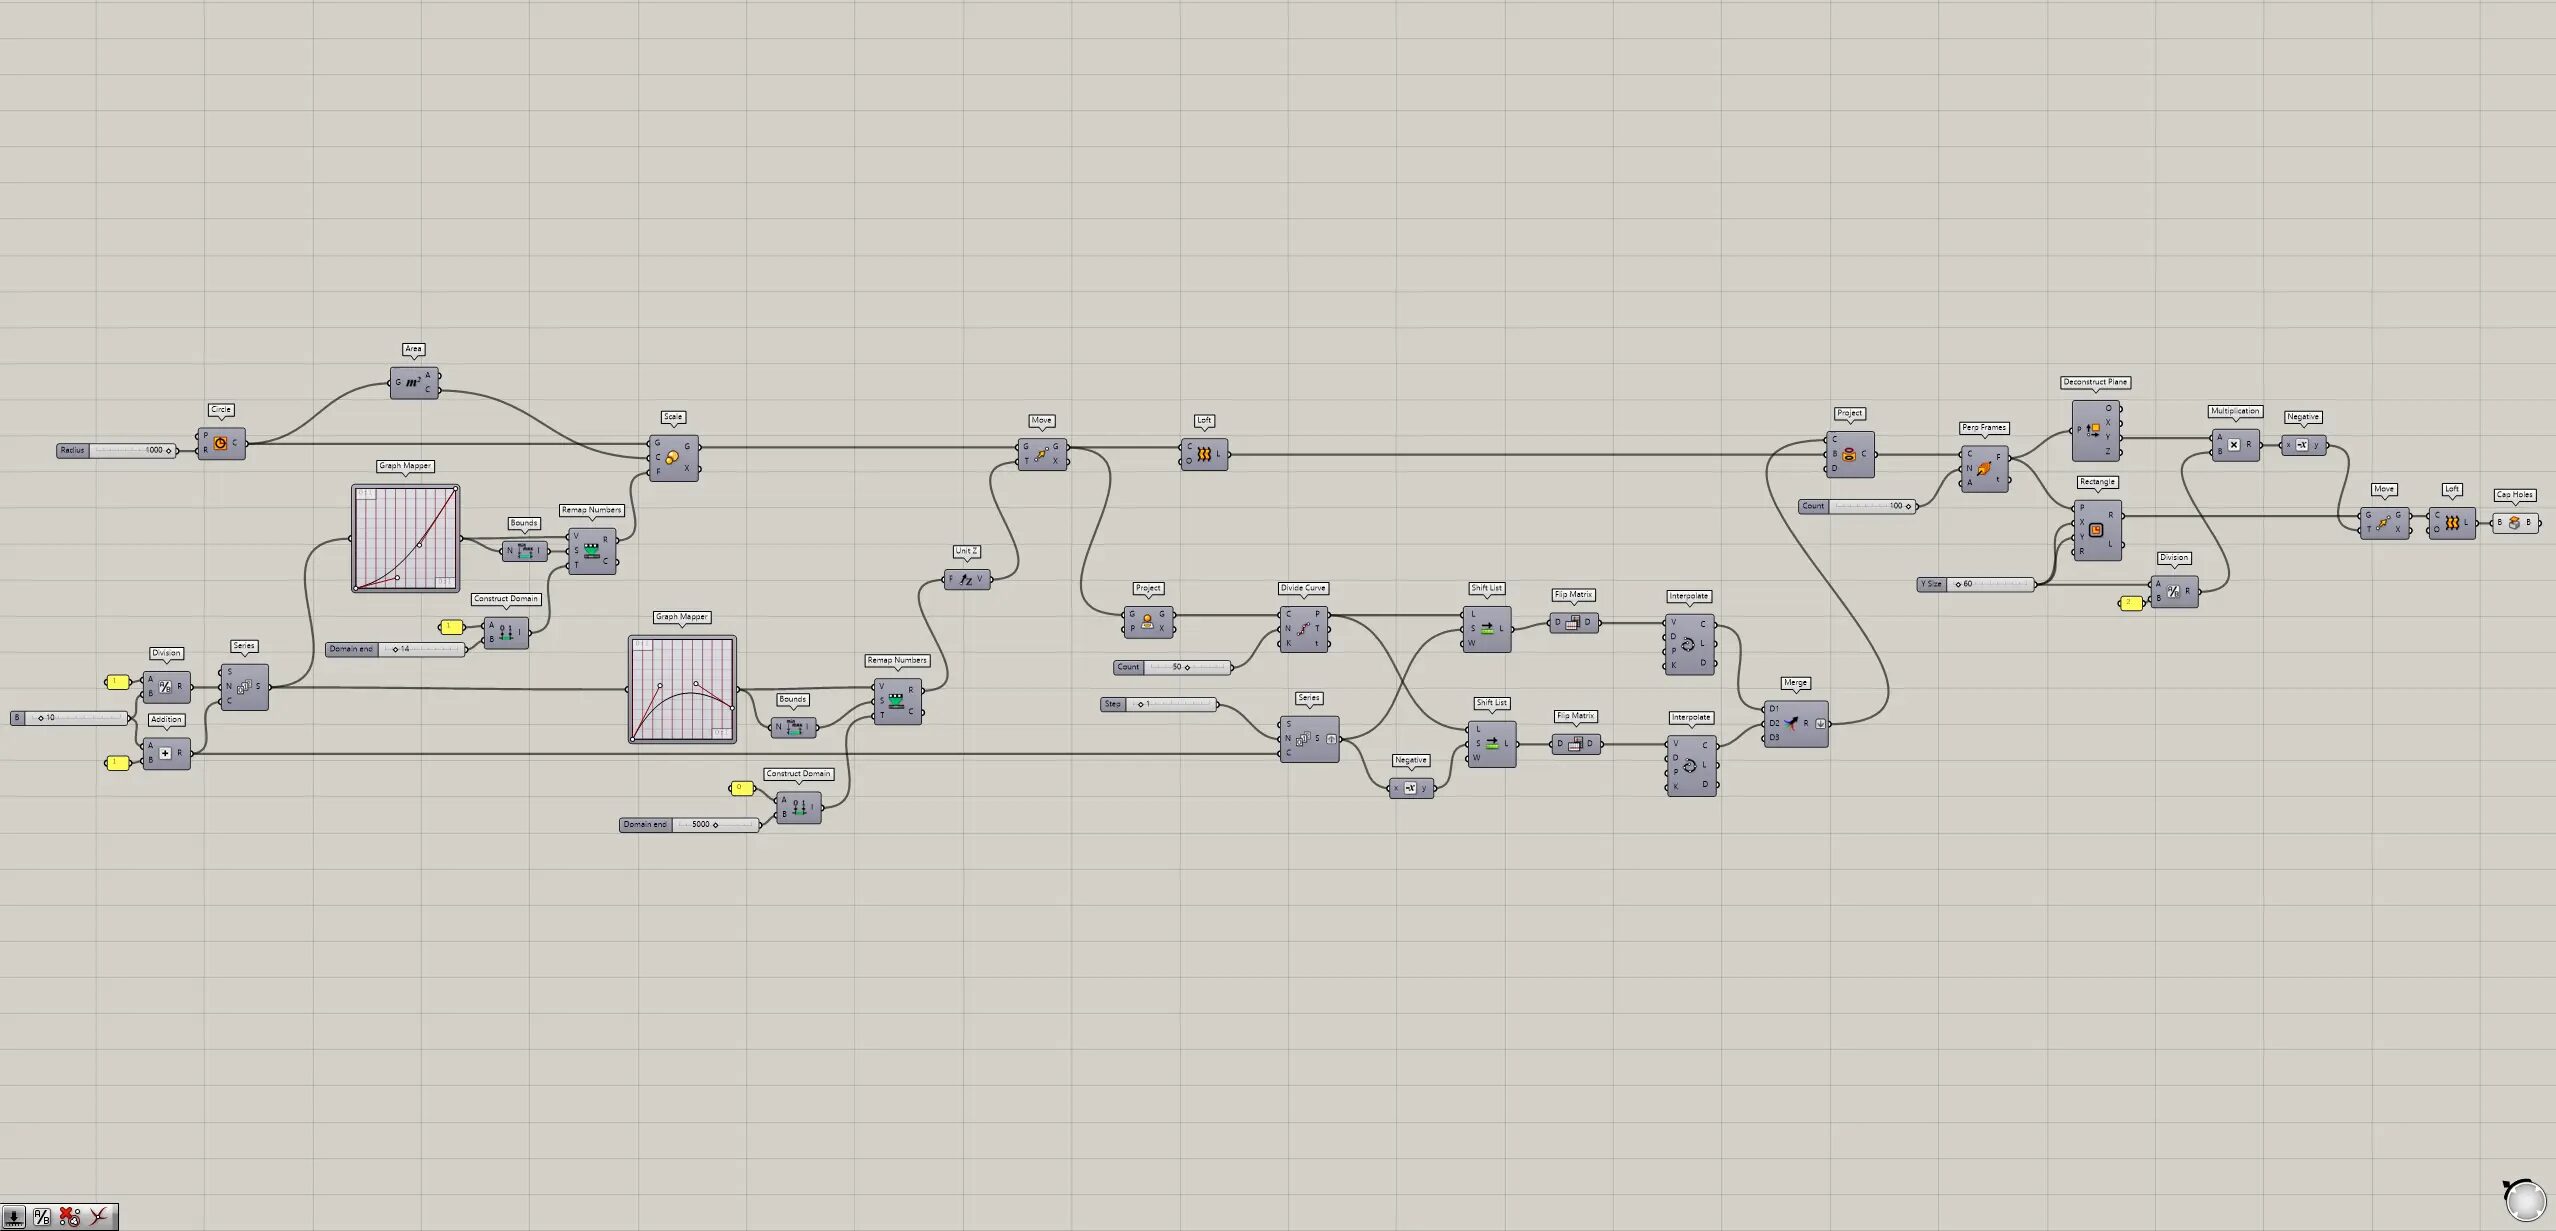
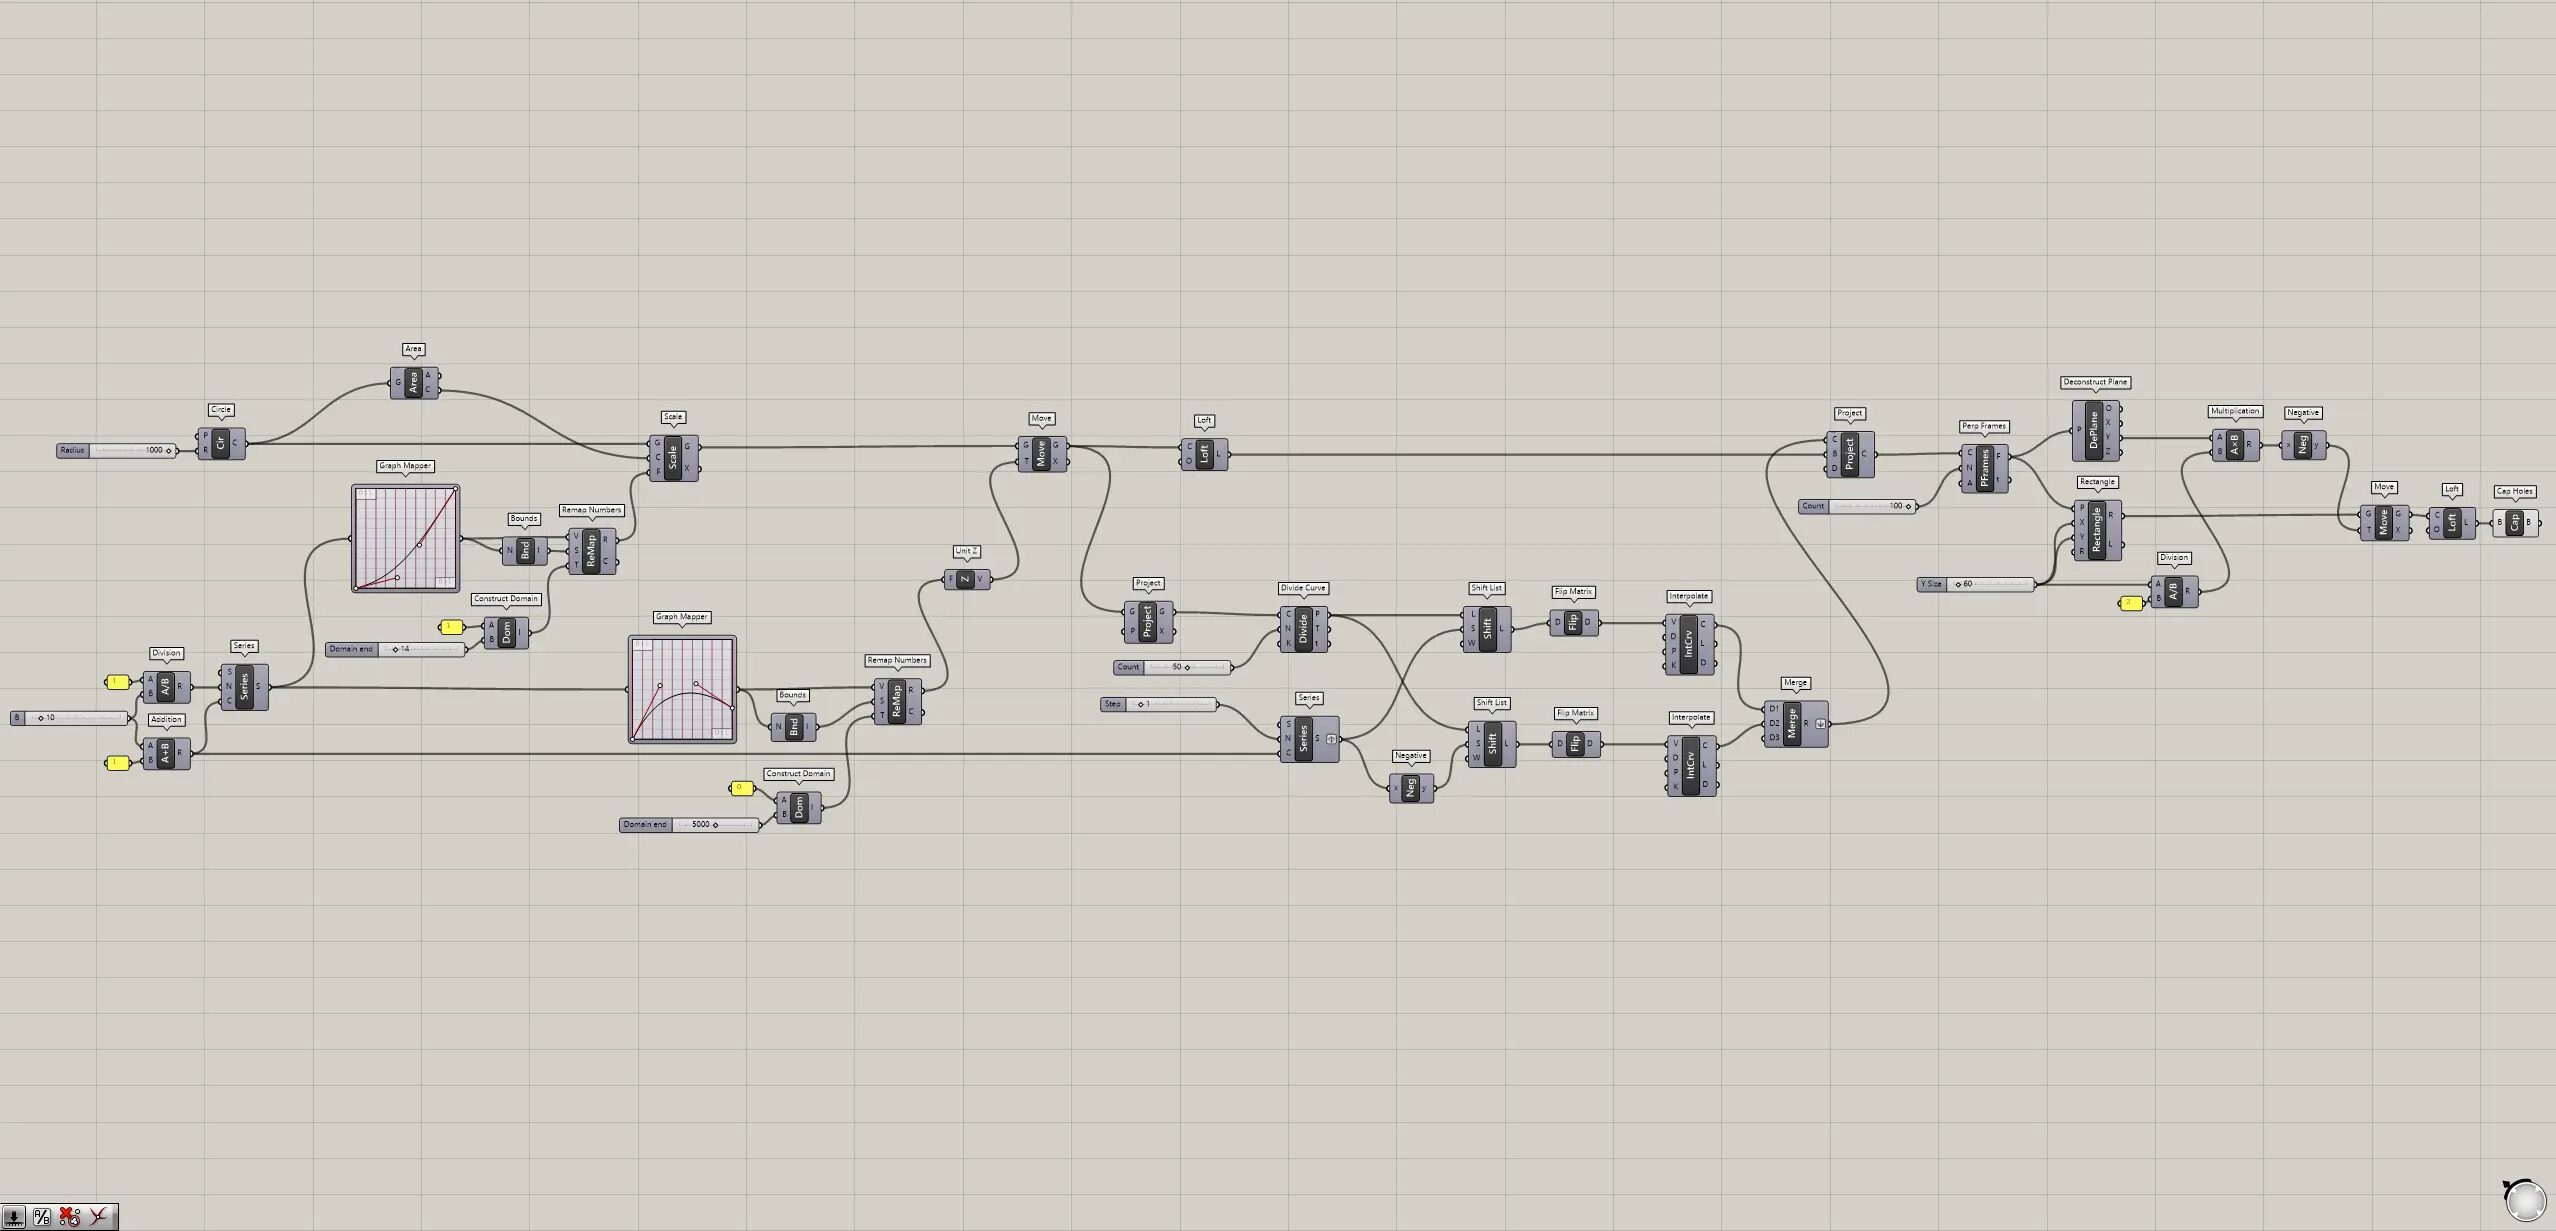
The top four images are from Grasshopper.
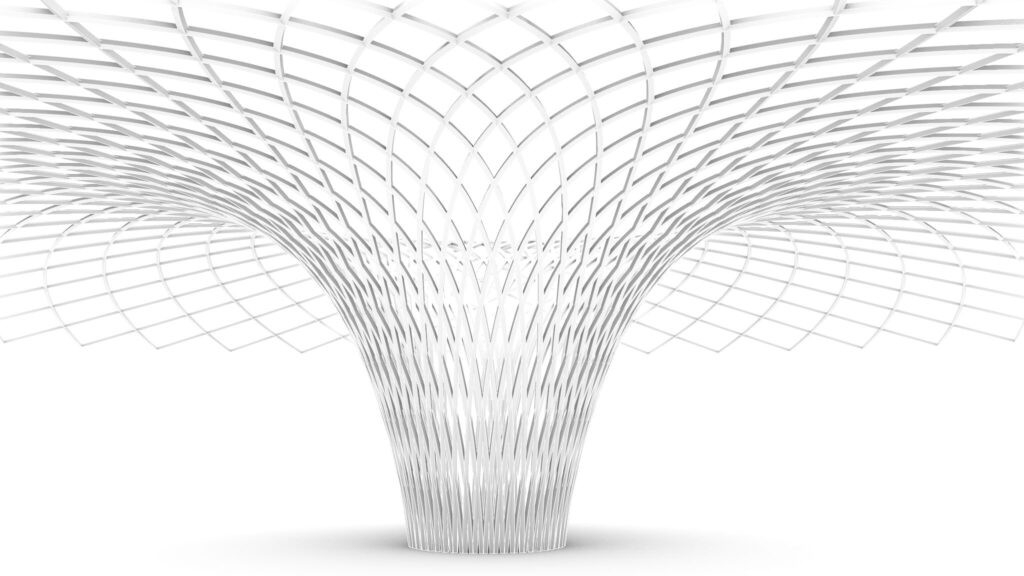
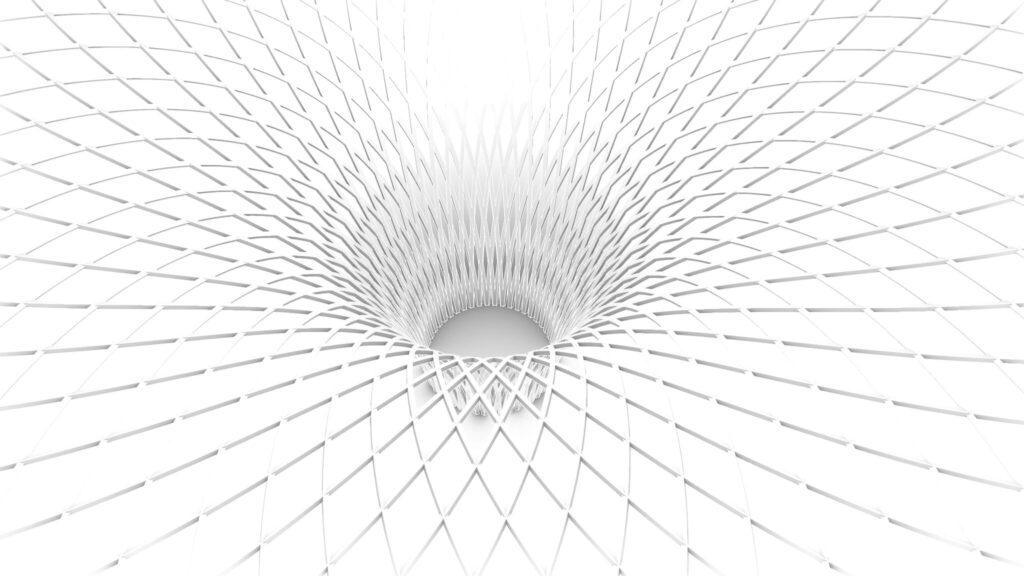
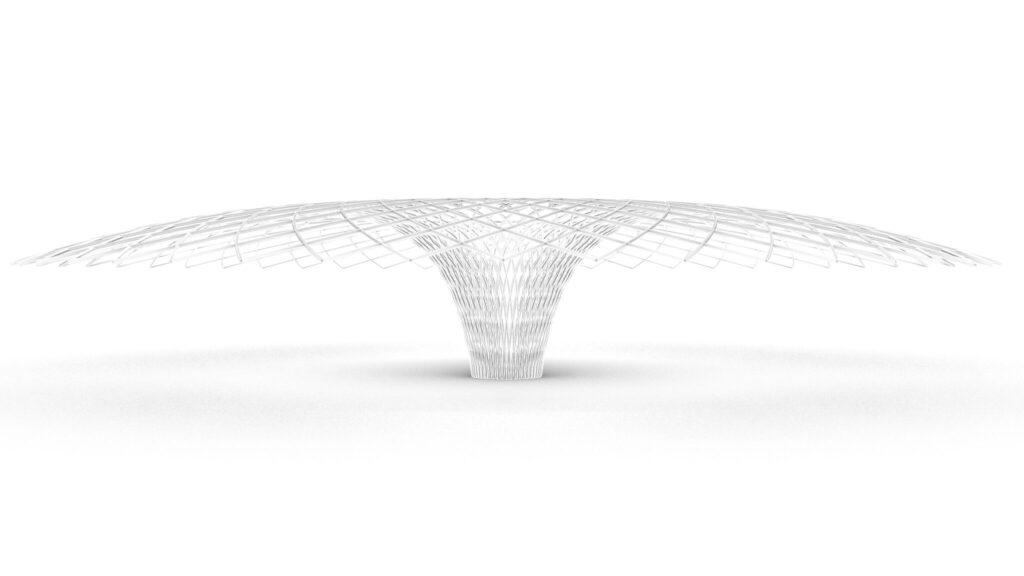
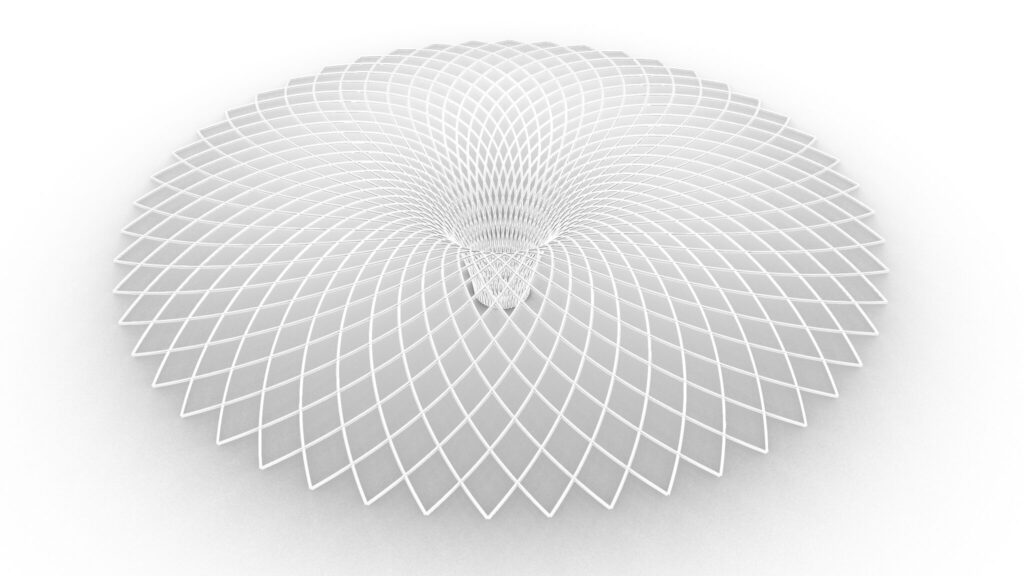
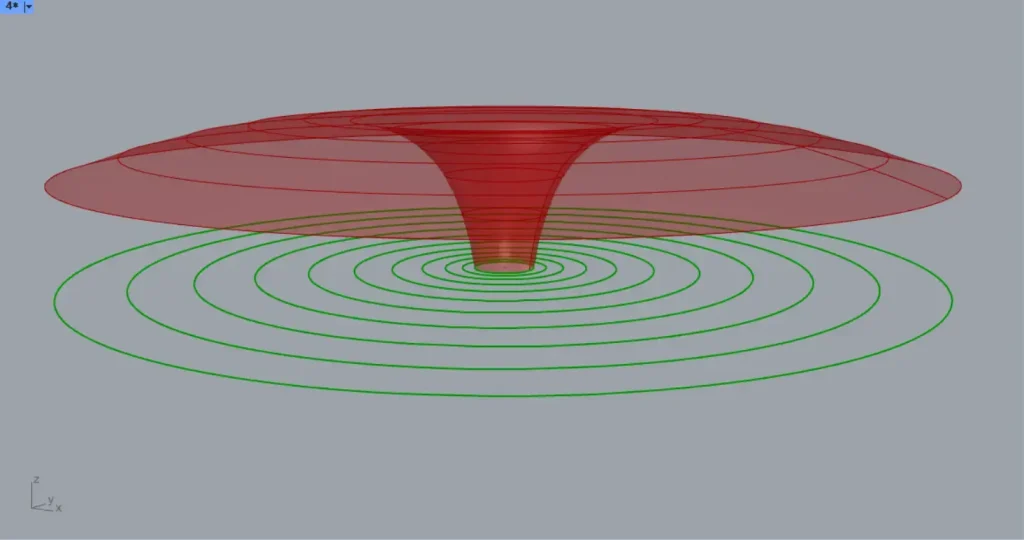
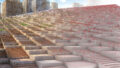
The top four images show the model exported on Rhinoceros.
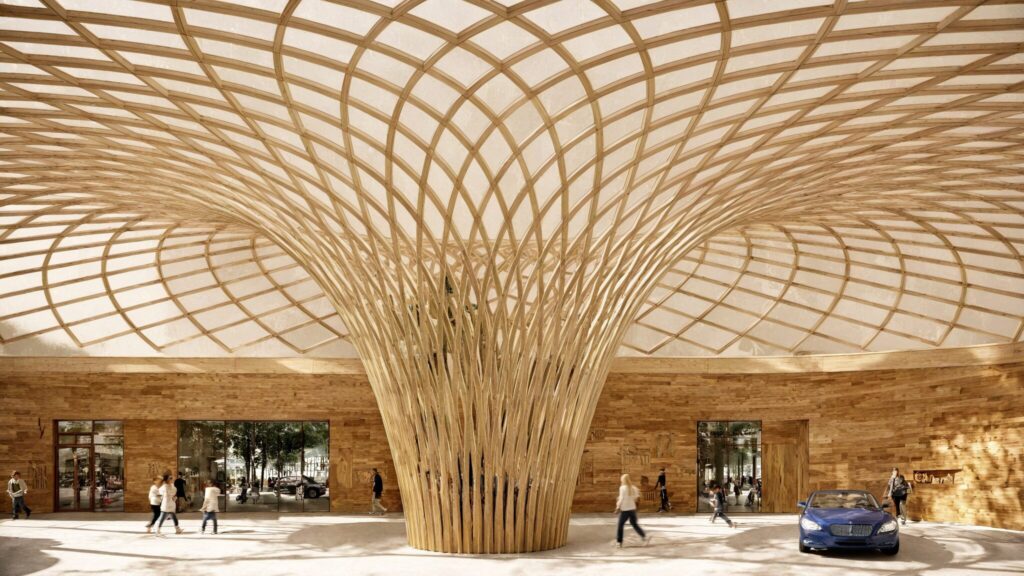
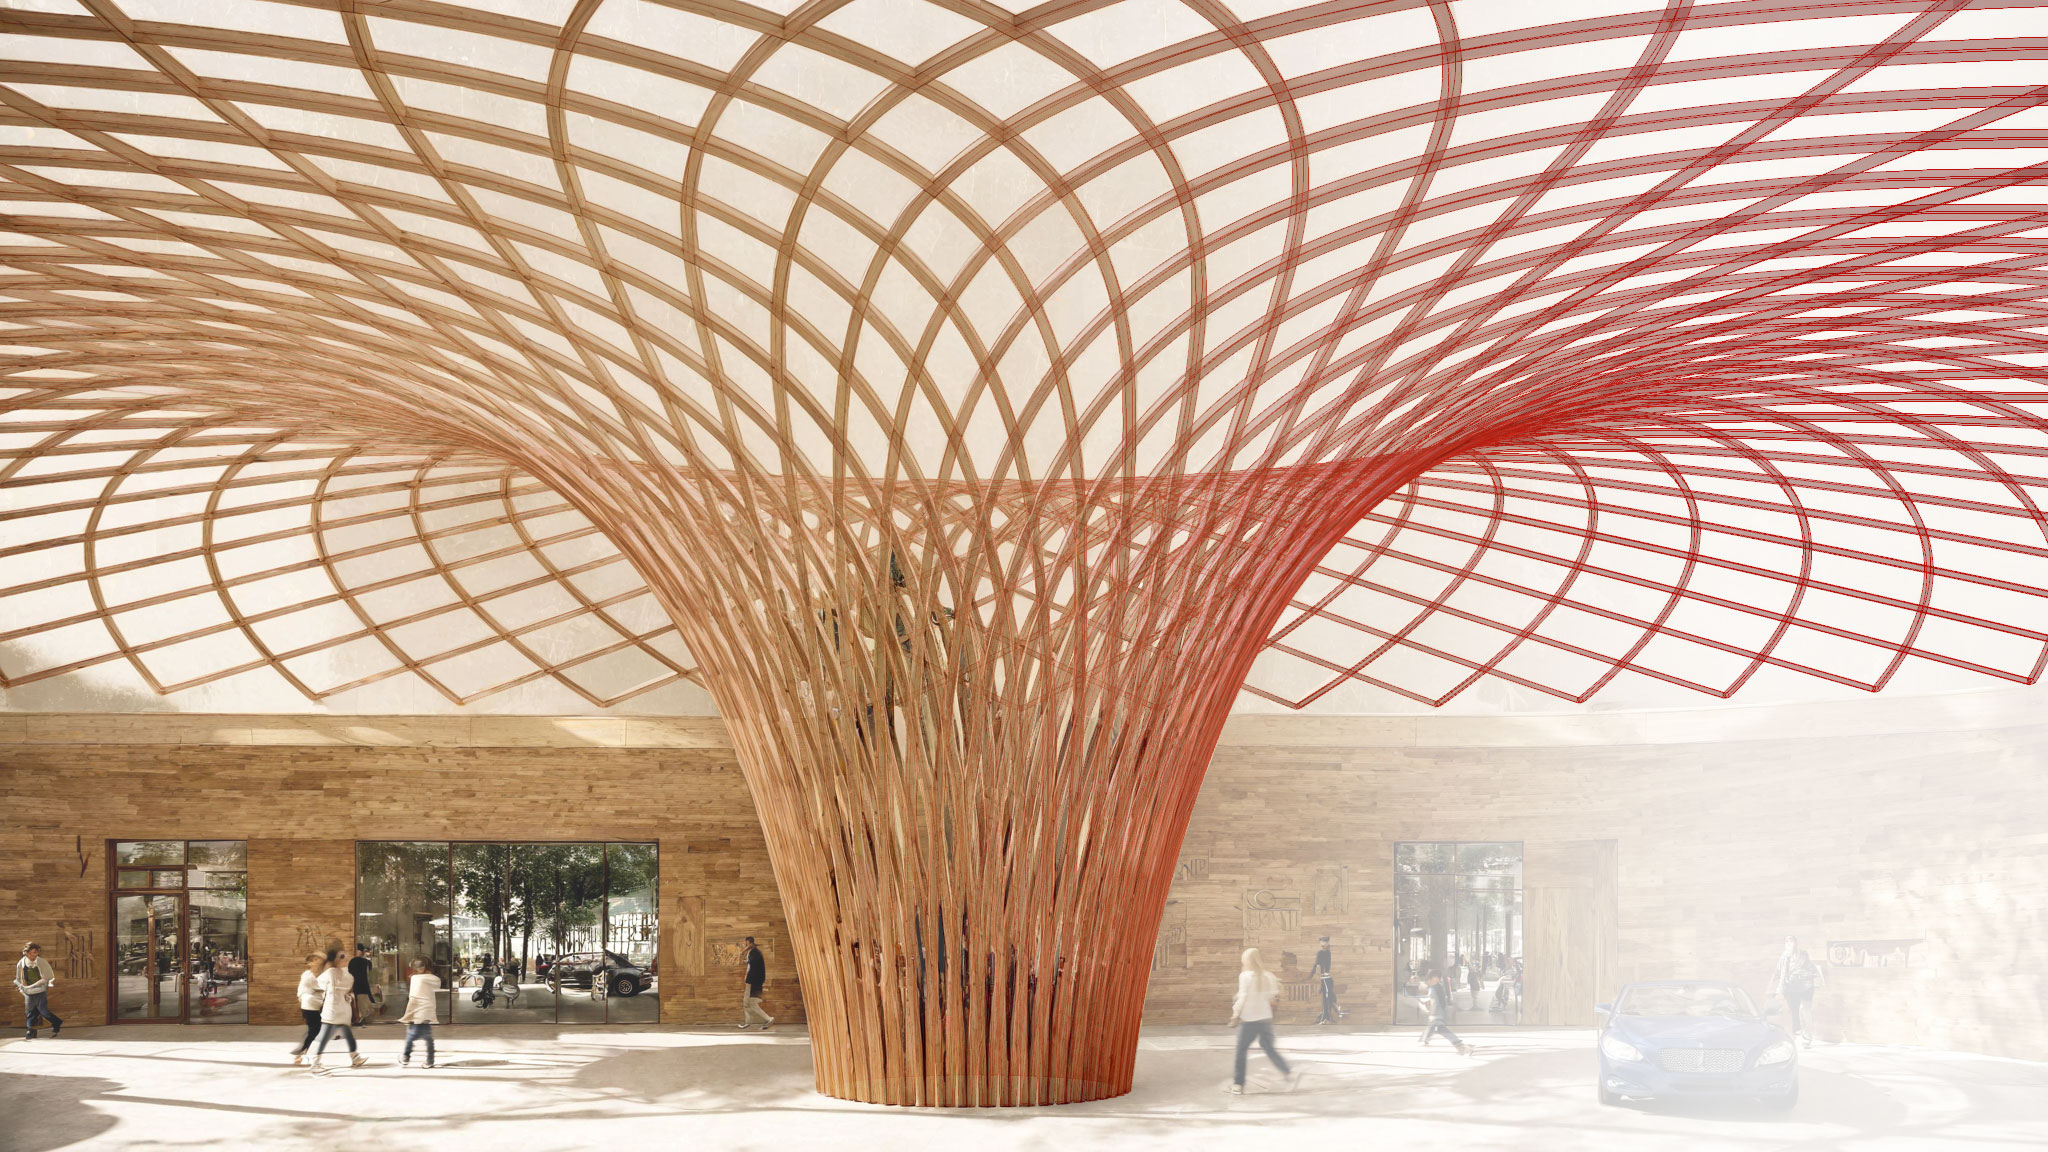
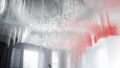
The image above shows the final rendering.
Click here to download the Grasshopper file
Please refer to the Terms of Use regarding the use of downloadable data.
Grasshopper recipe
①Circle ②Area ③Division ④Addition ⑤Series ⑥Graph Mapper ⑦Bounds ⑧Construct Domain ⑨Remap Numbers ⑩Scale ⑪Unit Z ⑫Move ⑬Loft ⑭Project ⑮Divide Curve ⑯Negative ⑰Shift List ⑱Flip Matrix ⑲Interpolate ⑳Merge ㉑Project ㉒Perp Frames ㉓Rectangle ㉔Deconstruct Plane ㉕Multiplication ㉖Cap Holes

Previous article

This time around, some of the programming overlaps with the previous article above.
So, the first “Create multiple circles of different scales”
So the second “Move each circle straight up to create a surface connecting each circle”
The last “Project radial lines onto the surface”
sections are duplicated, so please refer to the previous article.
In this article, only the parts that are not duplicated will be explained.
Create multiple circles of different scales
Basically, please refer to the previous article “Create multiple circles of different scales“.
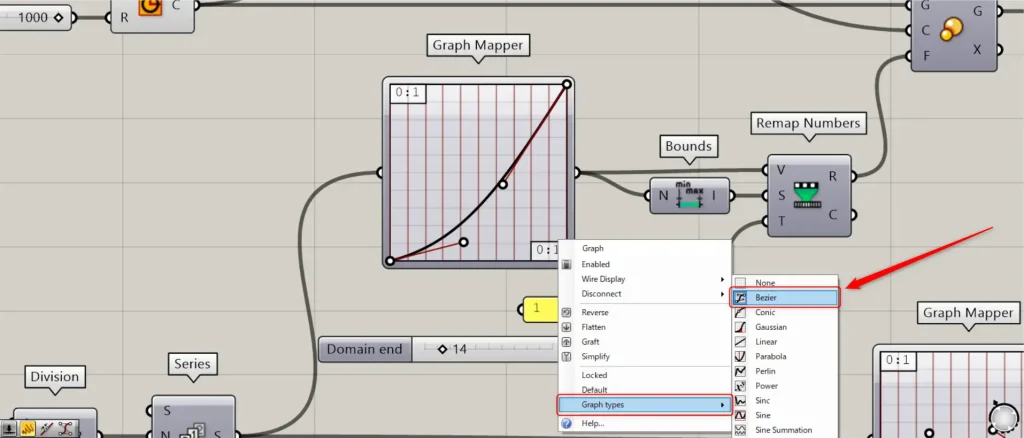
Only the shape of the graph in the Graph Mapper is different from the previous one, so change the shape as shown in the image above.
Move each circle straight up to create a surface connecting each circle
Basically, please refer to the previous article “Move each circle straight up to create a surface connecting each circle“.
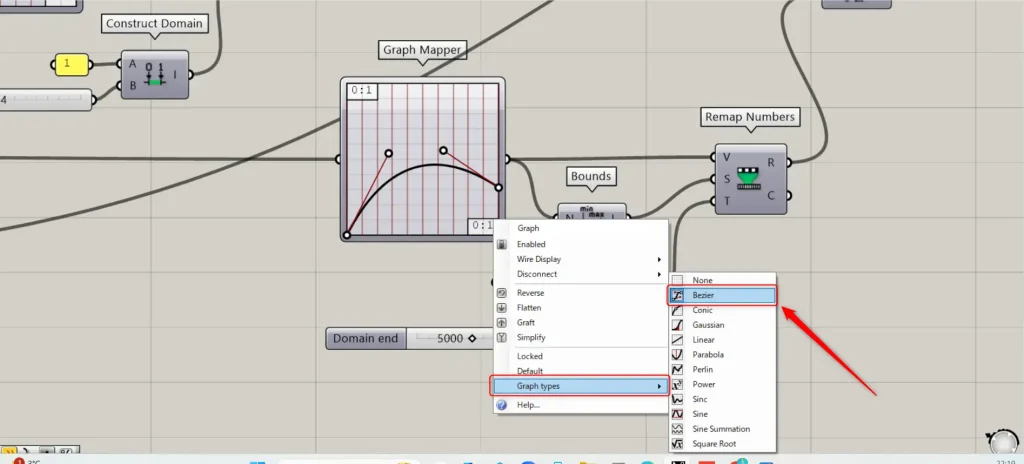
Only the shape of the graph in the Graph Mapper is different from the previous one, so please change it to look like the image above.
Create curves that shift and connect the division points of each circle
Next, Create curves that shift and connect the division points of each circle.
Connect the Move(G) to a Project(G).
Then each circle is projected at the ground level, as shown in the image above.
Then connect the Project(G) to a Divide Curve(C).
Furthermore, connect any number of divisions to the Divide Curve(N).
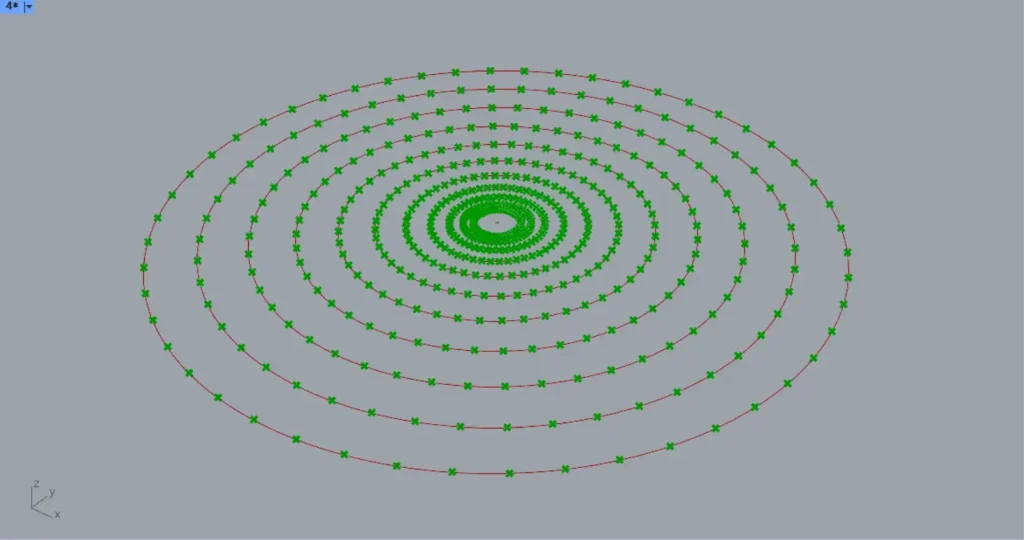
This time,50 is entered.
Then points are created at the positions where each circle is divided into 50, as shown in the image above.
Then connect the Addition to a Series(C).
Furthermore, connect any shifting numbers to the Series(N).
This time, 1 is connected.
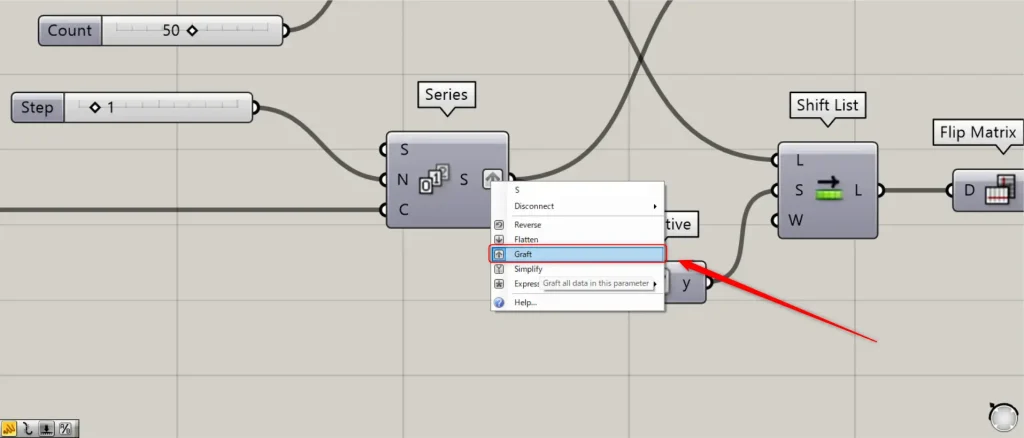
Then 11 numbers are created, each increasing by 1 from 0.
At this point, right click on the Series(S) and set Graft.

Then connect the Series(S) to a Negative.
Connect the Divide Curve(P) to a two Shift List(L).
Then connect the Shift List(S) to one of Series(S).
Then connect the Negative to the other Shift List(S).
Then the division points of the circles are shifted by one.
Then connect the two Shift List to a Flip Matrix.
This will swap the rows and columns of data and allow us to create curves connecting the points of each circle.
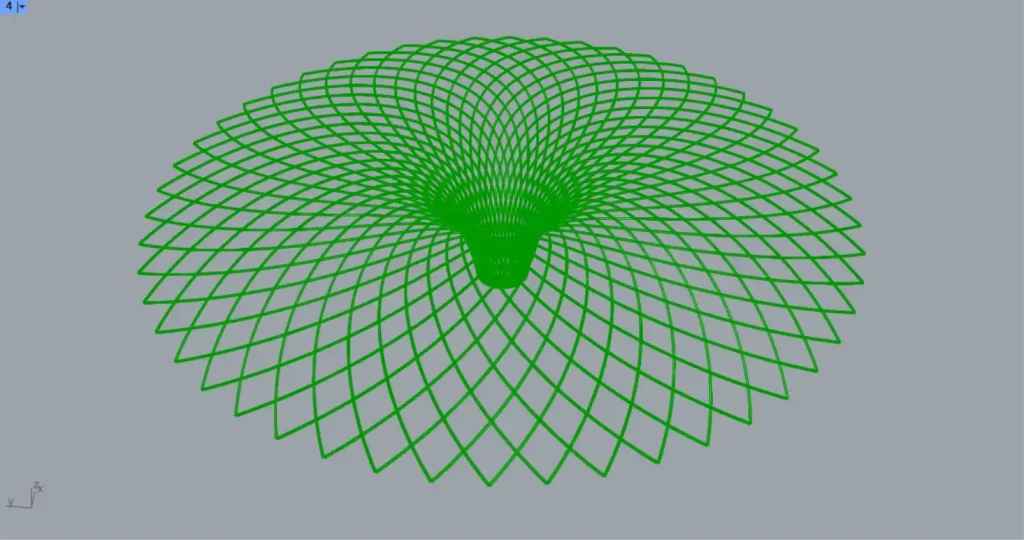
Then connect the two Flip Matrix to an Interpolate(V) respectively.
Then curves are created connecting the displaced points, as shown in the image above.
Then connect the two Interpolate to a Merge.
This brings the curves together.
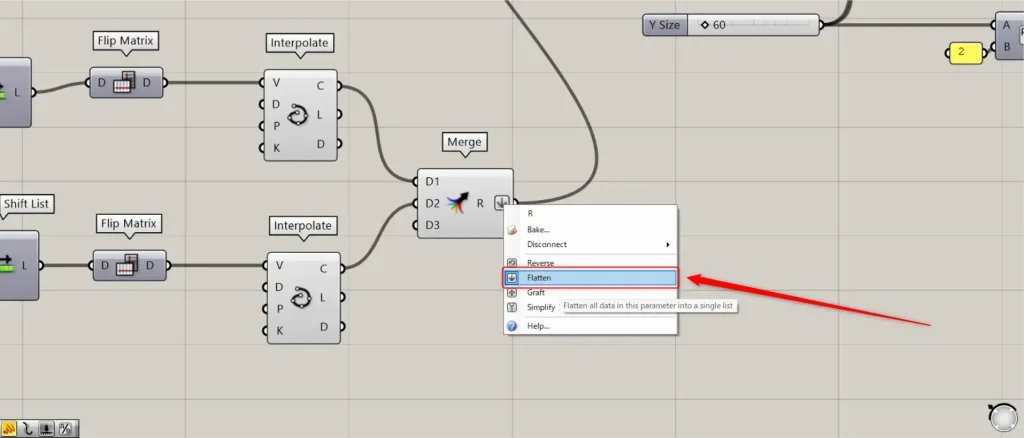
At this point, right click on the Merge(R) and set Flatten.

Then connect the Merge to a Project(C).
In addition, connect the Loft to the Project(B).
Then the curves are projected on the surface, as shown in the image above.
Create louvers from the projected curves
Please refer to the “Create louvers from the projected curves” section of the previous article for this content.
This completes the process.
That’s all.

Comment