
![[Grasshopper] How to use Spin Force to create a rotating magnetic field](https://iarchway.com/wp-content/uploads/2026/01/eyecatch-32.png)
This article explains how to use Spin Force to create a rotating magnetic field.
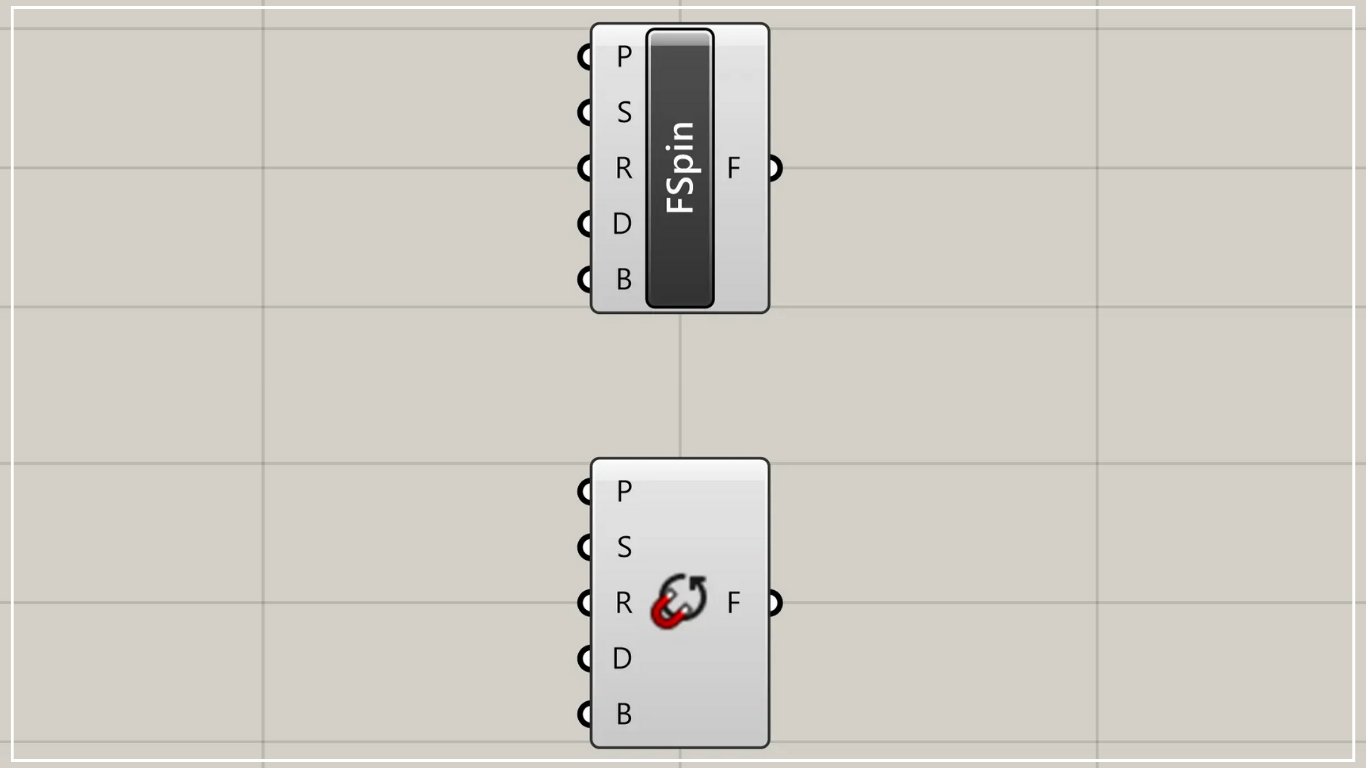
On the Grasshopper, it is represented by either of the two above.
Create a rotating magnetic field
Using Spin Force allows you to create a rotating magnetic field.
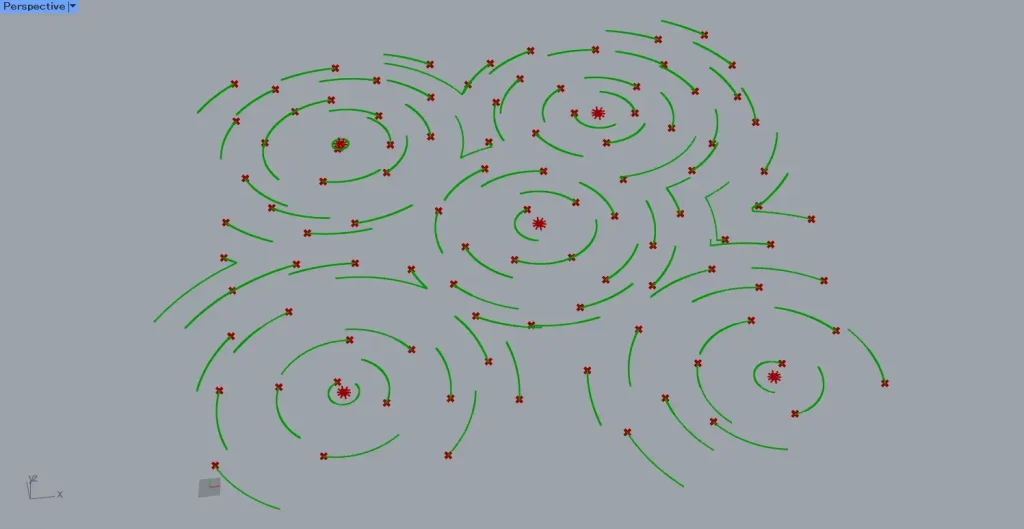
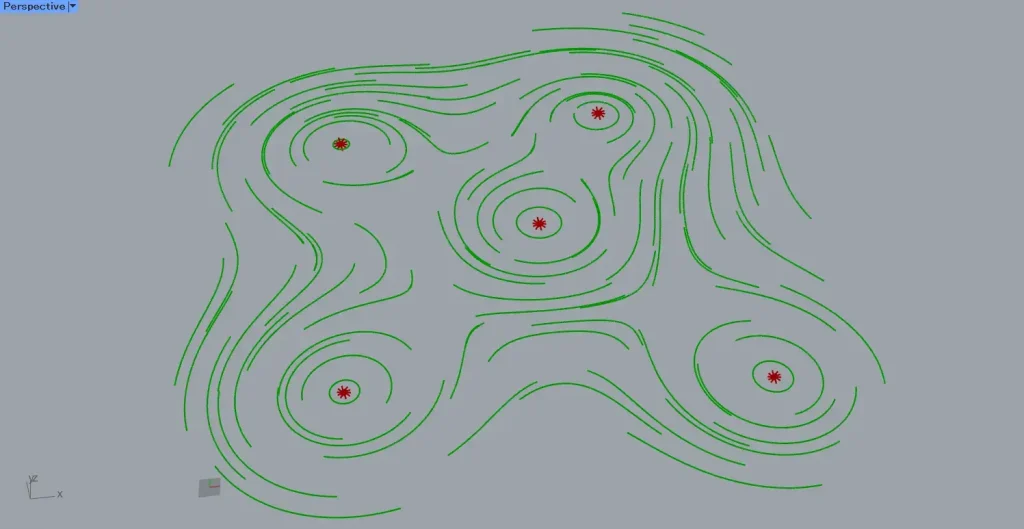
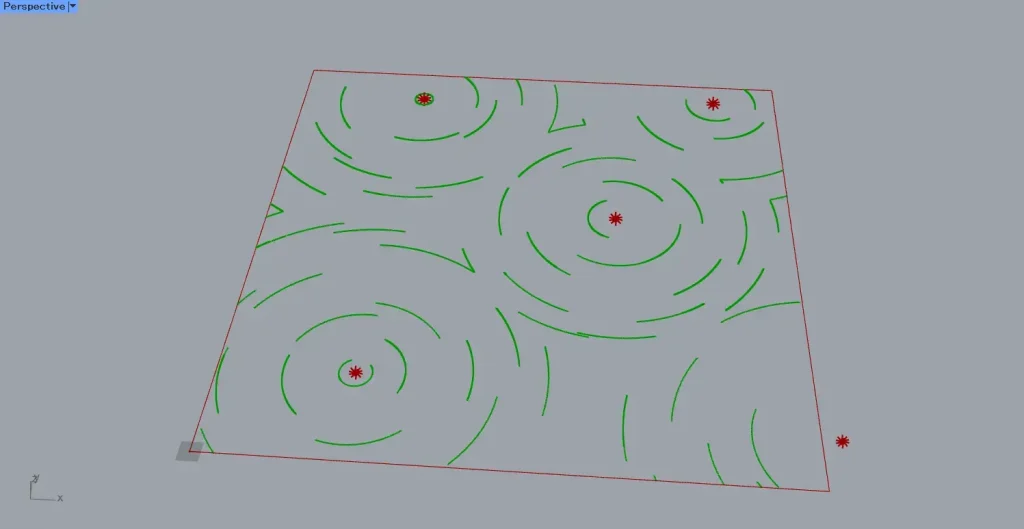
For this example, we will use five points to create magnetic fields and 100 points to create curves, as shown in the two images above.
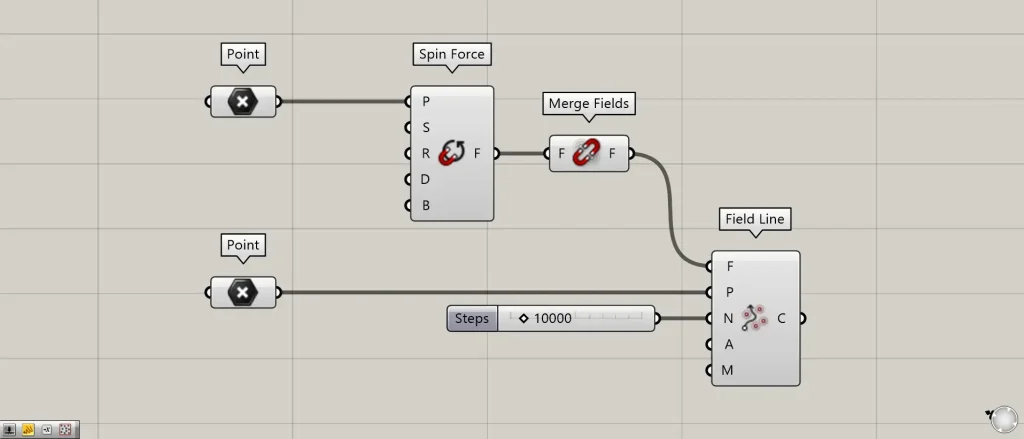
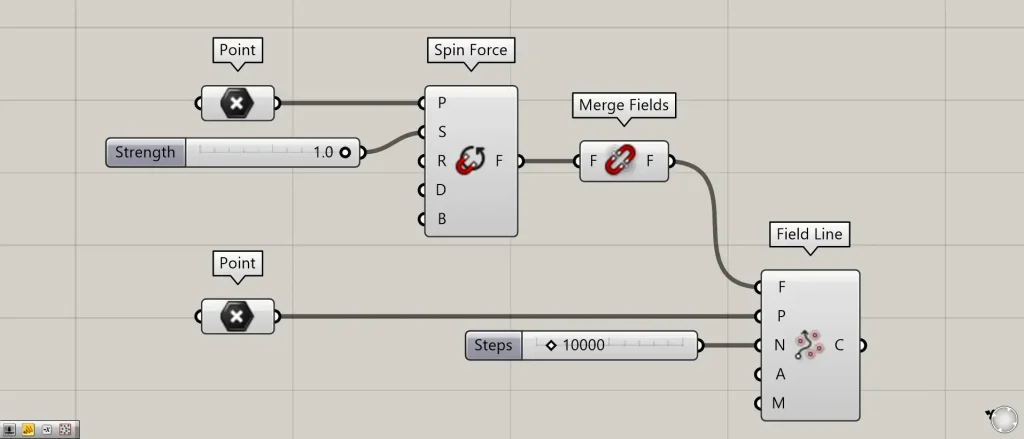
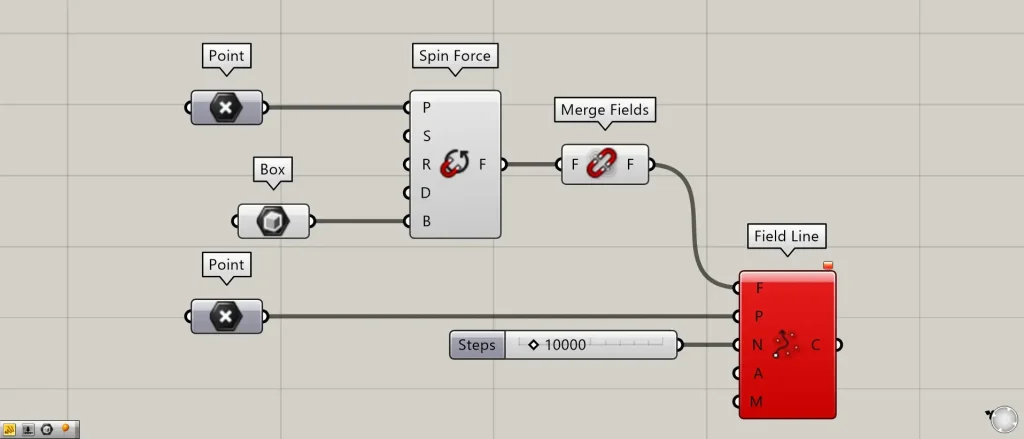
Components Used: ①Point ②Spin Force ③Merge Fields ④Field Line
This time, we are setting two different types of points, each in Point.
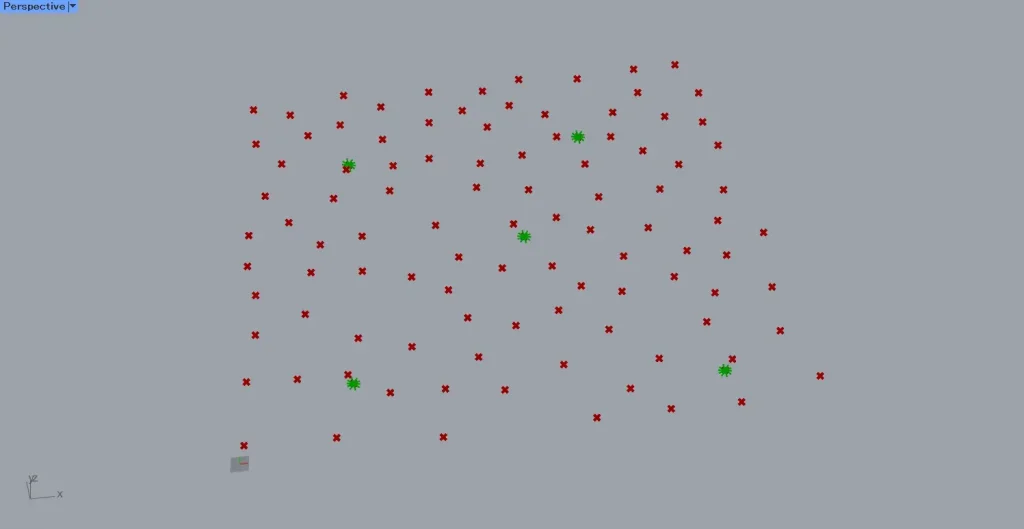
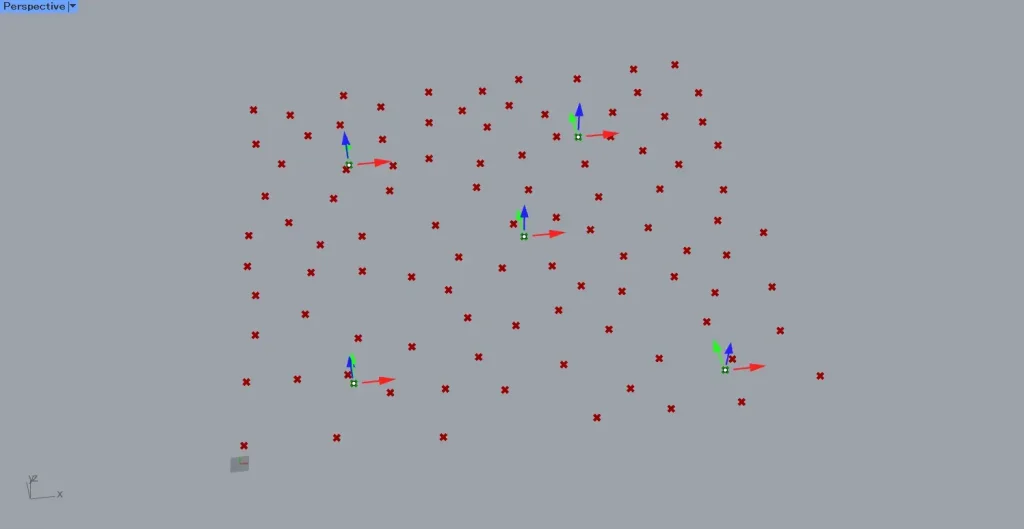
Connect the point at the five-point location to the Spin Force(P).
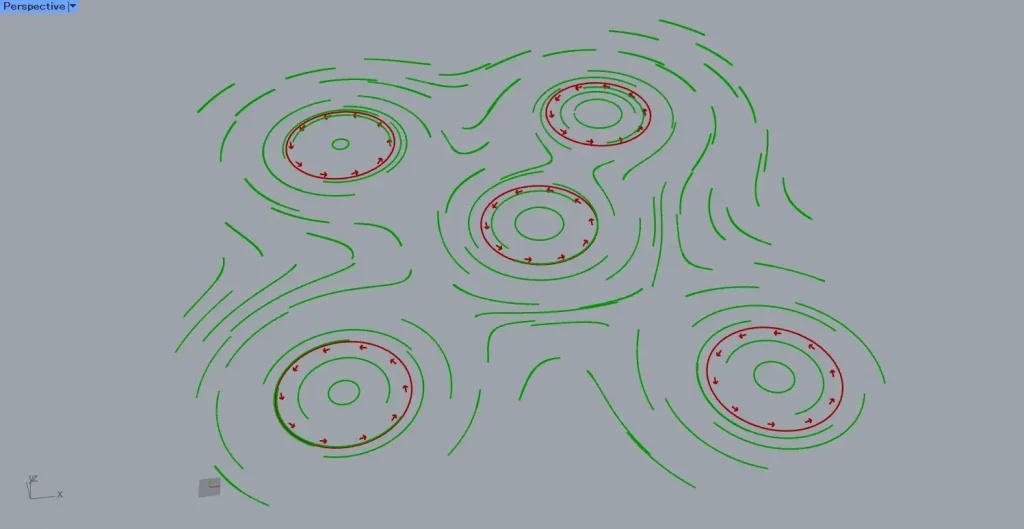
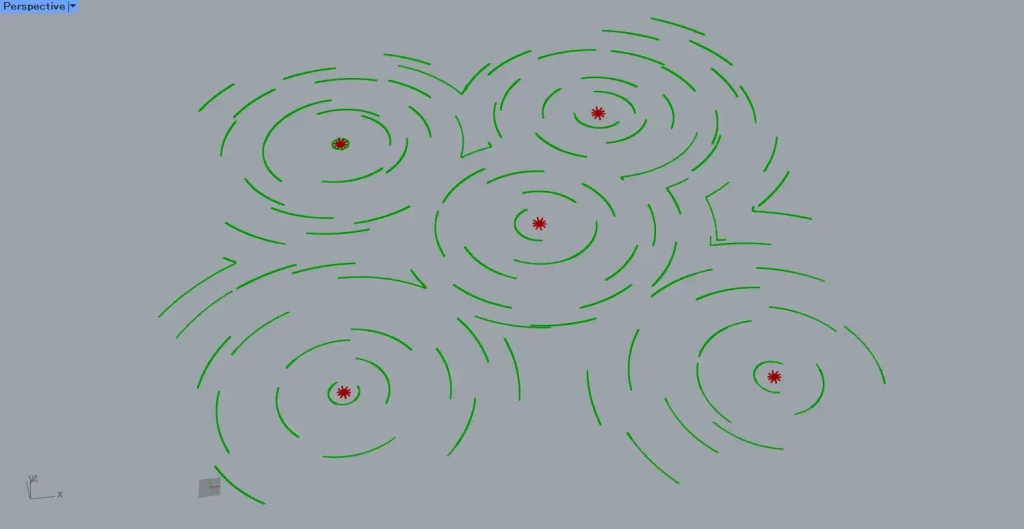
Then, as shown in the image above, magnetic fields are created at the specified position.
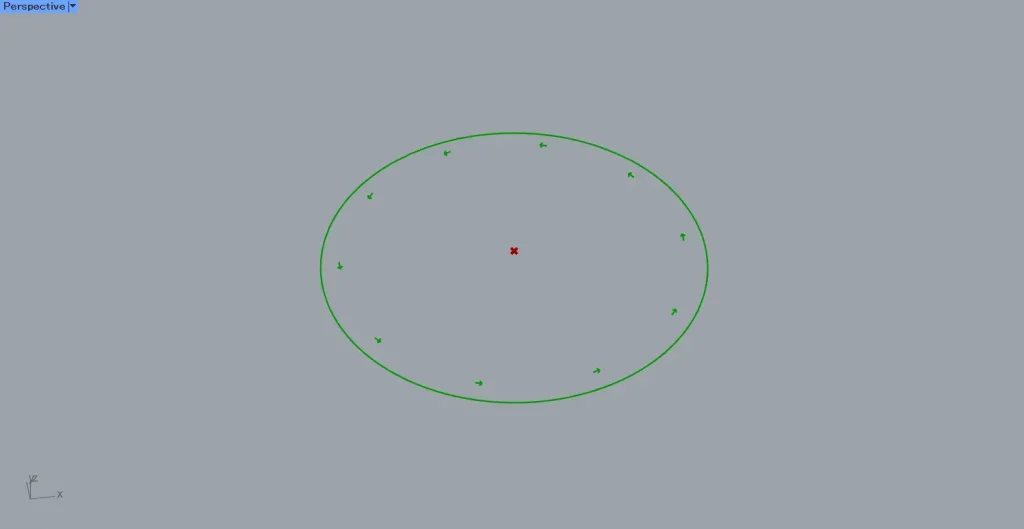
The image above shows a zoom-in view of the magnetic field.
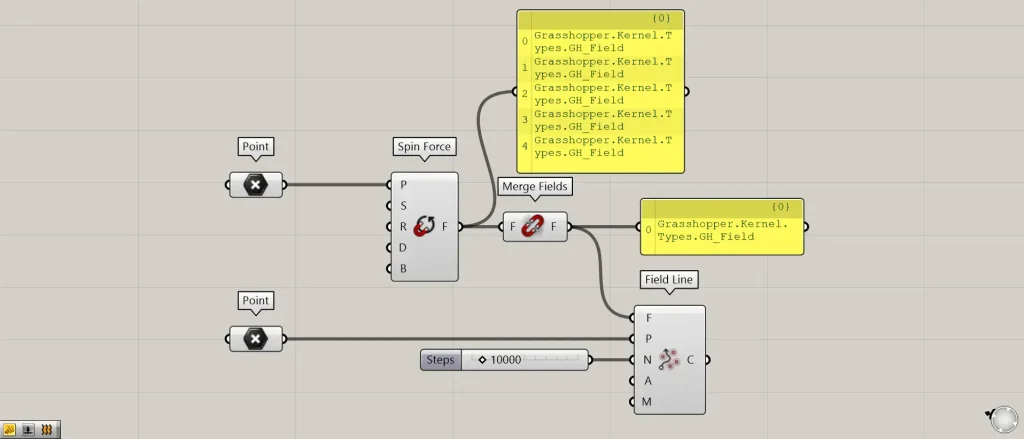
Next, connect Spin Force to Merge Fields.
Then, five independent magnetic fields are combined into a single magnetic field data set.
Then connect the Merge Fields to the Field Line(F).
Furthermore, connect the Point of the 100-point side to the Field Line(P).
Additionally, connect the desired number of steps (the numerical value indicating how many times the calculation process is performed) to Field Line(N).
This time, we’re connecting 10,000.
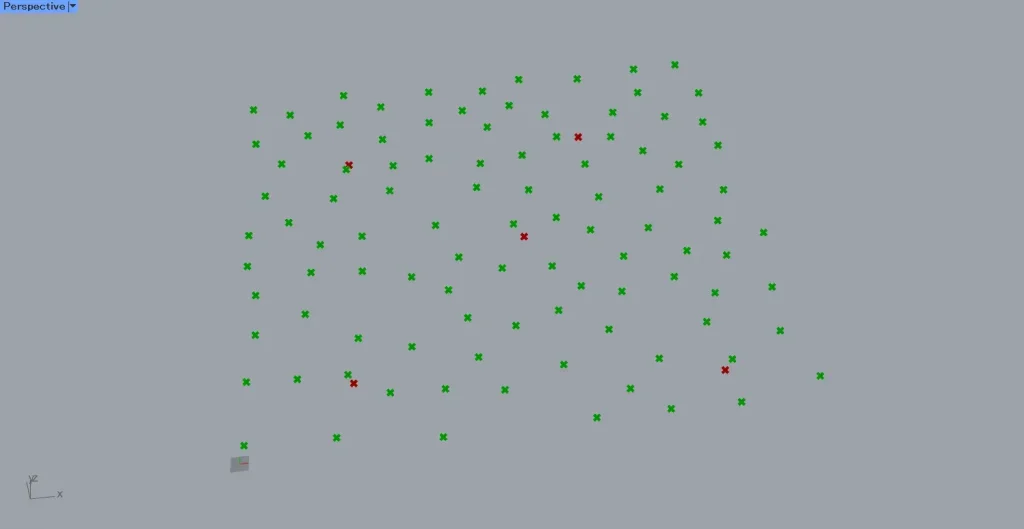
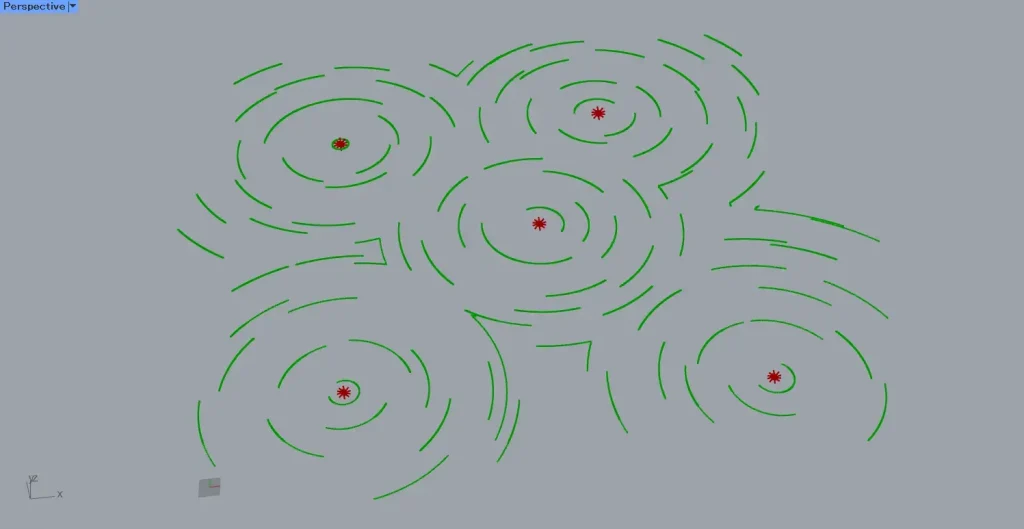
As a result, curves were created under the influence of the rotating magnetic field, as shown in the image above.
In this way, using Spin Force allows you to create a rotating magnetic field.
Spin Force Settings
Let’s take a look at the various settings for Spin Force.
In Spin Force(S), you can set the numerical value for the magnetic field strength.
The image above shows Spin Force(S) connected to 1.
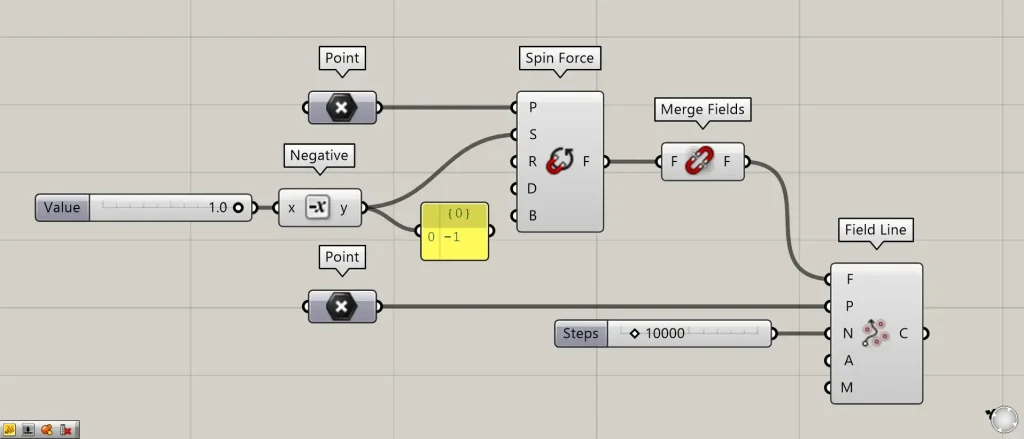
Additional Component: ①Negative
Additionally, connecting a negative value to Spin Force(S) will reverse the direction of the line.
This time, we’ve connected 1 to Negative, making it -1.
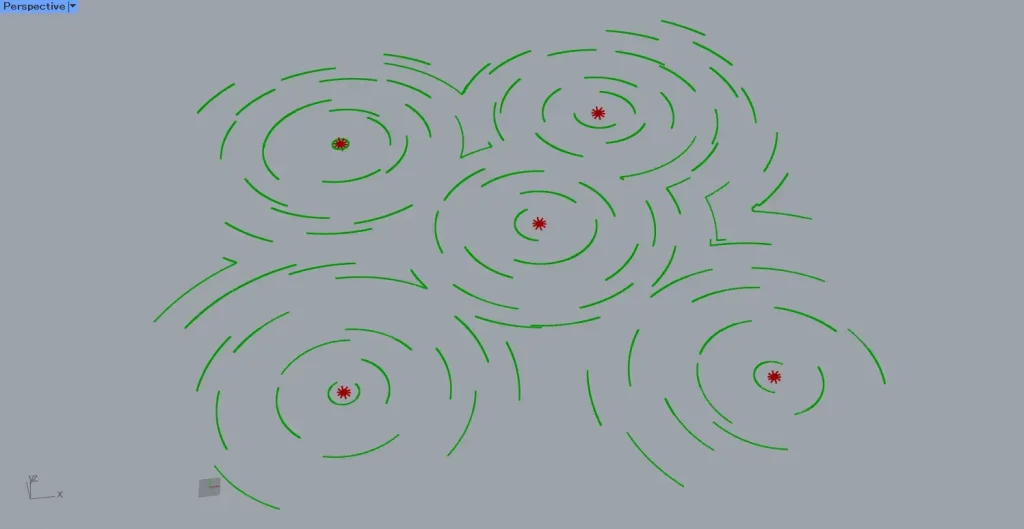
Then, as shown in the image above, you can see that the curves have reversed direction.
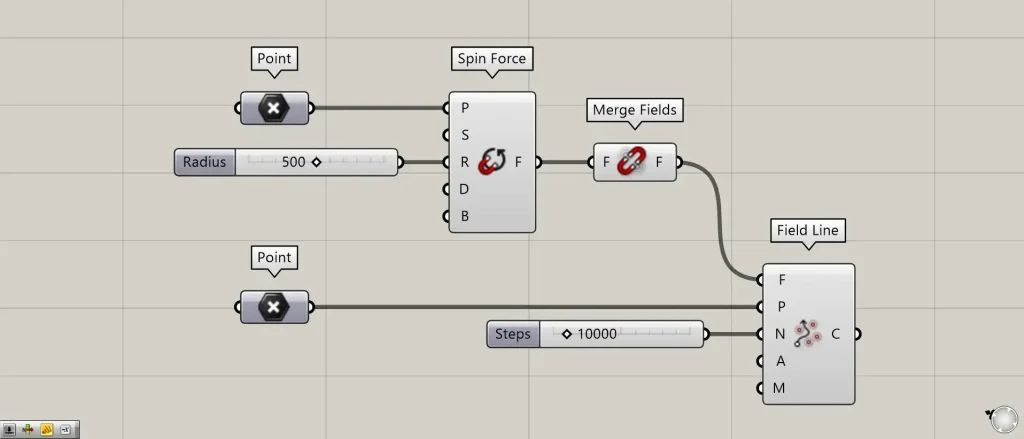
With Spin Force(R), you can set the radius of the rotating magnetic field.
This time, we’re connecting 500.
Then, as shown in the image above, you can see that the radius of the magnetic field has changed.
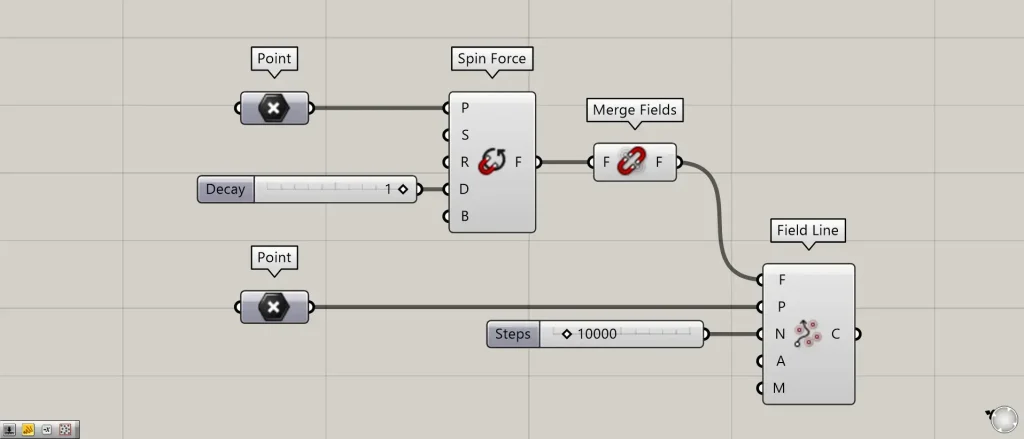
In Spin Force(D), you can set the magnetic field decay value (the numerical setting for how the magnetic field weakens).
The image above shows Spin Force(D) connected to 1.
The image above shows the connection of 0.01 to Spin Force(D).
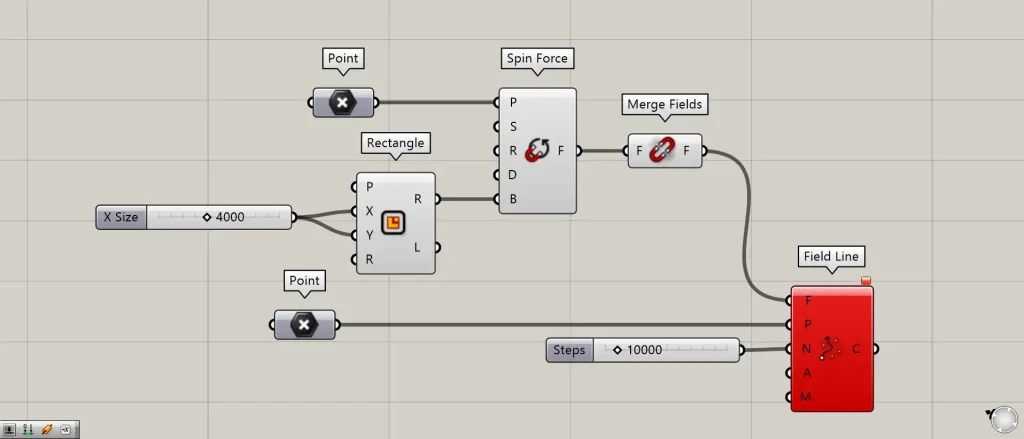
Additional Components: ①Box ②Rectangle
In Spin Force(B), you can set the magnetic field range by connecting boxes and quadrilateral information.
This time, we created a box in Box, created line data for a rectangle in Rectangle, and connected it to Spin Force(B).
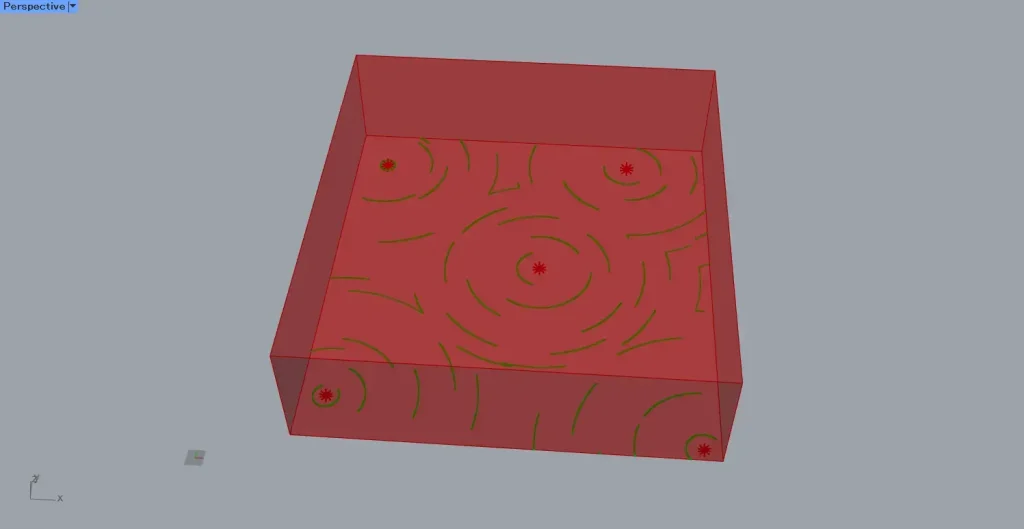
Then, as shown in the two images above, we were able to set the magnetic field range.
List of Grasshopper articles using Spin Force component↓


Comment