
![[Grasshopper] How to use Split Brep to divide models between breps](https://iarchway.com/wp-content/uploads/2026/01/Split-Brep.png)
This article explains how to use Split Brep to divide models between breps.
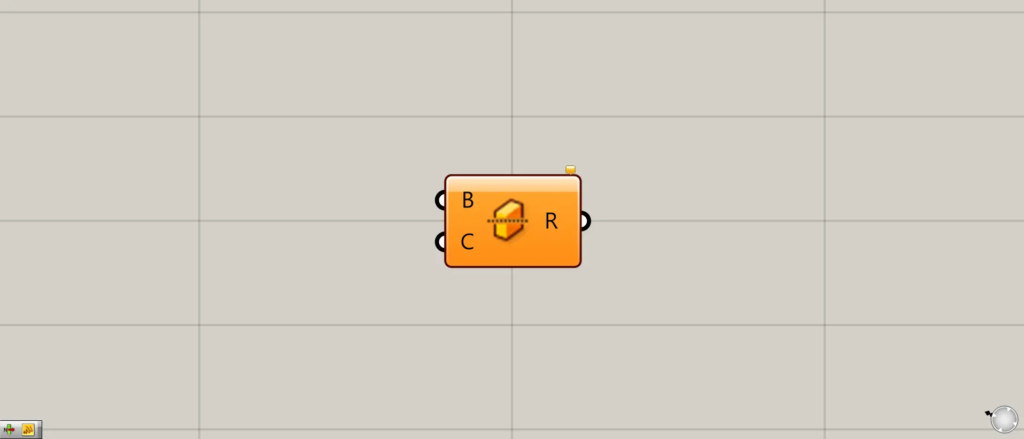
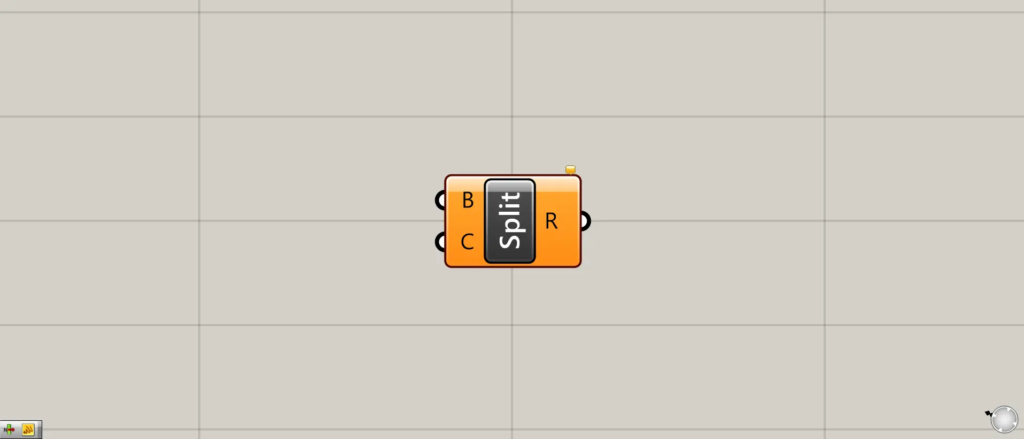
On the Grasshopper, it is represented by either of the two above.
For Brep models and surfaces
First, let’s look at the case where surfaces are used for Brep models.
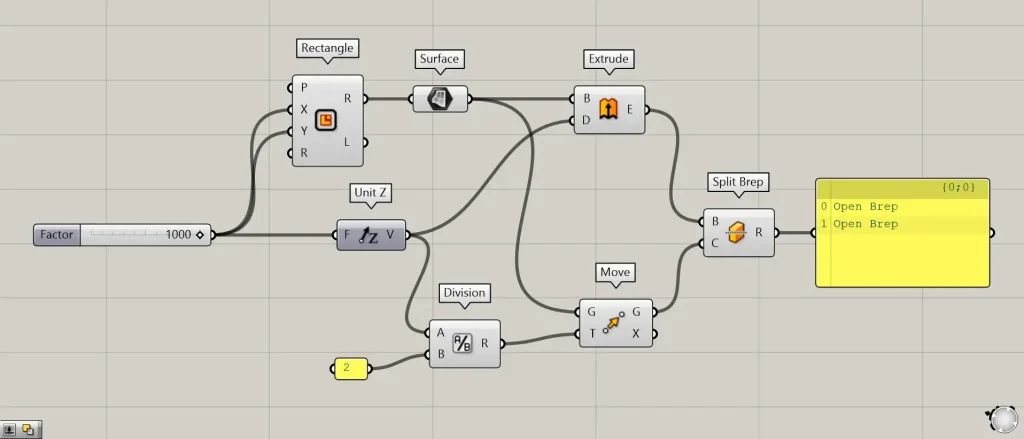
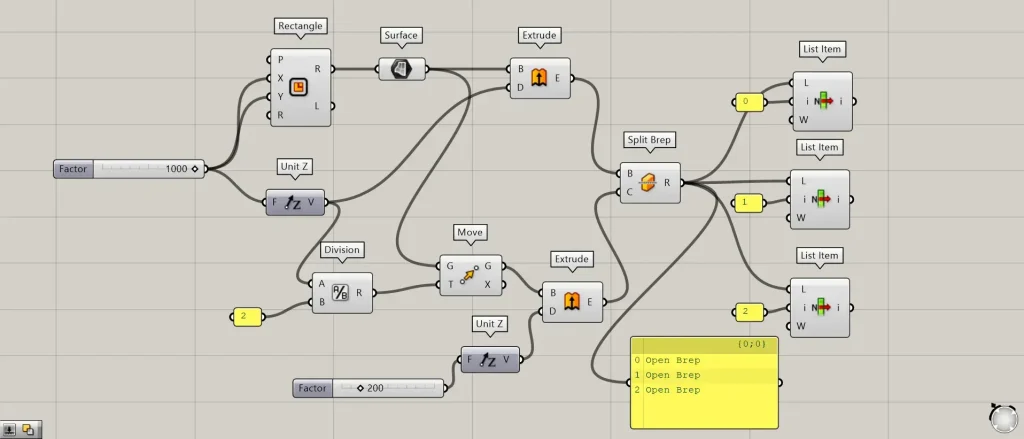
Components used: ① Rectangle ② Surface ③ Unit Z ④ Extrude ⑤ Division ⑥ Move ⑦ Split Brep
This time, we will use a cube Brep model and a square surface as examples.
First, enter the numerical value for the length of one side into Rectangle(X and Y).
This time, we entered 1000 in both fields.
Therefore, a 1000×1000 square line data set is created.
Next, connect the Rectangle(R) to the Surface.
Then, a square surface was created.
Then, enter the value 1000 that was used earlier into Unit Z.
Then connect Unit Z to the Extrude(D).
Also, connect the Surface to the Extrude(B).
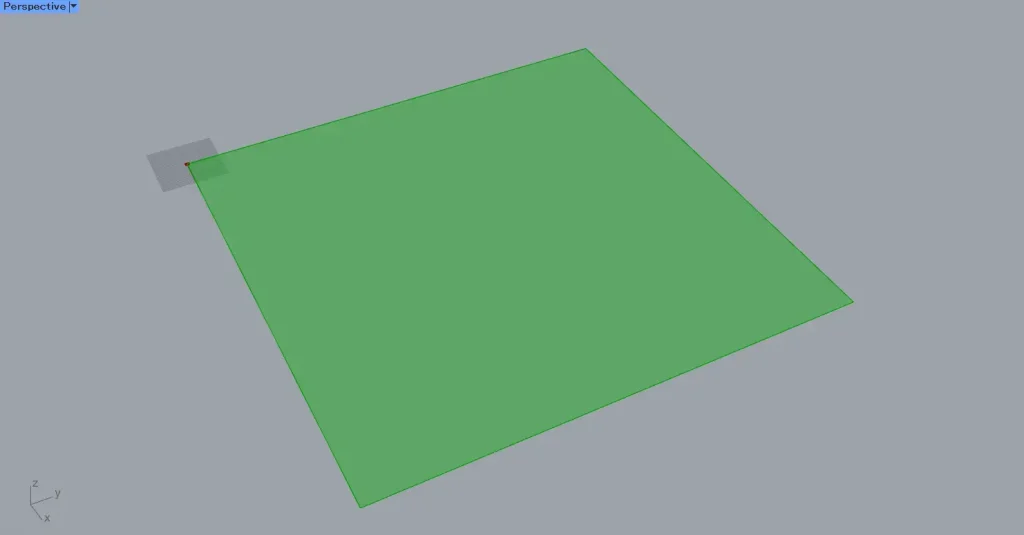
Then, as shown in the image above, the surface was extruded, creating a cube.
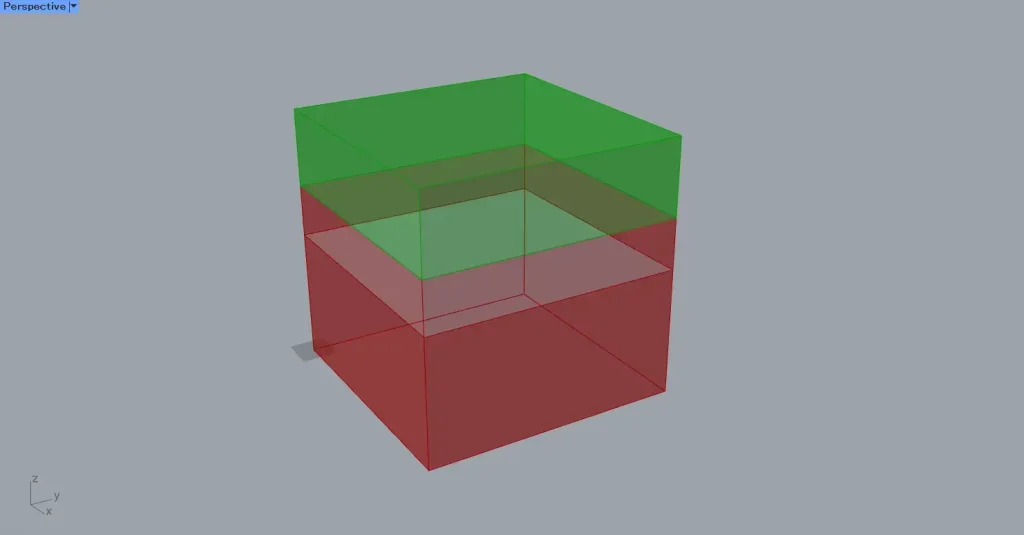
Next, move the surface to the center.
Connect Unit Z to the Division(A).
Then, enter the value 2 into the Division(B).
Also, connect the Division to the Move(T).
Then connect the Surface to the Move(G).
Then, the square surface moves to the halfway point of the cube.

Next, connect the Extrude to the Split Brep(B).
Additionally, connect the Move(G) to the Split Brep(C).
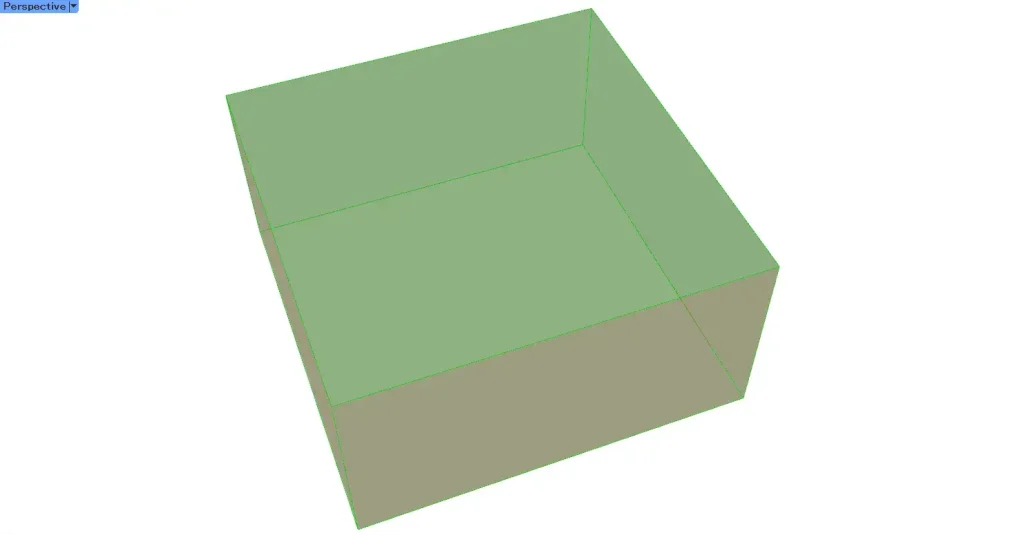
Then, the cube is split at the surface position.
However, since both split models exist within the Split Brep, they cannot be selected individually.
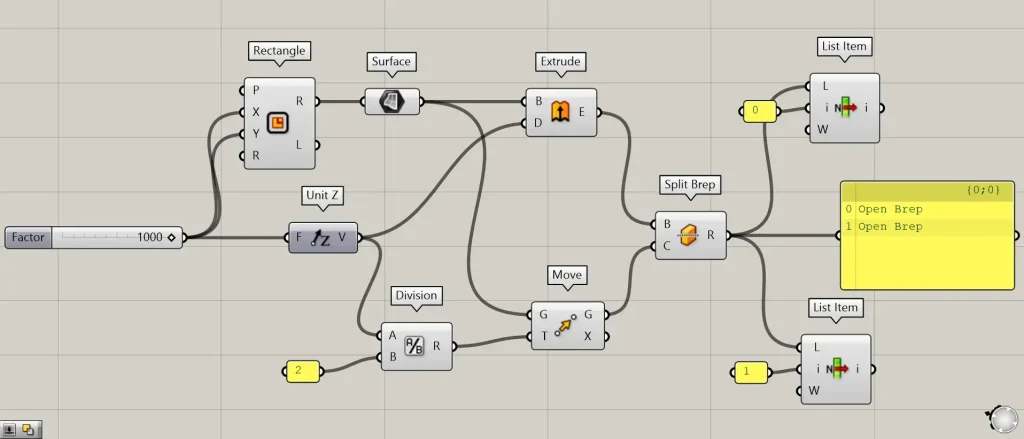
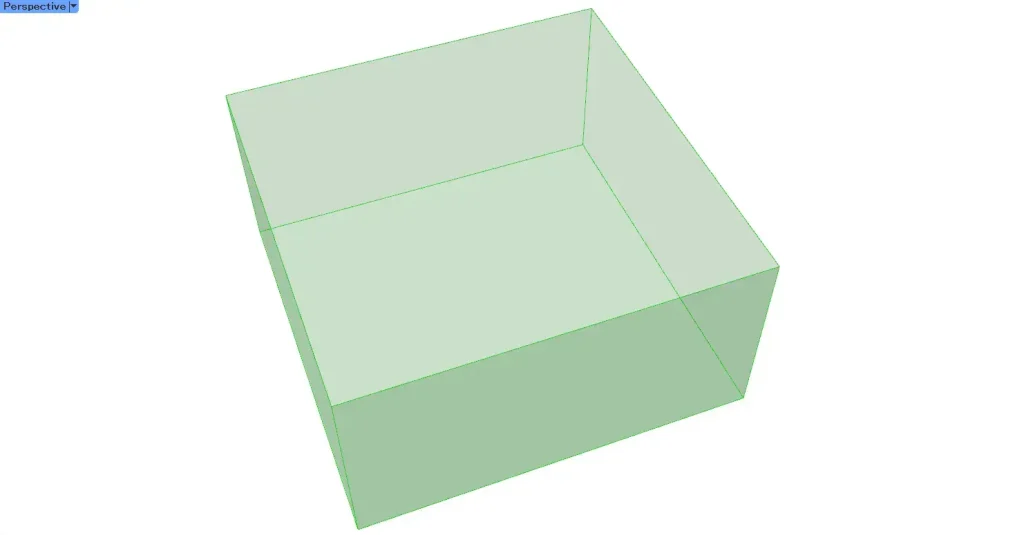
Additional Component: ①List Item
Therefore, we use List Item and similar methods to obtain individually segmented models.
Looking at the Split Brep data, you can see there are two sets of data.
Therefore, we will prepare two List Item.
Then, connect the Split Brep to the two List Item(L).
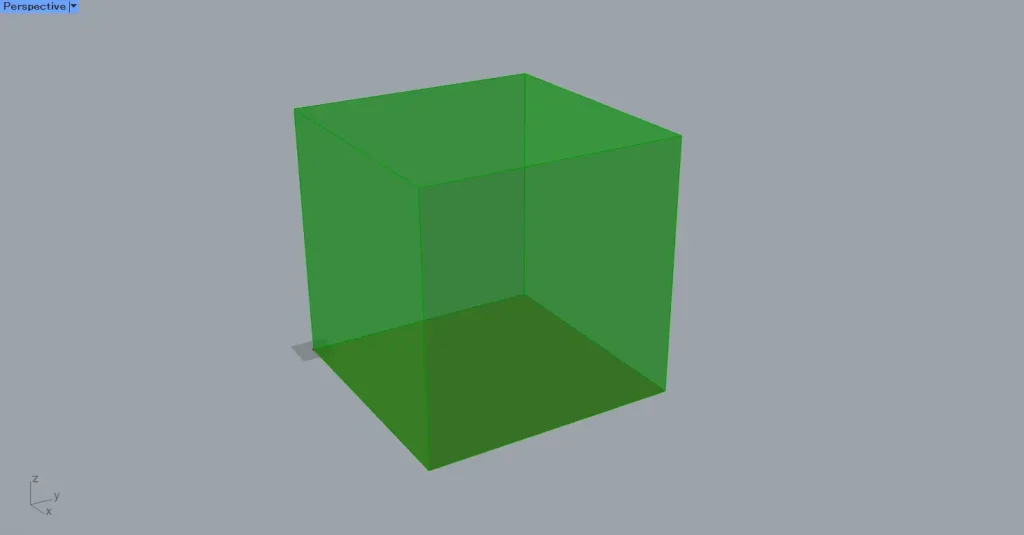
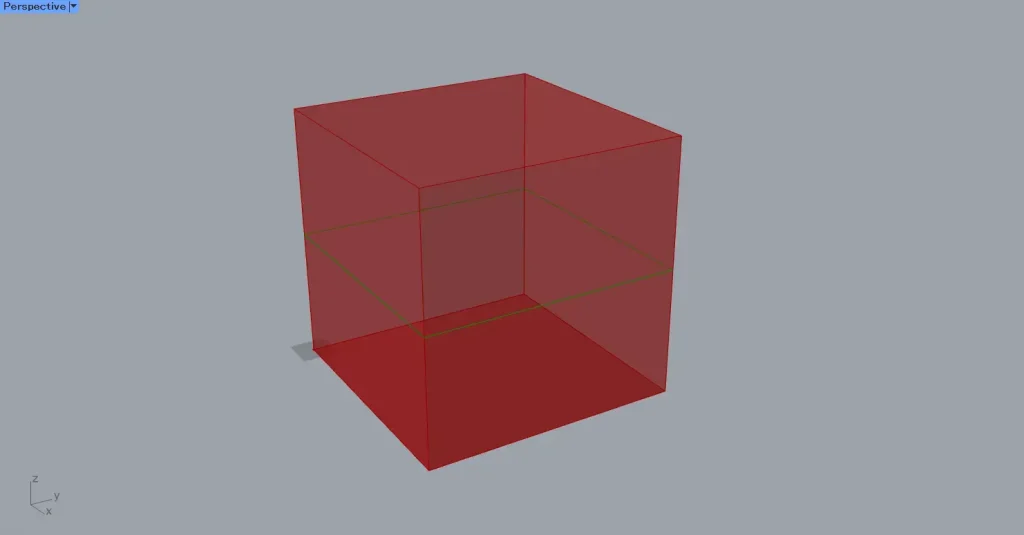
After that, enter the value 0 into the first List Item(i) and the value 1 into the second one.
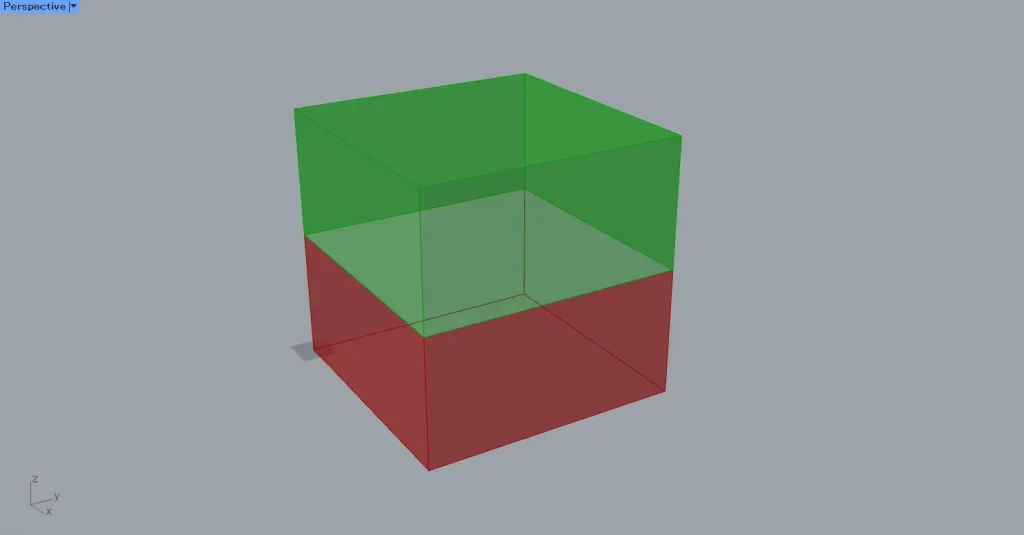
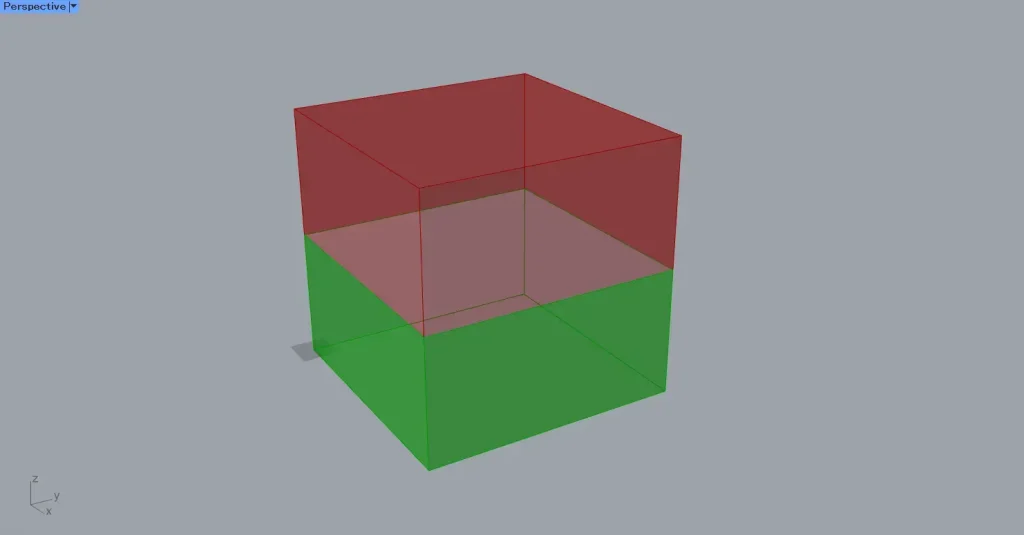
Then, as shown in the top two images, we were able to obtain the split models individually.
In the case of Brep models
Next, let’s look at the case of Brep models.
This time, we extruded the surface from earlier to create another Brep model.
Enter the numerical value for the distance to push in Unit Z.
This time, we are entering 200.
Then, connect Unit Z to the Extrude(D).
Also, connect the Move(G) to the Extrude(B).
Then, as shown in the image above, the surface was extruded, creating a new solid Brep model.
Then, just like before, connect it to Split Brep.
Then, the cube is divided.
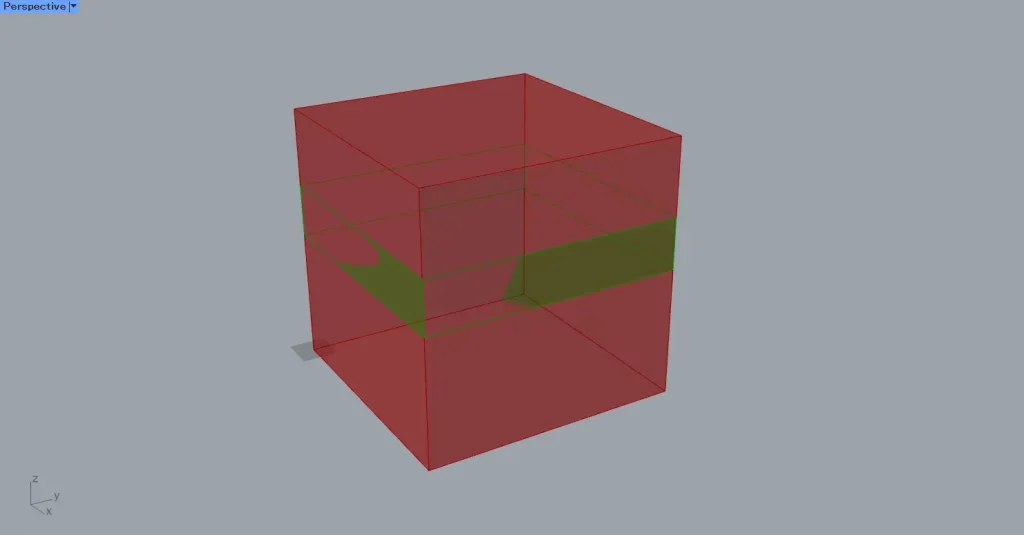
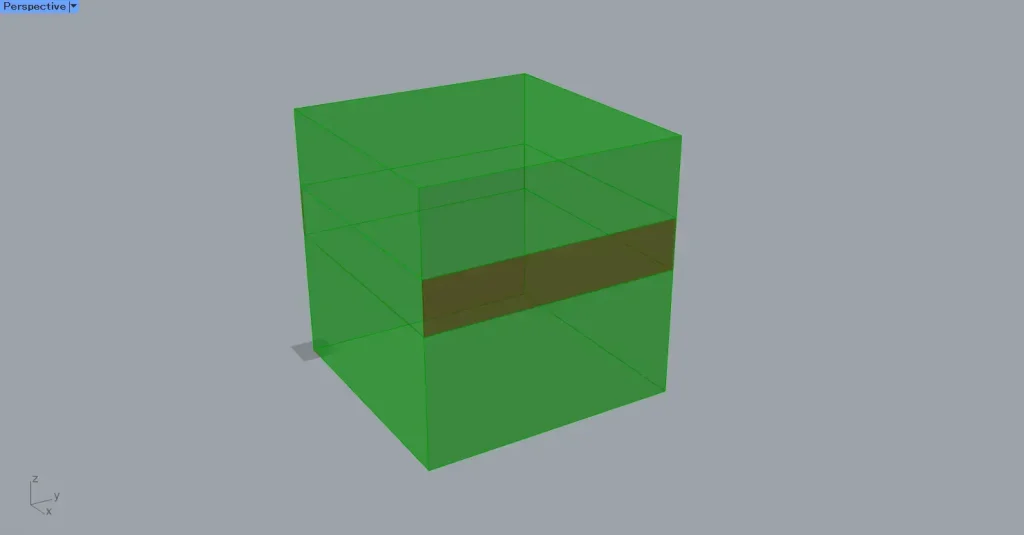
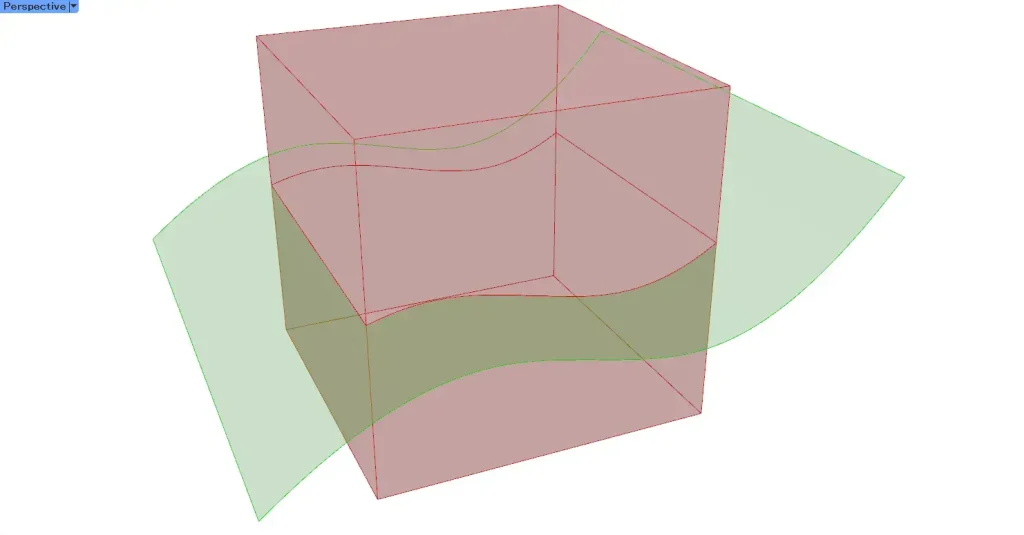
This time, there are three data points in Split Brep.
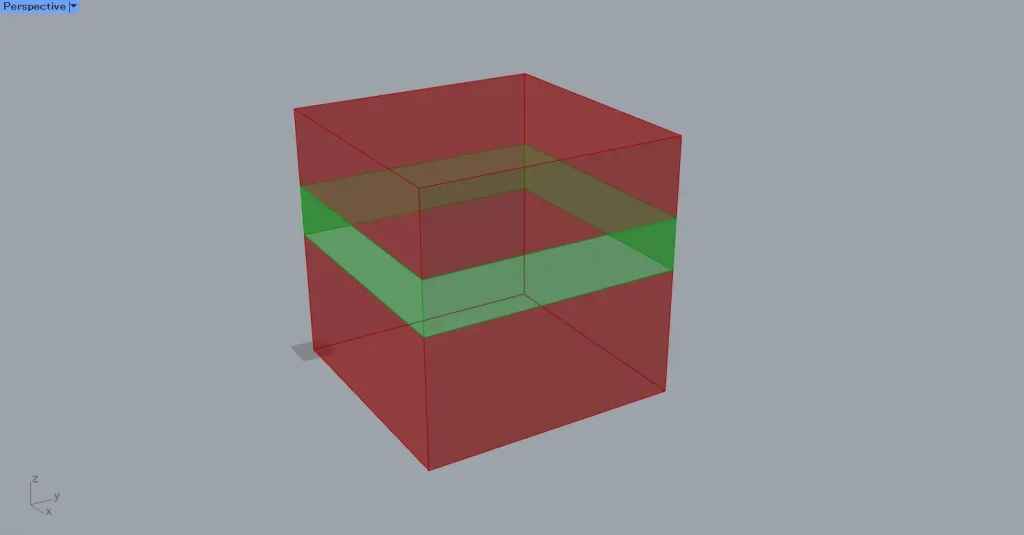

In this case, you can see that the overlapping parts of the two Breps used are also split.
Close the open model
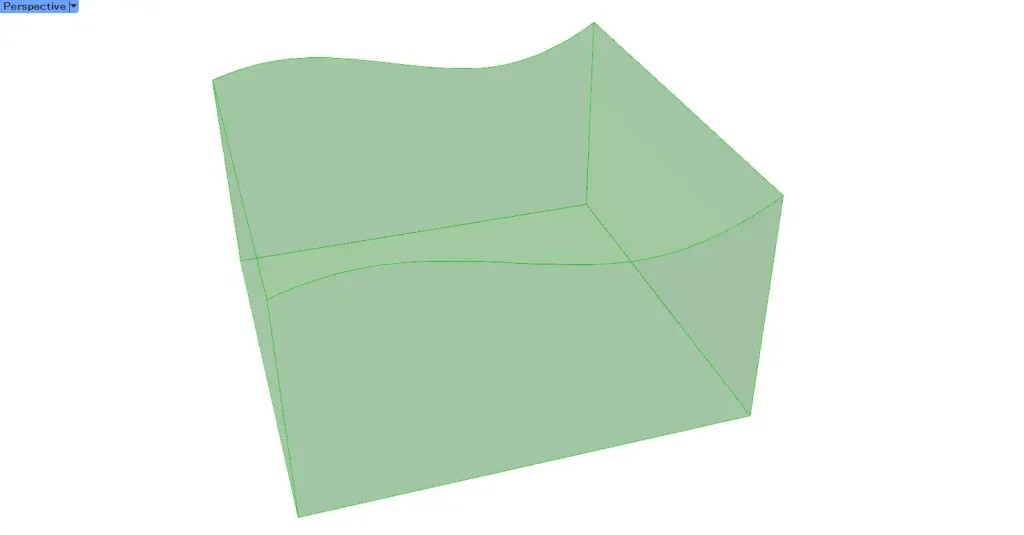
When you split a model using Split Brep, the split model becomes an Open Brep and is in an open state.
Therefore, it may be necessary to close it in some cases.
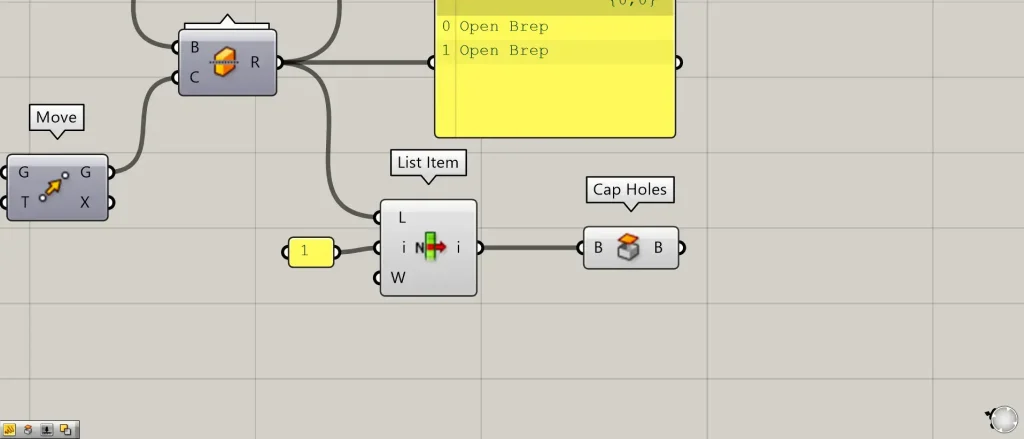
Additional Components: ①Cap Holes
When the cut surface is two-dimensional, Cap Holes can often be used to close it.
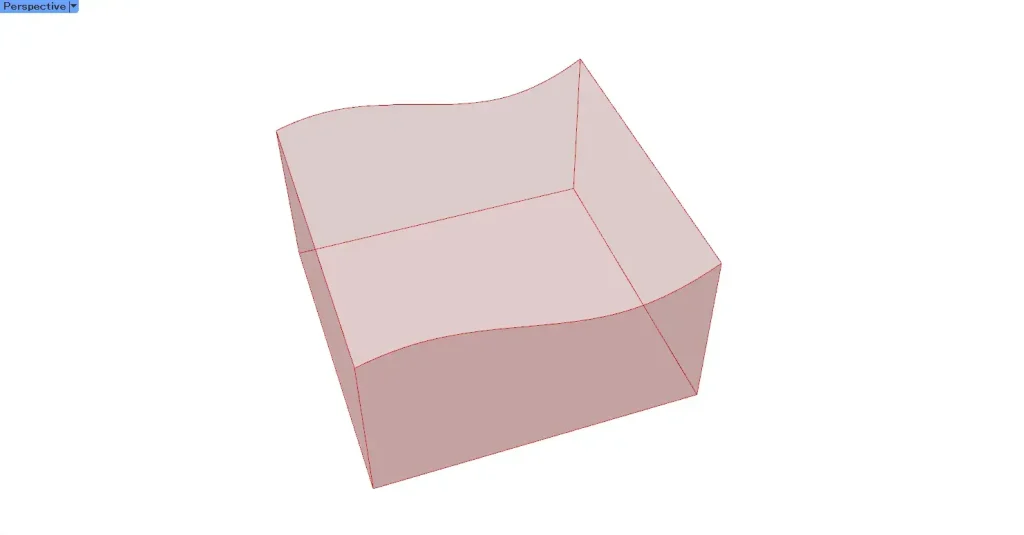
On the other hand, when the cut surface is complex rather than two-dimensional, as shown in the image above, you must create the surface for that cut section separately and then join it.

Additional Components: ①Solid Intersection ②Brep Join
This time, as an example, we will use Solid Intersection to create the cutout section.
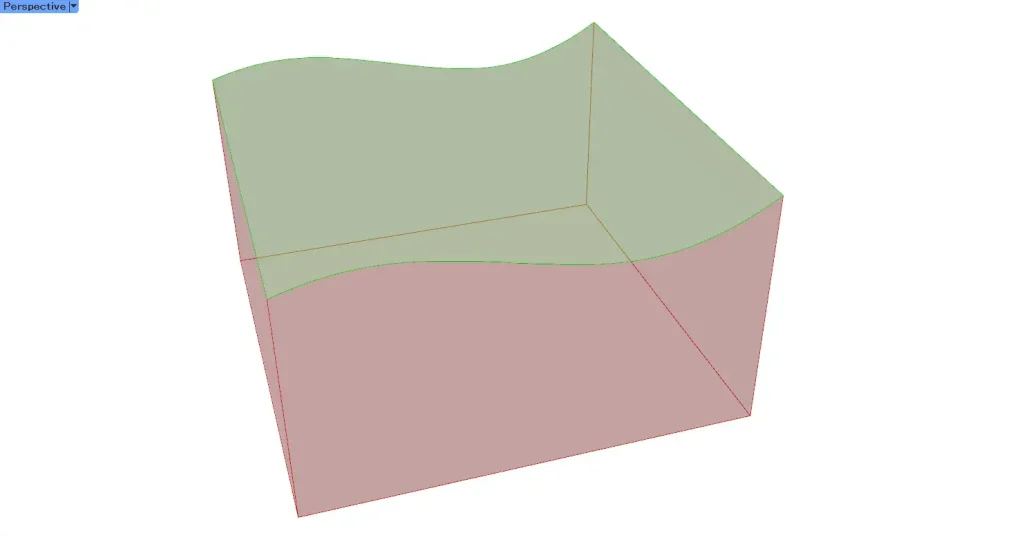
Connect the original model and the surface used for splitting to the Solid Intersection.
Then, we were able to obtain the surface of the overlapping section, the cut surface.
Then, connect the original model and the Solid Intersection to the Brep Join.
Then, we were able to join the original model with the cut section and close it.
List of Grasshopper articles using Split Brep component↓


Comment