
![[Grasshopper] How to use Surface Points to get control points on a Surface](https://iarchway.com/wp-content/uploads/2026/01/Surface-Points.png)
This article explains how to use Surface Points to get control points on a Surface.
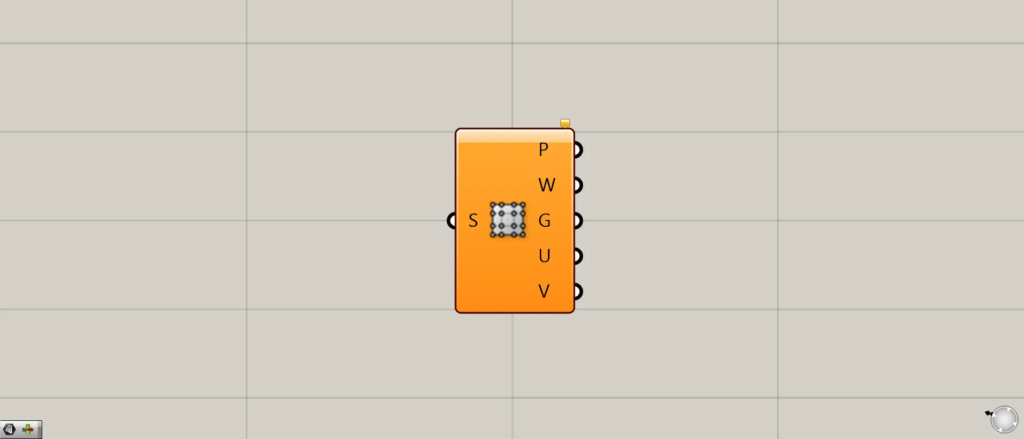
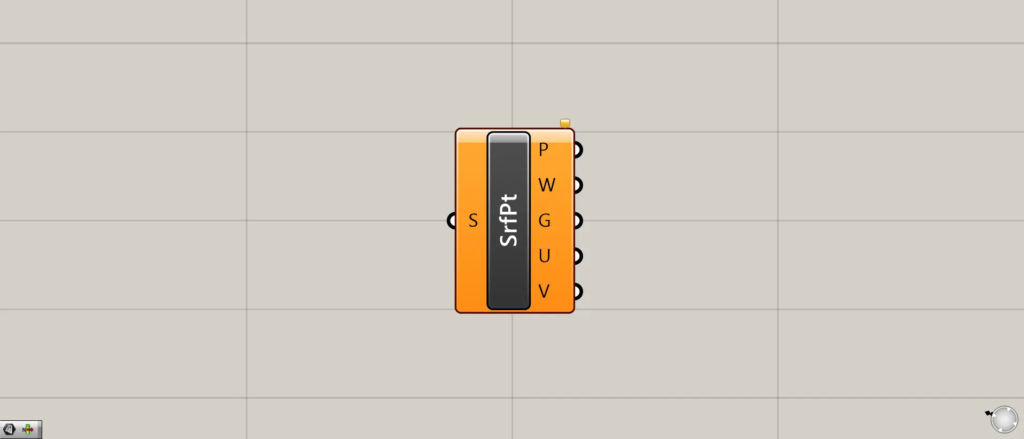
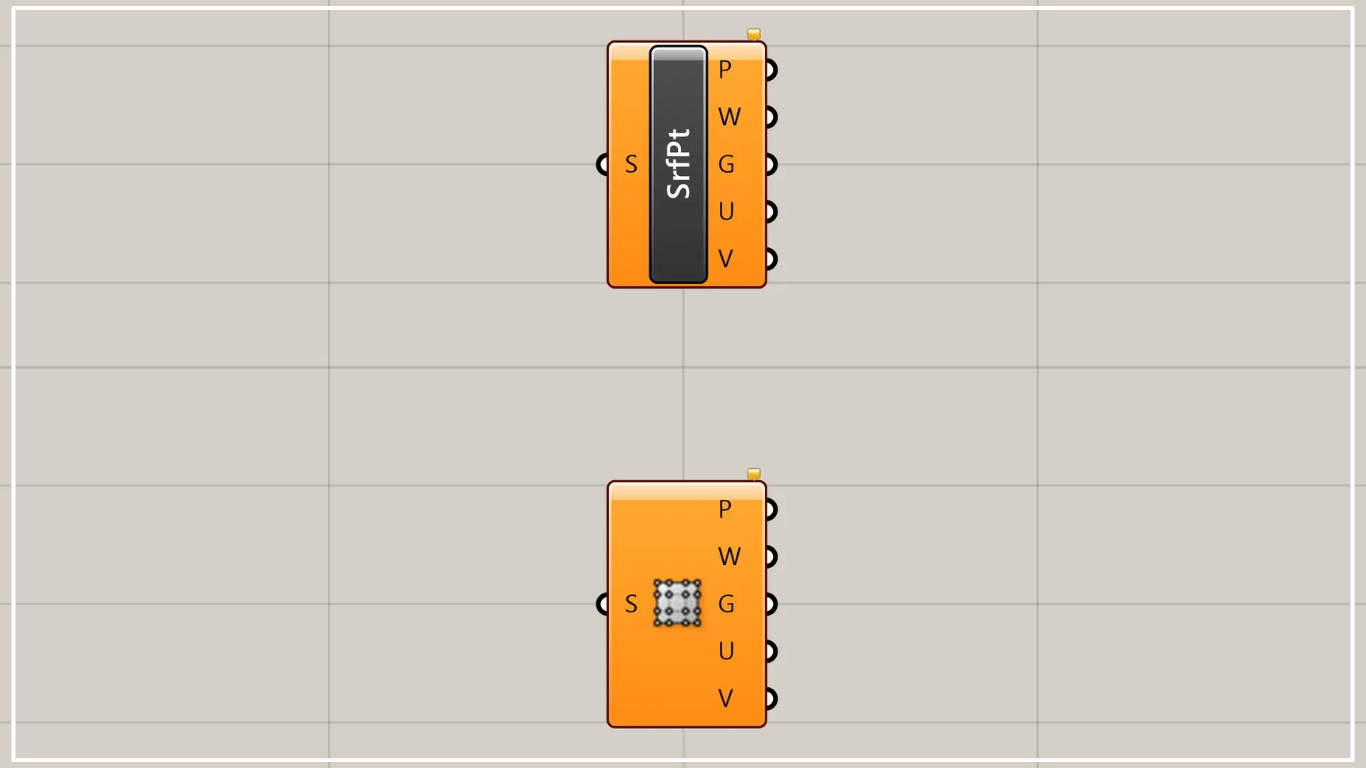
On the Grasshopper, it is represented by either of the two above.
Acquire surface control points
Using Surface Points allows you to obtain the control points of a surface.
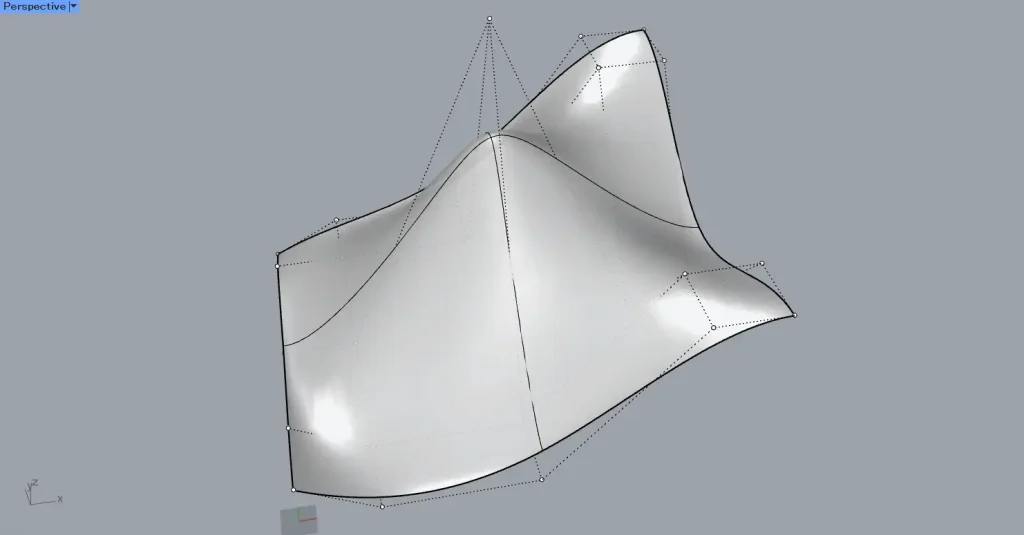
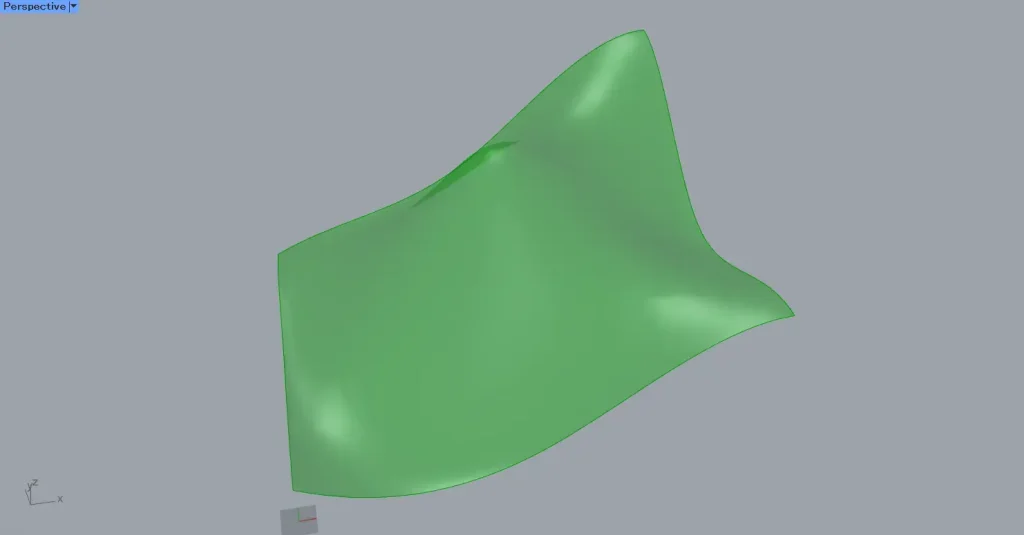
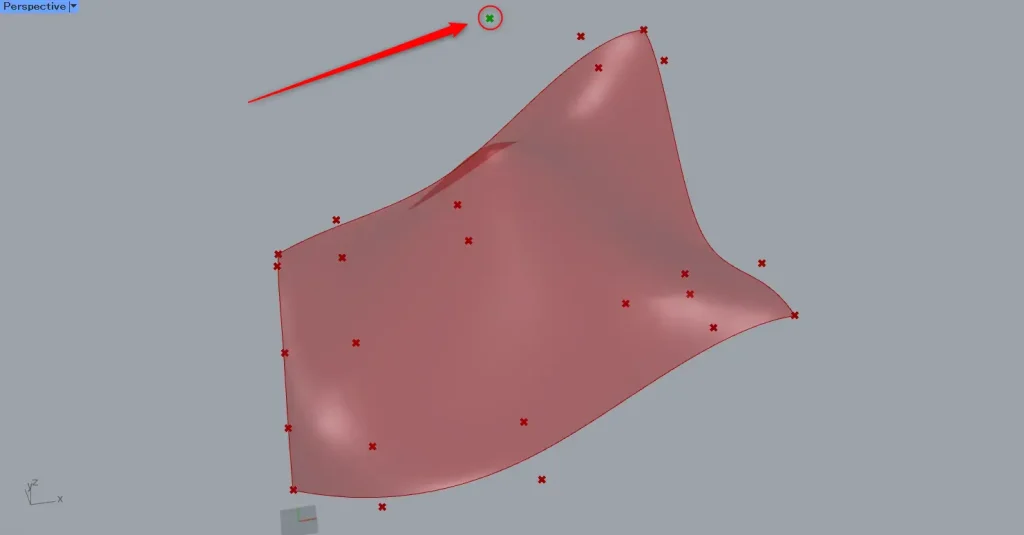
This time, we will use the data on Rhino in the image above.
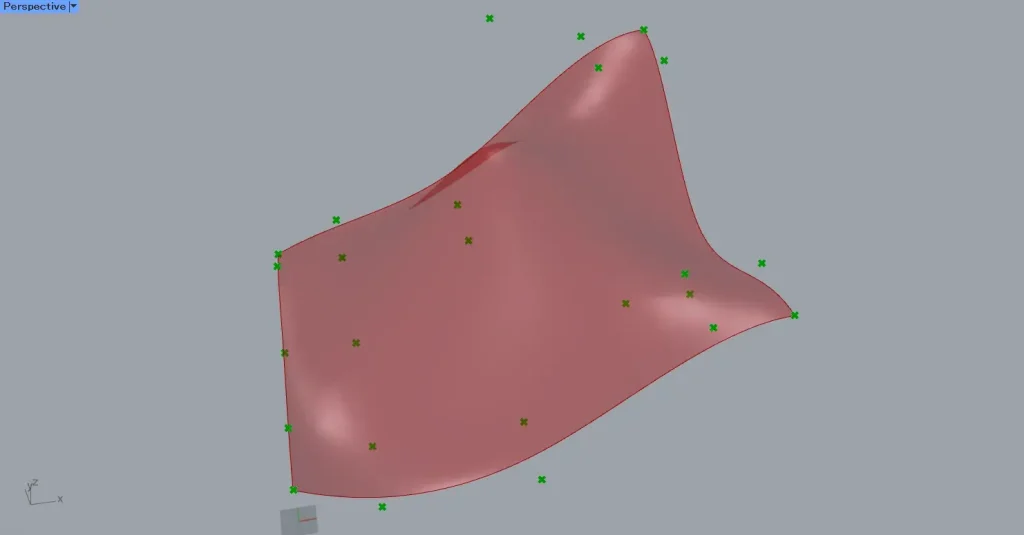
When you check the control points using the PointsOn command in Rhino, it will look like the image above.
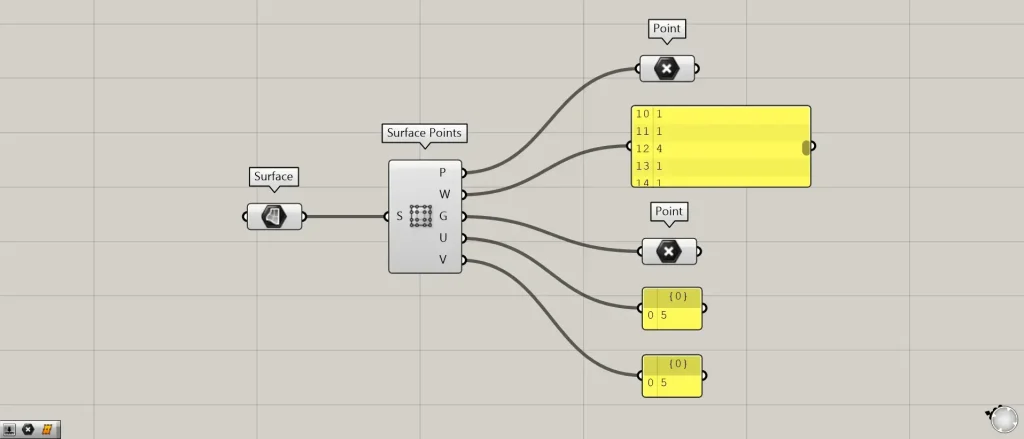
Components used: ①Surface ②Surface Points ③Point
First, set the surface on Rhino to the Surface.
Then connect the Surface to the Surface Points.
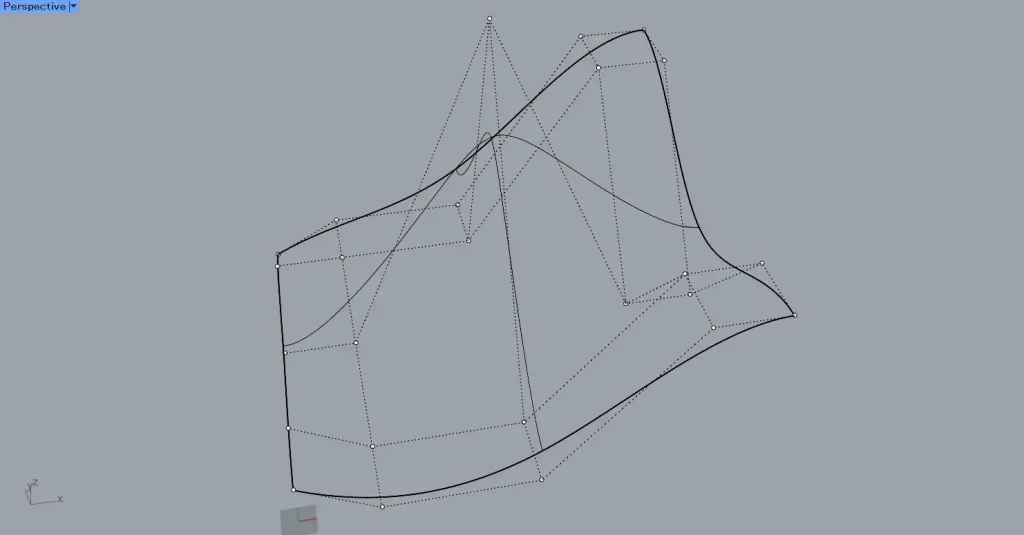
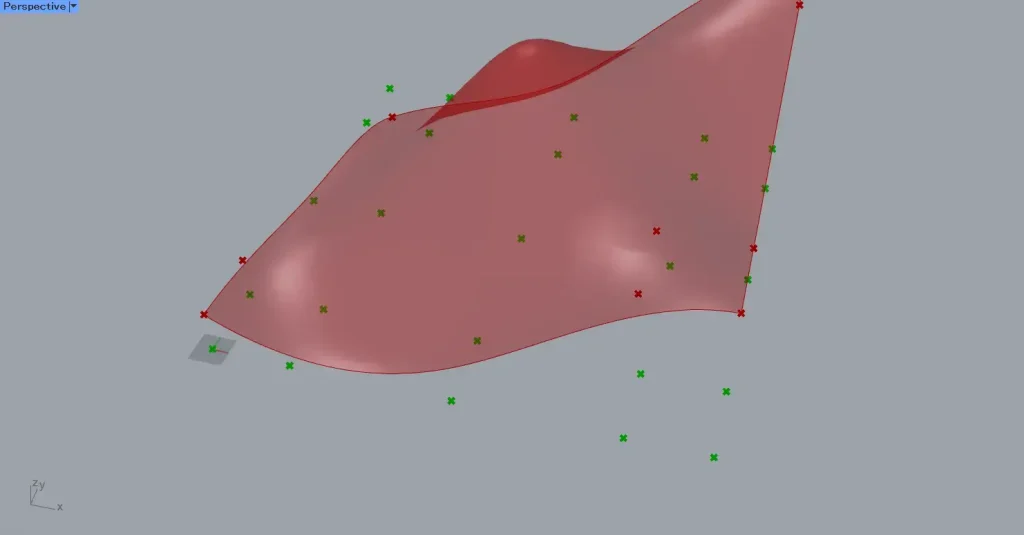
Then, as shown in the image above, we were able to obtain the control points of the surface.
The acquired control points are output as point data from Surface Points(P).
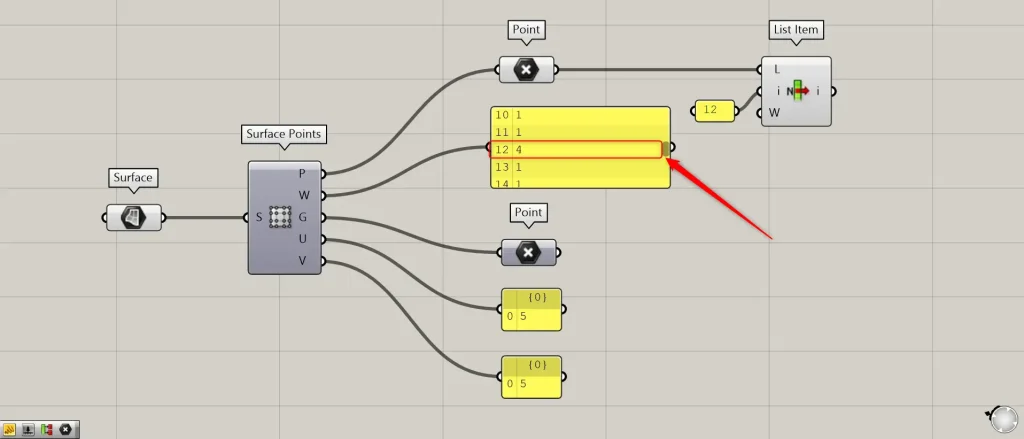
Additional Component: ①List Item
The W terminal outputs the weight values for each control point.
The higher the weight value, the more the surface is pulled toward the control point.
This time, we have set one control point to 4 on Rhino.
Since the weight for the index number 12 is 4, let’s retrieve the 12th point in the List Item.
Connect the Point connected to the Surface Points(P) to the List Item(L).
Then, enter 12 into the List Item(i).
Then, as shown in the image above, we were able to obtain one control point.
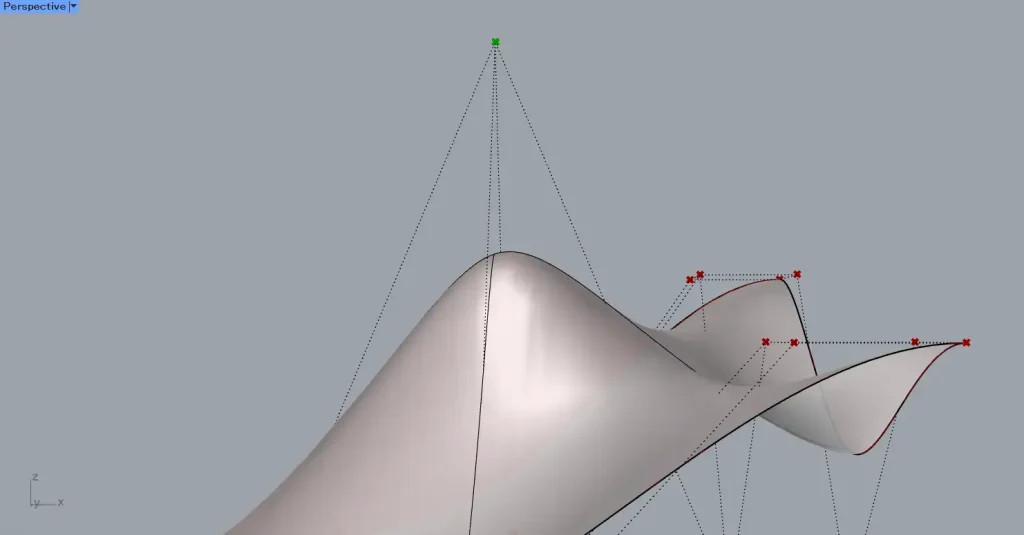
The weight value is higher than other control points, indicating that the surface is being pulled more.
The G terminal of Surface Points outputs point data that has been flattened from control points.
It is created on the XY plane as if projected from directly above.
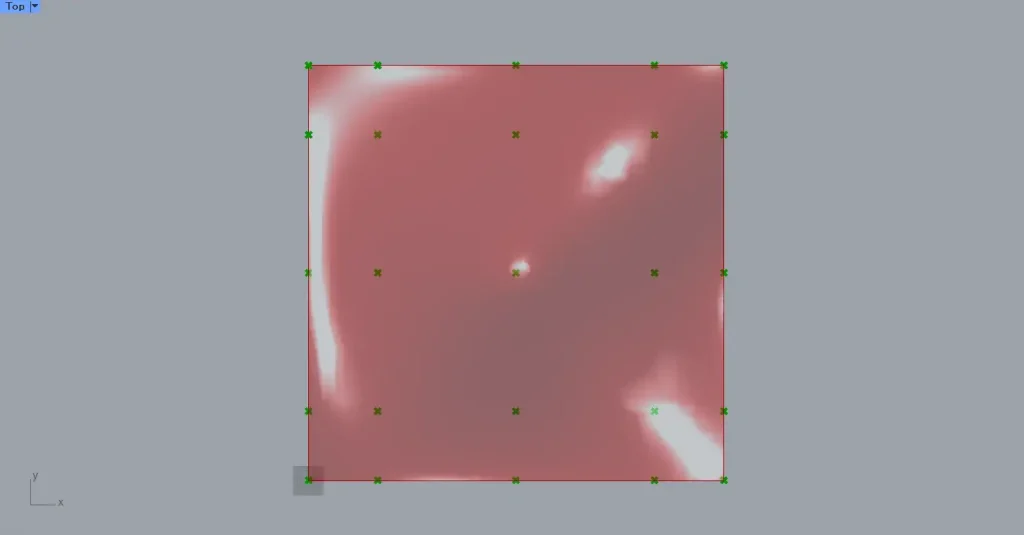
The image shows the points as viewed from the top view.
This makes it easy to count the number of points in both the vertical and horizontal directions.
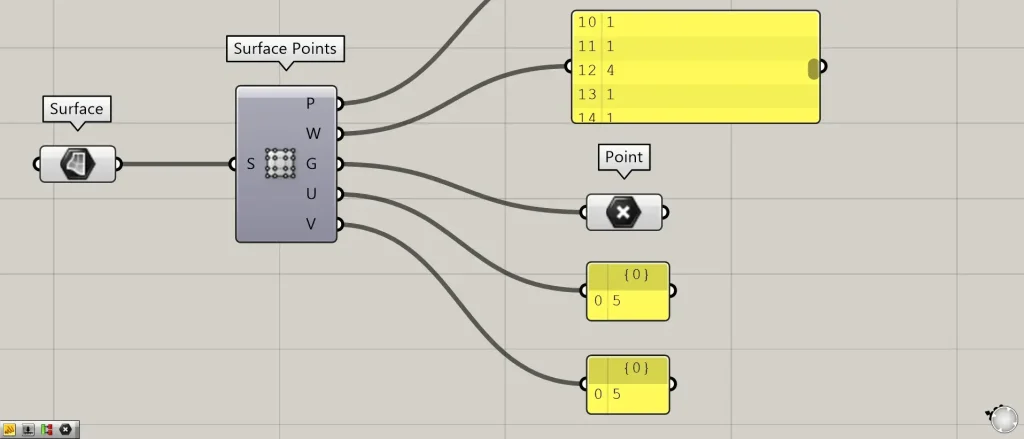
The U and V terminals output numerical values representing the number of control points in two directions.
In the image above, both are output as 5.
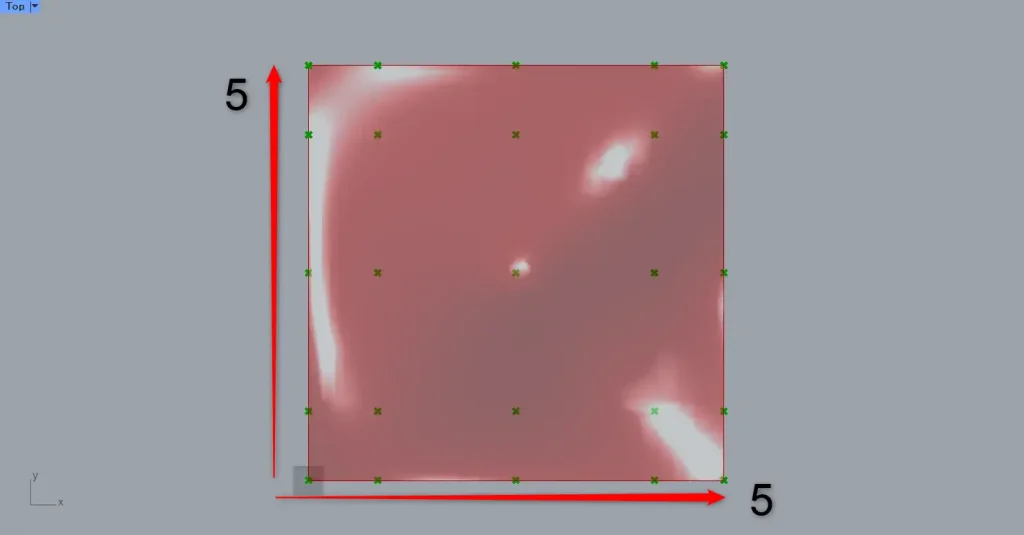
Upon inspection, you can confirm that the control points are arranged in a 5×5 grid.
List of Grasshopper articles using Surface Points component↓


Comment