
![[Grasshopper] How to use Tensor Display to visualize magnetic field directions with arrows](https://iarchway.com/wp-content/uploads/2026/01/Tensor-Display.png)
This article explains how to use Tensor Display to visualize magnetic field directions with arrows.
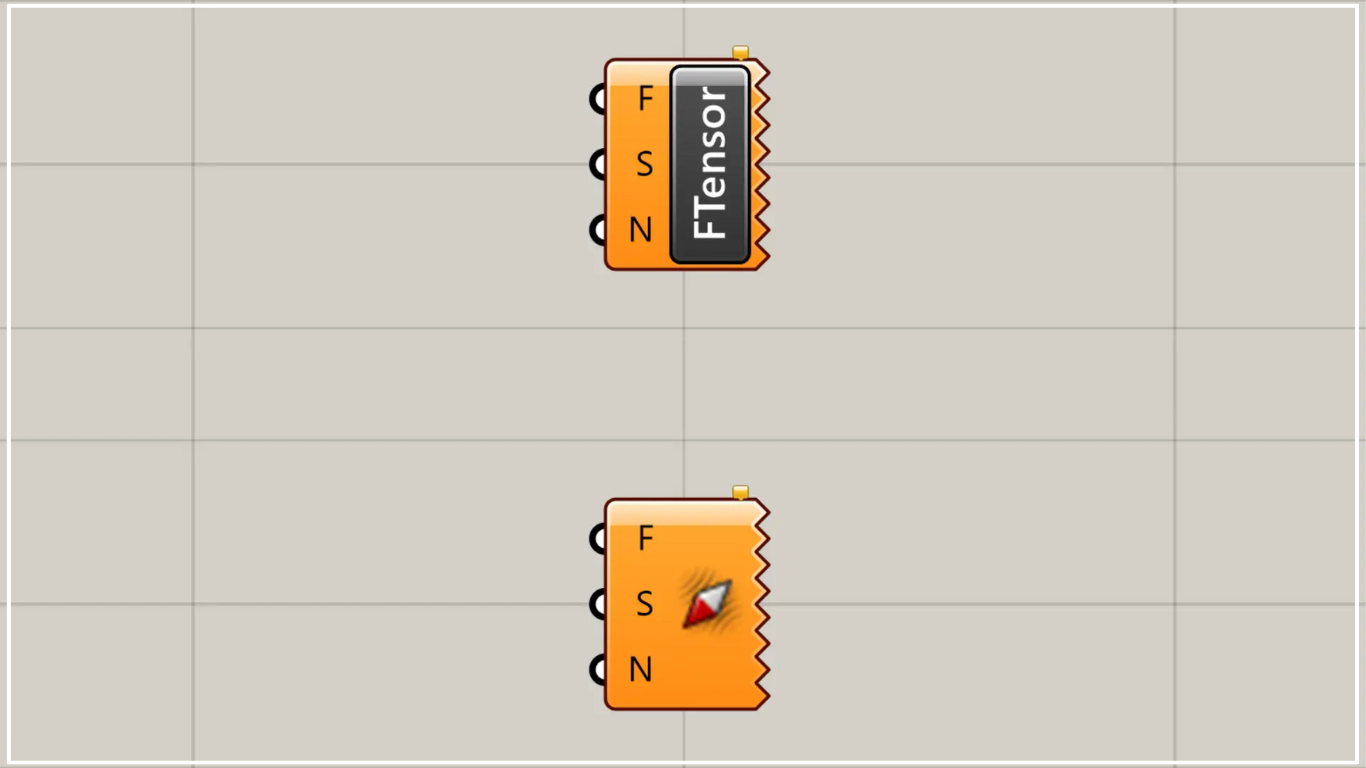
On the Grasshopper, it is represented by either of the two above.
Visualize the direction of the magnetic field with arrows
Using Tensor Display allows you to visualize the direction of magnetic fields with arrows.
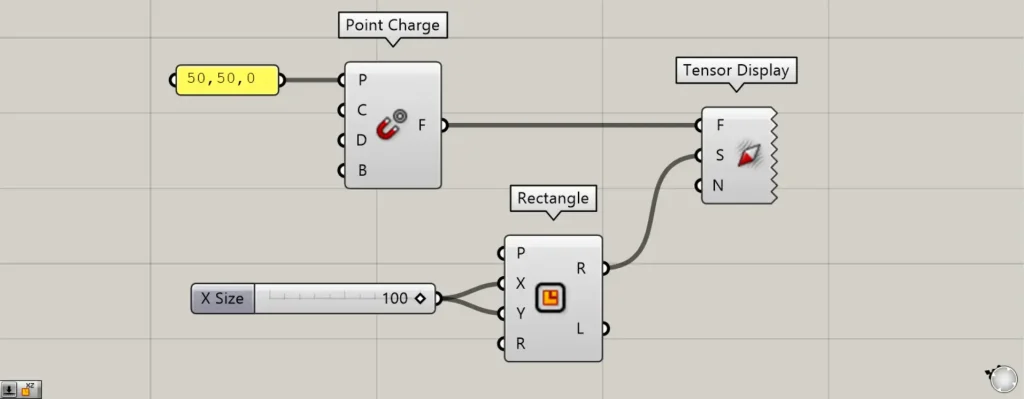
Components used: ①Point Charge ②Rectangle ③Tensor Display
This time, we will visualize the direction of the magnetic field generated from a single point.
Enter 50,50,0 into the Point Charge(P).
Then, a magnetic field is created at the position with coordinates 50,50,0.
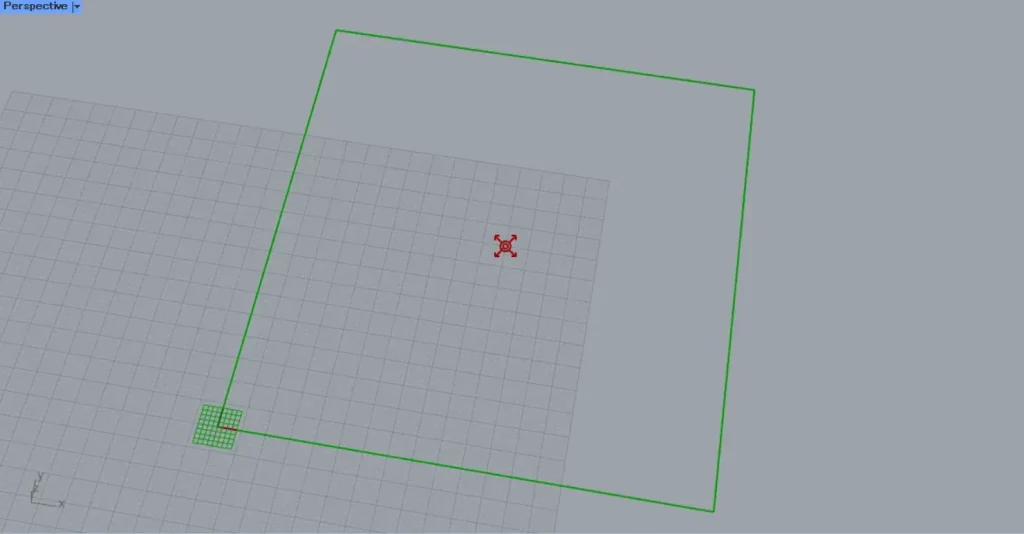
Then, input 100 into the Rectangle(X and Y) to create a 100×100 rectangle.
Arrows will be created within this rectangle.
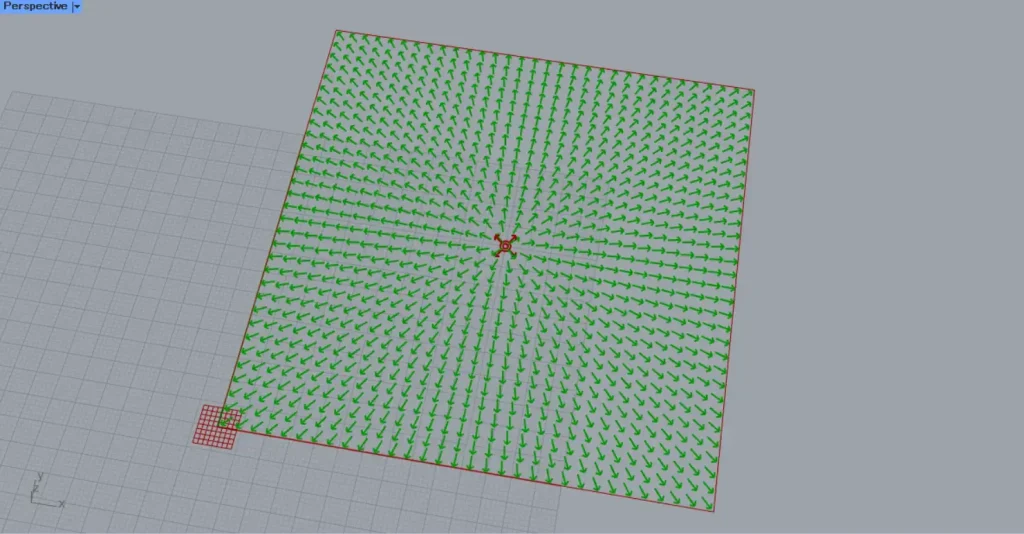
Connect the Point Charge to the Tensor Display.(F)
Then, connect the Rectangle(R) to the Tensor Display(S).
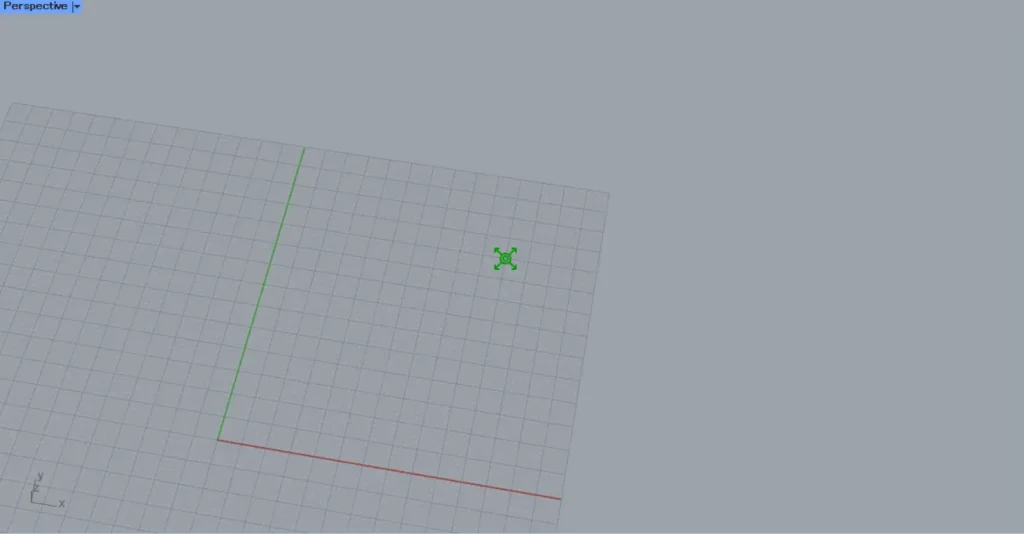
Then, an arrow was created, allowing us to visualize the direction of the magnetic field.
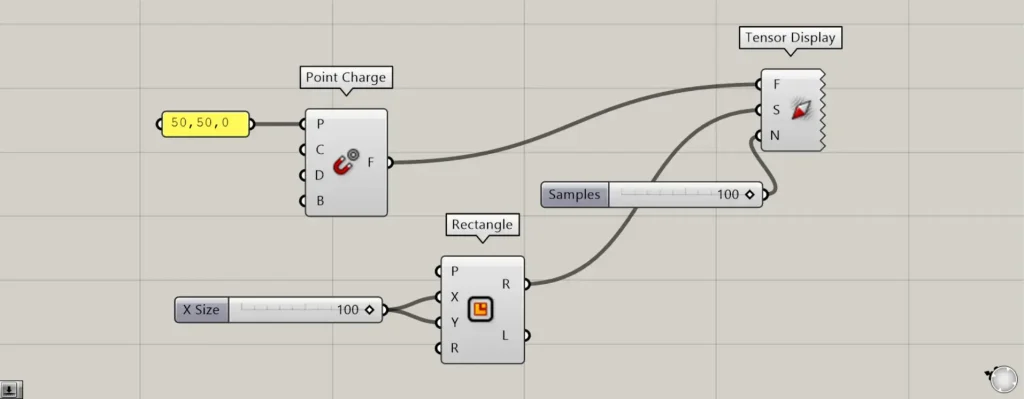
By entering a number into the N terminal, you can specify the number of arrows. (Depending on the number entered, the actual number of arrows may vary slightly from the specified value.)
This time, we entered 100.
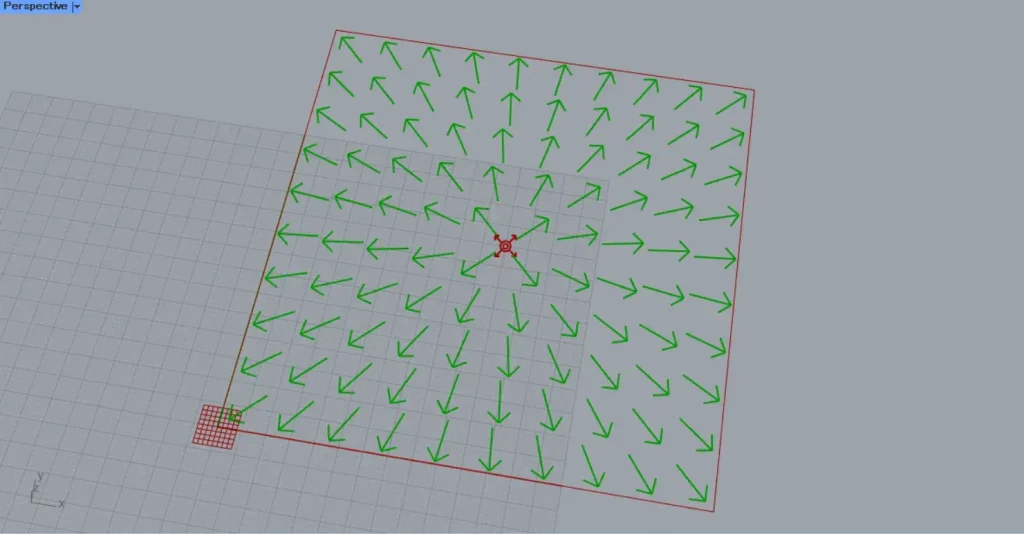
Then, the number of arrows reached 100.
In this way, you can also specify the number of arrows using the N terminal.
List of Grasshopper articles using Tensor Display component↓

Comment