
![[Grasshopper] How to use Text Entity to create text](https://iarchway.com/wp-content/uploads/2026/01/Text-Entity-1.png)
This article explains how to use Text Entity to create text.


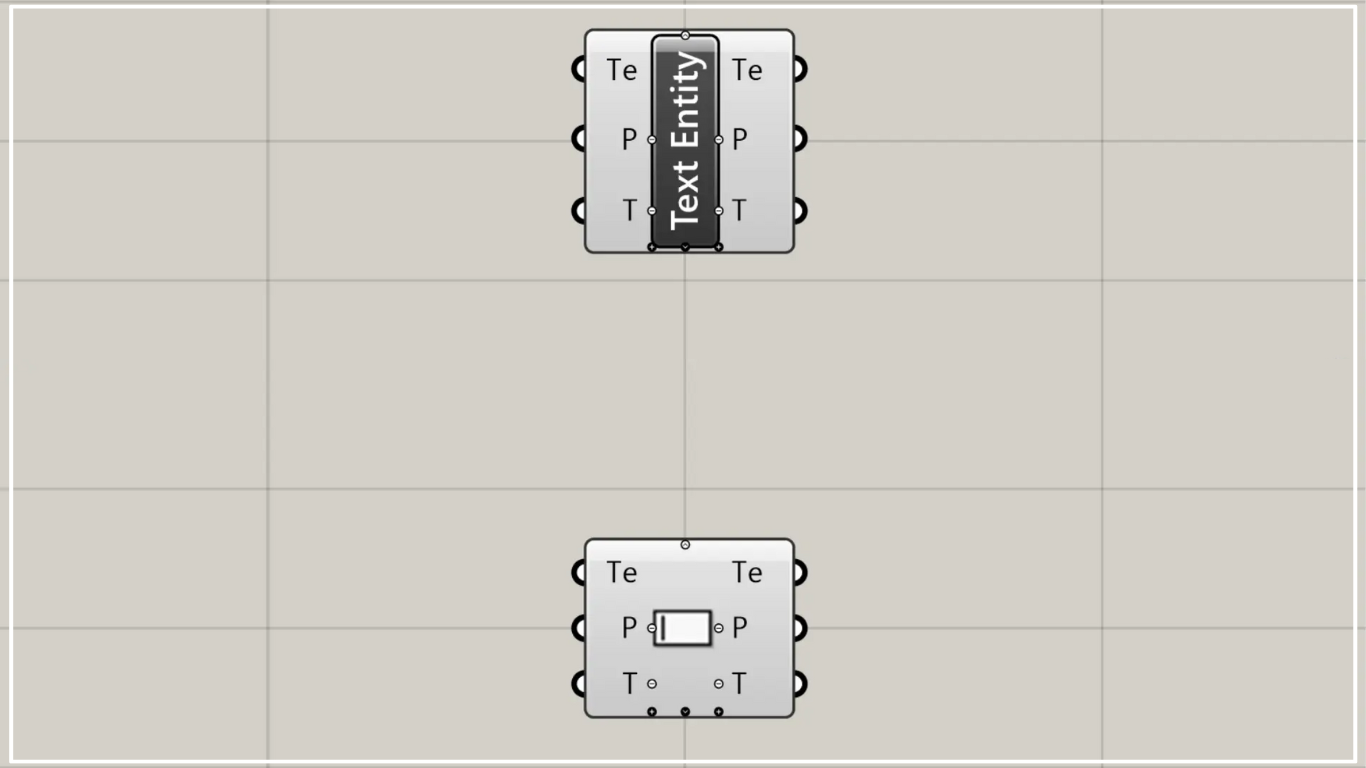
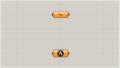
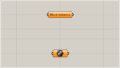
On the Grasshopper, it is represented by either of the two above.
Create text
You can create text using Text Entity.
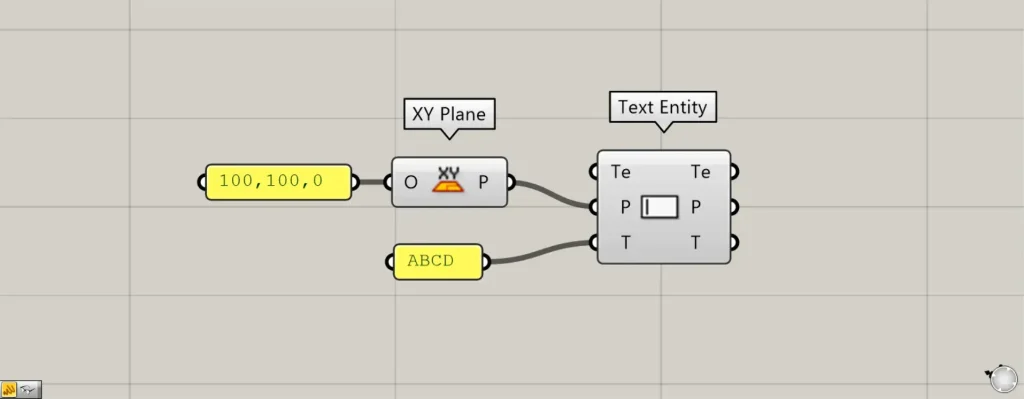
Components used: ① XY Plane ② Text Entity
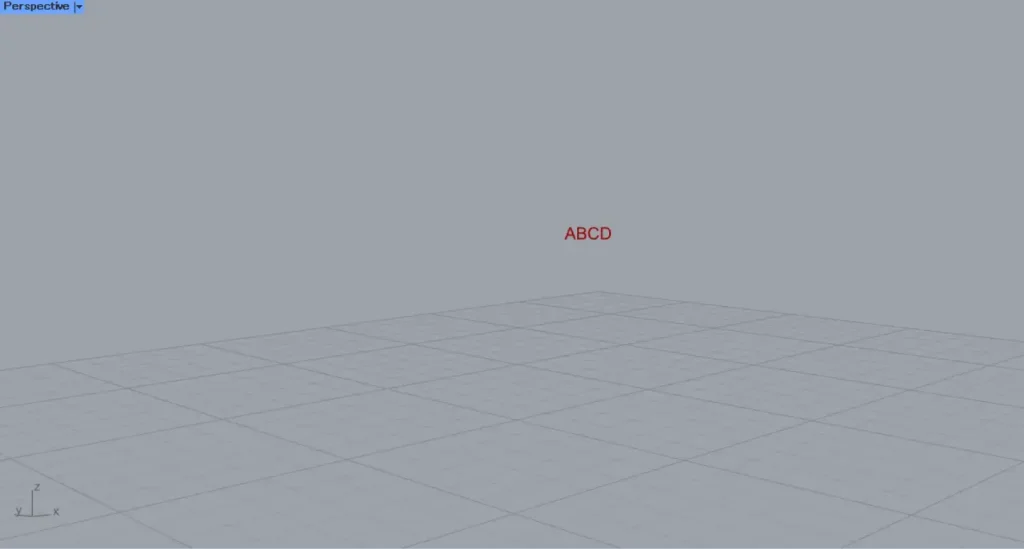
Enter the plane or coordinate information into the Text Entity(P).
This time, by connecting the coordinates 100, 100, 0 to the XY Plane, we created information for the plane formed by the X and Y axes at the position 100, 100, 0.
Then, we connected the XY Plane to the Text Entity(P).
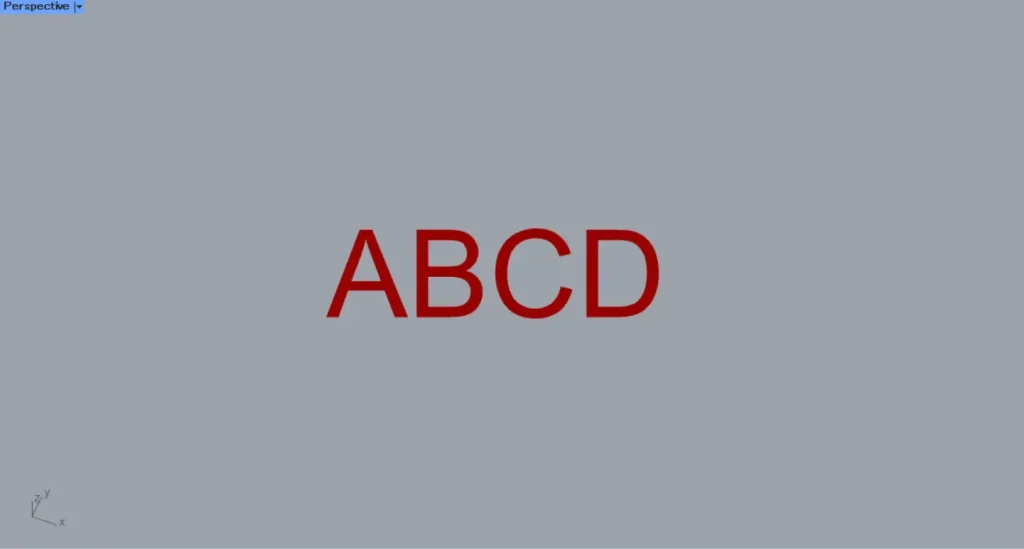
Enter any text information into the Text Entity(T).
This time, we entered the text information “ABCD”.
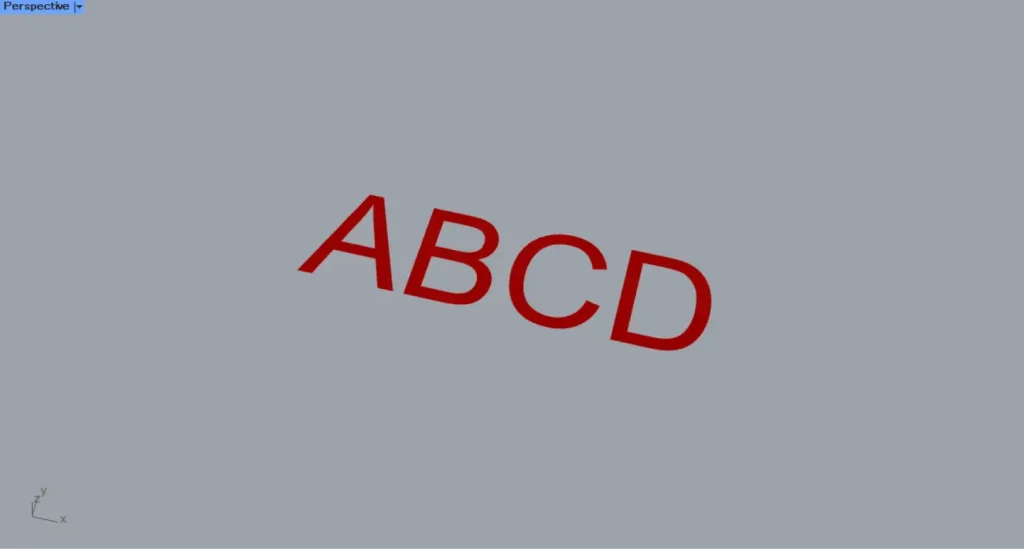
Then, the text was created as shown.
In this way, you can create text using Text Entity.
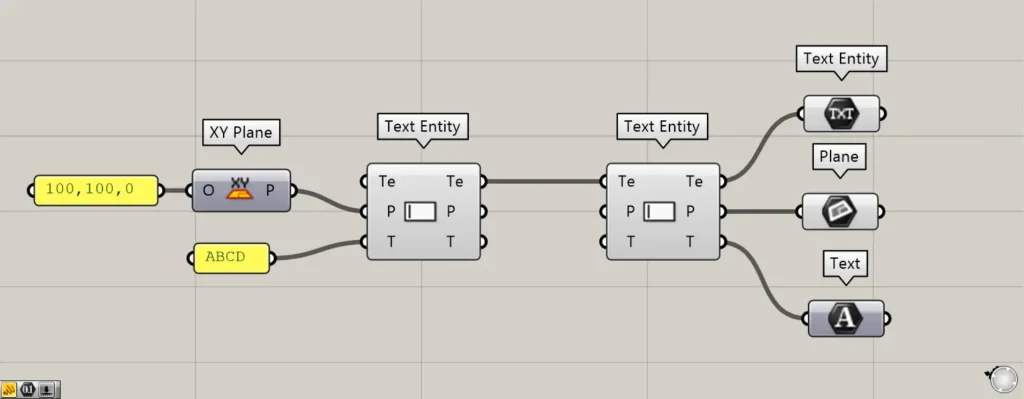
Additional Components: ①Text Entity ②Plane ③Text
Additionally, by connecting existing created text to the Text Entity(Te), you can retrieve the data for each element that makes up the text.
Configure text settings
You can also configure advanced text settings.

When you zoom toward the Text Entity component, a plus and arrow icon appears at the bottom.
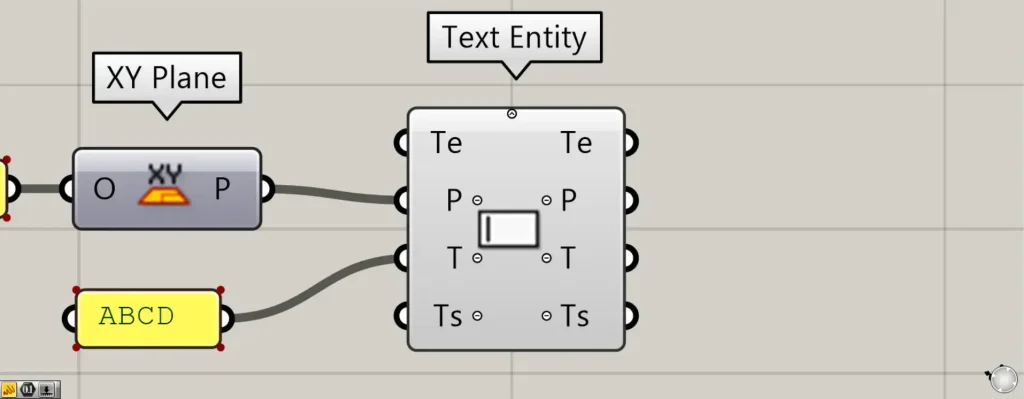
Pressing these icons will display new Ts terminals that can be used for detailed text settings.
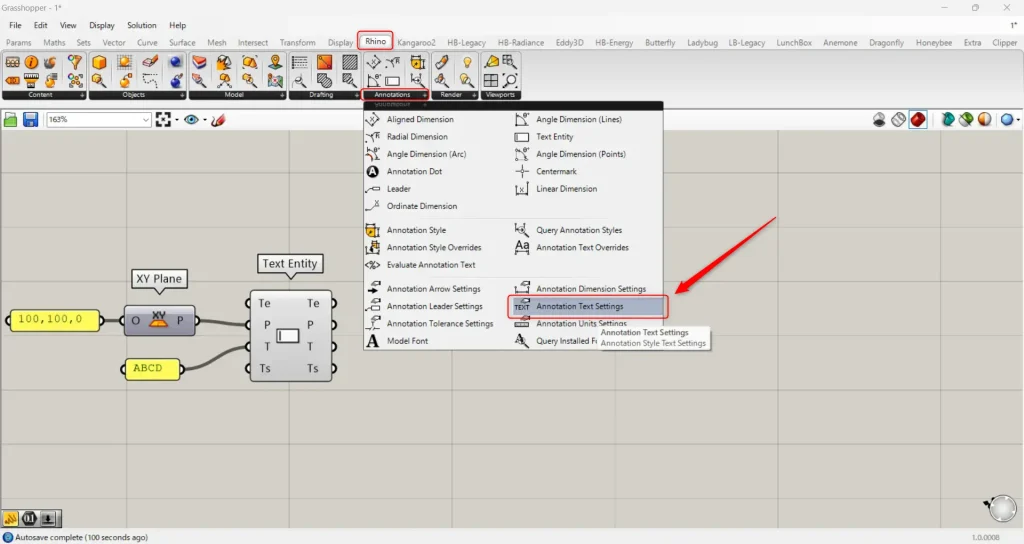
For the Ts terminal, use the Annotation Text Settings component found in the Annotations section of the Rhino tab.
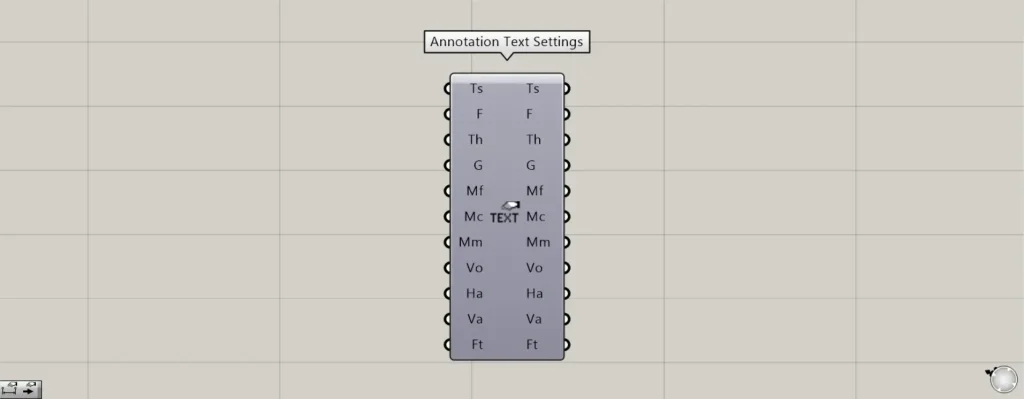
Here are the Annotation Text Settings.
Using this allows you to configure various text settings in detail.
Additional Components: ① Boolean Toggle ② Annotation Text Settings
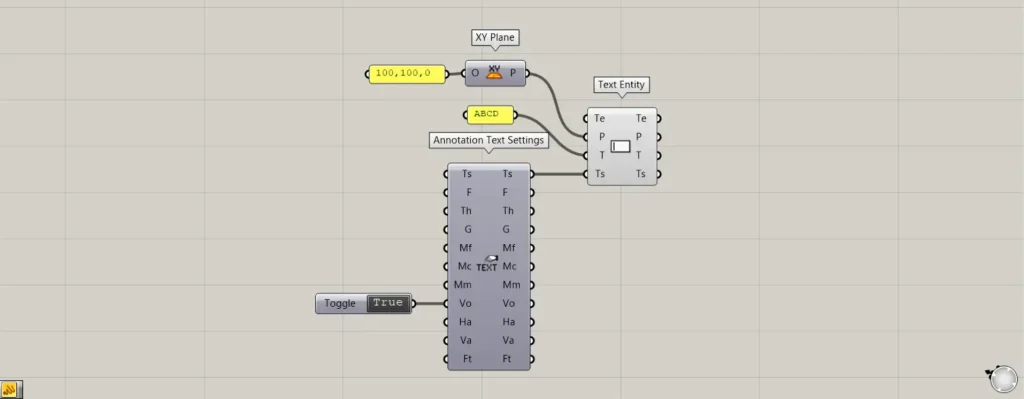
As one example, let’s make the text appear front-facing from all views and perspectives.
Connect the Boolean Toggle set to True to the Annotation Text Settings(Vo).
Then, connect the Ts terminal on the right side of the Annotation Text Settings to the Ts terminal on the left side of the Text Entity.
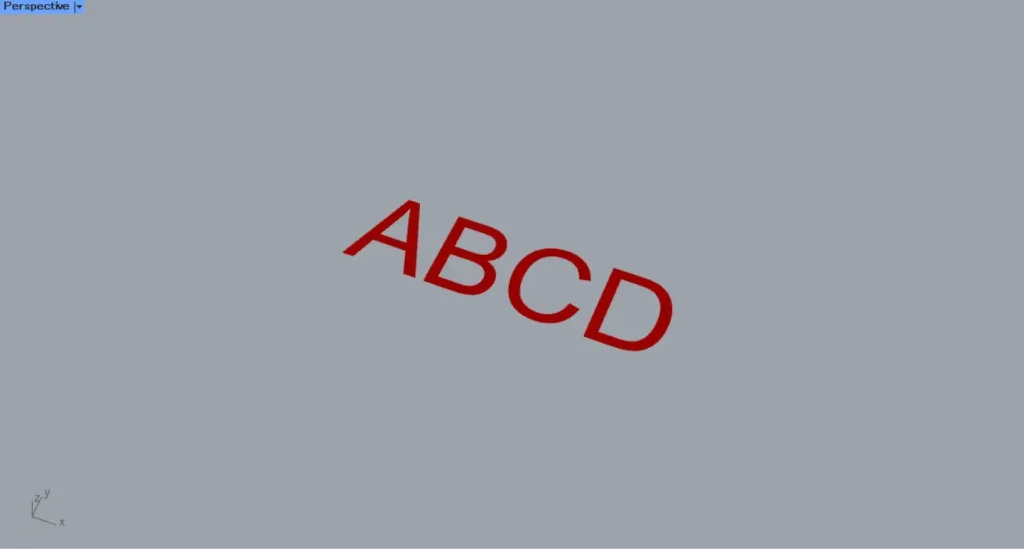
Then, the text now faces forward from any viewpoint.
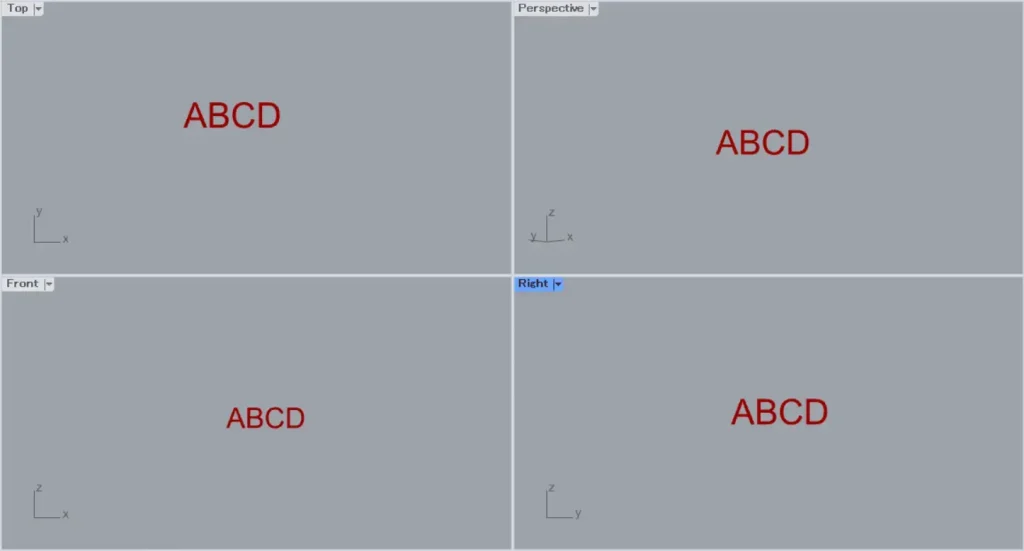
In other views as well, the text now faces forward.
In this way, you can configure various text settings using the Ts terminal.
List of Grasshopper articles using Text Entity component↓

Comment