
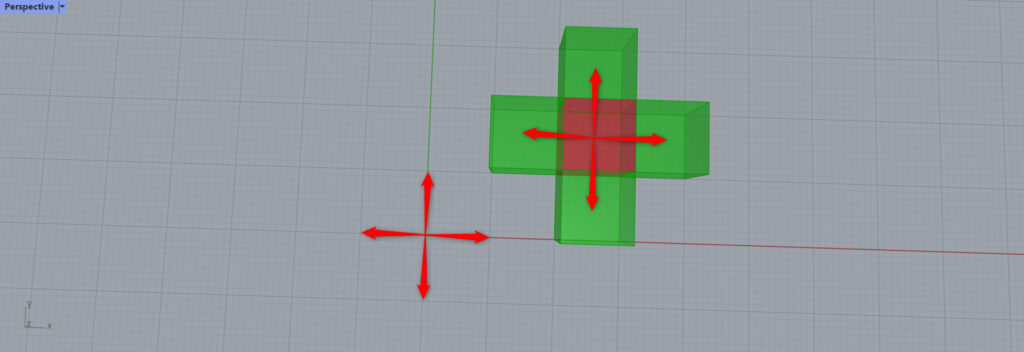
![[Grasshopper] How to use Vector to create and set vectors](https://iarchway.com/wp-content/uploads/2025/06/Vector.png)
This article explains how to use Vector to create and set vectors.

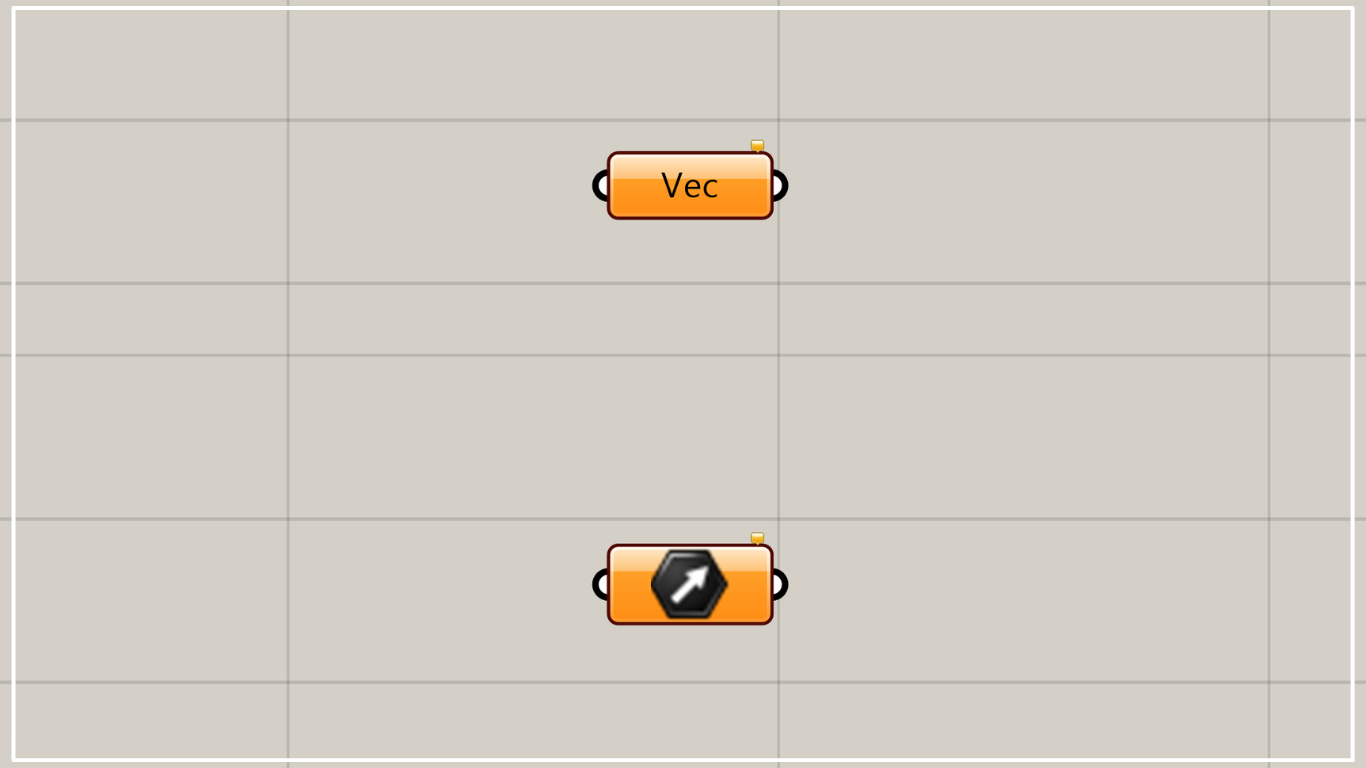
On the Grasshopper, it is displayed as either an icon or text.
setting vector (orientation and distance) information
Vector can set vector (orientation and distance) information.
As a basic rule of vectors, be aware that a vector is the direction and distance from the origin to a point.
Setting a single vector
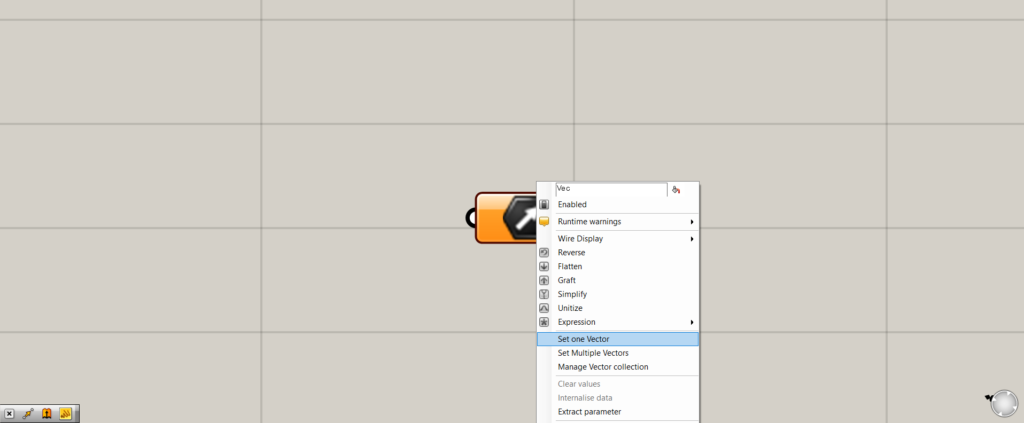
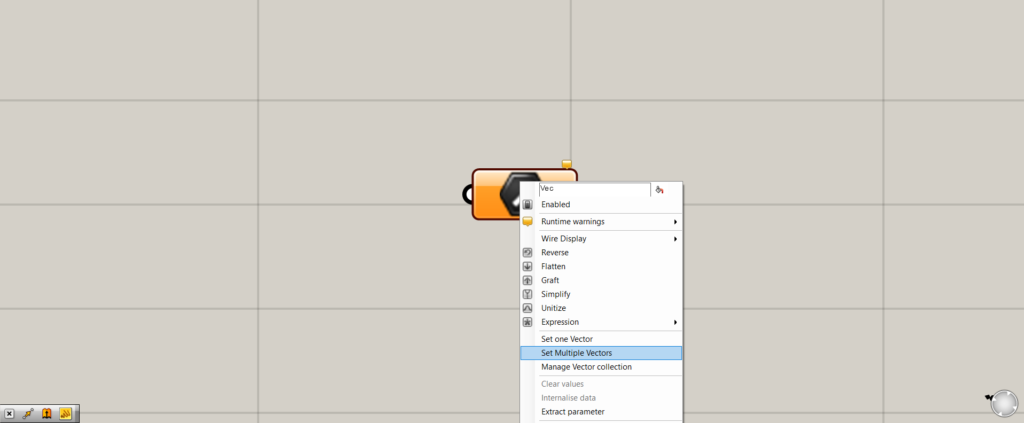
Right-click on Vector and select “Set one Vector”.
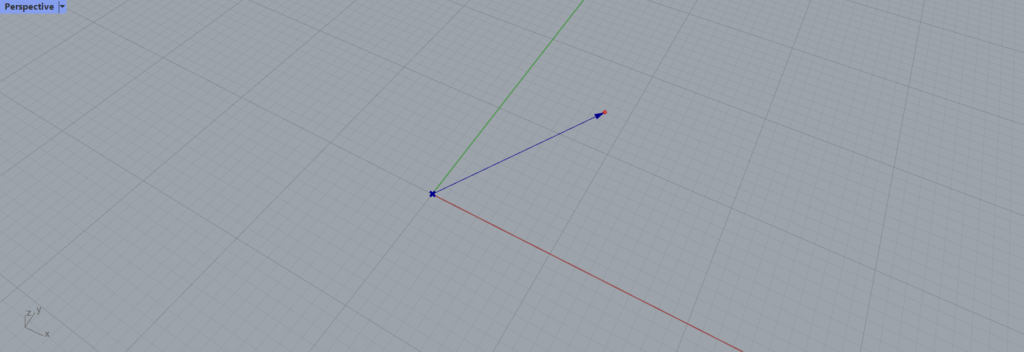
You will then switch to the screen on Rhino.
You will then see a blue arrow coming out of the origin.
Determine the position of the vector you wish to create, click on the location, and the vector will be set.
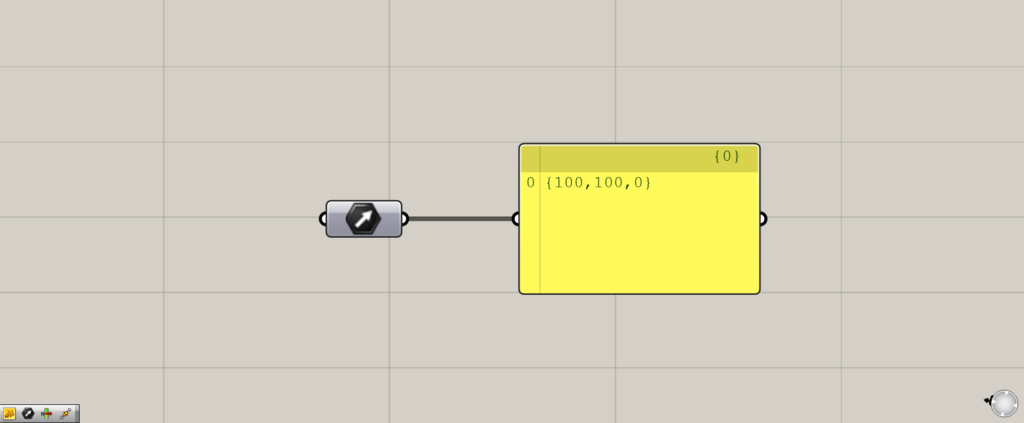
Thus, you can see that the vector is set.
If you use Panel, you will see the coordinates {100,100,0}, which means from the origin to this location.
Setting Multiple Vectors
The next step is to set multiple vectors.
Select Set Multiple Vectors.
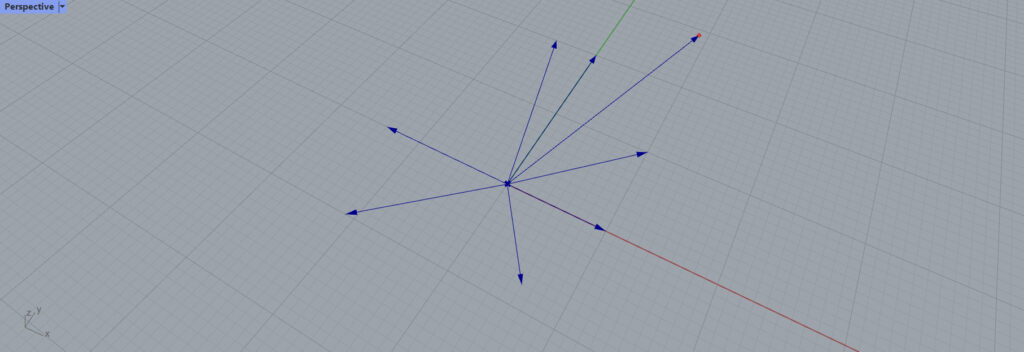
You will then switch back to the Rhino screen, and this time you can specify multiple locations.
When you are done specifying vectors, enter or right-click.
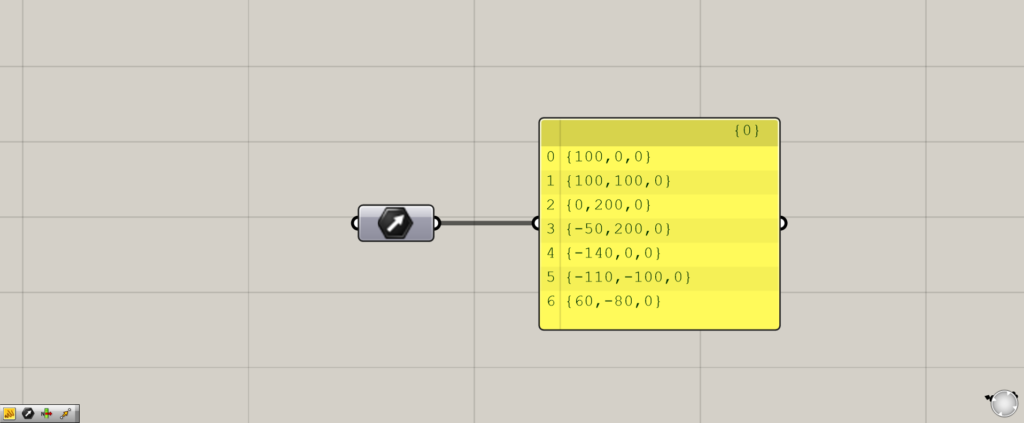
Multiple vectors are then be set.
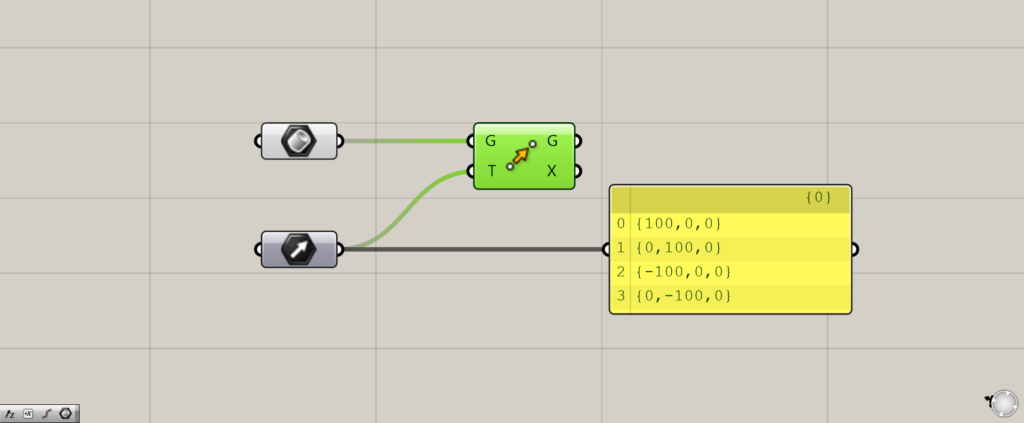
Specifying vectors on Grasshopper
Vectors can also be specified on Grasshopper.
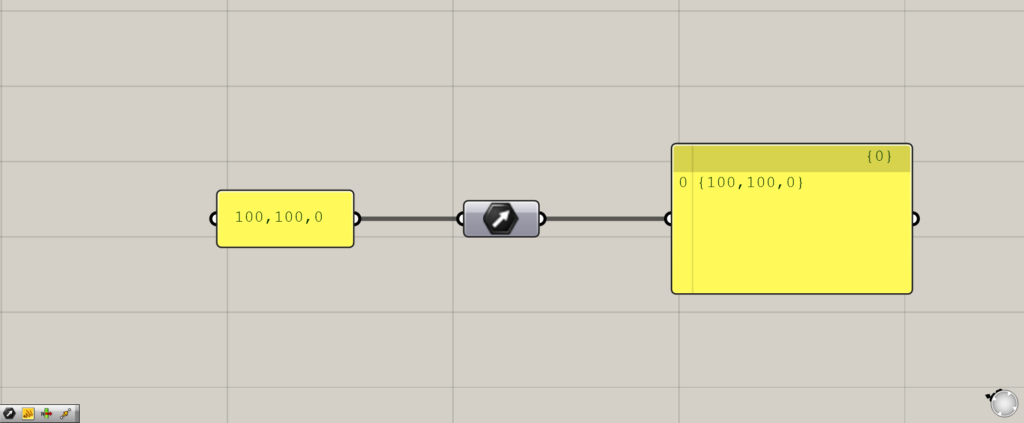
A vector can be created by connecting coordinates to a vector.
This vector is a vector from the origin to the specified position.
Let’s try using vectors
Let’s actually try using vectors.
This time, let’s try moving this cube using vectors.
Components used: (1) Brep ( 2 ) Move (3) Vector
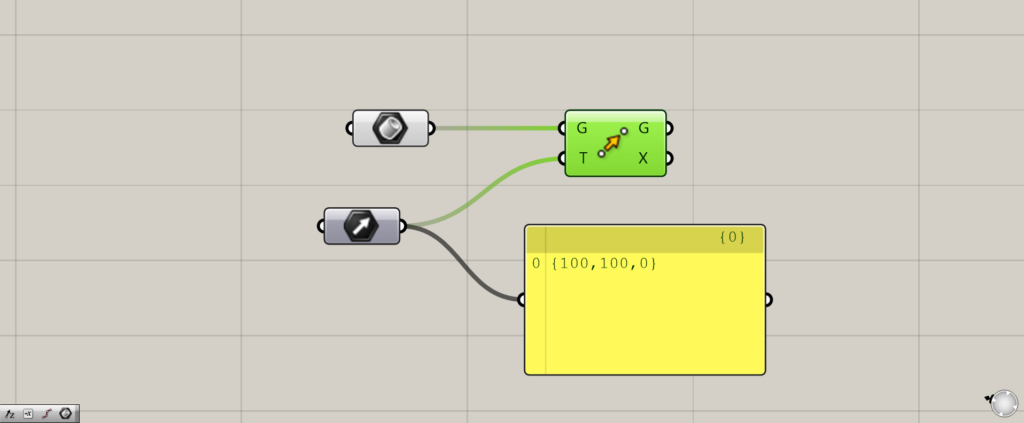
First, connect a Vector to the Move(T).
This time, Vector contains a single vector.
As a result, the cube has moved like this.
This is because the vector created is acting on the cube in the same way.
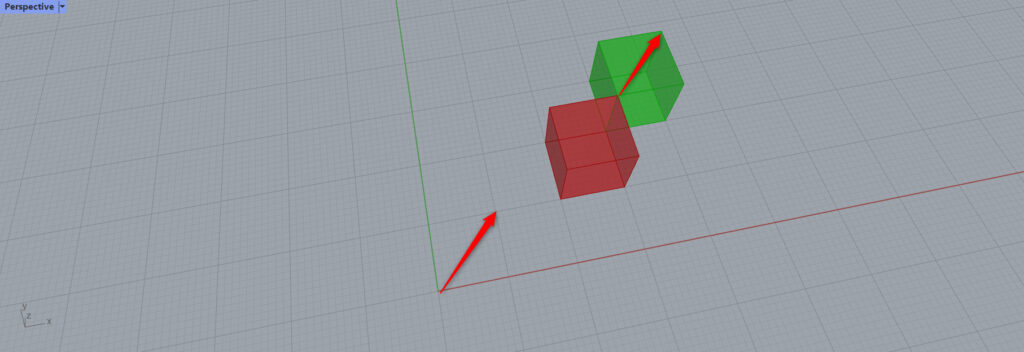
Now let’s try using multiple vectors.
The cube now moves in the direction of each of the vectors we specified.
Again, the vectors created at the origin position are also generated at the cube’s position.
List of Grasshopper articles using Surface component↓

Comment