
![[Grasshopper] How to use Voronoi to create voronoi lines on a plane](https://iarchway.com/wp-content/uploads/2026/01/eyecatch-17.png)
This article explains how to use Voronoi to create voronoi lines on a plane.
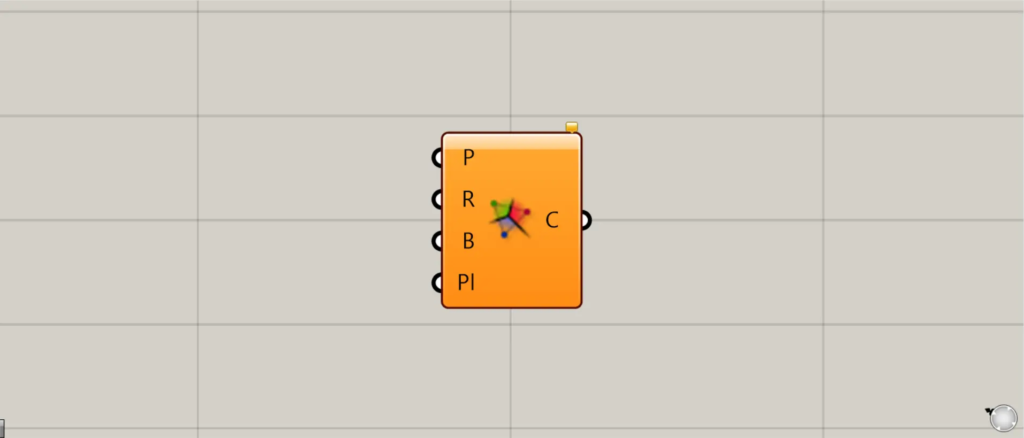
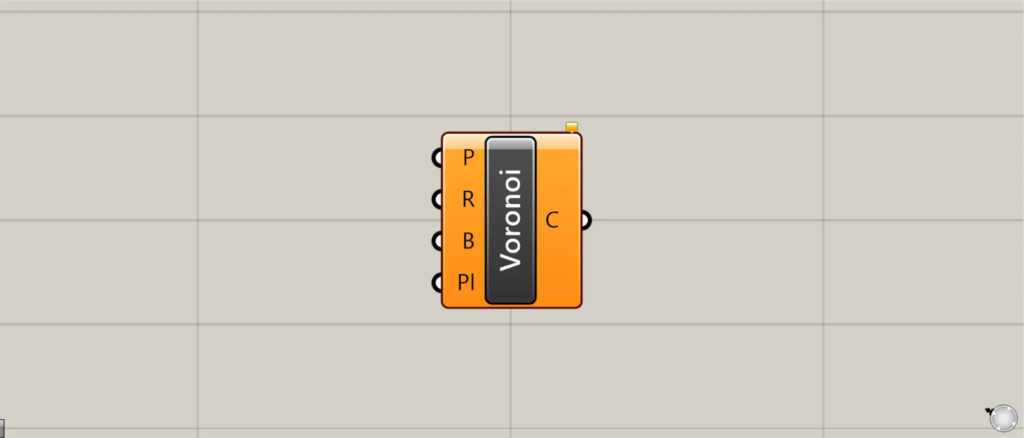
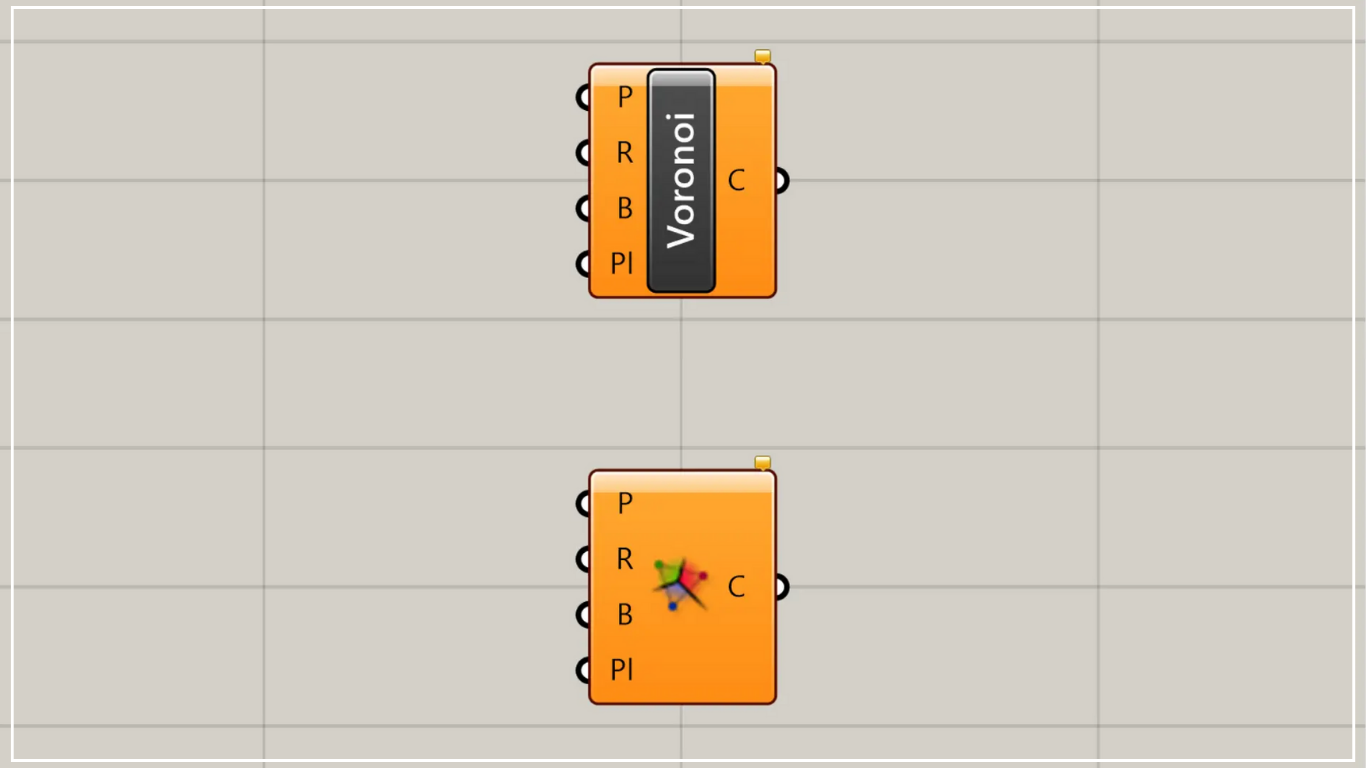
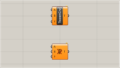
On the Grasshopper, it is represented by either of the two above.
Create voronoi lines on a plane
Using Voronoi, you can create voronoi lines on a plane.

To create a 3D Voronoi diagram, use Voronoi 3D.
In that case, please refer to the article above.
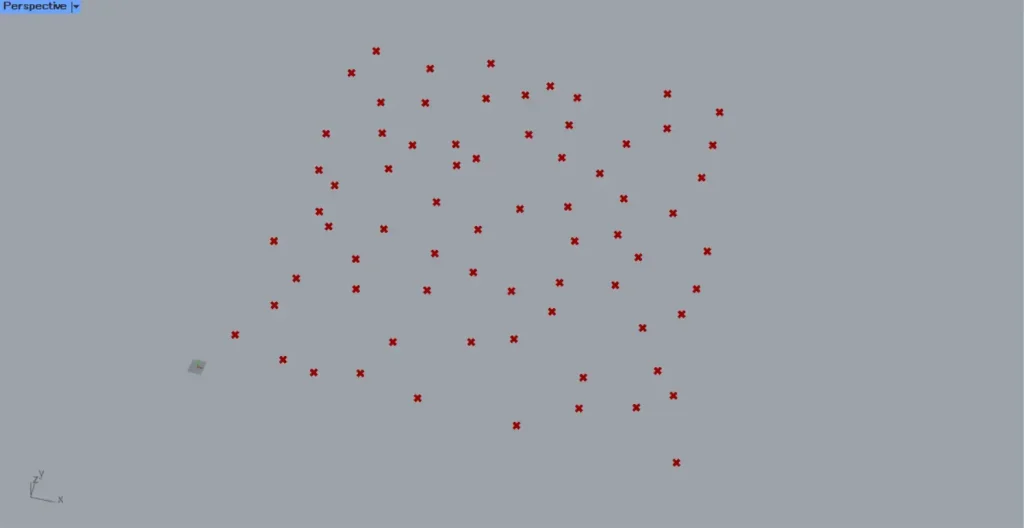
This time, we will use the multiple points in the image above to create a planar Voronoi diagram.
The Populate 2D component is useful for randomly creating multiple points.
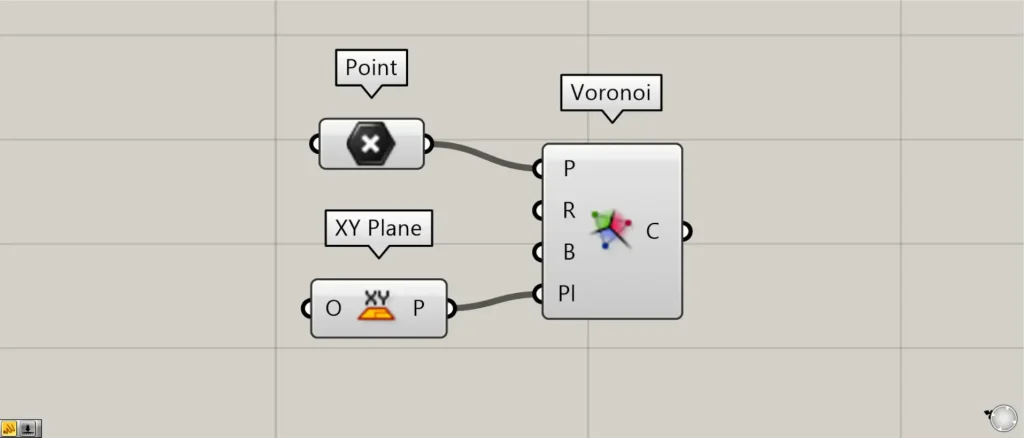
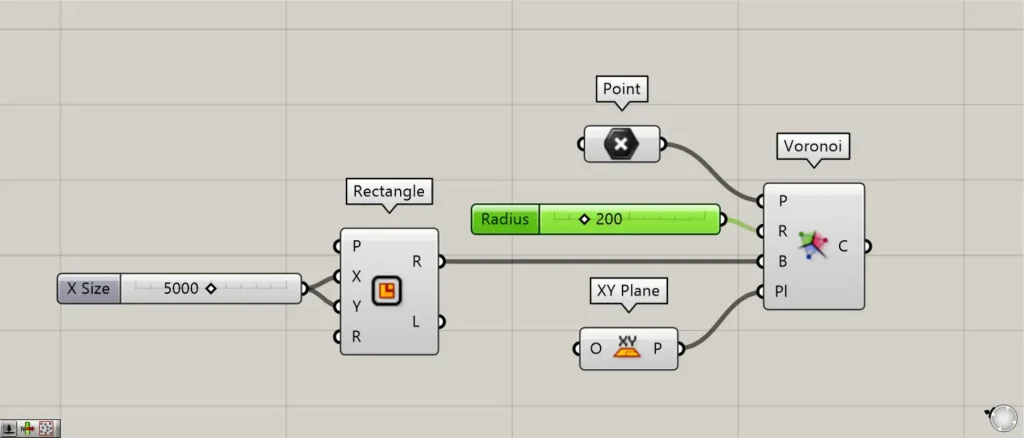
Components used: ①Point ②XY Plane ③Voronoi
For Voronoi(P), connect multiple points that serve as the reference for each Voronoi cell.
This time, we are connecting multiple point data set in Point.
Connect the data for the plane that creates the Voronoi to Voronoi(Pl).
This time, we are using the XY Plane, creating a plane formed by the X and Y directions.
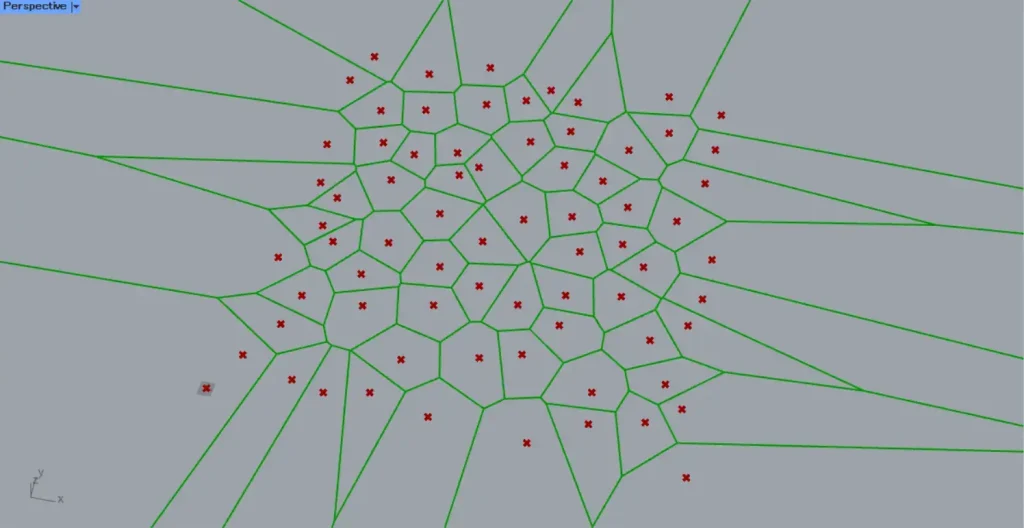
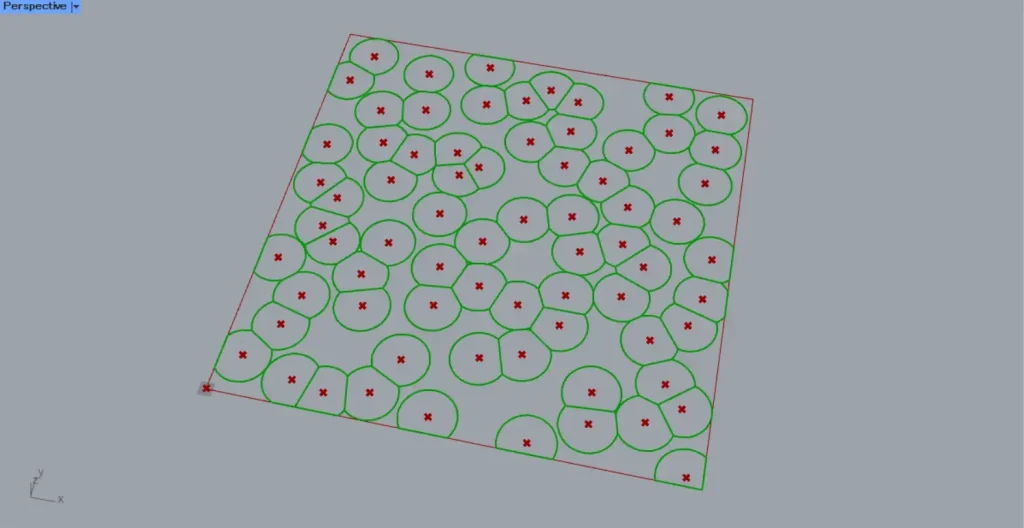
Then, as shown in the image above, Voronoi lines are created.
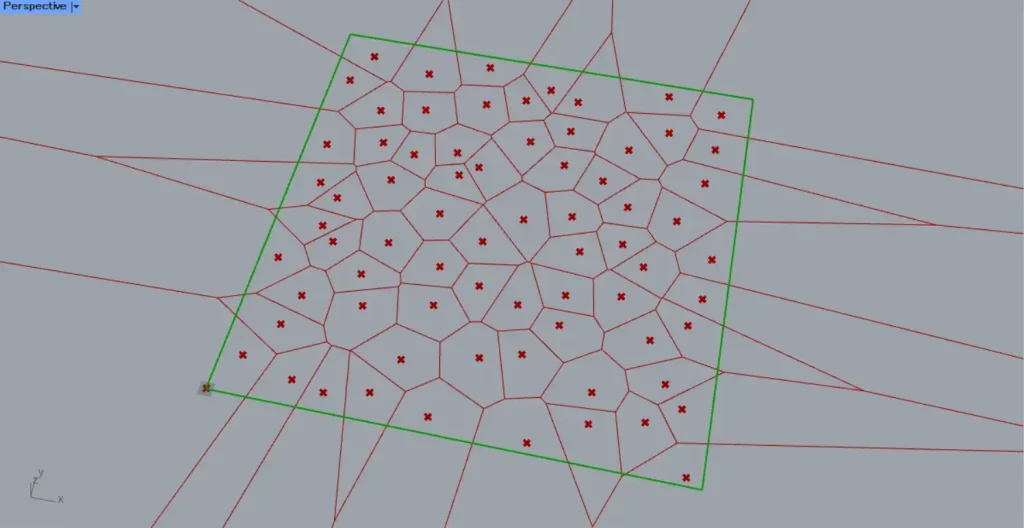
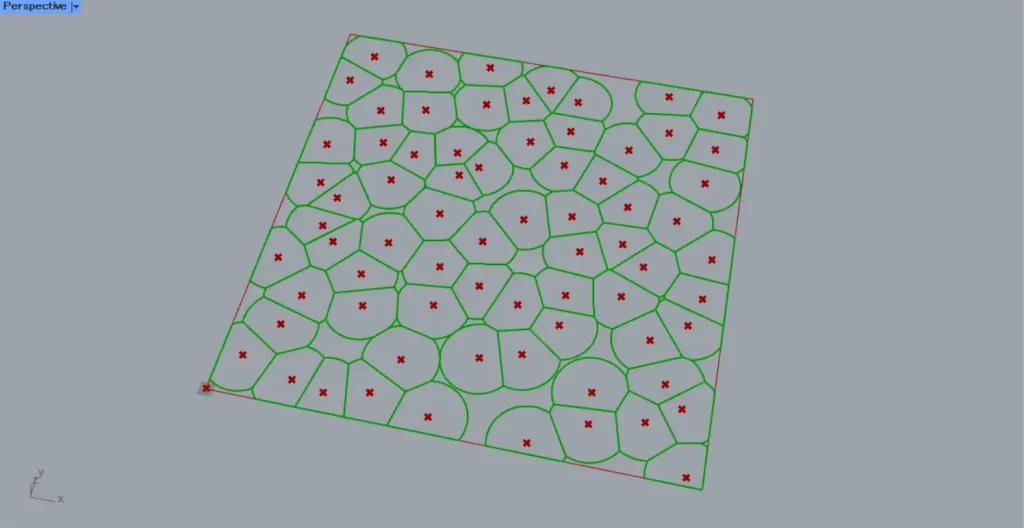
When specifying the Voronoi domain, use polygon line data.
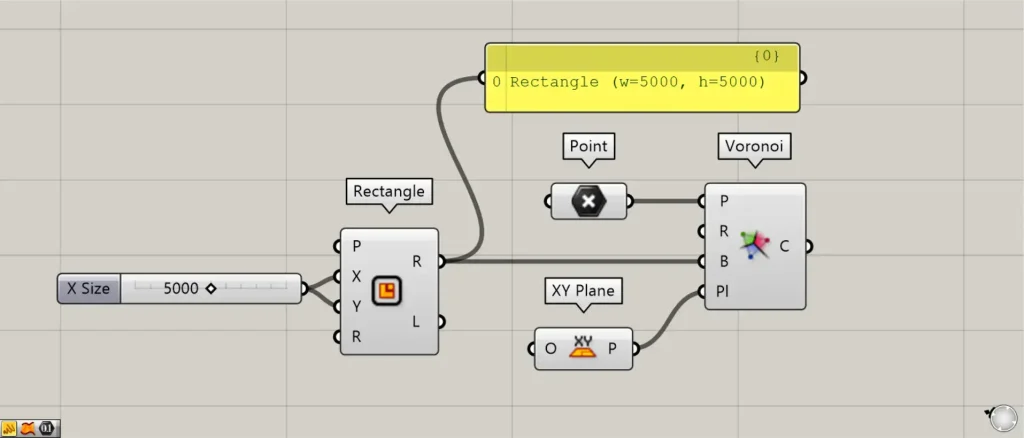
Additional Component: ① Rectangle
Connect the line data of the quadrilateral to Voronoi(B).
This time, we’re connecting 5000 to the Rectangle(X and Y) to create and connect a 5000×5000 rectangular line data set.
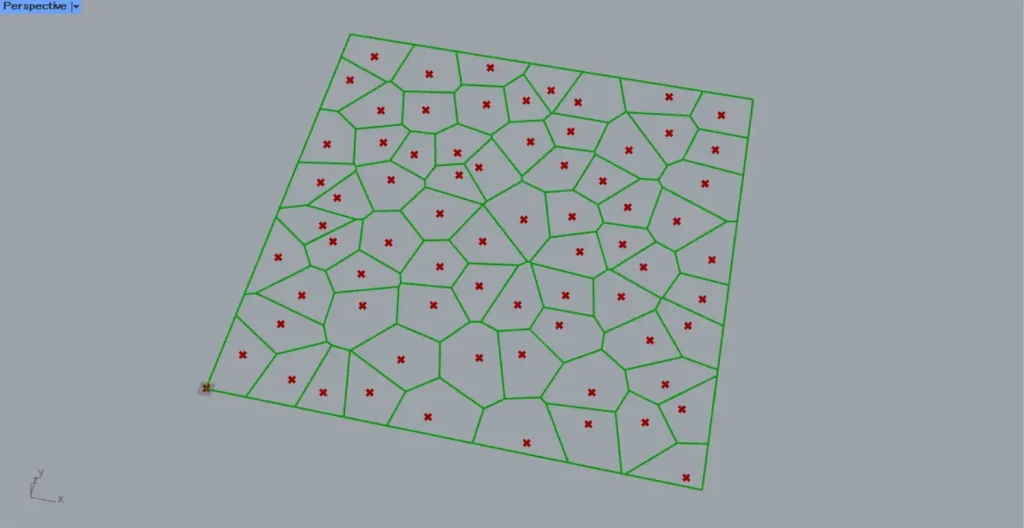
Then, as shown in the image above, the Voronoi now fits within the specified rectangle.
In Voronoi(R), you can specify the Voronoi radius.
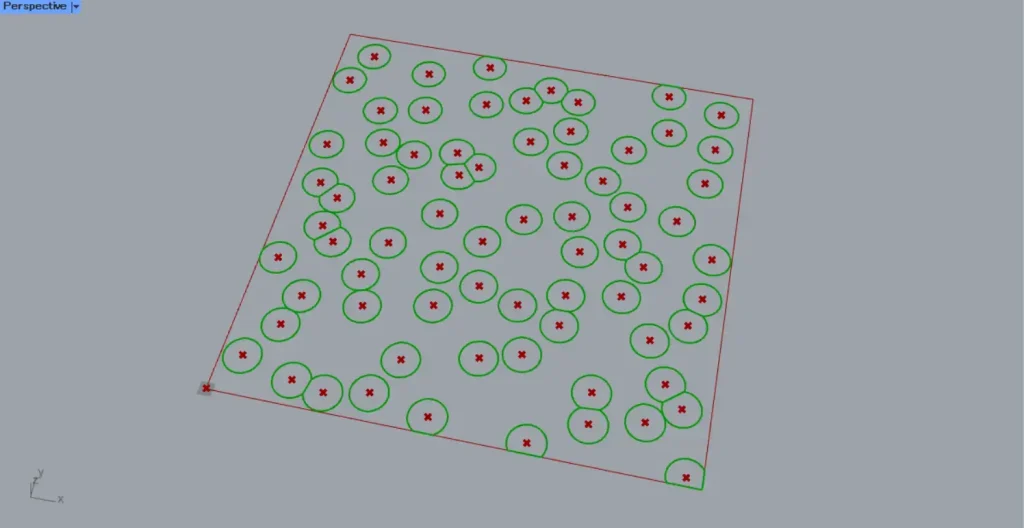
The image above shows an example with a radius set to 200.
The image above shows an example with a radius set to 300.
The image above shows an example with a radius set to 400.
In this way, you can also specify the Voronoi radius.
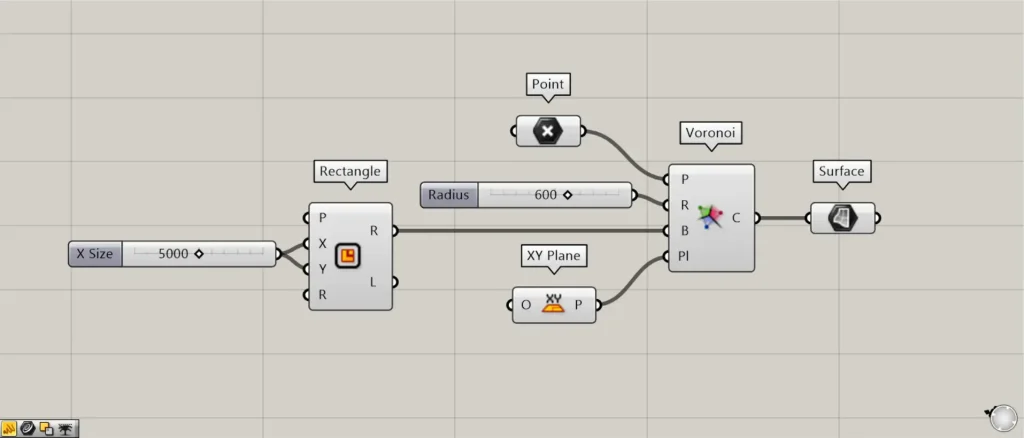
Additional Components: ① Surface
The data output from Voronoi consists of the closed lines for each cell.
Therefore, by connecting it to Surface, you can also surface it.
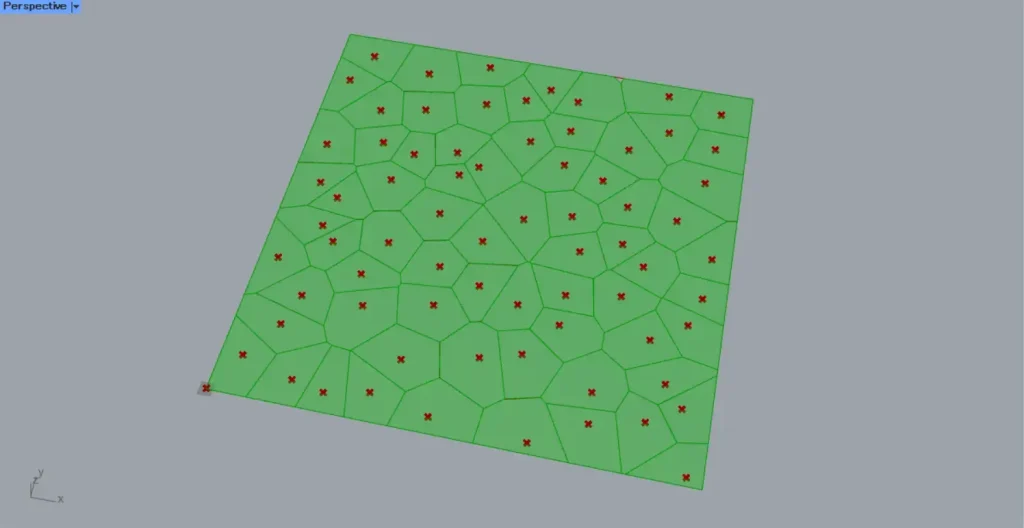
The image above shows the result.
List of Grasshopper articles using Voronoi component↓


Comment