

In this article, we will learn how to automatically generate windows, curtain walls and facades from a surface in Grasshopper.
Video
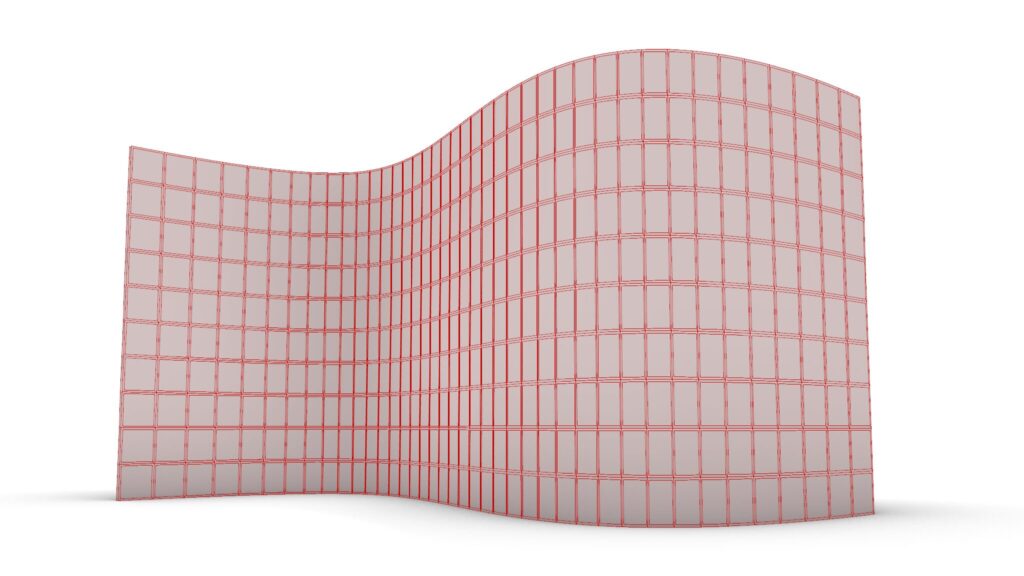
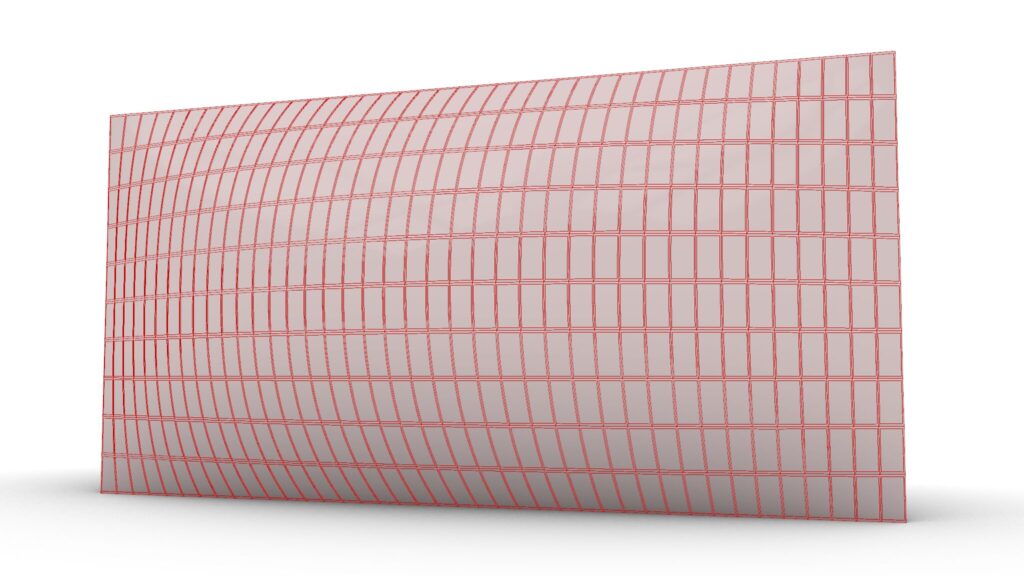
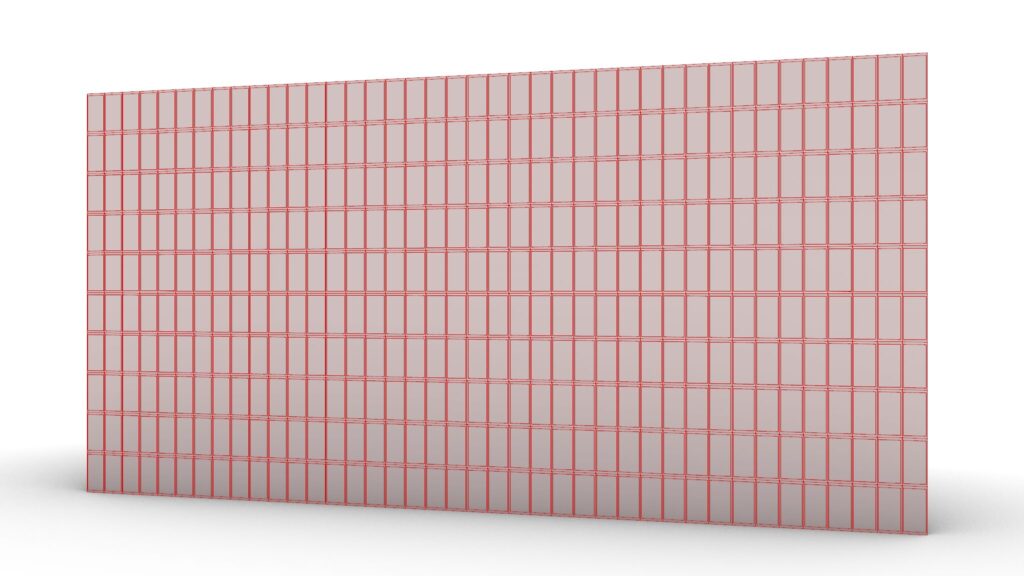
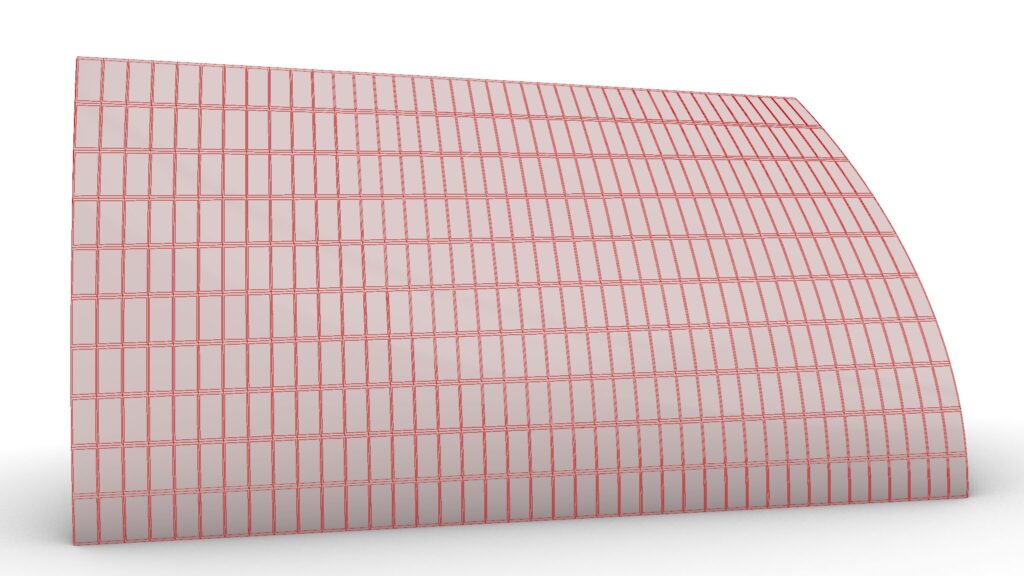
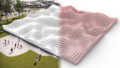
Model Images
Due to the amount of programming, we will not provide a detailed explanation at this time.
Therefore, we recommend that you look at the video, the Grasshopper recipe images placed below or download the data to check it out.
We will explain later on how to use the programming.
Click here to download the Grasshopper file
Please refer to the Terms of Use regarding the use of downloadable data.
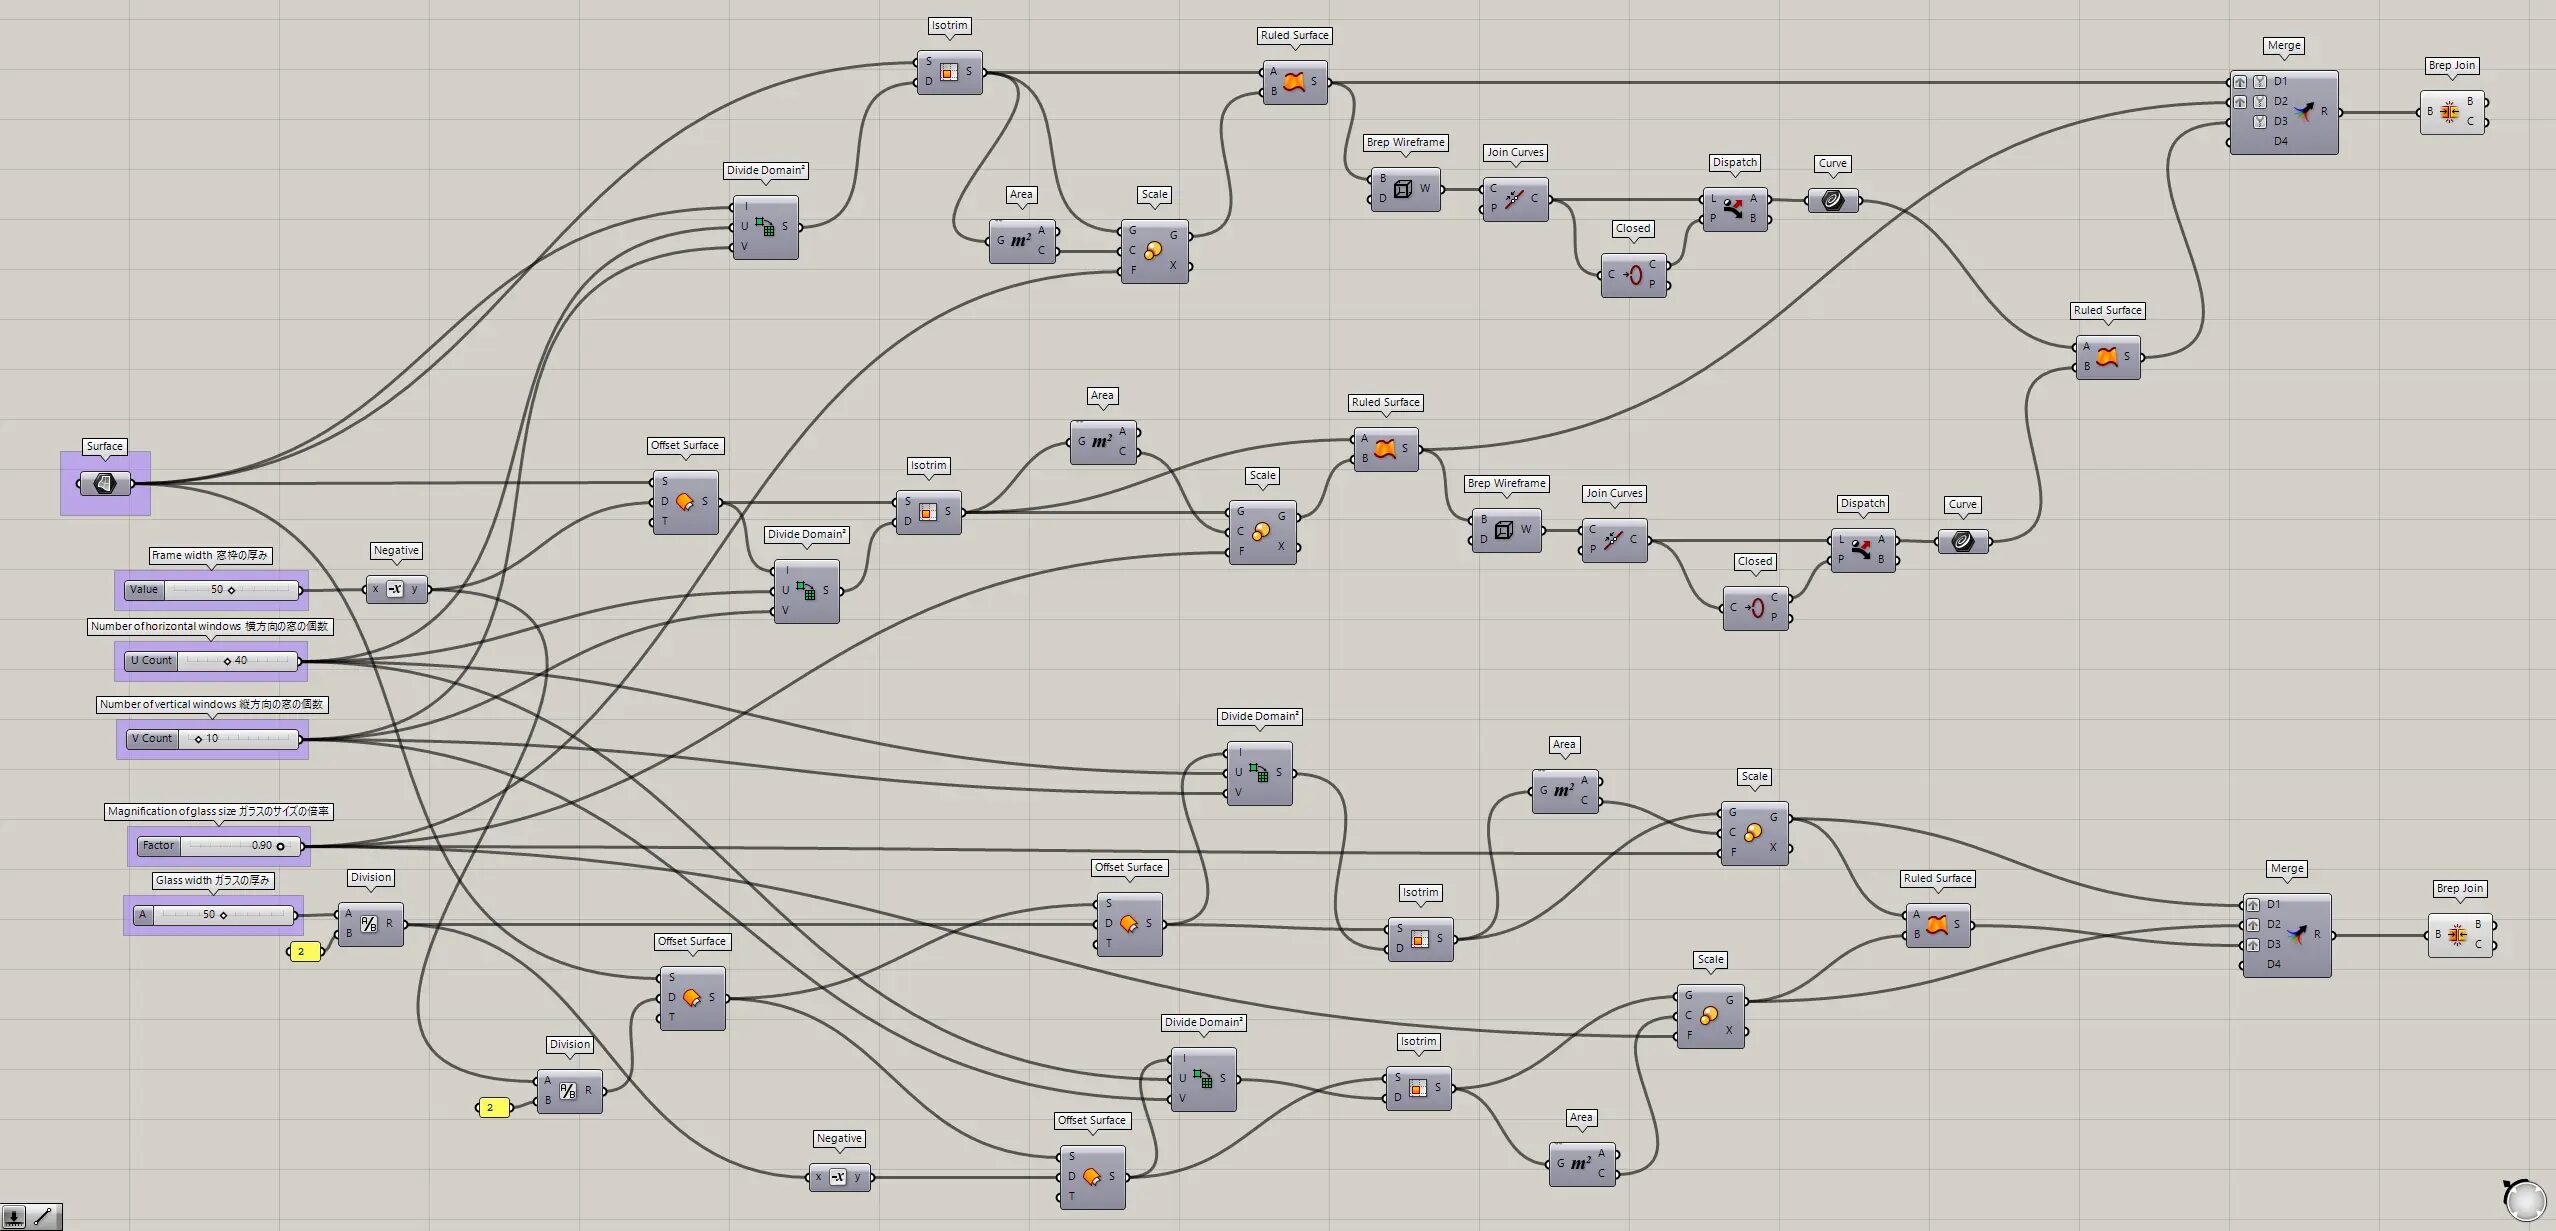
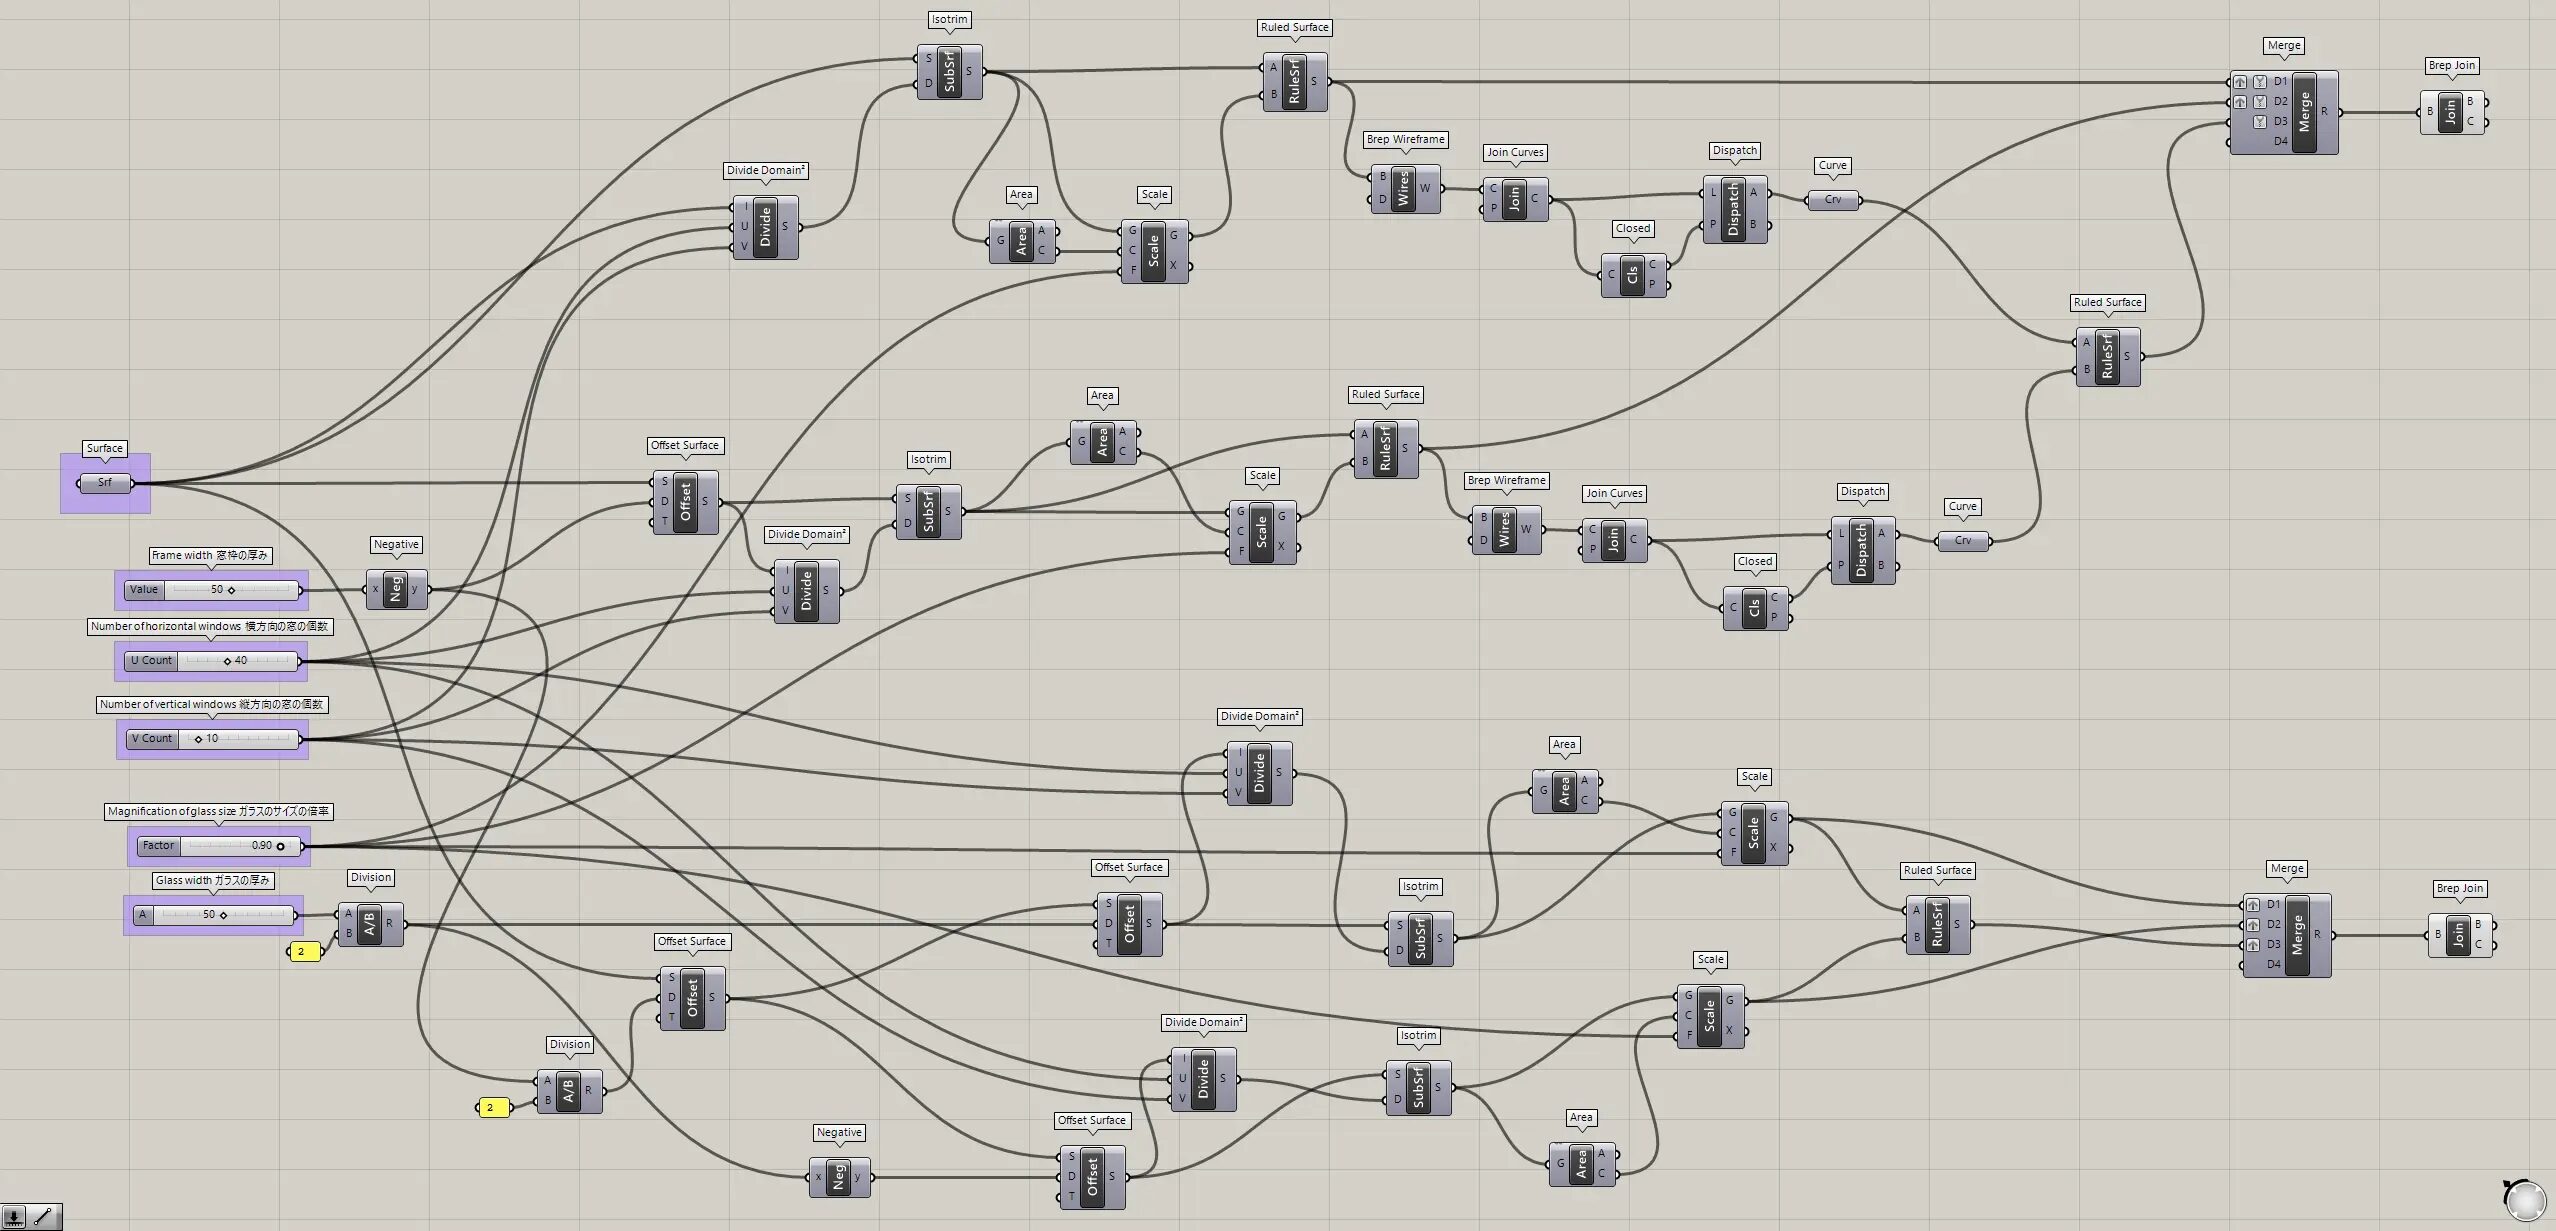
Grasshopper recipe
①Surface ②Negative ③Offset Surface ④Divide Domain² ⑤Isotrim ⑥Area ⑦Scale ⑧Division ⑨Ruled Surface ⑩Brep Wireframe ⑪Join Curves ⑫Closed ⑬Dispatch ⑭Curve ⑮Merge ⑯Brep Join
How to use the Programming
We will explain how to use the Programming.
Notes on use
In this programming, surfaces such as circles cannot be used to generate.
Also, note that complex surfaces may not be successfully used.
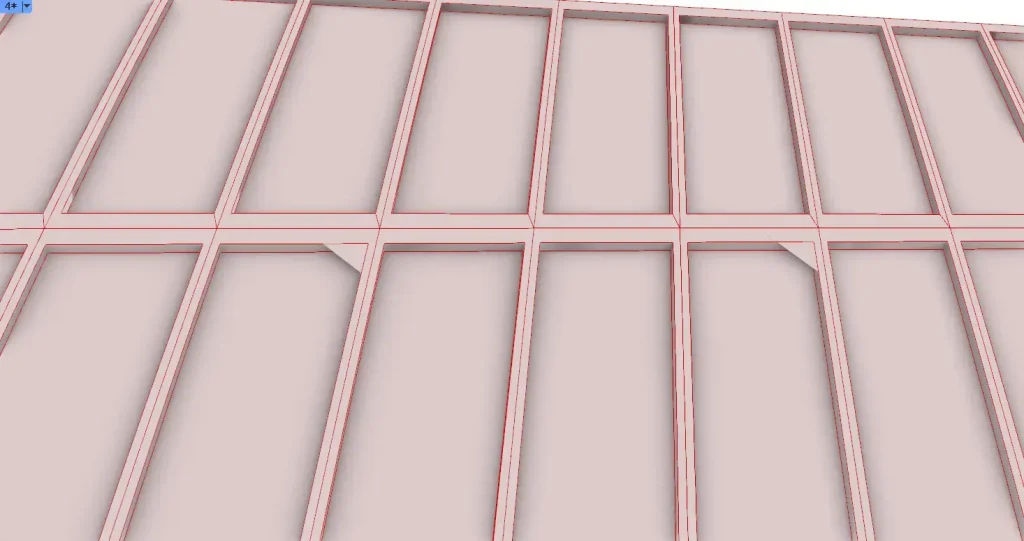
Also, as shown in the image above, bugs may occur on the Grasshopper where the window appears to have a triangular surface at the edge.

However, when actually exported on Rhino, there is no problem, because there is no triangular surface at the edge of the window.
Surface
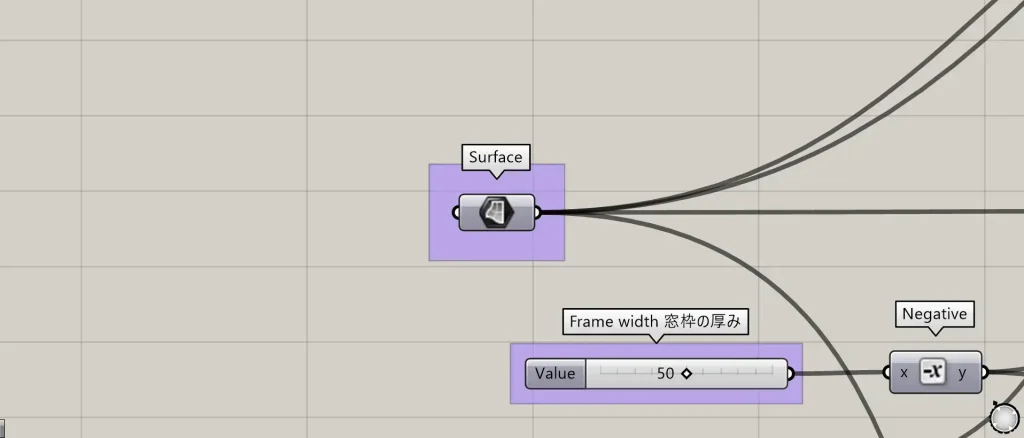
The first “Surface” should contain the surface.
Frame width
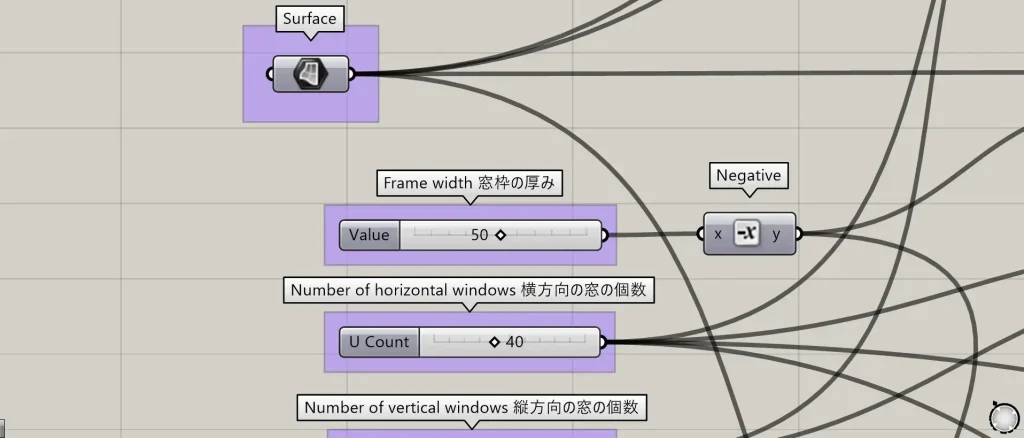
You can change the thickness of the window frame by changing the value of “Frame width”.
Number of horizontal windows
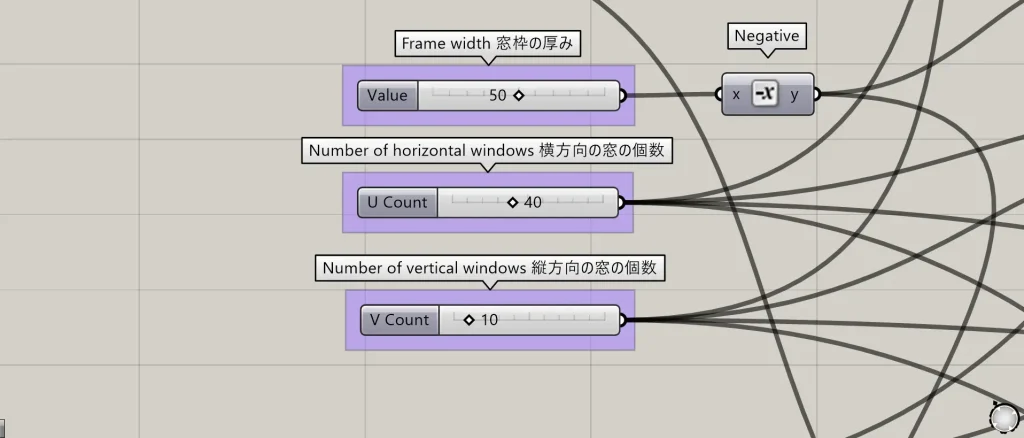
The number of horizontal windows can be changed by changing the value of “Number of horizontal windows”.
Number of vertical windows
You can change the number of vertical windows by changing the value of “Number of vertical windows”.
Magnification of glass size
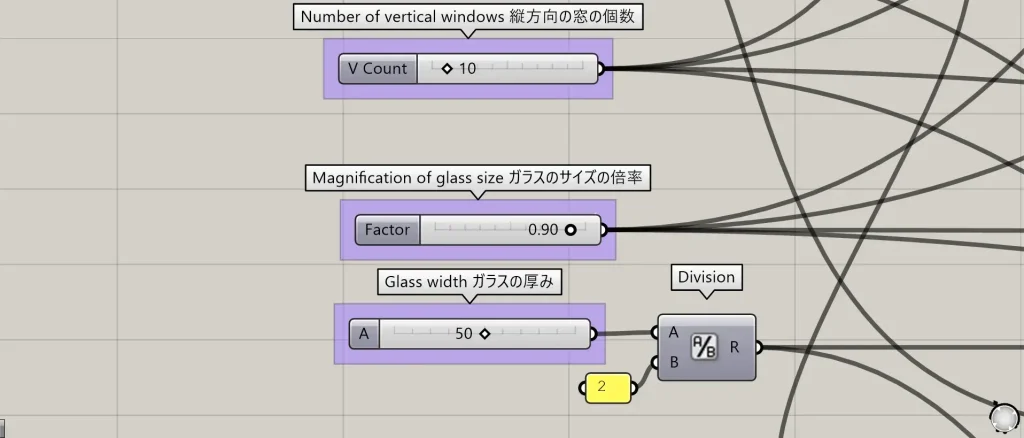
By changing the value of “Magnification of glass size”, you can change the size of the glass.
Glass width
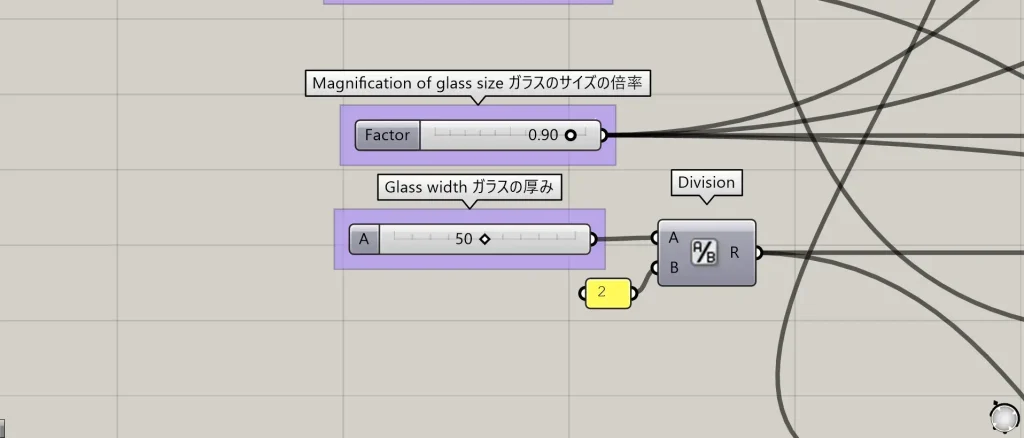
You can change the thickness of the glass by changing the value of “Glass width”.


Comment