
![[Grasshopper] How to use Hatch to set hatching](https://iarchway.com/wp-content/uploads/2026/01/Hatch.png)
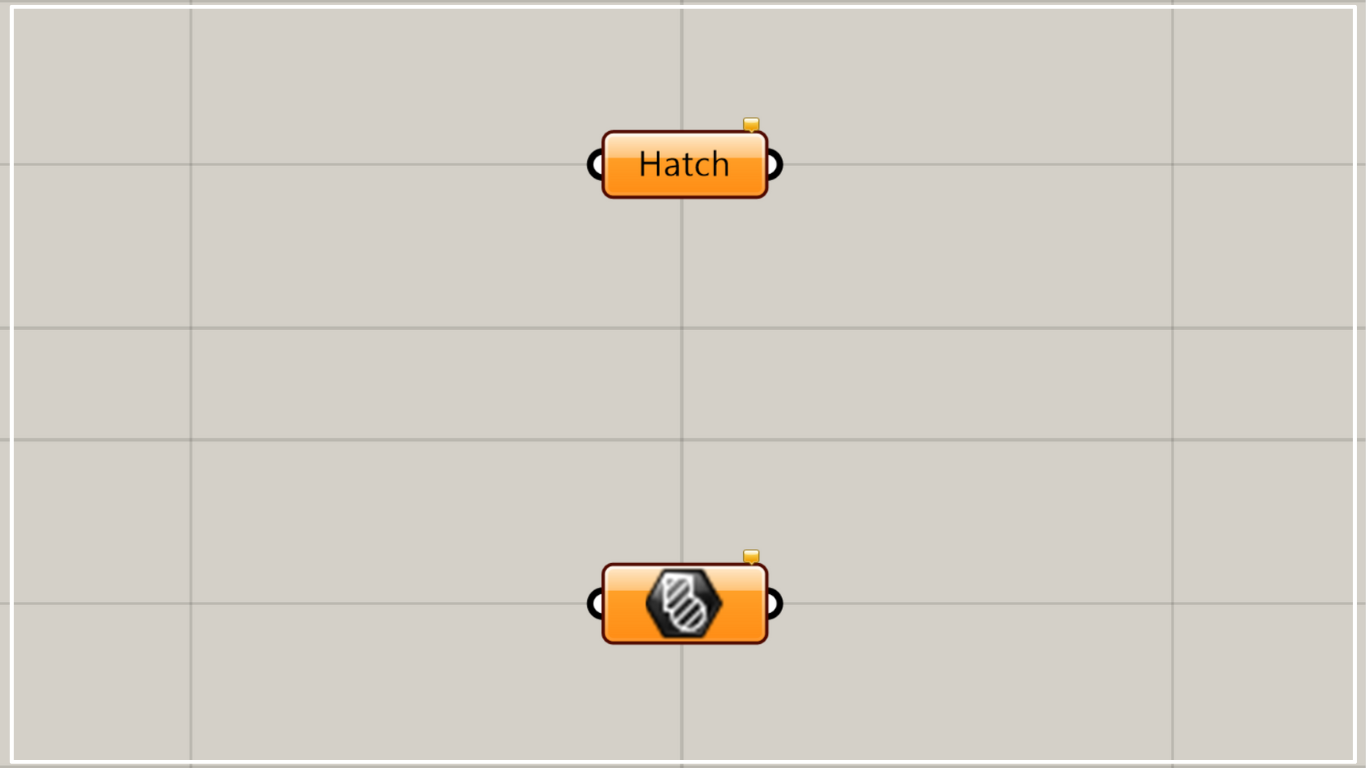
This article explains how to use Hatch to set hatching.

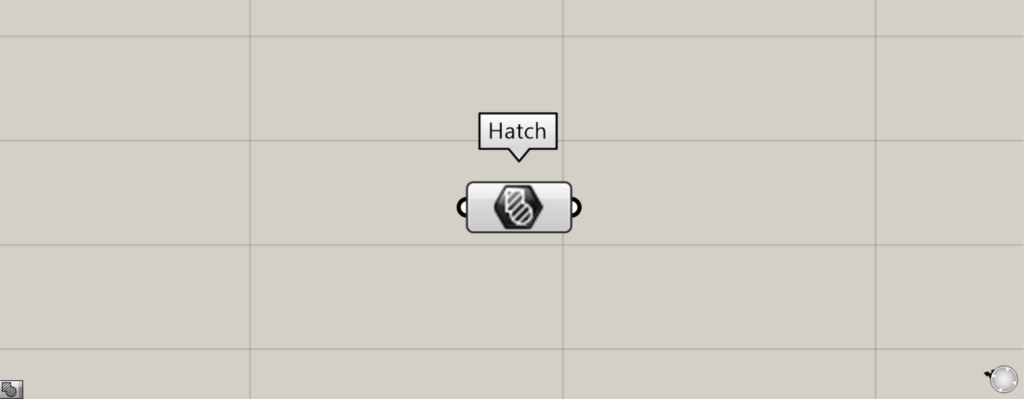
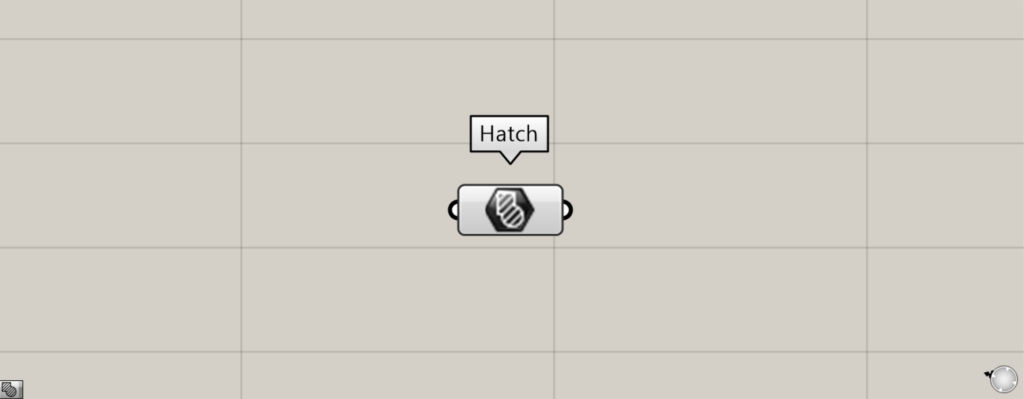
On the Grasshopper, it is represented by either of the two above.
Set hatching
Using Hatch allows you to set hatching.
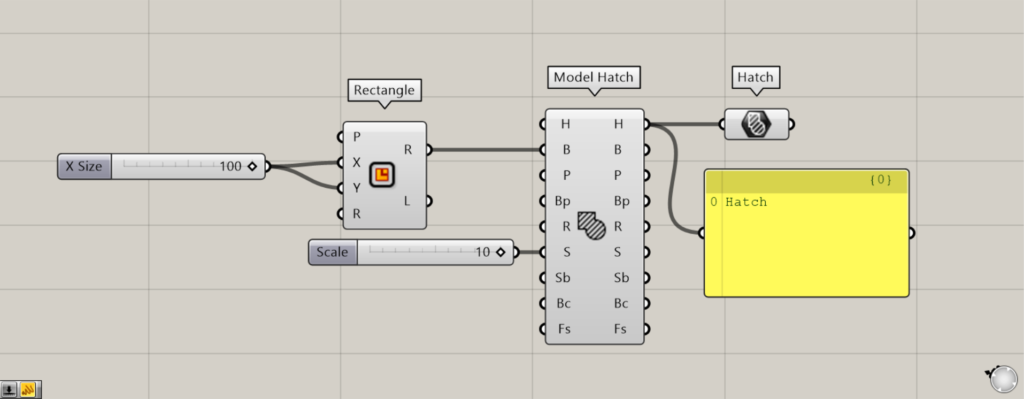
Components used: ① Rectangle ② Model Hatch ③ Hatch
This time, as an example, we’ll set the hatch pattern created as a square in the Hatch palette.
Enter the numerical value for the length of one side into the Rectangle(X and Y).
This time, we entered 100 and created a 100×100 square.
Next, connect the Rectangle(R) to the Model Hatch(B).
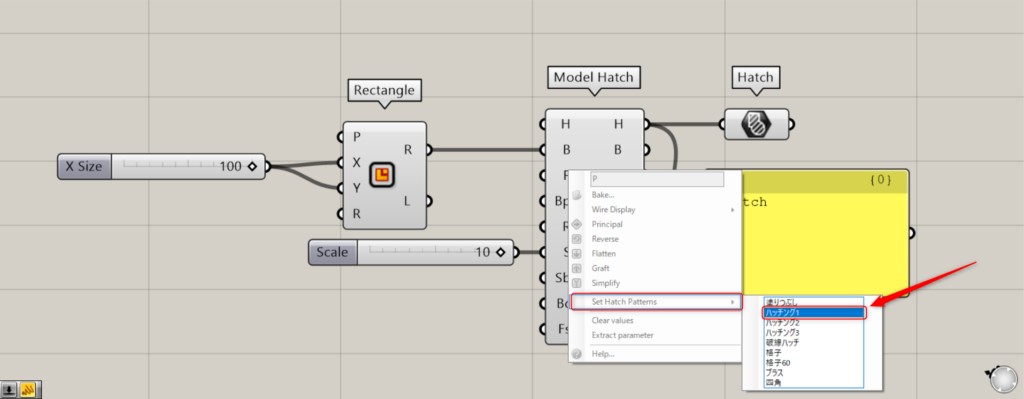
Additionally, this time I right-clicked the P terminal of the Model Hatch and selected Hatch Pattern 1 from “Set Hatch Patterns”.
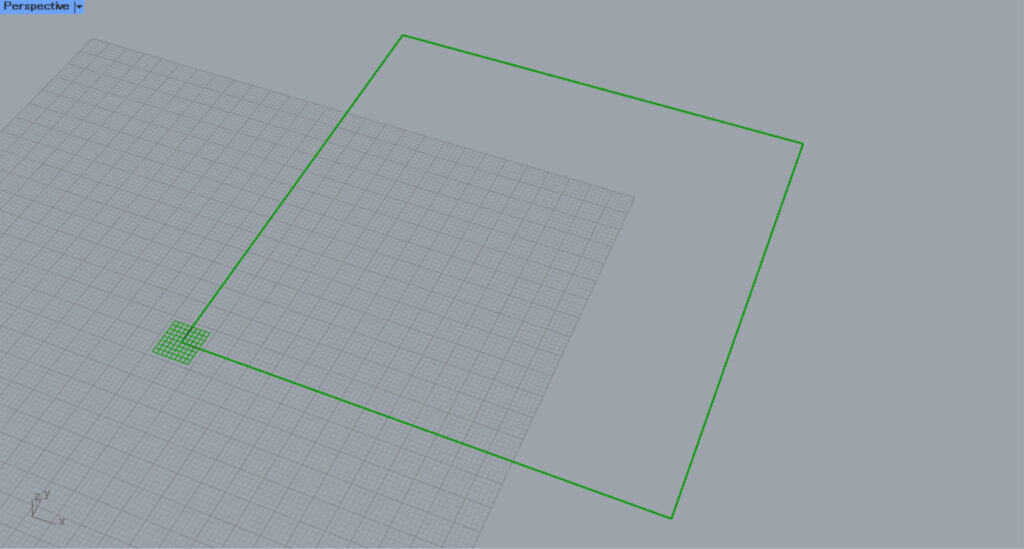
To improve visibility, we entered the value 10 into the Model Hatch(S), scaling the hatch by a factor of 10.
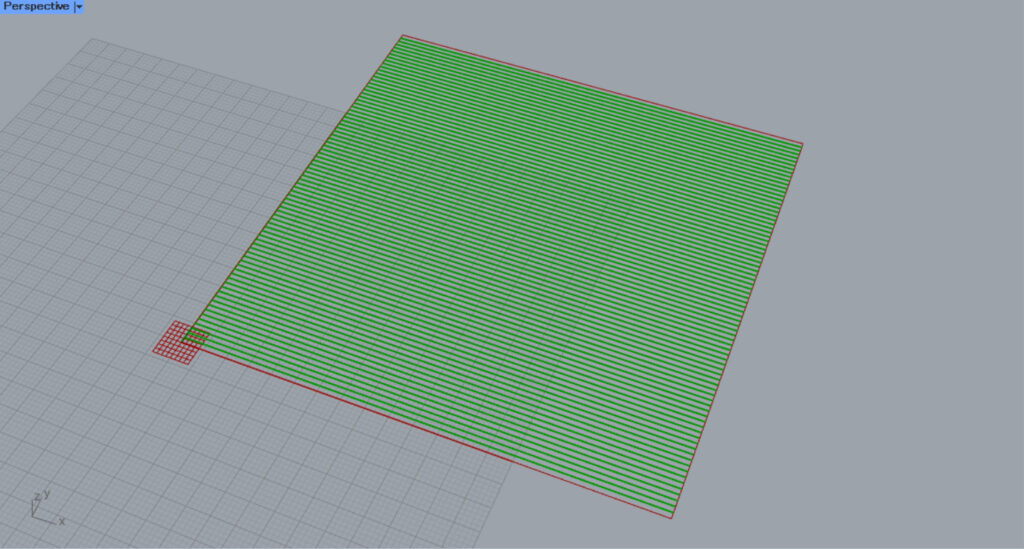
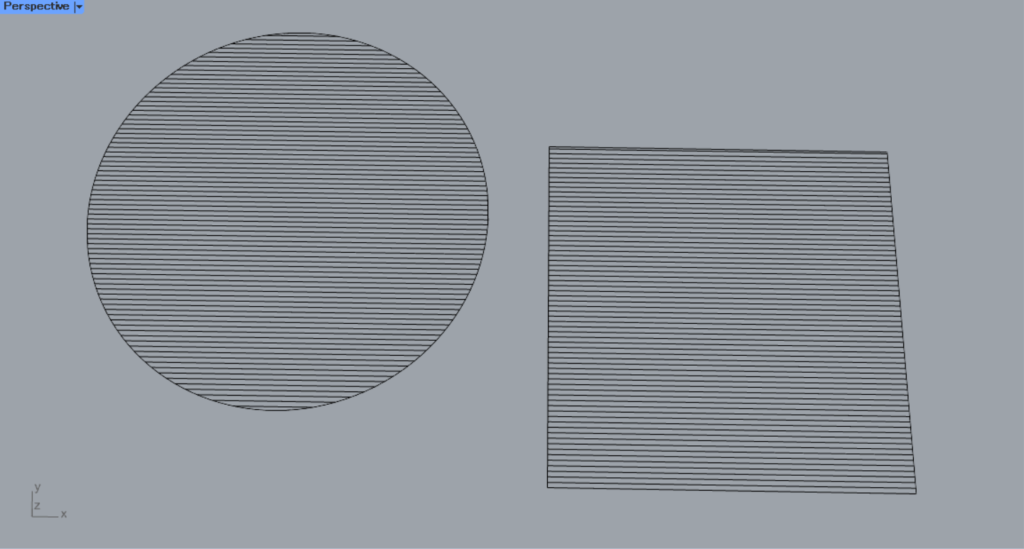
Then, hatching like the image above was created.
Then connect the Model Hatch(H) to the Hatch.
Then, the created hatch was set in the Hatch palette.
In this way, you can set hatching data in Hatch.
Set hatching on Rhino
You can also set hatching on Rhino.
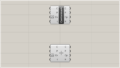
First, let’s try setting one hatch on Rhino.
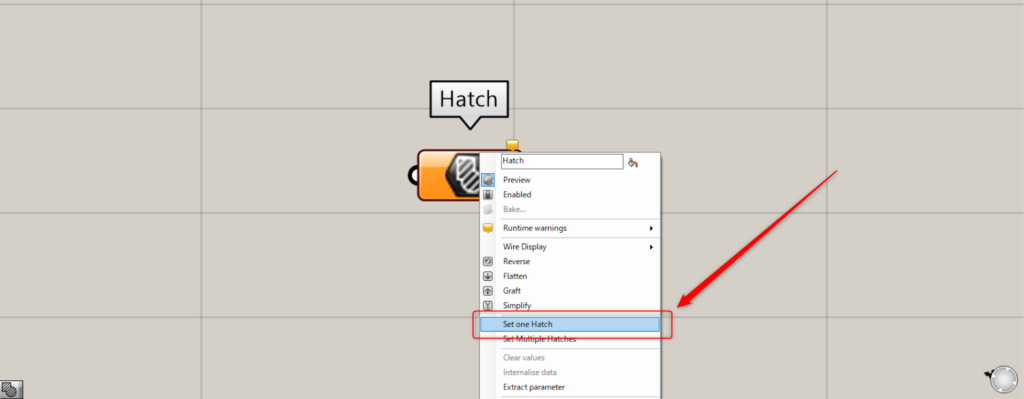
In one case, right-click the hatch and select “Set one Hatch”.

Then, the screen will switch to Rhino.
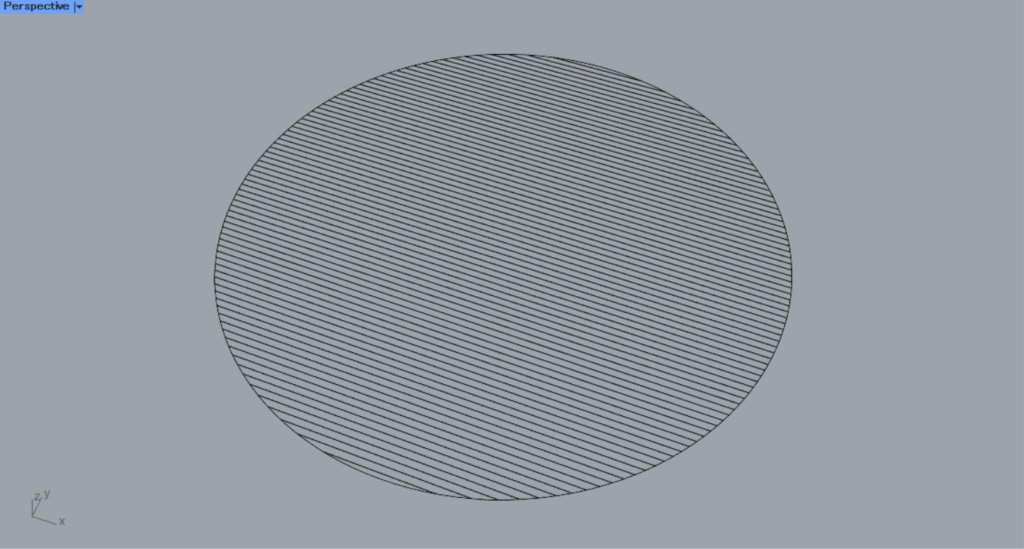
Select the hatching you want to set.
Then the hatching was set.
This is the result on Rhino.
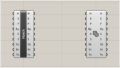
Next, we’ll try setting multiple hatch patterns on Rhino.
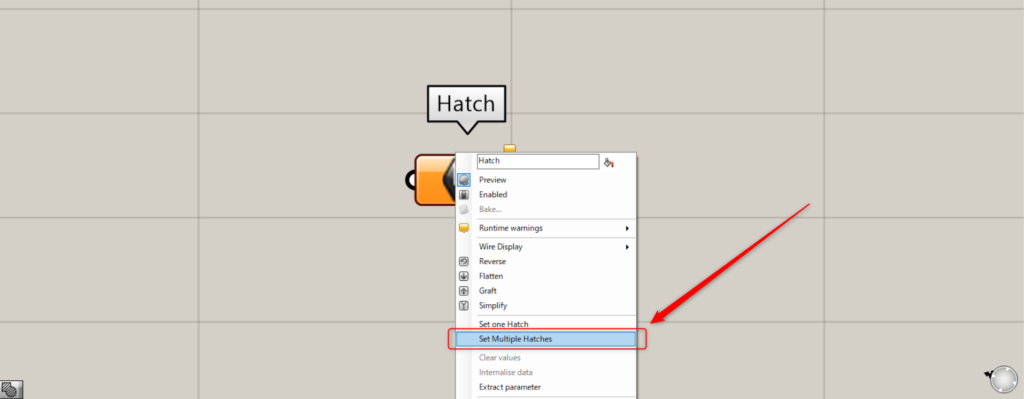
For multiple instances, right-click the hatch and select “Set Multiple Hatches”.

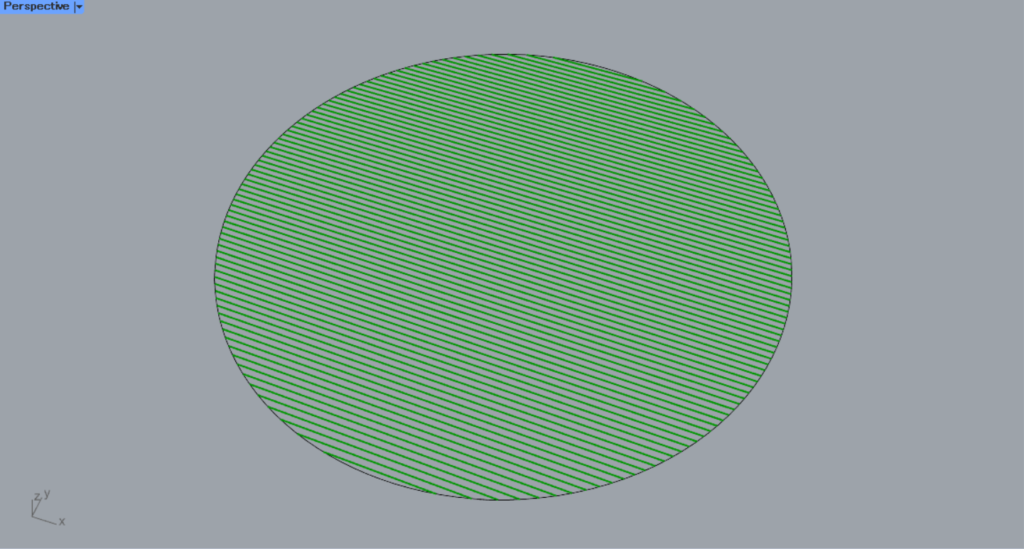
Then, select multiple hatches on Rhino.
Then, multiple hatchings were set.
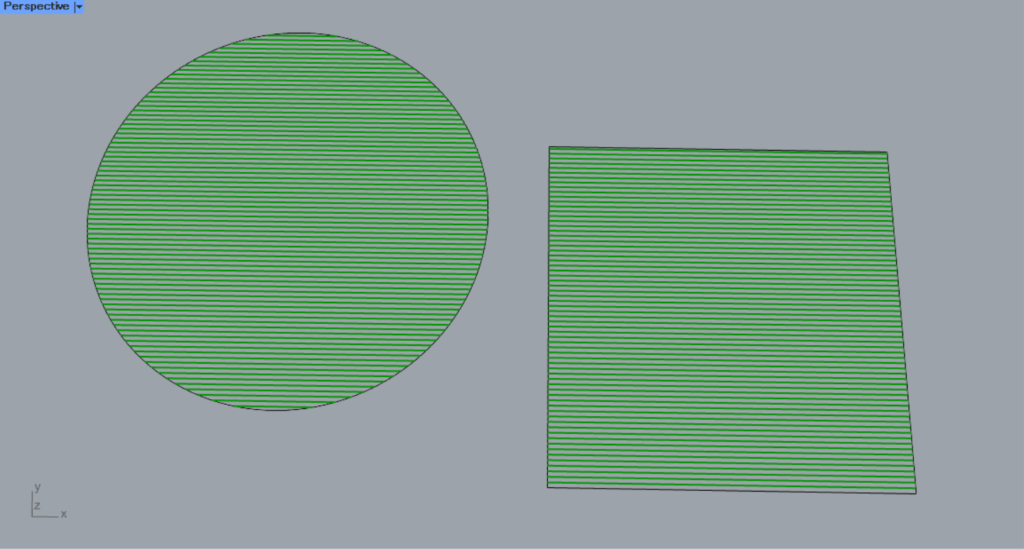
This is the result on Rhino.
List of Grasshopper articles using Hatch component↓

Comment