
When using Grasshopper, you may encounter situations where you want to create a pipe assembled from multiple curves.
Generally, the Pipe component cannot be used to combine multiple curves to create a pipe.
However, by using the MultiPipe component, you can combine multiple curves into a single integrated pipe.

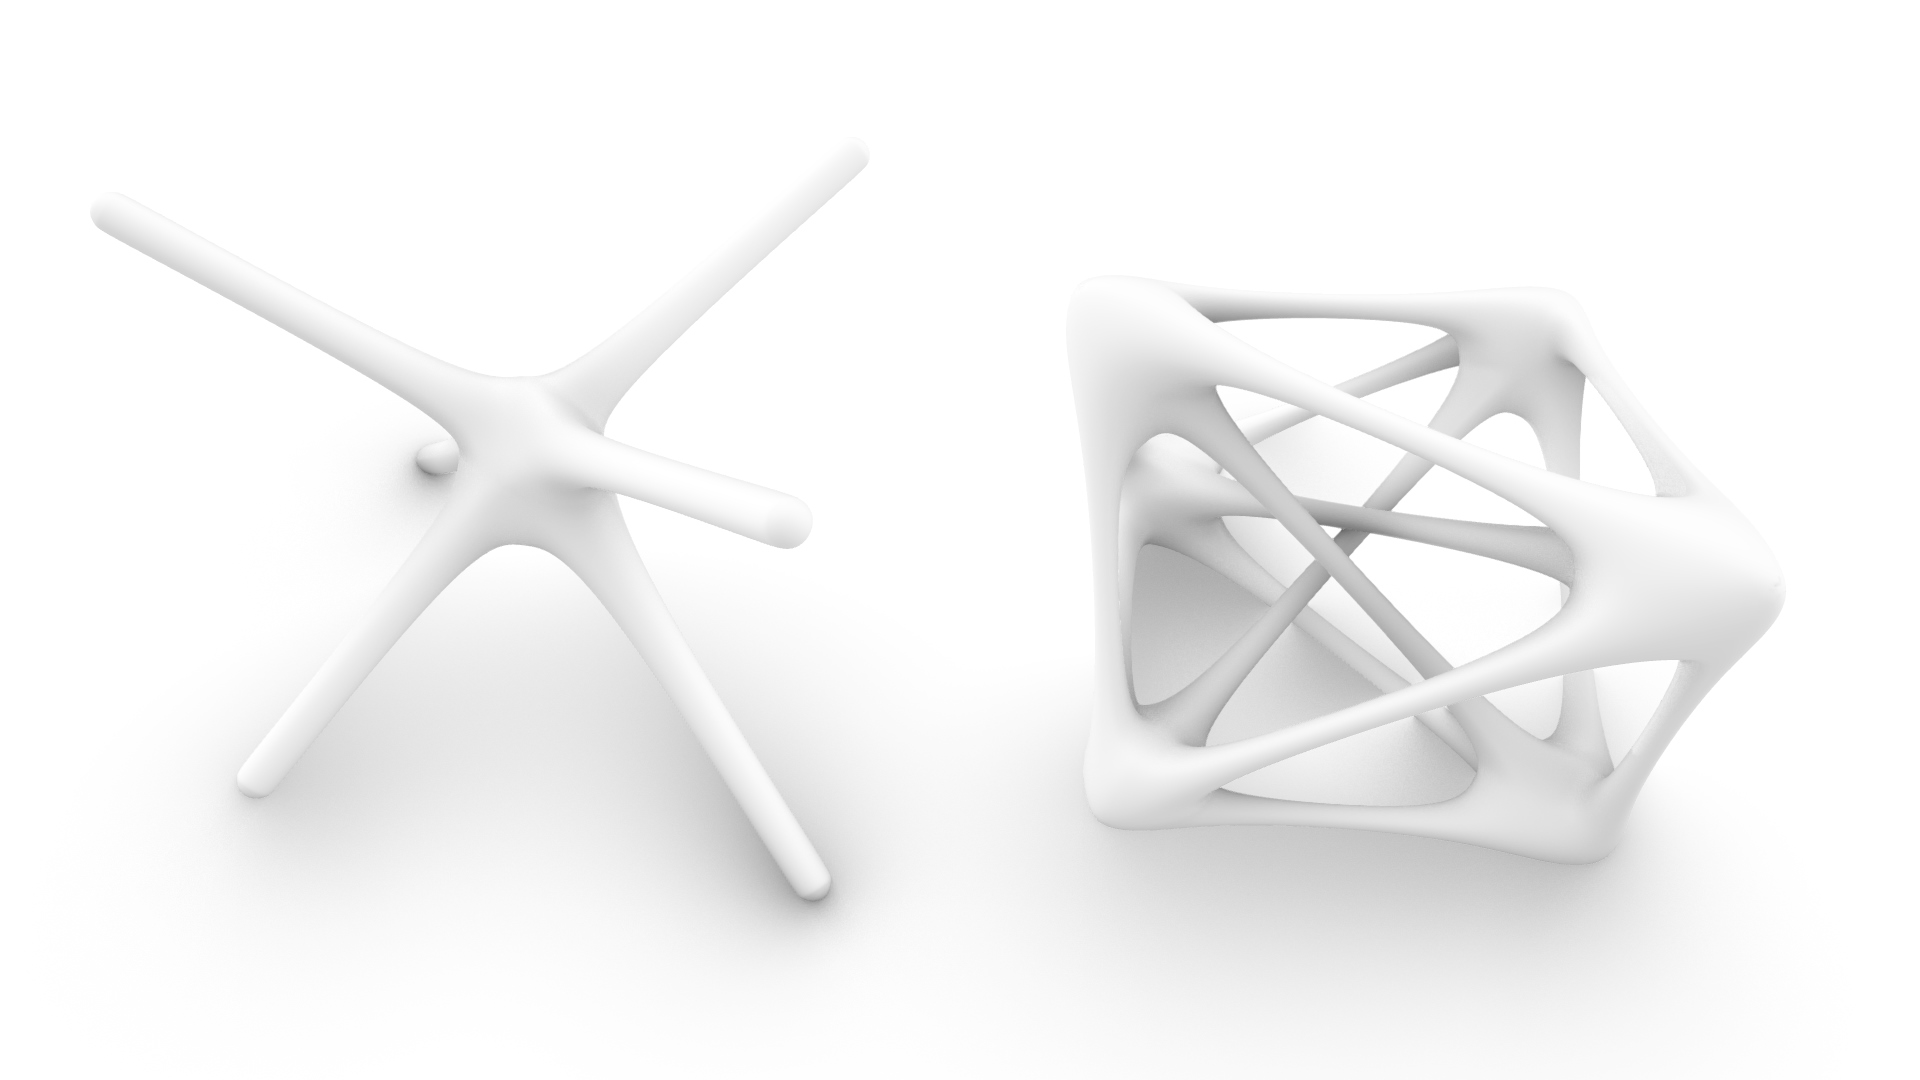
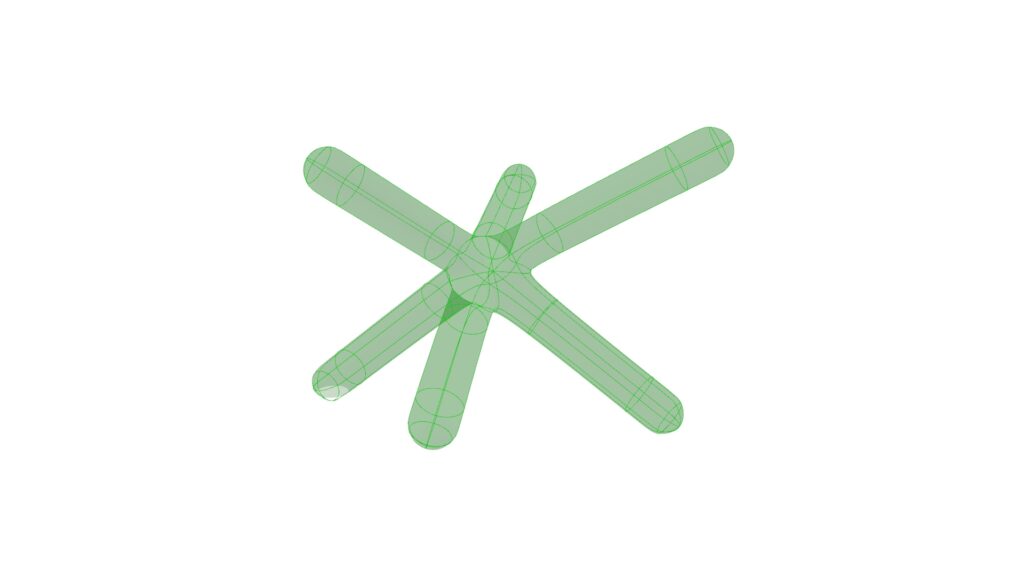
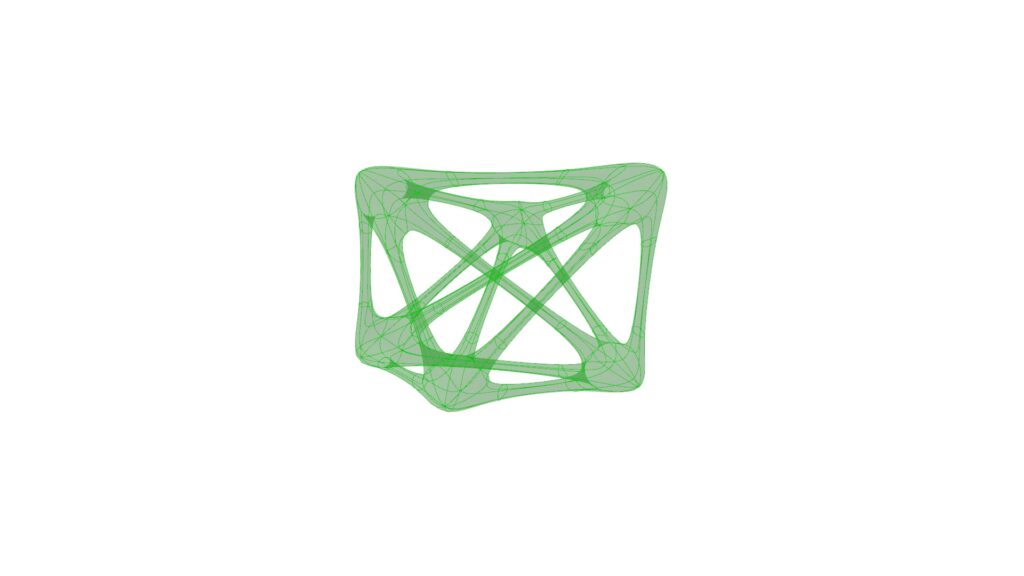
This time, we’d like to introduce two examples as shown in the image above.
The overall components will look like this.
The Grasshopper and Rhino data for this session can be downloaded from the link below, so please feel free to use it.
Data download for this Grasshopper and Rhino is available here.
For information regarding the use of downloadable data, please refer to the Terms of Use.
Now, we’ll explain them in order.
Video
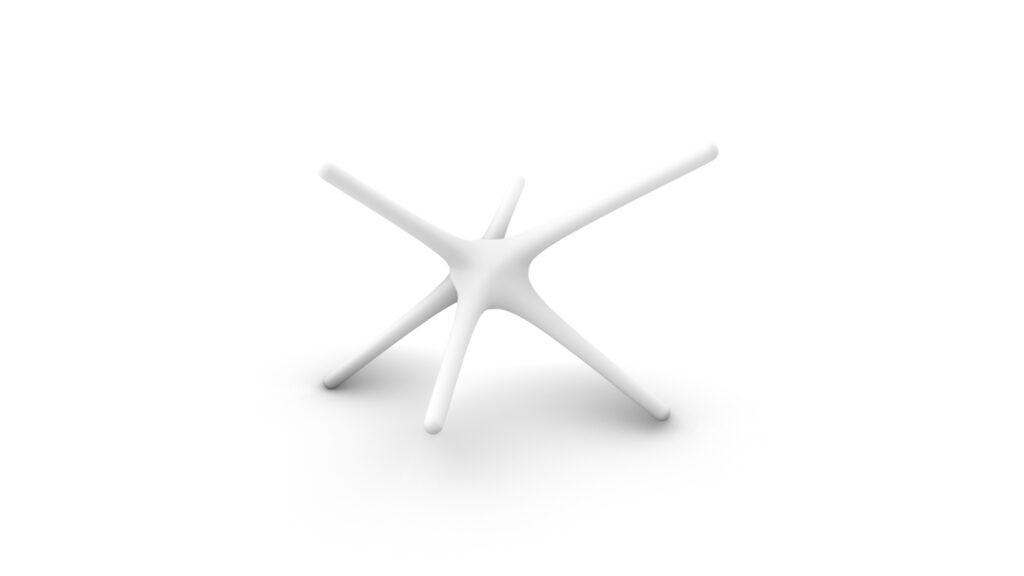
MultiPipe Example 1

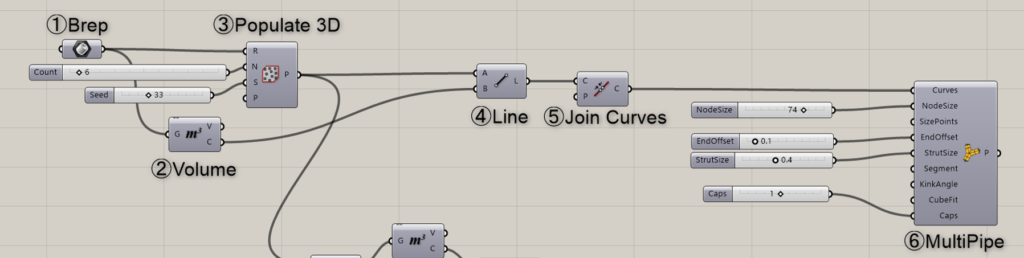
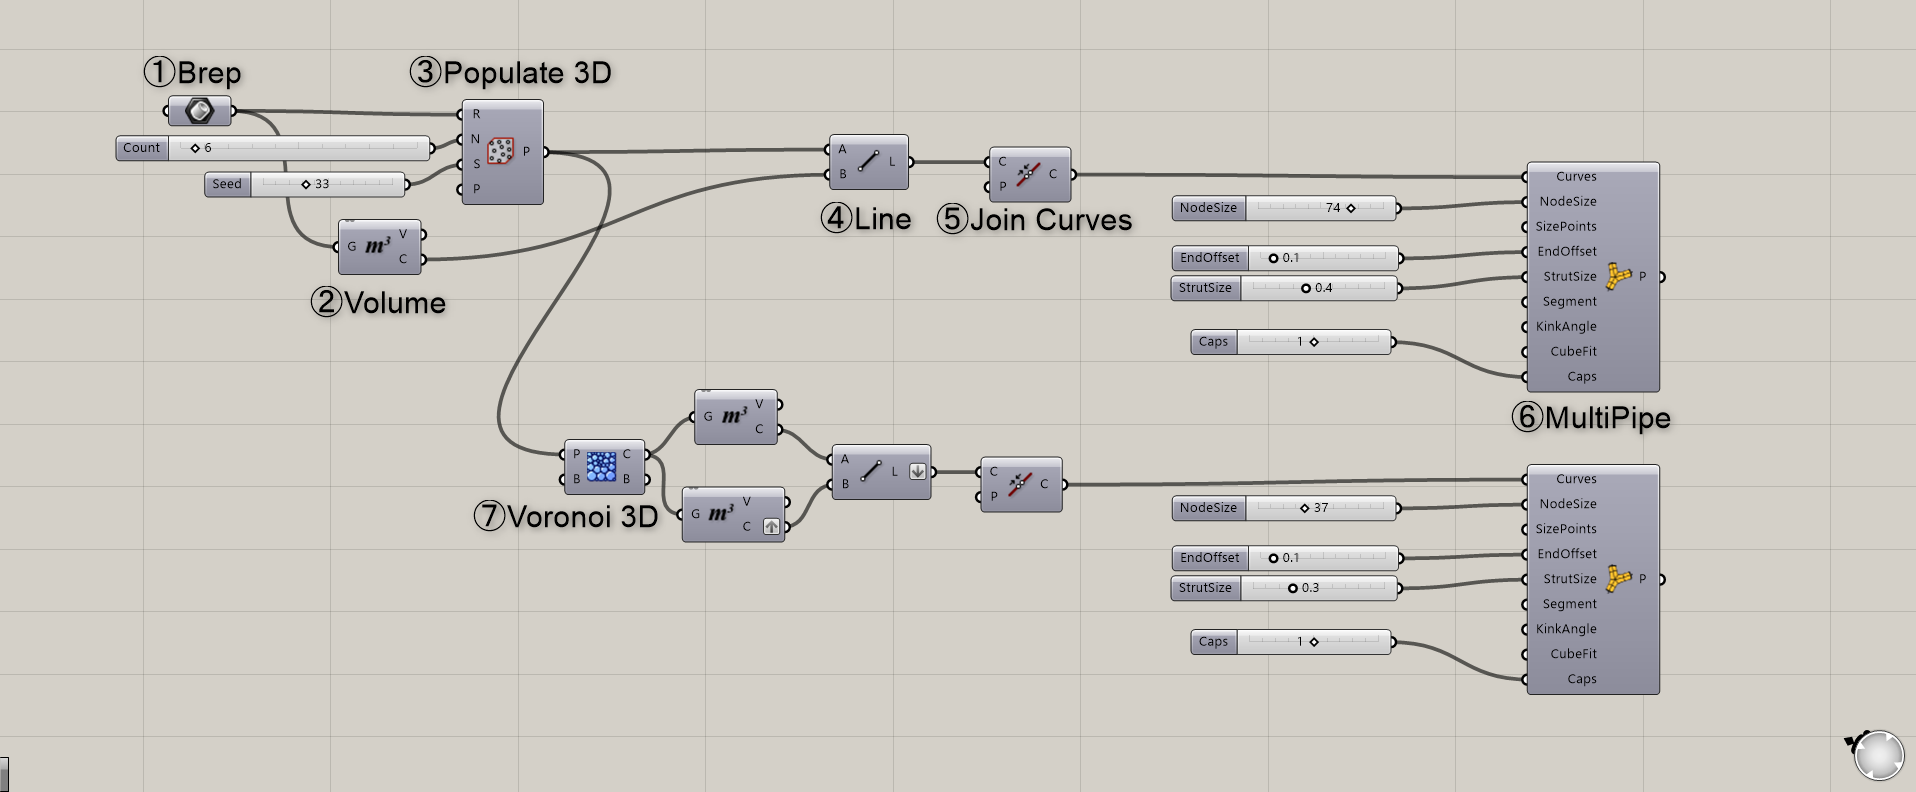
Components used: ①Brep ②Volume ③Populate 3D ④Line ⑤Join Curves ⑥MultiPipe
Now, let’s start creating the first example.
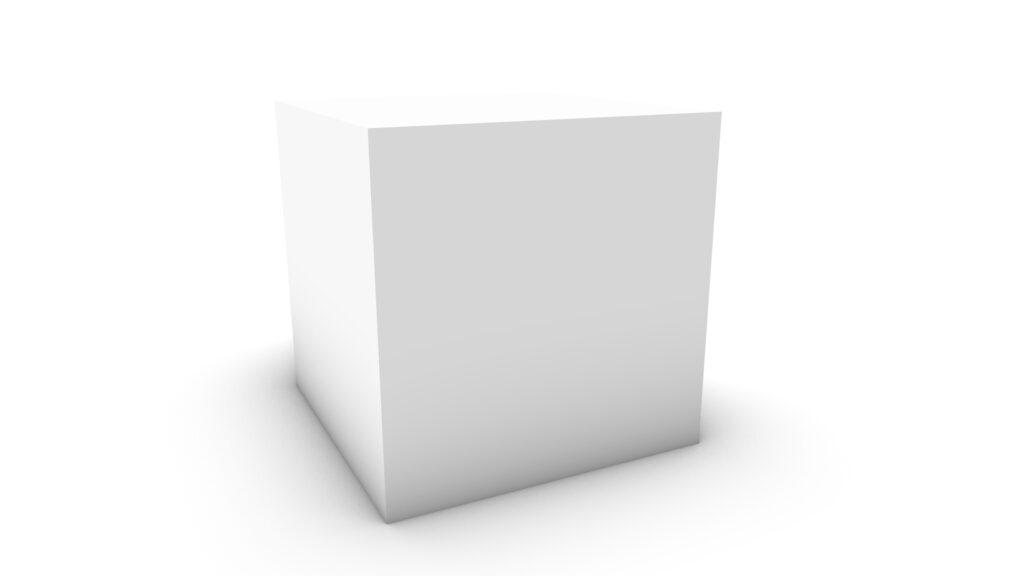
First, create a cube in Rhino.

Next, place the cube into the Brep in Grasshopper.

Using Volume allows you to extract the center point of a cube.
This point is output from the Volume(C).
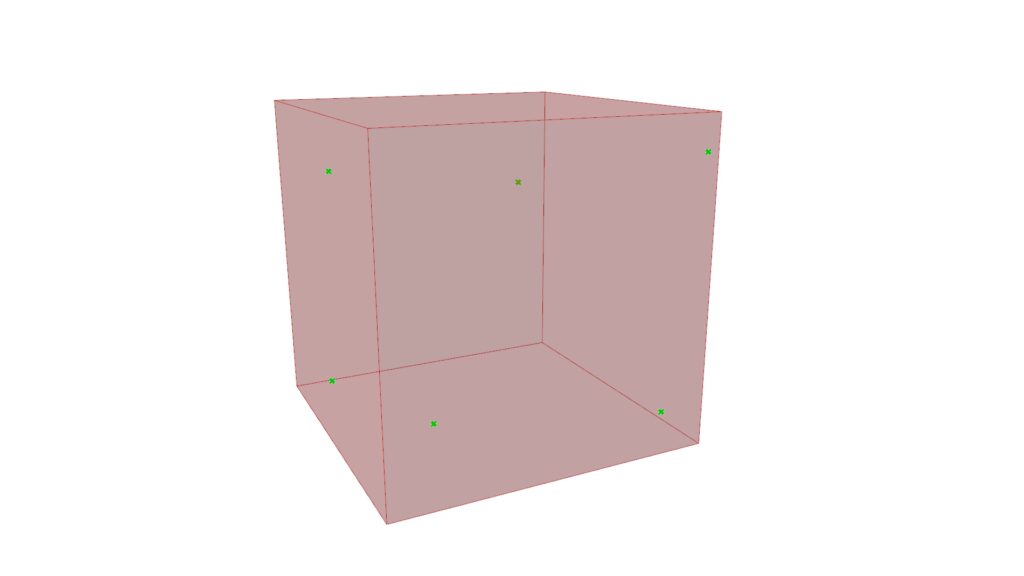
Then use Populate 3D.
This component allows you to create points at random locations within a cube.
Changing the value of the N terminal allows you to modify the number of points created within the cube.
The value of the S terminal is called the seed value. Changing this value will output a random number.
This causes the point’s location to change randomly whenever the value changes.

Using Line, create a line connecting the center point of the cube and the point created in Populate 3D.
Don’t forget to join the lines you created here using Join Curves.
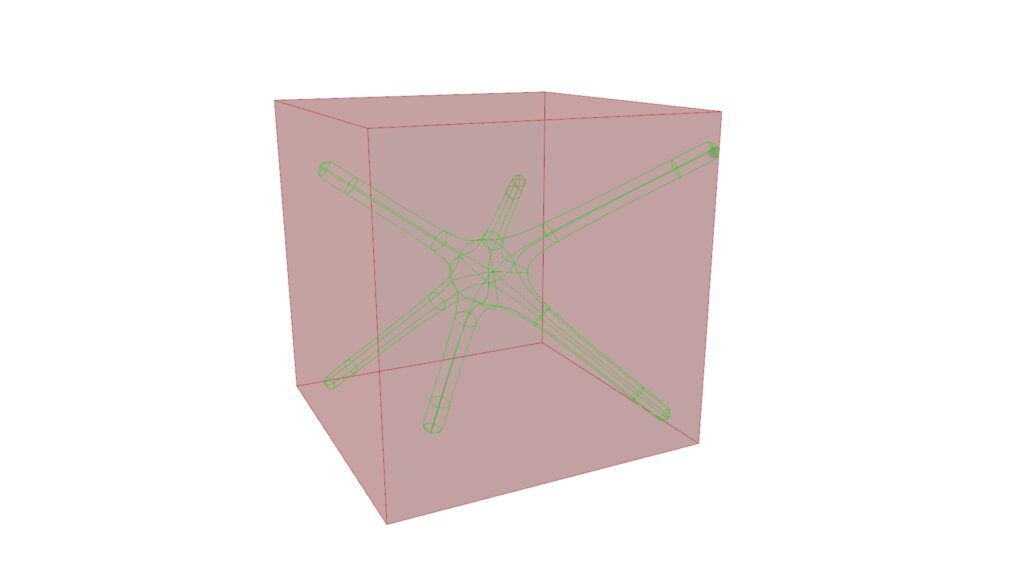
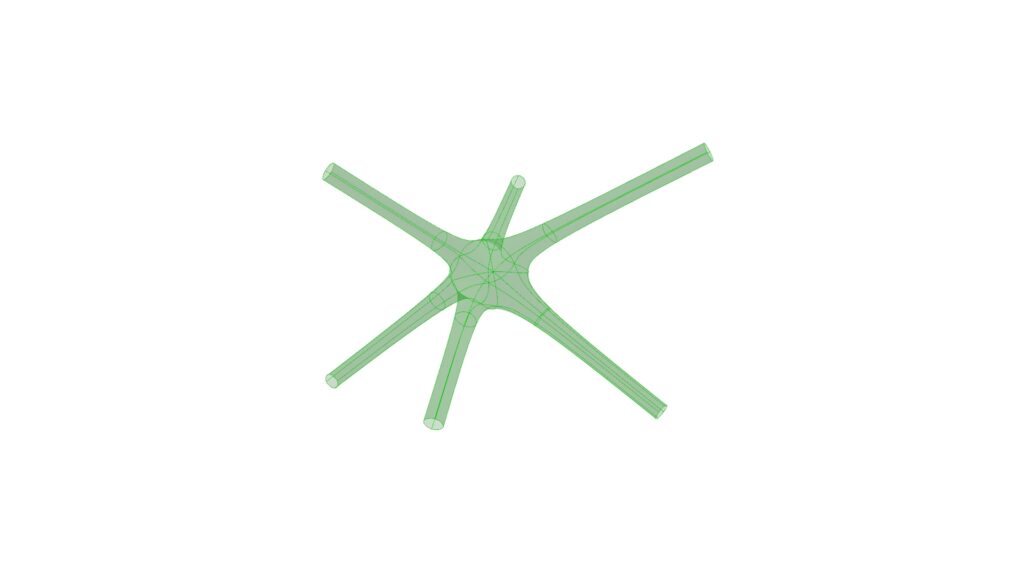
Using MultiPipe creates a single integrated pipe from joined lines.

When the cube is hidden, it looks like this.
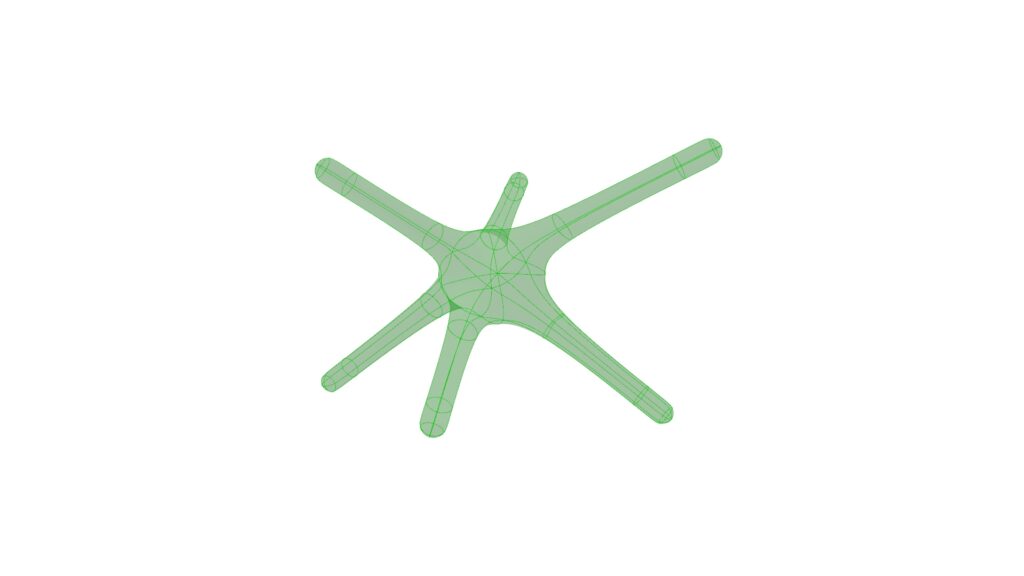
Changing the NodeSize value allows you to alter the overall pipe size.

Changing the EndOffset value allows you to alter the size of the central portion where the lines connect.
Conversely, changing the StrutSize value only modifies the size of the line portion.
Setting the Caps value to 0 leaves the pipe tip open.
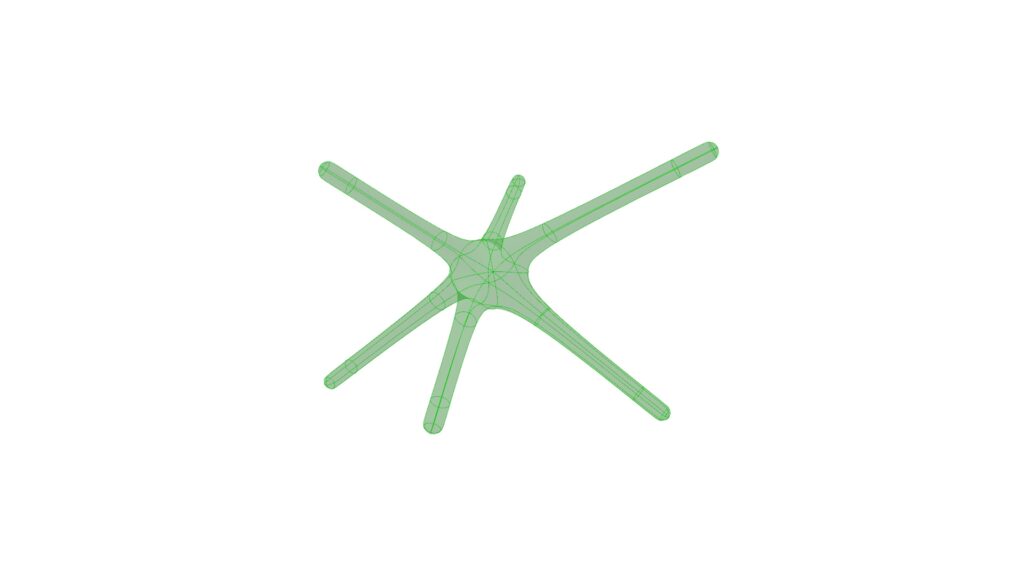
When the value is 1, the tip is blocked by a hemisphere.

When the value is 2, it is blocked as is, and no hole is present.
MultiPipe Example 2
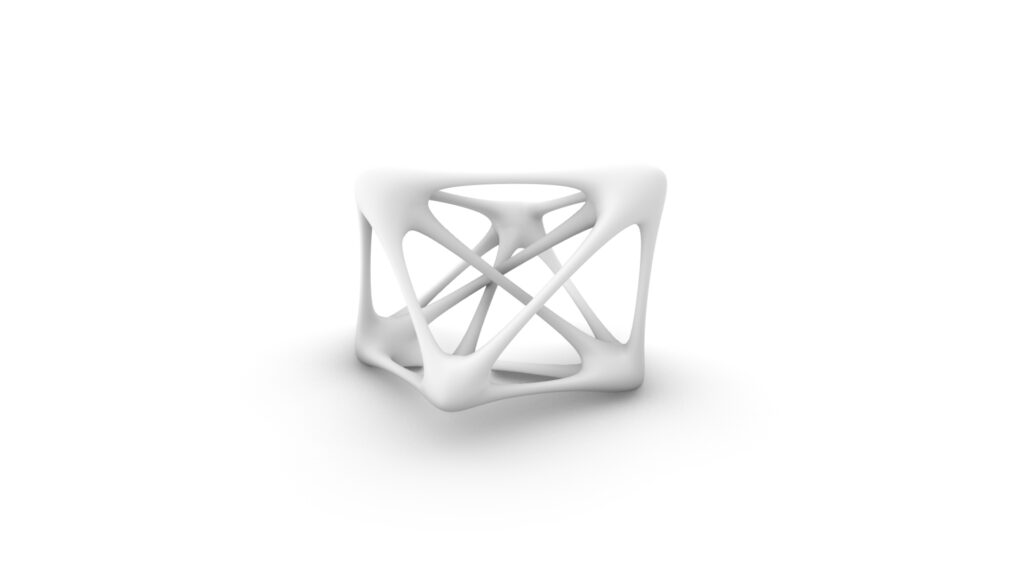
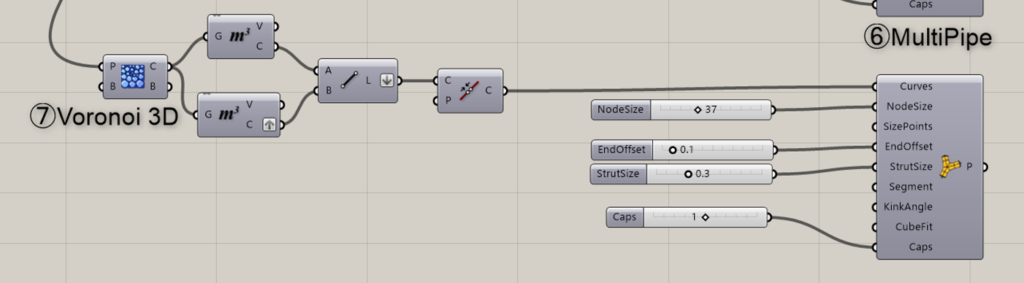
Components used: ⑦Voronoi 3D
We’ll create the second example.
First, use Voronoi 3D and connect the terminals to Populate 3D, which was used in the first example.
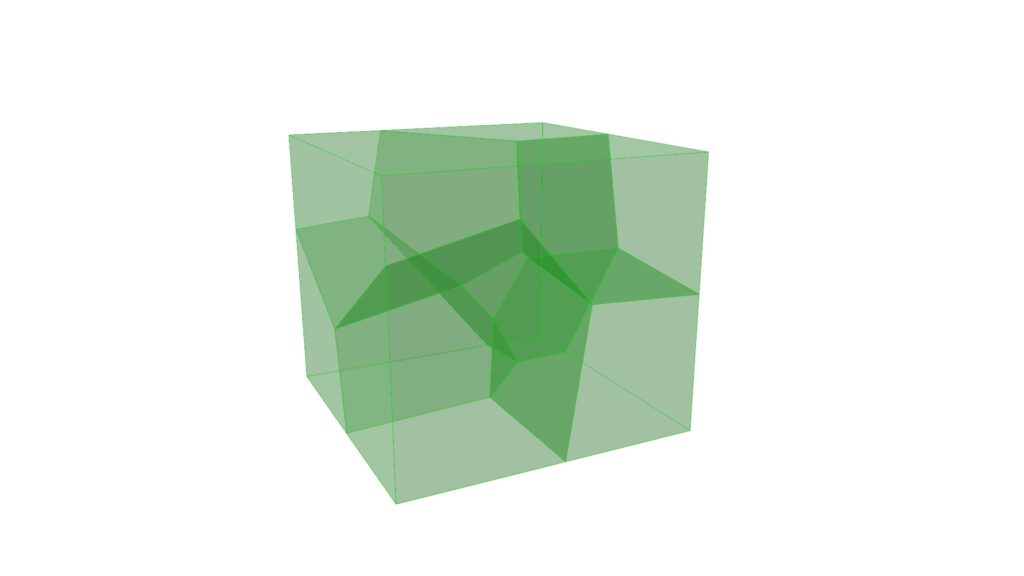
This creates a Voronoi diagram for the cube based on the points created in Populate 3D, with one diagram for each point.

Please use two Volumes here.
This allows you to extract the center point of each Voronoi region.
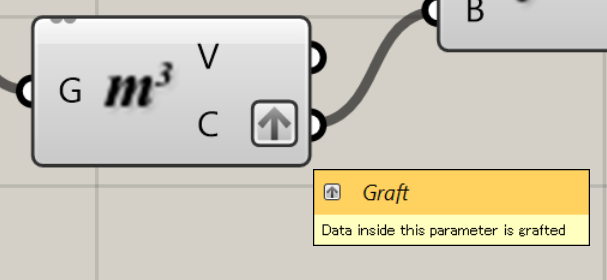
After that, set one of the C terminals to Graft.
By setting one side to Graft, you can create lines from a single point to all remaining points without creating duplicates.
Failing to do this may cause lines to overlap, potentially leading to heavier data or programs that do not execute properly.
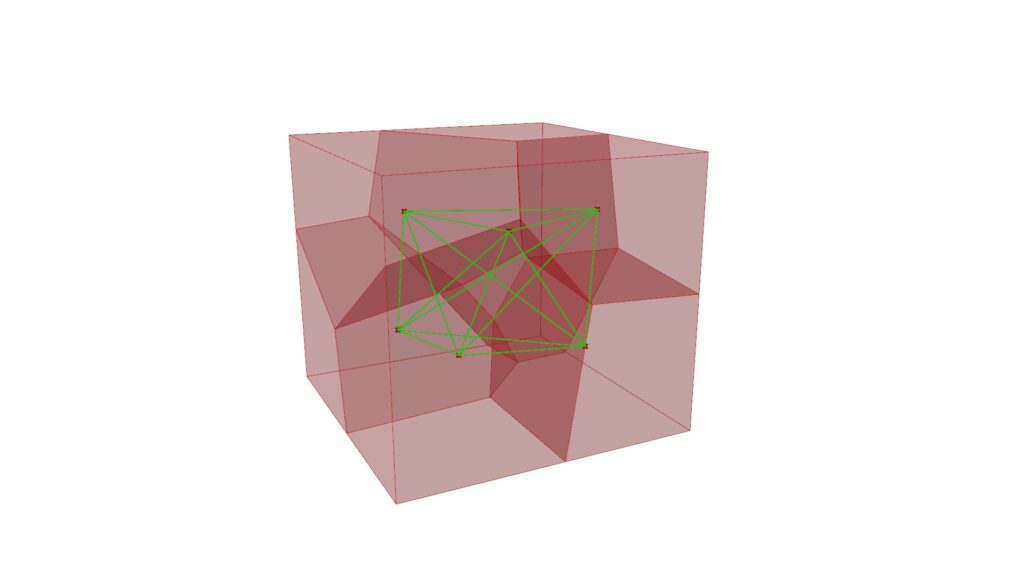
Using Line, create a line from the points created in two Volumes.
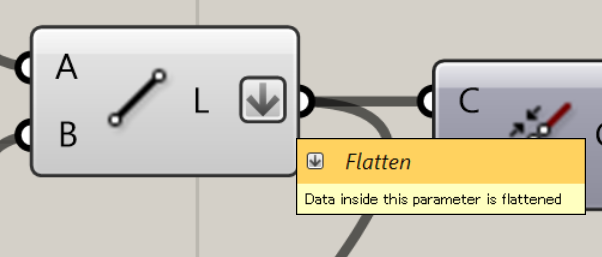
At this time, please set the Line to Flatten.
The reason is that when combining lines later, they may not combine properly unless they are in a flatten state.
Use Join Curves to connect lines.
Finally, using MultiPipe completes the process.
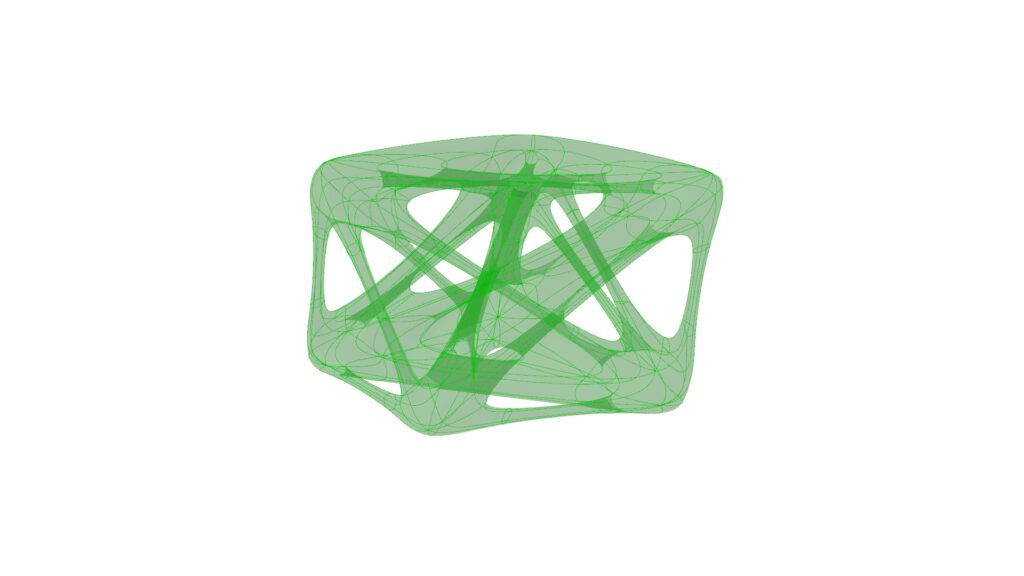
As shown in the first example, you can create various shapes by changing the MultiPipe values.
Summary

This time, we used the MultiPipe component in two examples.
You can create interesting shapes that cannot be made with ordinary Pipe components, so please give it a try.
That’s all for this time.
List of Grasshopper articles using MultiPipe component↓


Comment