
![[Grasshopper] How to use Project to project onto a plane](https://iarchway.com/wp-content/uploads/2025/08/Project.png)
This article explains how to use Project to project an object onto a plane.
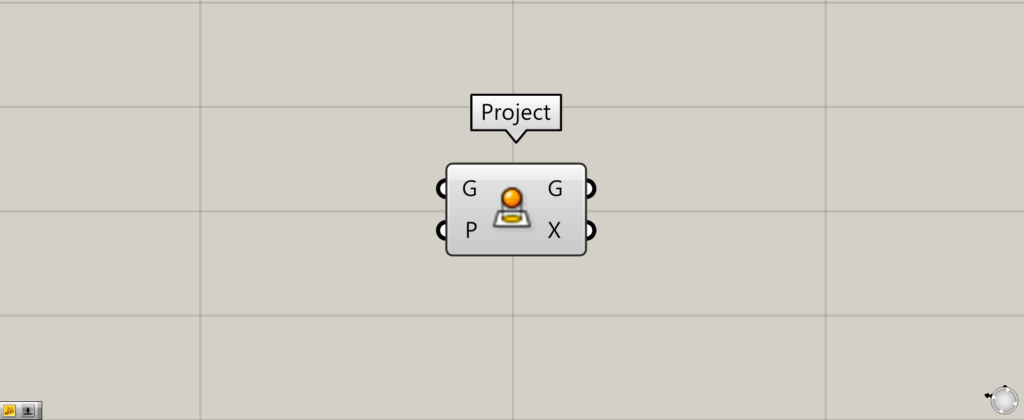
On the Grasshopper, it is represented by either of the two above.
Projecting an object onto a plane
Project allows you to project an object onto a specified plane.
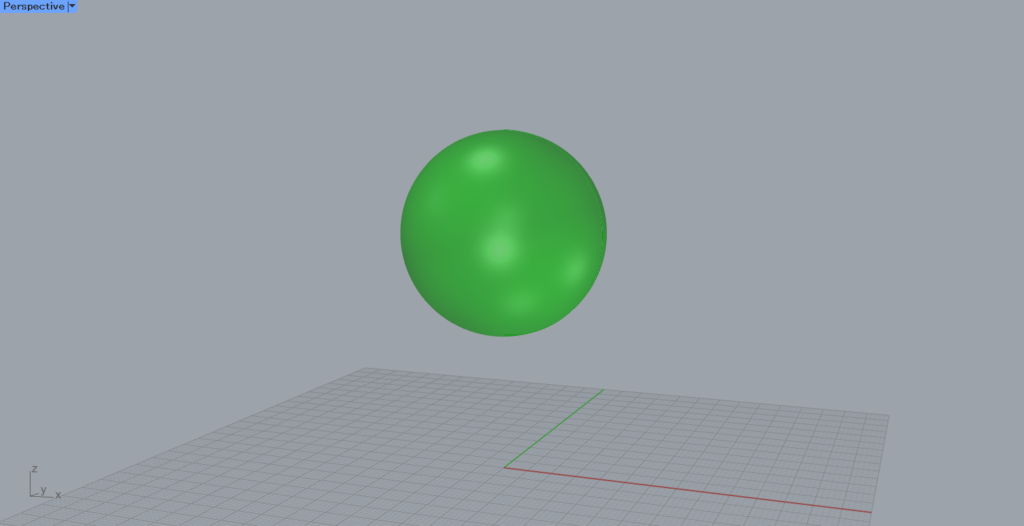
In this case, we will use the sphere object shown here.
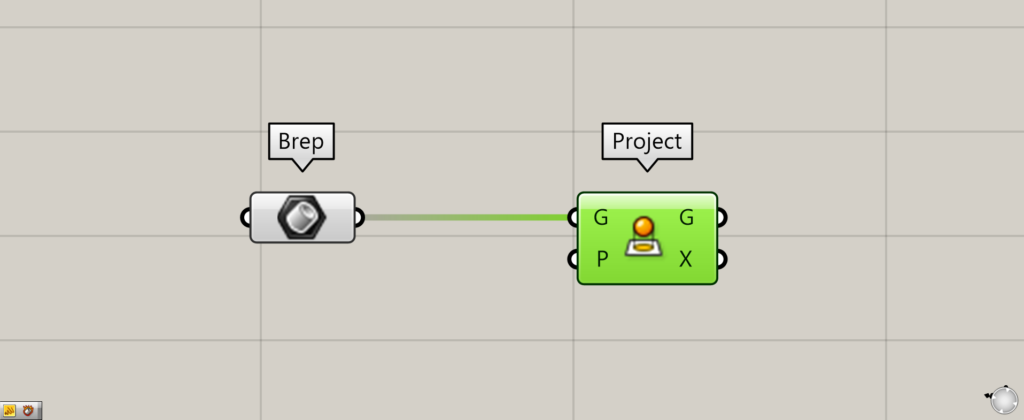
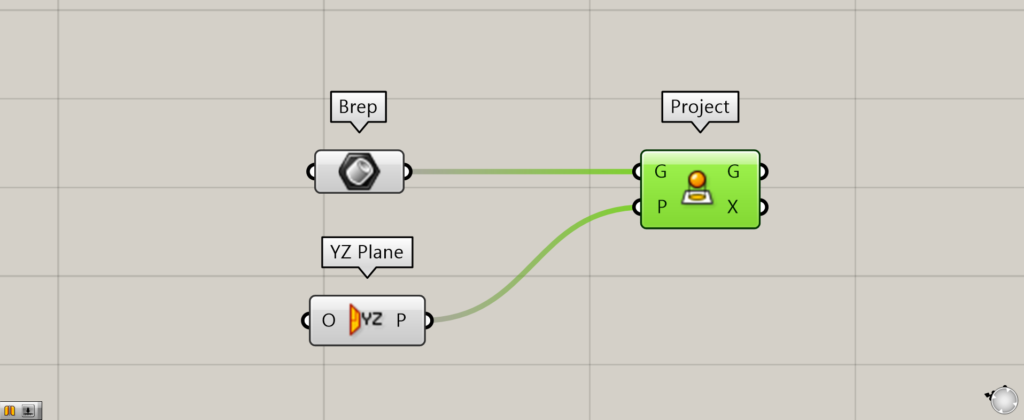
Connect the data set in the object to the Project(G).
In this case, we are connecting the object stored in the Brep.
Connect the plane you want to project to the Project(P). If you do not specify a plane, the object will be projected to the XY plane.
At first, the plane is not specified.
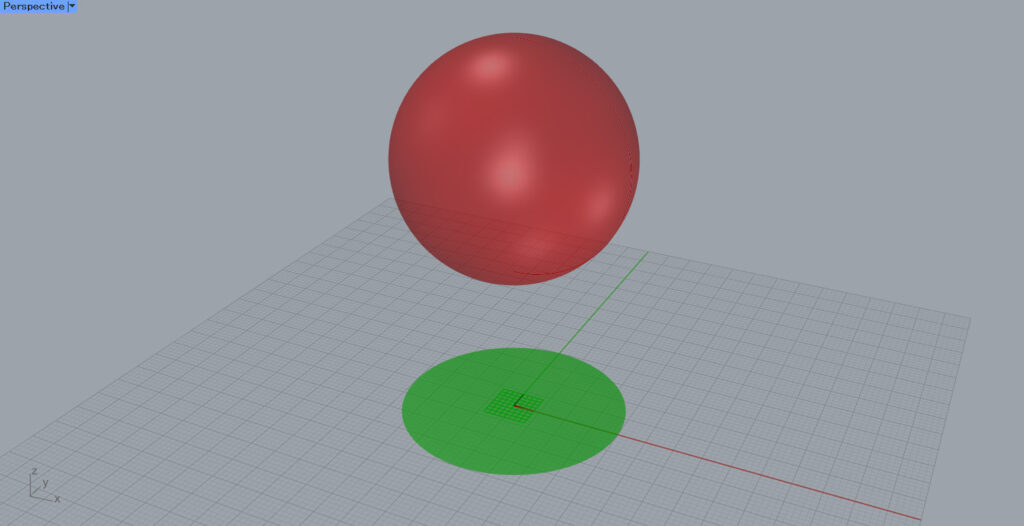
The object is now projected onto the XY plane.
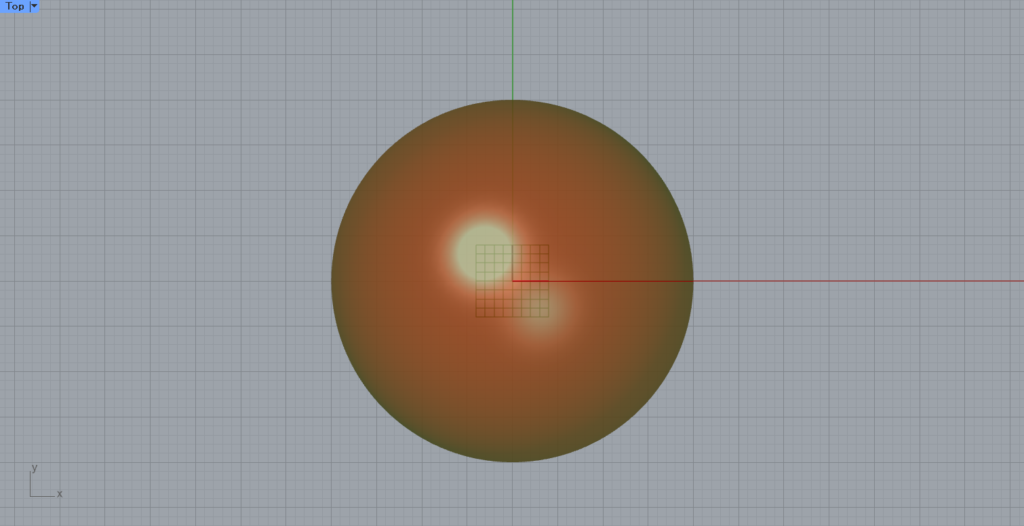
This is the view from above.
As you can see, the shape viewed from one direction is projected onto the plane.
Next, let’s try specifying a plane.
This time, we connected the YZ Plane to the Project(P).
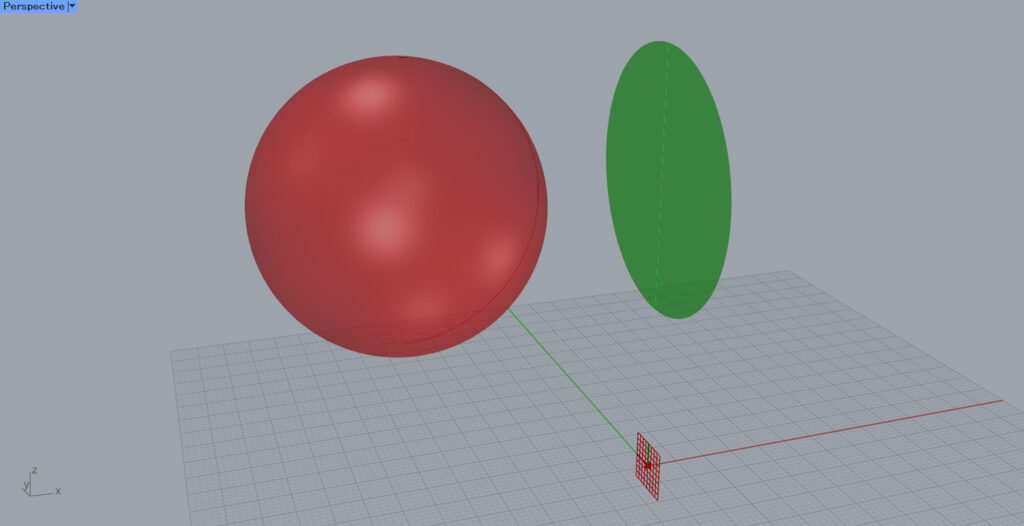
The image is now projected onto the plane created by the specified Y and Z axes.
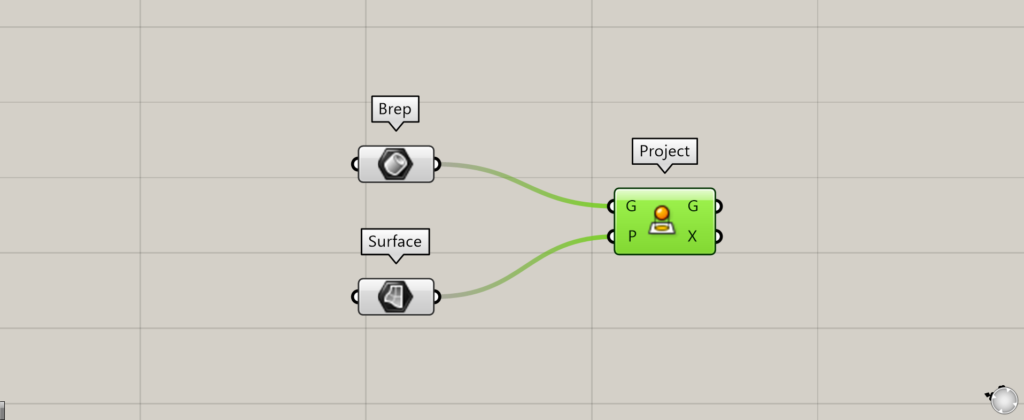
The specified plane can also be a surface.
Create the surface you want to project and connect it to the Project(P).
In this case, we are connecting a surface stored in Surface.
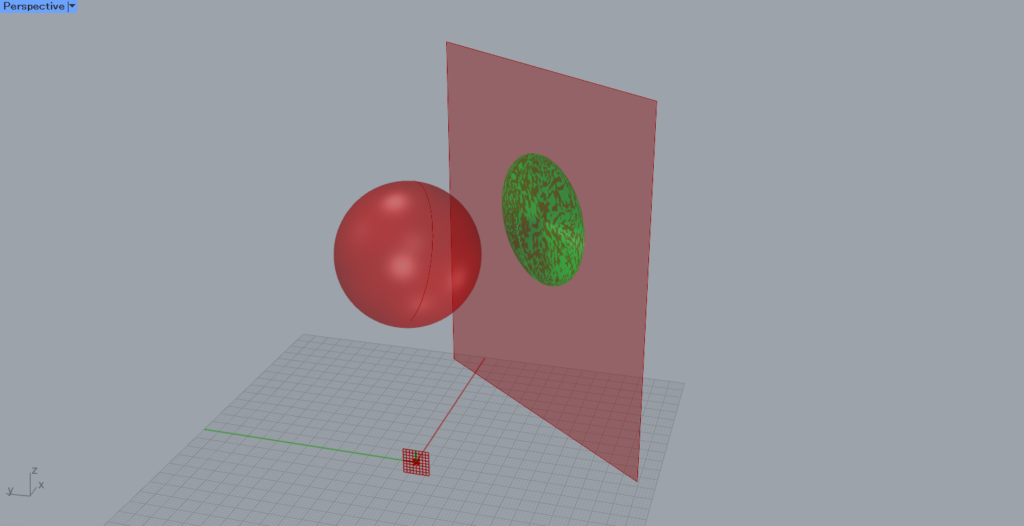
The object is then projected onto the surface, as shown in the image above.
.Output Data
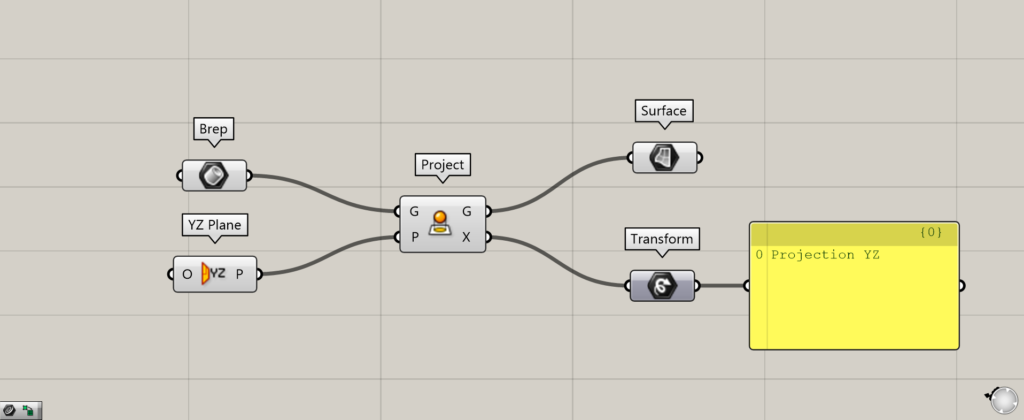
Let’s take a look at the data output from Project.
The Project(G) outputs the projected surface.
The Project(X) outputs the transformation data, which shows what kind of deformation was performed.
List of Grasshopper articles using Project component↓


Comment