
![[ライノセラス]螺旋階段を初心者でも簡単に作成する方法を解説](https://iarchway.com/wp-content/uploads/2024/04/eyecatch-7.png)
今回は、ライノセラスで螺旋階段を、作成する方法を解説します。

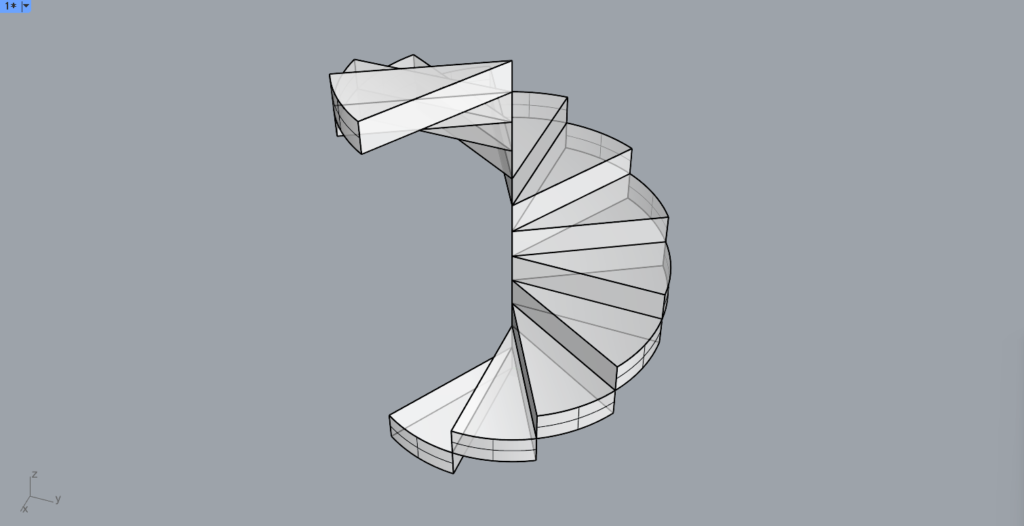
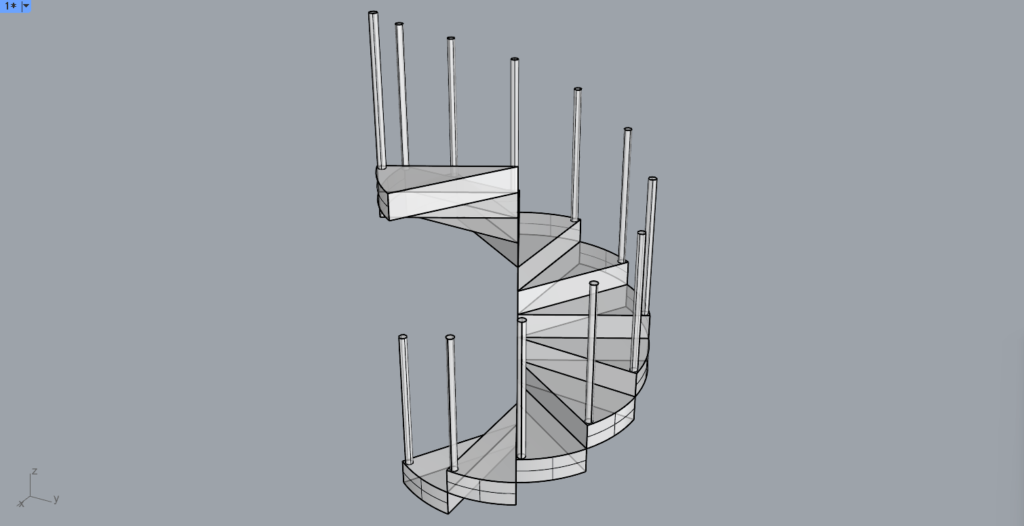
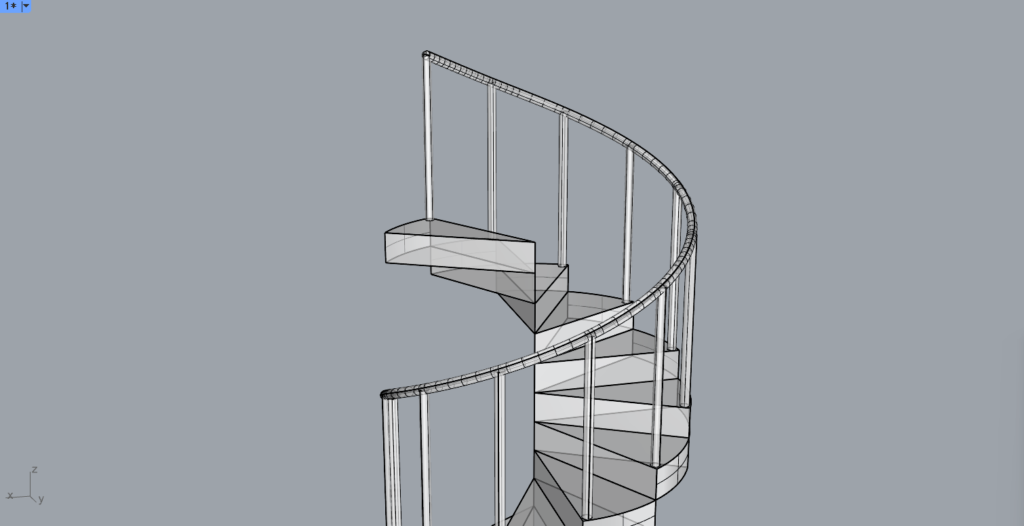
最終的には、上の画像のような螺旋階段を、作ることができるようになります。
それでは解説していきます。
螺旋階段の元を作成する
まずは、螺旋階段の元を作成していきます。
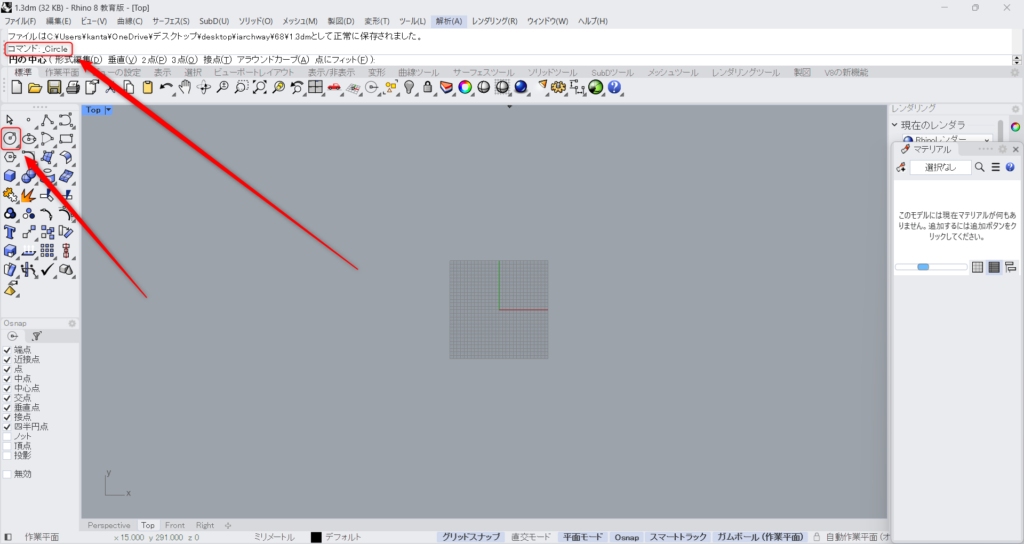
まずは、円を作成します。
Circleをコマンドに入力し使います。
もしくは、上の画像のアイコンをクリックします。
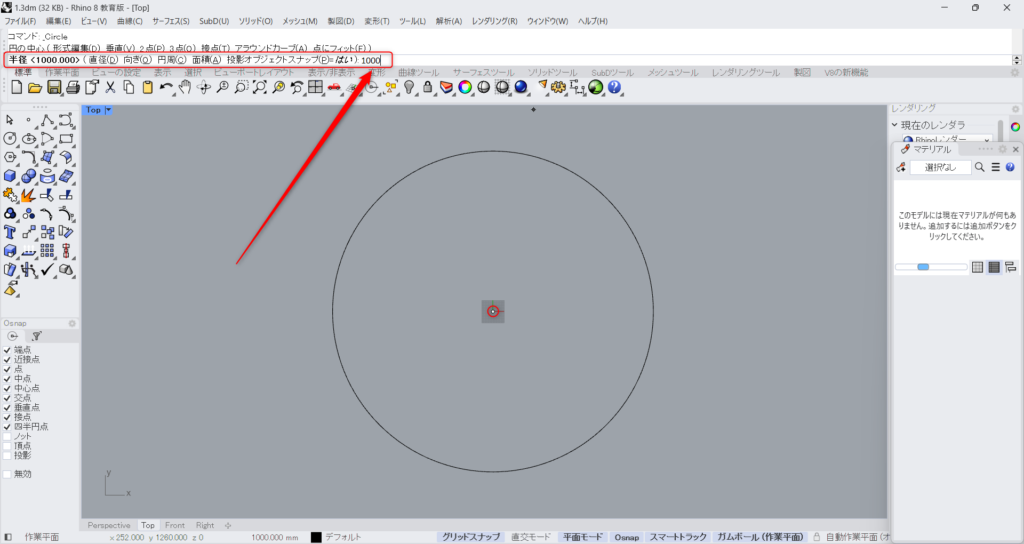
その後、円の中心にする部分をクリックし、半径をコマンドに入力します。
今回は、半径を1000にしました。
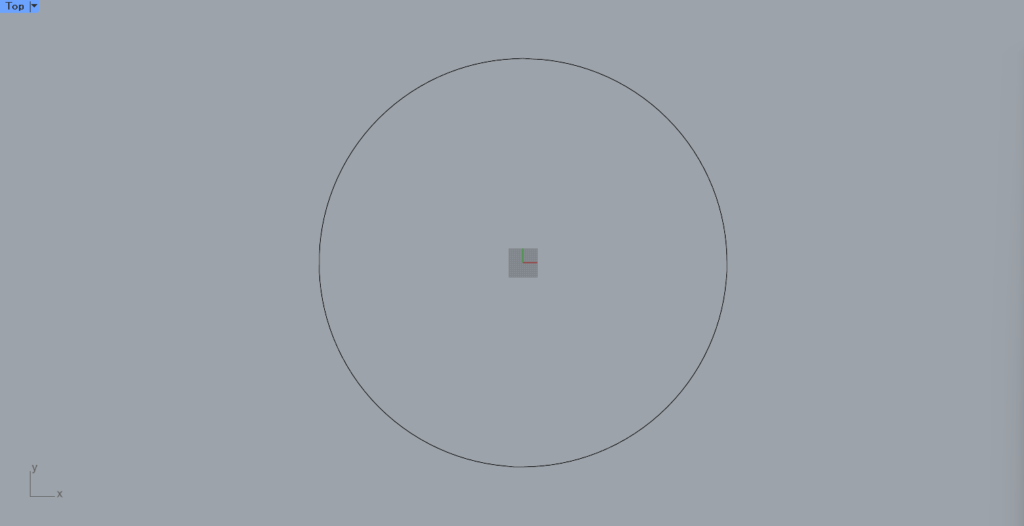
すると、このような円が作成されました。
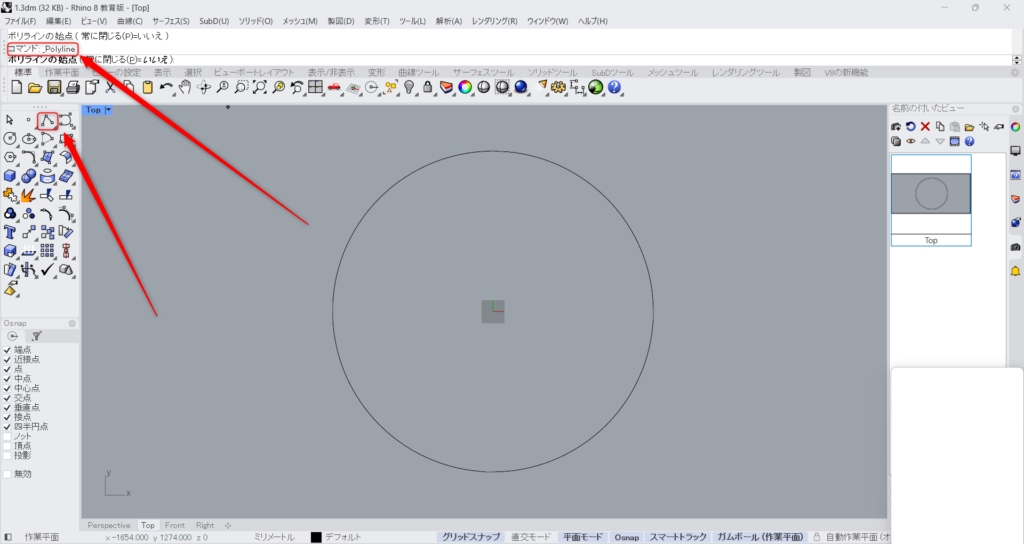
Polylineをコマンドに入力し、使います。
もしくは、上の画像のアイコンをクリックします。
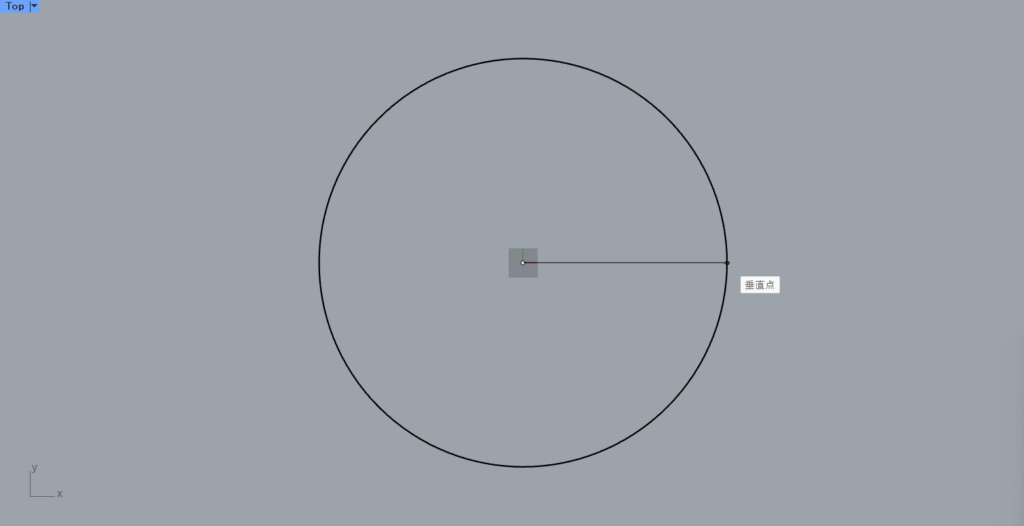
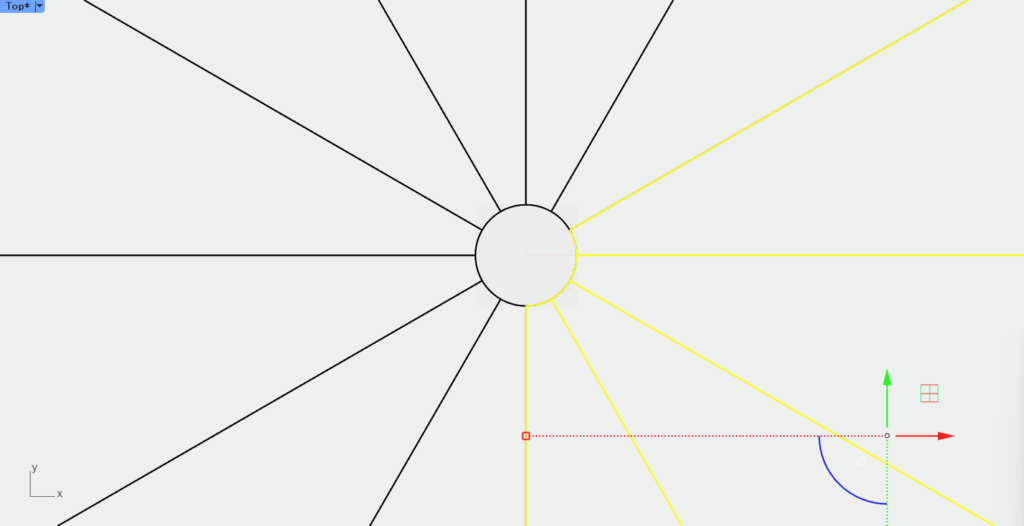
円の中心から、円まで伸びる線を作成します。
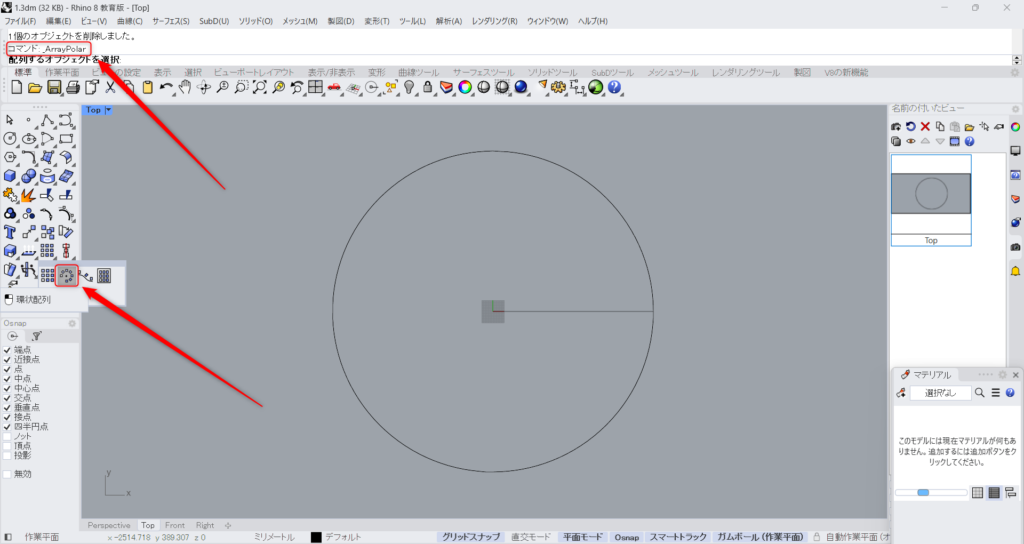
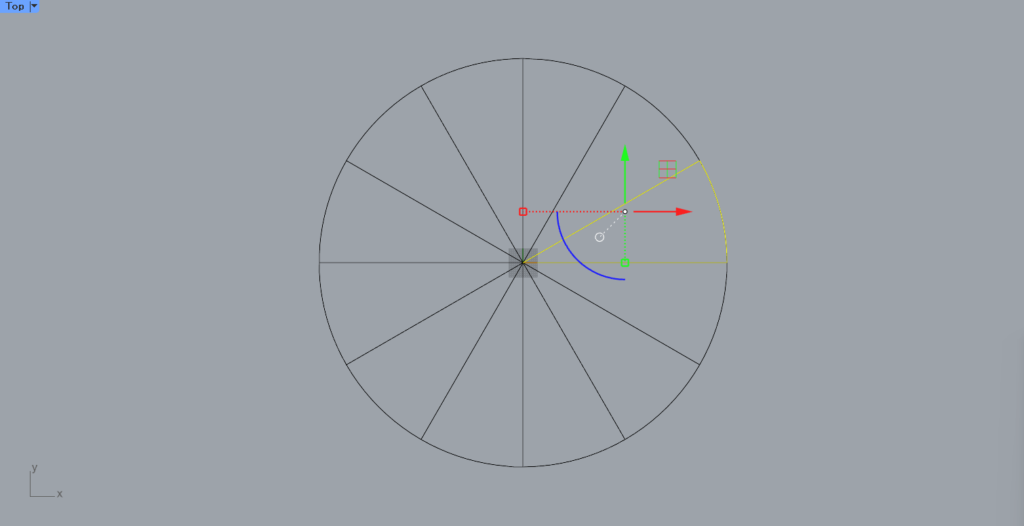
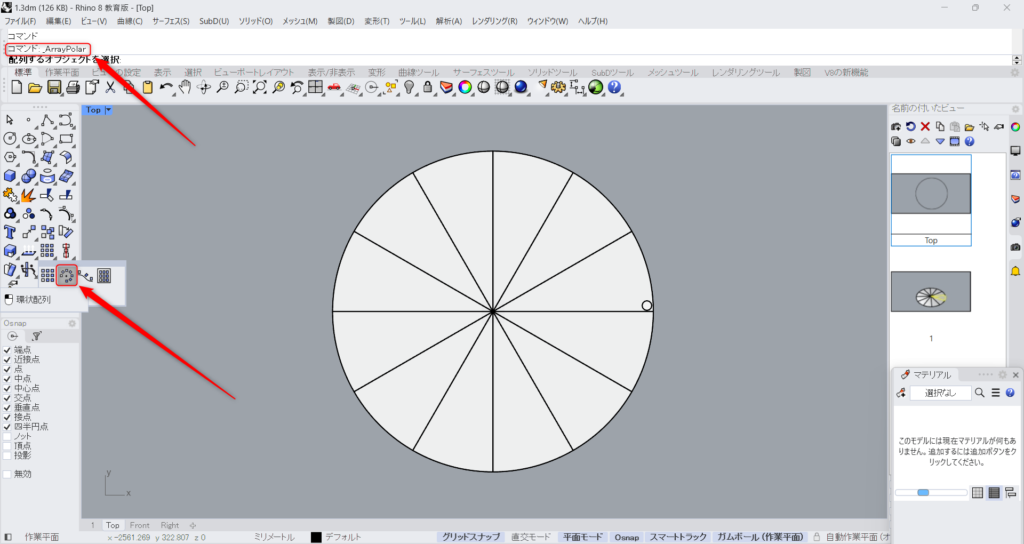
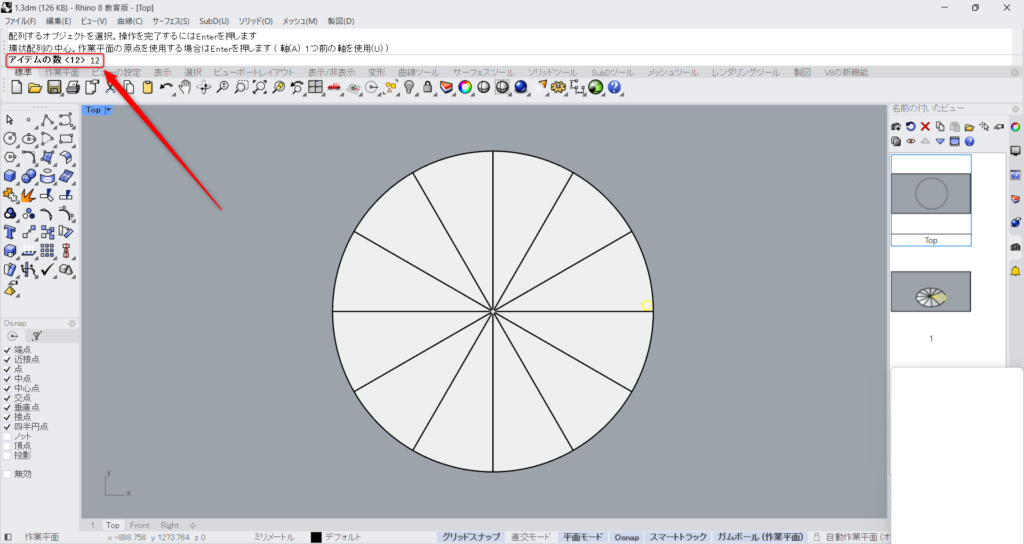
ArrayPolarをコマンドに入力し、使います。
もしくは、上の画像のアイコンをクリックします。
回転の中心点になる、円の中心をクリックします。
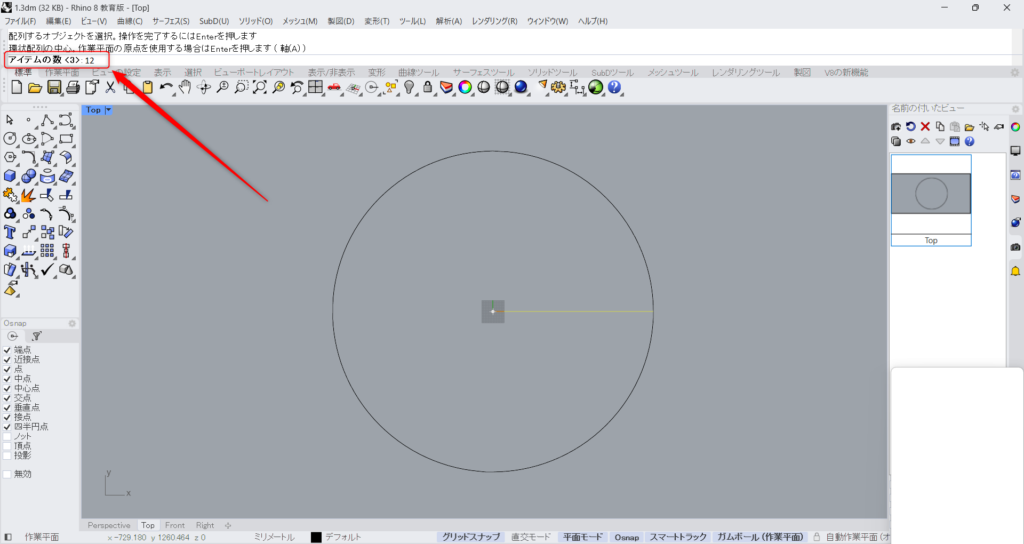
その後、アイテムの数をコマンドに入力します。
今回は、12と入力しています。
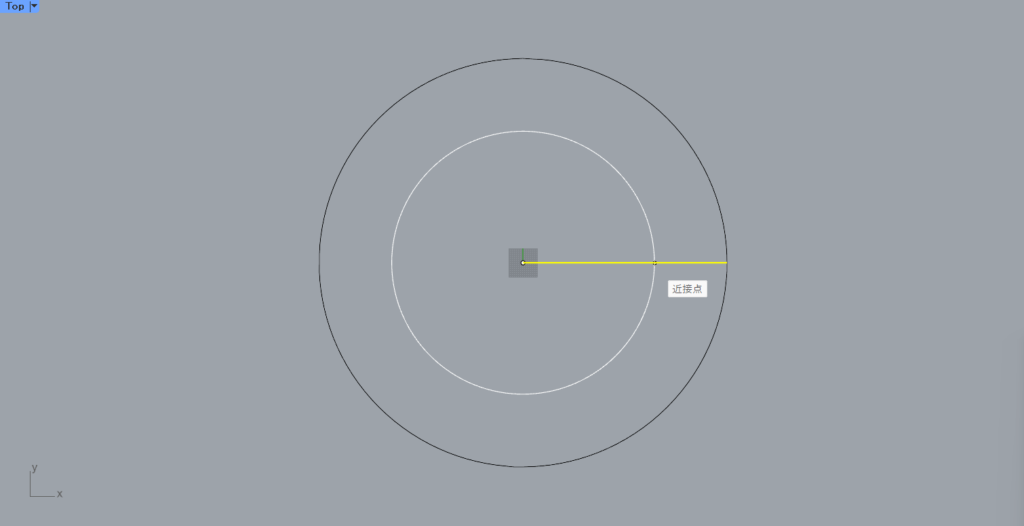
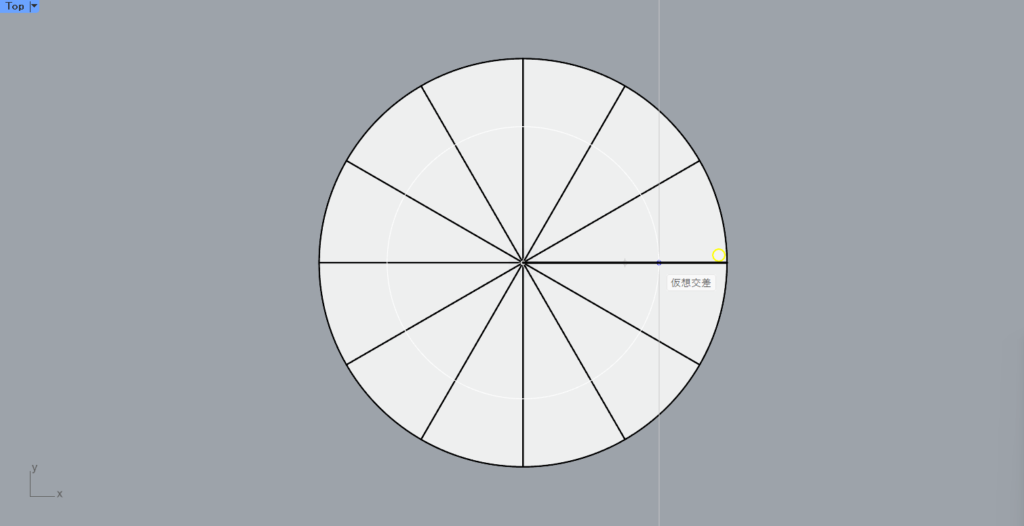
その後、線上のどこかを選択します。
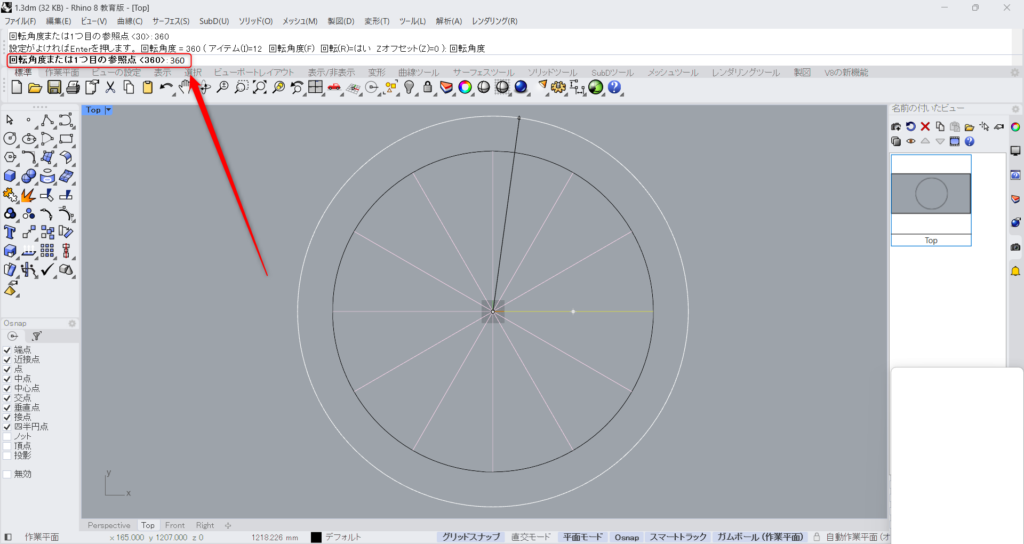
回転角度の数値を入力します。
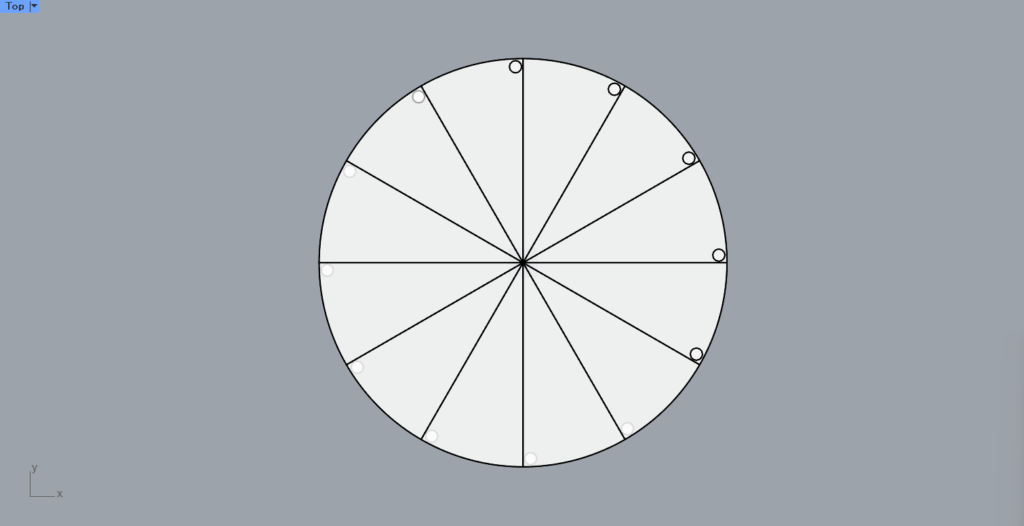
今回は1回転させるので、360と入力します。

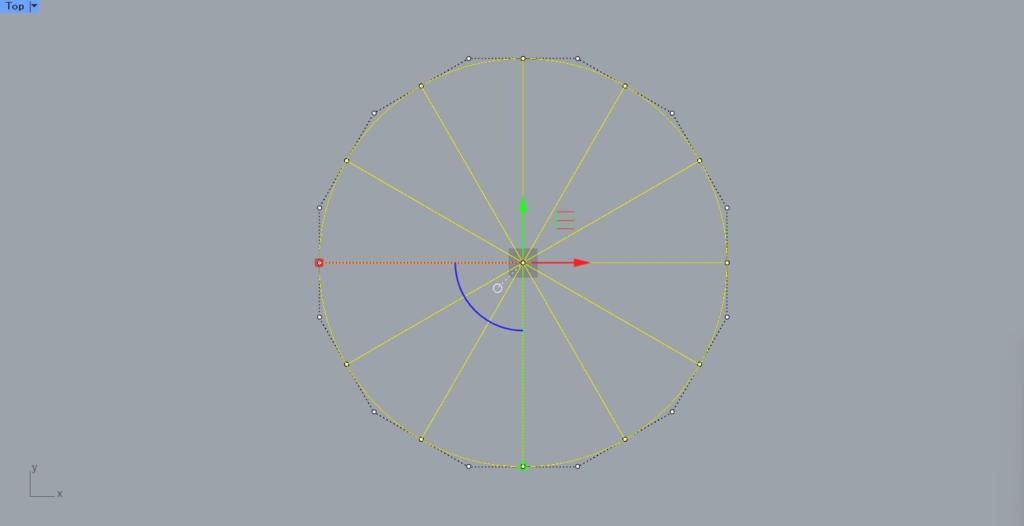
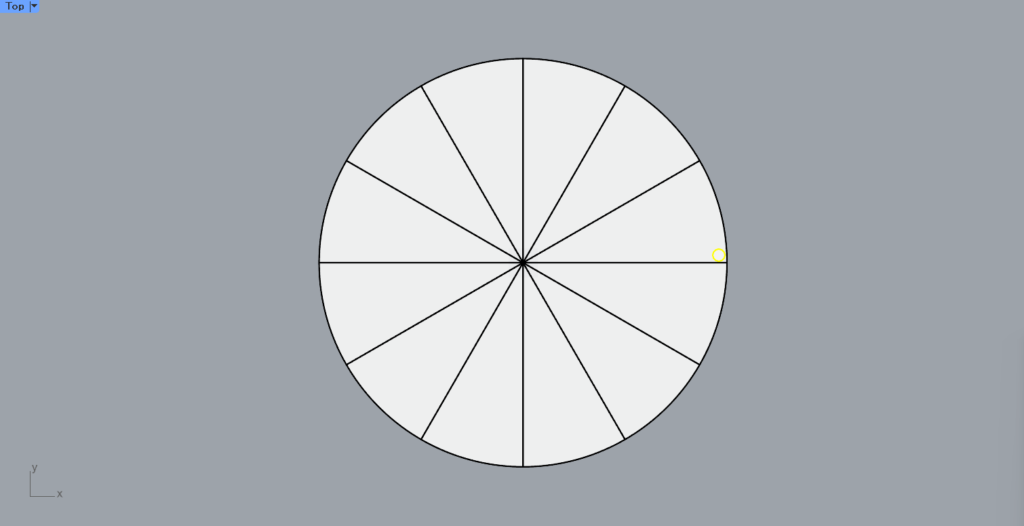
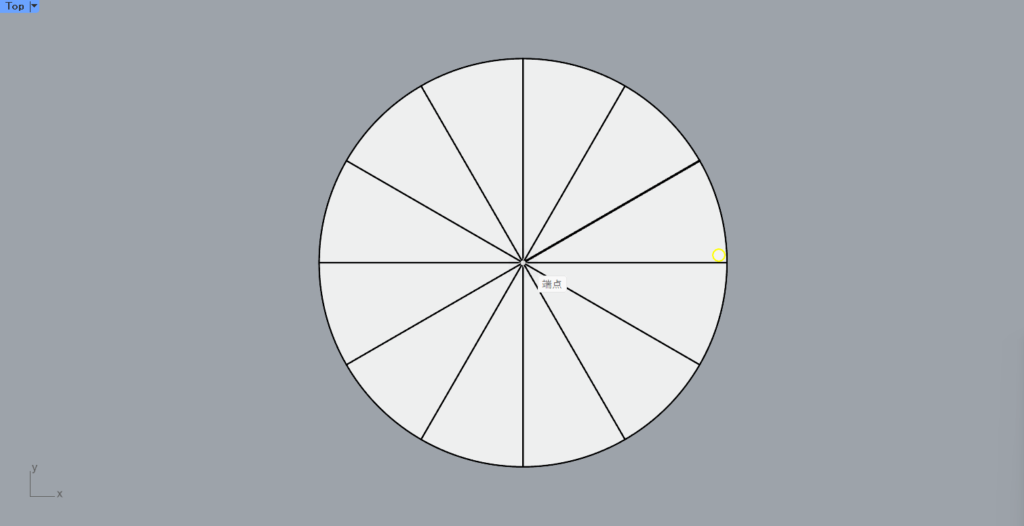
すると、踏面の枠線が作成されます。
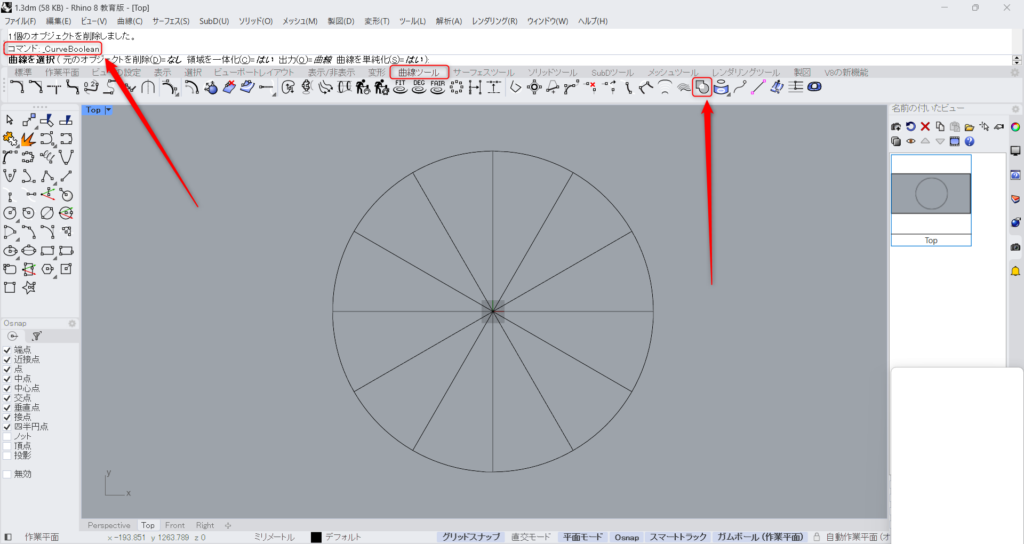
CurveBooleanをコマンドに入力し、使います。
もしくは、曲線ツールにある、上の画像のアイコンをクリックします。
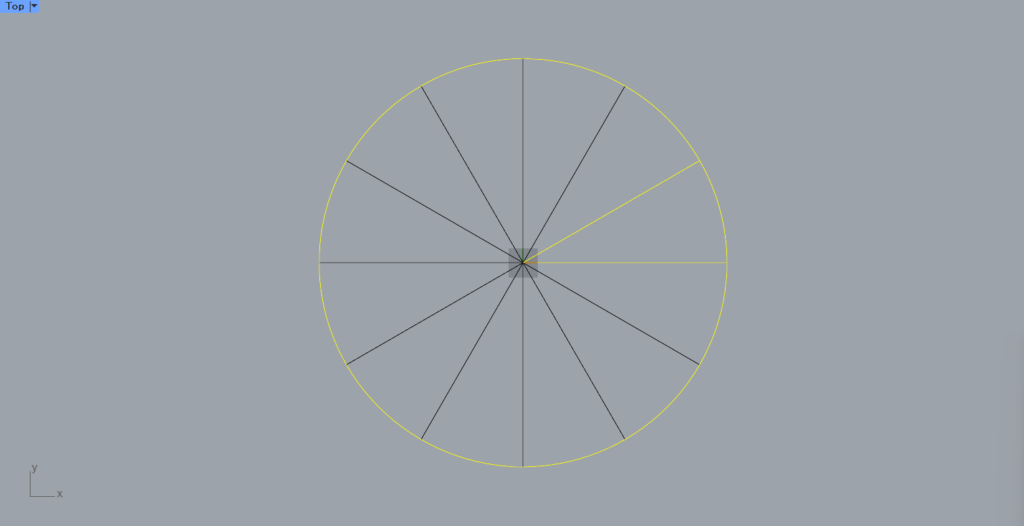
円と踏面の2つの線を、選択します。
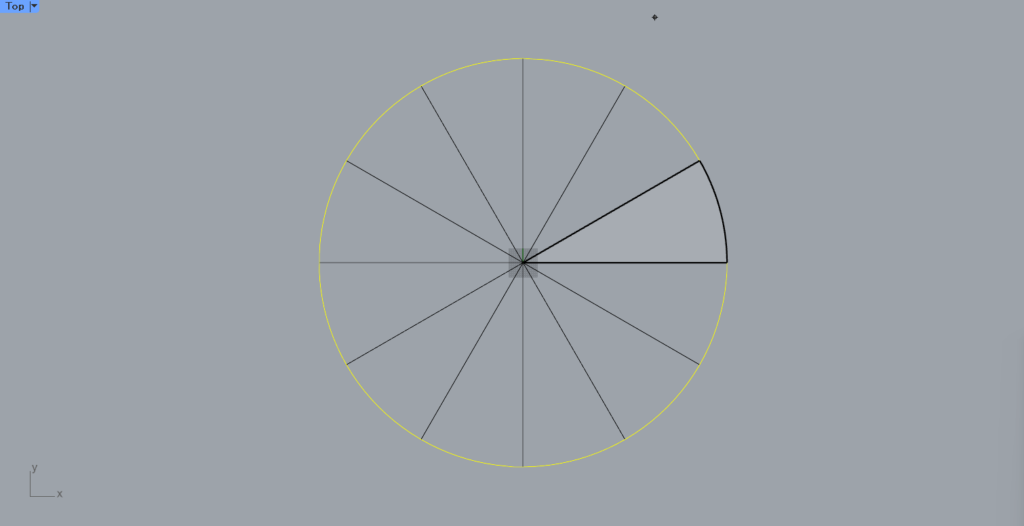
その後、3つの線で囲われている部分をクリックします。
すると、円と2つの線の交差している部分で結合し、踏面の枠線が抽出されます。
他の部分全てで、同じことを行います。
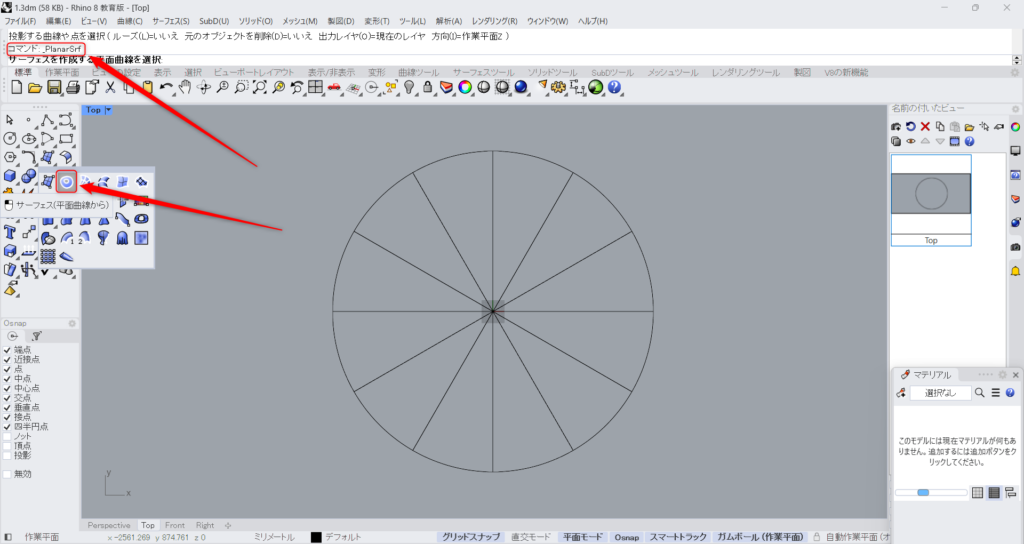
PlanarSrfをコマンドに入力し、使います。
もしくは、上の画像のアイコンをクリックします。
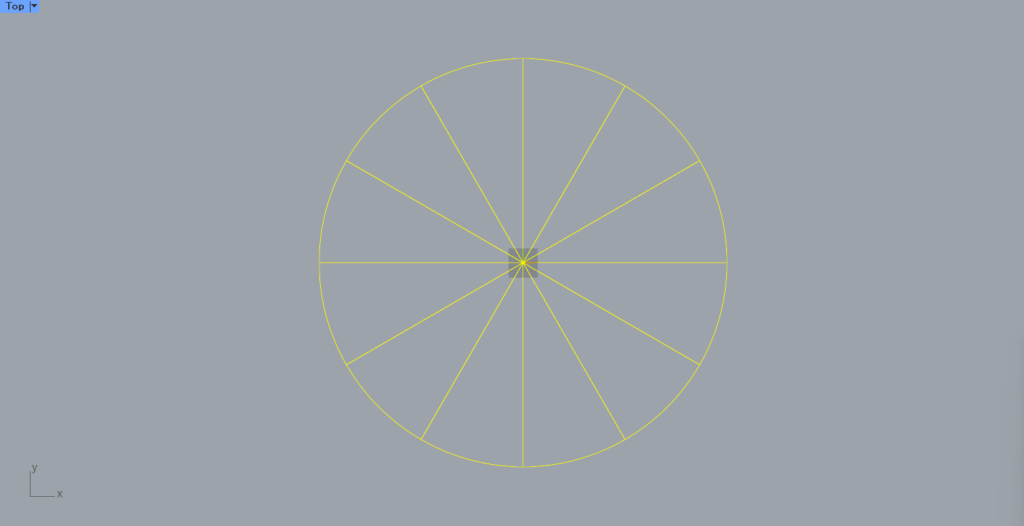
抽出した枠線を全て選択します。
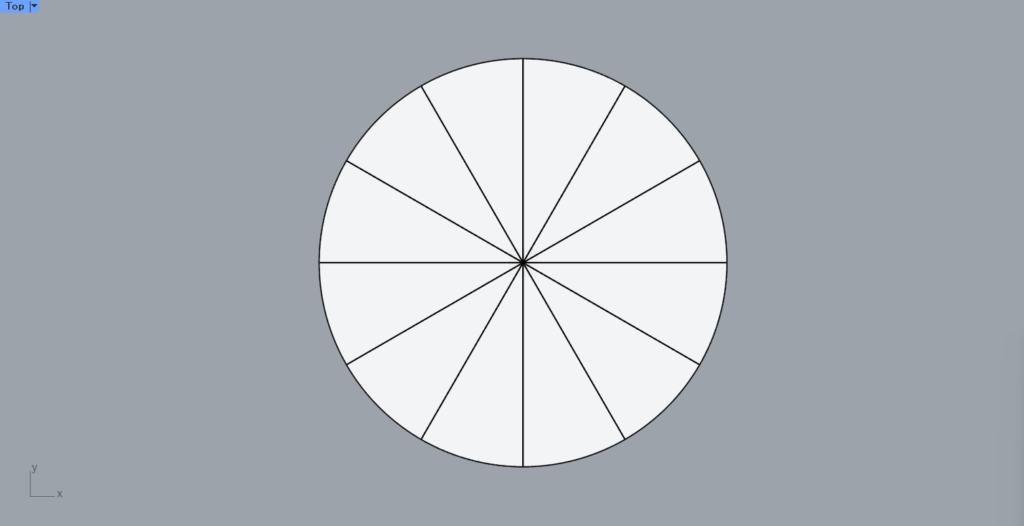
すると、このようにサーフェスが作成されました。
厚みを付けて、階段状にする
次に、厚みを付けて、階段状にしていきます。
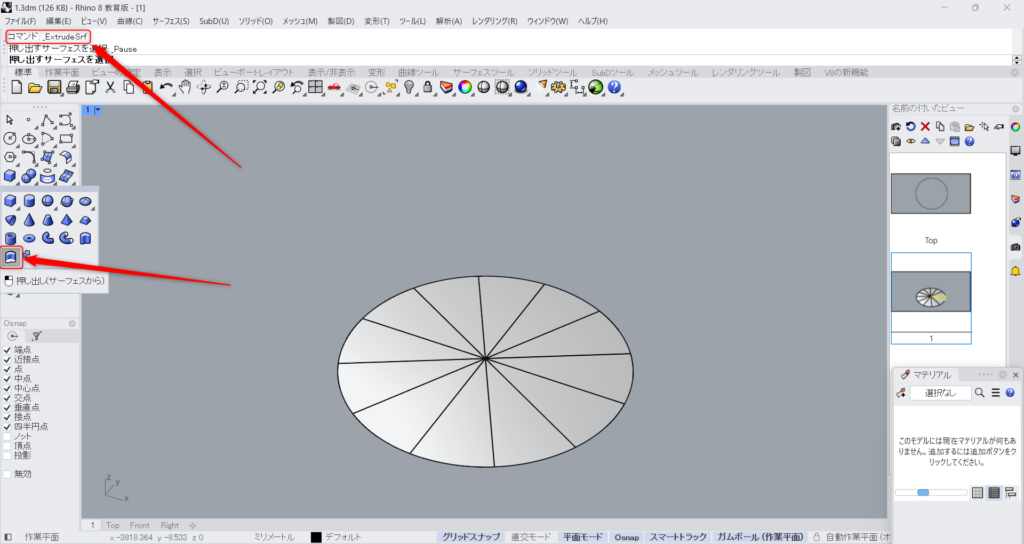
ExtrudeSrfをコマンドに入力して、使います。
もしくは、上の画像のアイコンをクリックします。
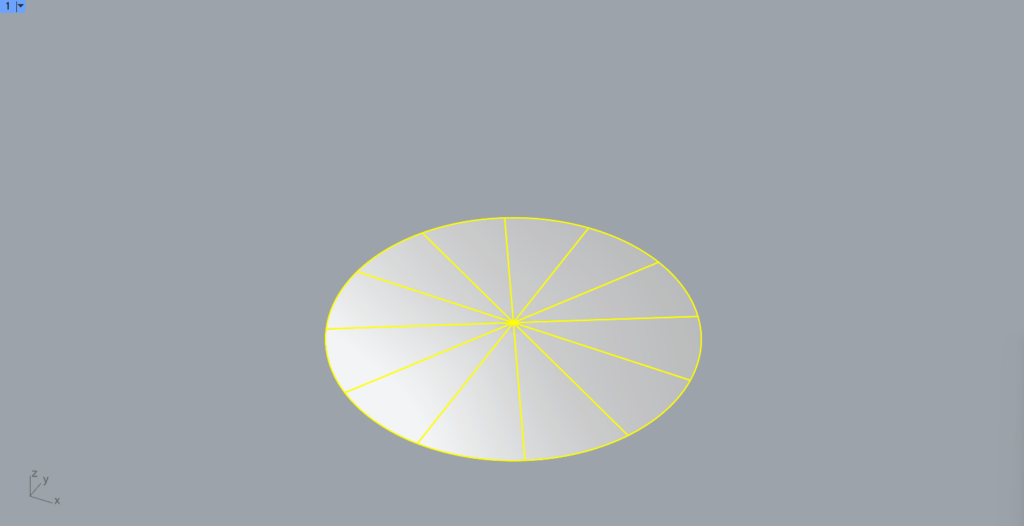
全てのサーフェスを選択します。

押し出す距離を、コマンドに入力します。
今回は、200を入力しました。
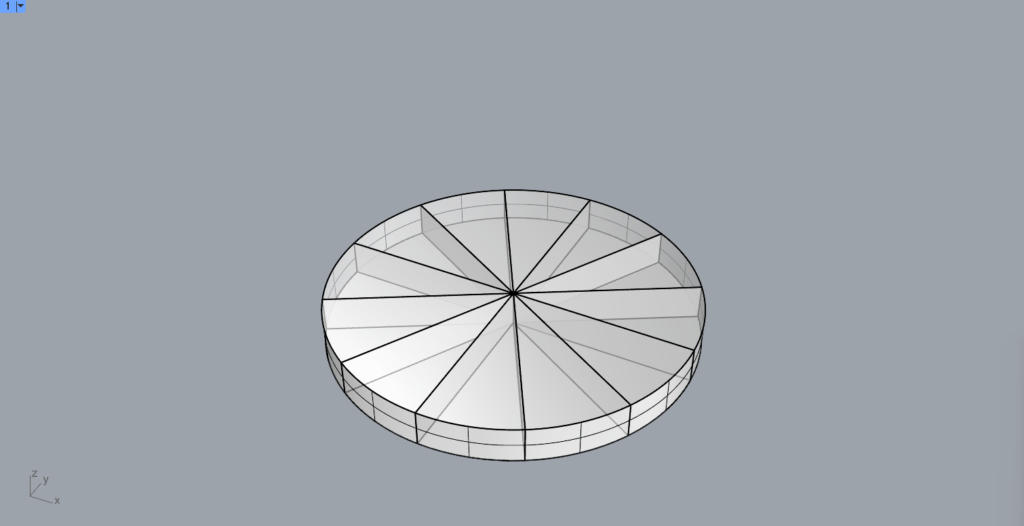
このように厚みができました。

踏面を厚みの分、1つずつ上に移動させます。
全て移動完了すると、このようになります。
手摺を作成する
手摺を作成します。
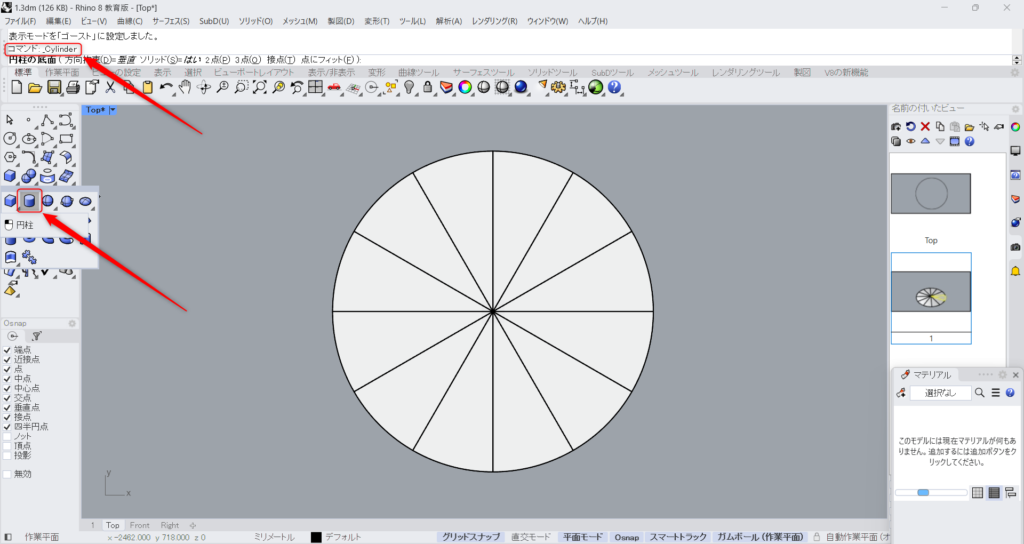
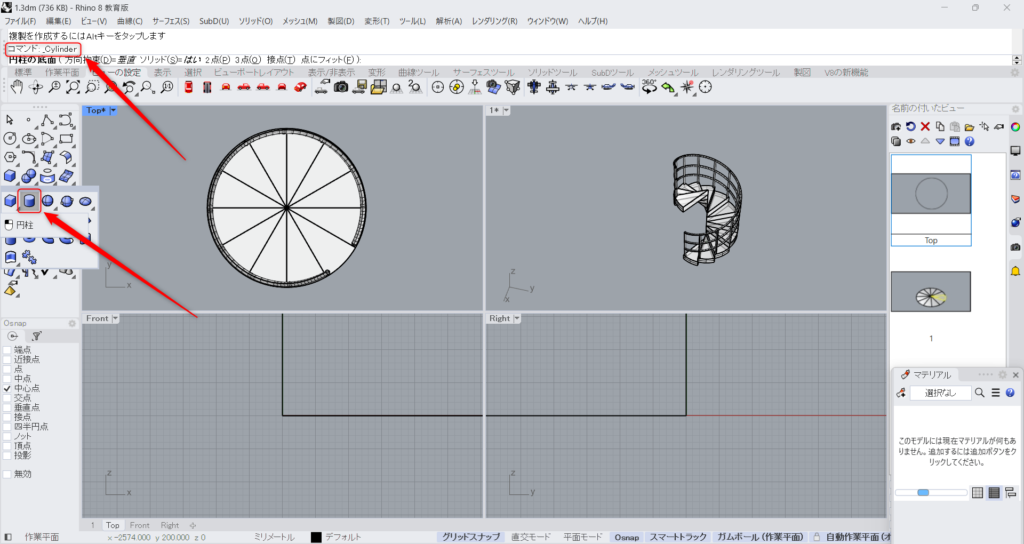
Cylinderをコマンドに入力し、使います。
もしくは、上の画像のアイコンをクリックします。
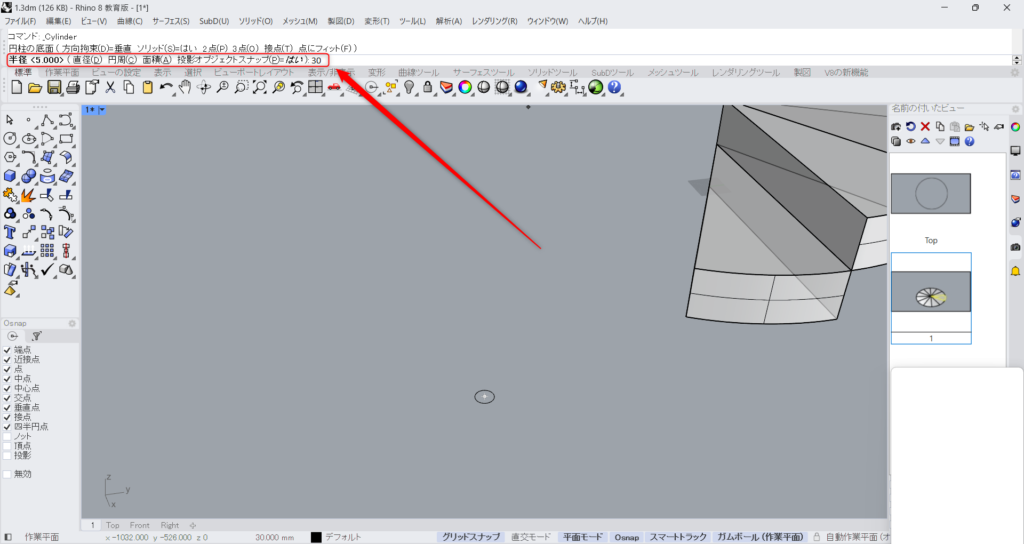
半径の数値を、コマンドに入力します。
今回は、30を入力しました。
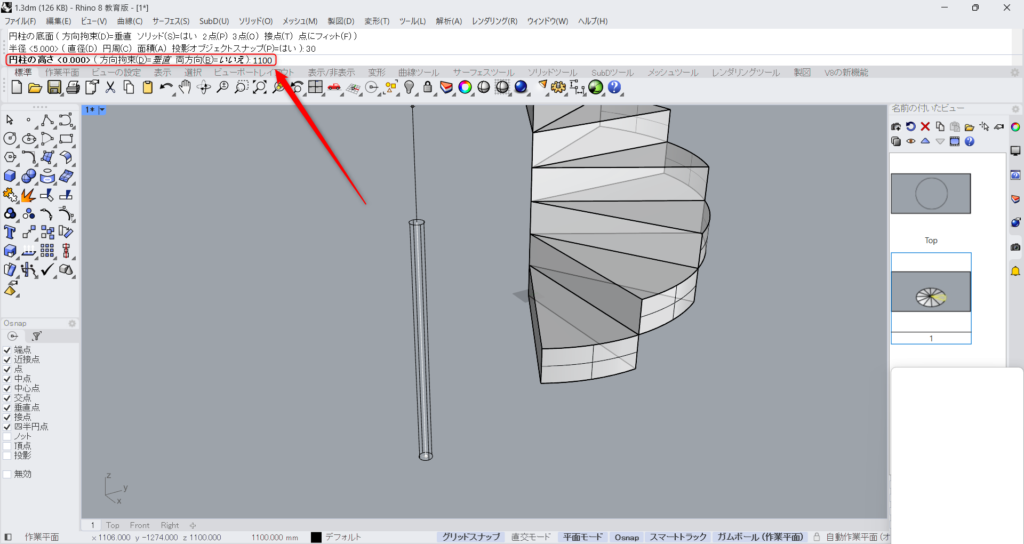
その後、高さをコマンドに入力します。
今回は、1100を入力しました。
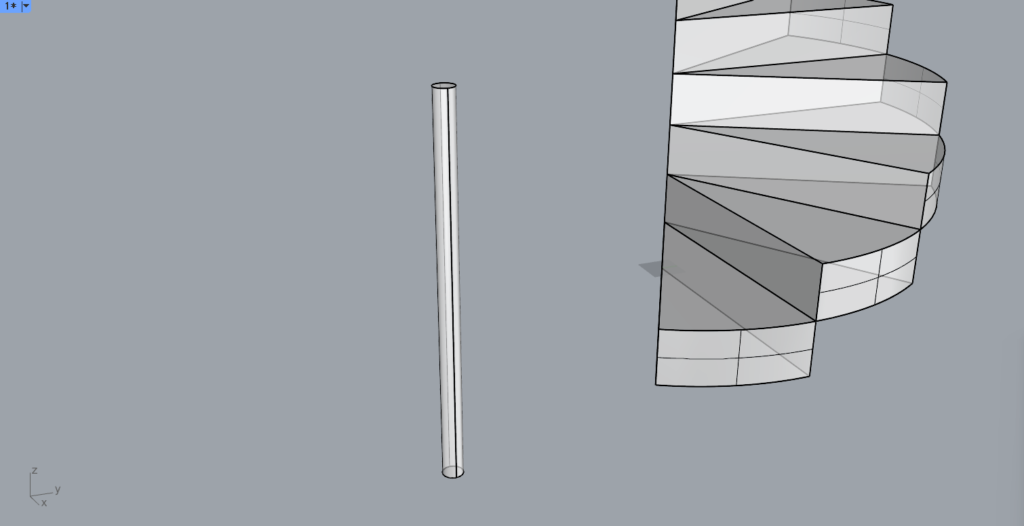
すると、このような円柱が作成されました。
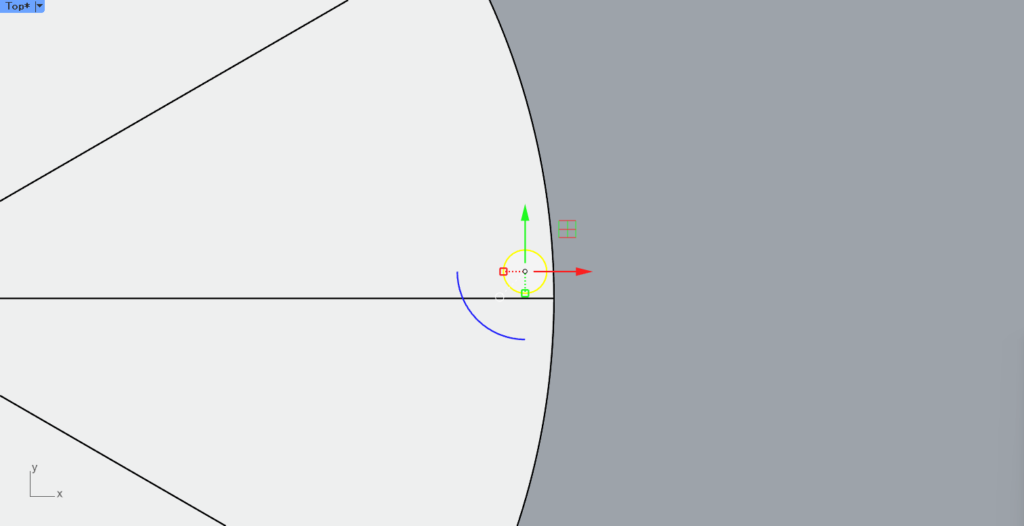
踏面の角の近くに、円柱を配置します。
もう1度ArrayPolarを、コマンドに入力して使います。
もしくは、上の画像のアイコンをクリックします。
円柱をクリックし、選択します。
回転の中心を選択します。
アイテムの数を、コマンドに入力します。
この数値は、踏面と同じ数にしてください。
今回は、12を入力しています。
円柱に近い、直線の枠線を選択します。

回転角度を、コマンドに入力します。
今回も1回転させるので、360と入力しました。
円柱を回転して、コピーすることができました。
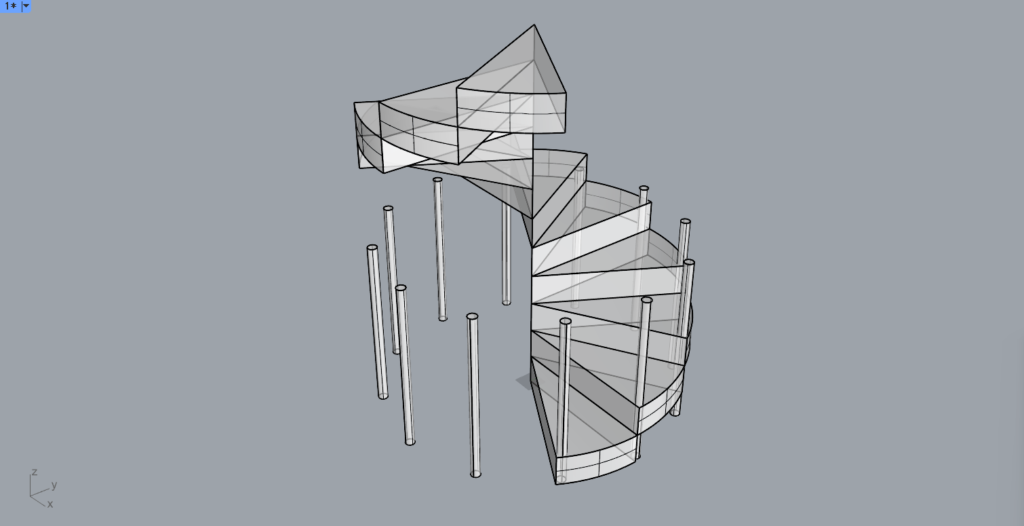
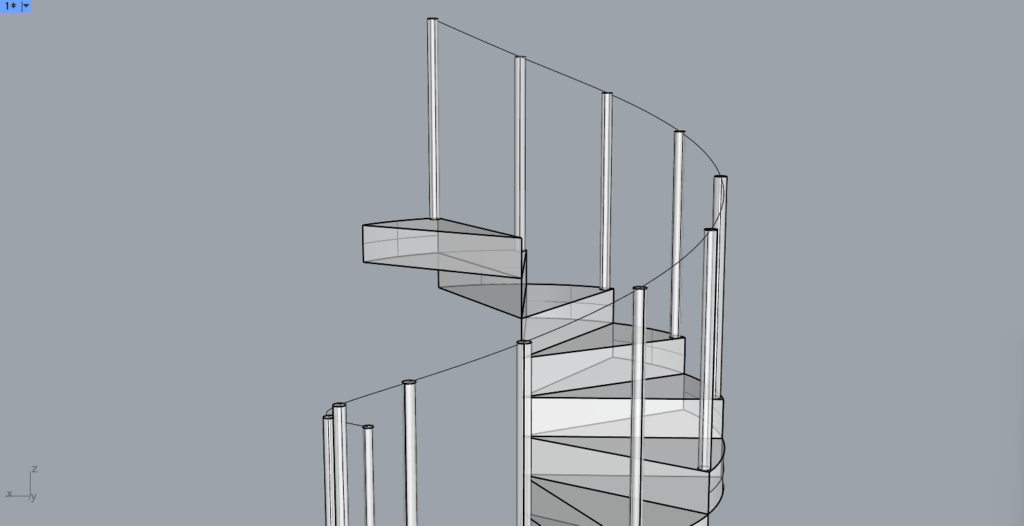
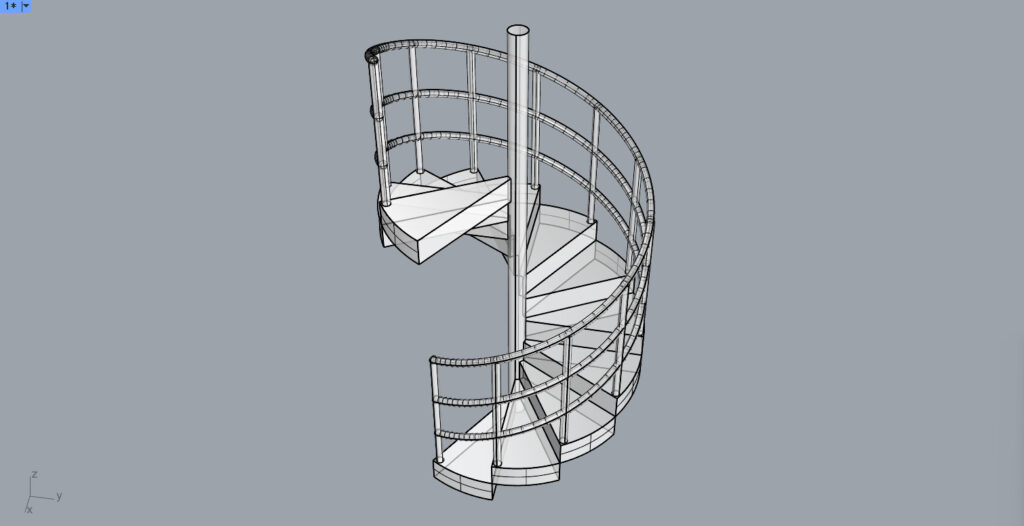
3Dで見ると、このようになっています。

円柱を、1つずつ上に移動していきます。
このように円柱の配置が完了しました。
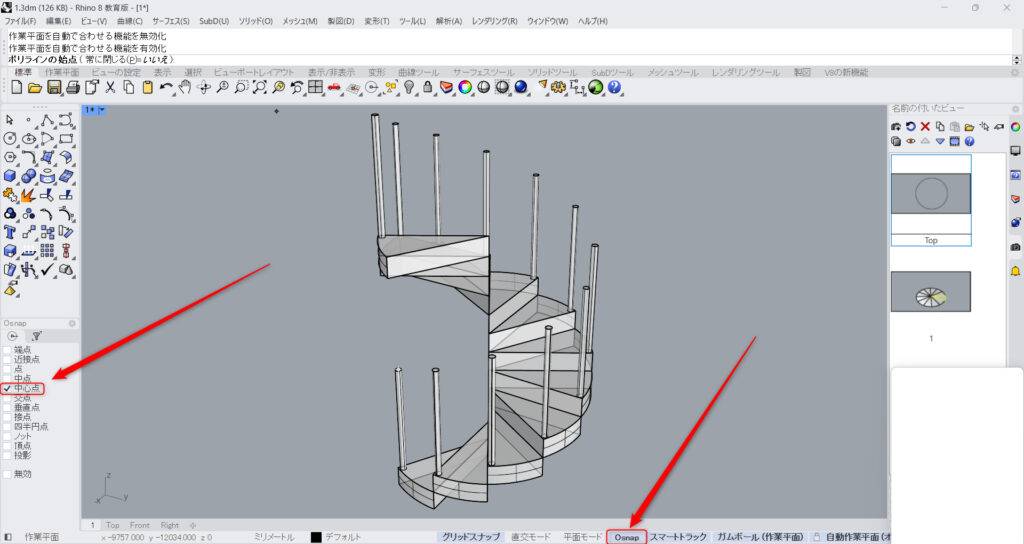
その後、Onsnapと中心点に、チェックを入れてください。
また、Onsnapの中心点以外のチェックを外してください。
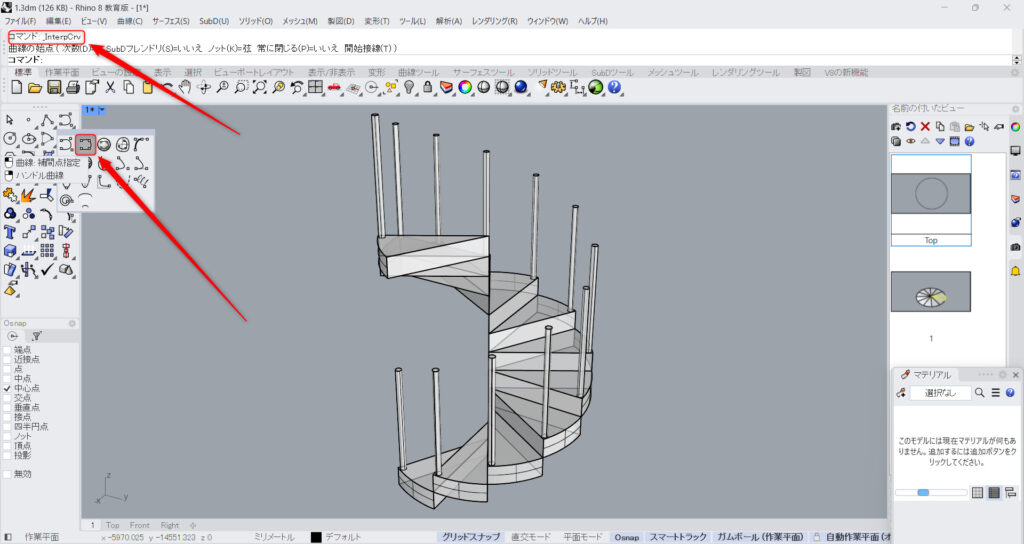
InterpCrvをコマンドに入力し、使います。
もしくは、上の画像のアイコンをクリックします。
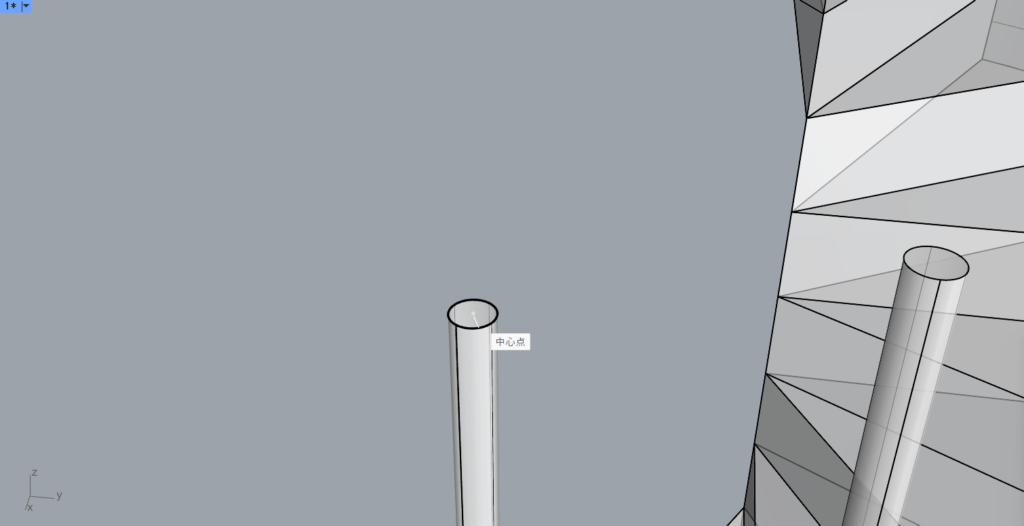
円柱のトップに、カーソルを合わせます。
Onsnapの中心点のみをオンにしているので、円の中心を簡単に選択できます。
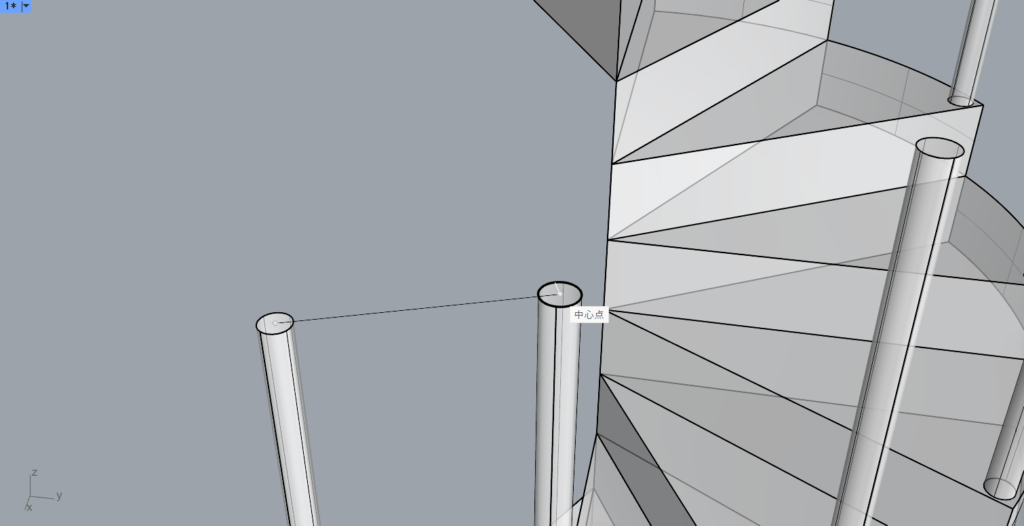
他の円柱のトップも、順番にクリックしていきます。
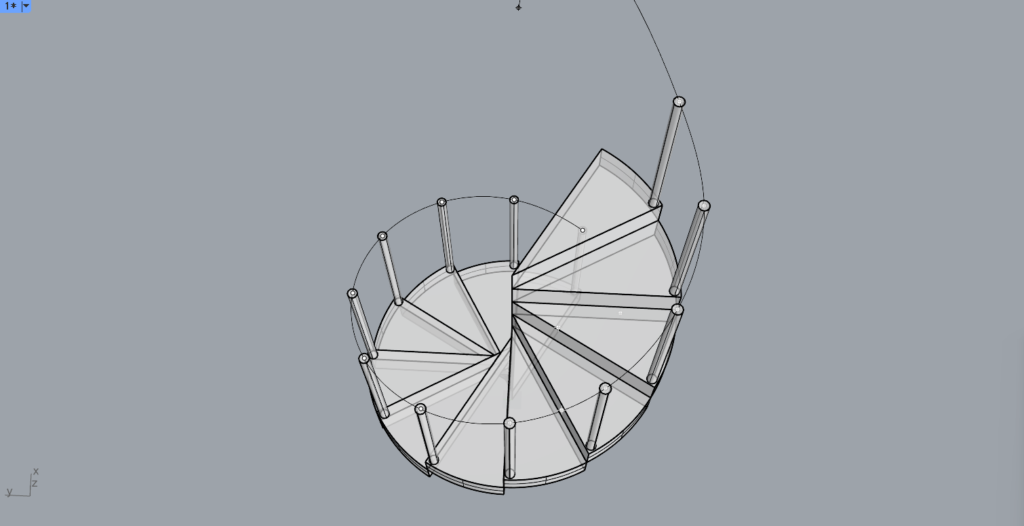
すると、このように曲線が作成されます。
別の角度から見ると、このようになっています。
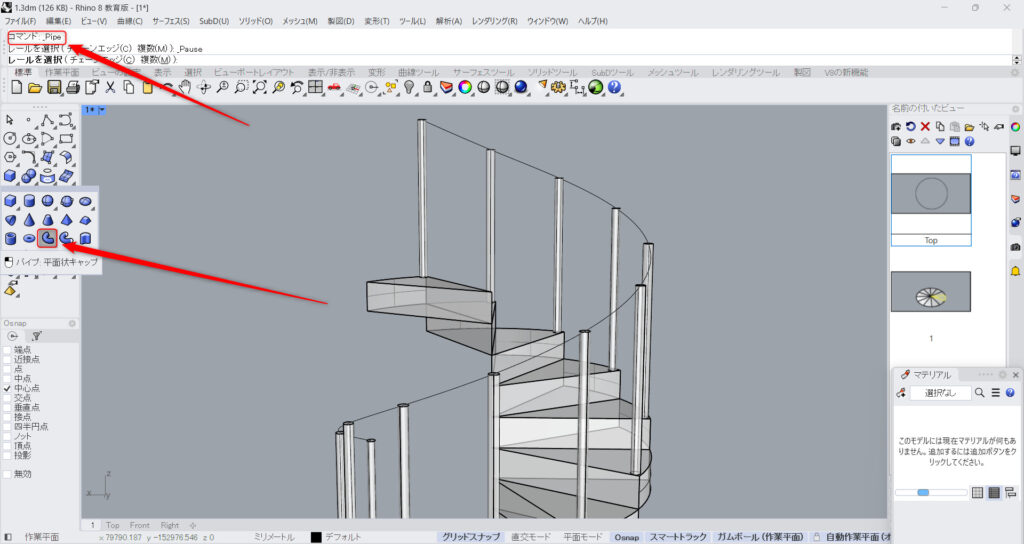
Pipeをコマンドを入力し、使います。
もしくは、上の画像のアイコンをクリックします。
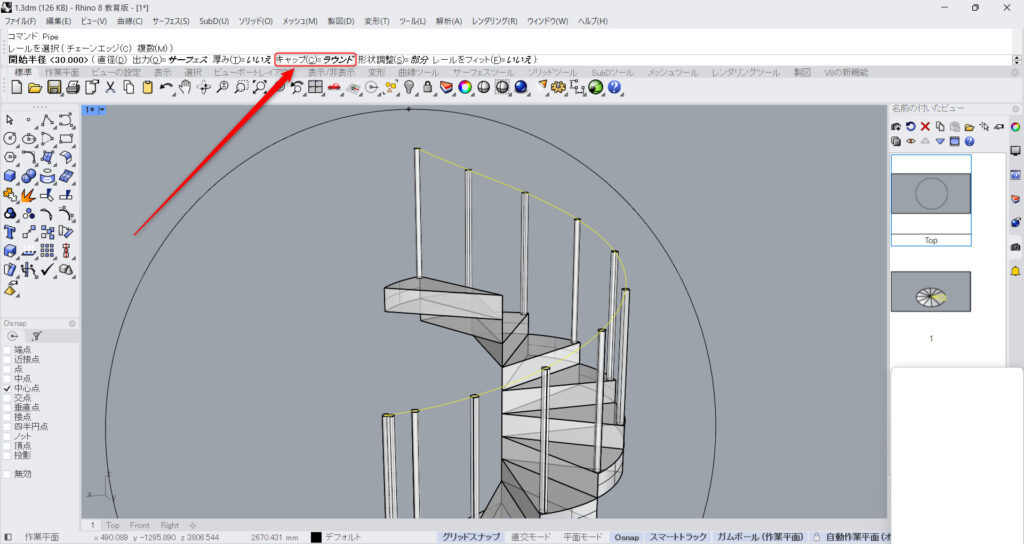
この際に、コマンドのキャップを、ラウンドに変更してください。
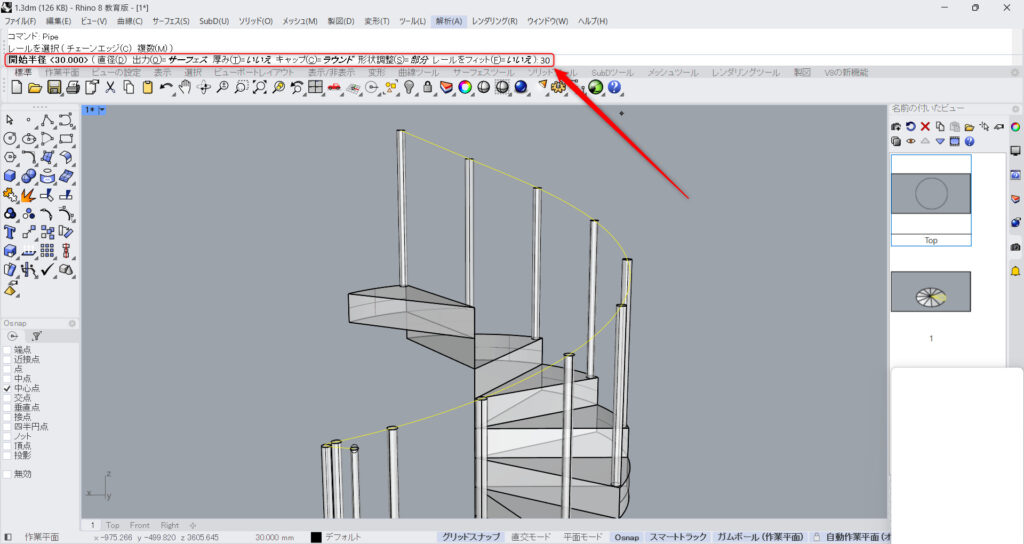
開始半径の数値を入力します。
今回は30を入力します。
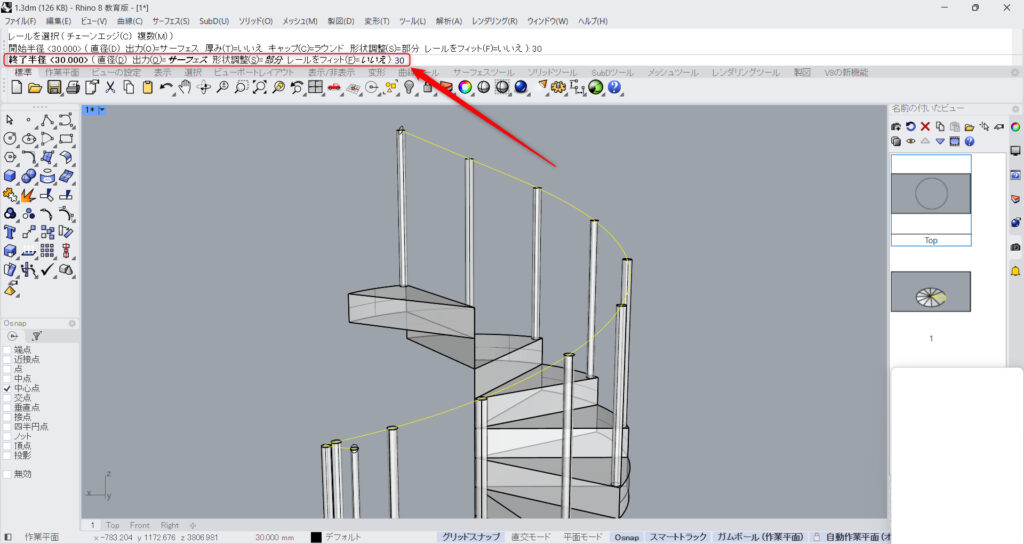
終了半径を、コマンドに入力します。
すると、手摺の手を置く部分が完成します。
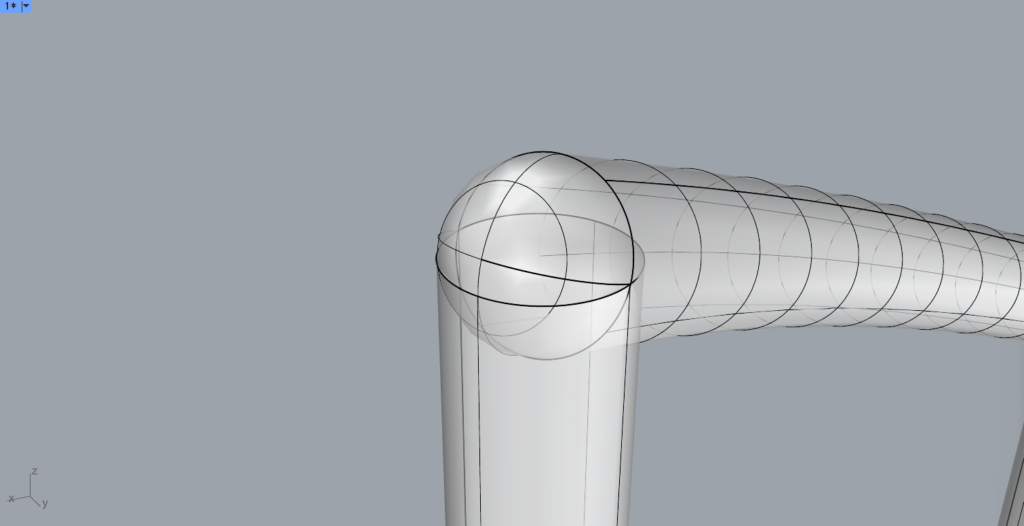
キャップをラウンドに変更したので、端が丸くなっています。
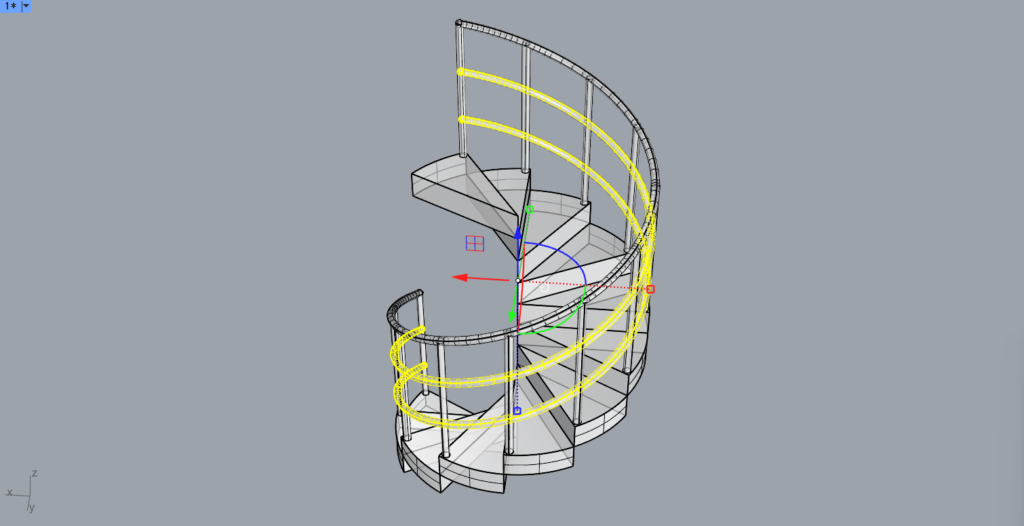
好みによって、上の画像のように下にコピーしてください。
中心の柱を作成する
最後に、中心の柱を作成していきます。
Cylinderをコマンドに入力し、使います。
もしくは、上の画像のアイコンをクリックします。
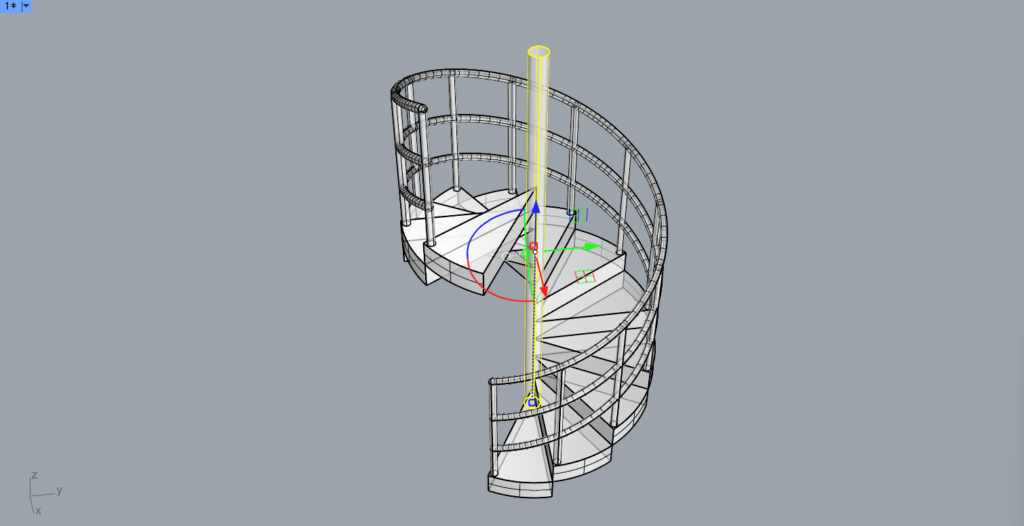
そして、中心に円柱を作成します。
半径と高さは好みで決めてください。
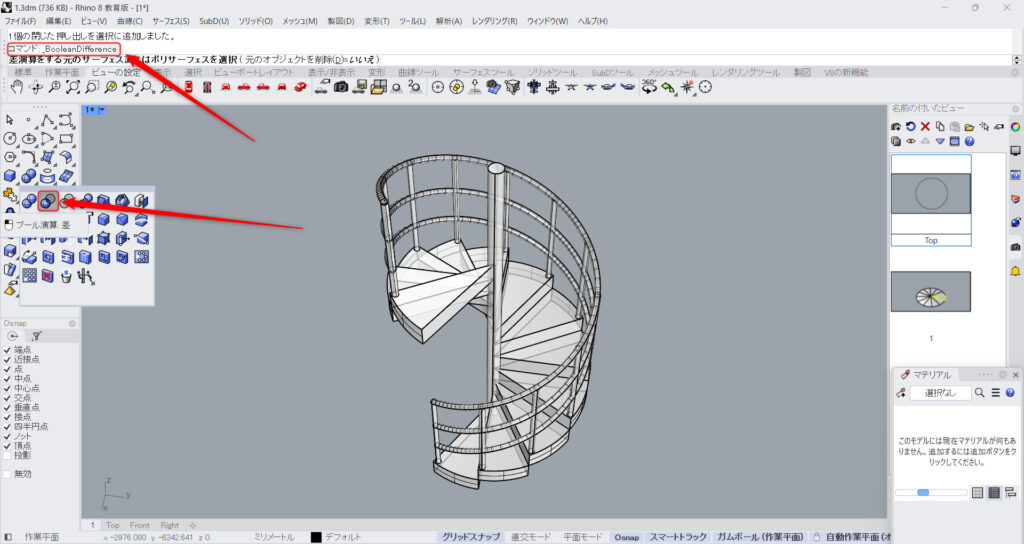
BooleanDifferenceを、コマンドに入力して使います。
もしくは、上の画像のアイコンをクリックします。
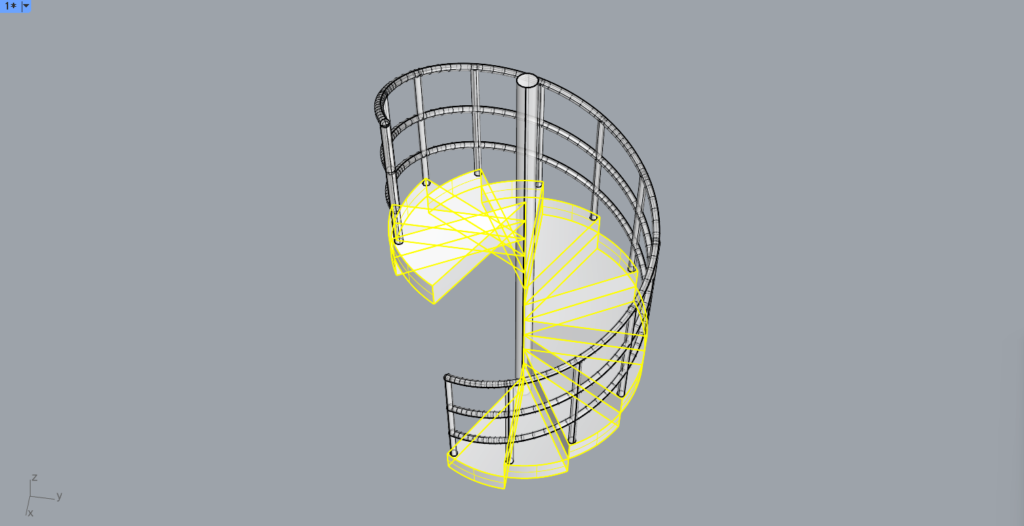
最初に、全ての階段を選択します。
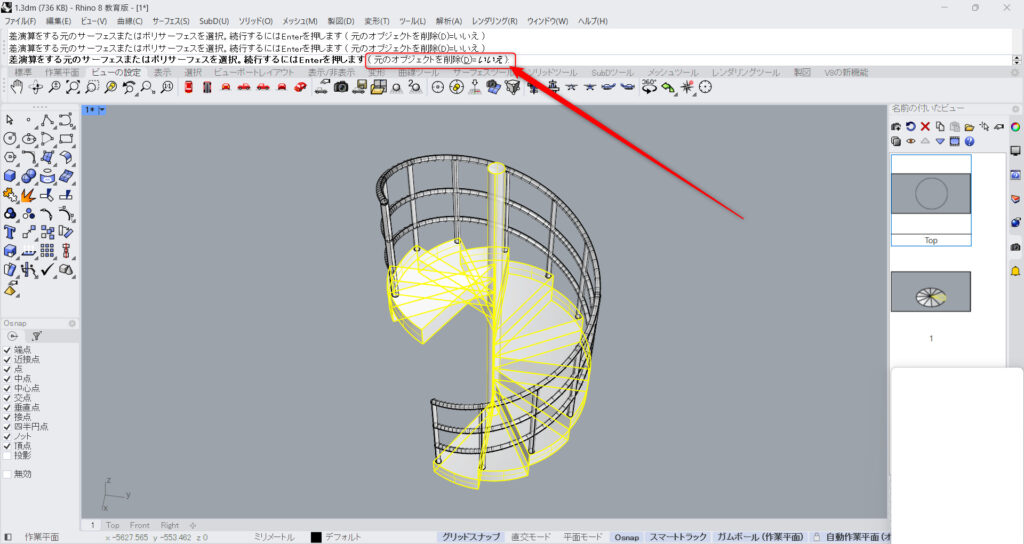
その後、円柱を選択します。
その際に、元のオブジェクトを削除を、いいえにしてください。
すると、階段と円柱の交差する部分を、削除することができました。
これで、螺旋階段が完成しました。

レンダリングビューで見ます。
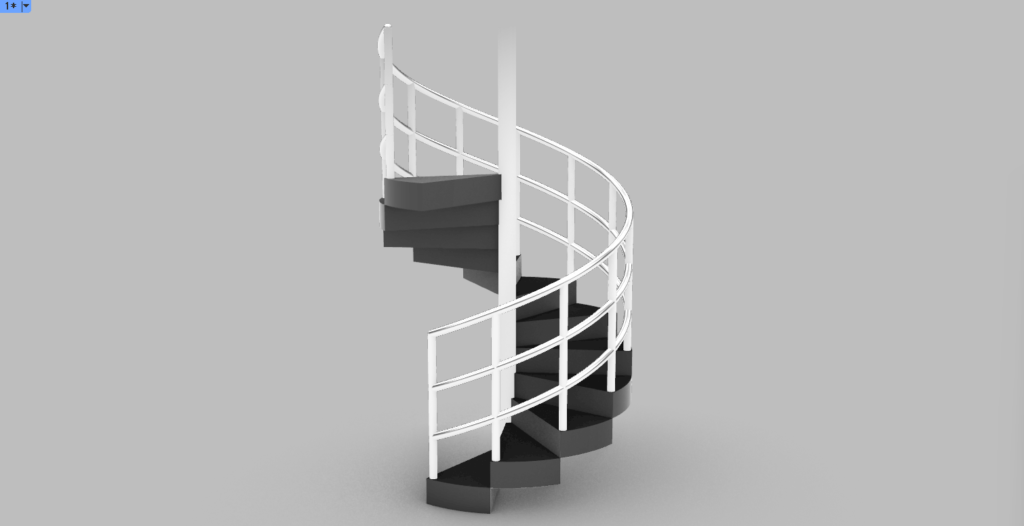
マテリアルを付けると、このようになりました。
まとめ
今回は、ライノセラスで螺旋階段を、初心者でも簡単に作成する方法を解説しました。
是非この方法で、螺旋階段を作成してみてください。
今回は以上になります。


Comment