
![[ライノセラス]直線や曲線を作成できる使用頻度の高い6個のコマンドを解説](https://iarchway.com/wp-content/uploads/2024/10/eyecatch-27.png)
ライノセラスを使用していると、直線や曲線を作成したい場面があると思います。
そこで今回は、ライノセラスで直線や曲線を作成できる、使用頻度の高い6個のコマンドを解説します。
直線を作成する
最初は、直線を作成する2つのコマンドを解説します。
Line
1つ目はLineコマンドです。
このコマンドでは、1本の直線を作成することができます。
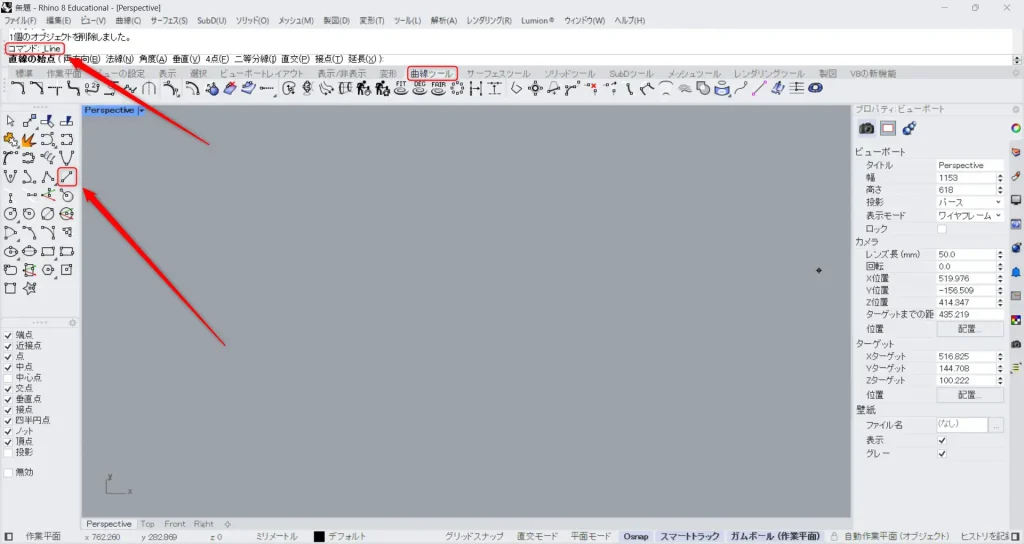
Lineを使う場合、コマンドにLineと入力します。
もしくは、曲線ツールタブにある上の画像のアイコンをクリックします。
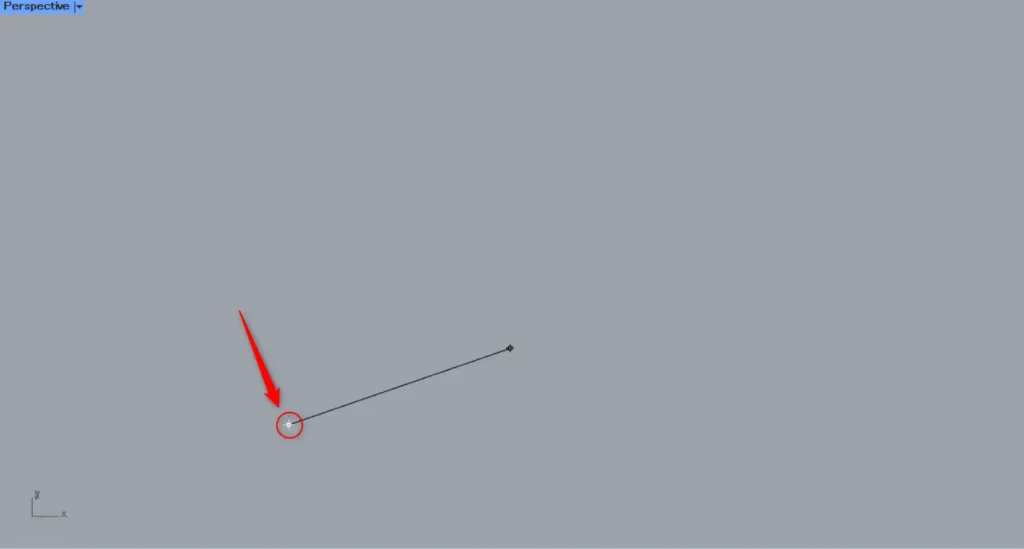
最初に、直線の始点を指定します。
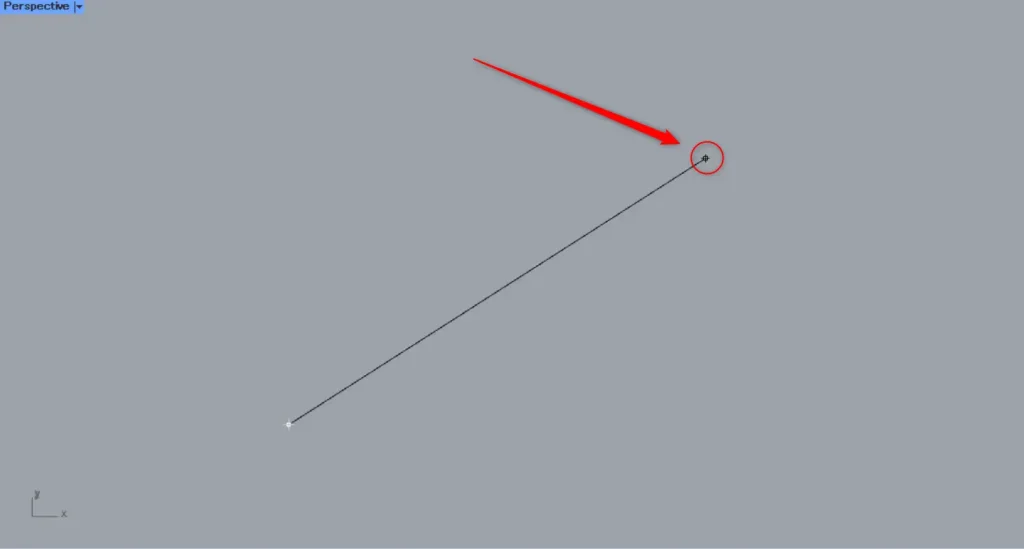
次に、直線の終点を指定します。
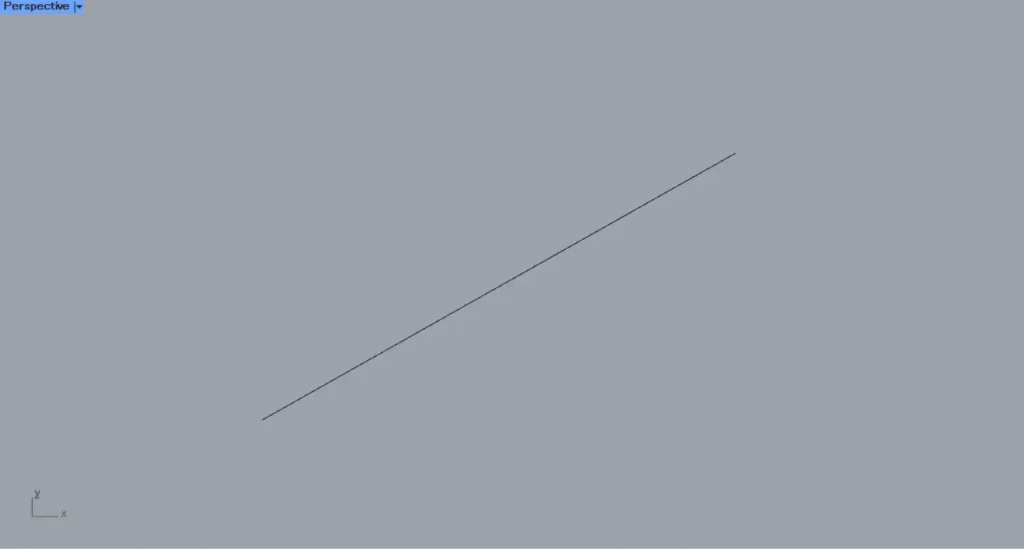
すると、このように1本の直線が作成されました。
Polyline
2つ目は、Polylineコマンドです。
このコマンドでは、連続する直線を作成することができます。
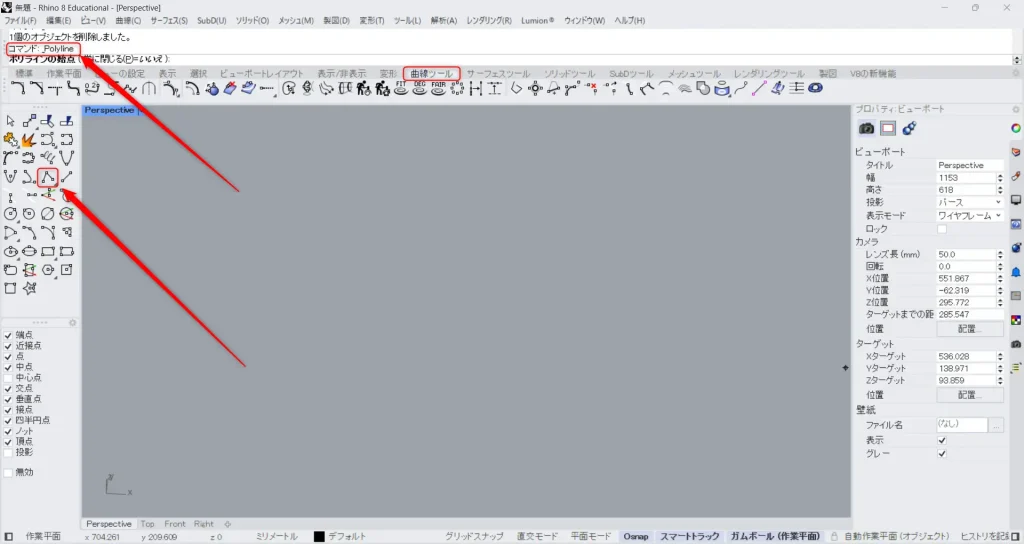
Polylineを使う場合、コマンドにPolylineと入力します。
もしくは、曲線ツールタブにある上の画像のアイコンをクリックします。
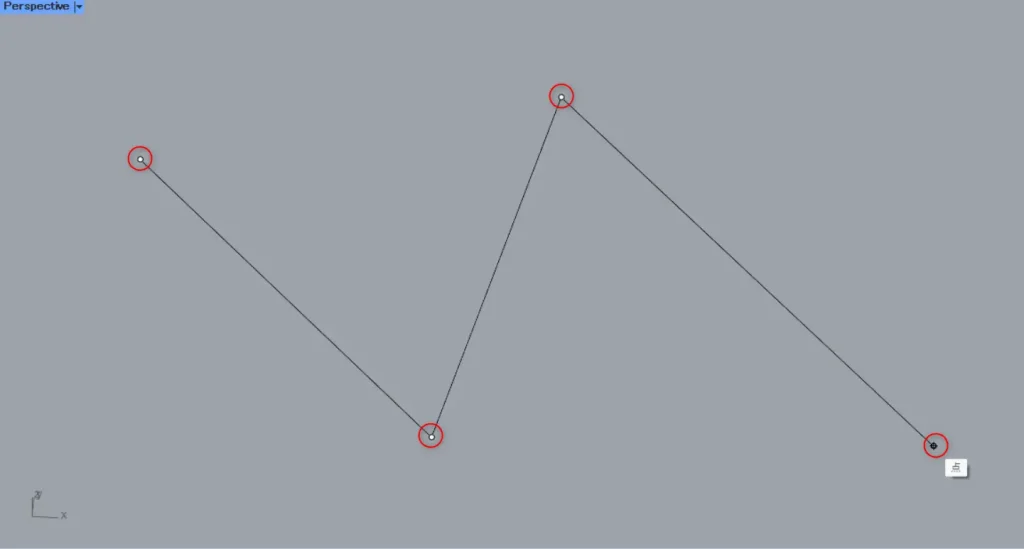
その後、直線が通る点をしてしていきます。
すると、指定した点を通る、連続する直線が作成されます。
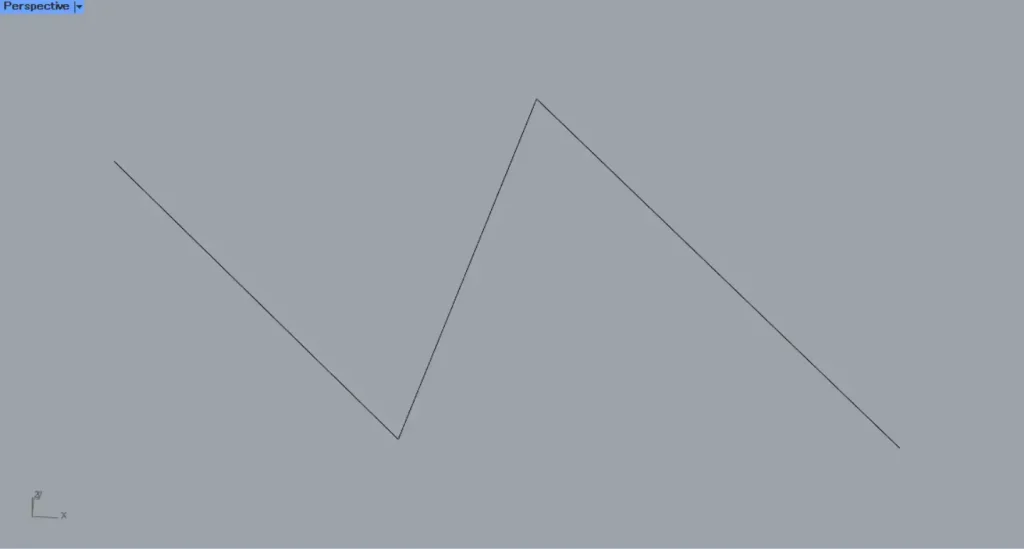
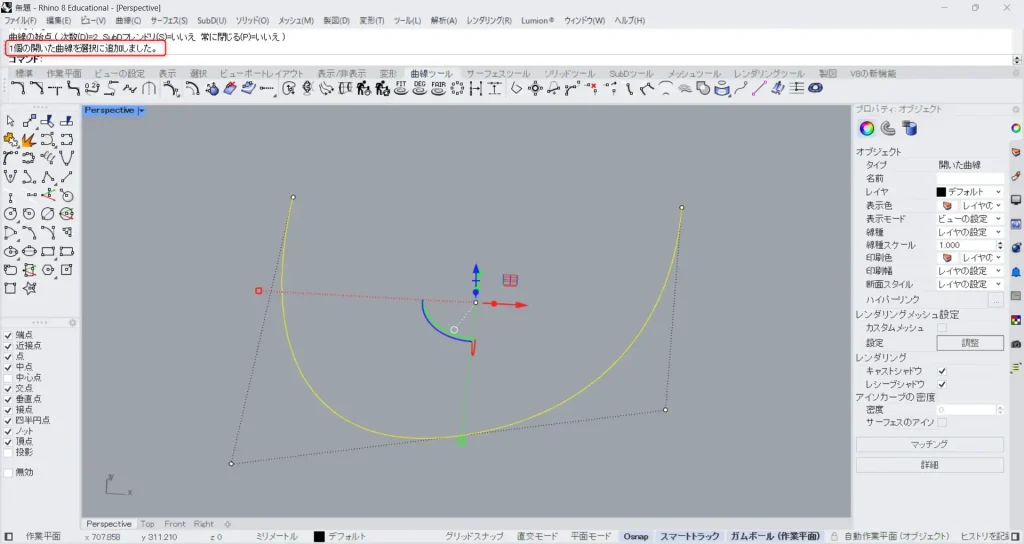
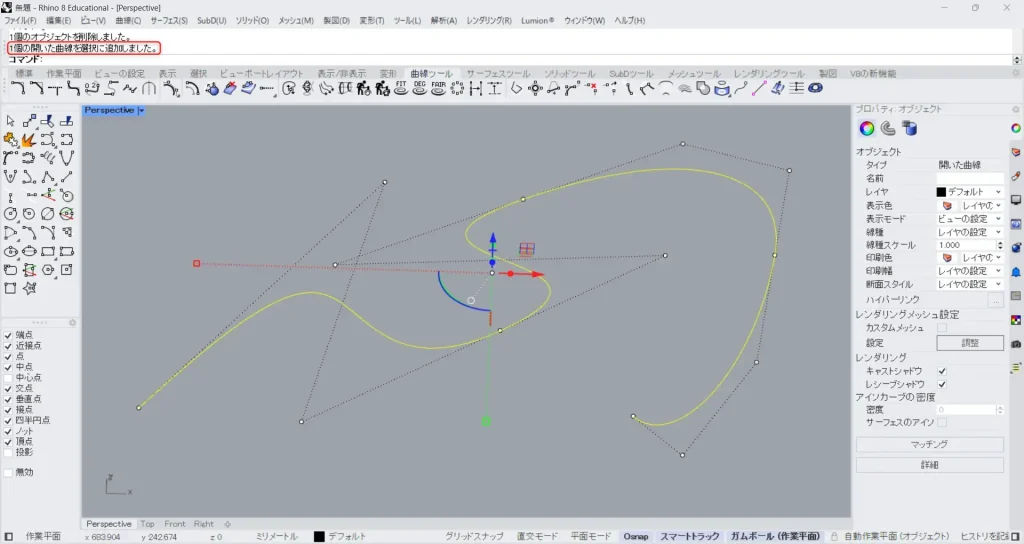
作成した直線は、上の画像のようになります。
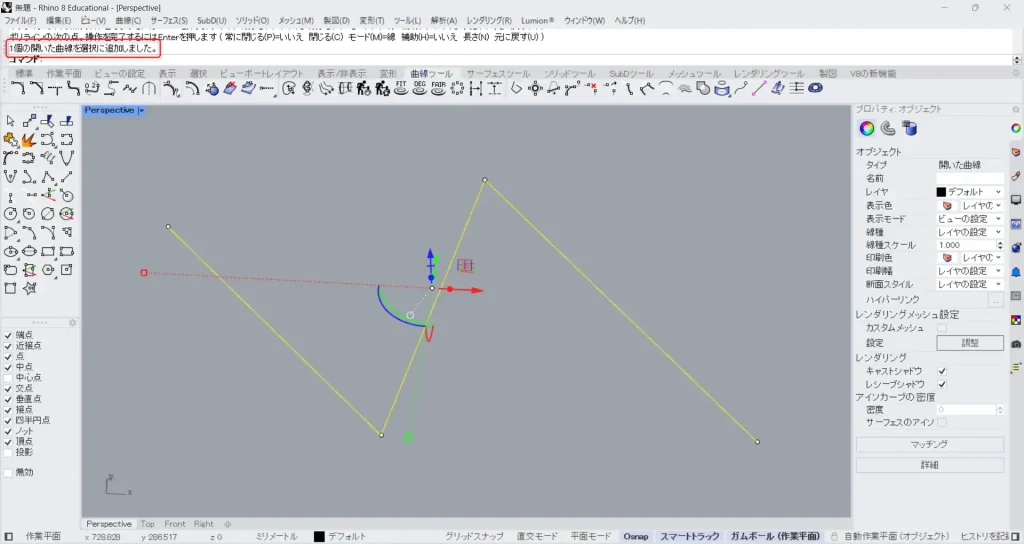
選択してみると、コマンド上に「開いた曲線」と表示されます。

閉じるには、指定する一番最初の点と、最後の点の位置を同じにします。

すると、「閉じた曲線」になります。
サーフェスに変換したい場合などは、閉じている必要があるので、その場合などは閉じた曲線にするようにしてください。
曲線を作成する
次は、曲線を作成する4つのコマンドを解説します。
Curve
最初は、Curveコマンドです。
このコマンドでは、制御点を指定することで、曲線を作成することができます。
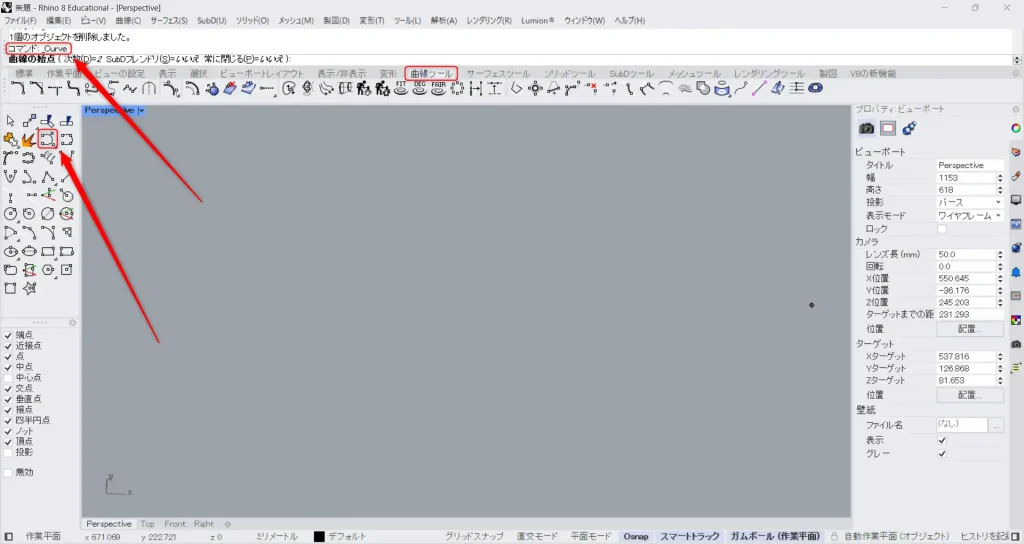
Curveを使う場合、コマンドにCurveと入力します。
もしくは、曲線ツールタブにある上の画像のアイコンをクリックします。
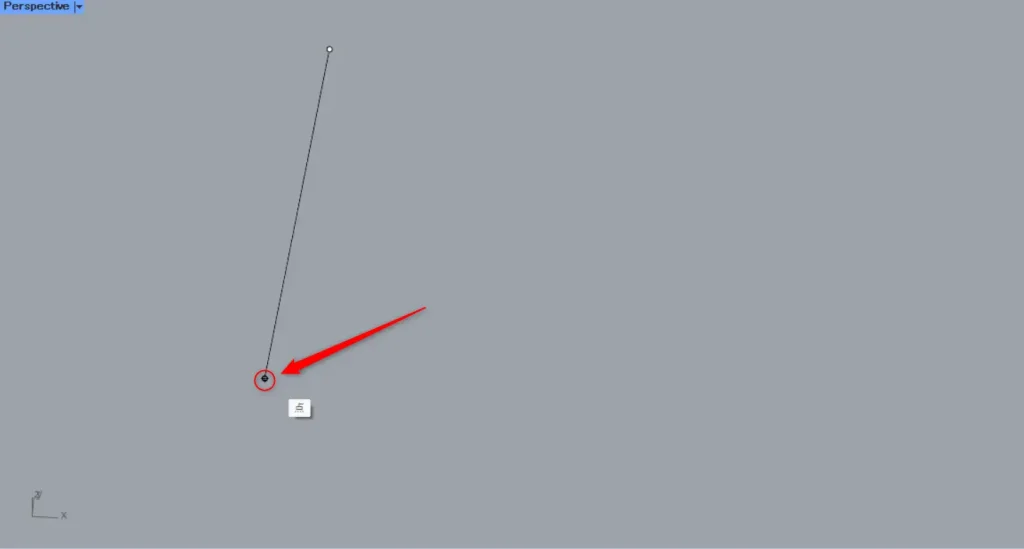
まず、曲線の始点を指定した後、制御点の位置を指定します。
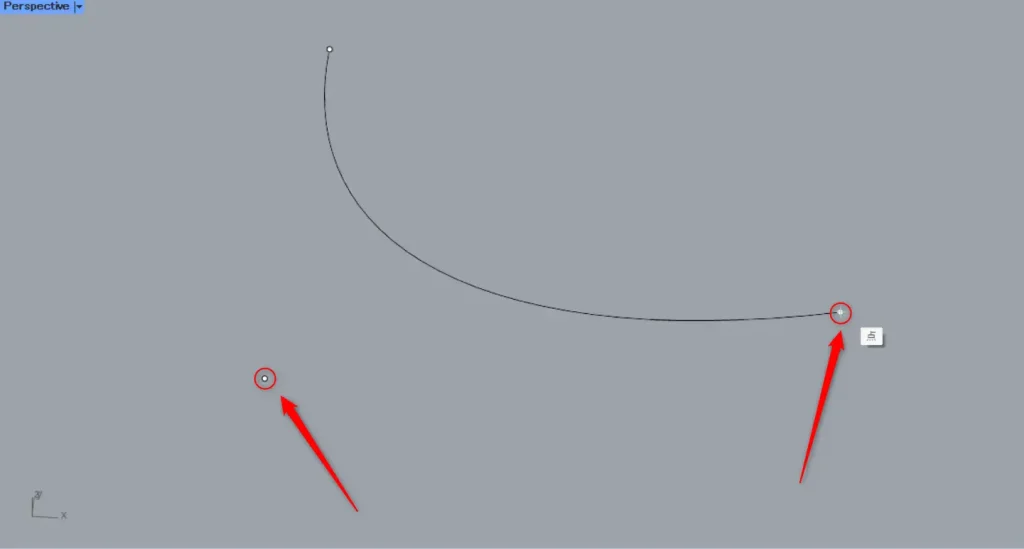
その後、次の制御点を指定します。
制御点は、曲線の形状をコントロールするための点なので、制御点には曲線は通らないです。
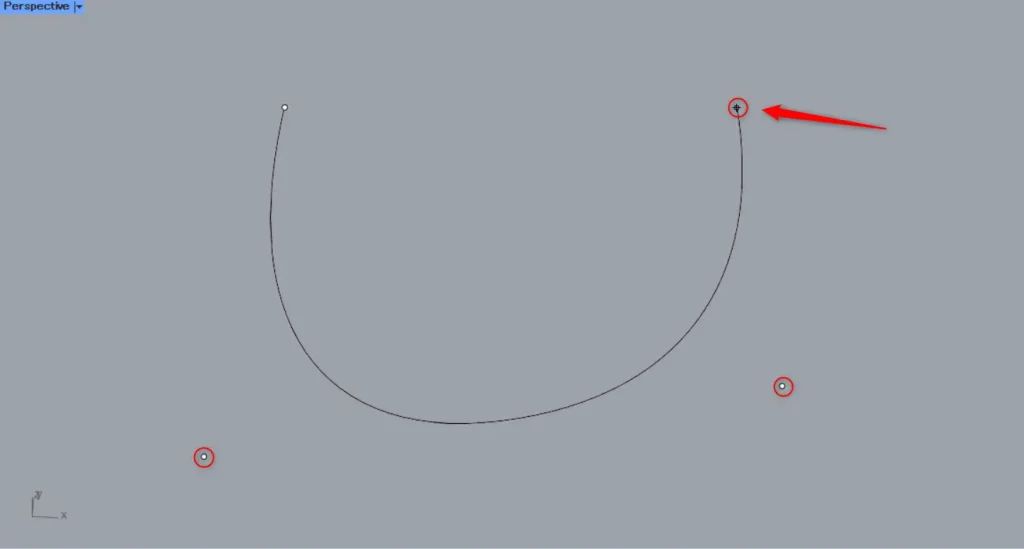
任意の形ができるまで、制御点の指定を繰り返します。
上の画像が、完成した曲線になります。
今回作成した曲線を選択すると、「開いた曲線」とコマンドに表示されます。
閉じた曲線にするには、最初と最後の制御点の位置を同じにします。

すると、閉じた曲線に変わったことが分かります。
InterpCrv
次は、InterpCrvコマンドです。
このコマンドでは、指定した点を通る曲線を作成することができます。
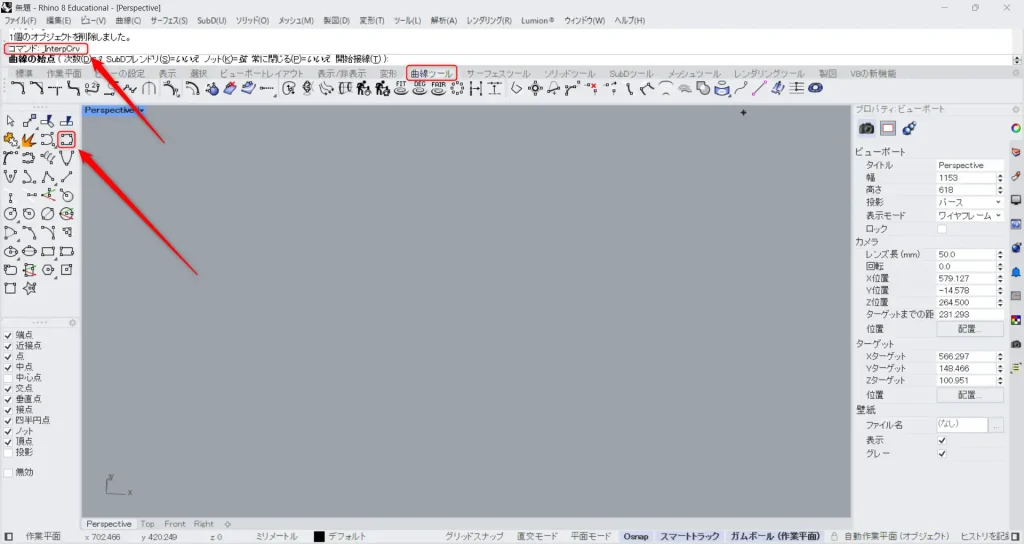
InterpCrvを使う場合、コマンドにInterpCrvと入力します。
もしくは、曲線ツールタブにある上の画像のアイコンをクリックします。
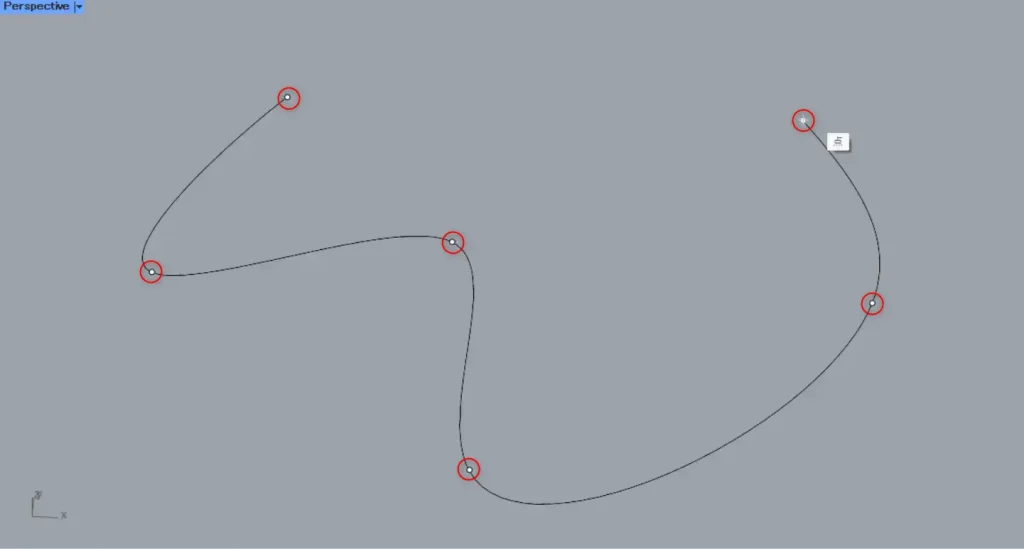
その後、曲線を通したい部分に、点を指定していきます。
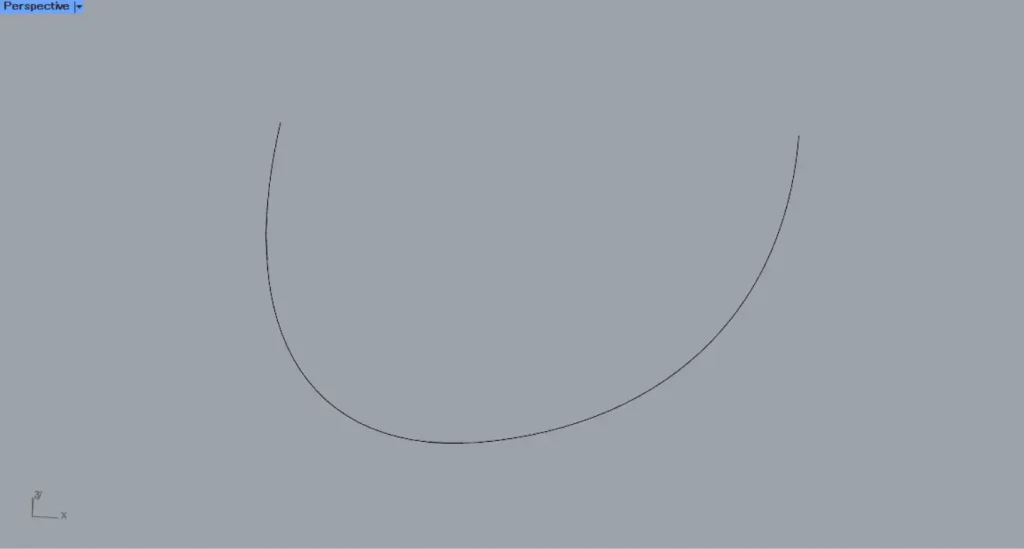
すると、指定した点を通る曲線を作成できます。
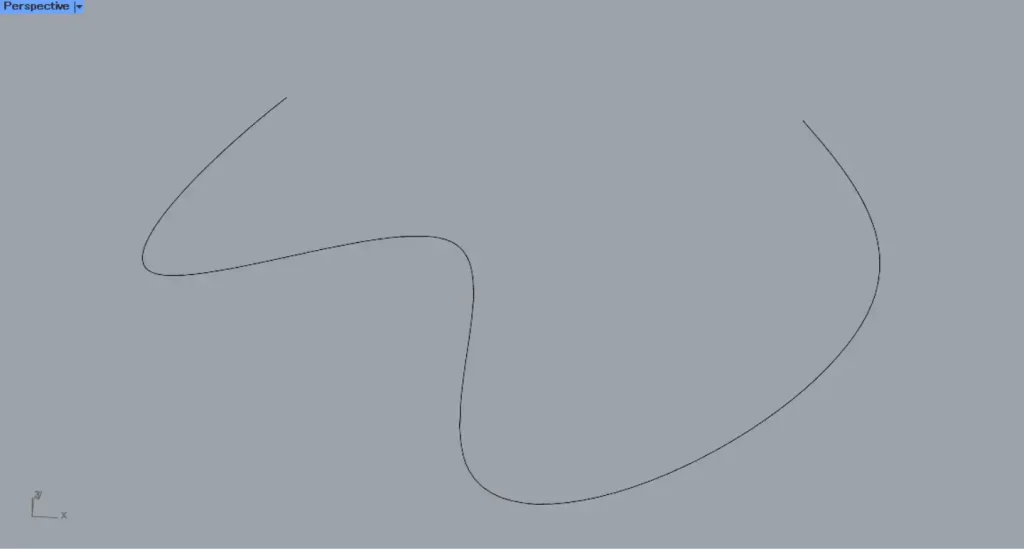
作成した曲線が、こちらになります。

作成した曲線を選択してみると、コマンド上に「開いた曲線」と表示されます。
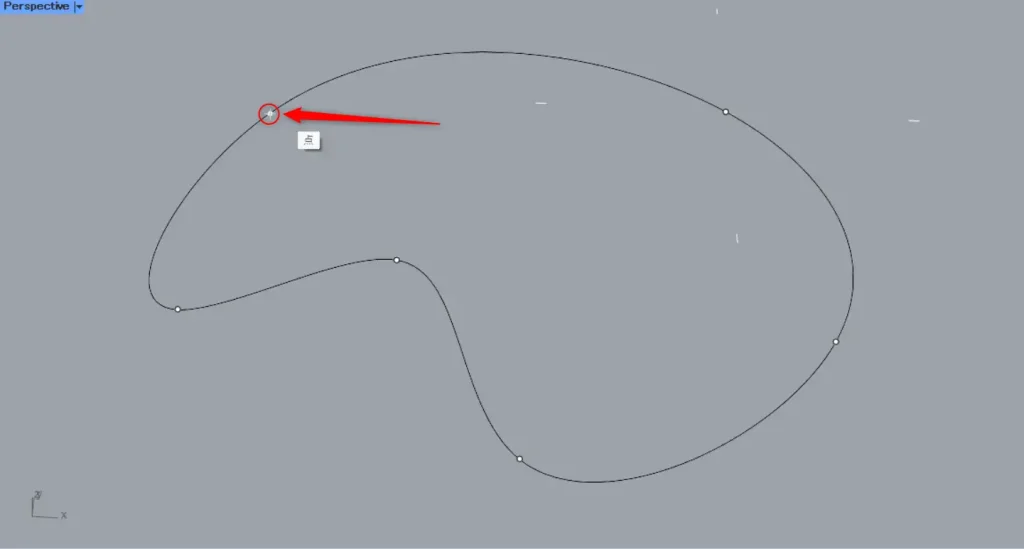
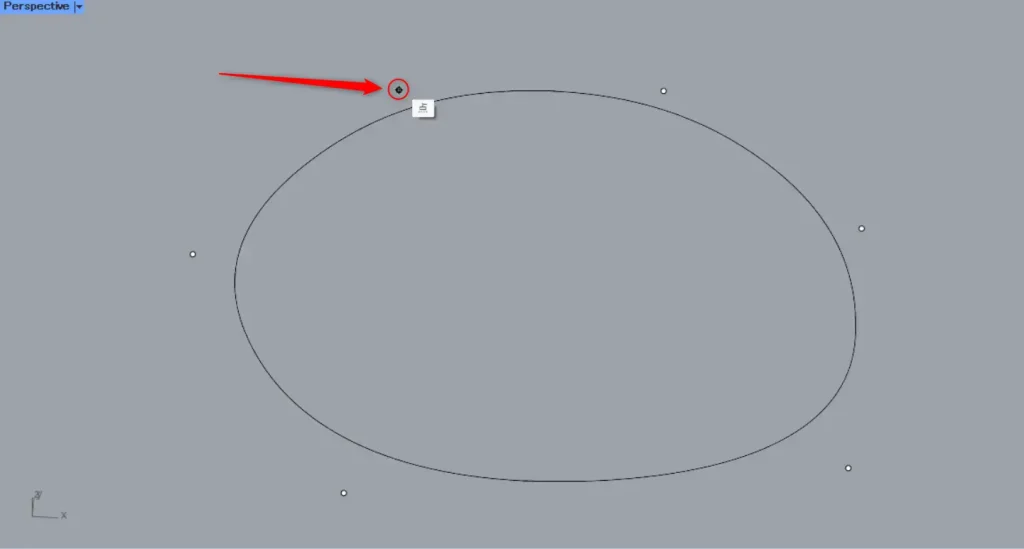
閉じるには、指定する最初の点と、最後の点の位置を同じにします。
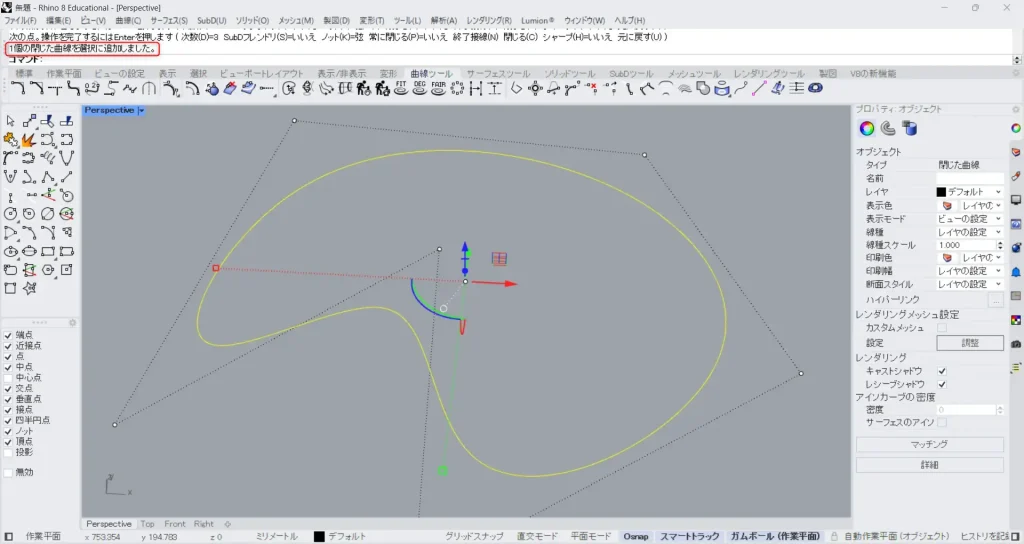
すると、このように「閉じた曲線」になりました。
HandleCurve
次は、HandleCurveコマンドです。
このコマンドでは、ハンドルという機能で曲線を制御し、曲線を作成します。
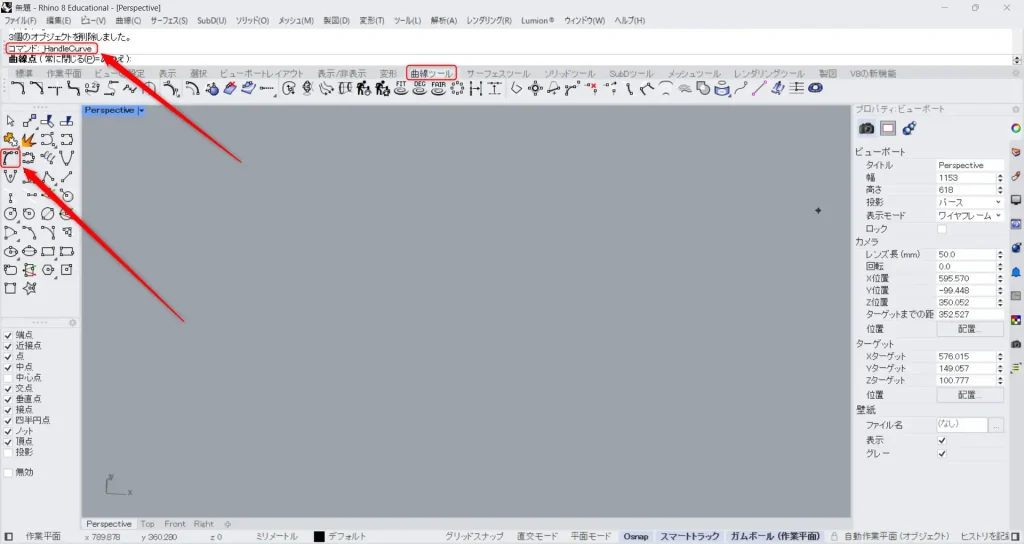
HandleCurveを使う場合、コマンドにHandleCurveと入力します。
もしくは、曲線ツールタブにある上の画像のアイコンをクリックします。
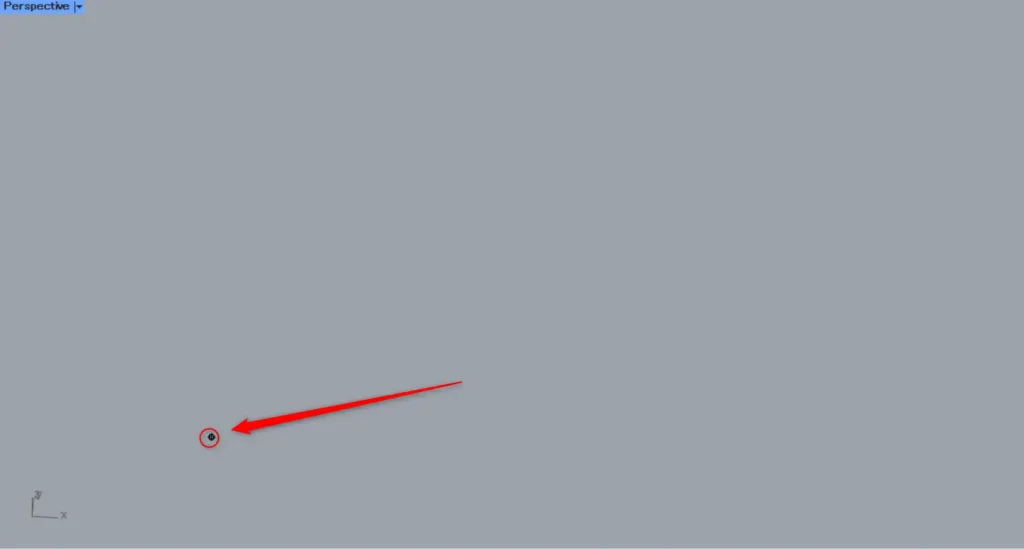
最初に、始点を指定します。

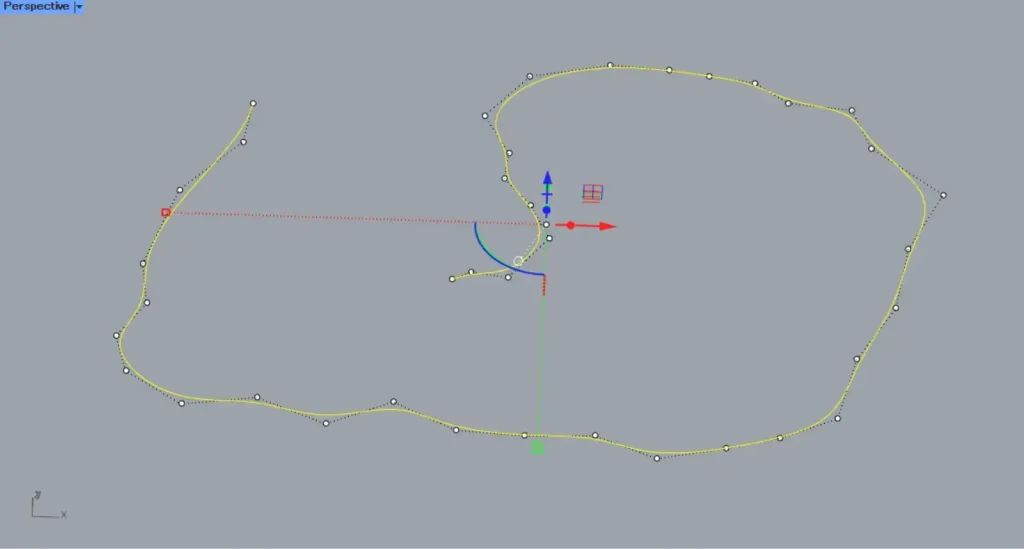
すると、ハンドルが表示されます。
曲線を作成したい方向を選択します。
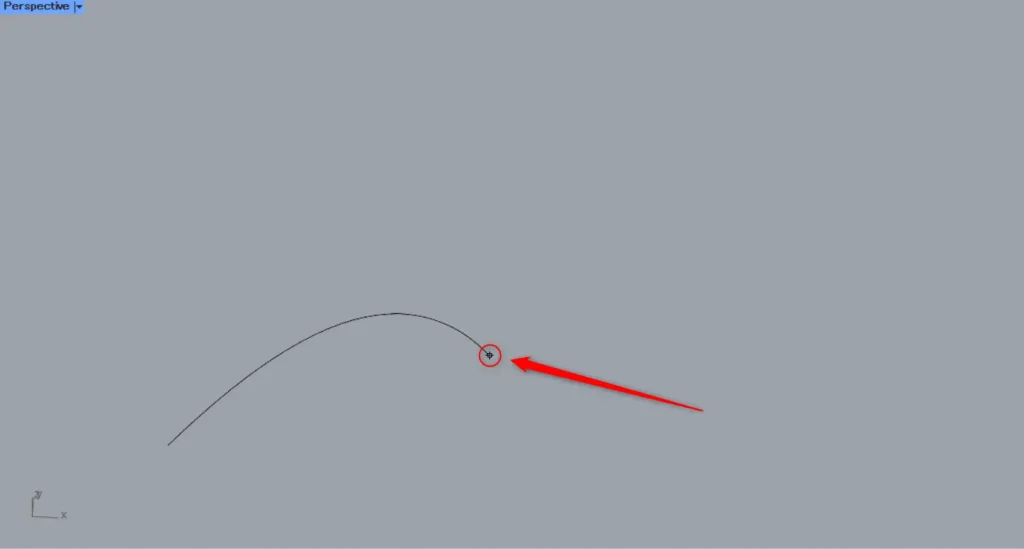
その後、次の点を指定します。
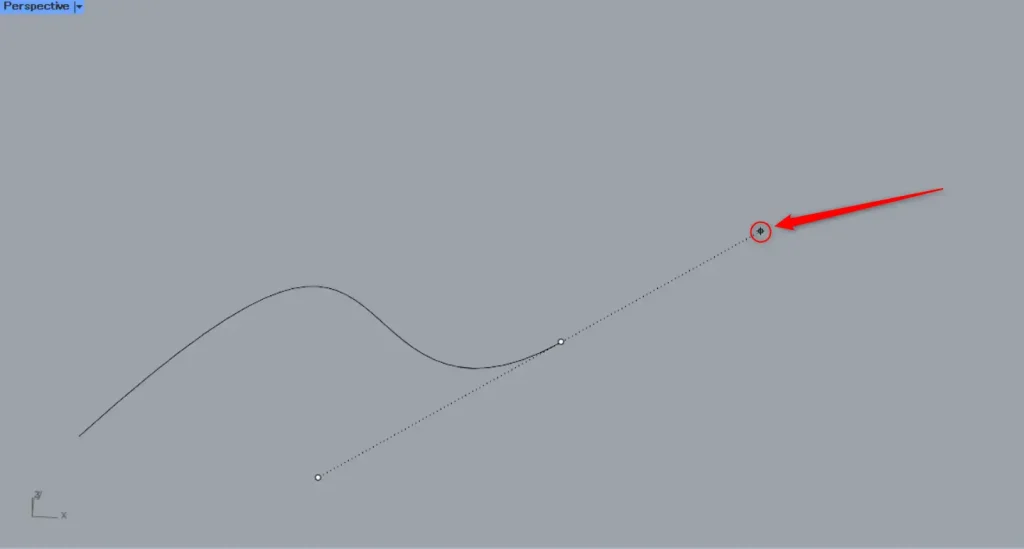
すると、再度ハンドルが表示されるようになるので、次の方向を指定します。
ハンドルの線が長いほど、曲線が曲がるようになります。
このように、点の指定とハンドルの操作を繰り返し、任意の曲線を作成していきます。
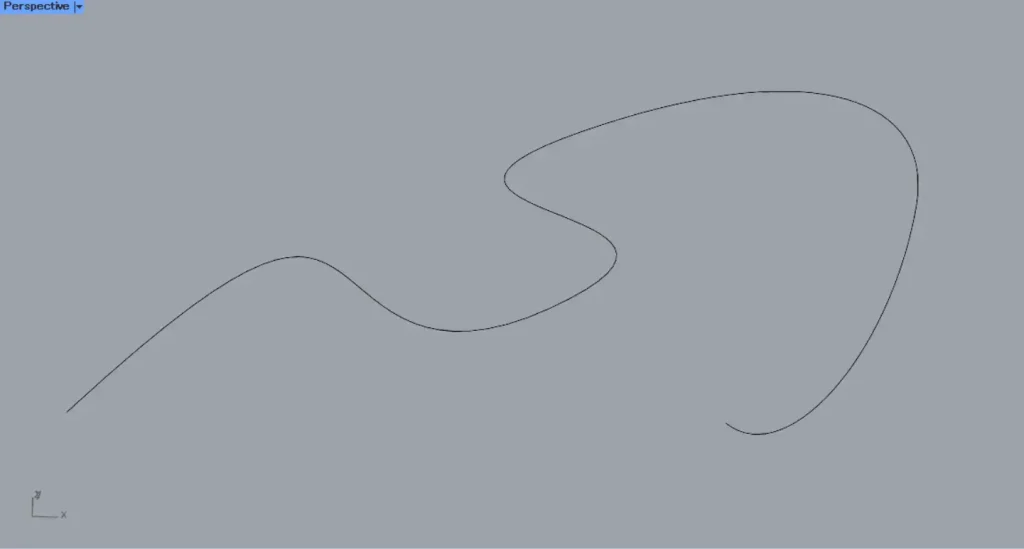
今回作成した曲線が、こちらになります。
今回作成した曲線を選択してみると、「開いた曲線」と表示されます。
閉じるには、始点と終点の位置を同じにします。

すると、このように「閉じた曲線」になりました。
Sketch
最後は、Sketchコマンドです。
このコマンドでは、フリーハンドで書くように曲線を作成することができます。
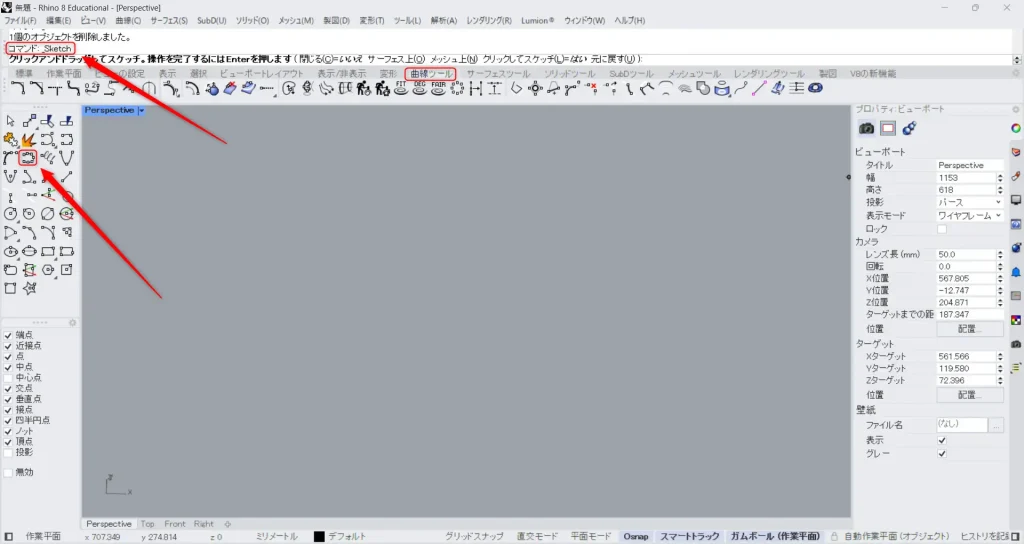
Sketchを使う場合、コマンドにSketchと入力します。
もしくは、曲線ツールタブにある上の画像のアイコンをクリックします。
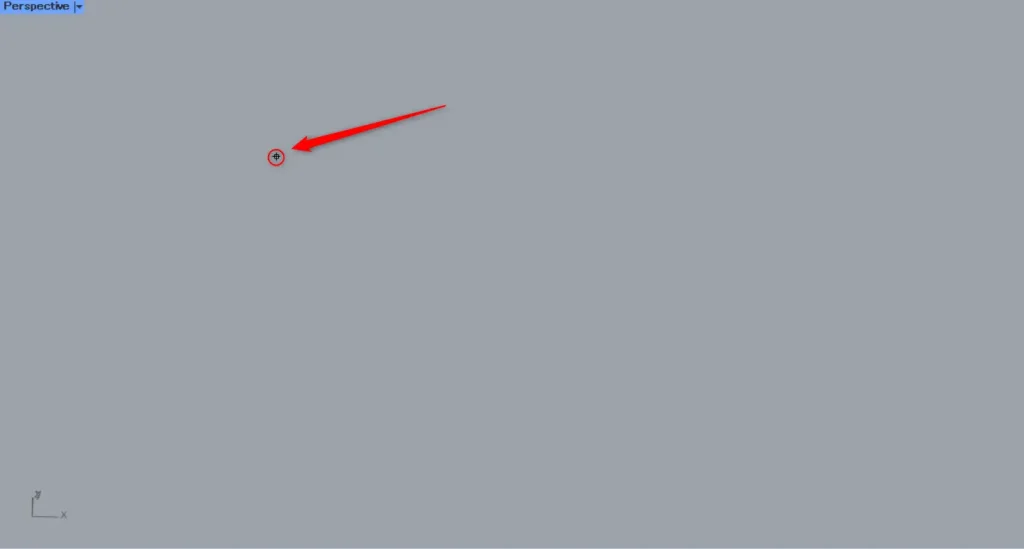
最初に、任意の場所に始点を指定します。
その後、マウスのカーソルを動かすと、動かした後に曲線が自動的に作成されます。
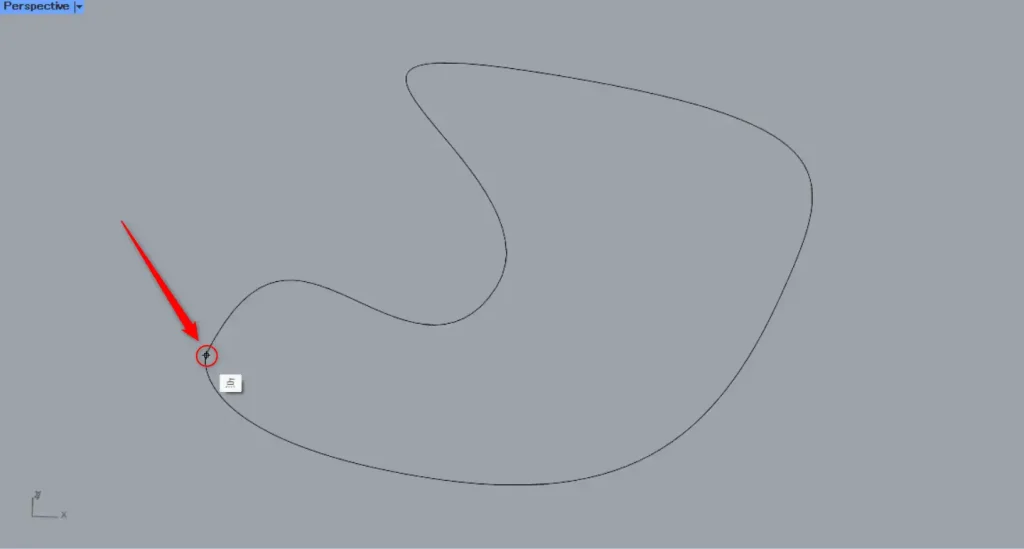
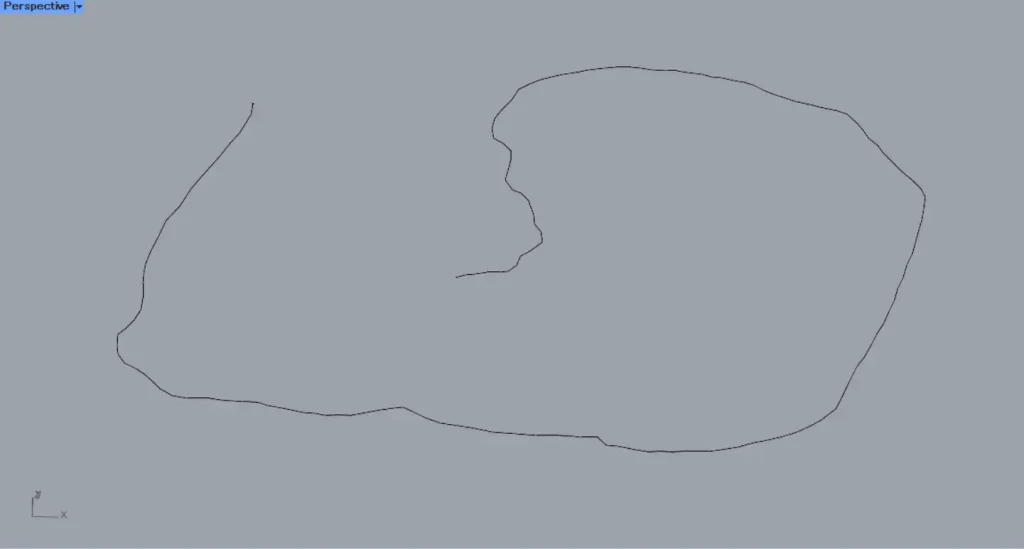
最終的に、フリーハンドで書いたような曲線が作成されました。
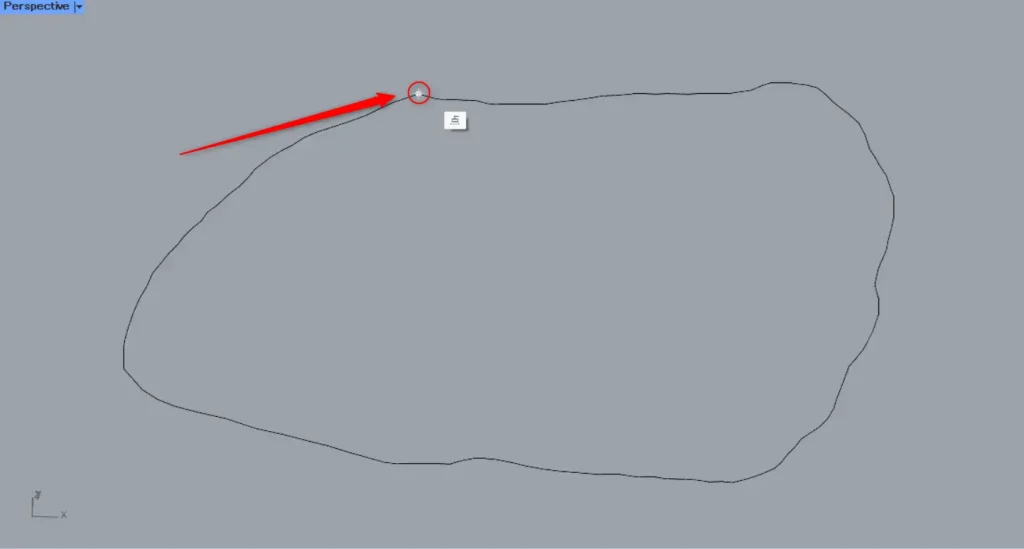
フリーハンドのように曲線を作成しますが、始点と終点を同じ位置に指定することができます。
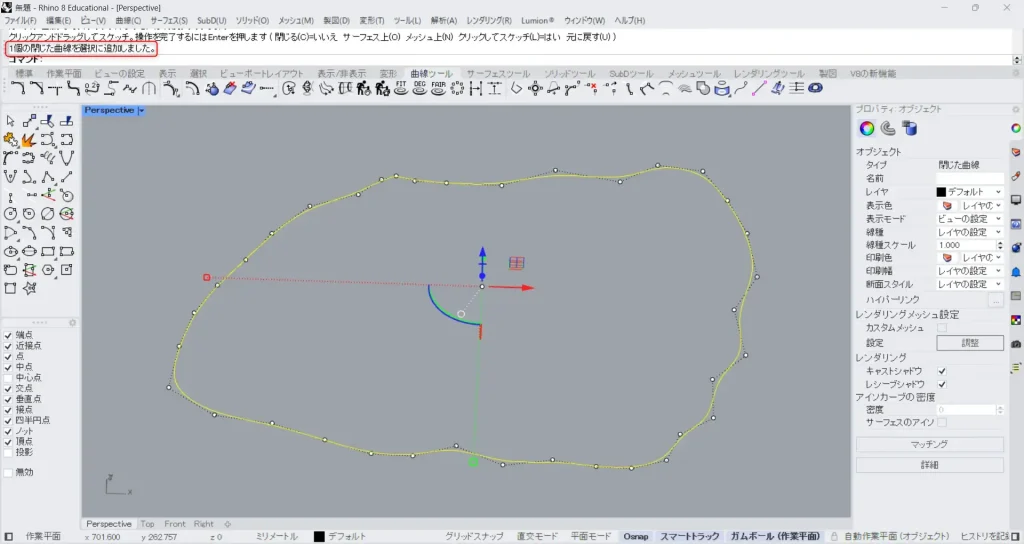
そのため、このように閉じた曲線にすることも可能です。
今回は以上になります。


Comment