
![[Grasshopper]格子線を滑らかなパイプでつなぐ+部分削除[データも配布]](https://iarchway.com/wp-content/uploads/2025/02/eyecatch_web-9.jpg)
今回は、グラスホッパーで格子線を滑らかなパイプでつなぎ、指定した点のアトラクター周辺部分を削除する方法を解説します。
動画で見る
全体の様子
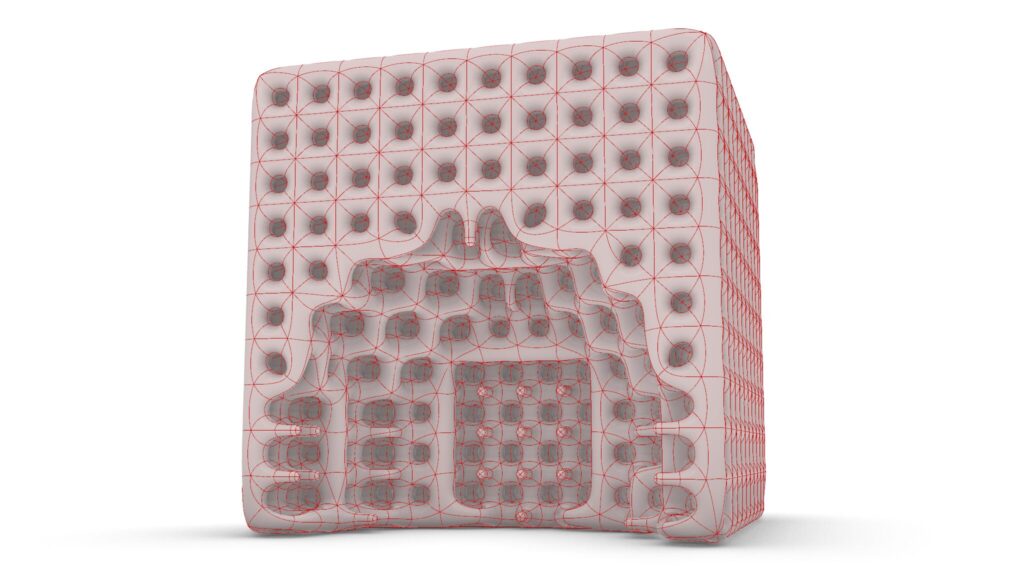
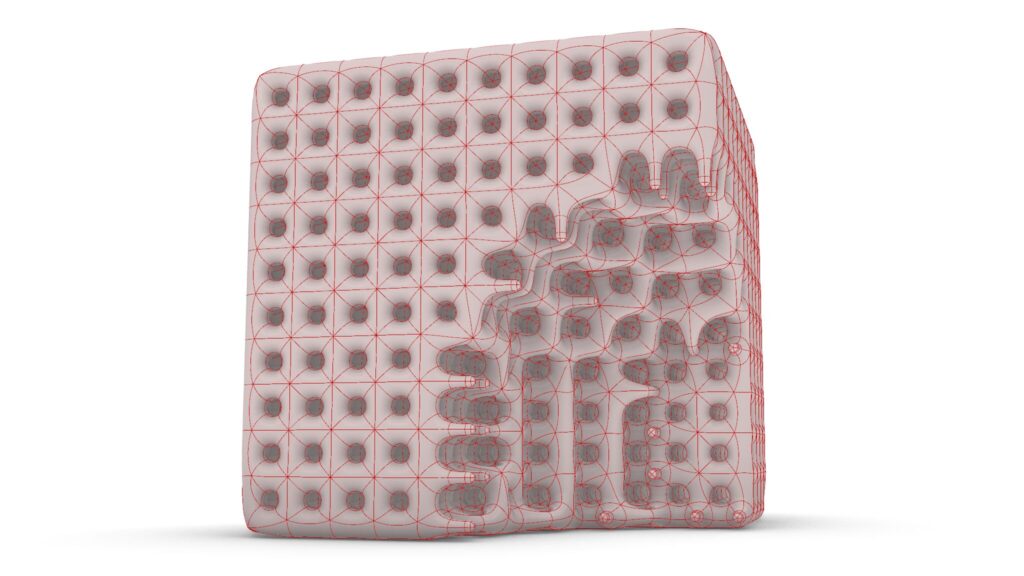
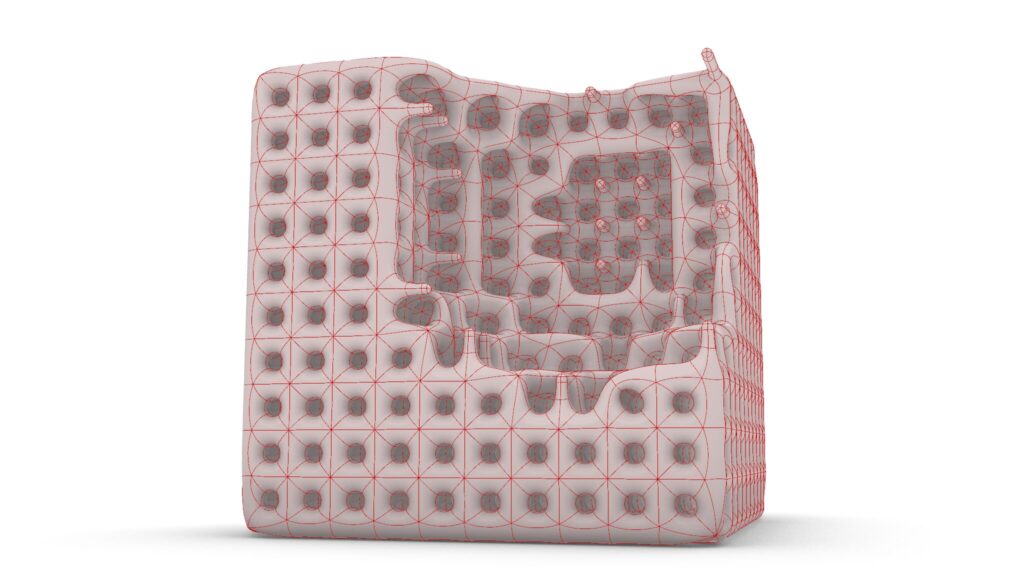
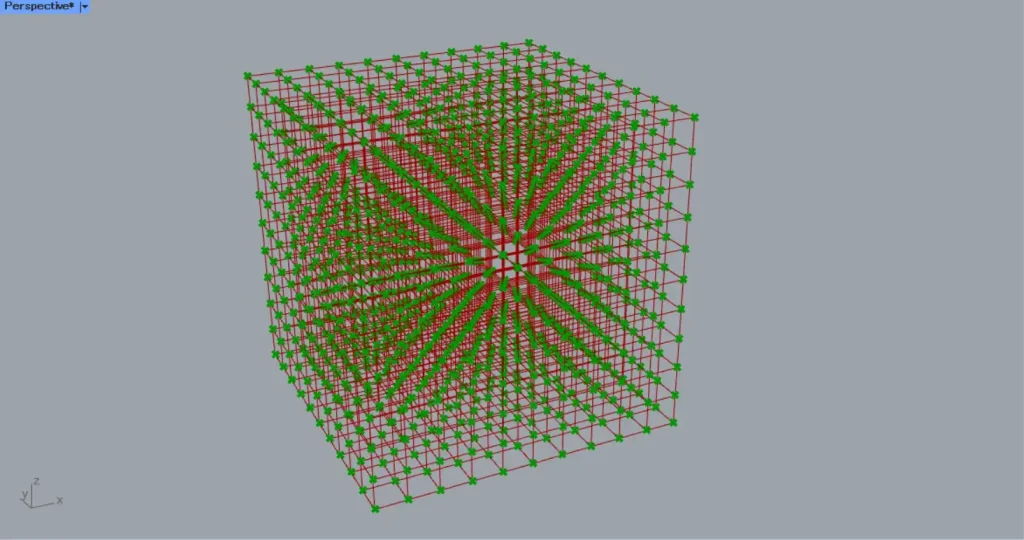
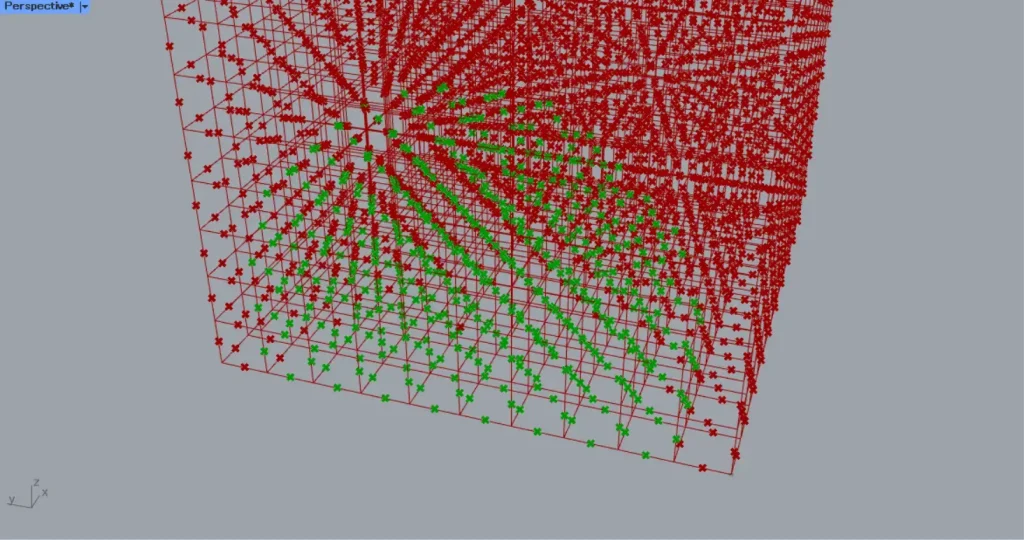
上3枚の画像は、アトラクターの位置を変えた様子です。
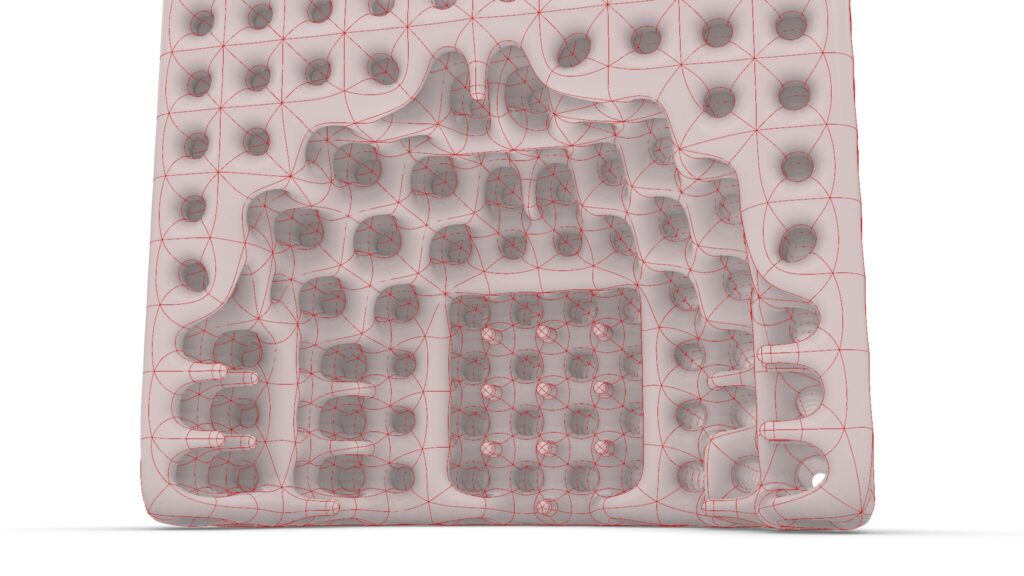

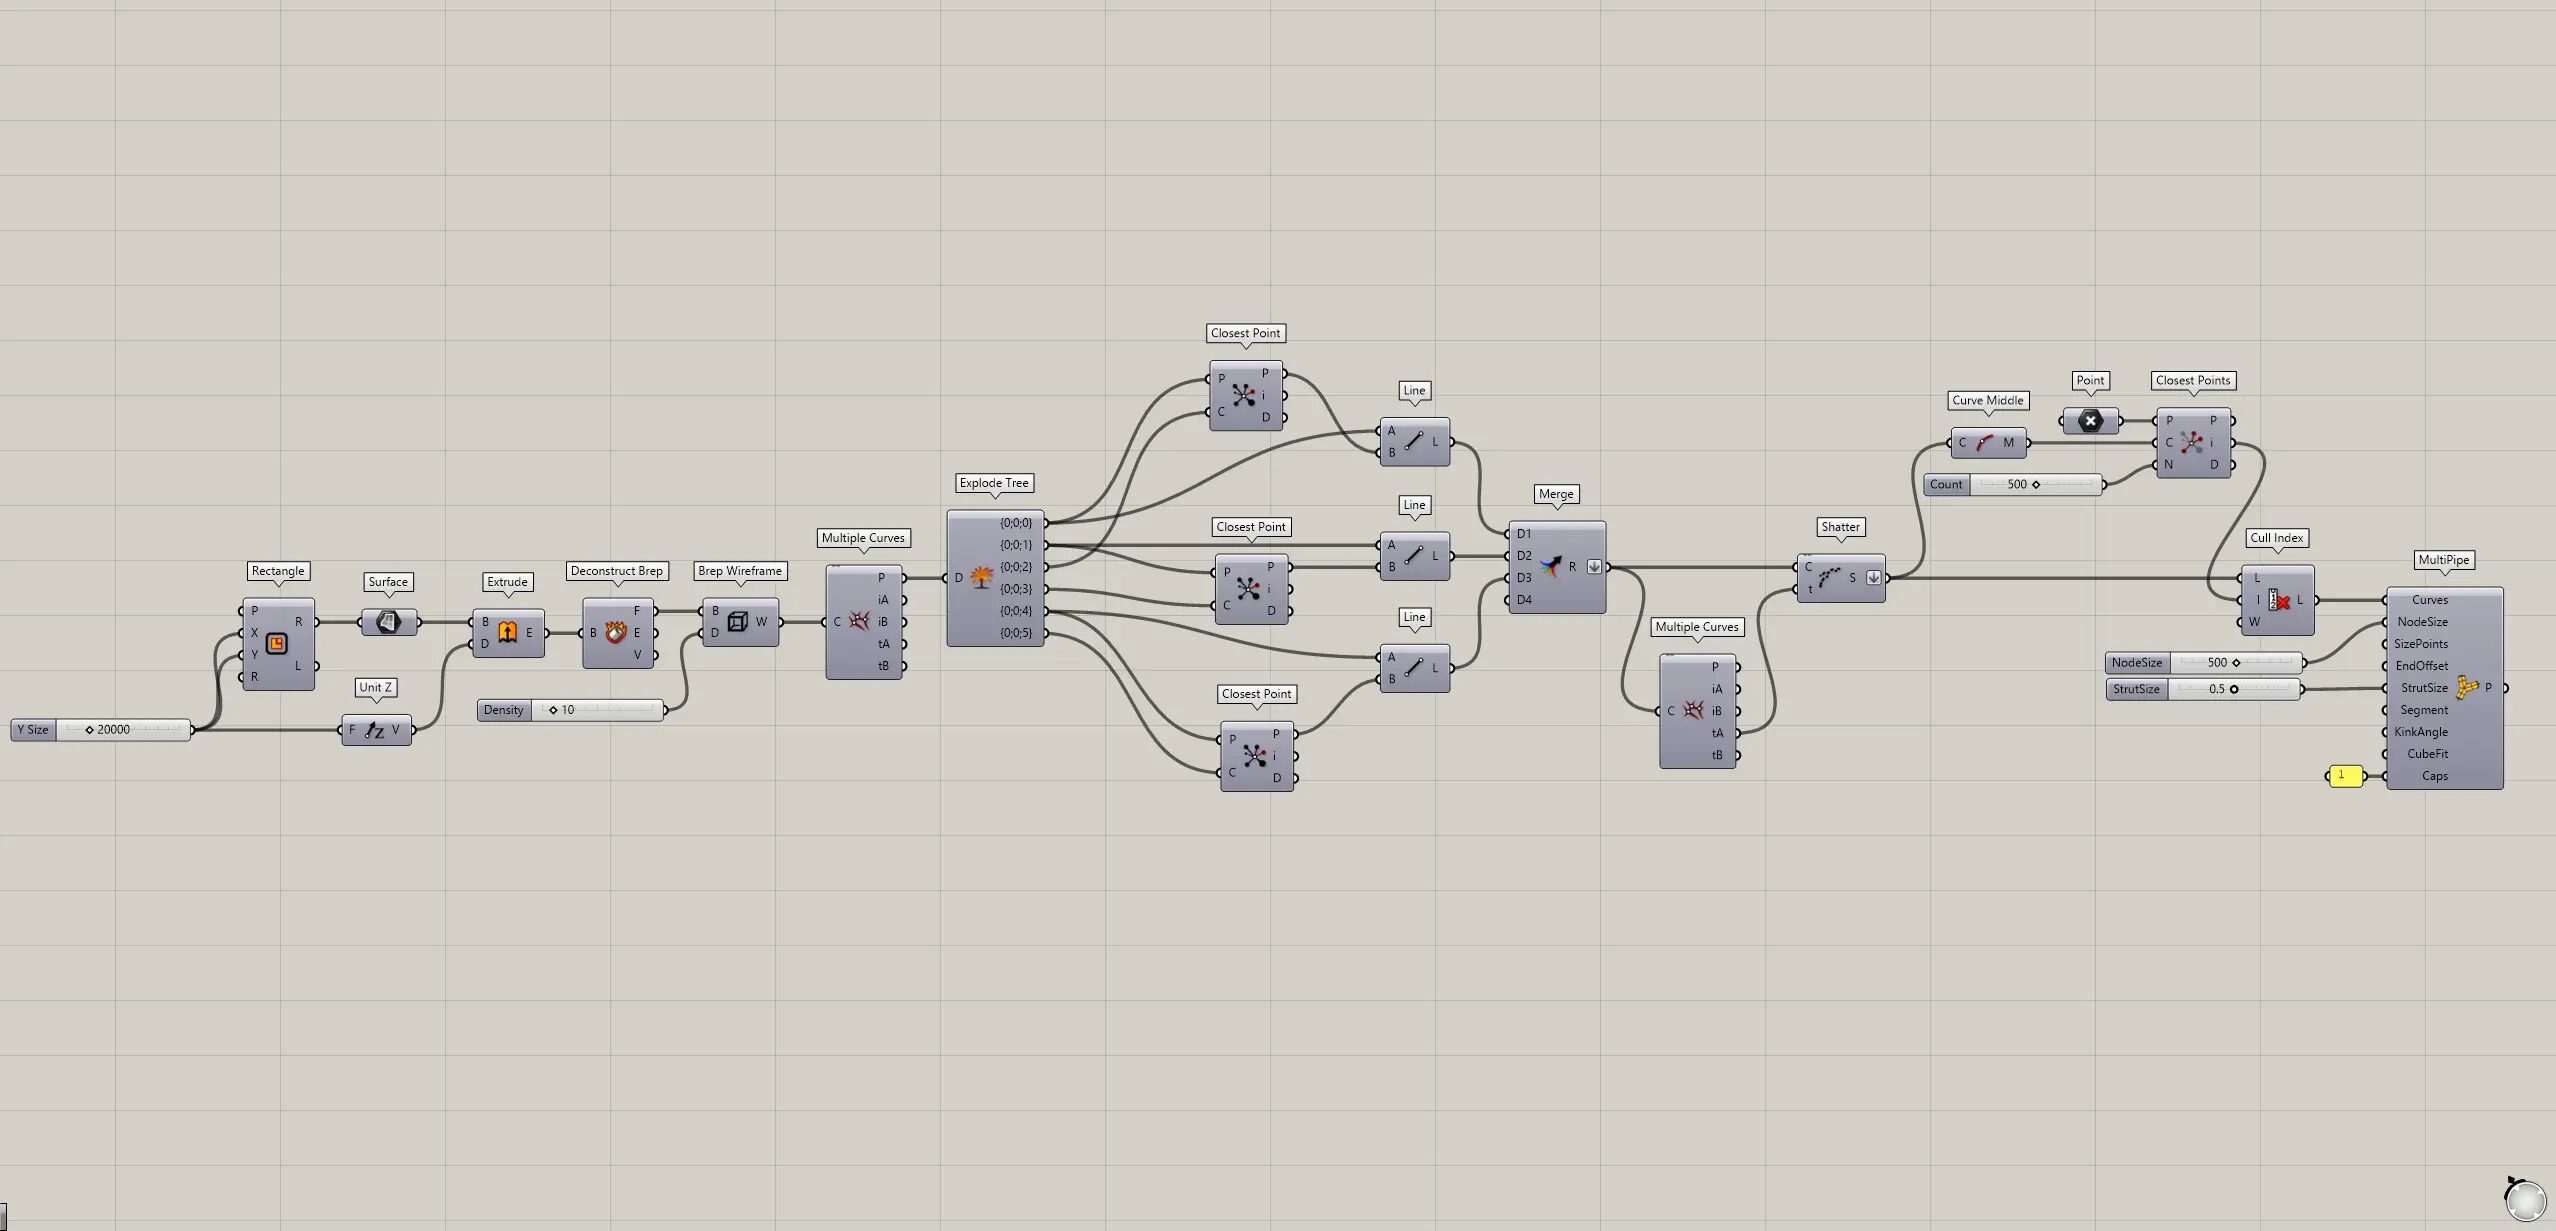
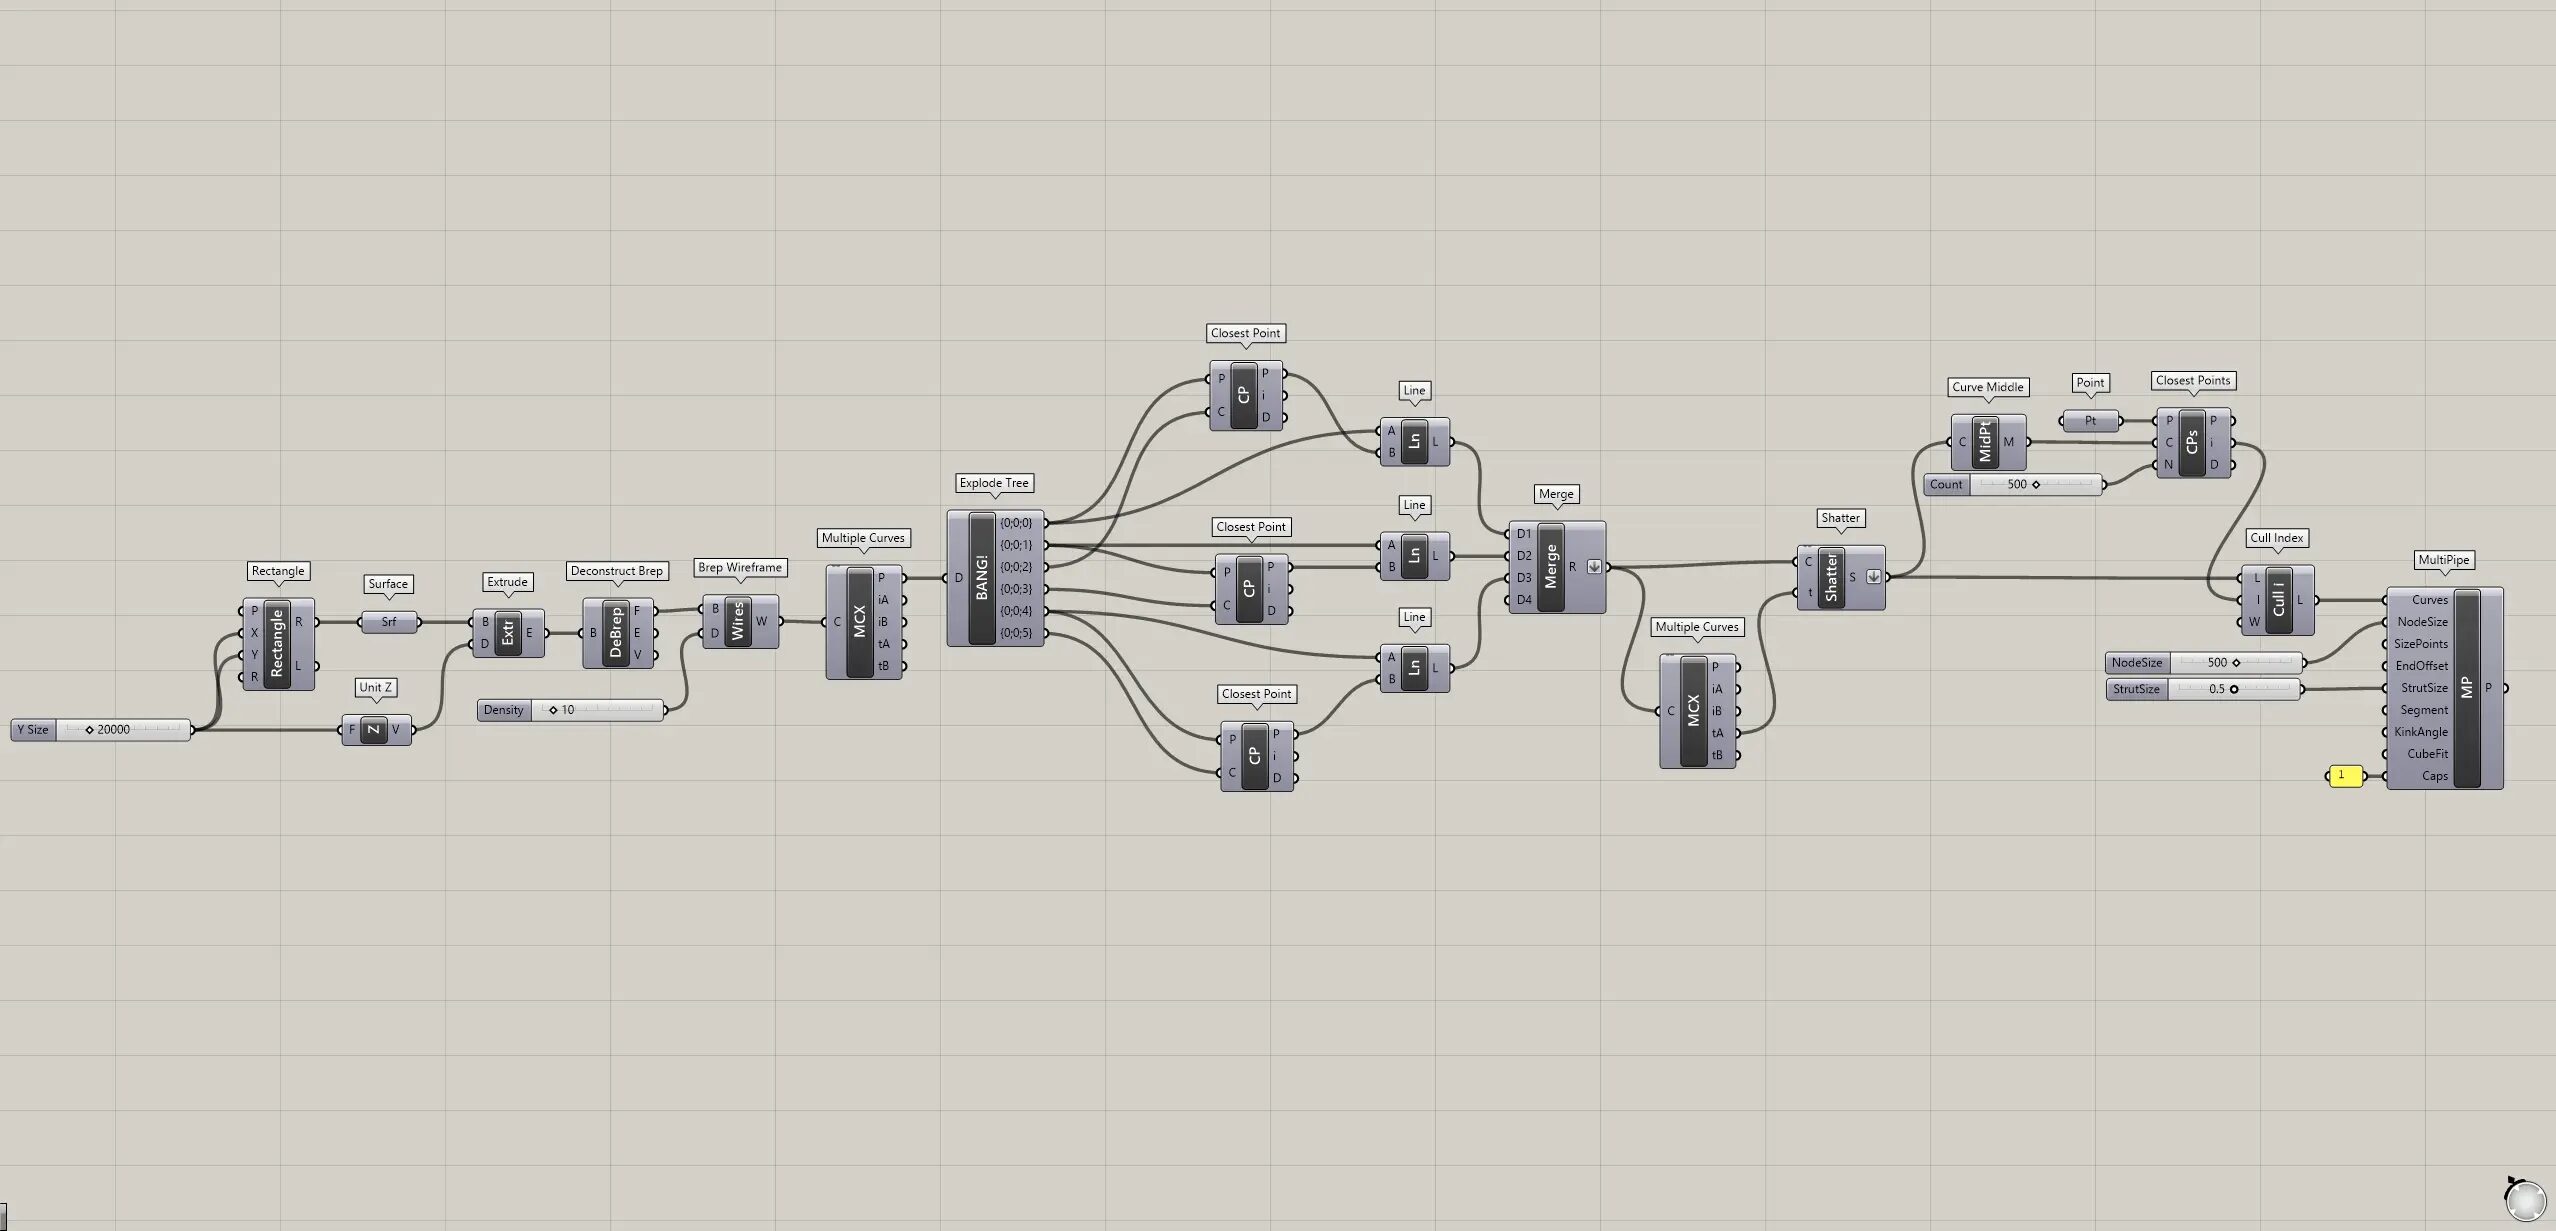
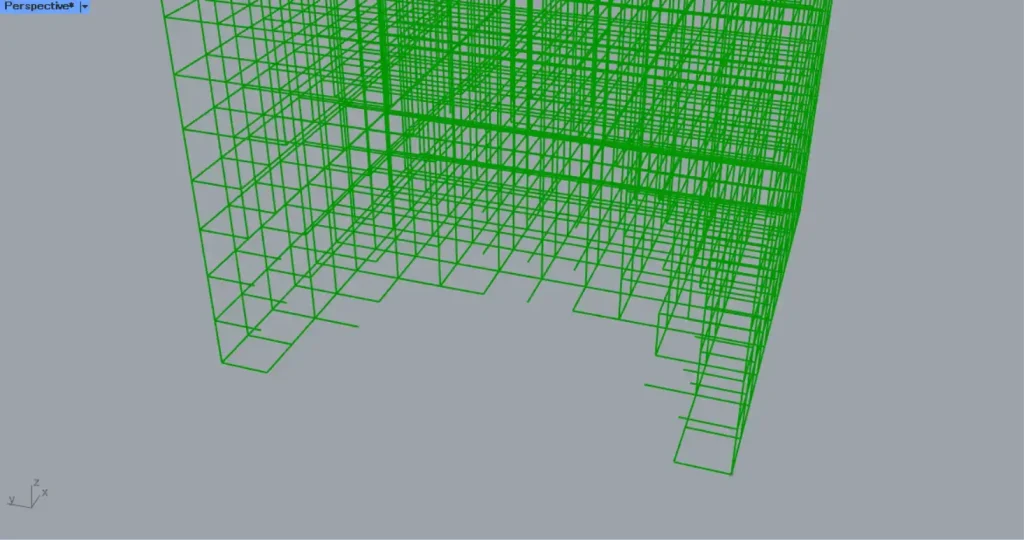
上3枚の画像は、グラスホッパーの様子です。
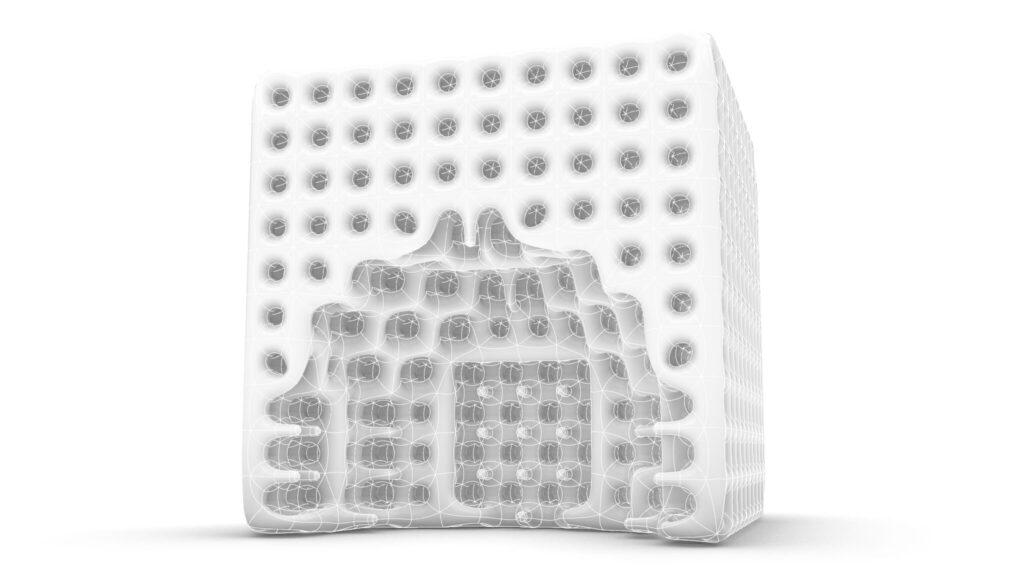
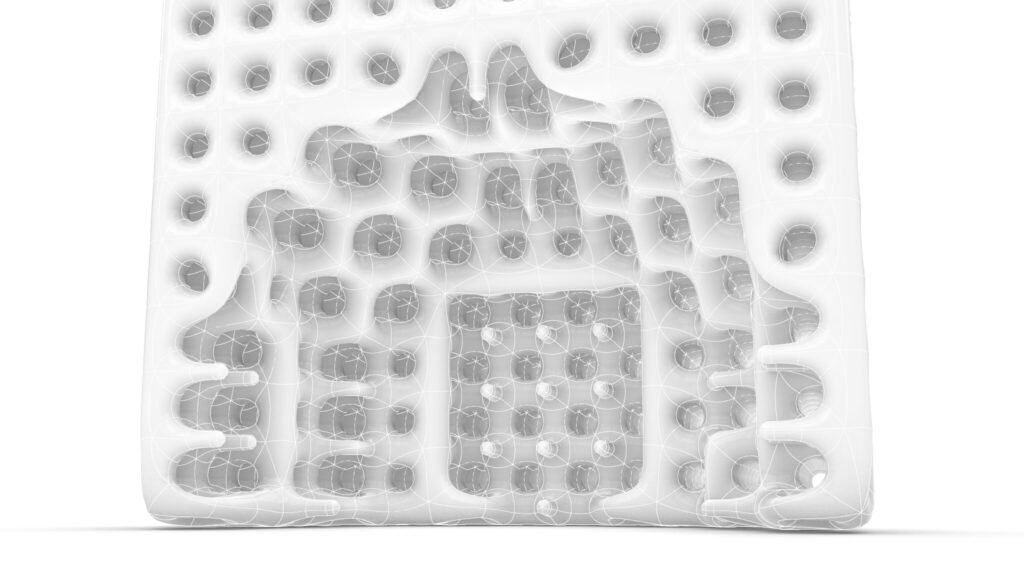
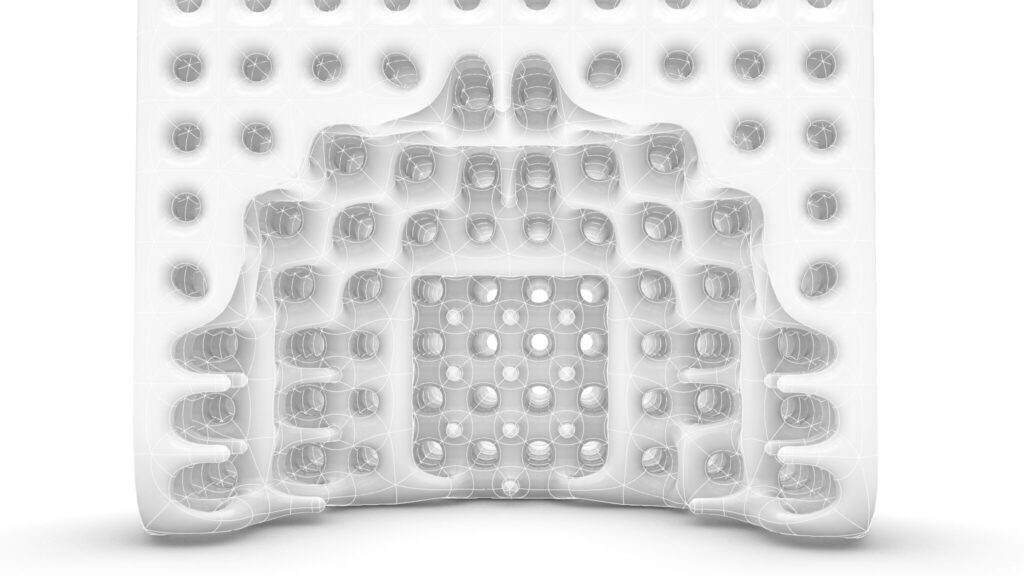
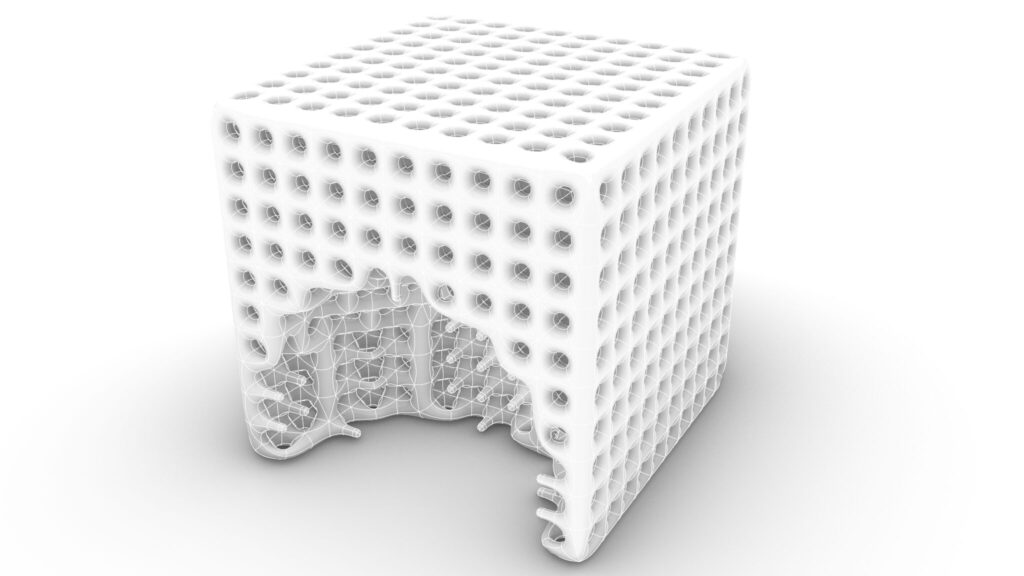
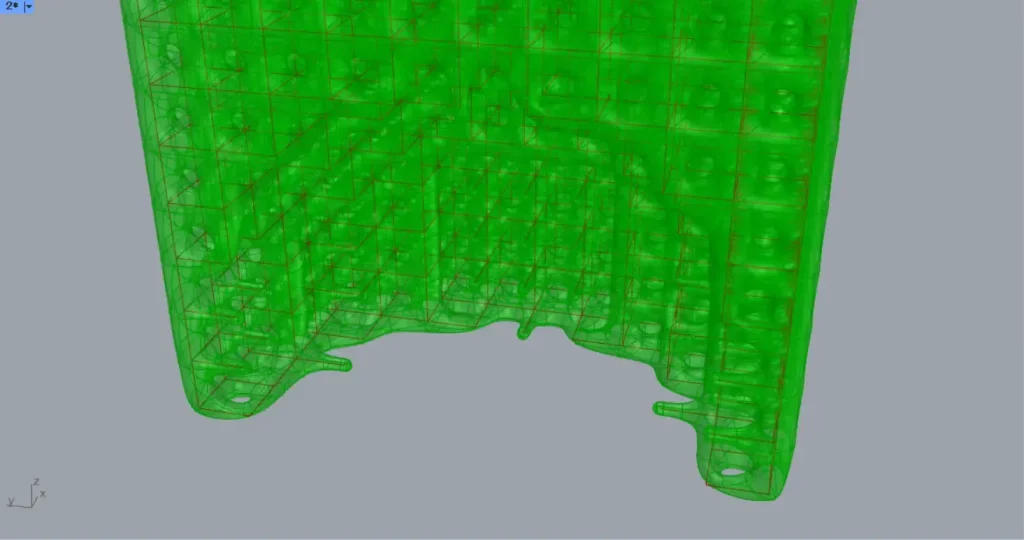
上4枚の画像は、ライノセラス上に書き出した様子です。
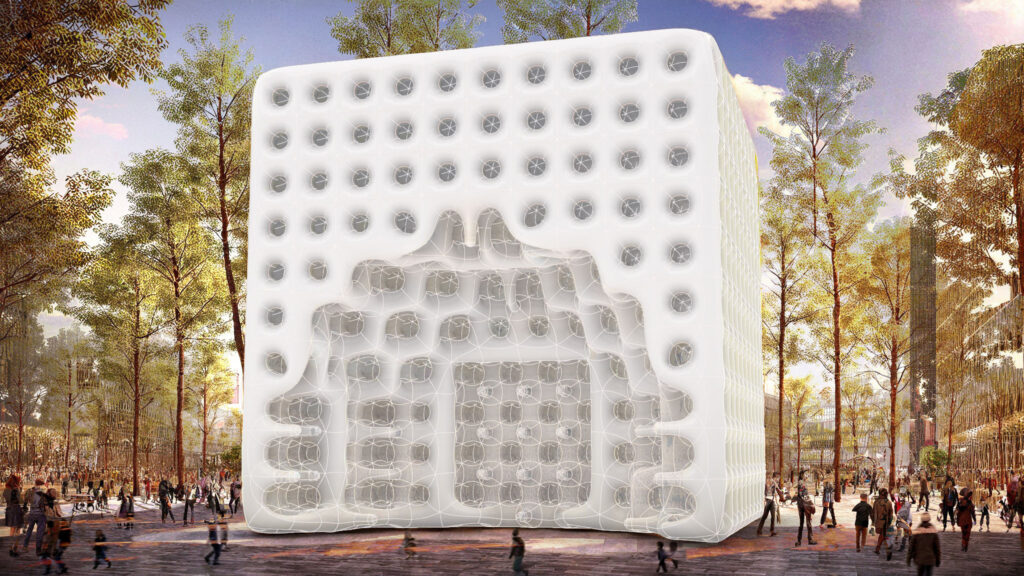
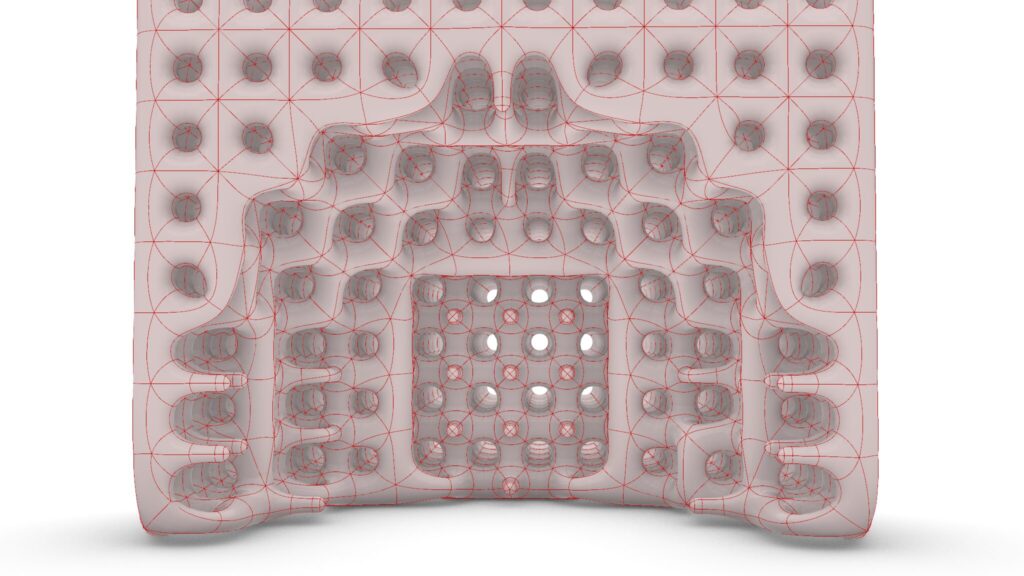
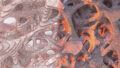
上の画像は、最終的にレンダリングした様子です。
それでは、順番に解説していきます。
今回使用したグラスホッパーとライノセラスのデータダウンロードはこちら
ダウンロードできるデータのご利用に関しては、利用規約をご覧ください。
全体コンポーネント
全体コンポーネント:①Rectangle ②Surface ③Unit Z ④Extrude ⑤Deconstruct Brep ⑥Brep Wireframe ⑦Multiple Curves ⑧Explode Tree ⑨Closest point ⑩Line ⑪Merge ⑫Shatter ⑬Curve Middle ⑭Point ⑮Closest Points ⑯Cull Index ⑰MultiPipe
格子線
最初に、格子線を作成していきます。
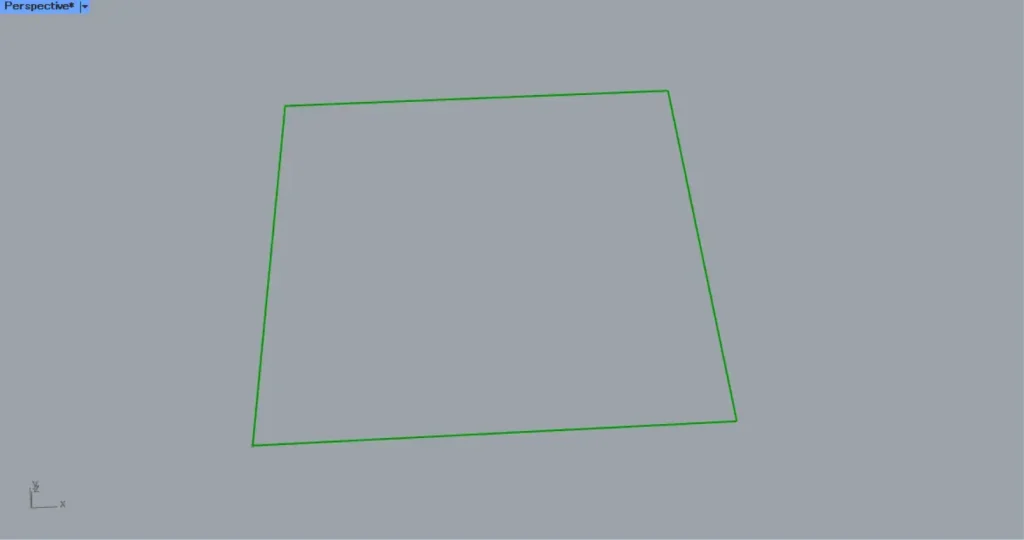
Rectangle(XとY)に、辺の長さの数値を入力します。
今回は、どちらにも20000をつなげています。
すると、上の画像のように、正方形の線が作成されます。
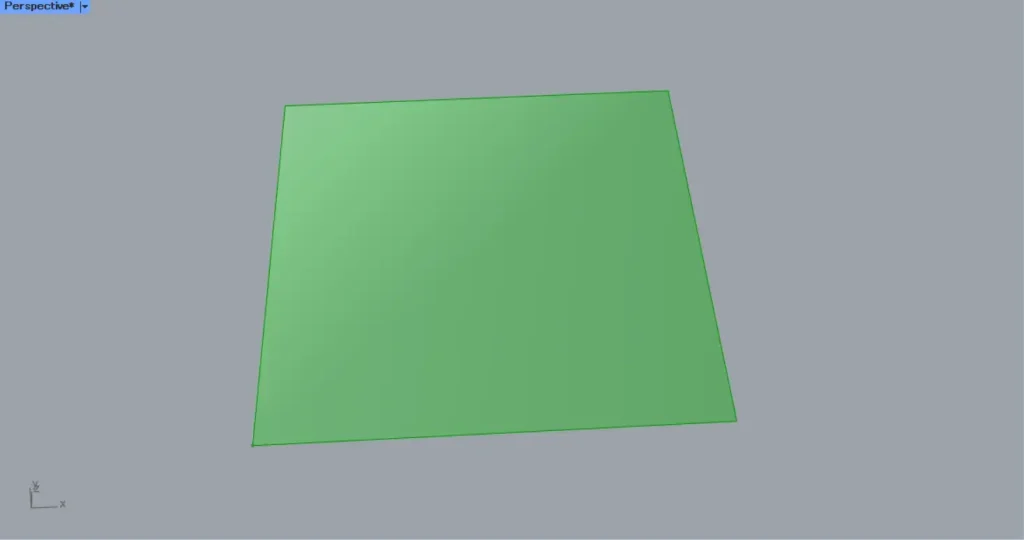
その後、Rectangle(R)を、Surfaceにつなげます。
すると、上の画像のように、線からサーフェスが作成されます。
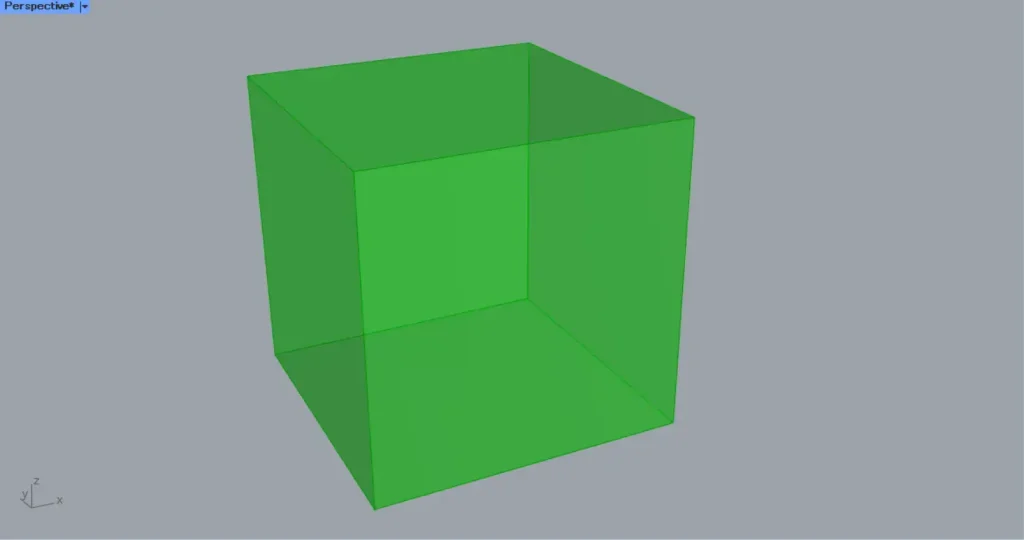
その後、先程の20000を、Unit Zにつなげます。
さらに、Surfaceを、Extrude(B)につなげます。
すると、上の画像のように、立方体が作成されます。
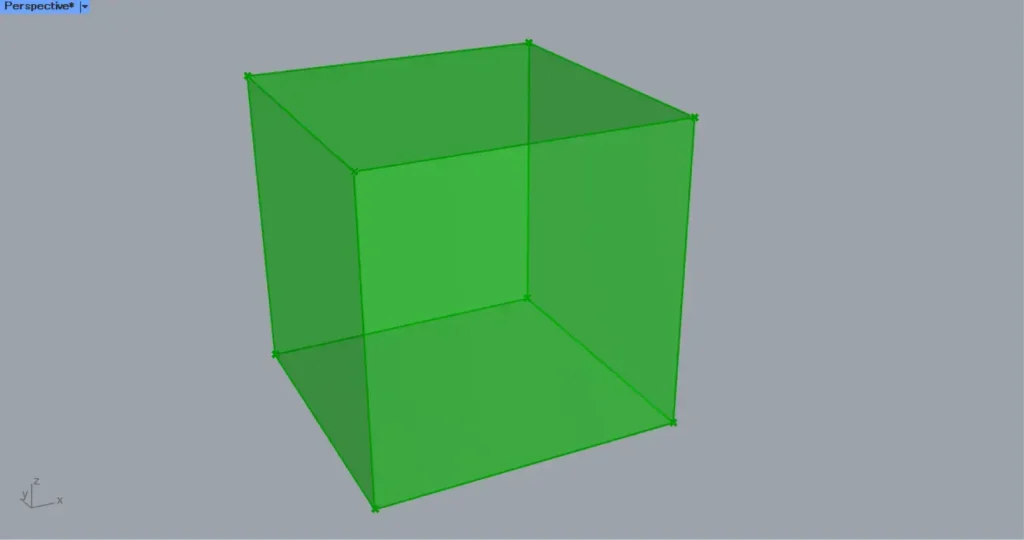
その後、Extrudeを、Deconstruct Brepにつなげます。
すると、立方体が分解され、6つの面を取得できます。
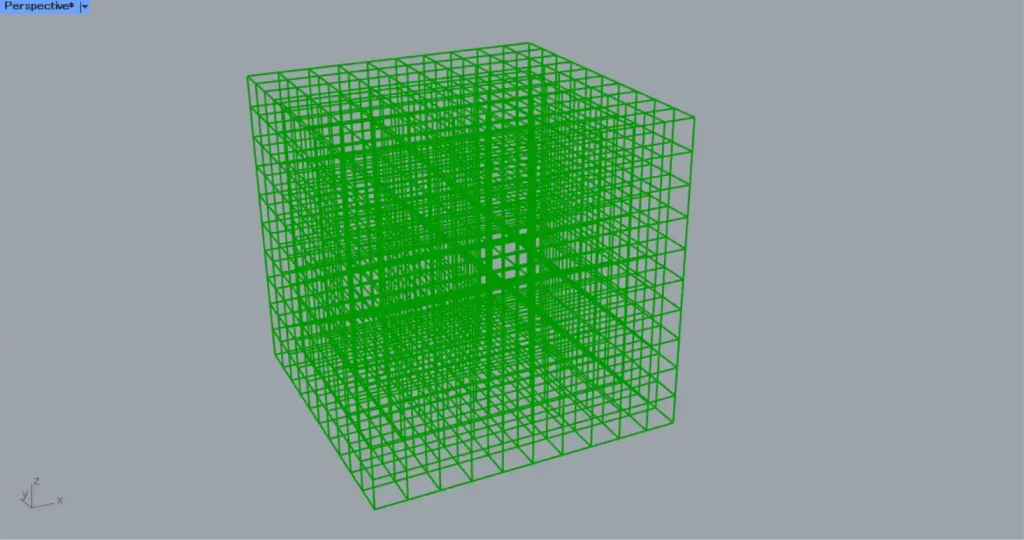
その後、Deconstruct Brep(F)を、Brep Wireframe(B)につなげます。
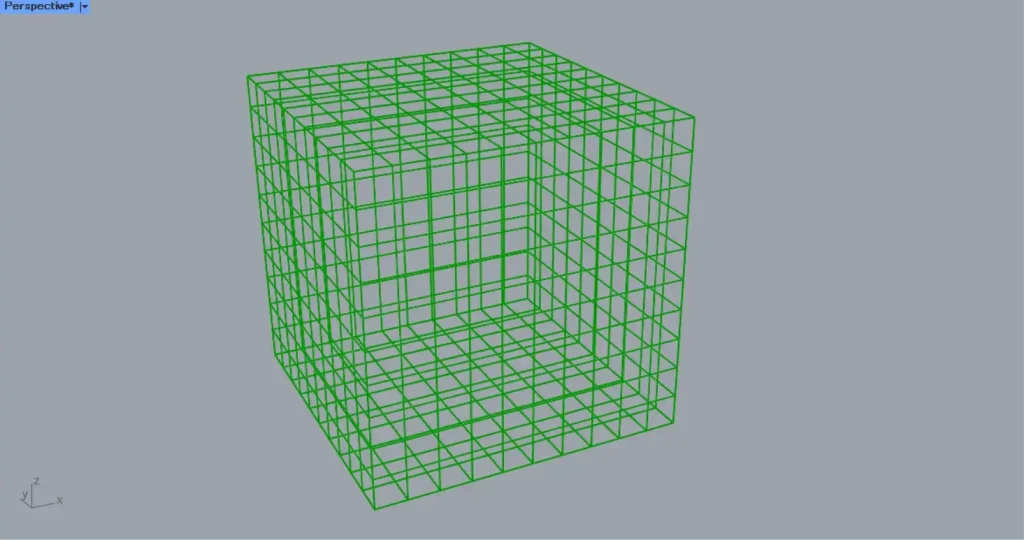
さらに、分割数を、Brep Wireframe(D)につなげます。
すると、上の画像のように、各面を10×10に分割するように、直線が作成されます。

その後、Brep Wireframeを、Multiple Curvesにつなげます。
すると、上の画像のように、線の交差点を取得できます。
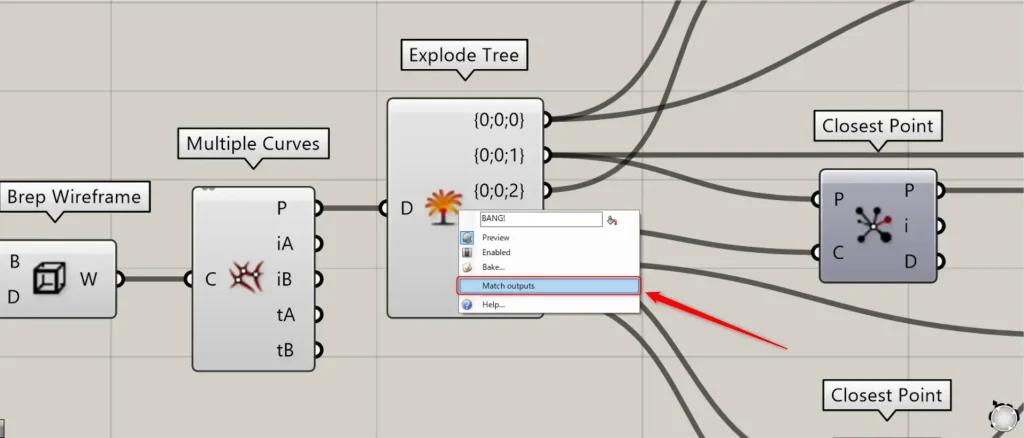
その後、Multiple Curves(P)を、Explode Treeにつなげます。
この際に、Multiple Curvesを右クリックし、Match outputsを選択してください。
すると、面の個数分である6個の端子が右側に作成されます。
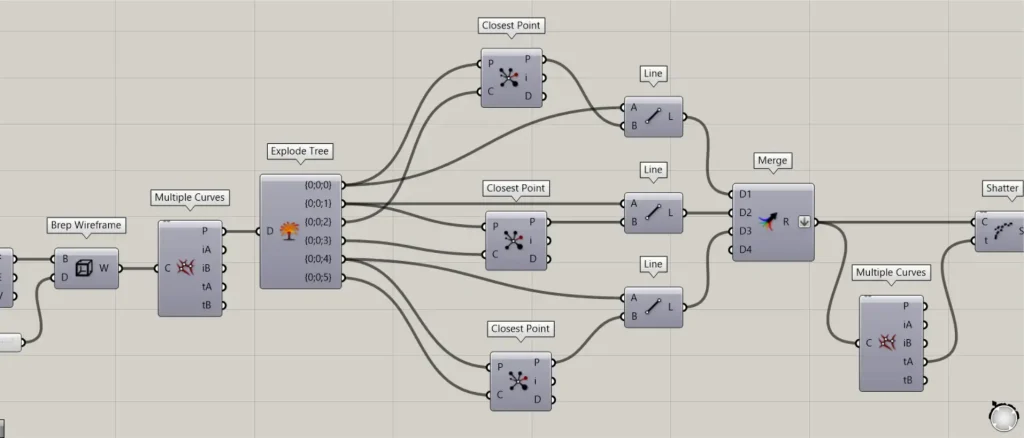
その後、3つのClosest PointとLineを用意します。
そして、上の画像のようにつなげてください。

すると、上の画像のように、反対方向にある点をつなぐ線が作成されます。
これで、線データを1つにまとめられます。
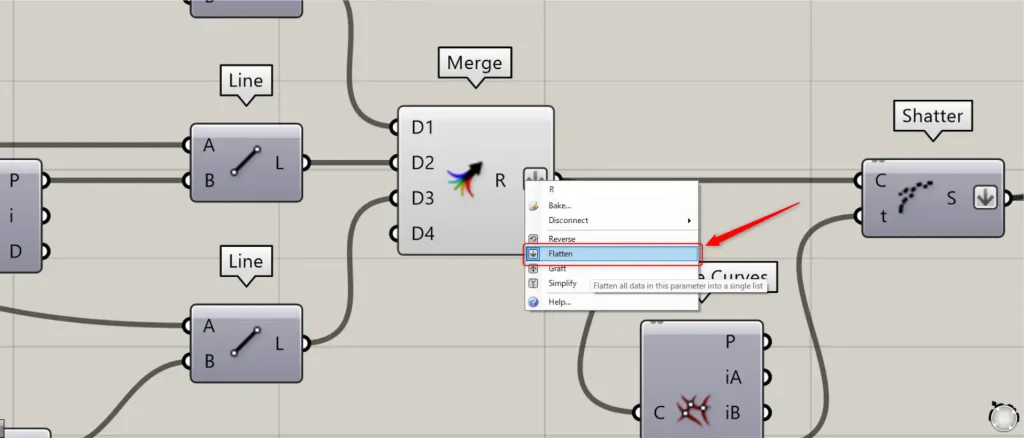
この際に、Merge(R)を右クリックし、Flattenに設定してください。
その後、Mergeを、Multiple Curvesにつなげます。
すると、線の交差する位置の情報を取得できます。

その後、Multiple Curves(tA)を、Shatter(t)につなげます。
すると、上の画像のように、線が交差する位置で、線が分割されます。
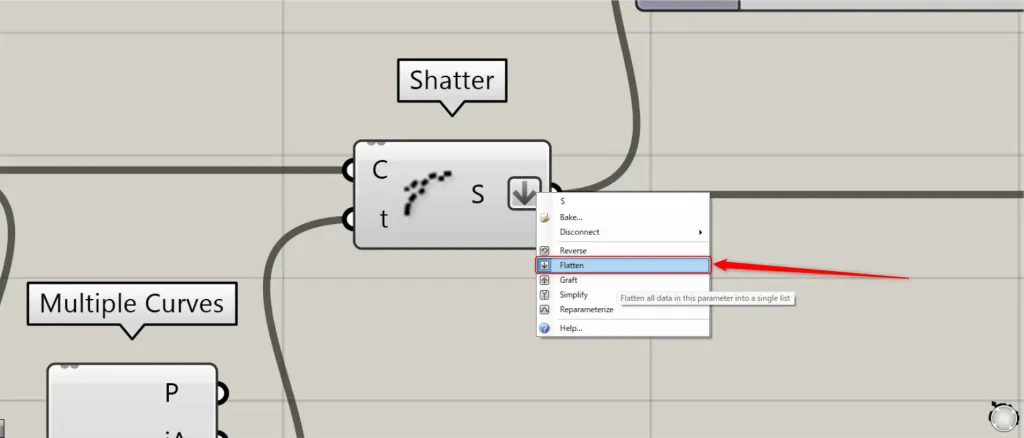
この際に、Shatter(S)を右クリックし、Flattenに設定してください。
これで、格子線の作成が完了しました。
その後、Shatterを、Curve Middleにつなげます。
すると、各線の中点が取得されます。

その後、任意のアトラクターの点を作成します。
今回は、Pointに点を格納しています。
Pointを、Closest Points(P)につなげます。
さらに、Curve Middleを、Closest Points(C)につなげます。
さらに、取得する点の個数を、Closest Points(N)につなげます。
今回は、500をつなげています。
すると、上の画像のように、アトラクターの点の周辺の点の情報を取得できます。
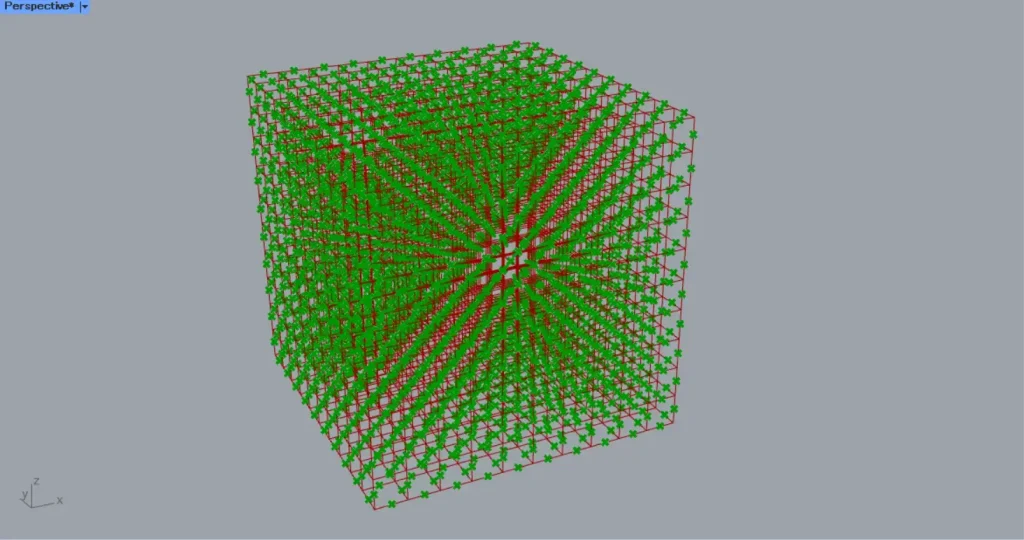
その後、Closest Points(i)を、Cull Index(I)につなげます。
さらに、Shatterを、Cull Index(L)につなげます。
すると、上の画像のように、取得した中点に該当する線が削除されました。
その後、Cull Indexを、MultiPipe(Curves)につなげます。
さらに、結合部の大きさの数値を、MultiPipe(NodeSize)につなげます。
さらに、結合部の中間の大きさの倍率の数値を、MultiPipe(StrutSize)につなげます。
さらに、1を、MultiPipe(Caps)につなげます。
すると上の画像のように、角が丸く滑らかなパイプが作成されます。
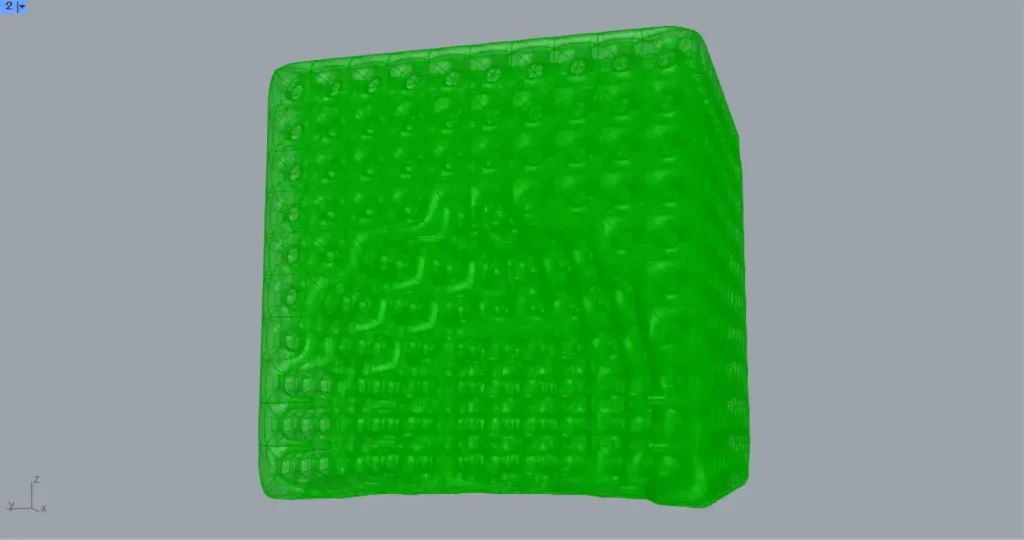
これで完成です。
今回は以上になります。


Comment