
![[Grasshopper]ハッチングを格納するHatchの使い方](https://iarchway.com/wp-content/uploads/2024/10/eyecatch-10.png)
ハッチングを格納する、Hatchの使い方について解説します。

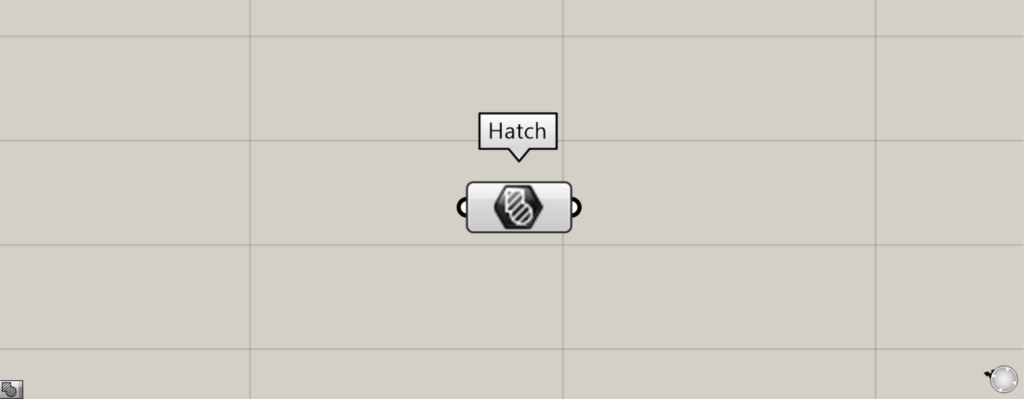
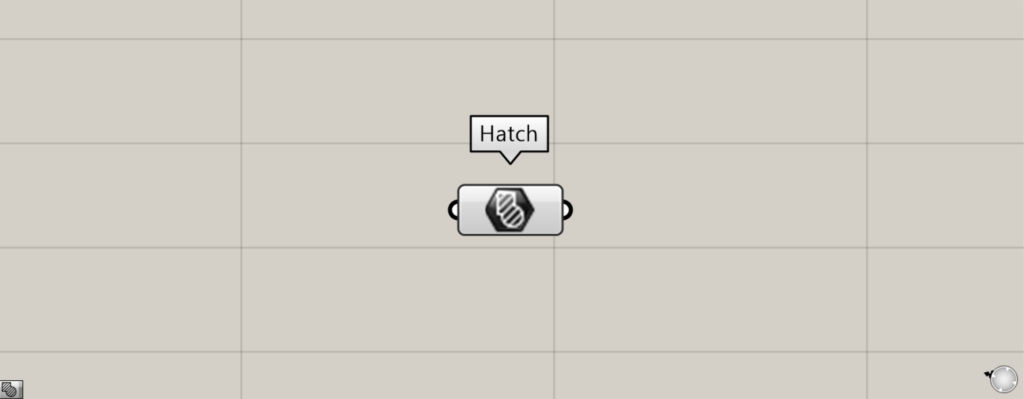
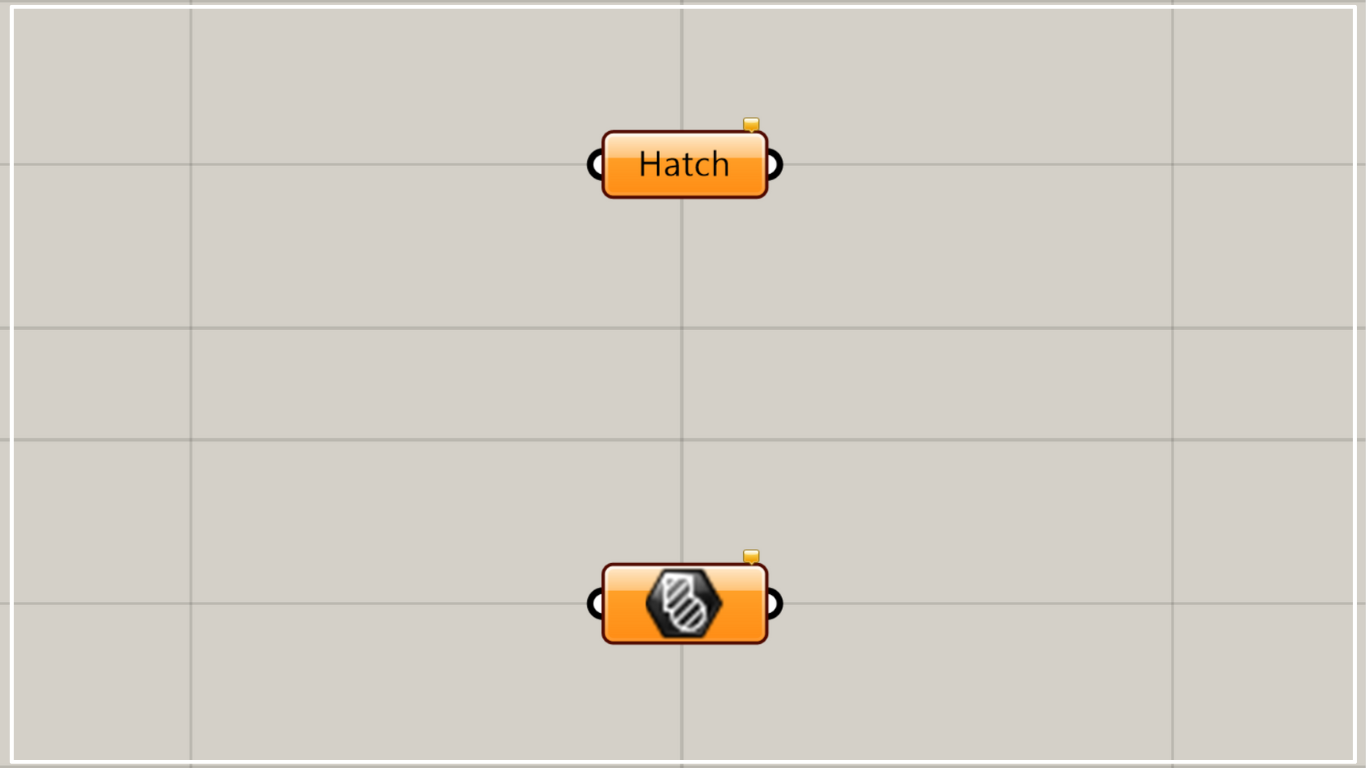
グラスホッパー上では上の2つのどちらかで表されます。
ハッチングを格納する
Hatchを使うことで、ハッチングを格納することができます。
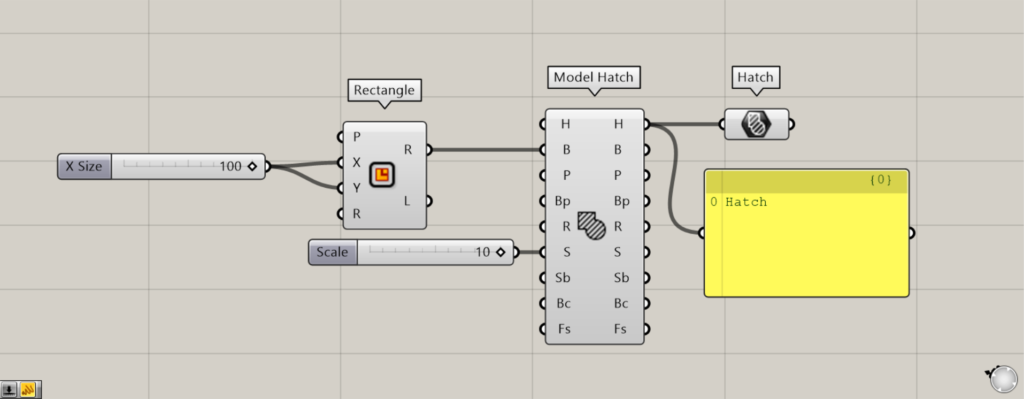
使用コンポーネント:①Rectangle ②Model Hatch ③Hatch
今回は例として、正方形に作成したハッチングを、Hatchに格納してみます。
RectangleのXとY端子に、1辺の長さの数値を入力します。
今回は100を入力し、100×100の正方形を作成しました。
その後、RectangleのR端子を、Model HatchのB端子につなげます。
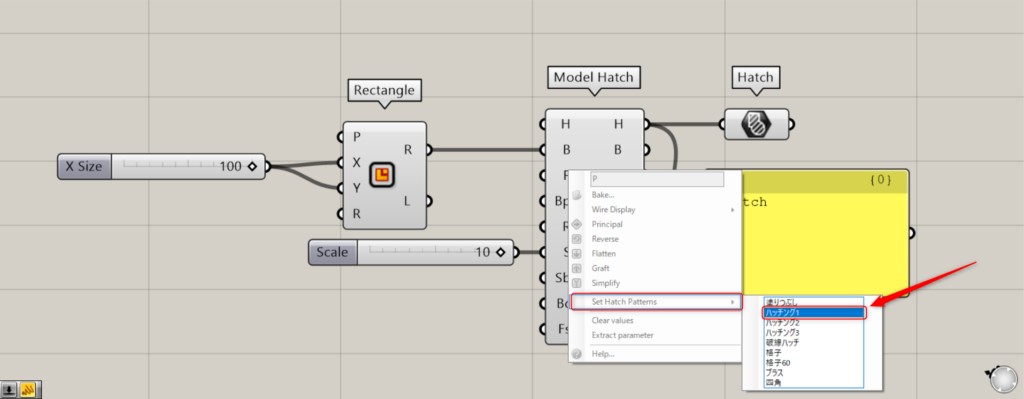
また、今回はModel HatchのP端子を右クリックし、Set Hatch Patternsから、ハッチング1を選択しています。
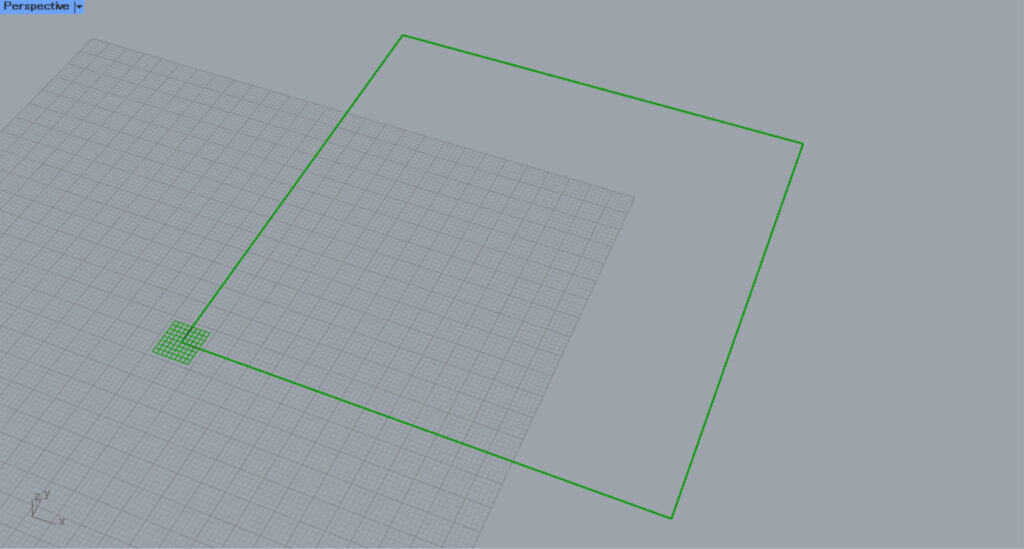
そして、見やすくするために、Model HatchのS端子に数値の10を入力し、ハッチングのスケールを10倍にしています。
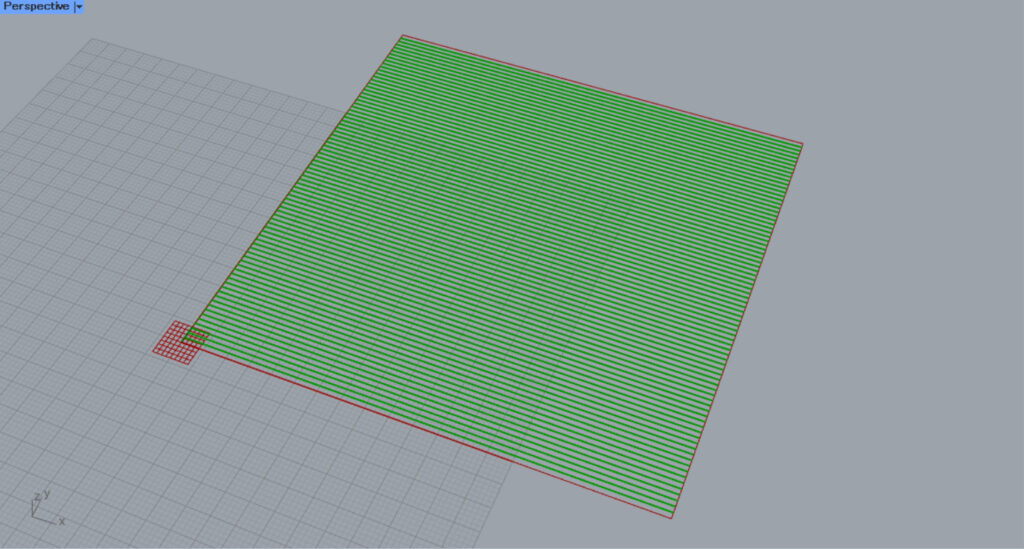
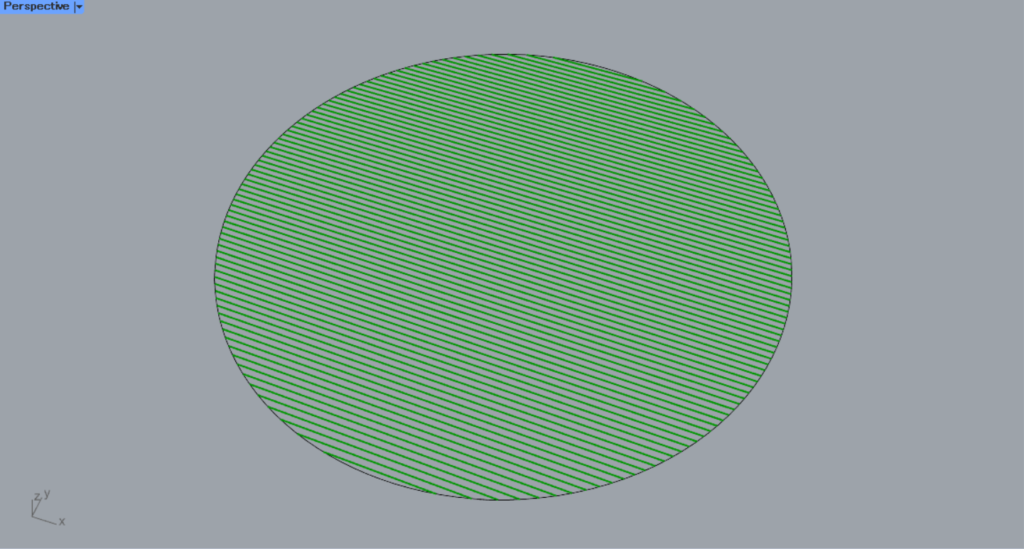
すると、上の画像のようなハッチングが作成されました。
そして、Model HatchのH端子を、Hatchにつなげます。
すると、作成されたハッチングが、Hatchに格納されました。
このように、Hatchにハッチングのデータを格納することができます。
ライノセラス上のハッチングを格納する
ライノセラス上のハッチングを、格納することもできます。
最初は、ライノセラス上の1つのハッチングを格納してみます。
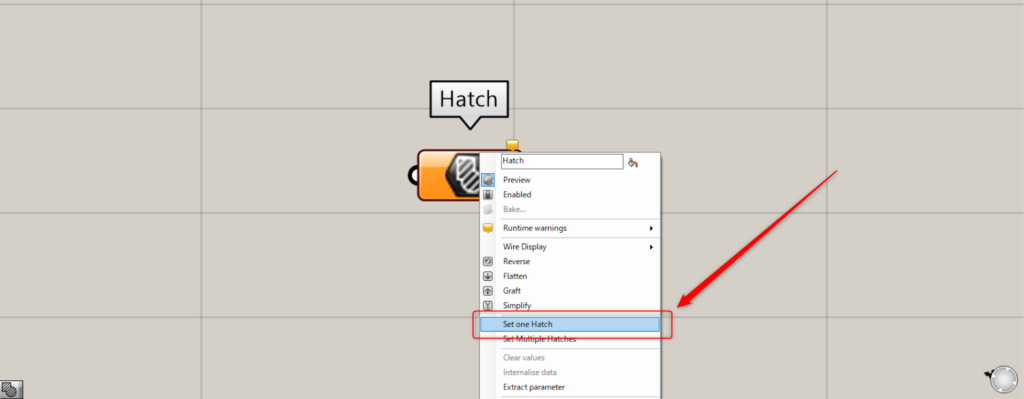
1つの場合、Hatchを右クリックし、Set one Hatchを選択します。

すると、ライノセラス上の画面に切り替わります。
格納したいハッチングを選択します。
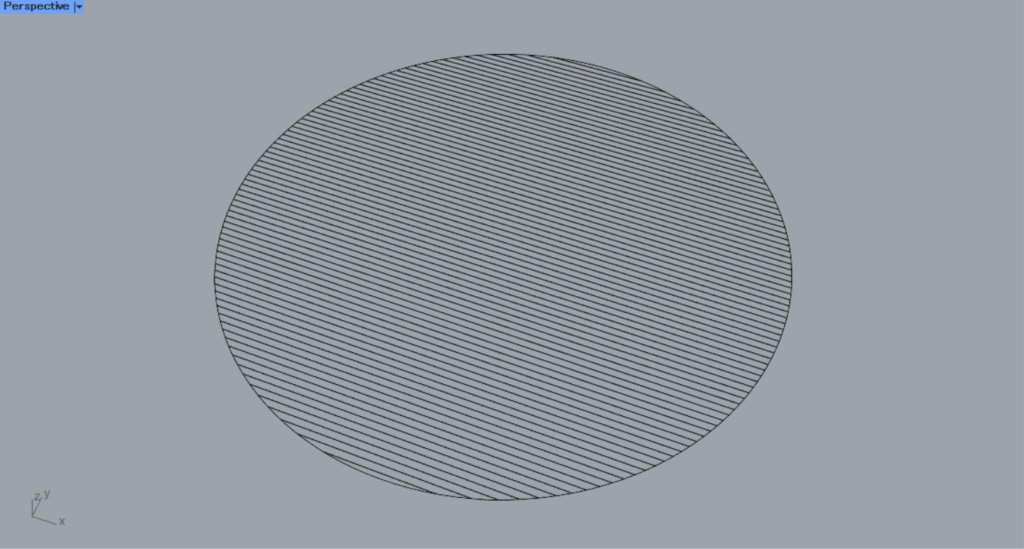
すると、ハッチングが格納されました。
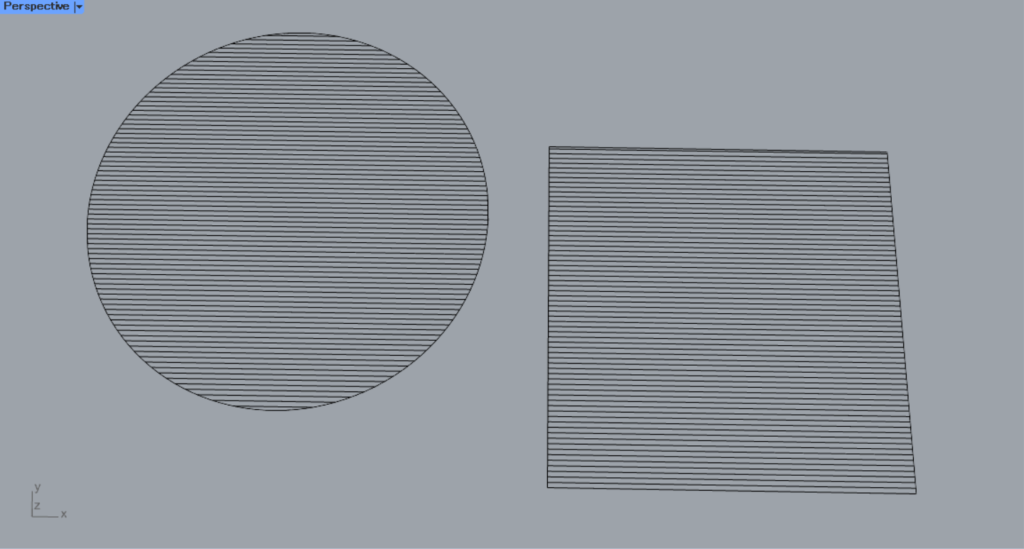
ライノセラス上の様子です。
次は、ライノセラス上の複数のハッチングを格納してみます。
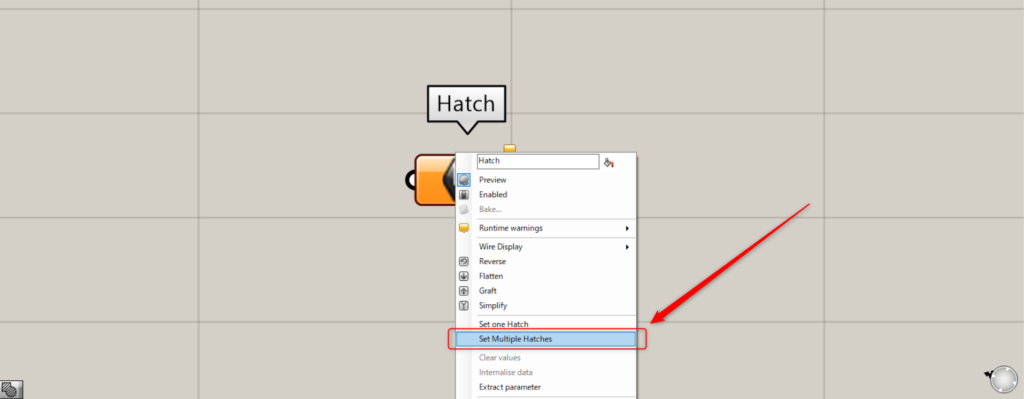
複数の場合、Hatchを右クリックし、Set Multiple Hatchesを選択します。

その後、ライノセラス上で複数のハッチングを選択します。
すると、複数のハッチングが格納されました。
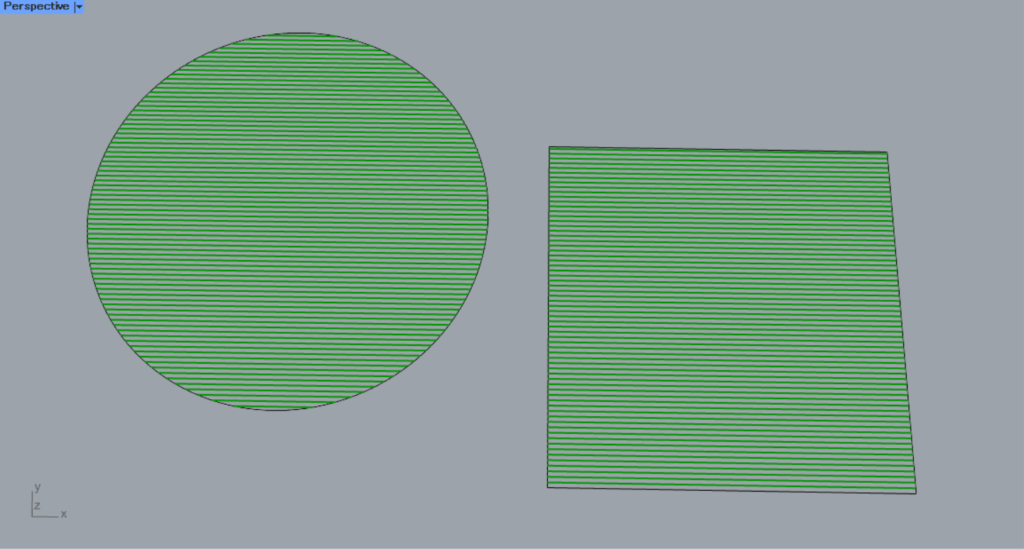
ライノセラス上の様子です。
Hatchコンポーネントを使用しているグラスホッパー記事はこちら↓


Comment