
![[Grasshopper]Meshコンポーネントの使い方](https://iarchway.com/wp-content/uploads/2024/03/eyecatch-34.png)
Meshコンポーネントの使い方について解説します。
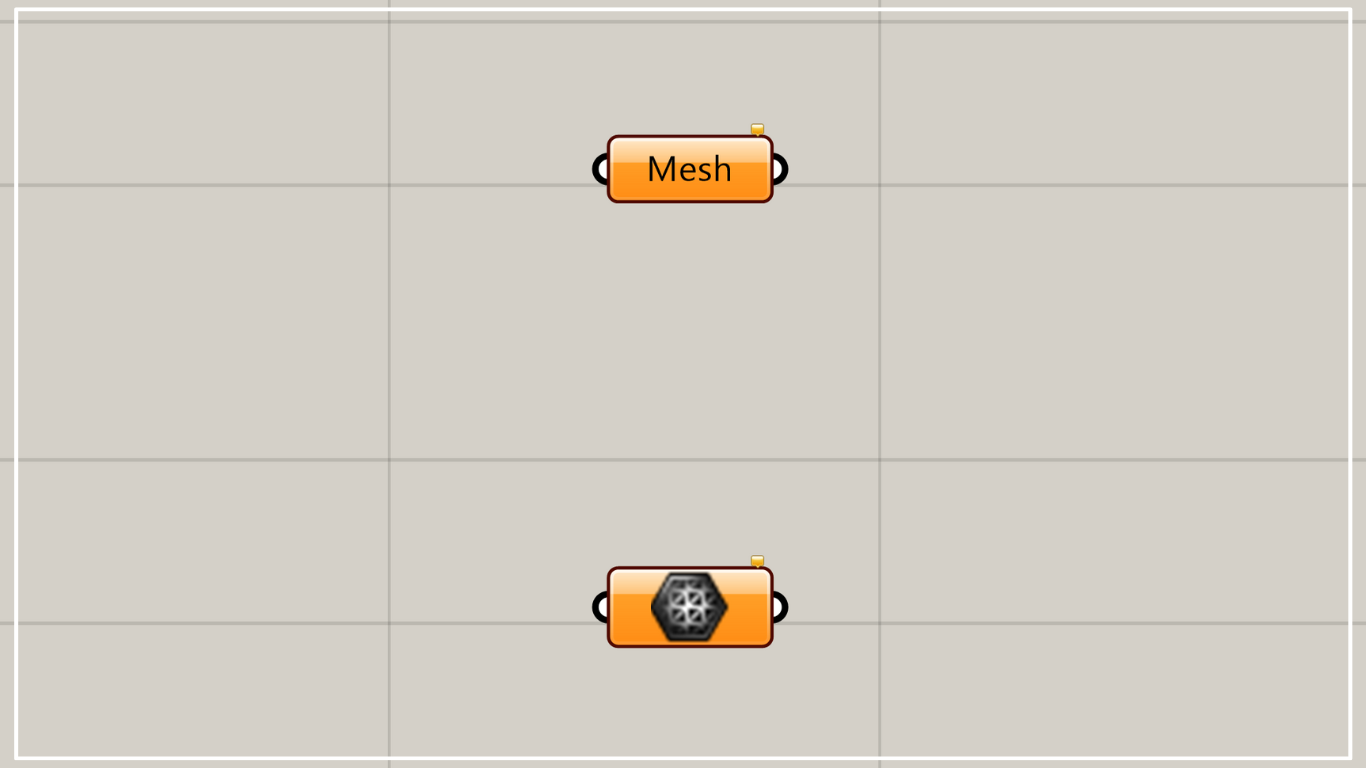
グラスホッパー上では上の2つのどちらかで表されます。
メッシュを格納する
Meshを使うことで、メッシュを格納することができます。
1つのメッシュを格納する

ますは1つのメッシュを格納します。
Meshを右クリックし、Set one Meshを選択します。
すると、ライノセラス上の画面に変わるので、ライノセラス上の1つのメッシュを選択します。
すると、グラスホッパーの画面に戻ります。
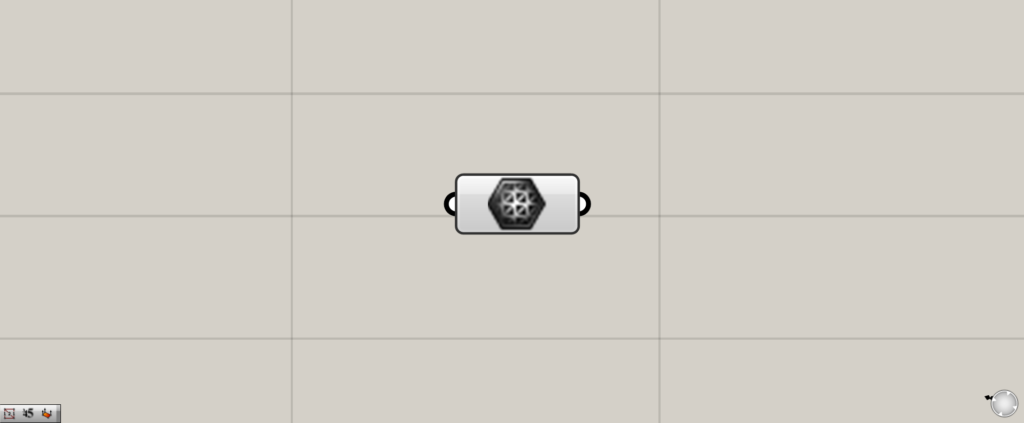
Meshがオレンジ色から白色に変わっていたら格納完了です。
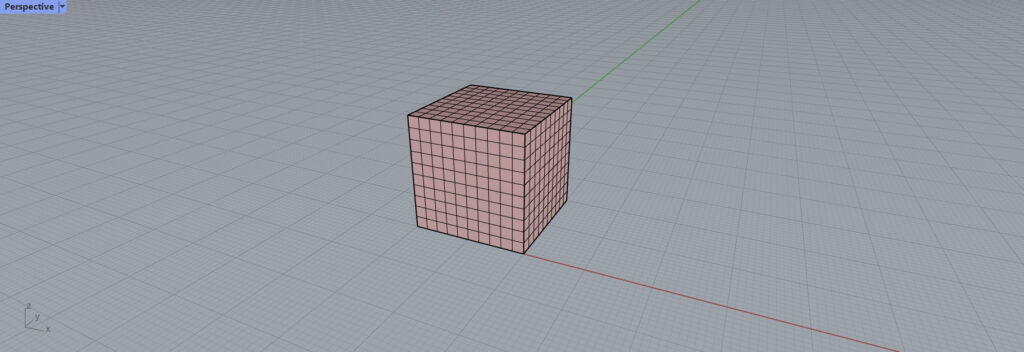
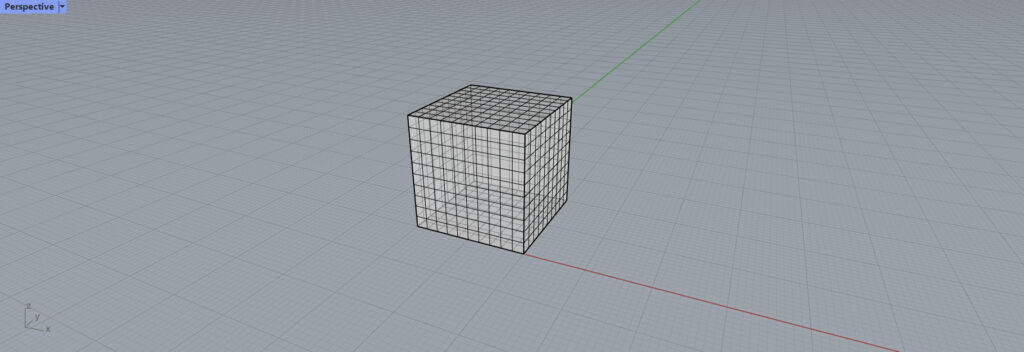
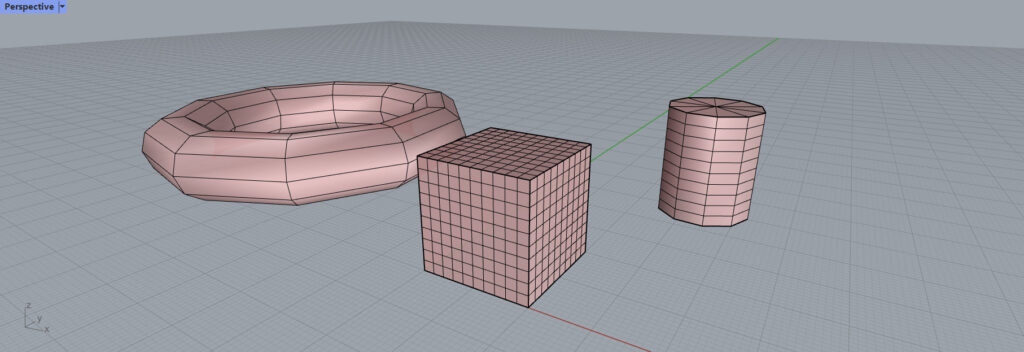
ライノセラス上でも、格納されていることが確認できます。
複数のメッシュを格納する
次は、複数のメッシュを格納します。
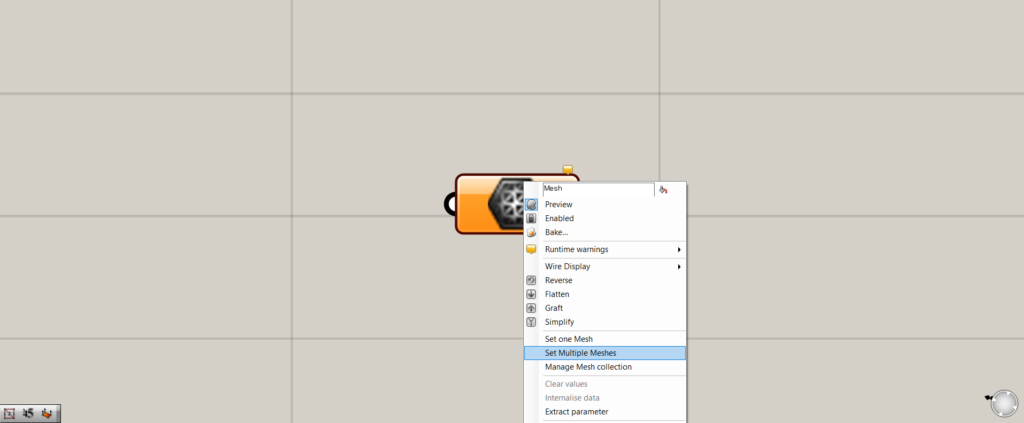
Meshを右クリックし、Set Multiple Meshesを選択します。
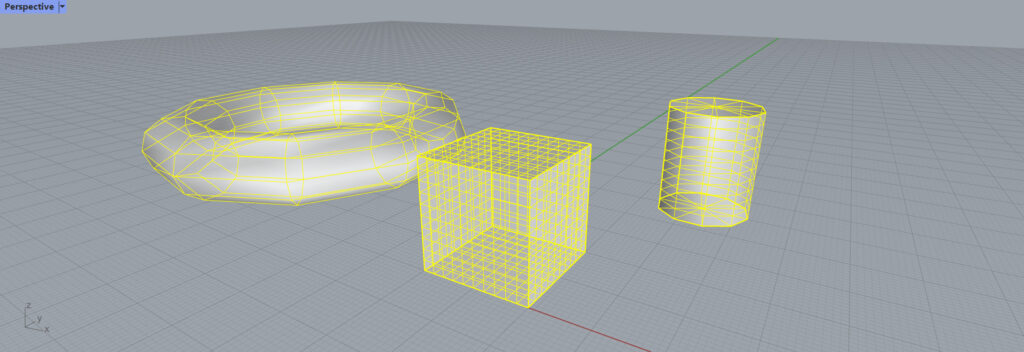
ライノセラス上の画面に切り替わるので、複数のメッシュを選択します。
選択が完了したら、右クリックかエンターを押します。

このように、複数のメッシュの格納が完了しました。
順番が逆でも格納できる

順番が逆でも格納することができます。
先にライノセラス上のメッシュを選択します。
次に、グラスホッパー上で格納します。
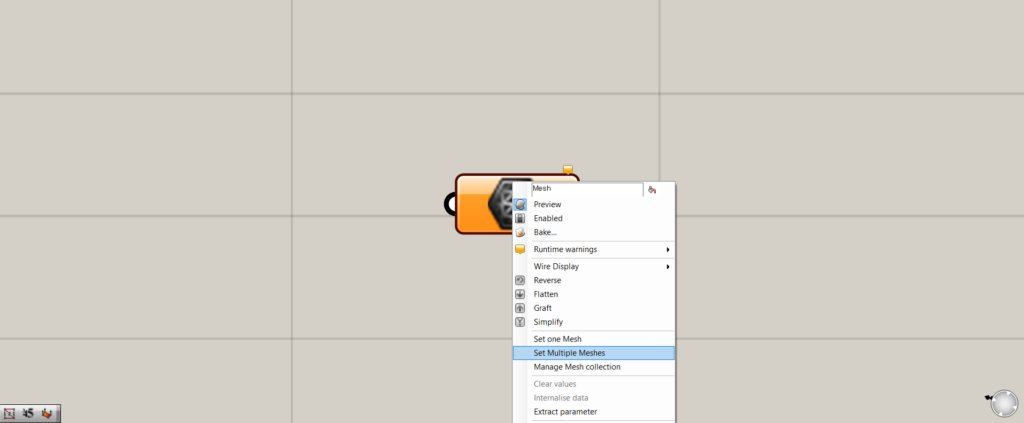
メッシュが1つの場合、Set one Mesh、複数の場合はSet Multiple Meshesを選択します。
このように、逆の順番でもメッシュを格納することができます。
グラスホッパー上のメッシュを格納する
ライにセラス上のメッシュを格納するだけでなく、グラスホッパー上のメッシュも格納することができます。
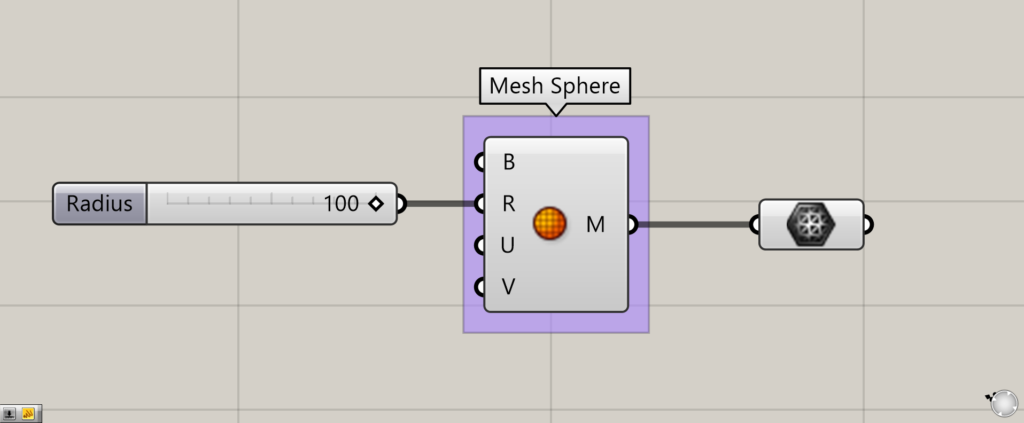
今回は、Mesh Sphereを使用して球のメッシュを作成し、Meshにつなげて格納しました。
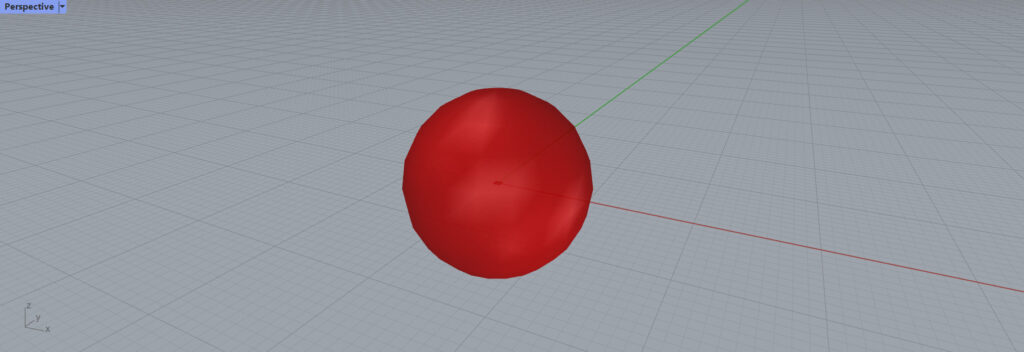
このように、グラスホッパー上のメッシュの球が格納されたことが分かります。
Meshコンポーネントを使用しているグラスホッパー記事はこちら↓


Comment