
![[Grasshopper]3点から円弧を作成するArc 3Ptの使い方](https://iarchway.com/wp-content/uploads/2024/11/eyecatch-17.png)
3点から円弧を作成する、Arc 3Ptの使い方について解説します。
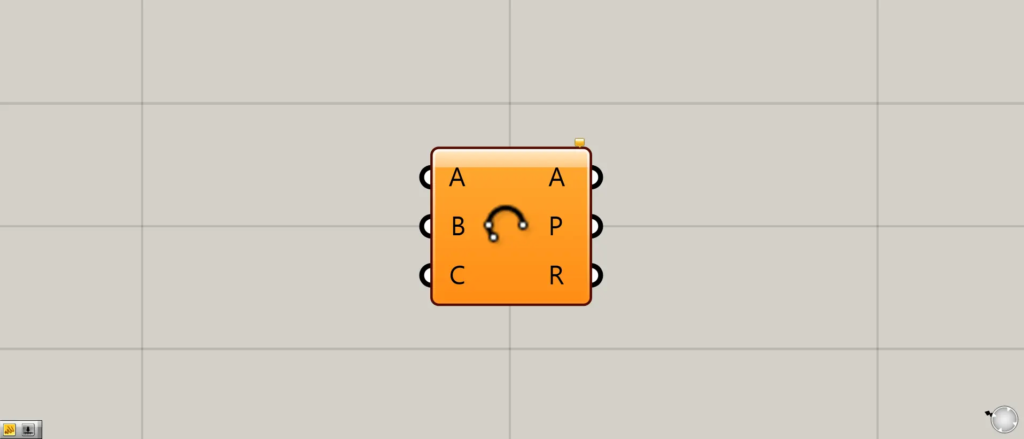
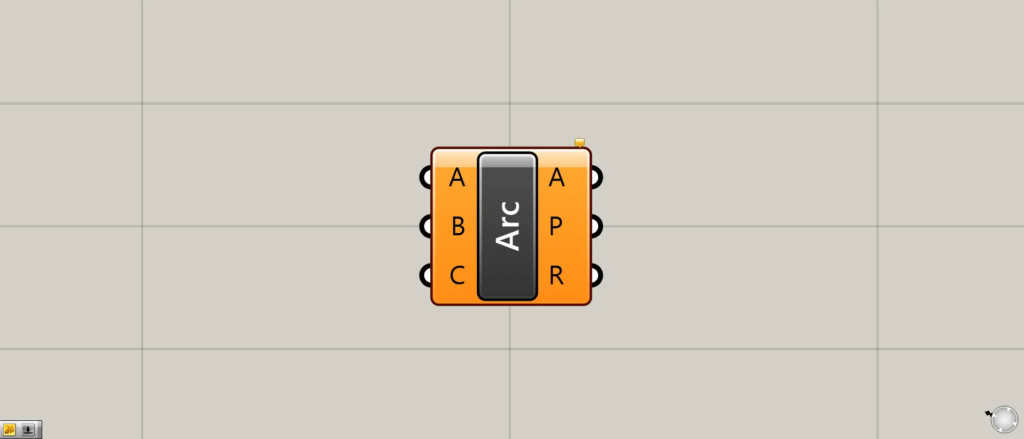
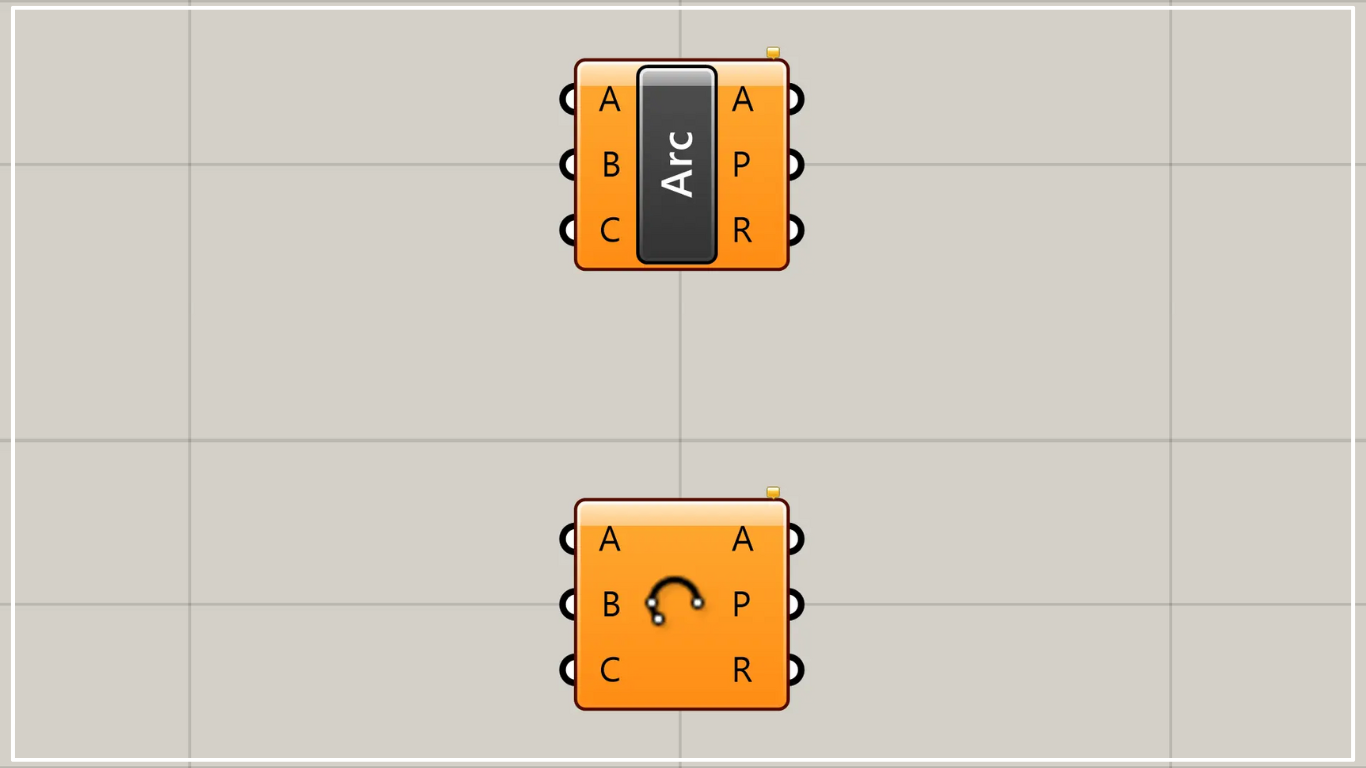
グラスホッパー上では上の2つのどちらかで表されます。
3点から円弧を作成する
Arc 3Ptを使うことで、3点から円弧を作成することができます。

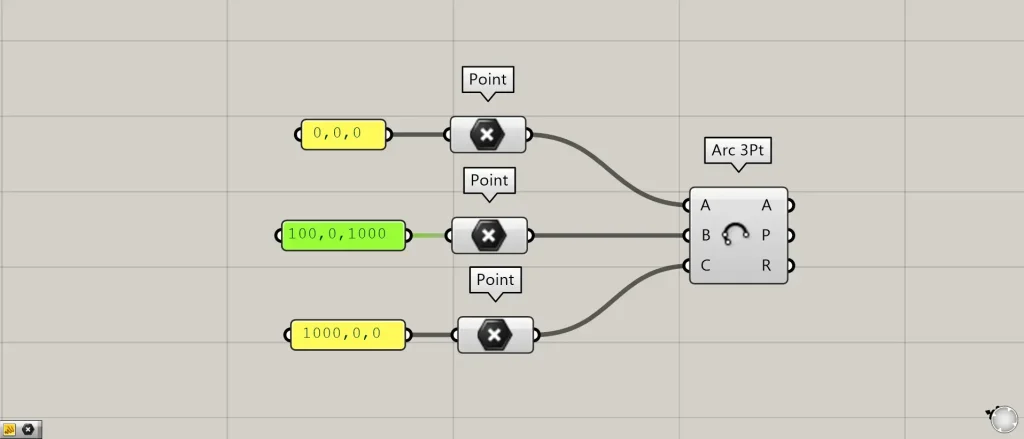
使用コンポーネント:①Point ②Arc 3Pt
Arc 3PtのA端子には、円弧の始点を入力します。
今回は、0,0,0の座標データを、Pointで点データに変換し、Arc 3PtのA端子につなげています。
Arc 3PtのC端子には、円弧の終点を入力します。
今回は、1000,0,0の座標データを、Pointで点データに変換し、Arc 3PtのC端子につなげています。
Arc 3PtのB端子には、円弧が通る途中地点の点データを入力します。
今回は、500,0,500の座標データを、Pointで点データに変換し、Arc 3PtのB端子につなげています。
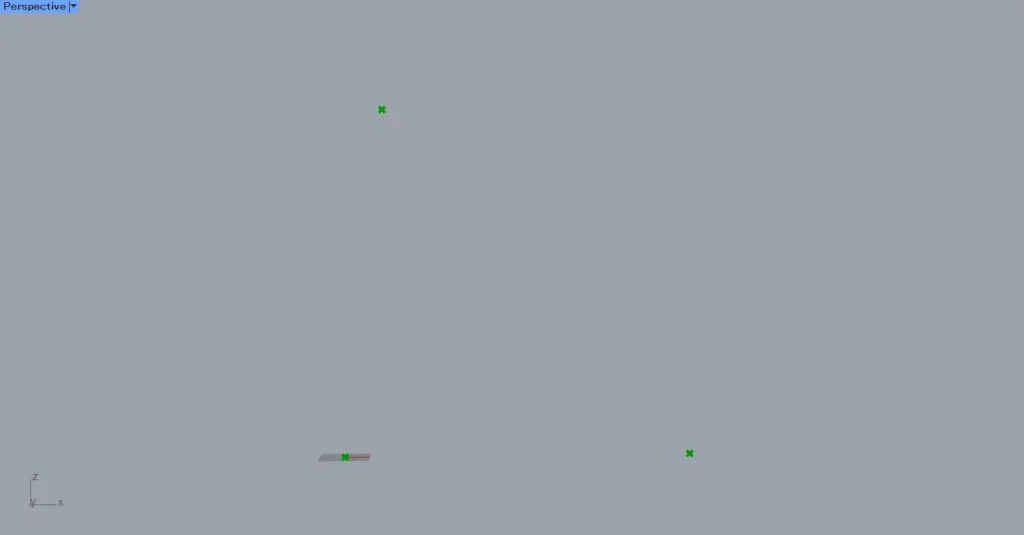
3つの点が作成された様子です。

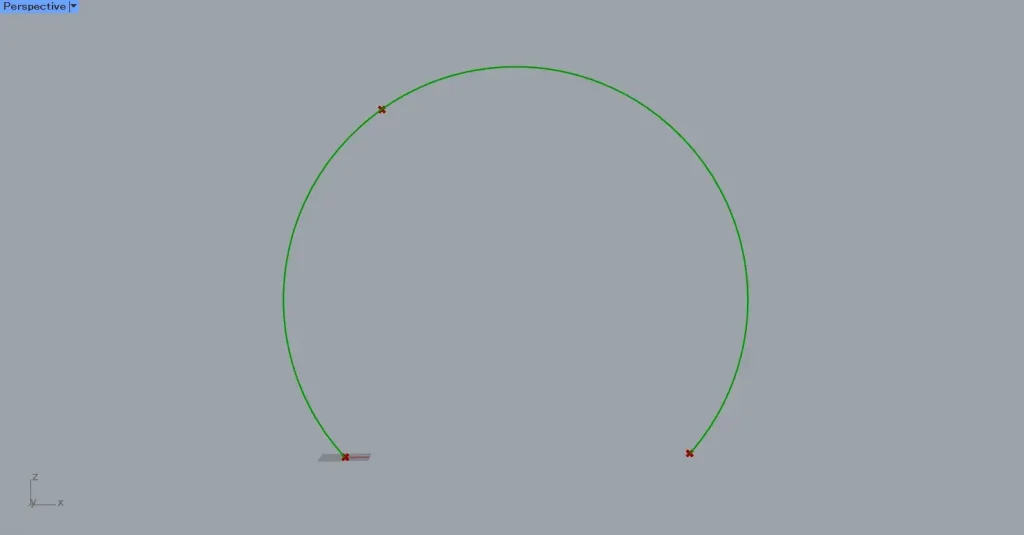
Arc 3Ptにつなげると、このように円弧が作成されました。
先程は、B端子の途中地点の位置を、中間地点にしていました。
今回は、中間地点ではない位置に指定してみます。
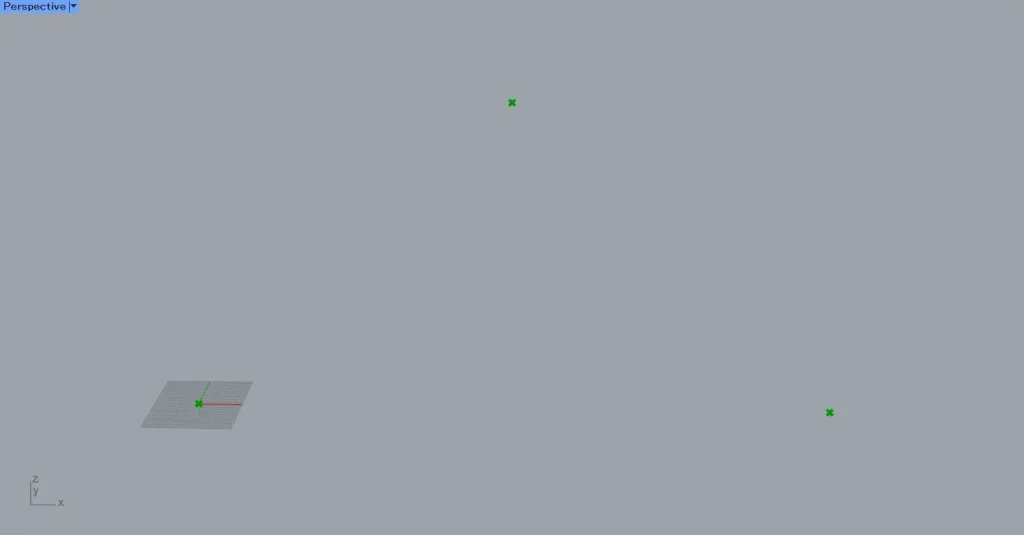
B端子の座標を、100,0,1000に設定しました。
すると、このような点の配置になりました。
すると、途中点が中間地点でなくても、B端子の点の位置を考慮して円弧が作成されます。
出力されるデータ
Arc 3Ptの右側から出力されるデータを見てみましょう。
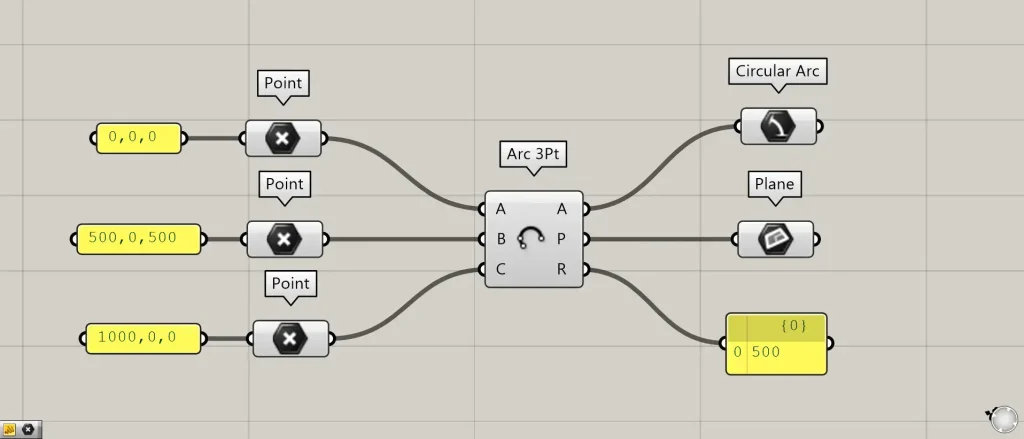
追加コンポーネント:①Circular Arc ②Plane
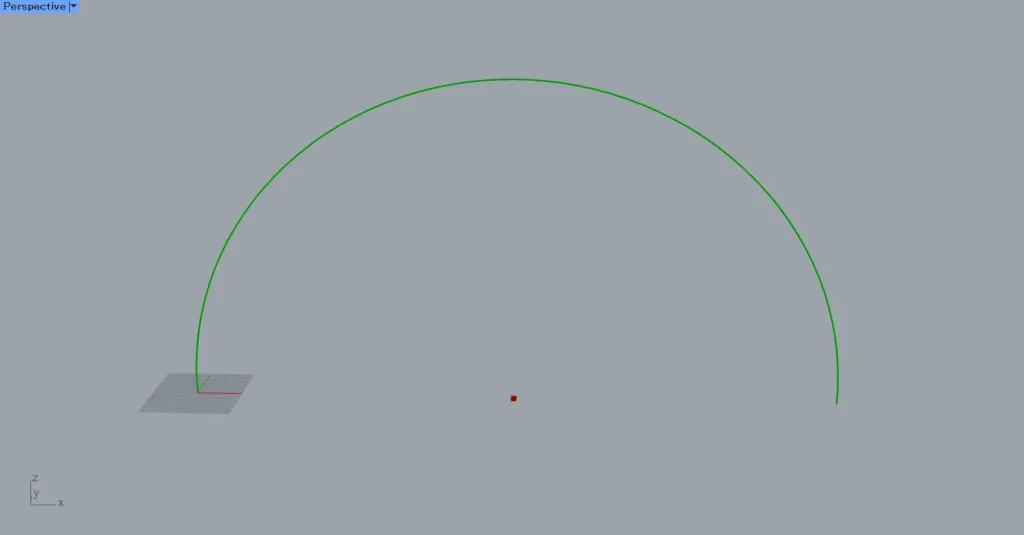
Arc 3Ptの右側のA端子からは、円弧の線データが出力されます。
Arc 3Ptの右側のP端子からは、円弧が作成される位置の作業平面のデータが出力されます。
Arc 3Ptの右側のR端子からは、円弧の半径の数値が出力されます。
Arc 3Ptコンポーネントを使用しているグラスホッパー記事はこちら↓


Comment